Digital Art & Design Projects
scroll down
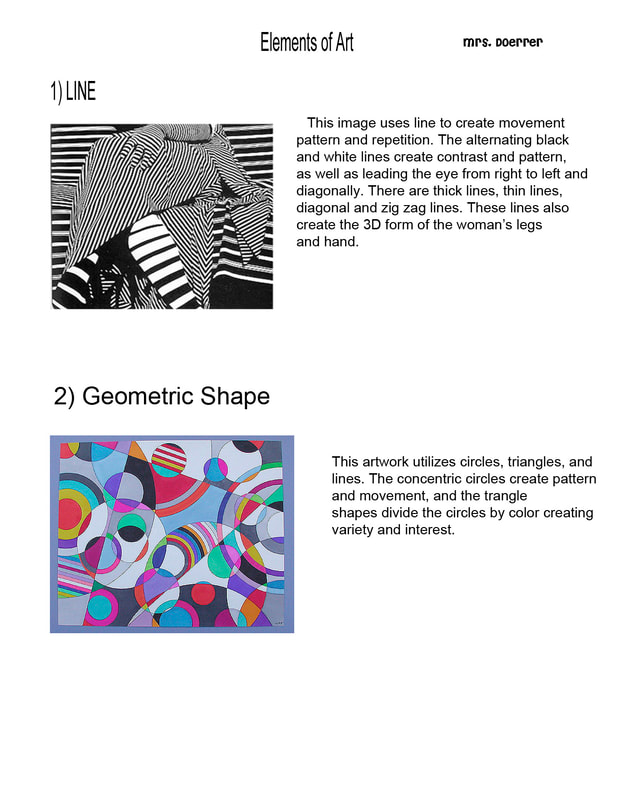
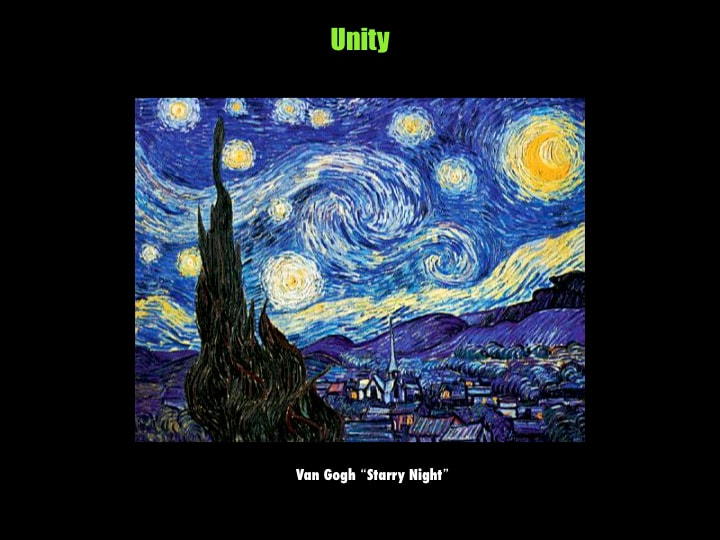
The Elements of Art & Principles of Design Project
ASSIGNMENT:
Complete this as a Google Document. You will later download this as a .pdf and turn into the Google Classroom.
A list of Definitions for the Elements of Art & Principles of Design
THE ELEMENTS:
The basic “ingredients” an artist uses –separately or in combination-to produce artistic imagery.
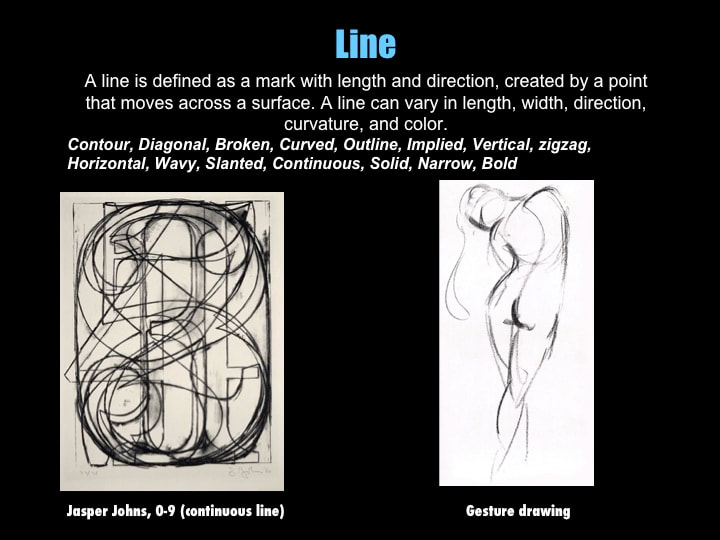
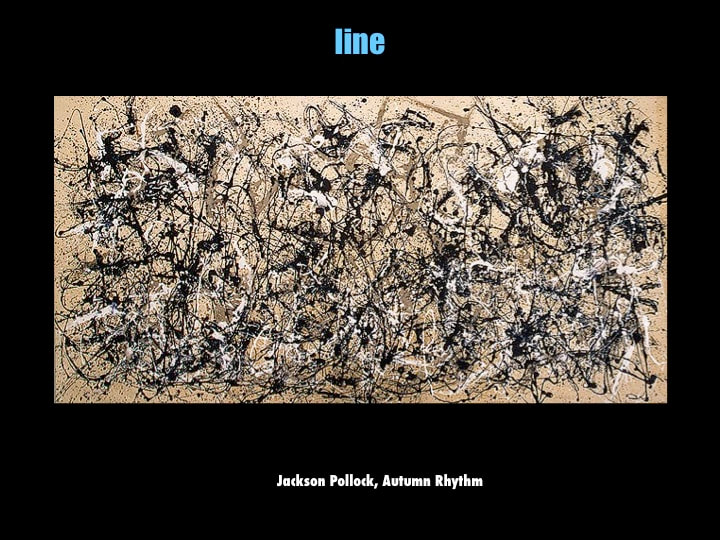
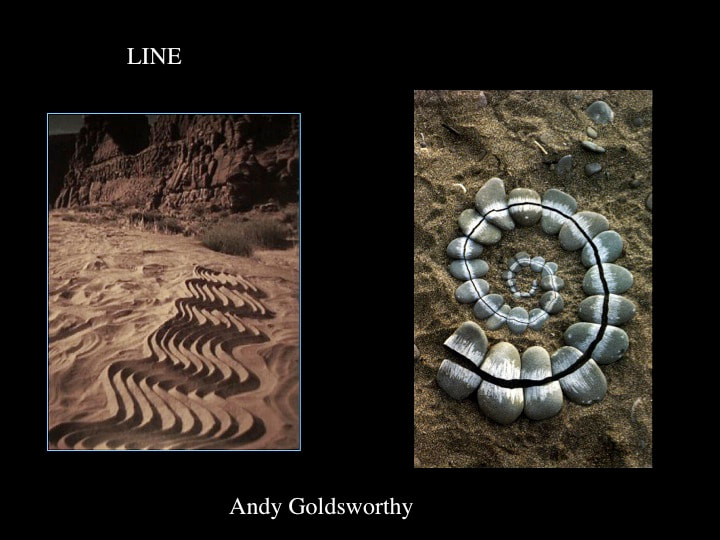
#1 LINE – 2-dimensional (length and width)
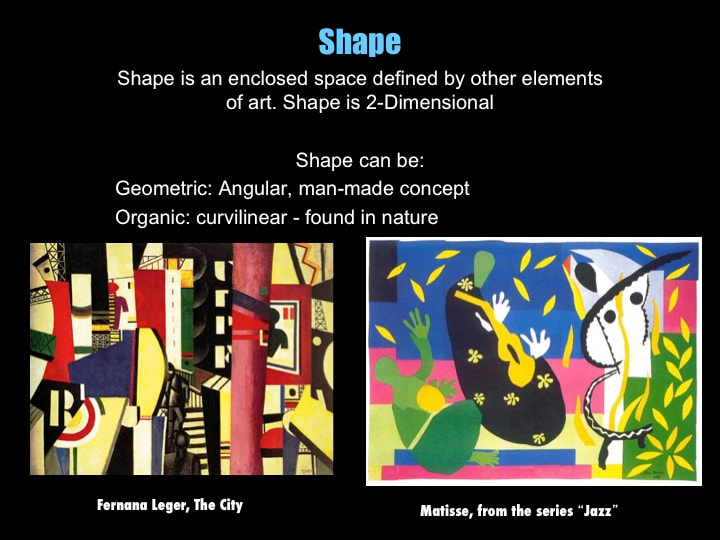
#2 GEOMETRIC SHAPE
#3 ORGANIC SHAPE
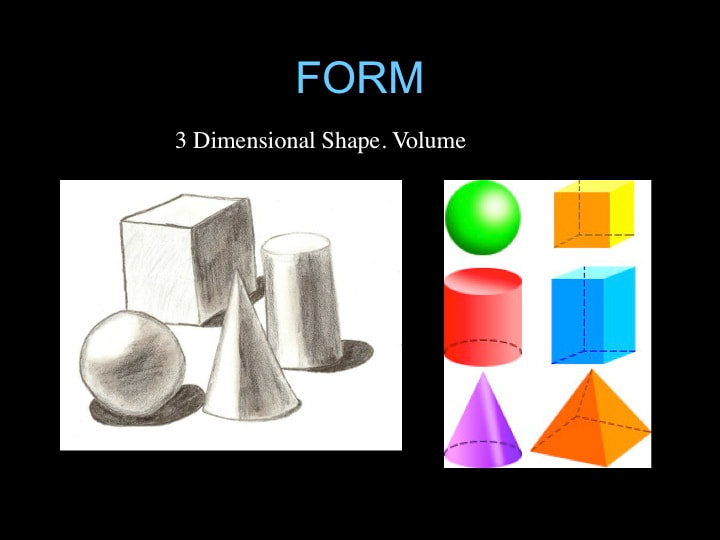
#4 FORM (3-dimensional shape, aka “volume”)
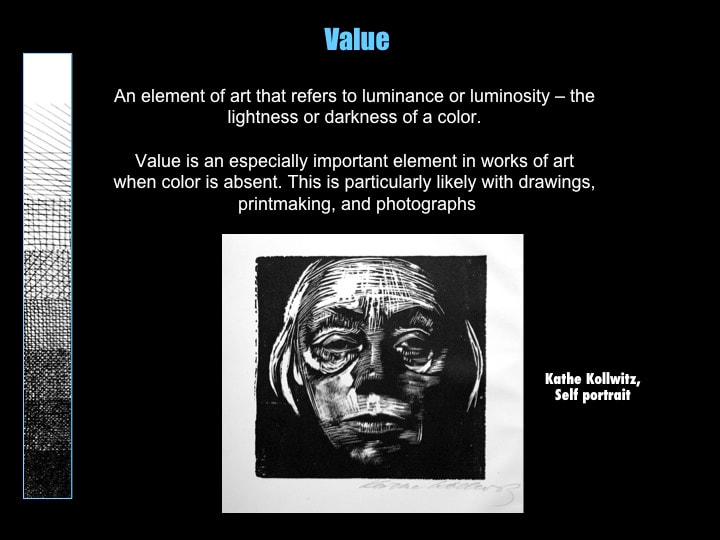
#5 VALUE
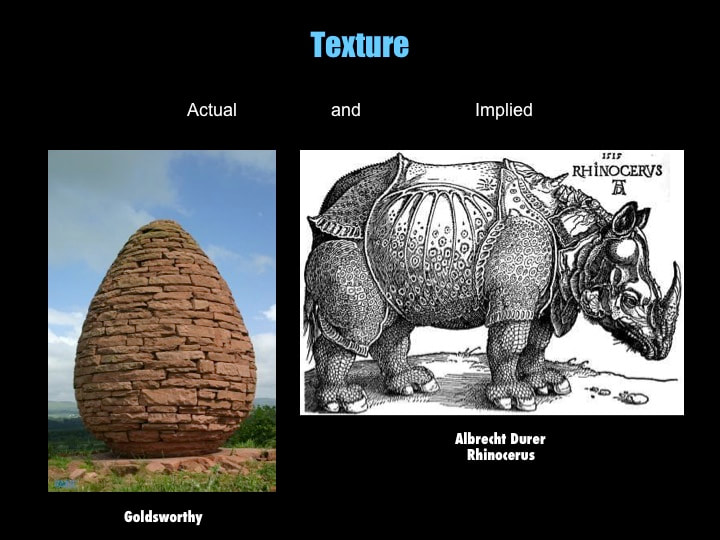
#6 TEXTURE
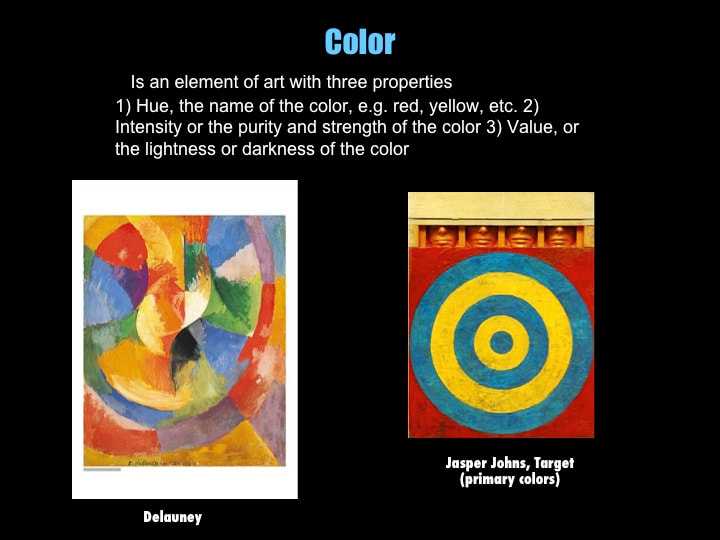
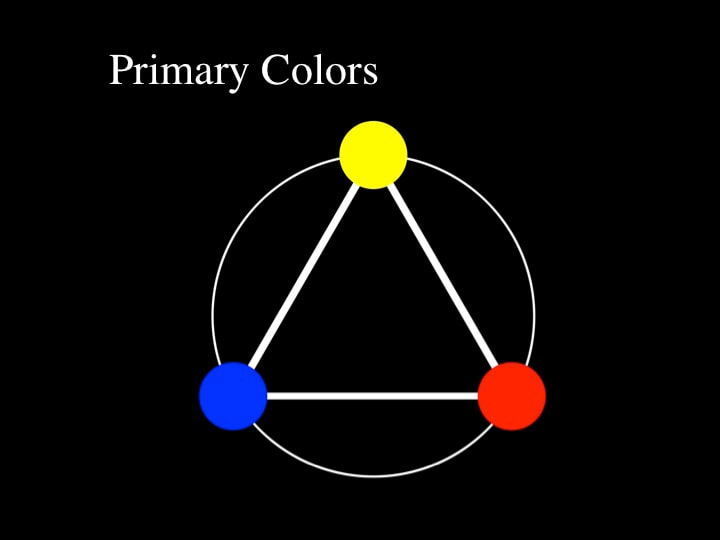
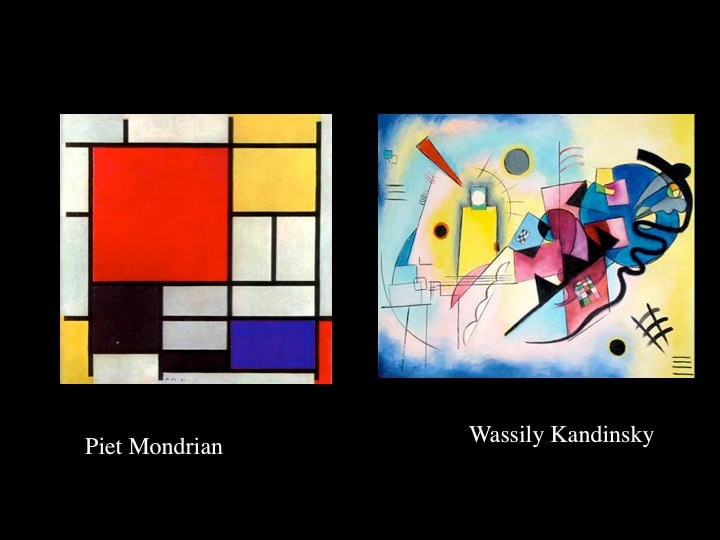
#7 PRIMARY COLOR
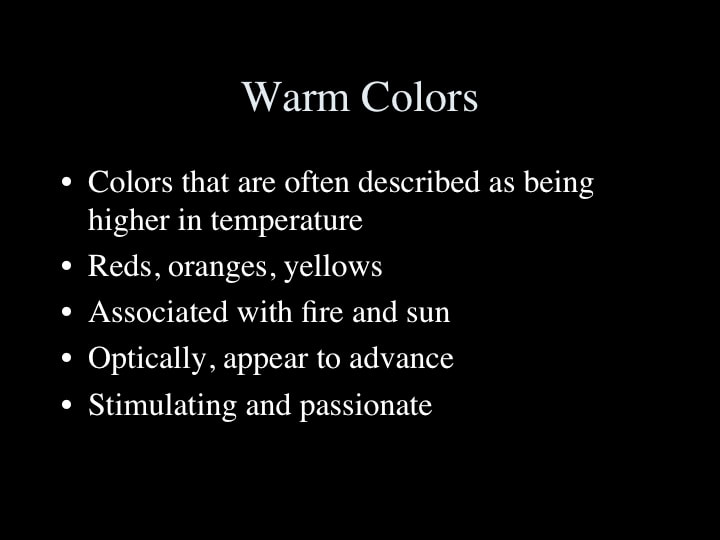
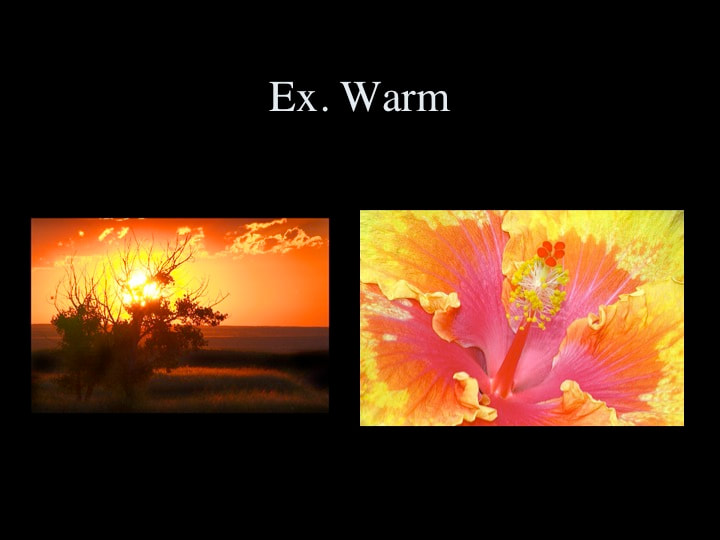
#8 WARM COLOR
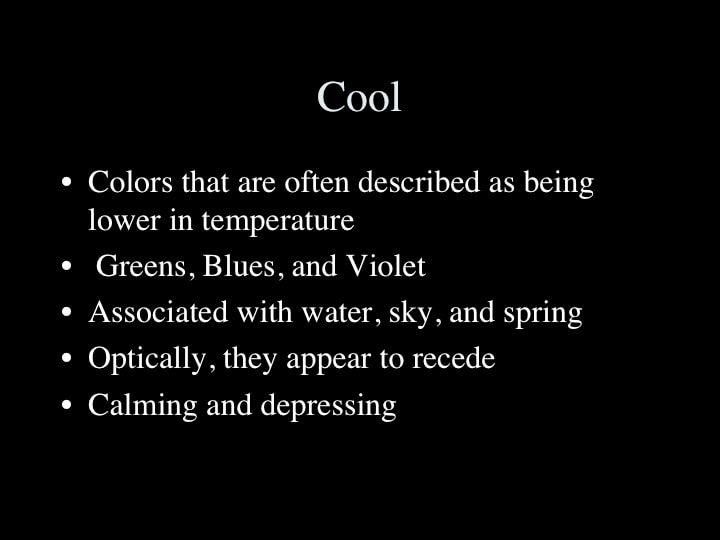
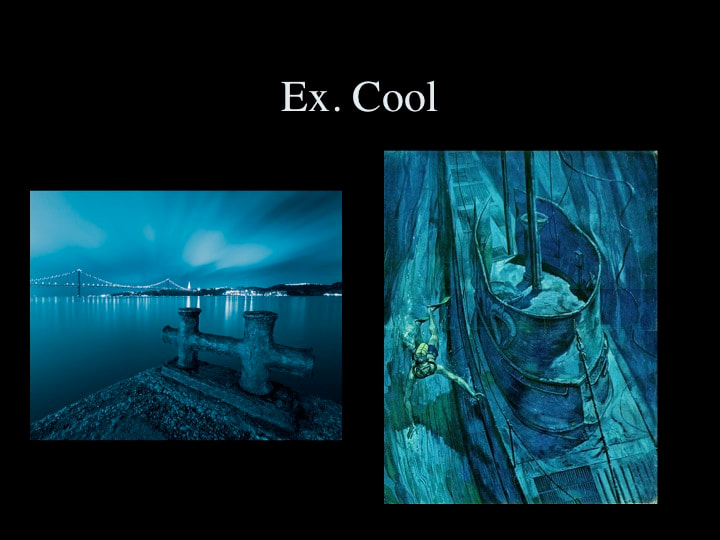
#9 COOL COLOR
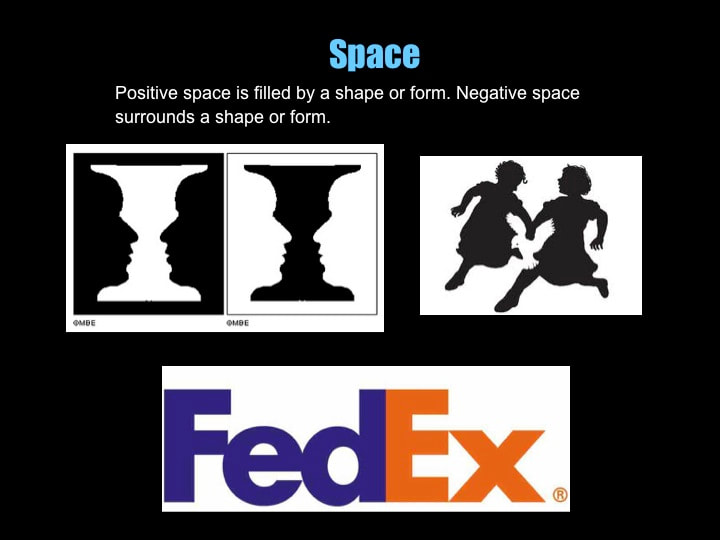
#10 SPACE – positive/negative
#11 SPACE – DEPTH – 3 dimensional space
THE PRINCIPLES of DESIGN (used to create UNITY)
Rules that guide an artist in how to use and combine the elements of art.
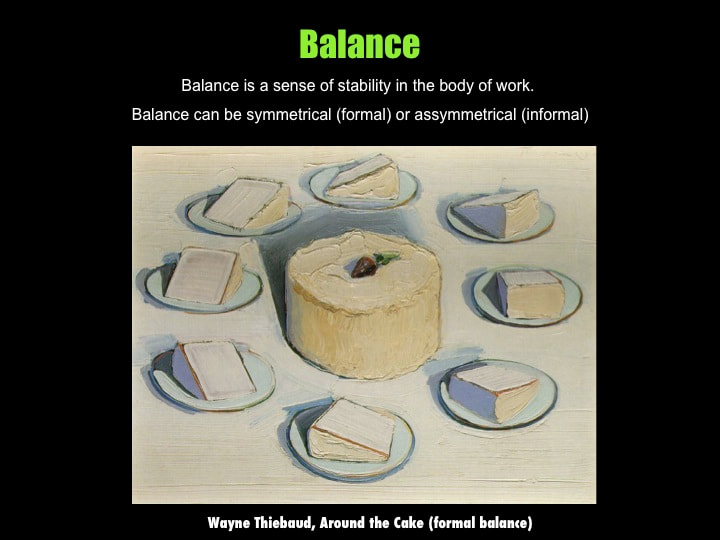
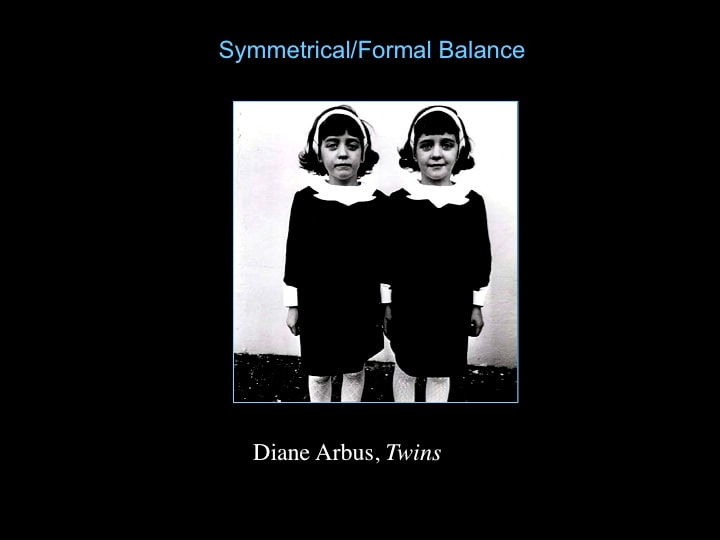
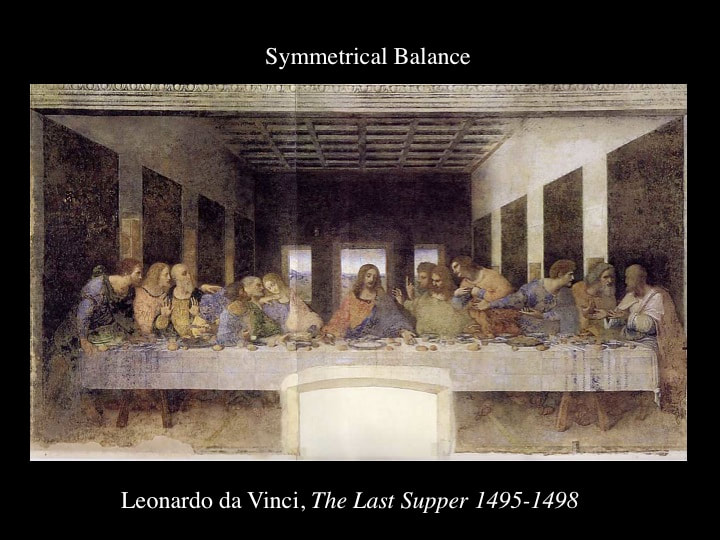
#12 SYMMETRICAL BALANCE
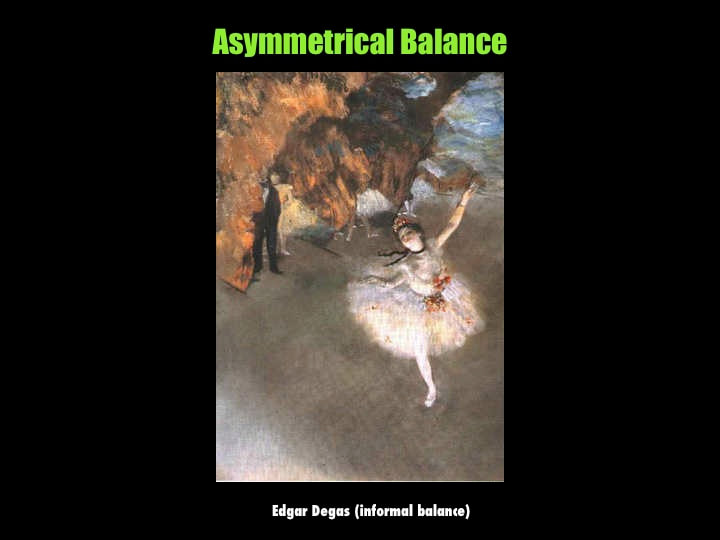
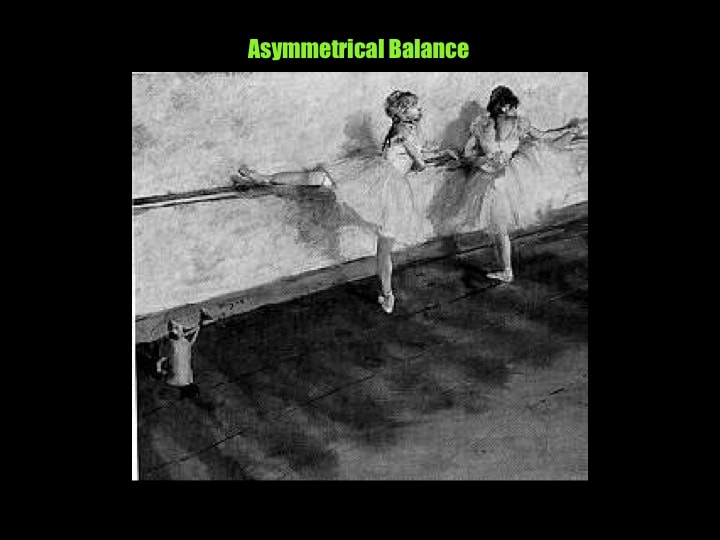
#13 ASYMMETRICAL BALANCE
#14 VARIETY
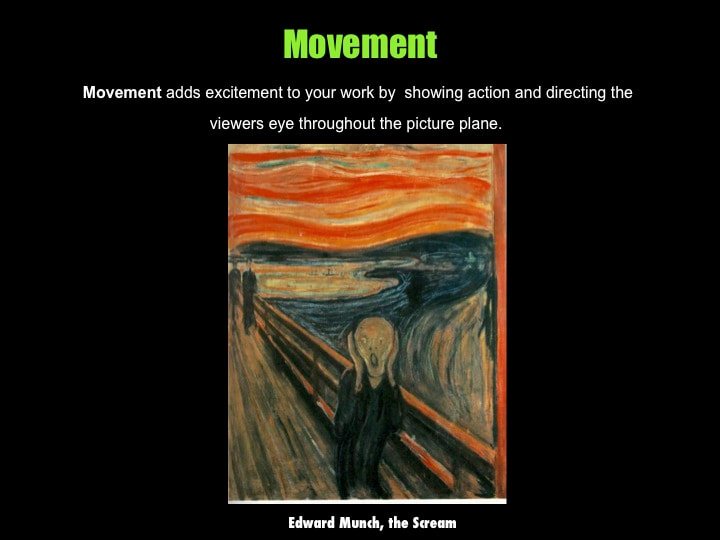
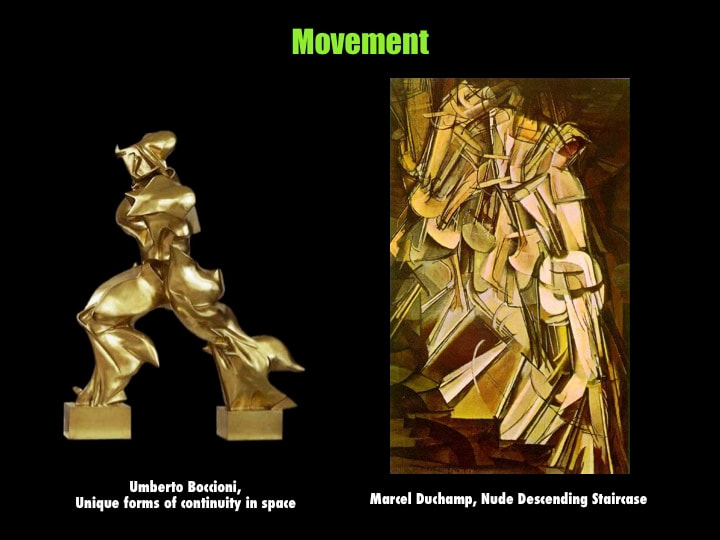
#15 MOVEMENT
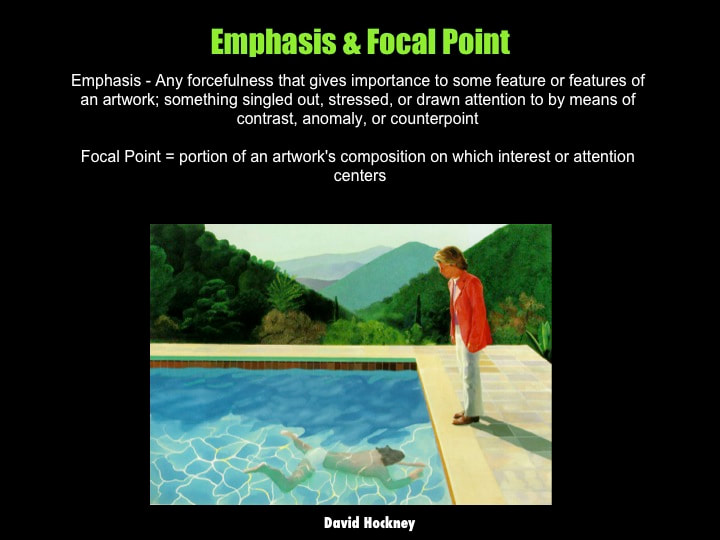
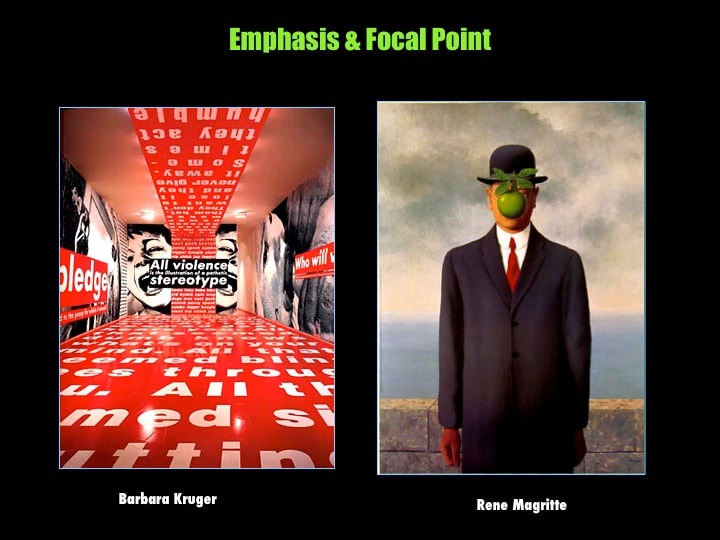
#16 EMPHASIS/FOCAL POINT
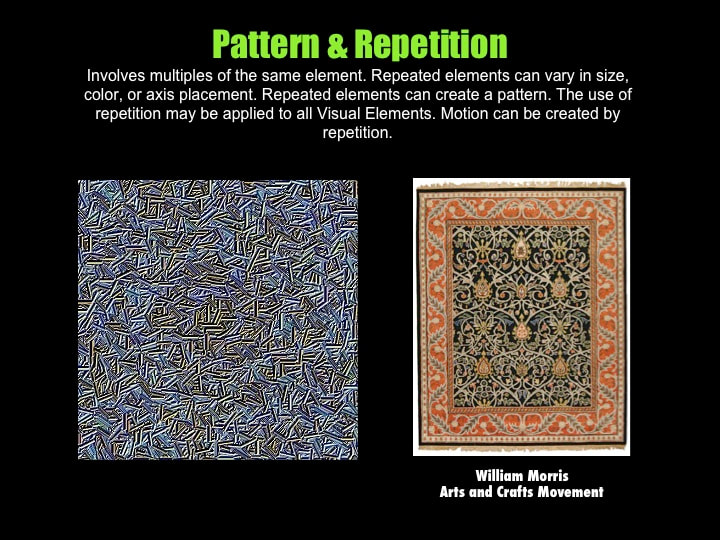
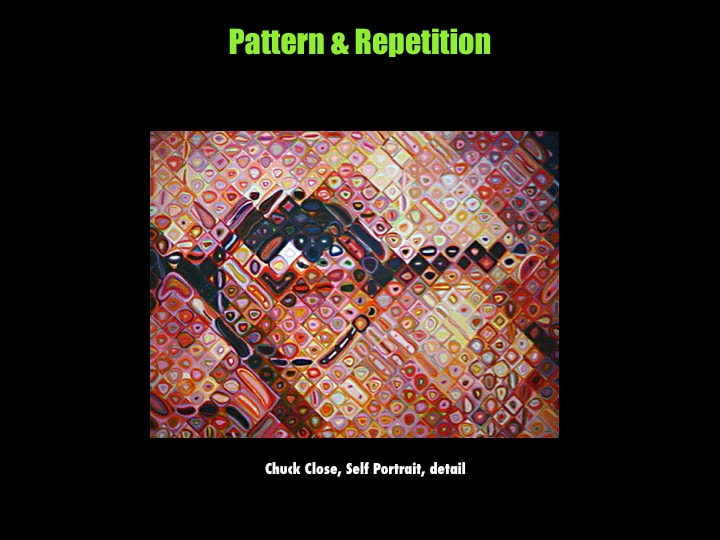
#17 PATTERN & REPETITION
#18 CONTRAST
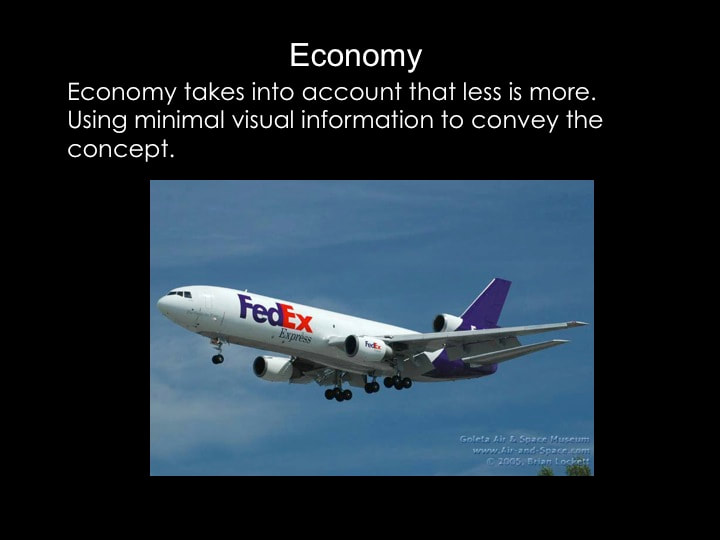
#19 ECONOMY
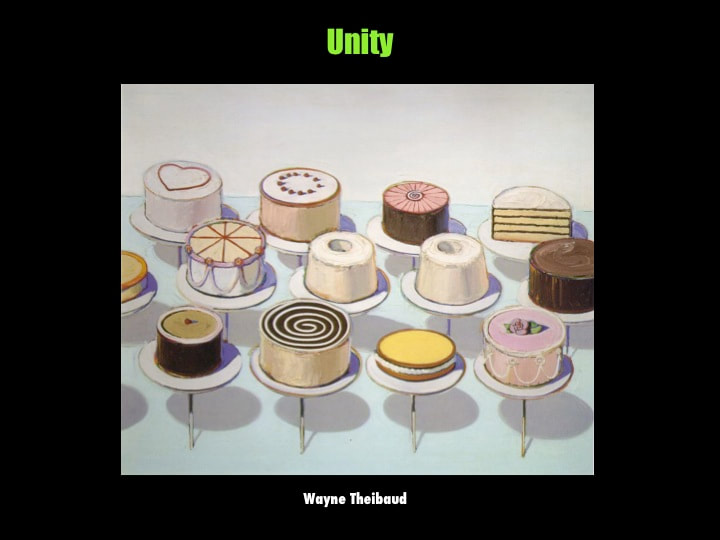
#20 UNITY
Resources:
-Elements of Art research link: artlex.com
-Elements of Art Video
-Principles of Design Video
Example of how to begin your Elements & Principles Project:
Complete this as a Google Document. You will later download this as a .pdf and turn into the Google Classroom.
- Make 2 columns on your document. The left column will have example images and the right column will have typed explanations.
- Number each element or principle and type an explanation of how the image uses the element or principle to create an interesting and impactful visual. 2-3 sentences for each image. Do not write the definition of the element or principle. EXPLAIN how the image you provided illustrates the element or principle.
- Provide 1 NEW example image you find on your own on the internet or take your own photos of each element and principle. Do not use images from the class presentations. Each image should be about 2X2”.
- Include 10 elements or principles per page maximum. You will have 2 pages with 10 images on each.
A list of Definitions for the Elements of Art & Principles of Design
THE ELEMENTS:
The basic “ingredients” an artist uses –separately or in combination-to produce artistic imagery.
#1 LINE – 2-dimensional (length and width)
#2 GEOMETRIC SHAPE
#3 ORGANIC SHAPE
#4 FORM (3-dimensional shape, aka “volume”)
#5 VALUE
#6 TEXTURE
#7 PRIMARY COLOR
#8 WARM COLOR
#9 COOL COLOR
#10 SPACE – positive/negative
#11 SPACE – DEPTH – 3 dimensional space
THE PRINCIPLES of DESIGN (used to create UNITY)
Rules that guide an artist in how to use and combine the elements of art.
#12 SYMMETRICAL BALANCE
#13 ASYMMETRICAL BALANCE
#14 VARIETY
#15 MOVEMENT
#16 EMPHASIS/FOCAL POINT
#17 PATTERN & REPETITION
#18 CONTRAST
#19 ECONOMY
#20 UNITY
Resources:
-Elements of Art research link: artlex.com
-Elements of Art Video
-Principles of Design Video
Example of how to begin your Elements & Principles Project:
The Elements & Principles Intro Presentation


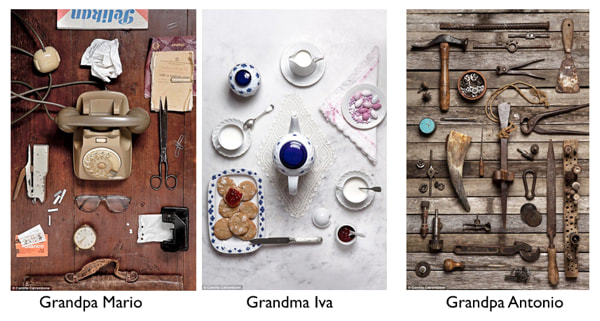
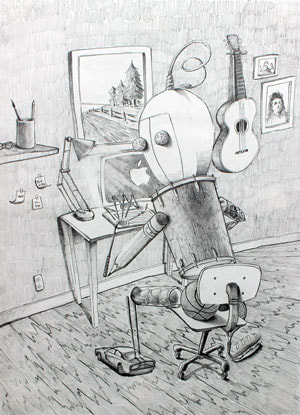
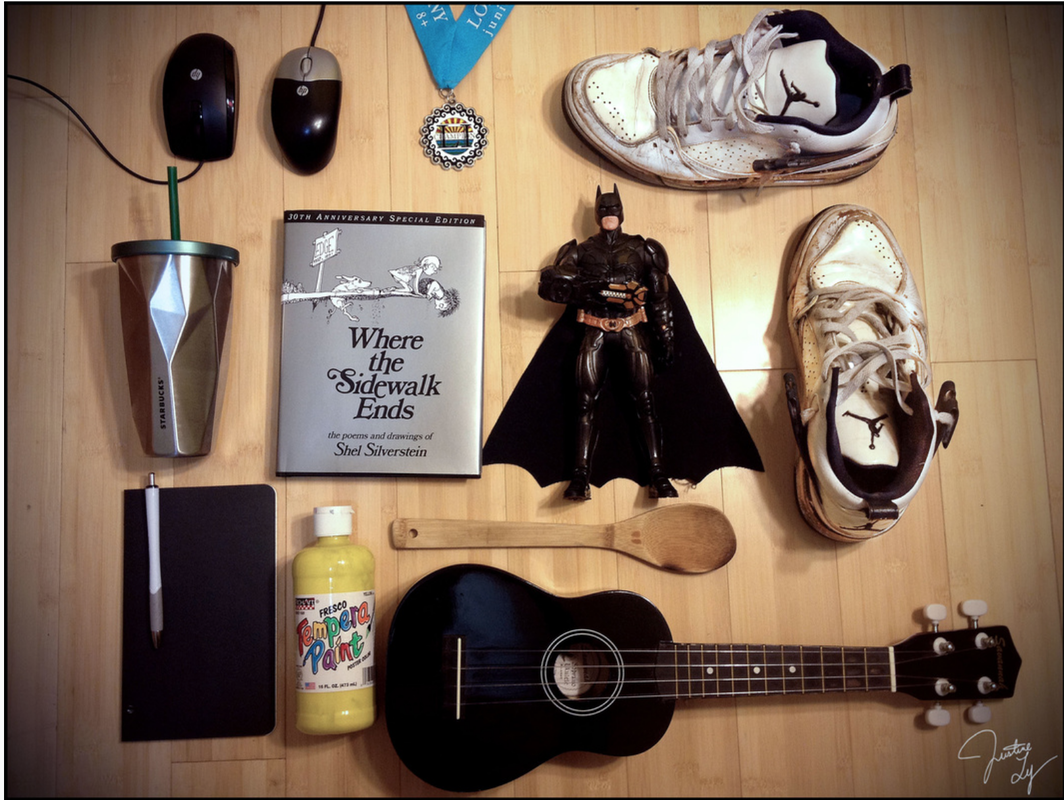
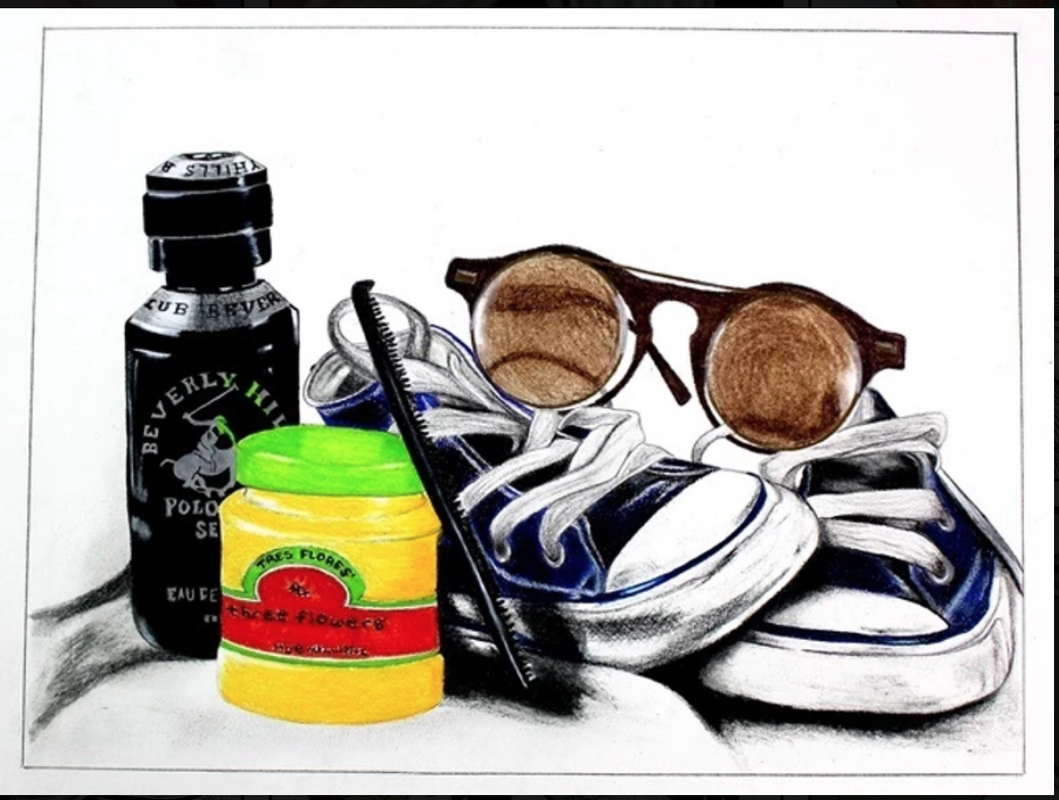
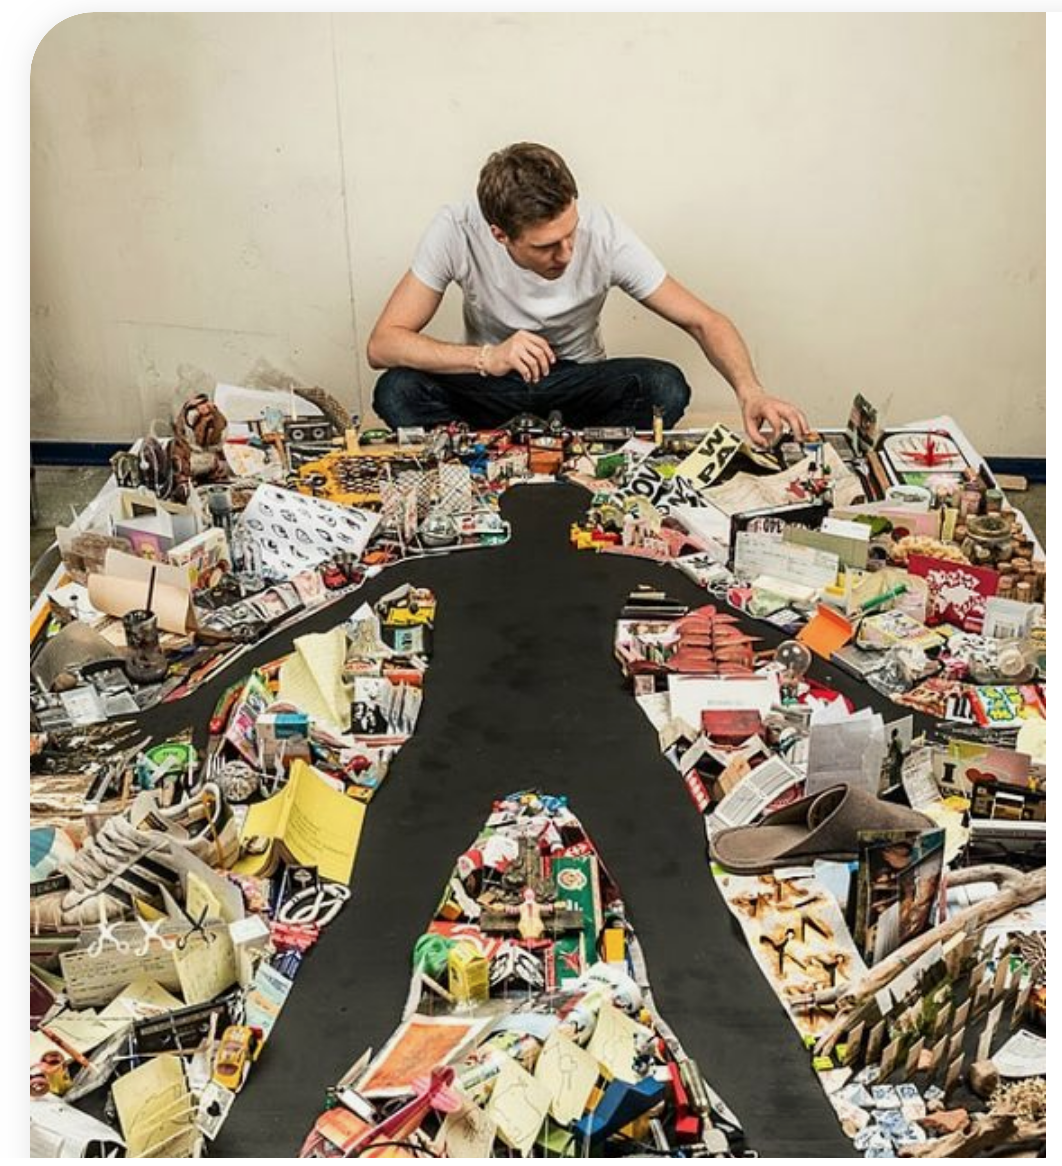
Object Self-Portrait
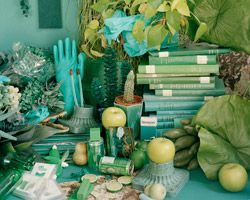
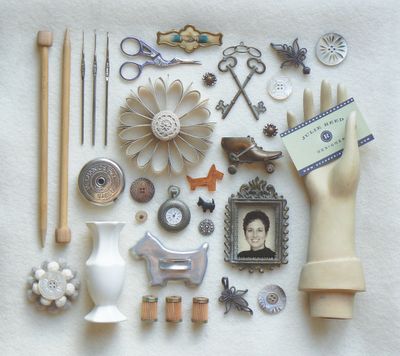
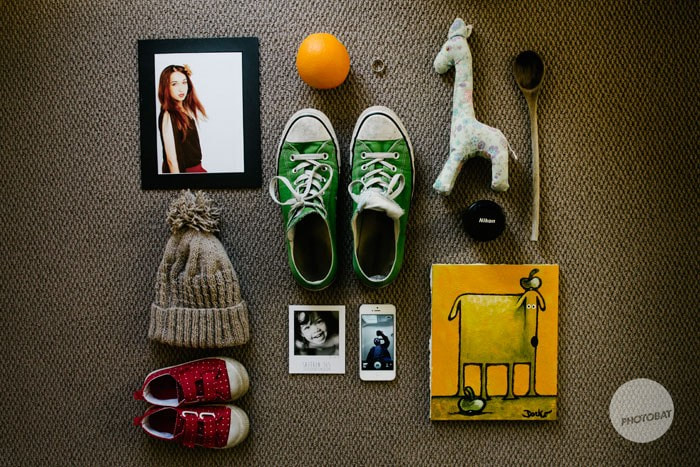
For this assignment you will create a self-portrait by collecting objects around your home that represent different aspects of your personality. Then you will create a visually interesting artwork. You must include at least 8 objects.
Instructions:
1) Complete the class scavenger hunt.
2) Photograph your scavenger hunt items.
3) Look around your room, house, backyard and collect more items that will help tell a story about you.
4) Add these items to your scavenger hunt items (or subtract items - your choice) arrange them in an interesting composition:
6) Turn into the Google classroom:
- Collect real objects around your house, arrange them in a dynamic composition and photograph it. Make sure to use purposeful color, lighting, composition, and background.
- Then use Photoshop or Photopea or other photo editing software to create a digital artwork with your object photos. Make sure to use purposeful composition, color overlays, and image adjustments.
Instructions:
1) Complete the class scavenger hunt.
2) Photograph your scavenger hunt items.
3) Look around your room, house, backyard and collect more items that will help tell a story about you.
4) Add these items to your scavenger hunt items (or subtract items - your choice) arrange them in an interesting composition:
- consider viewpoint: bug's eye view, bird's eye view, foreground and background, layering and overlapping objects to create levels and depth
- consider lighting: natural lighting outside, from a window or artificial lighting: lamps, candles, ...
- consider collecting items with a color scheme or alter your items to fit a color scheme: paint them or edit in Photoshop
6) Turn into the Google classroom:
- photo of your scavenger hunt items
- photo of your final objects you chose
- Final artwork
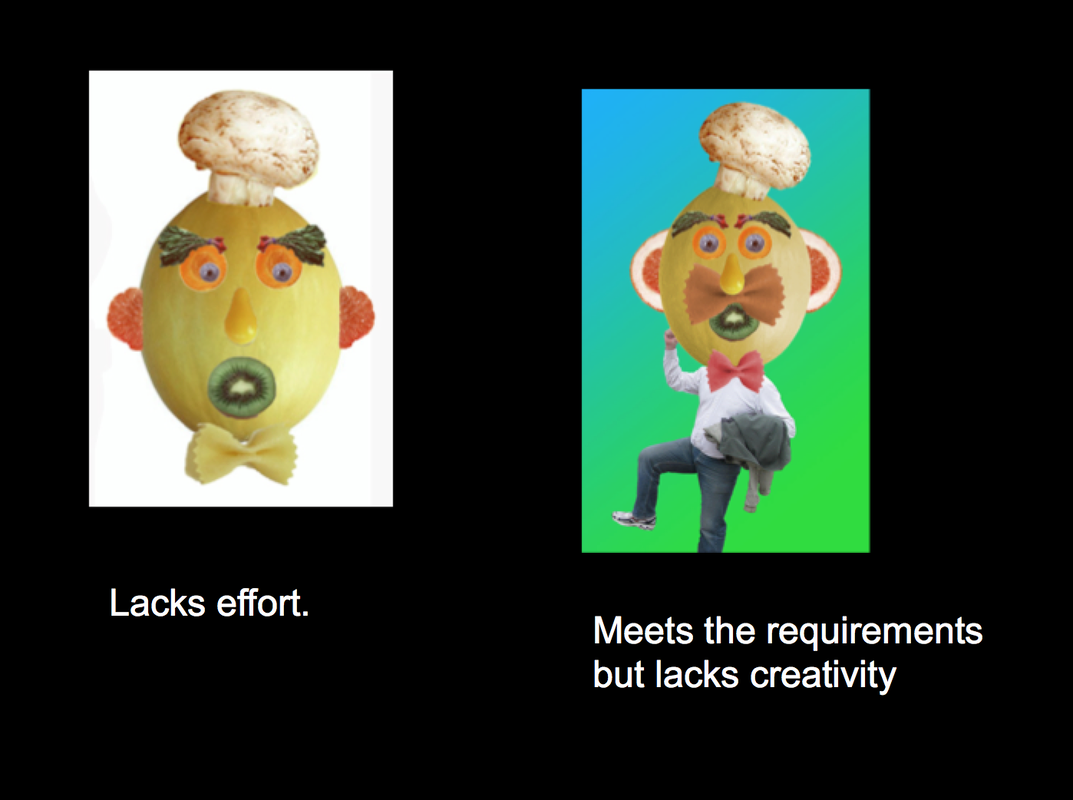
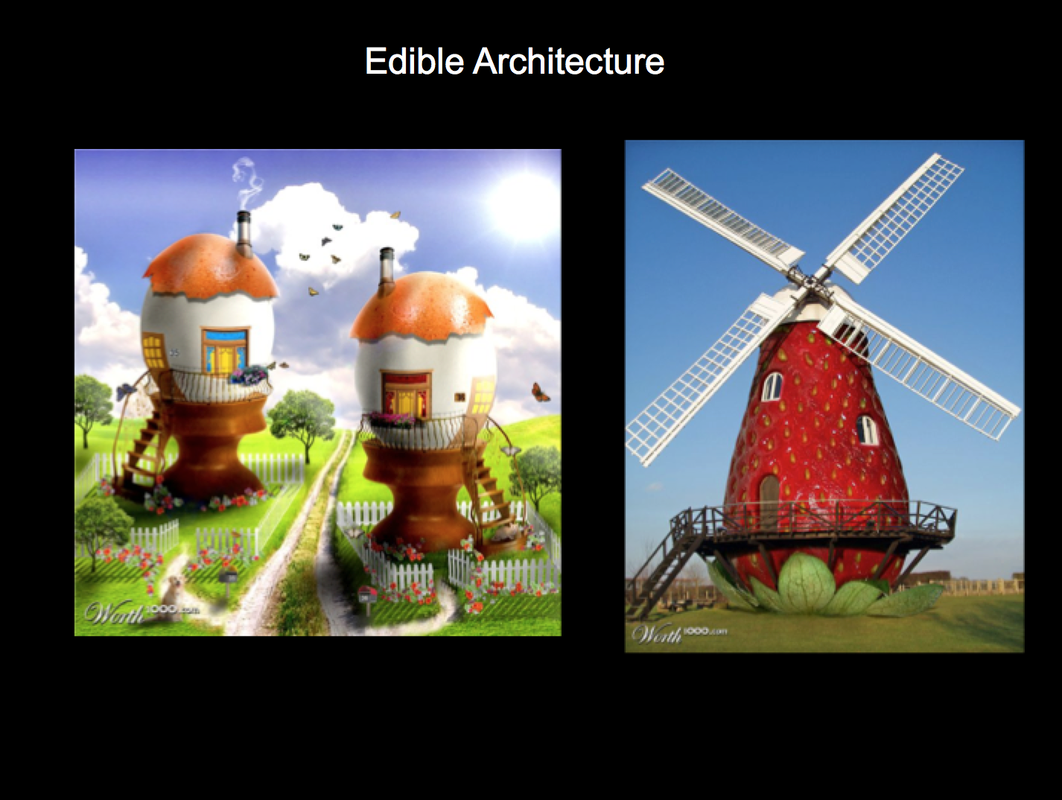
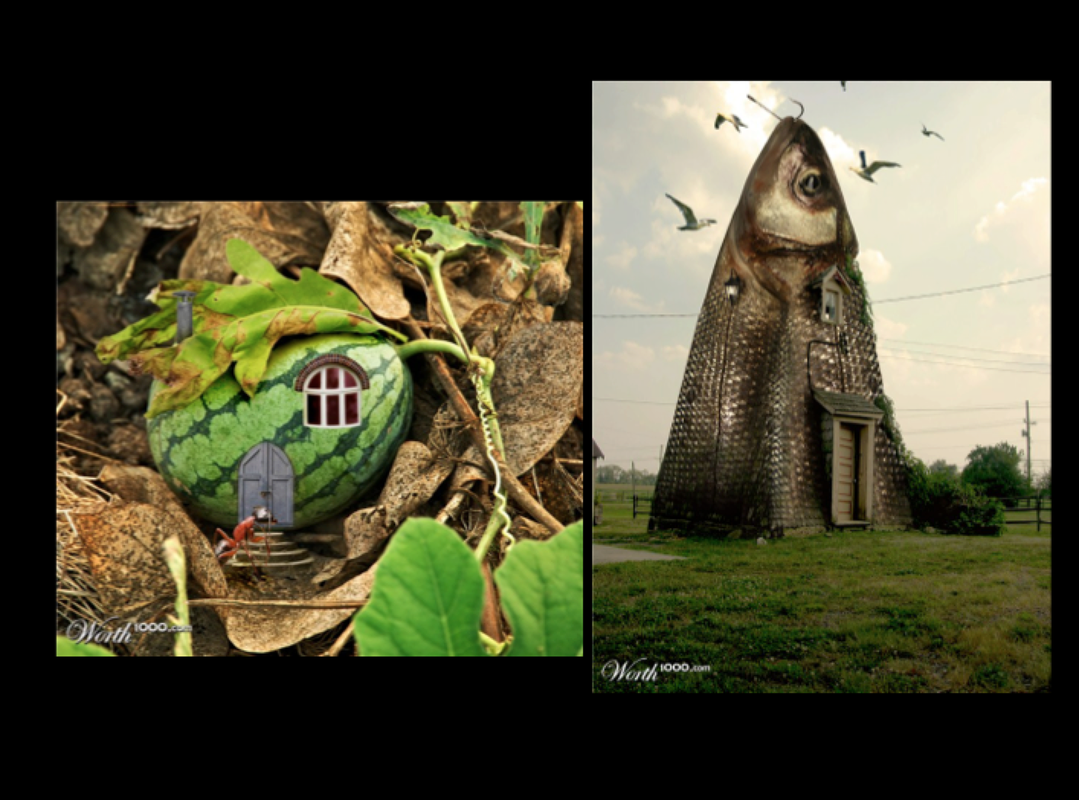
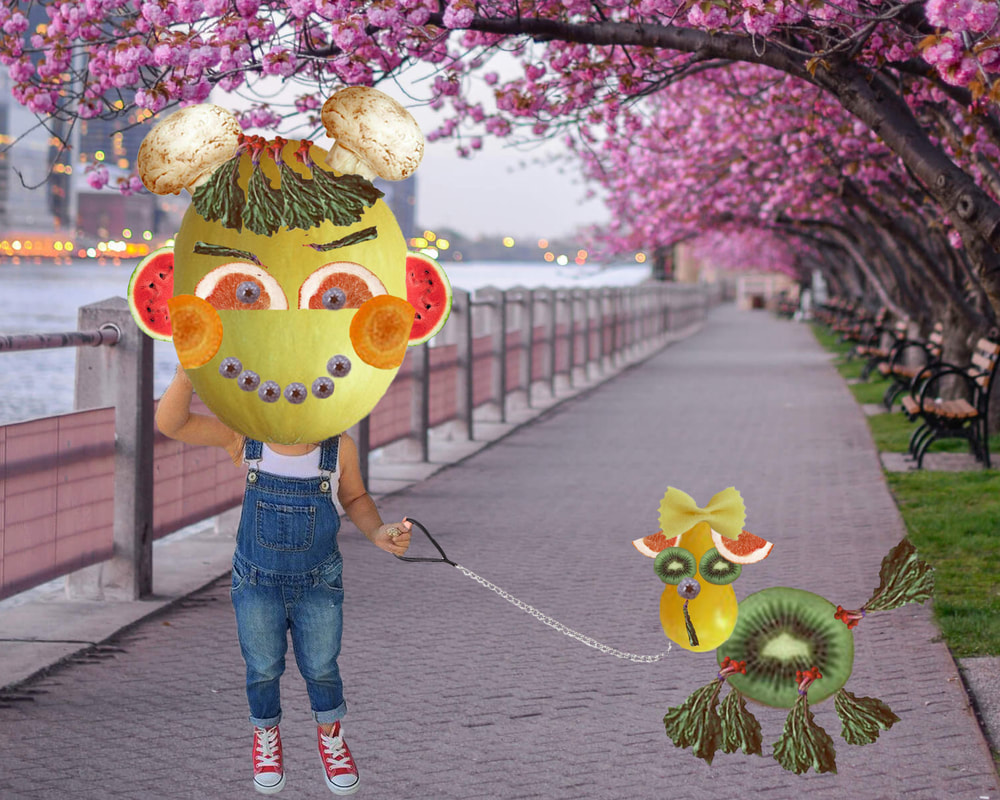
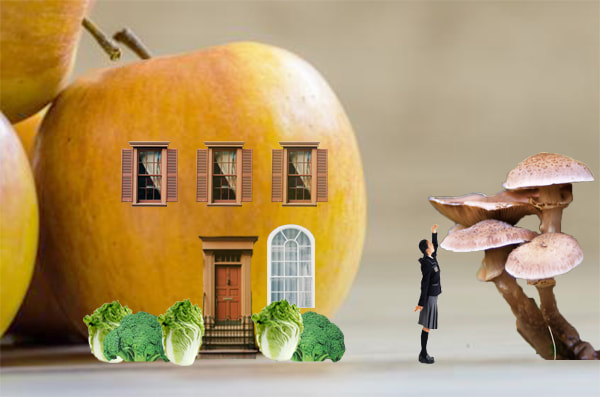
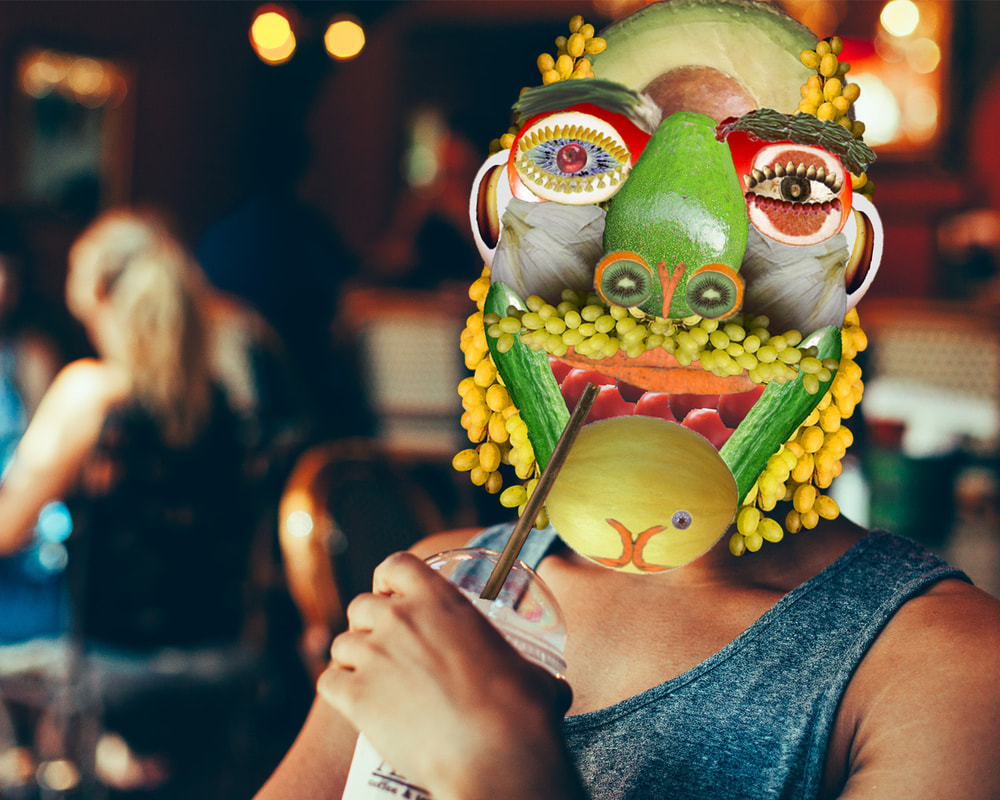
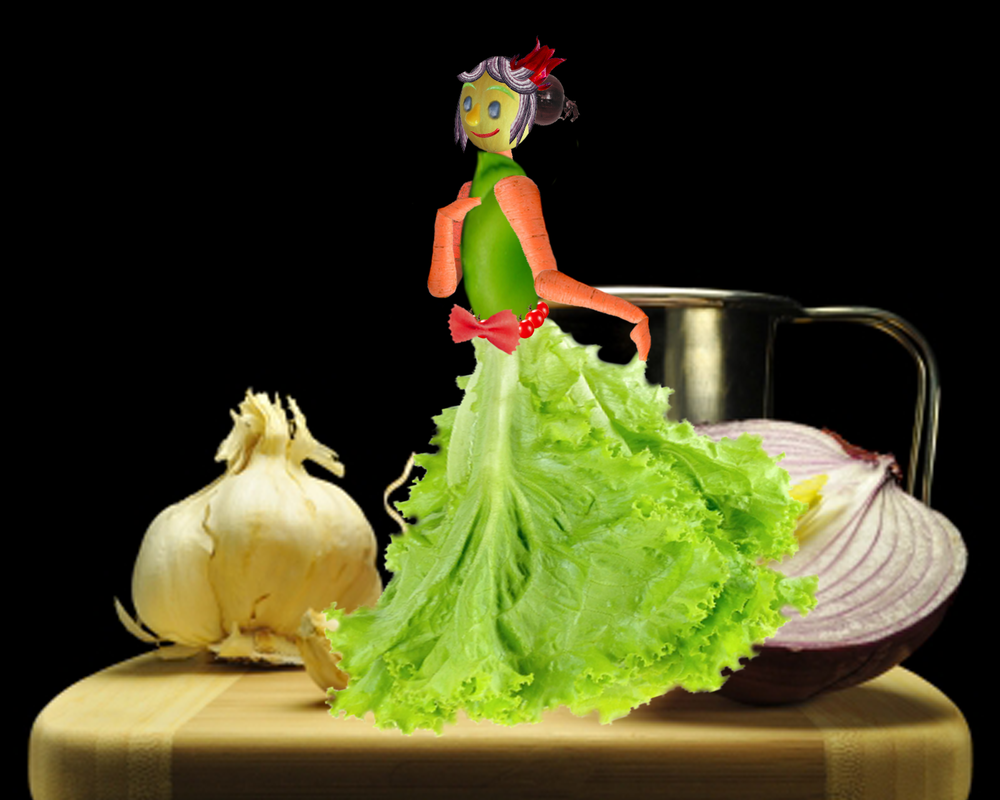
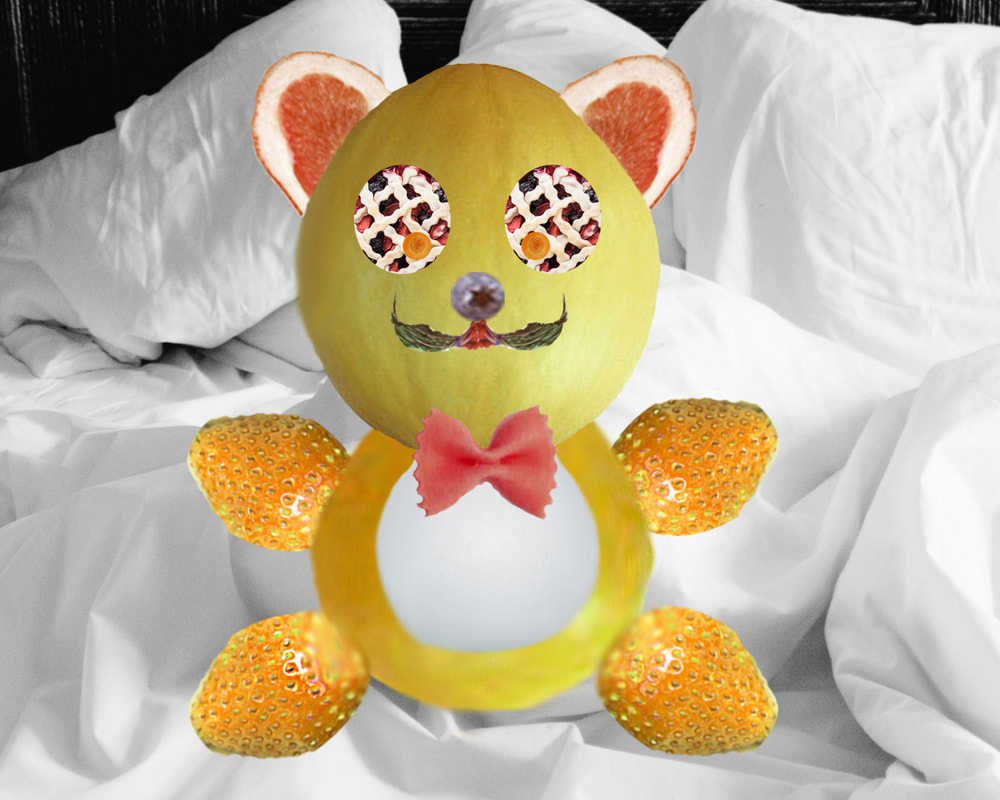
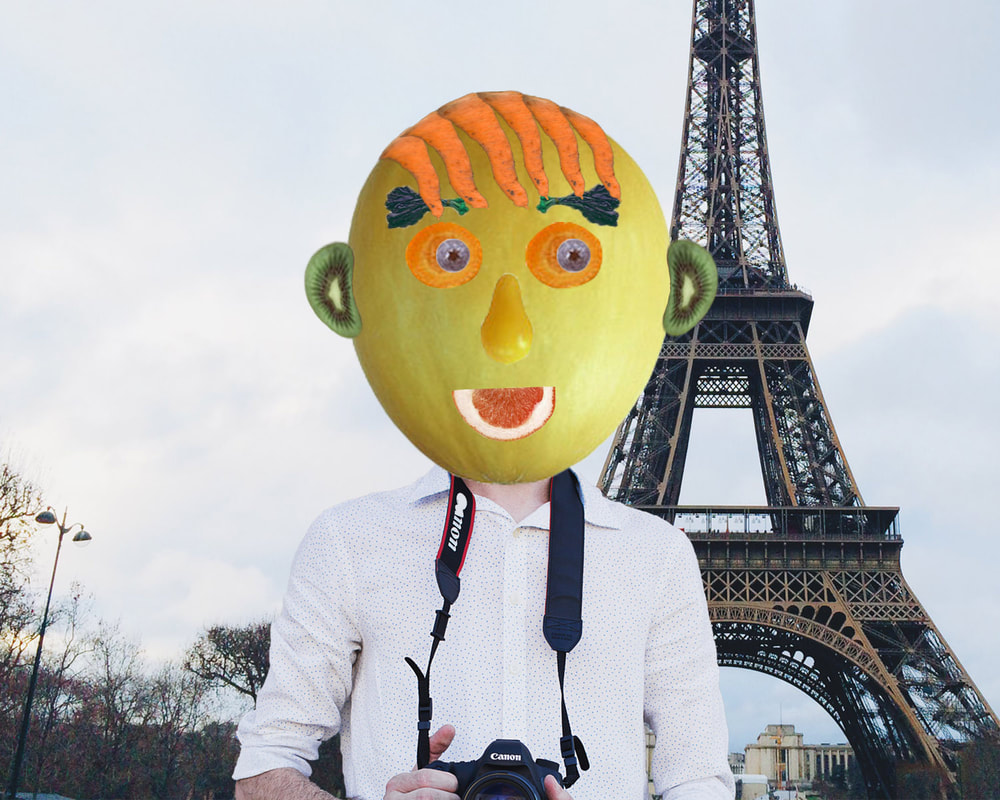
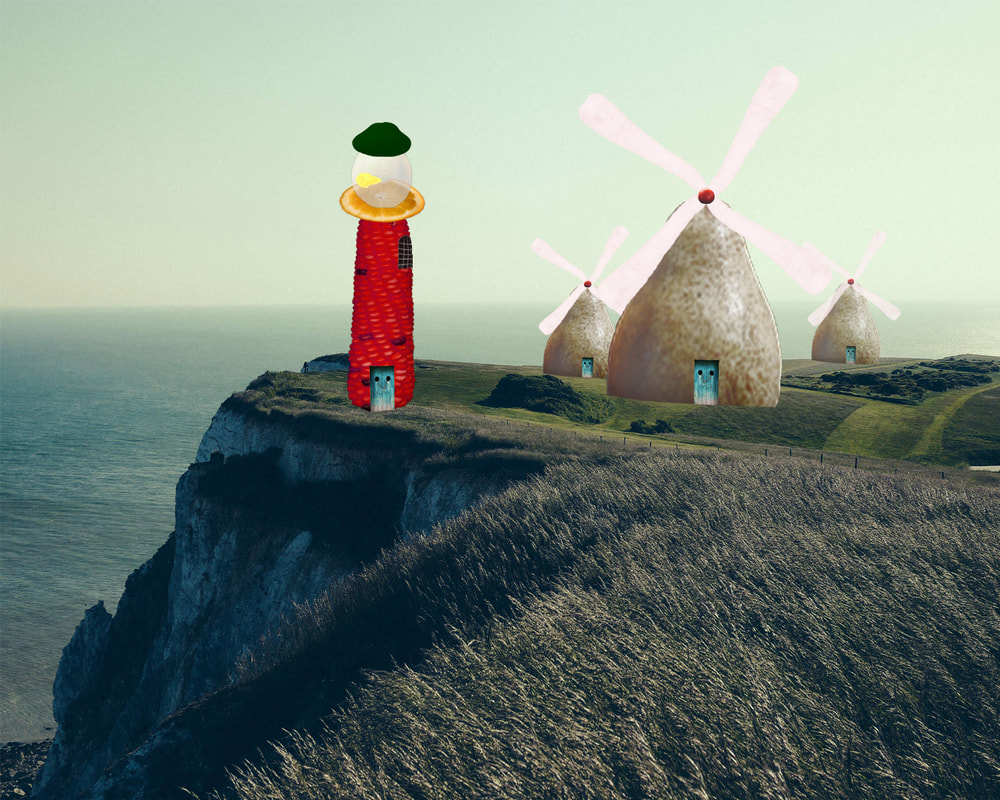
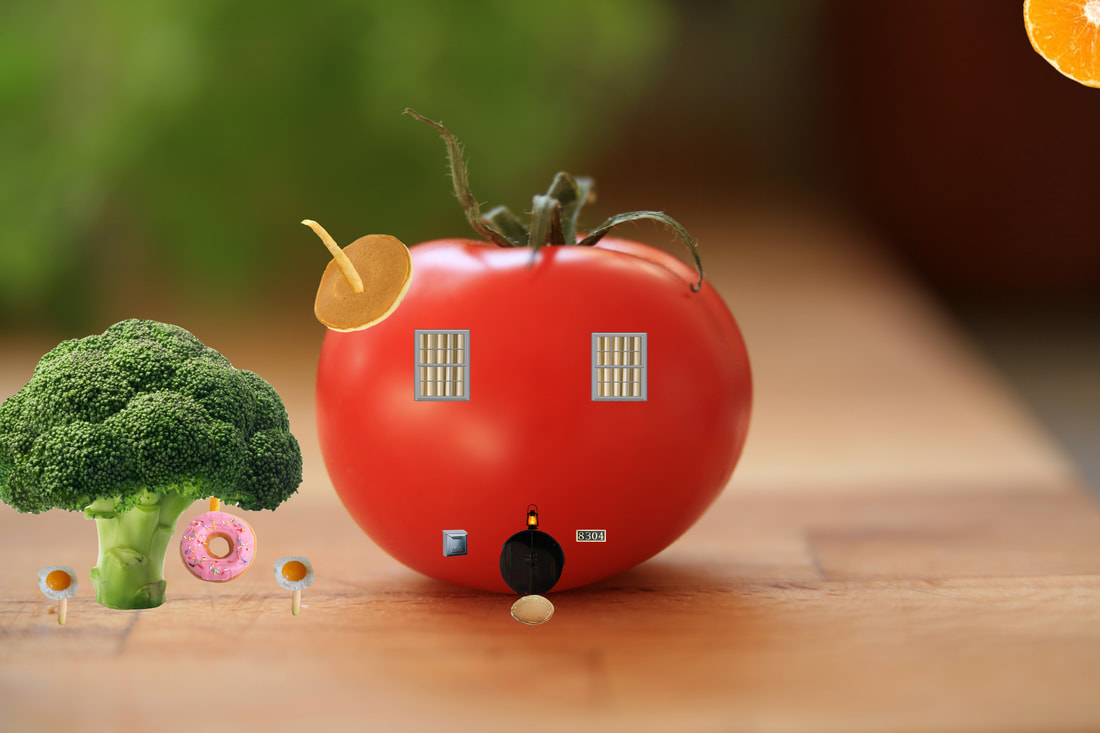
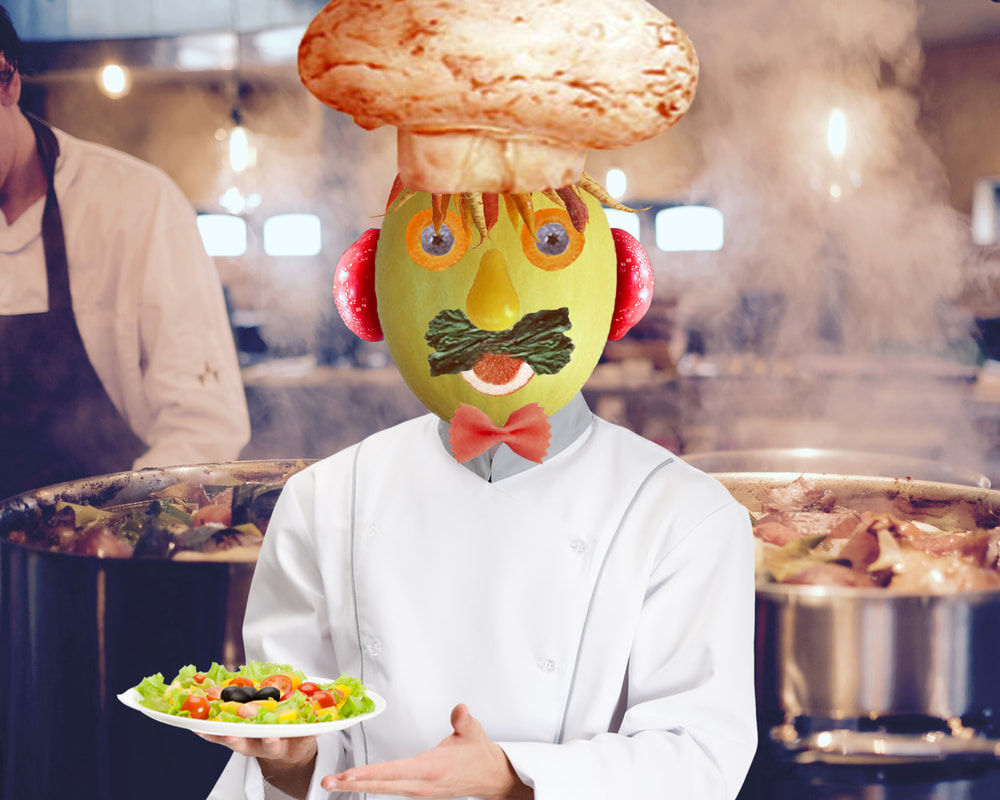
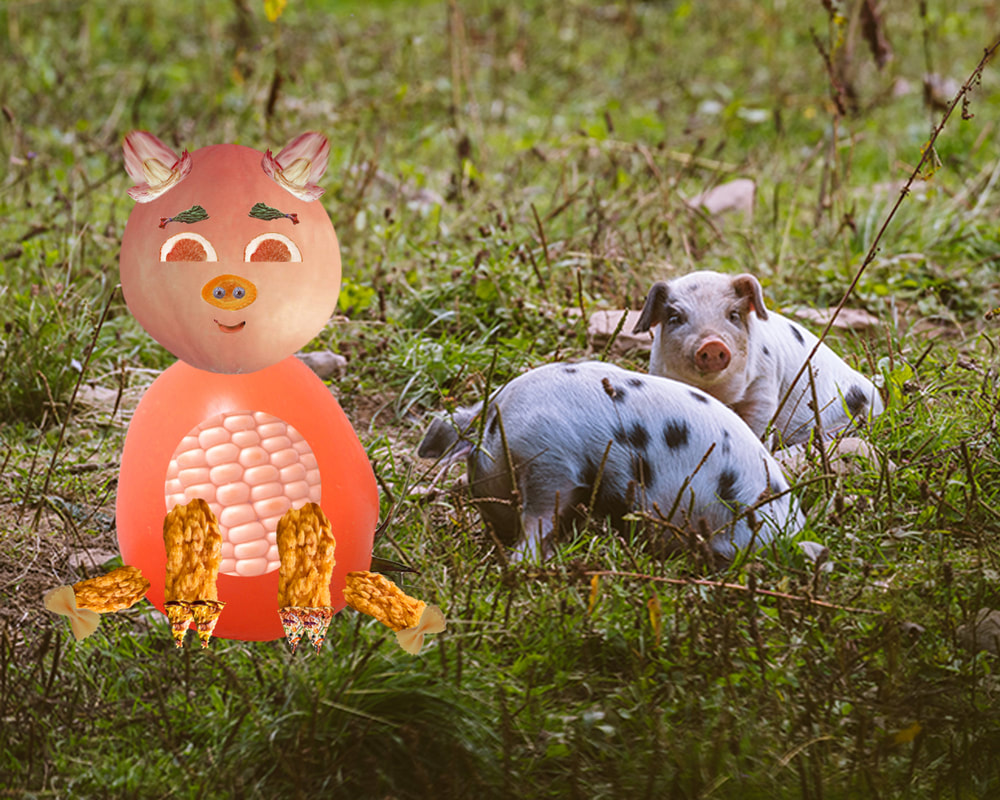
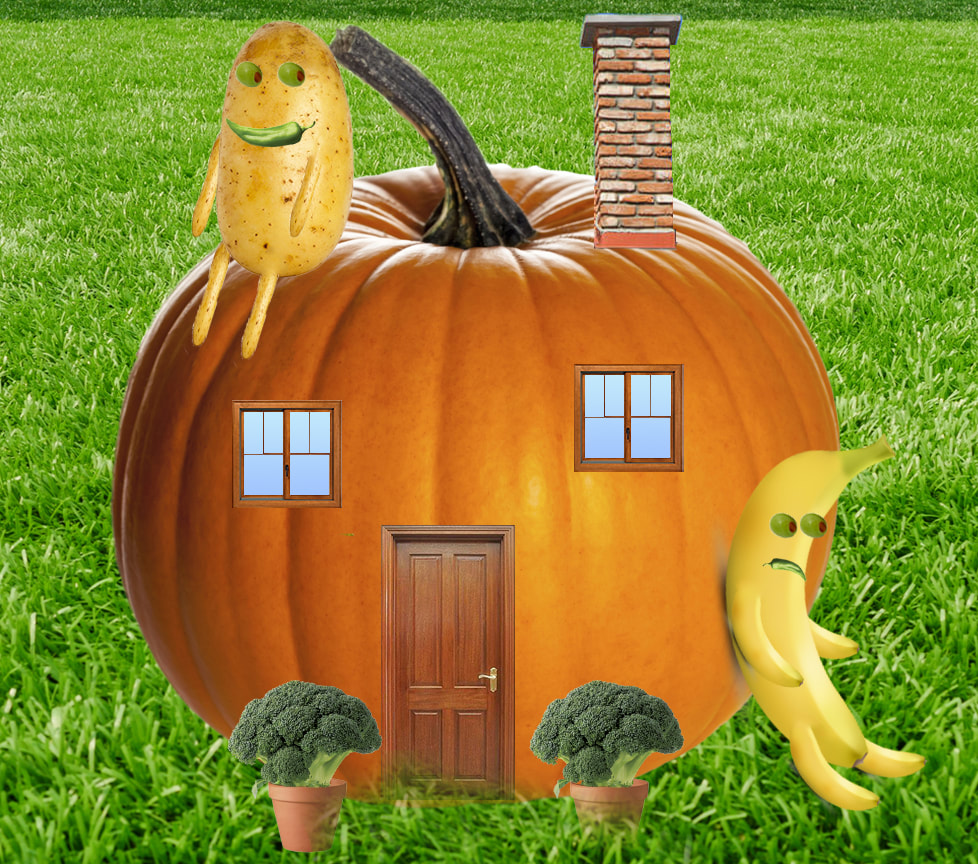
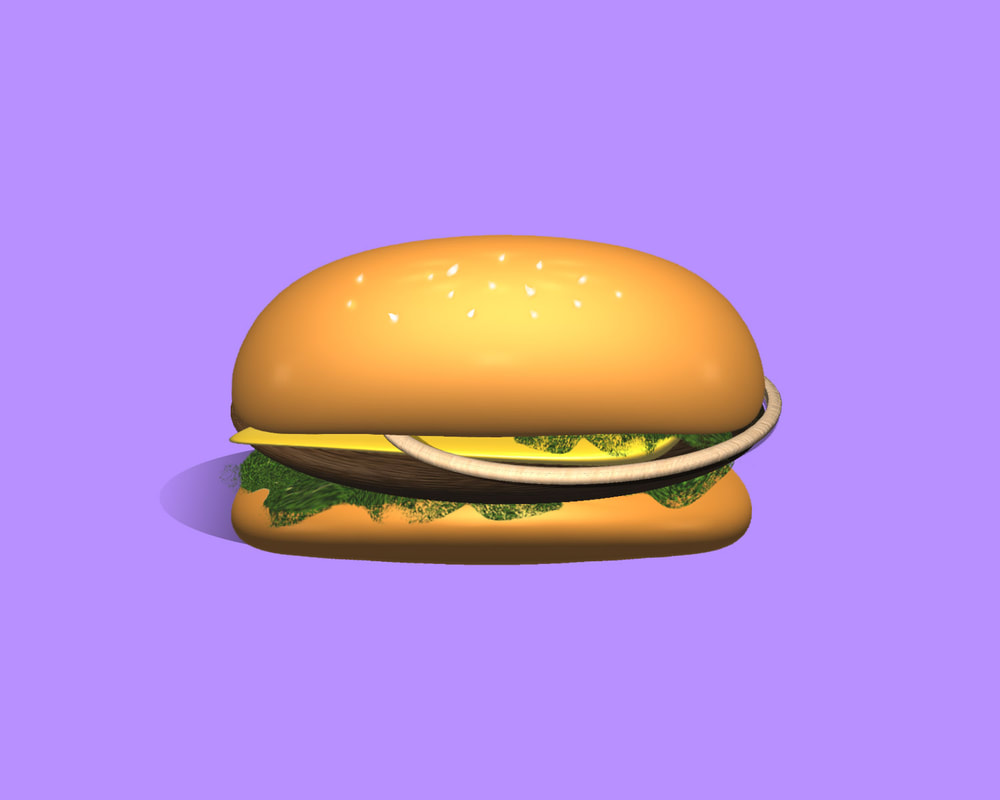
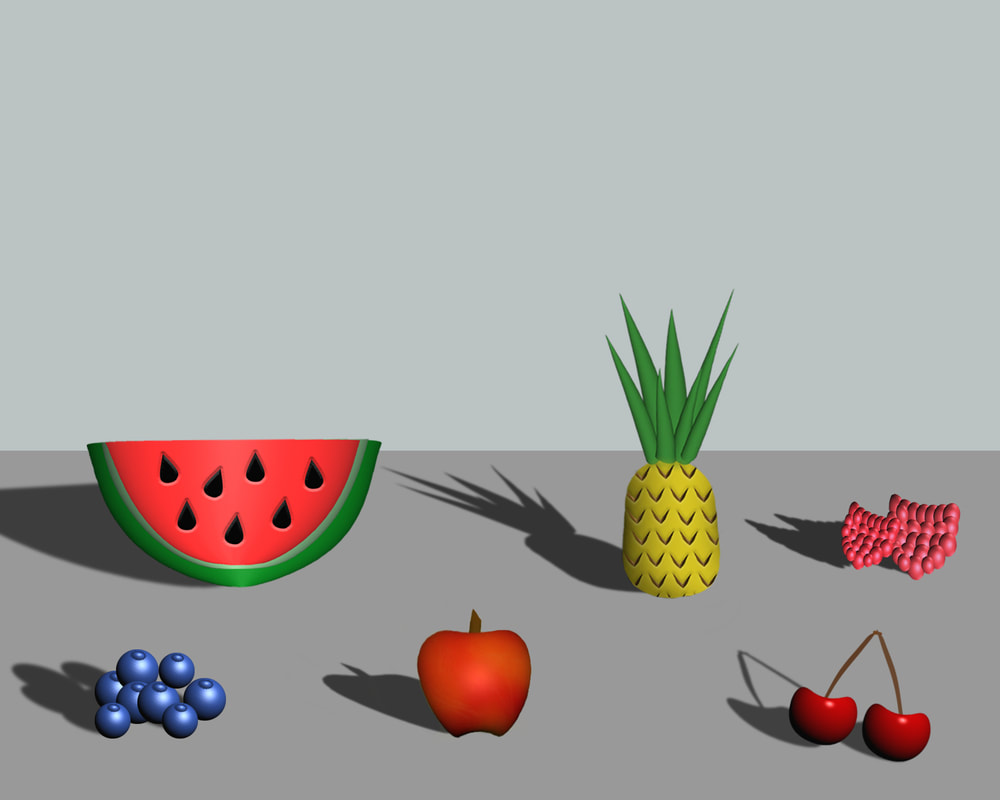
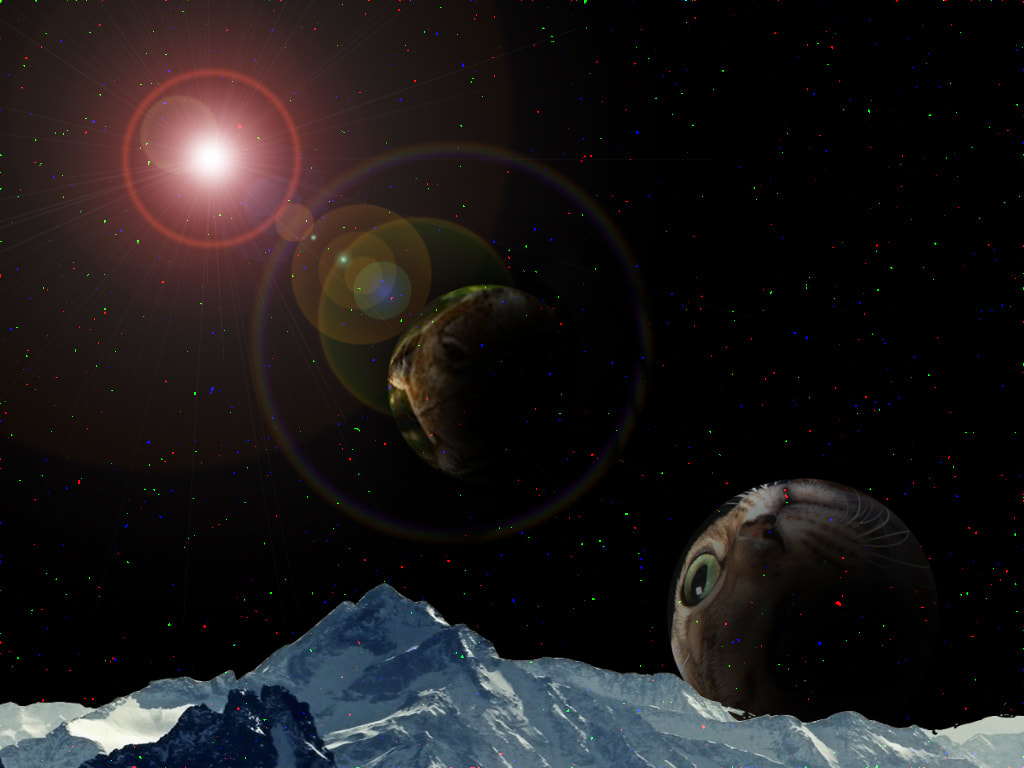
Photoshop Intro Assignment #1: Veggie Head or Edible Architecture
Create a face or a landscape and architecture by selecting individual vegetables and removing them from their backgrounds. Move them, duplicate them etc.
Use this file to begin: Veggie.jpeg
Then add NEW fruits and vegetables by downloading stock photos from an approved stock photo site such as:
stocksnap.io (high resolution)
unsplash.com (high resolution & cc)
negativespace.co (creative commons)
lifeofpix.com (high res & cc)
Requirements:
Document size: 8x10" at 150 ppi
1) Clean selections:
•Remove images with selection
Tools, magic wand, eraser
2) Transformation of objects:
•Size/scale
•Hue/saturation
•Rotation
•Duplication
TITLE this document “your last name_veggie.psd” and save in your H drive and your GOOGLE drive and another cloud storage.
Resources for this assignment:
Photoshop Practice Assignment #1 WATCH the Veggie Head class Demos in Photoshop:
-Part #1
-Part #2
-Part #3 - adding stock photos and saving as a .jpeg
-Part #4
Veggie Head class Demos in Photopea:
-Part #1
-Part #2
Photoshop Tutorials:
-Selection Tools:
1) How to use the quick select tool
2) How to use the magnetic lasso
3) How to use the elliptical marquee tool
4) How to use the magic wand tool
5) How to transform selections
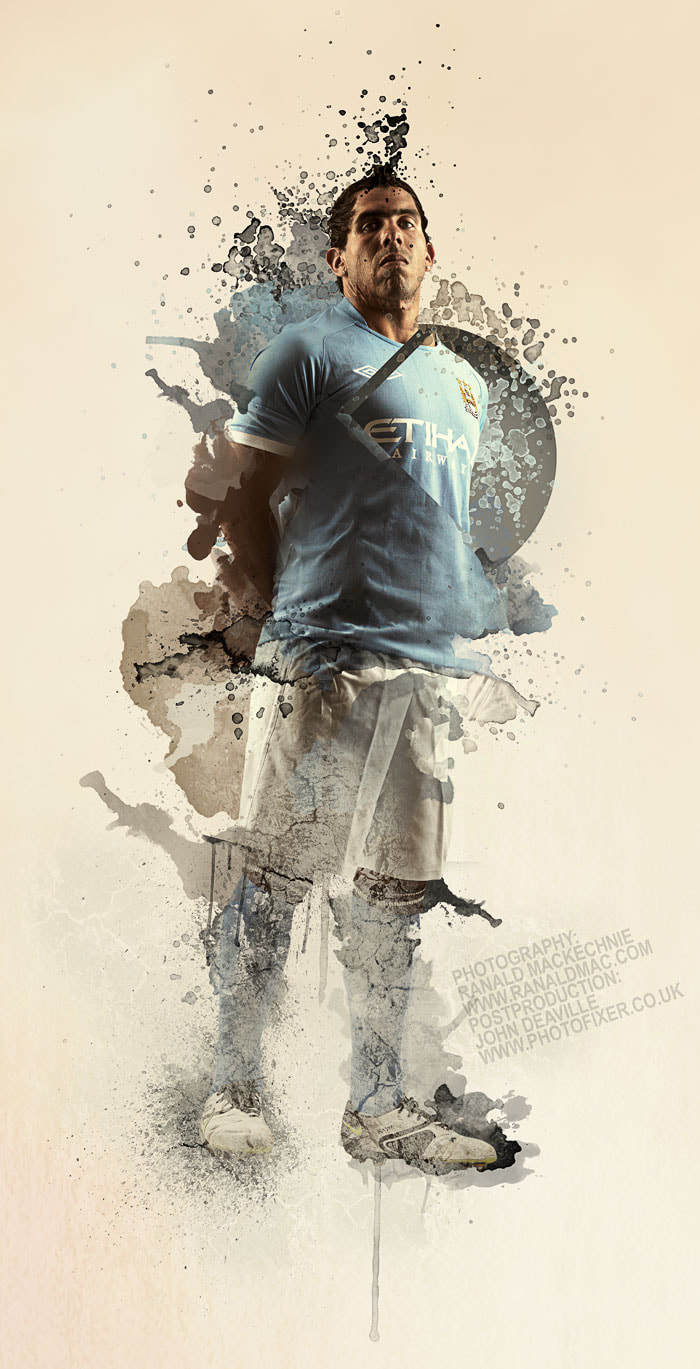
Student Examples


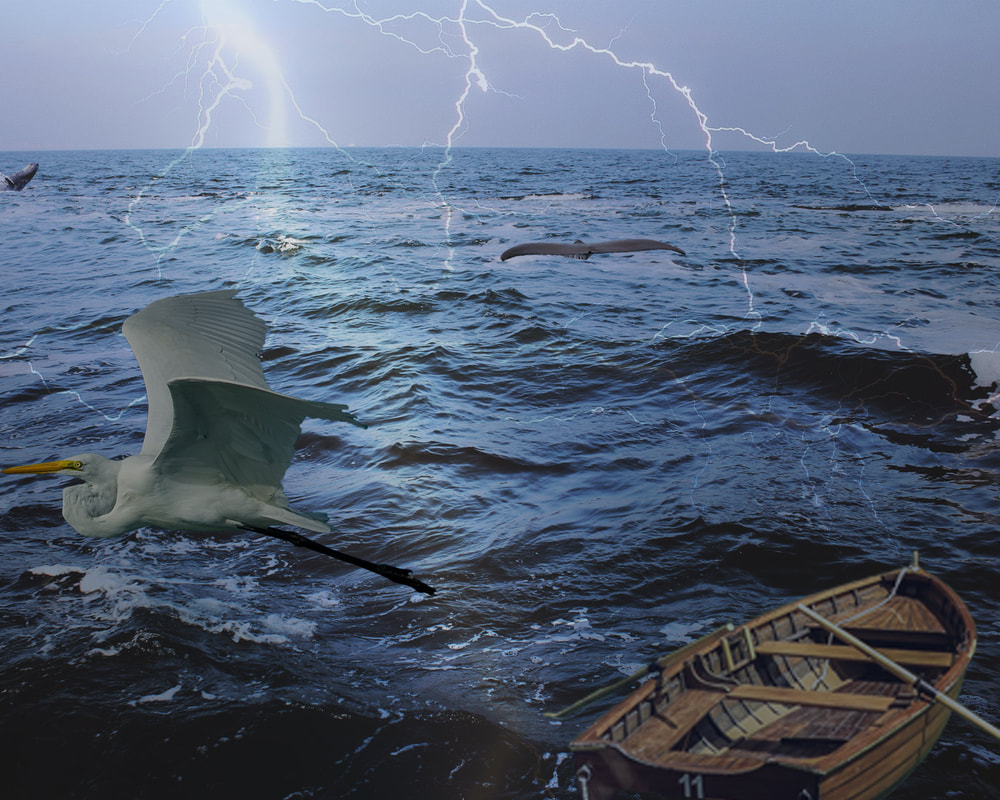
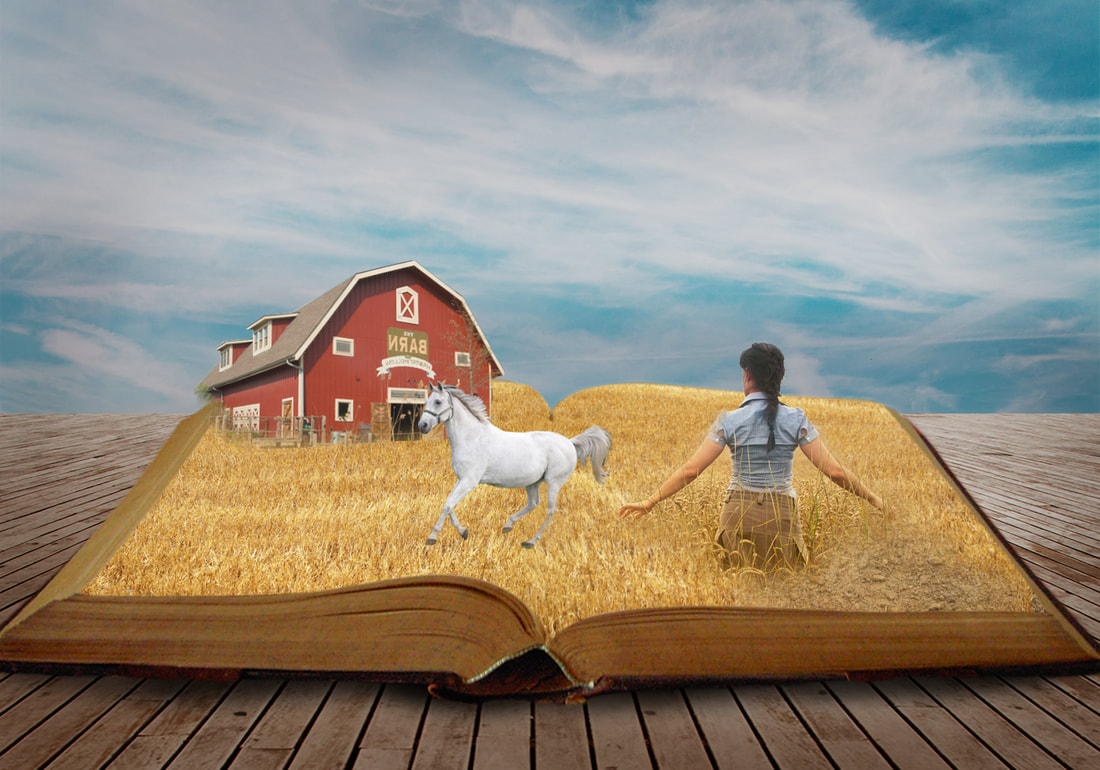
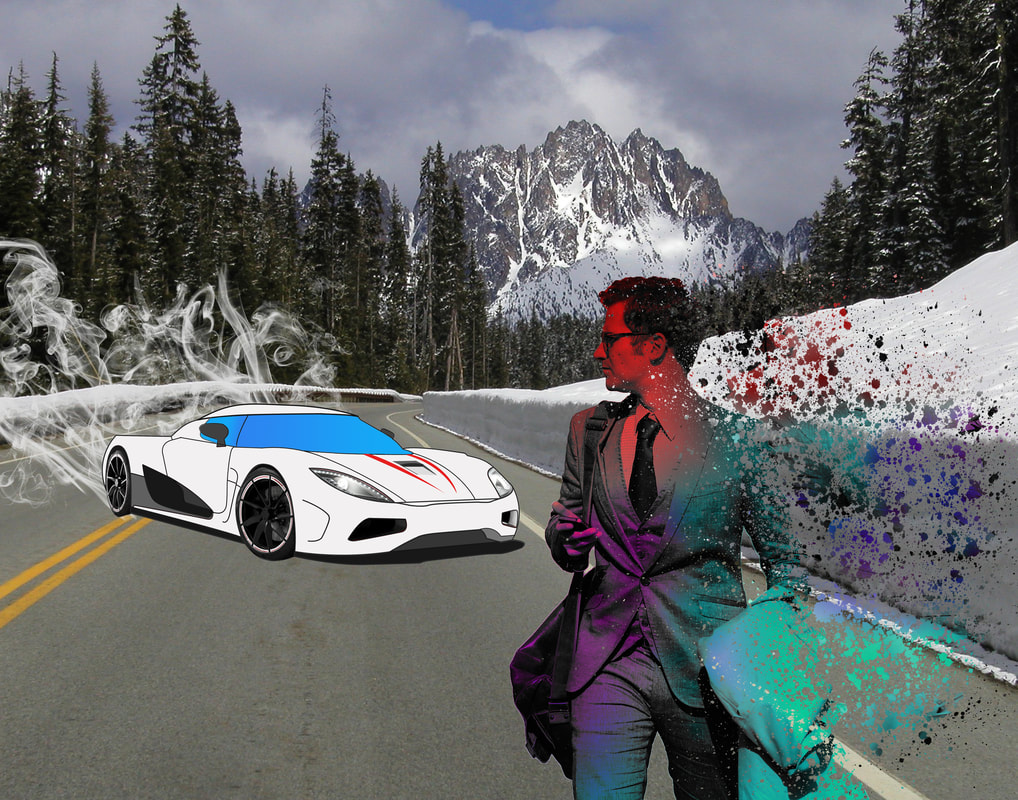
Original Photo Montage/Composite
Create your own original photo composite by blending 5 or more stock photos together seamlessly.
Requirements:
Resources:
Practice Photo Composite Class Demos in Photoshop:
Practice Photo Composite Demo Part 1
Practice Photo Composite Demo Part 2
Practice Photo Composite Demo Part 3
Photo Composite Demo in Photopea (there is voice over):
-Part 1
-Part 2
Stock Photo Sites:
stocksnap.io (high resolution)
unsplash.com (high resolution & cc)
negativespace.co (creative commons)
lifeofpix.com (high res & cc)
Requirements:
- Document size 8x10" at 150 ppi (dpi)
- Must have a unifying theme
- Use of 6 or more different images
- Transformation of objects in the following ways:
- • Size/scale
- • Hue/saturation
- • Rotation warp, distort, etc.
- • Opacity (in layers)
- *Must have a background image.
- Use layer blending modes (like blending in the lightning)
- Include cast shadows for objects
- Use of 6 more high resolution stock photos
- TITLE the document “your last name_composite.psd”
- Later turn in as a .jpeg
Resources:
Practice Photo Composite Class Demos in Photoshop:
Practice Photo Composite Demo Part 1
Practice Photo Composite Demo Part 2
Practice Photo Composite Demo Part 3
Photo Composite Demo in Photopea (there is voice over):
-Part 1
-Part 2
Stock Photo Sites:
stocksnap.io (high resolution)
unsplash.com (high resolution & cc)
negativespace.co (creative commons)
lifeofpix.com (high res & cc)


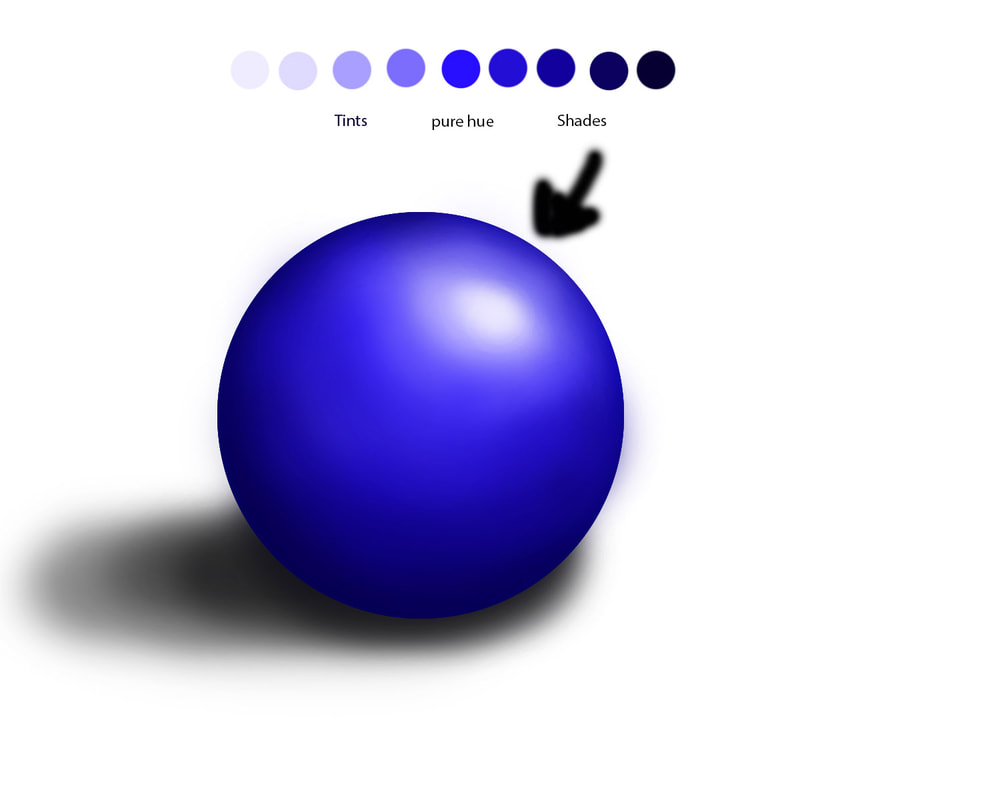
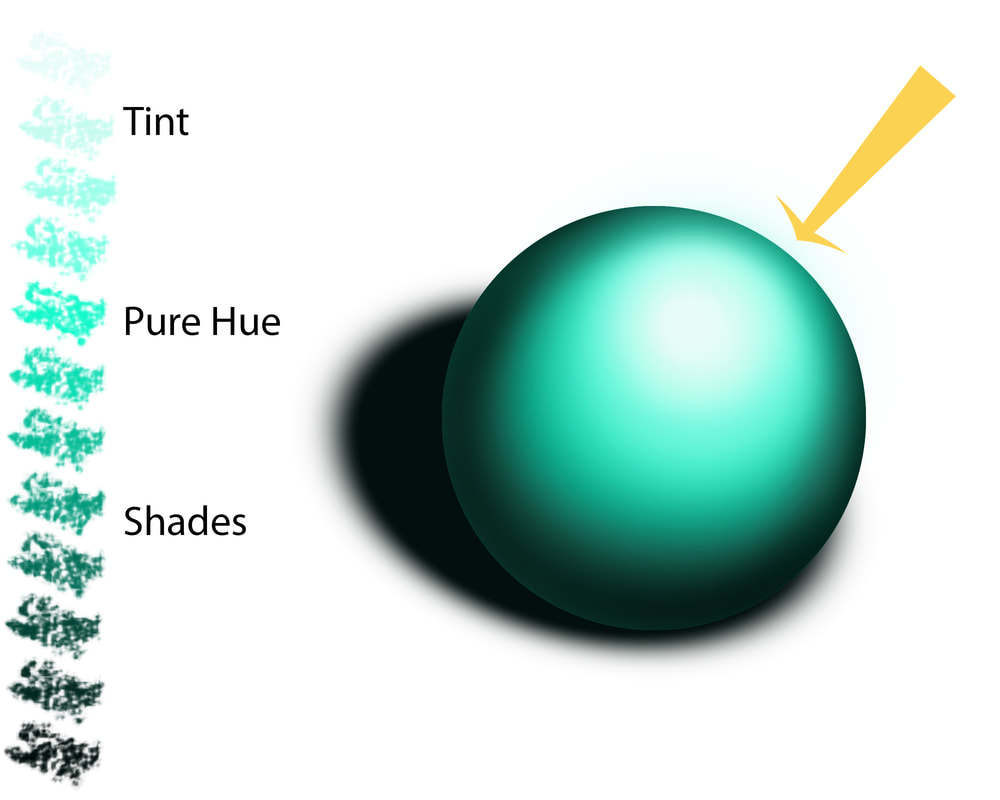
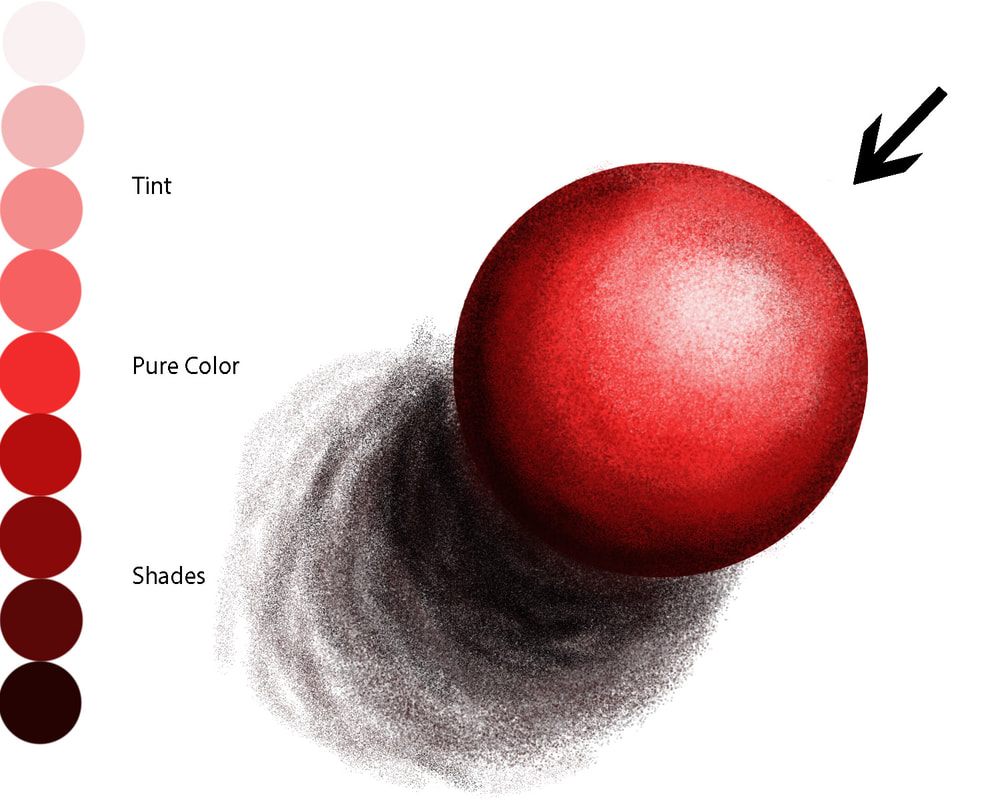
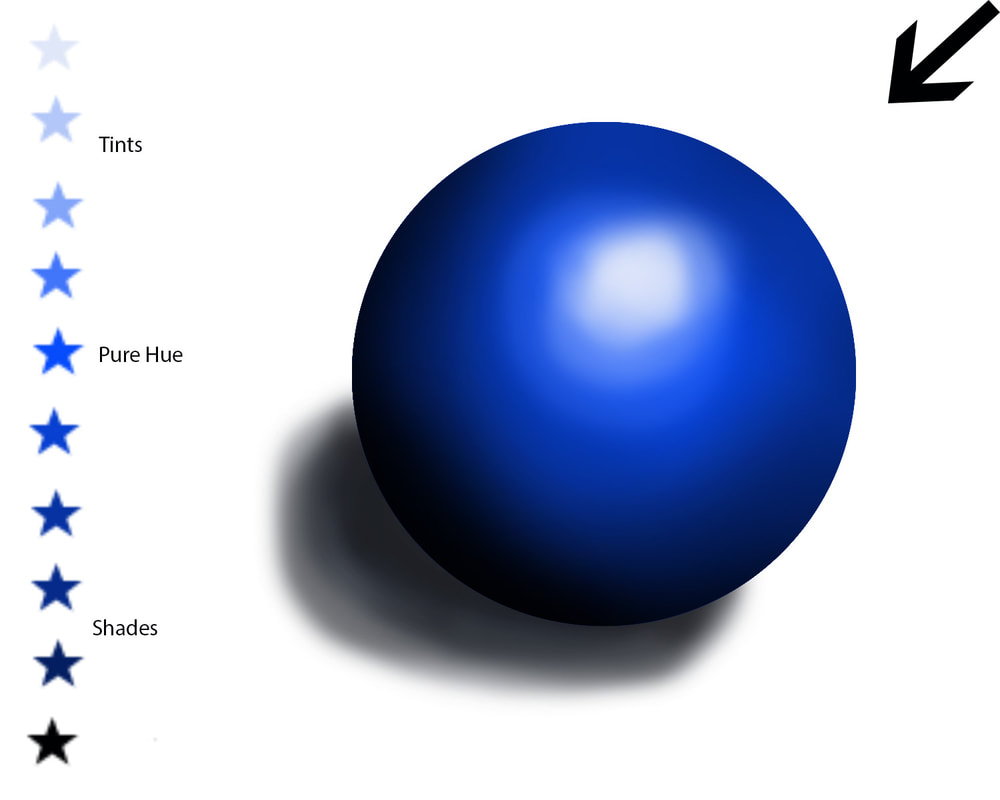
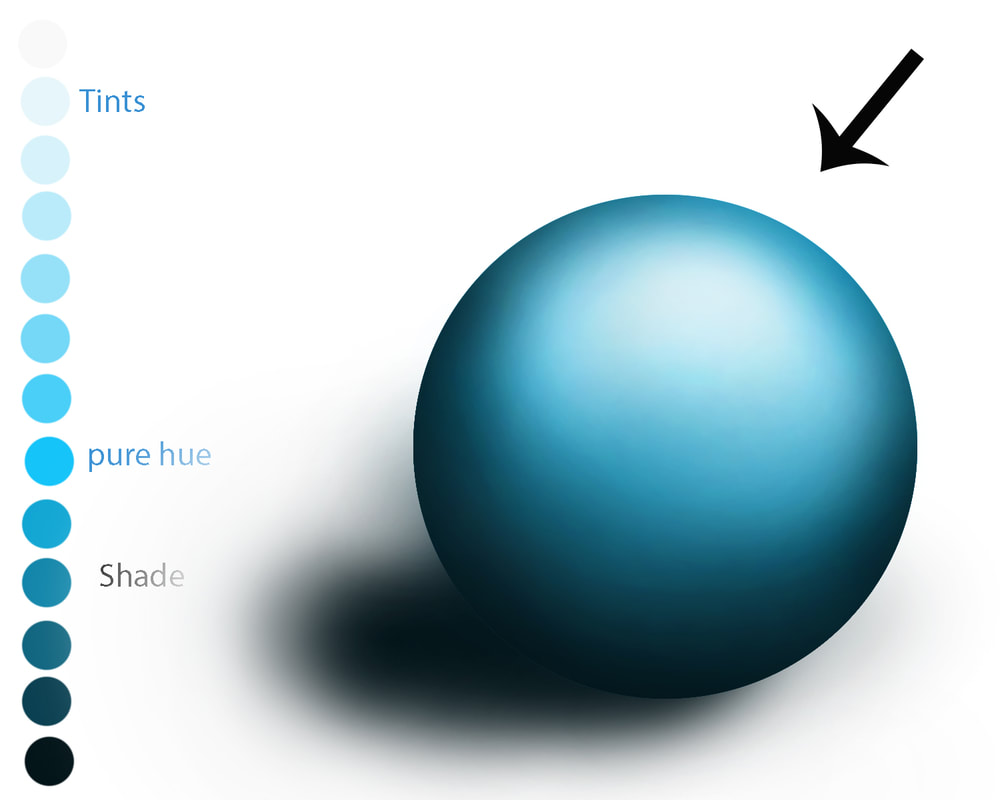
Painted 3D Sphere
Demonstrate mastery of the brush tool by painting a sphere in Photoshop.
Requirements:
-Document size 8x10" at 150 ppi
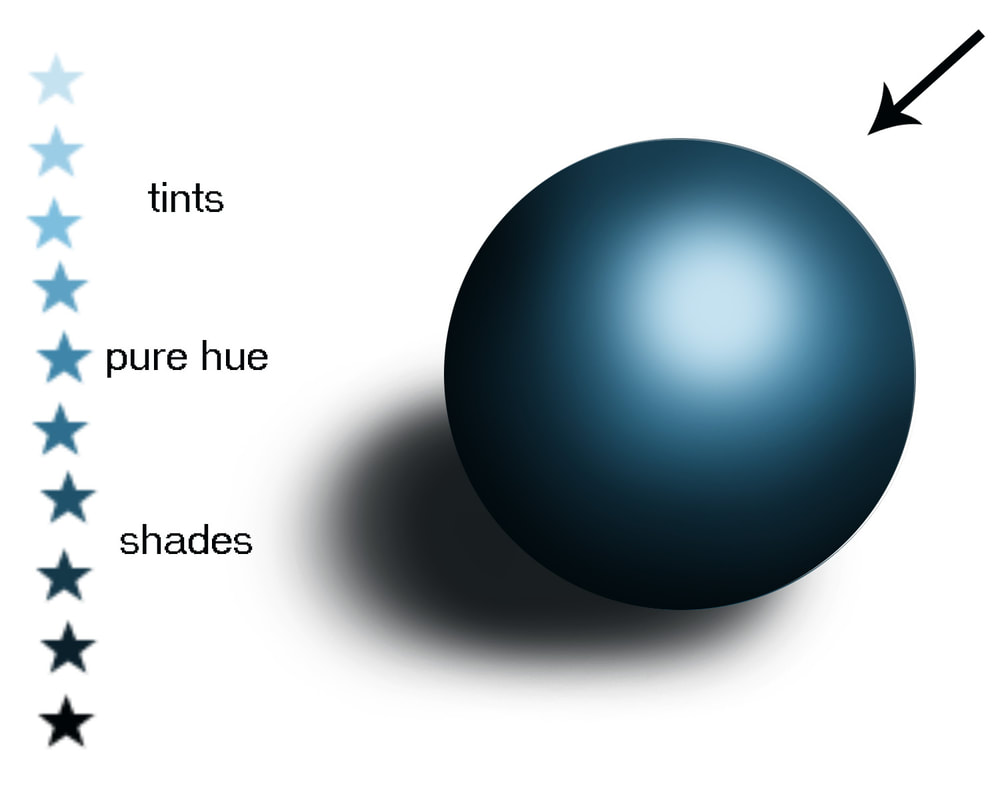
•Value Scale-9 different values: 4 tints, pure hue, 4 shades.
•Realistic 3-D sphere in color, using the brush tool. Try using the wacom drawing tablet and stylus.
•Use of a range of VALUES to create 3-D Form.
(include highlight, gradation of value, reflected light, and a cast shadow).
•Smooth blending of values with paintbrush tool.
-Include an arrow for the light source.
Title this document “your last name_sphere.psd” - save a .psd to your Google Drive.
Save as (export as) a .jpeg and turn into the Google Classroom.
Video Demo Digital Painting of Sphere in Photopea:
Part 1: Value Scale
Part 2: painting the Sphere
Video Demo Digital Painting of a Sphere in PHOTOSHOP:
Digital Painted Sphere Class Demo Part 1: Value Scale
Part 2: painting the sphere
NEWER VERSION: Digital Painted Sphere Class Demo Part 2: Sphere & Cast Shadow
Requirements:
-Document size 8x10" at 150 ppi
•Value Scale-9 different values: 4 tints, pure hue, 4 shades.
•Realistic 3-D sphere in color, using the brush tool. Try using the wacom drawing tablet and stylus.
•Use of a range of VALUES to create 3-D Form.
(include highlight, gradation of value, reflected light, and a cast shadow).
•Smooth blending of values with paintbrush tool.
-Include an arrow for the light source.
Title this document “your last name_sphere.psd” - save a .psd to your Google Drive.
Save as (export as) a .jpeg and turn into the Google Classroom.
Video Demo Digital Painting of Sphere in Photopea:
Part 1: Value Scale
Part 2: painting the Sphere
Video Demo Digital Painting of a Sphere in PHOTOSHOP:
Digital Painted Sphere Class Demo Part 1: Value Scale
Part 2: painting the sphere
NEWER VERSION: Digital Painted Sphere Class Demo Part 2: Sphere & Cast Shadow
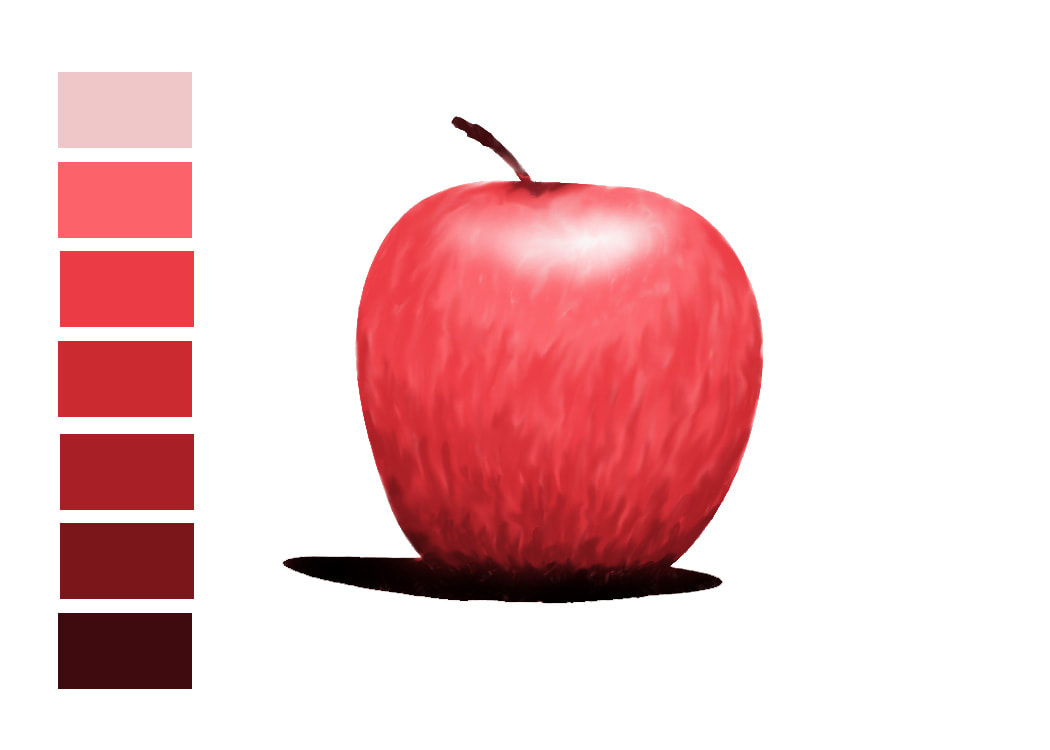
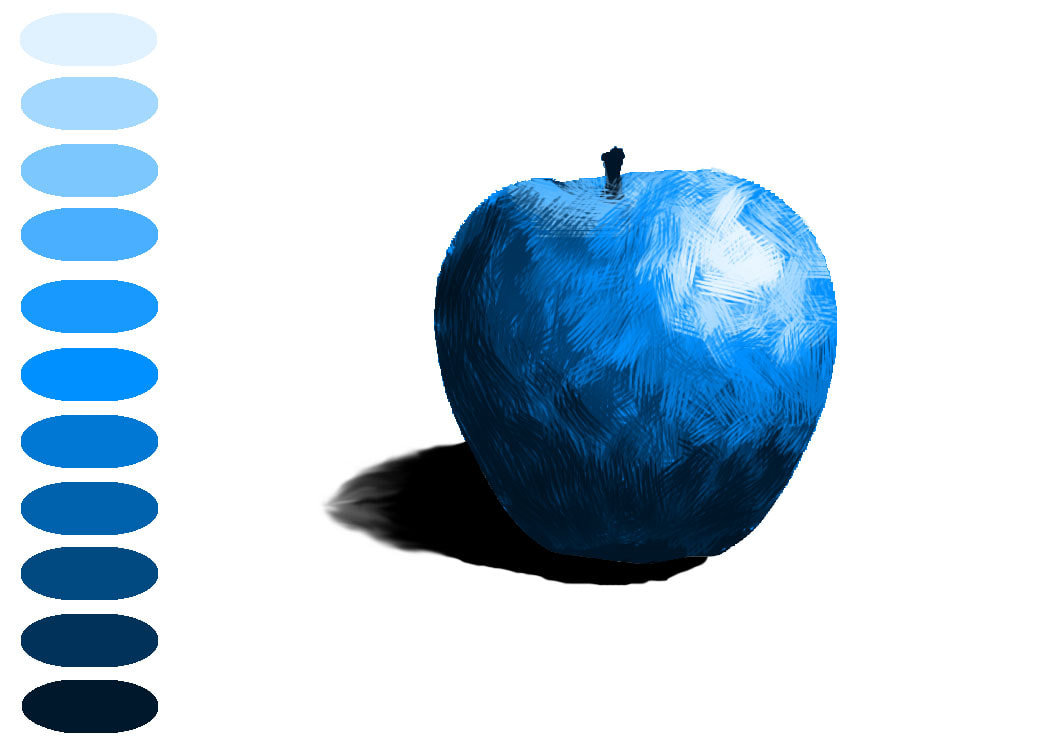
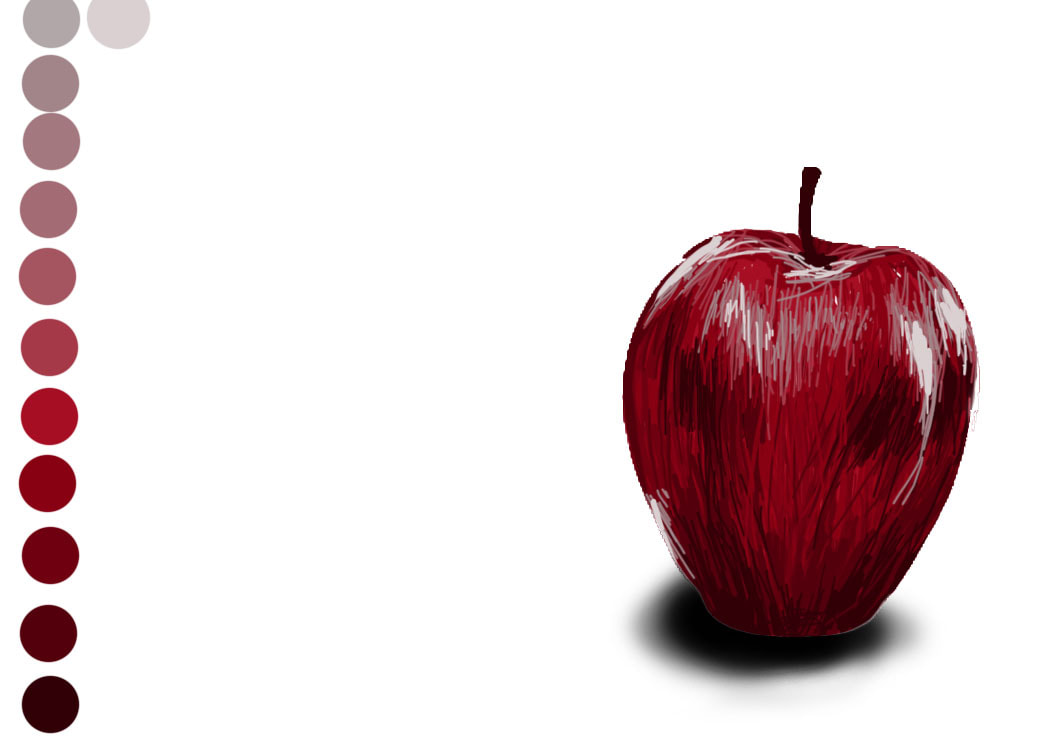
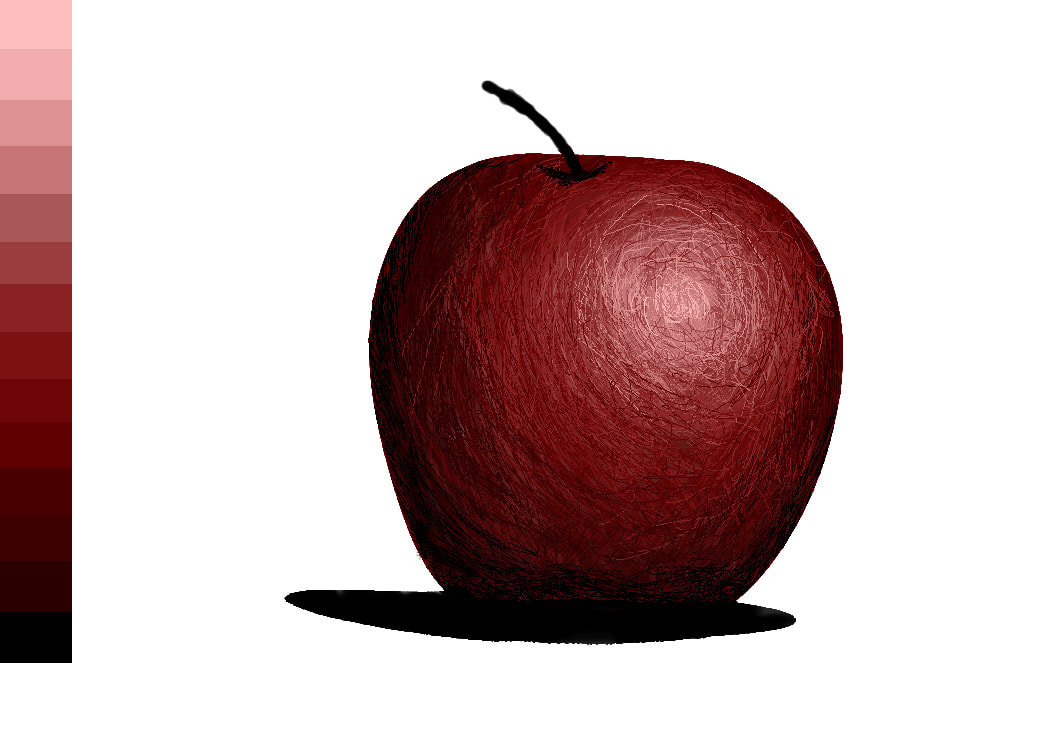
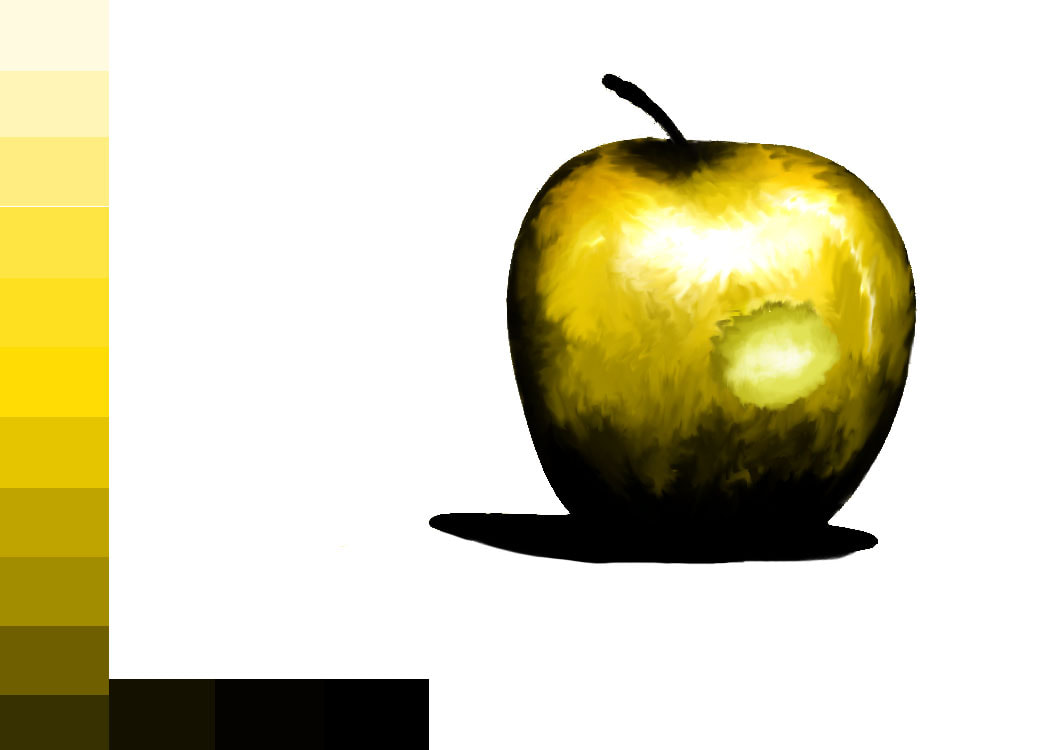
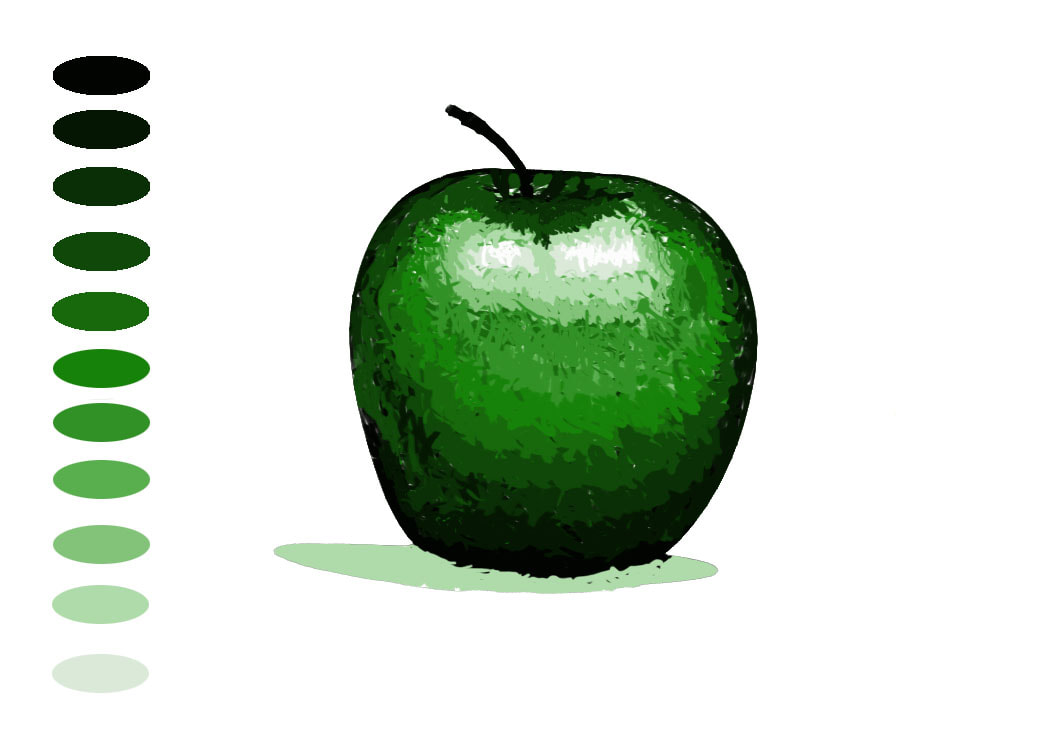
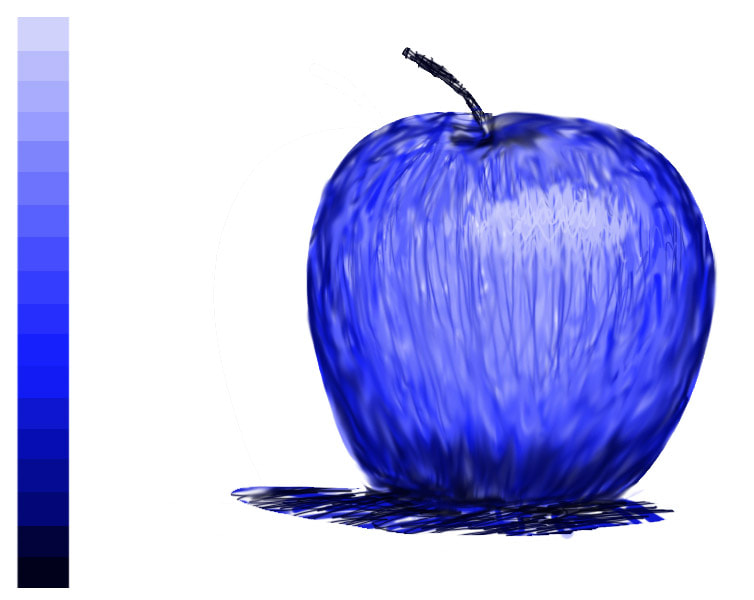
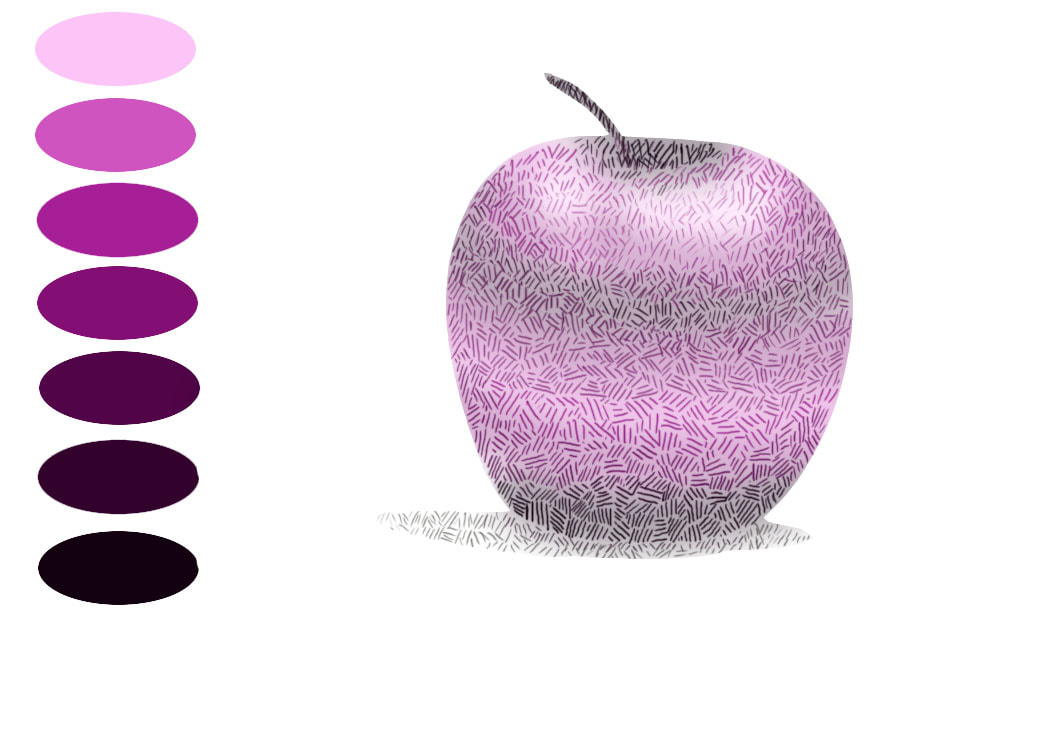
Digital Painted Apple
Demonstrate mastery of the brush tool by painting a sphere in Photoshop.
Requirements:
APPLE JPEG to use as a template
-Document size 8x10" at 150 ppi
•Value Scale-9 different values: 4 tints, pure hue, 4 shades.
•Realistic 3-D APPLE in color, using the brush tools. Try using the wacom drawing tablet and stylus.
•Use of a range of VALUES to create 3-D Form.
(include highlight, gradation of value, reflected light, and a cast shadow).
•Smooth blending of values with paintbrush tool.
-Include an arrow for the light source.
Title this document “your last name_apple.psd” - save a .psd to your Google Drive.
Save as (export as) a .jpeg and turn into the Google Classroom.
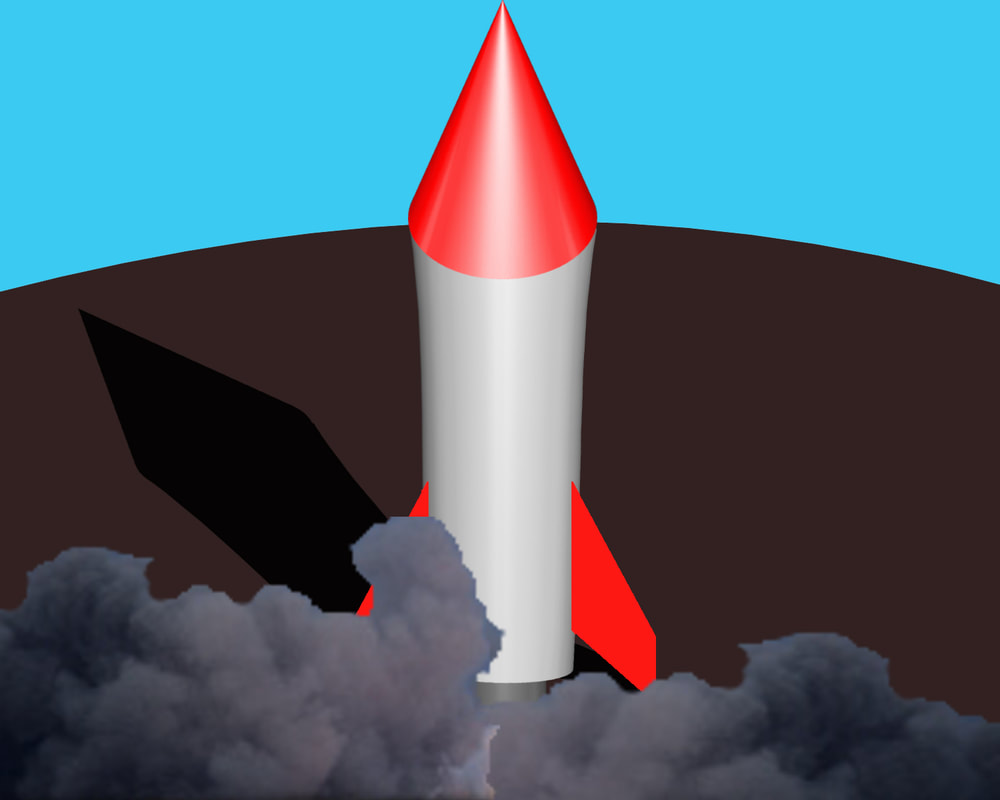
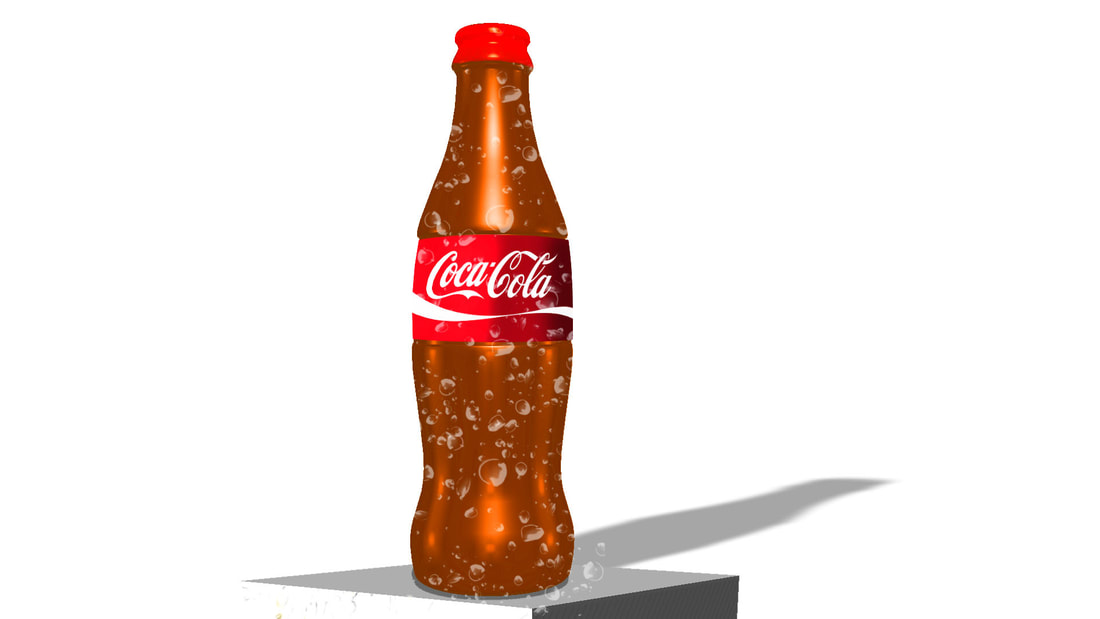
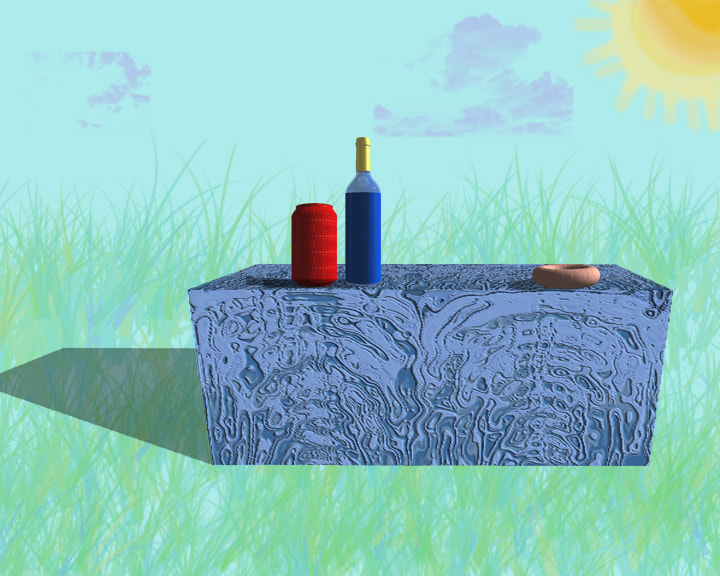
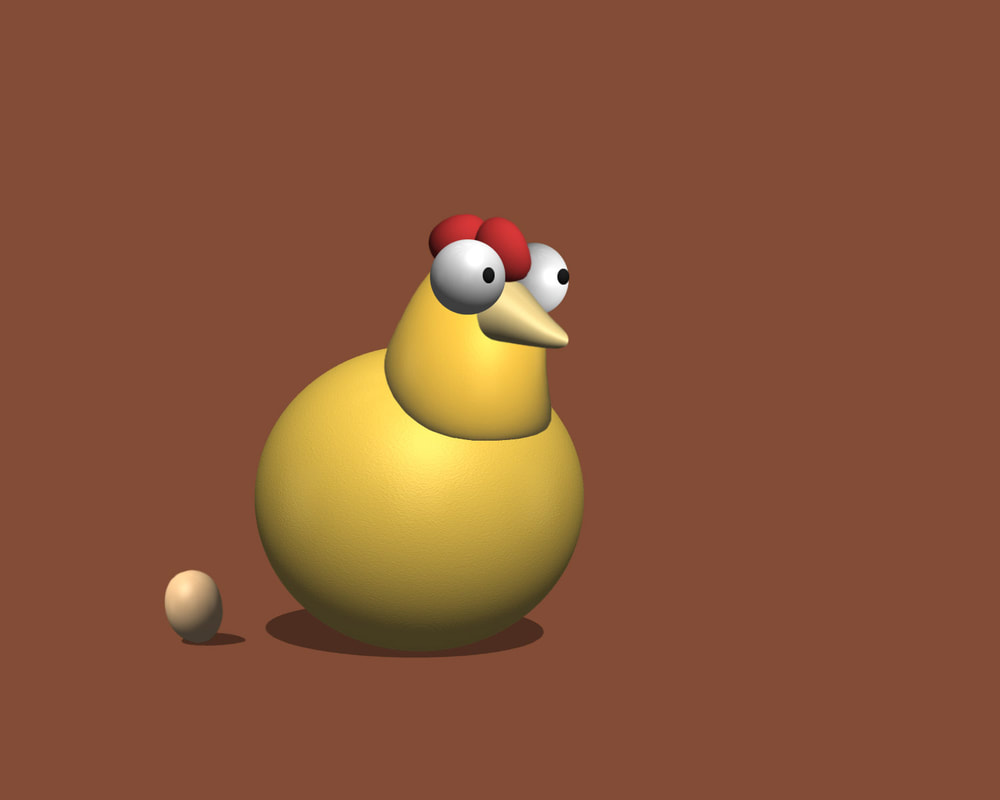
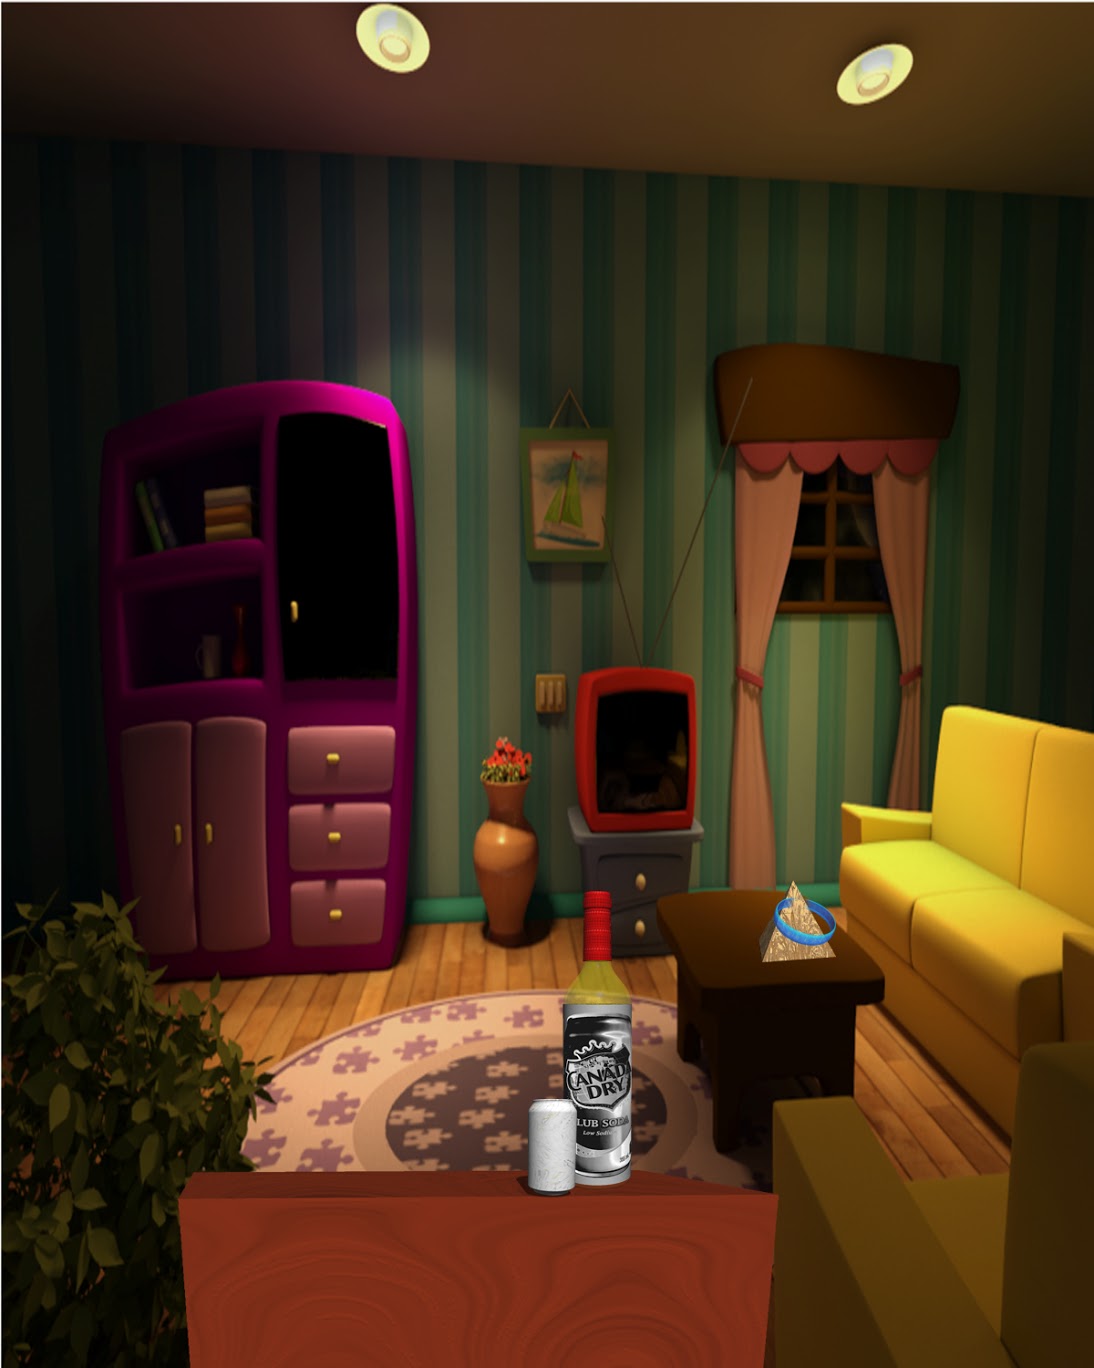
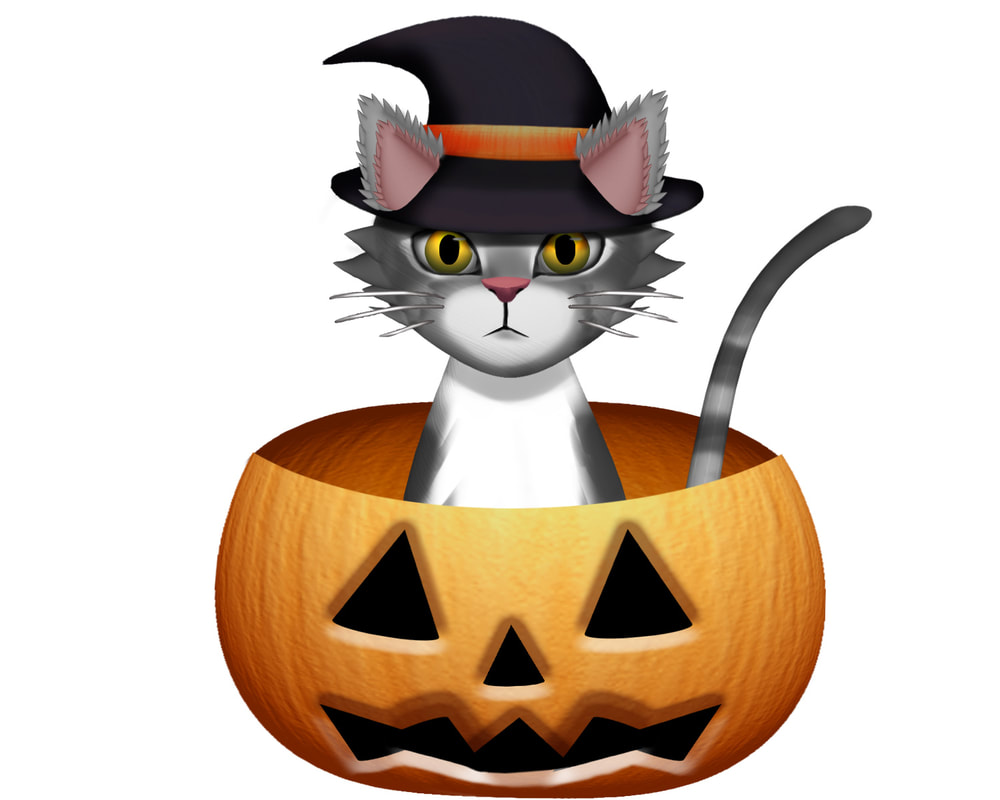
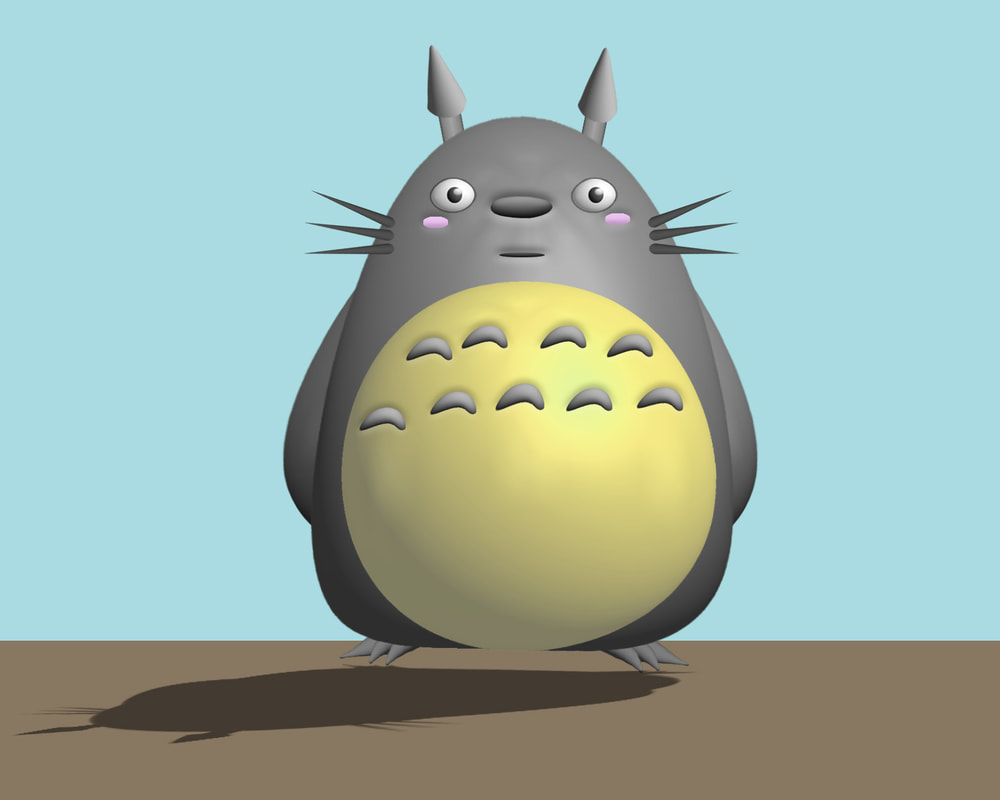
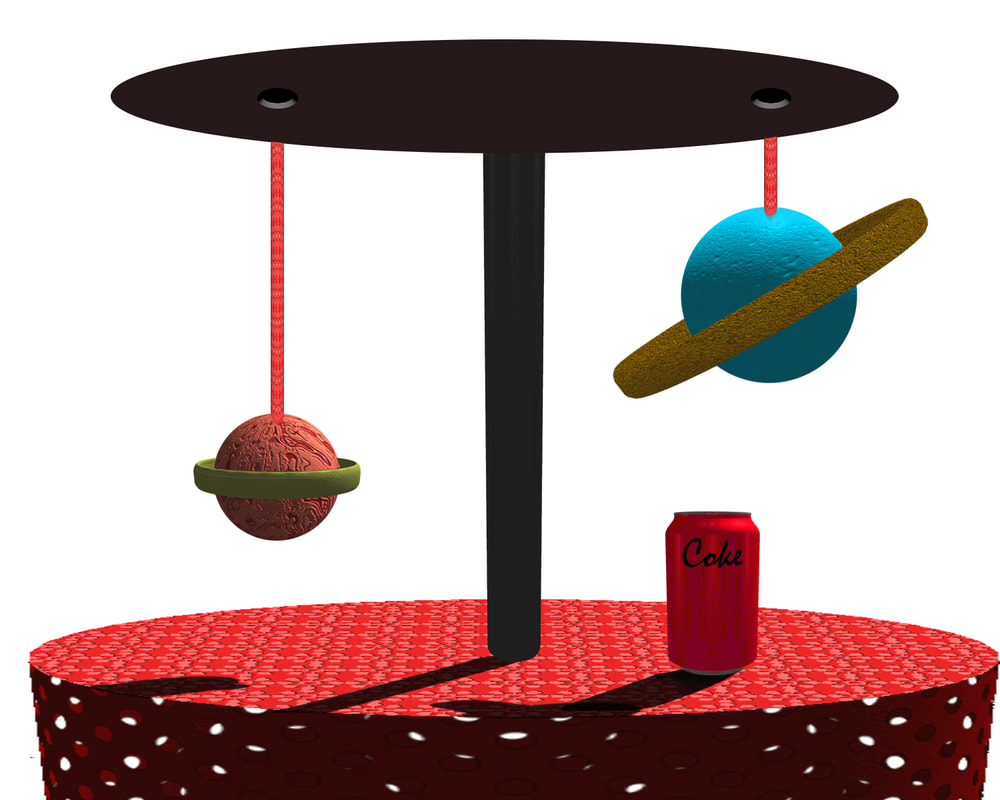
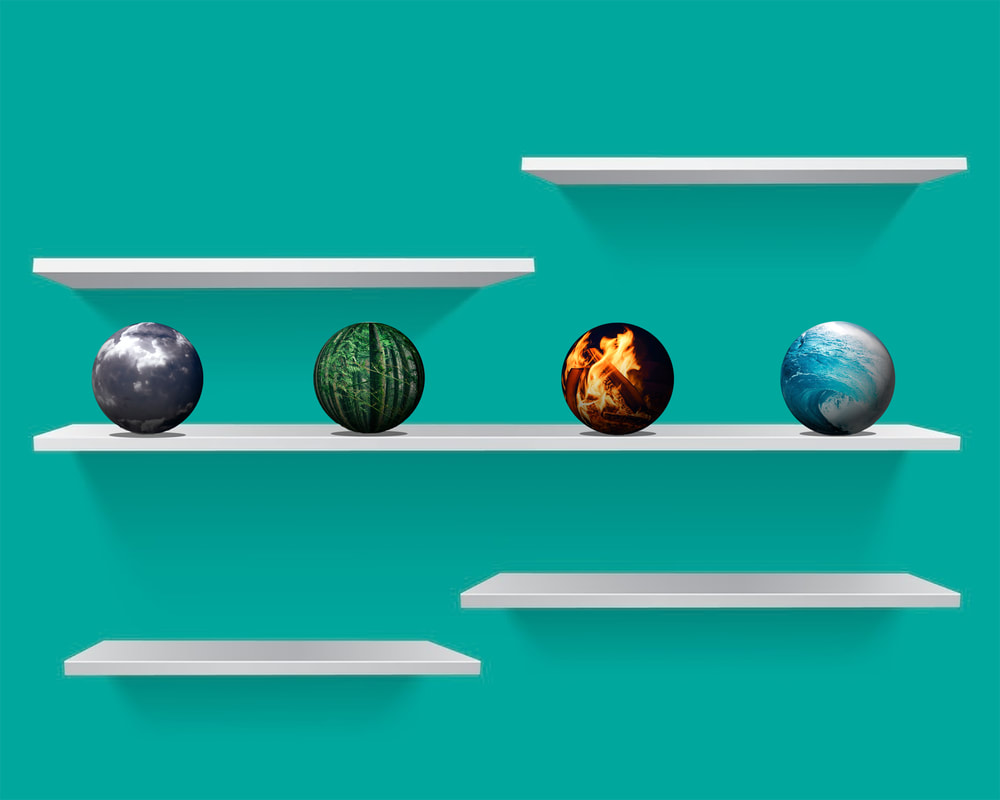
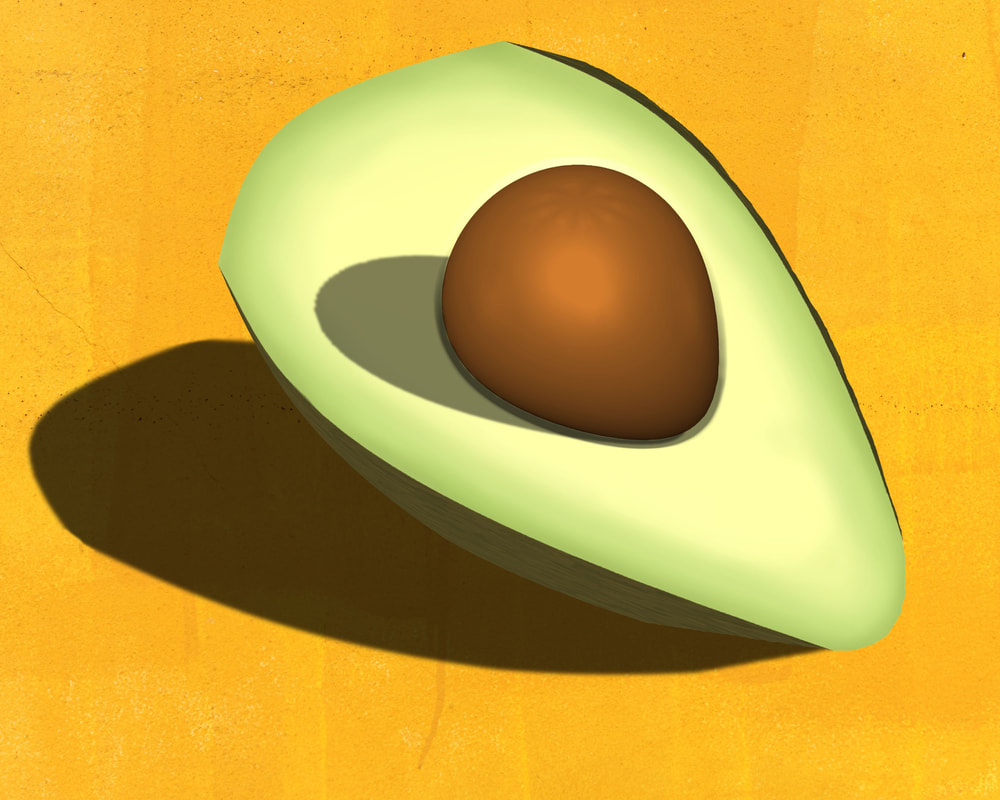
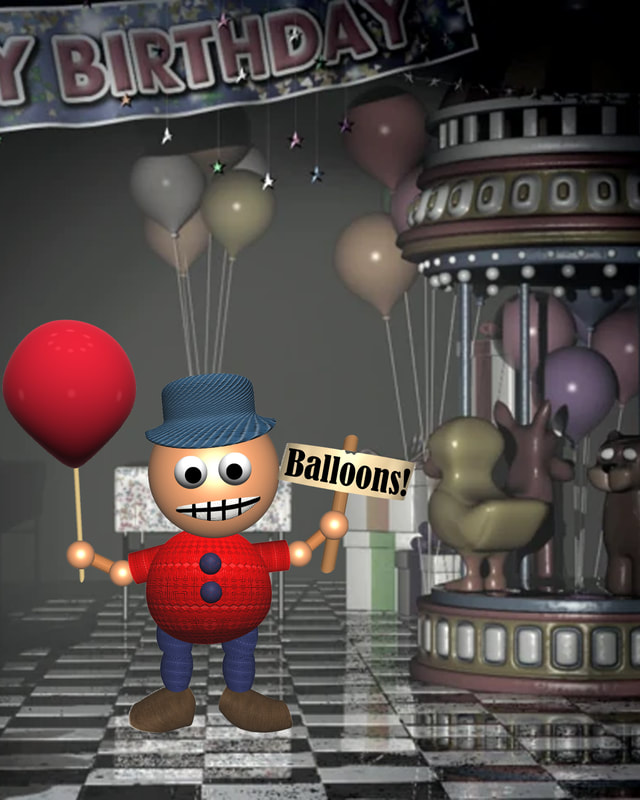
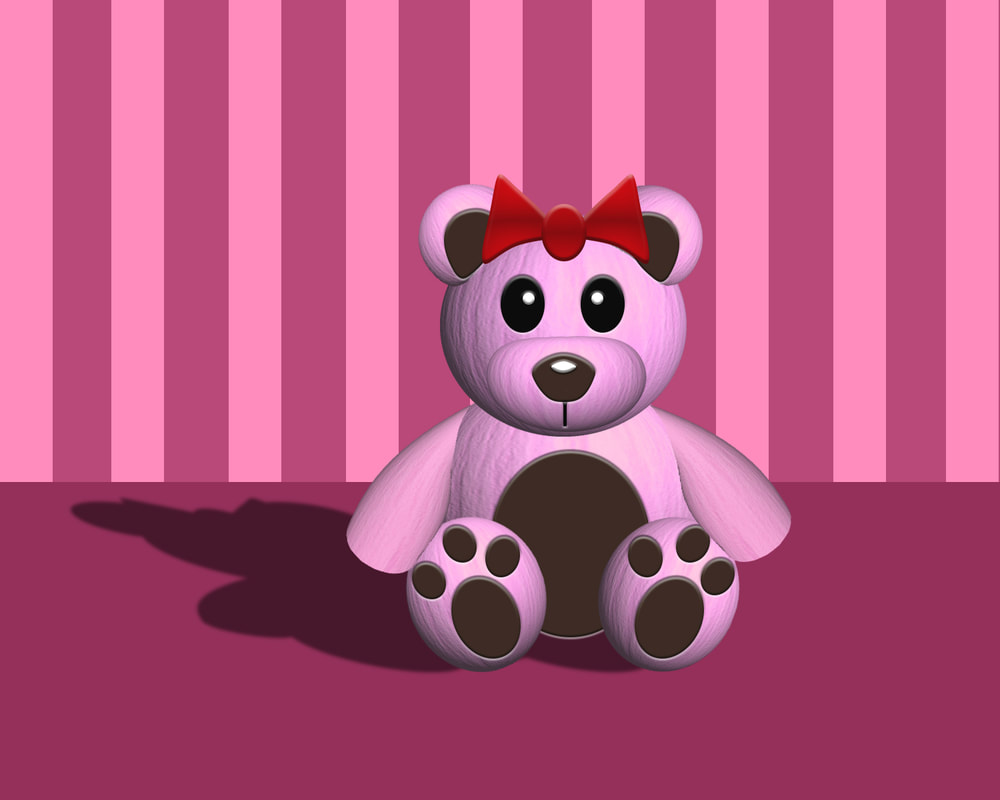
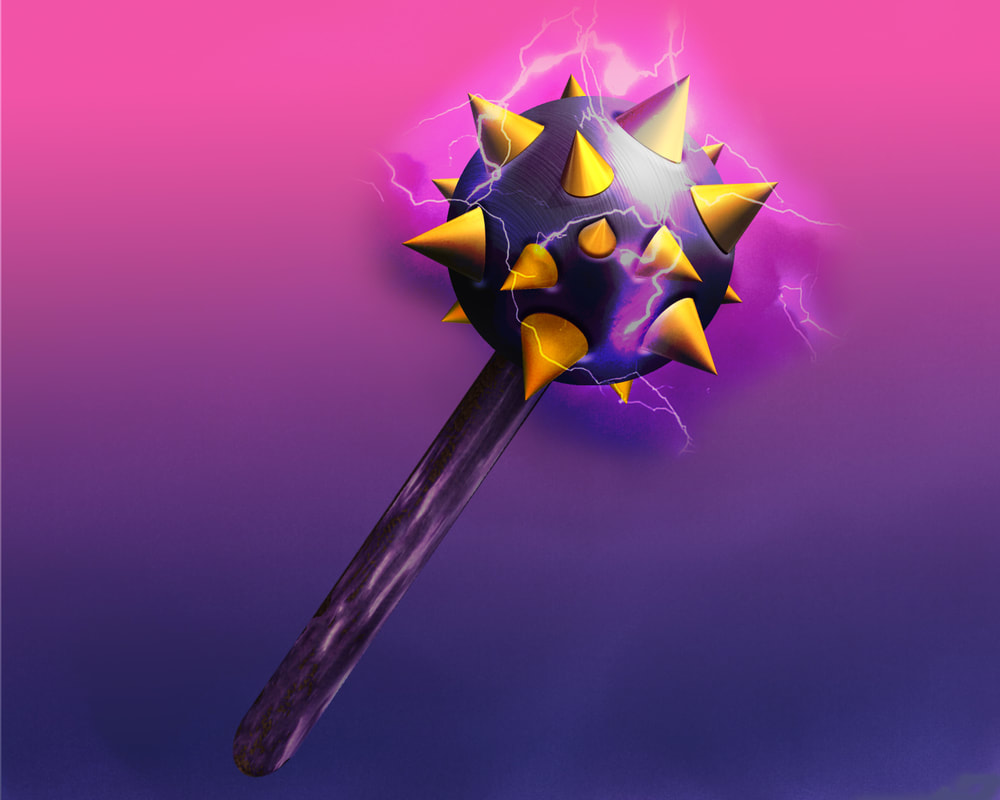
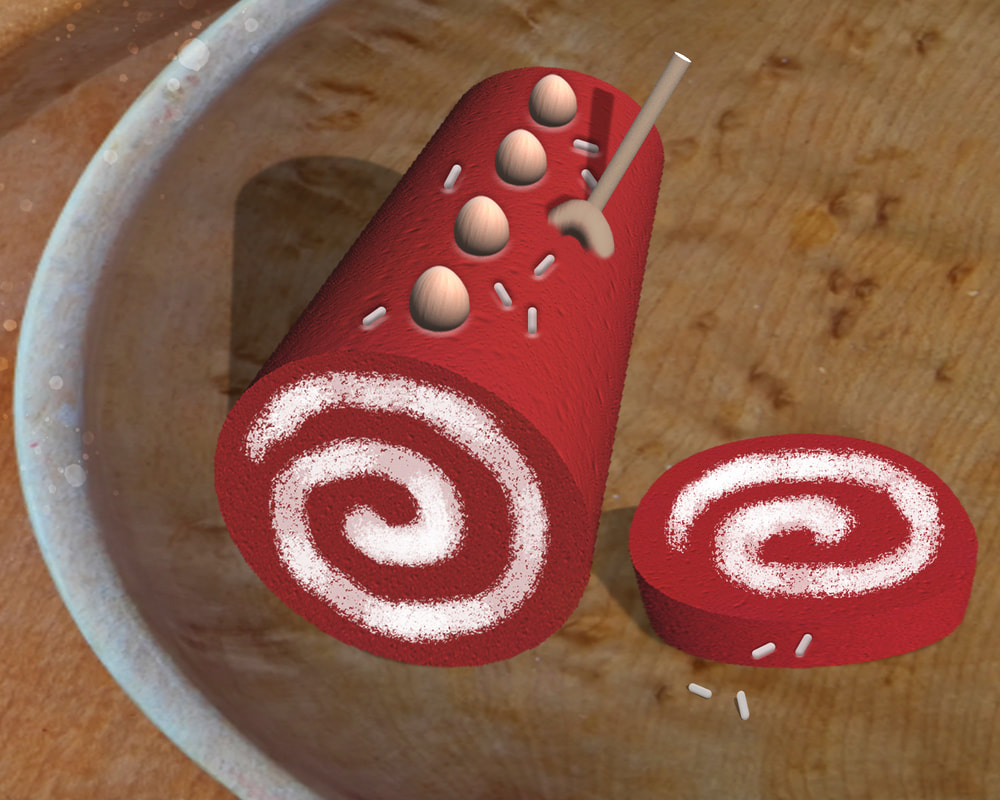
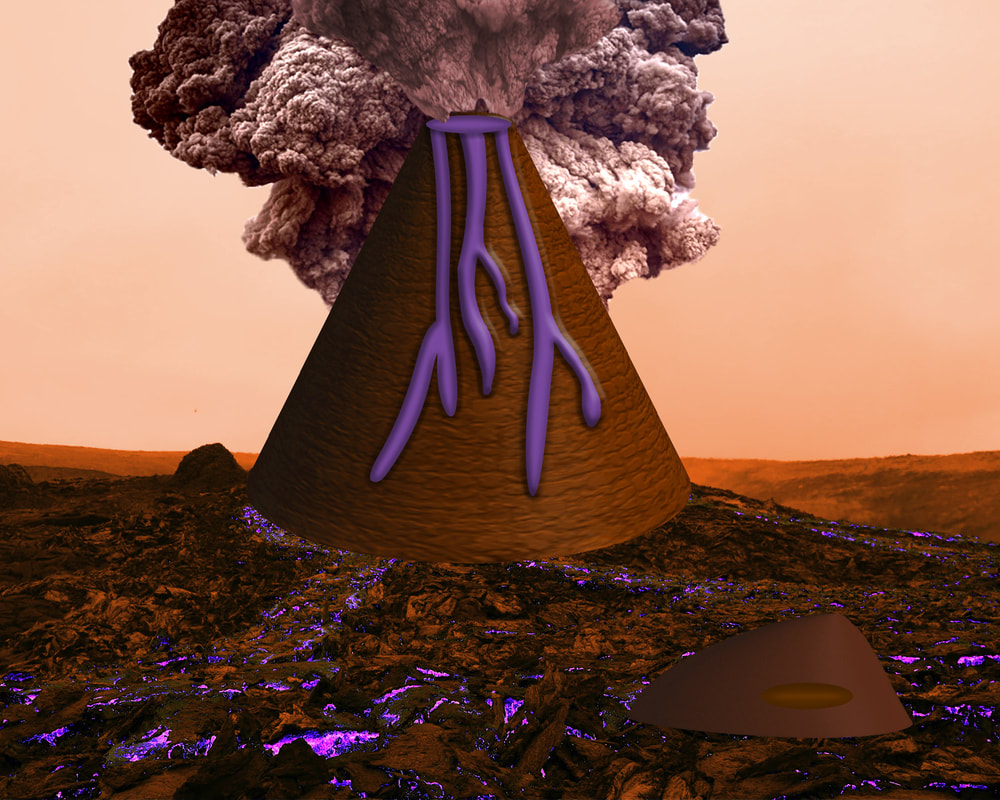
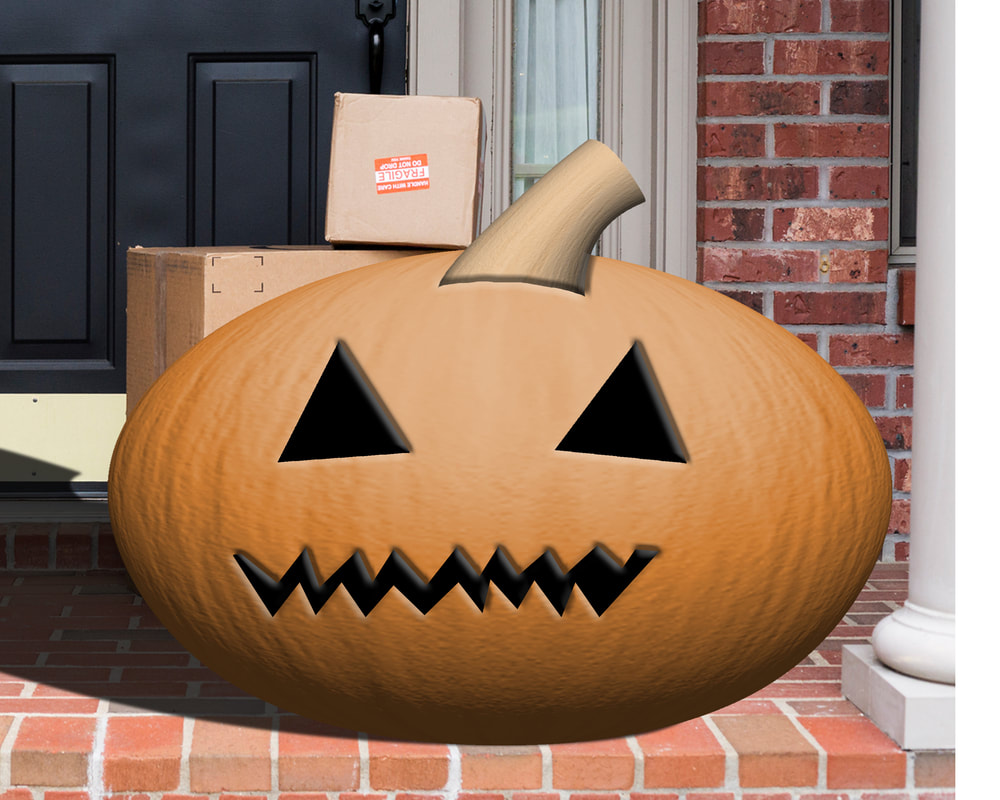
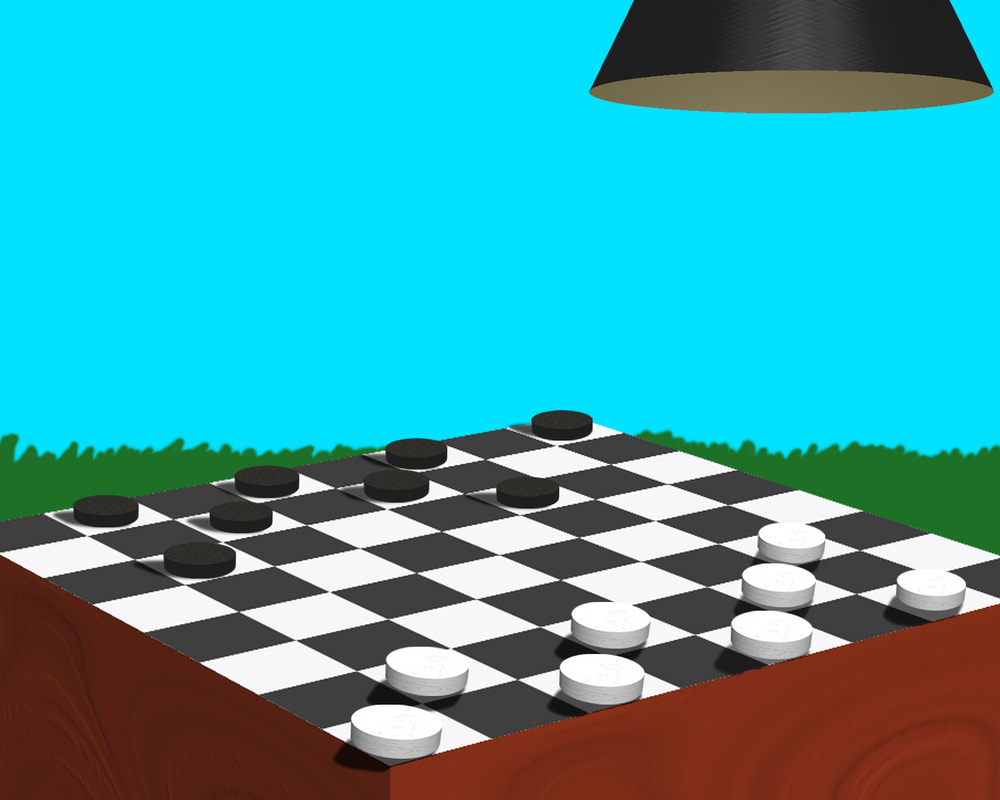
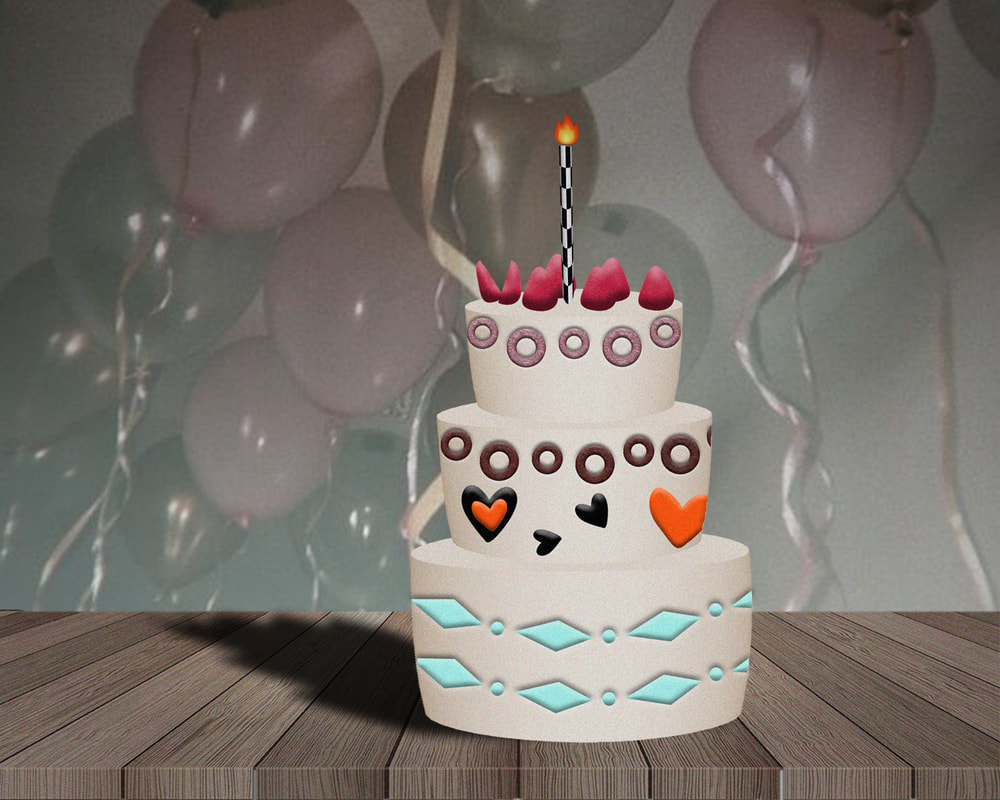
3D Rendered Original Object
3D Rendered Object:
Make a 3D rendered object and add unique details.
-Document size 8x10" at 150 ppi
•Use 3D>shape from layer
-Must combine at least 2 different 3D objects from the presets to make a NEW and creative object
-Use layer styles like bevel and emboss and drop shadow for details
•Use warp, distort, etc.
•Use layer blending modes and/or filters for fine details.
•Include a cast shadow
-Add a background photo or color, texture, gradient...
•Add text or custom shapes
-Show creativity and transformation from the original 3D preset object
•Call it yourlastname-3D.psd
How to make the 3D ice cream cone video demo:
Part 1: Ice cream & Cone
Part 2: Chips/Sprinkles & Cast Shadow


Quarter Project:
Follow 1 Unique & Complex Tutorial of your Choice & make a New Artwork
You will find and complete 1 or more unique tutorials on your own on the Internet and create a brand new original artwork EACH QUARTER.
What you will turn in:
Artwork
Artwork Source file (document with al stock photos before your edited them)
Document sizes: 8x10" at 150 ppi
- Review the Photoshop Tutorials links on the Resources page of the website and choose 1 or more tutorials that interest you.
- Each tutorial you complete must teach you something new and complex.
- The tutorial should take you at least 40 minutes to complete. It should take more - if not, it may not be complex. Choose a different tutorial.
- Choose tutorials about “effects, 3D, designing, painting, drawing, or photo effects”
- Do not choose type tutorials - we will do those later
- Substitute your own photos instead of the tutorial’s photos. Find your own photos on on stock photo site like unsplash.com or take your own photos
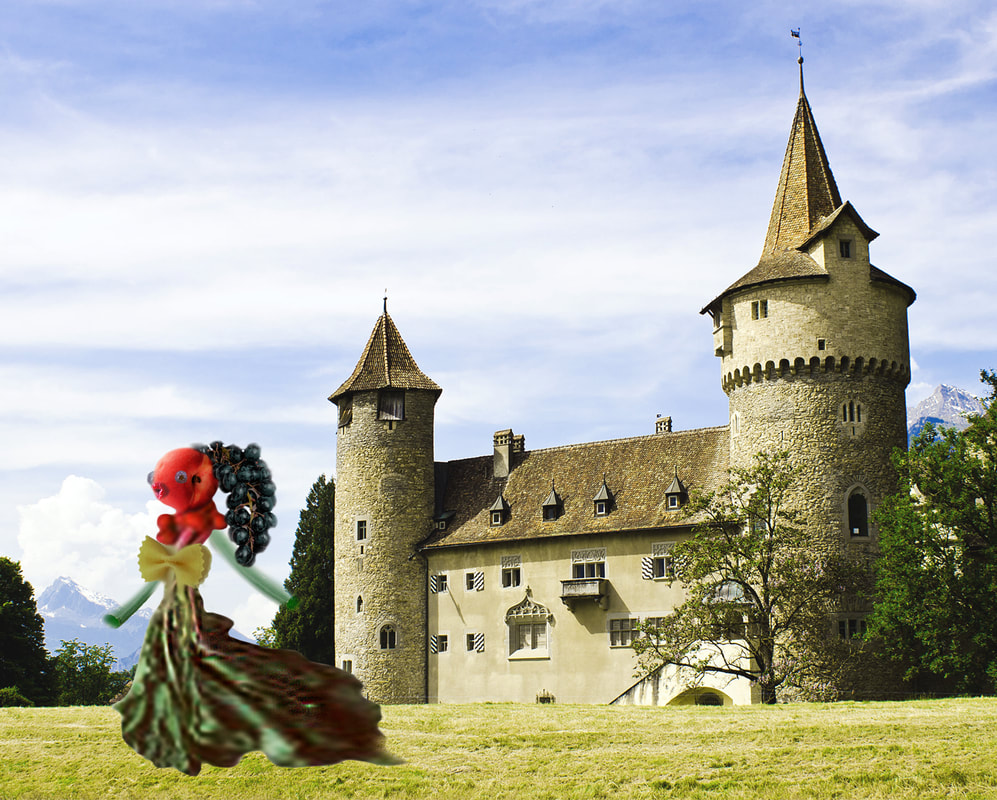
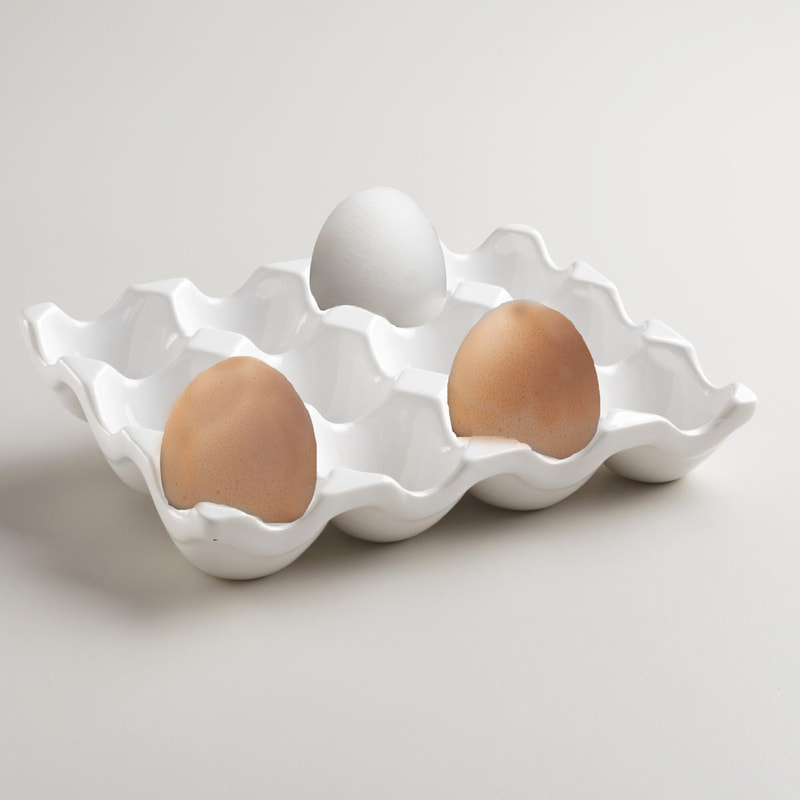
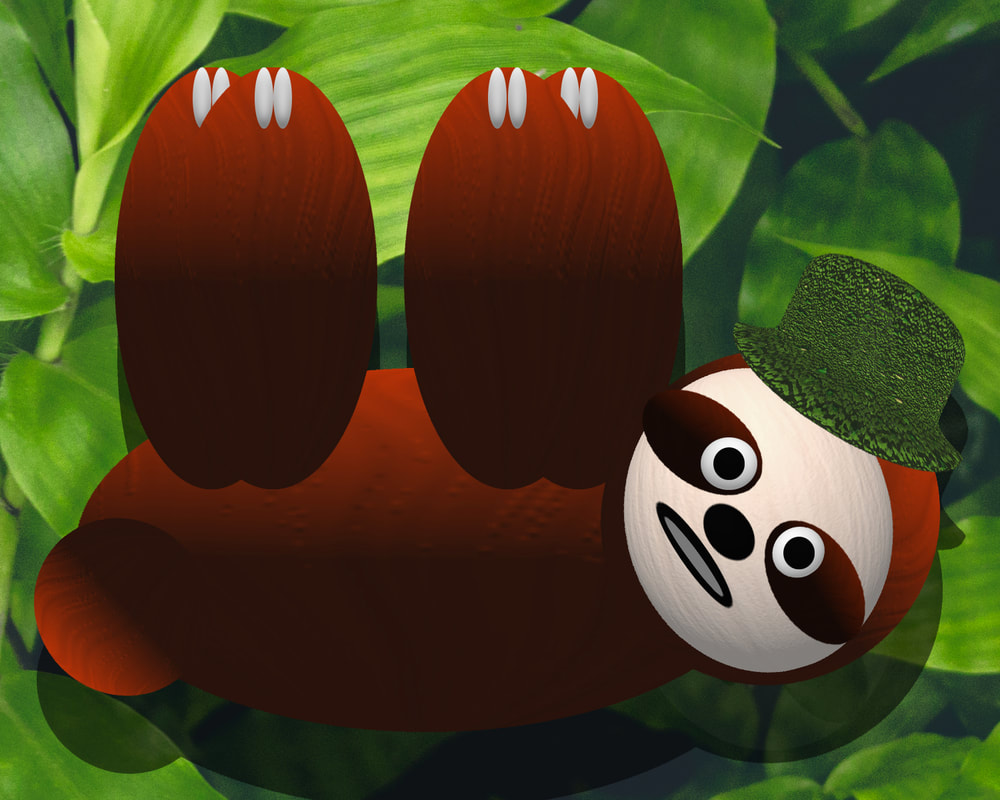
- Learn the skills from the tutorial, but make the artwork your own! For example: if the tutorial makes a frog out of raspberries, then you make a lizard out of eggs, or a squirrel out of grapes.
- If you are unsure of the complexity of the tutorial, see me to review and approve it.
* psdtuts.com
*tutorialized.com
*good-tutorials.com
*digitalartonline.co.uk
*the photoshop hustler
Student Examples of Artwork & Source File
Student Examples Semester Projects

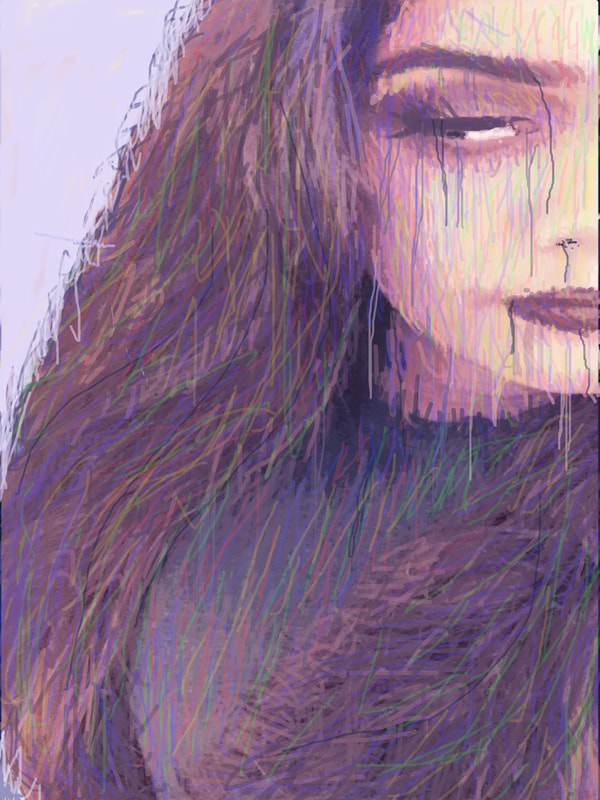
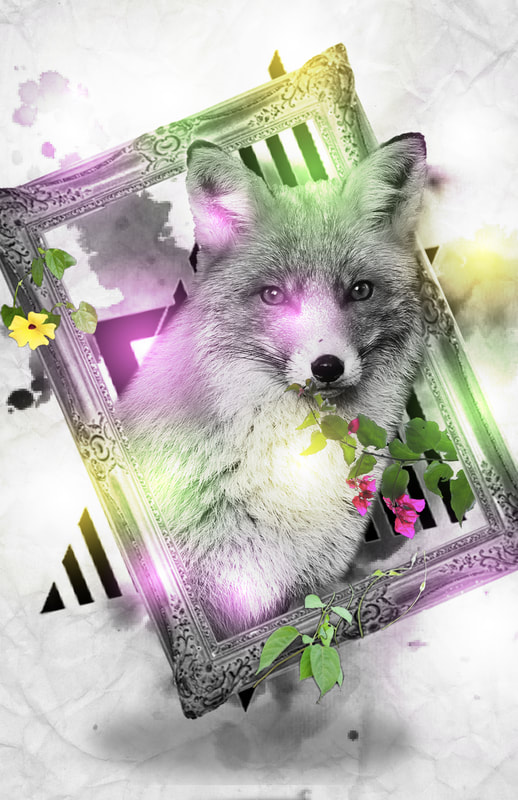
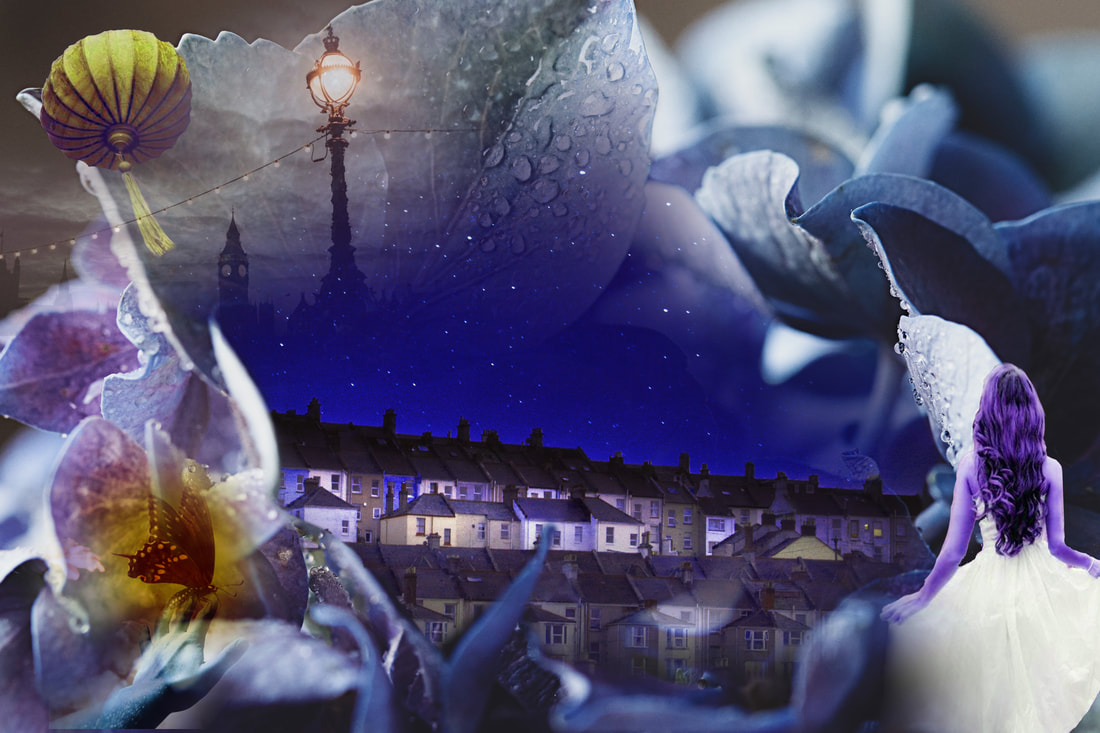
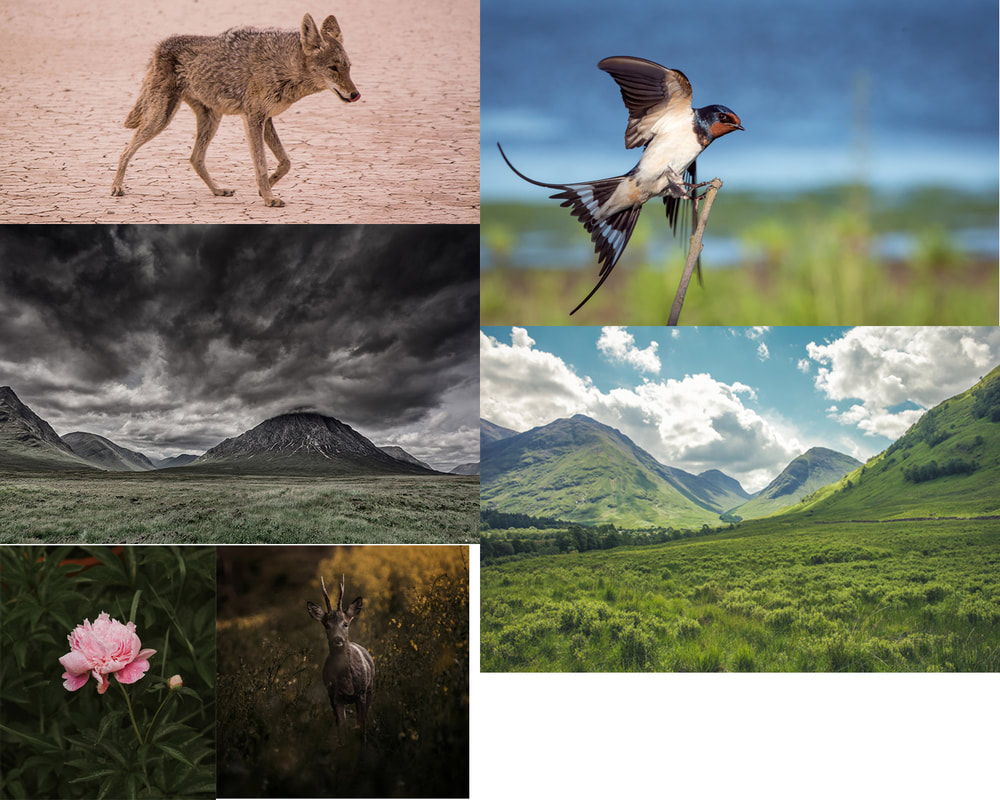
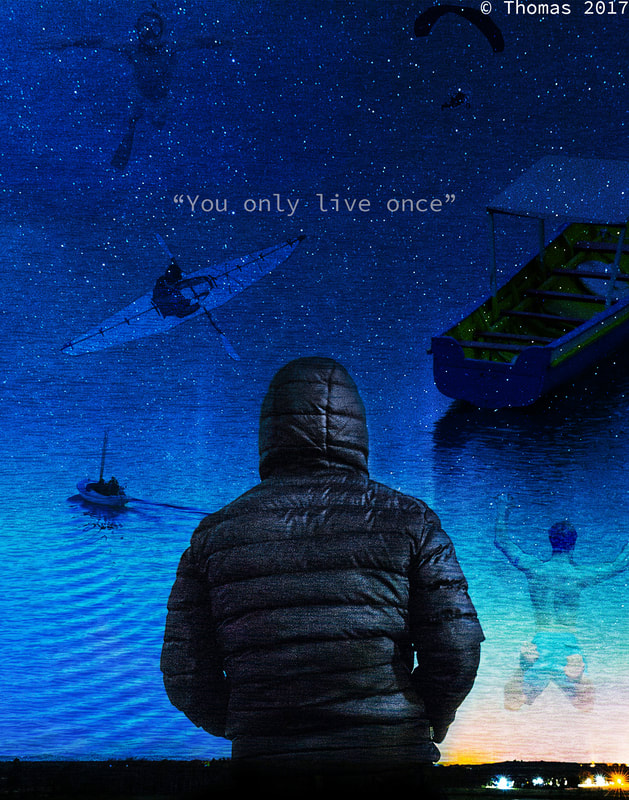
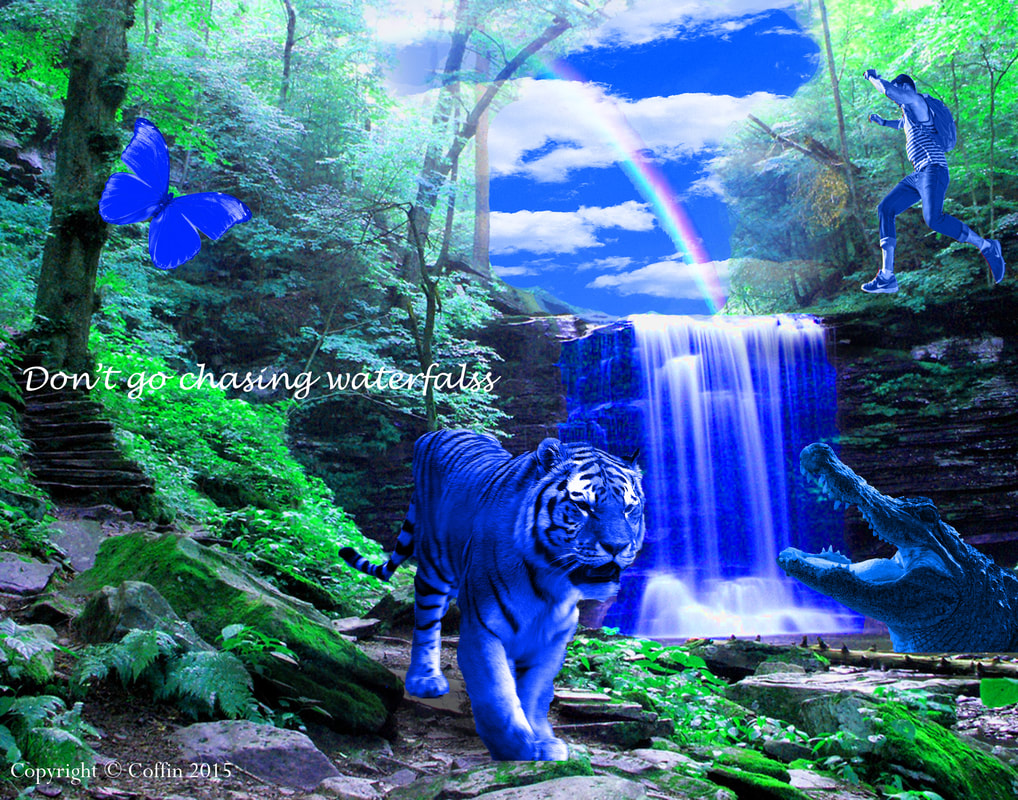
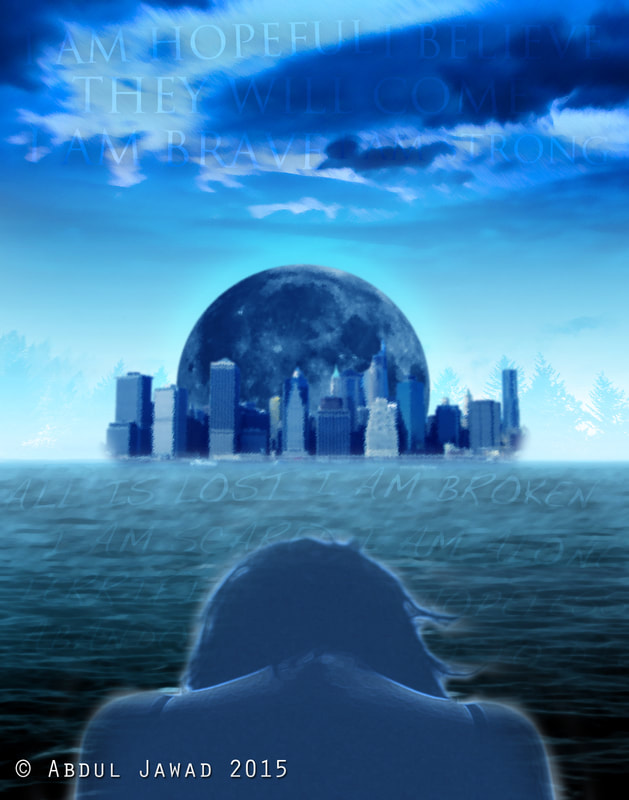
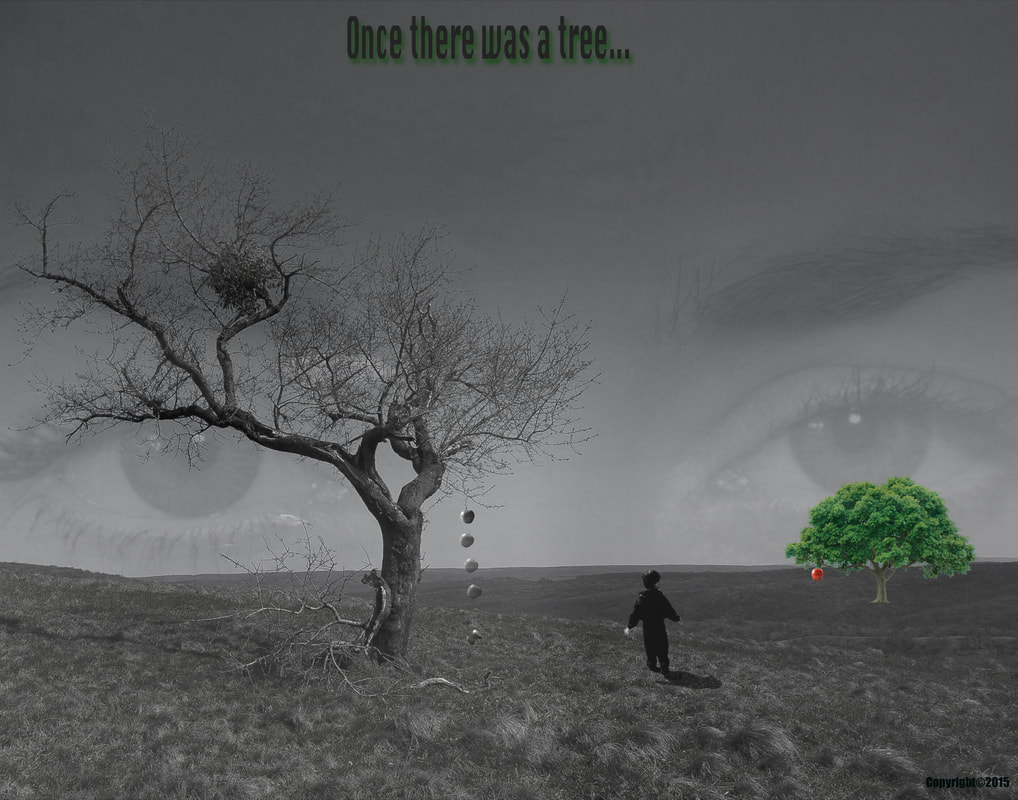
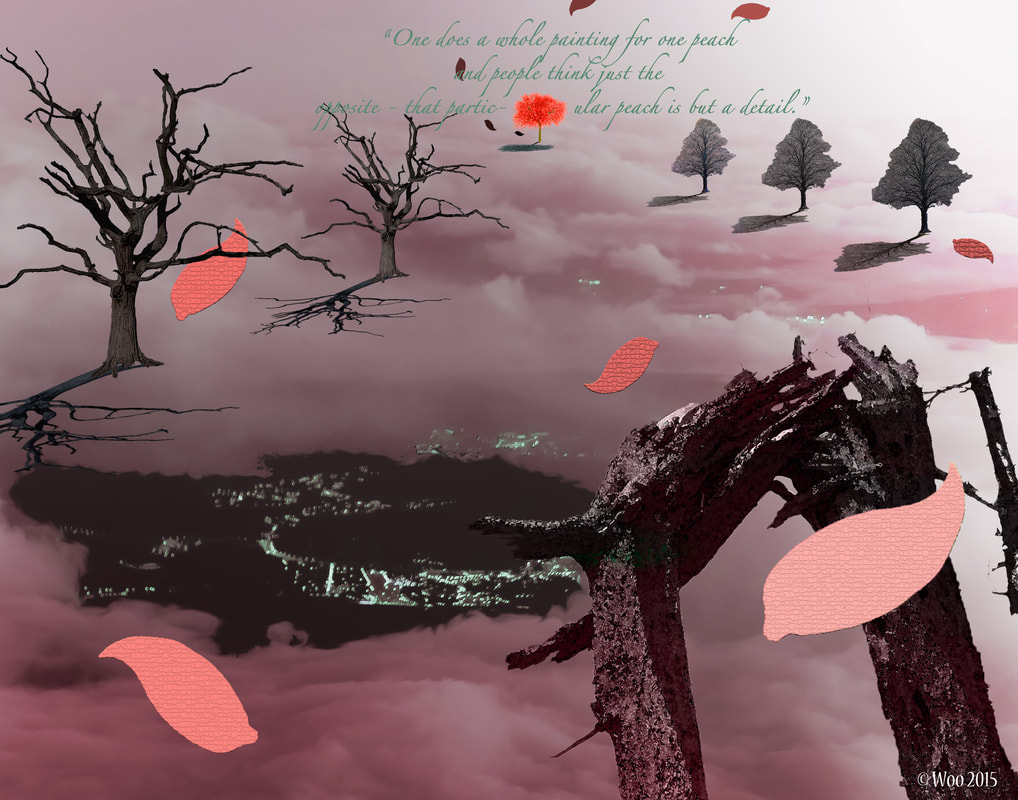
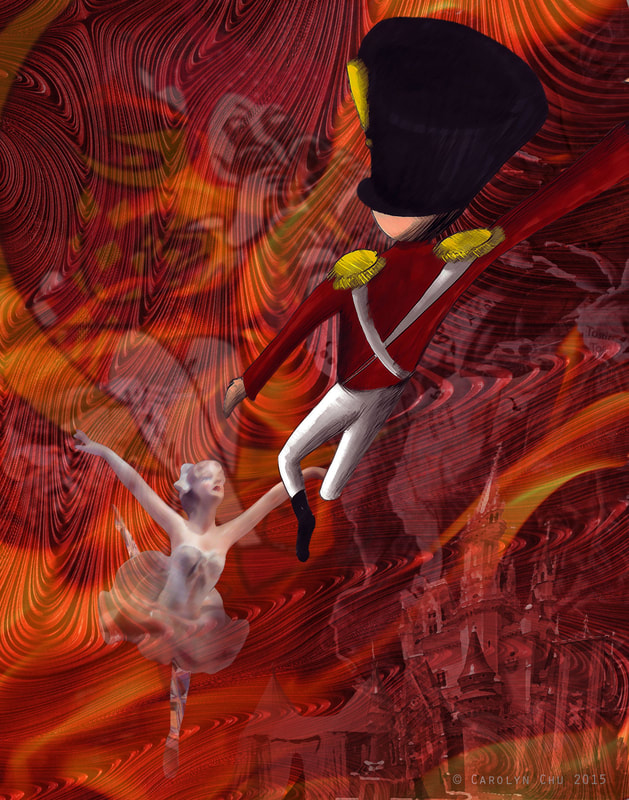
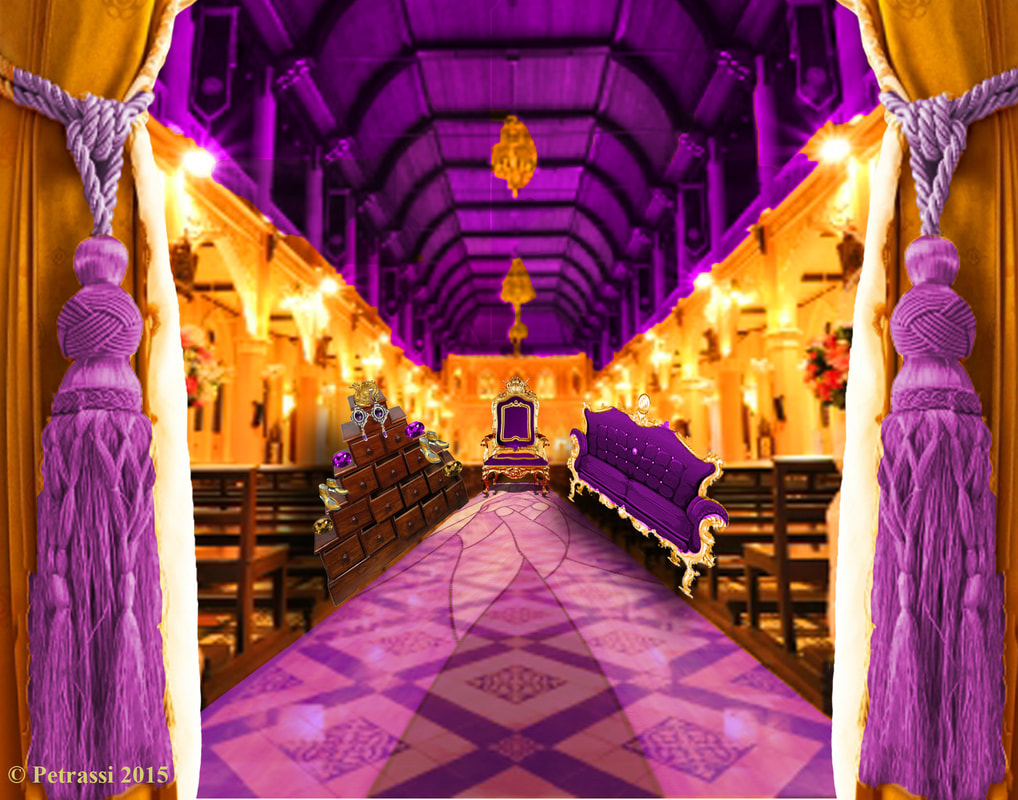
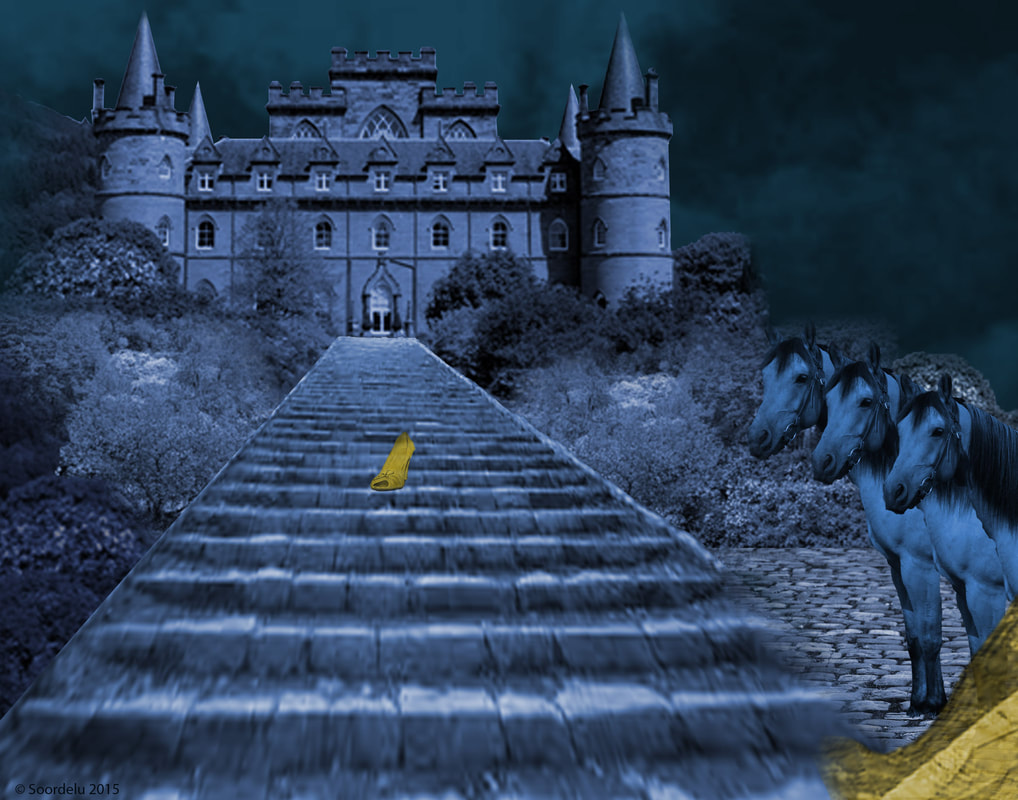
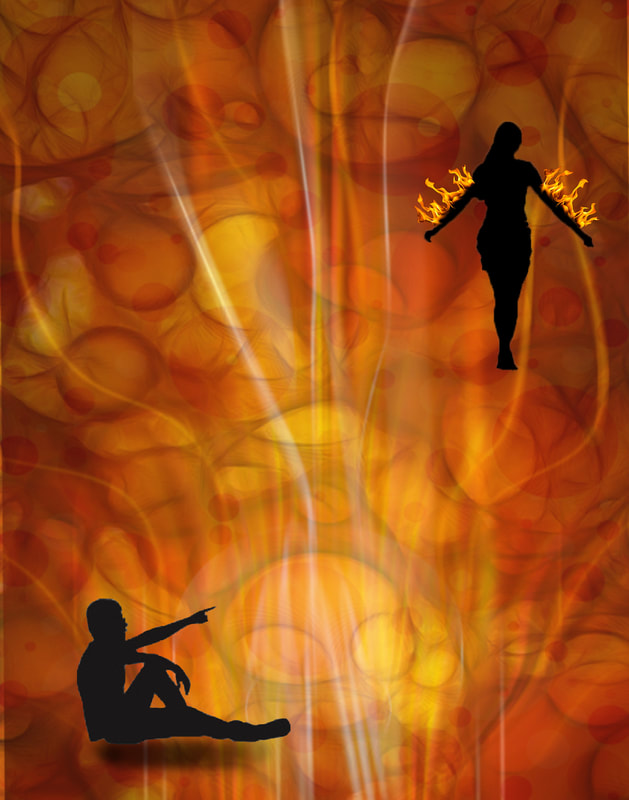
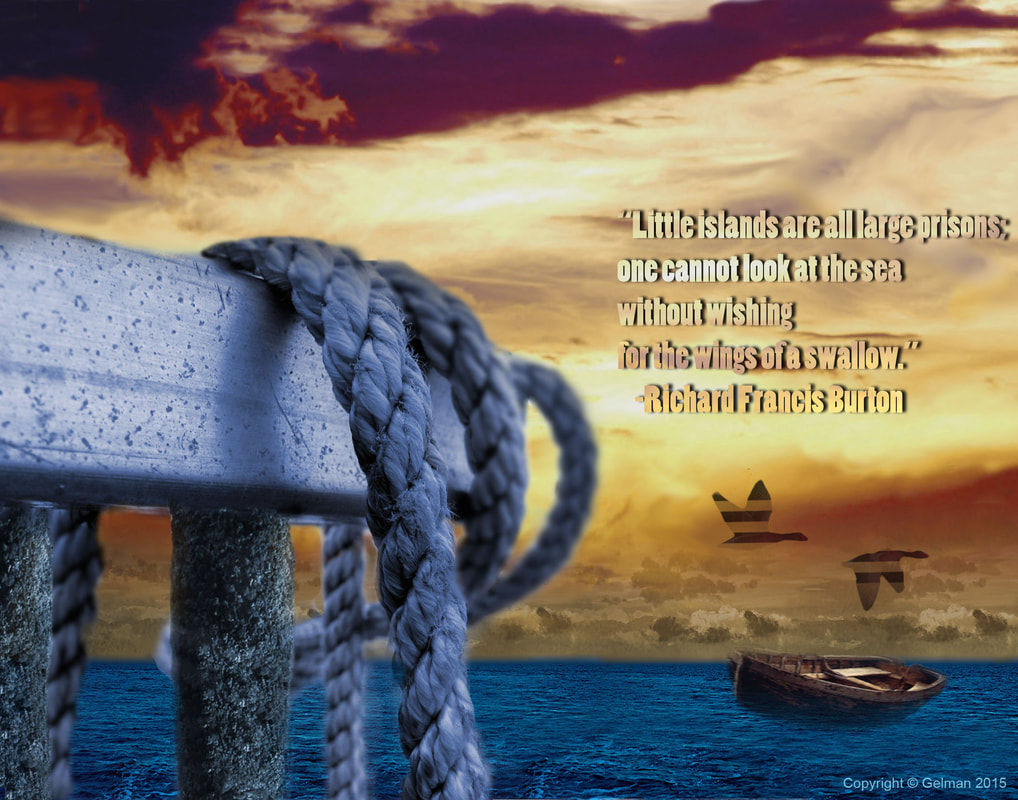
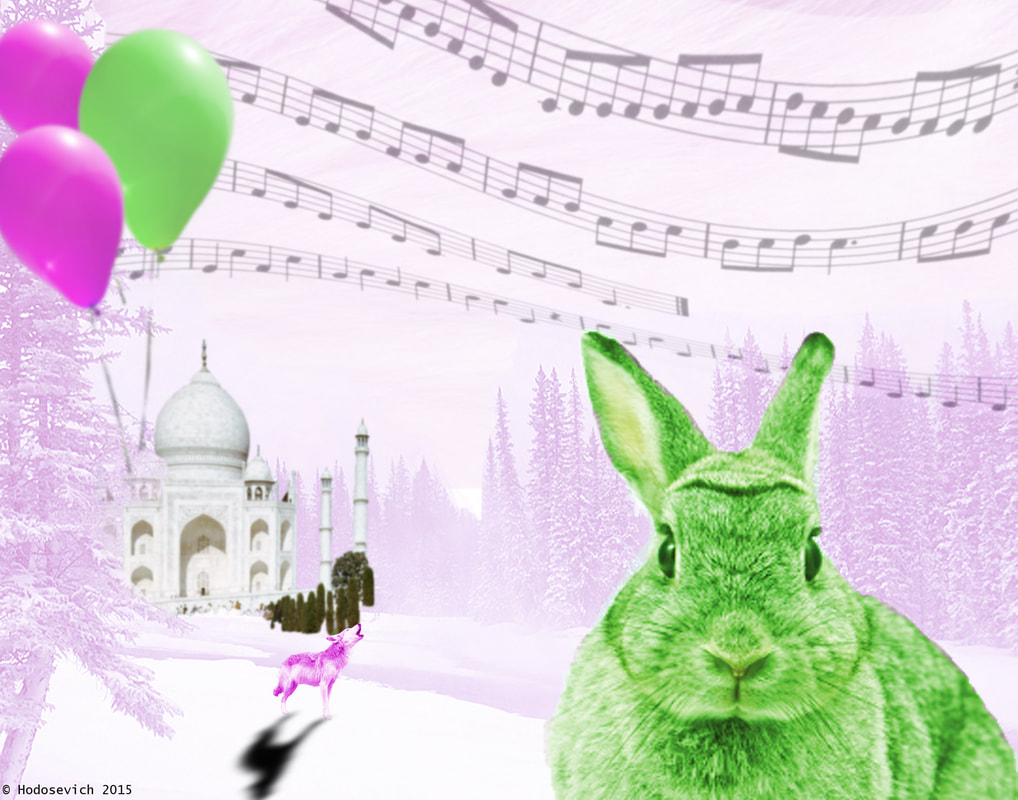
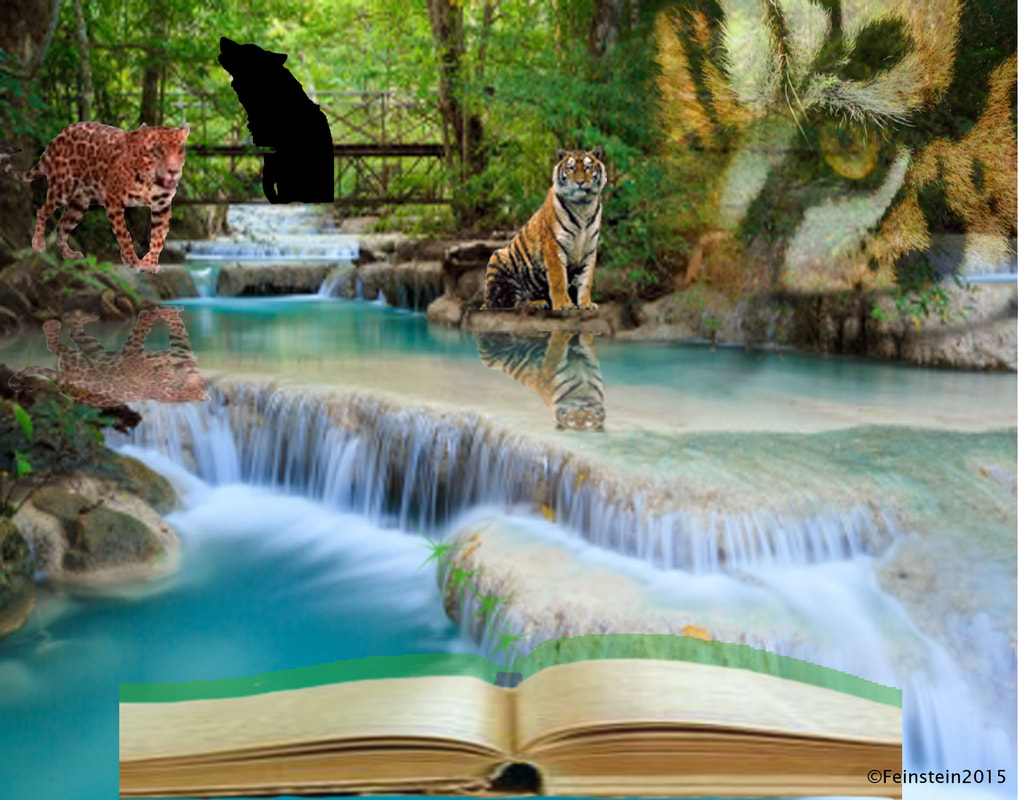
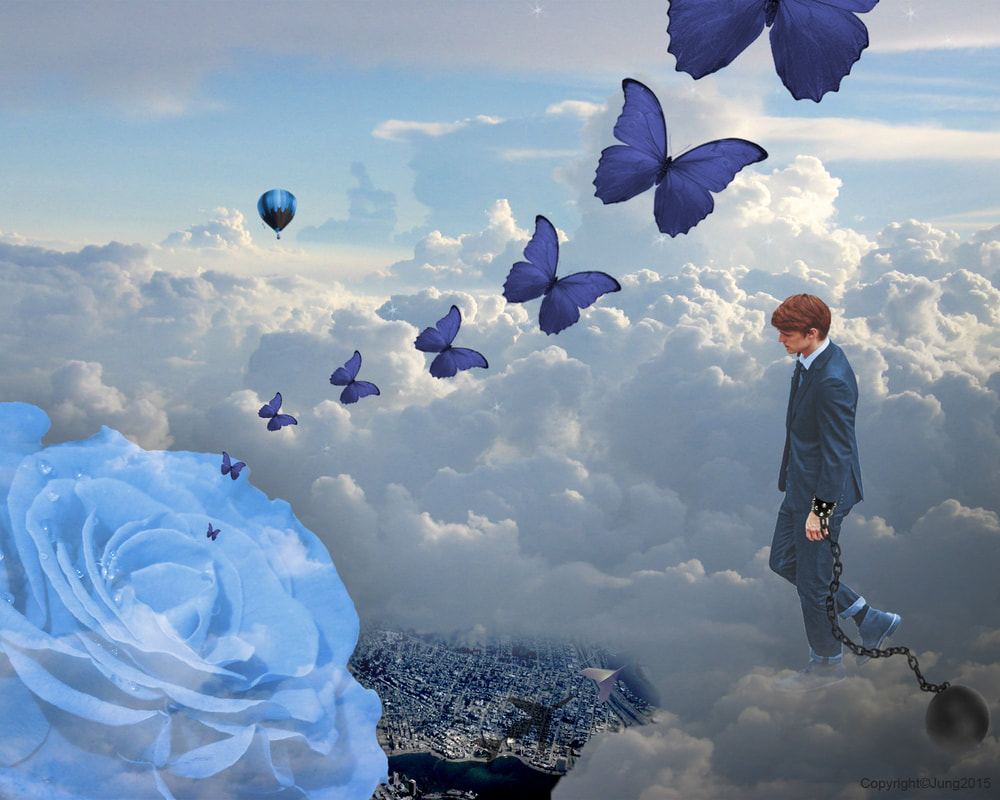
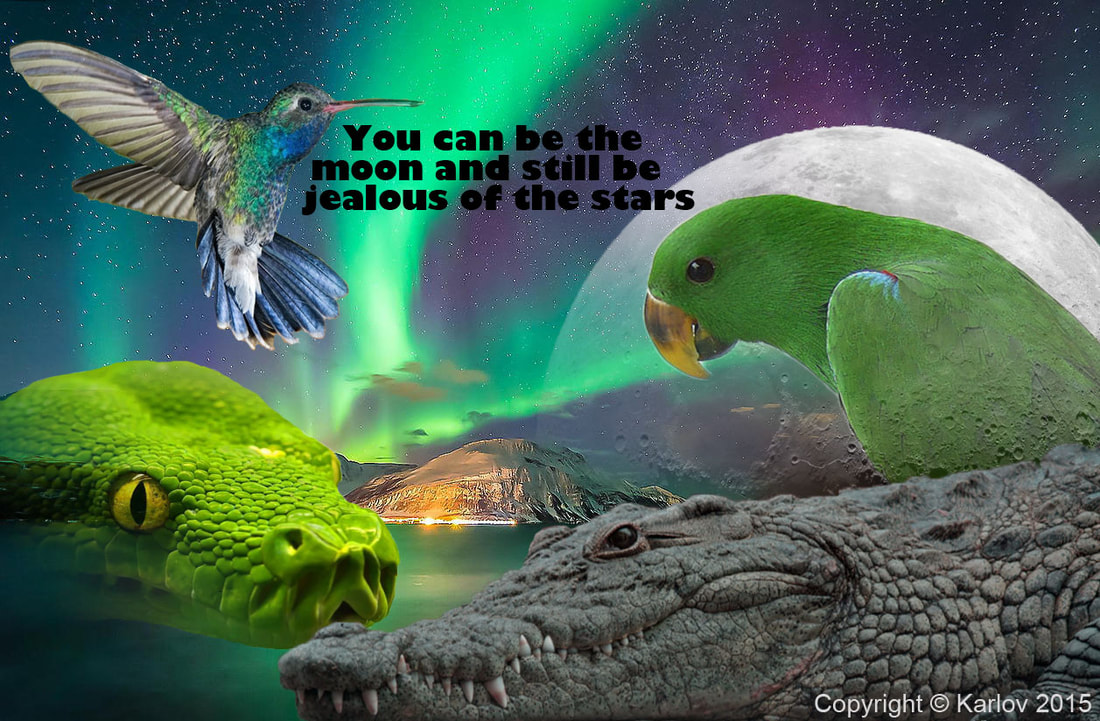
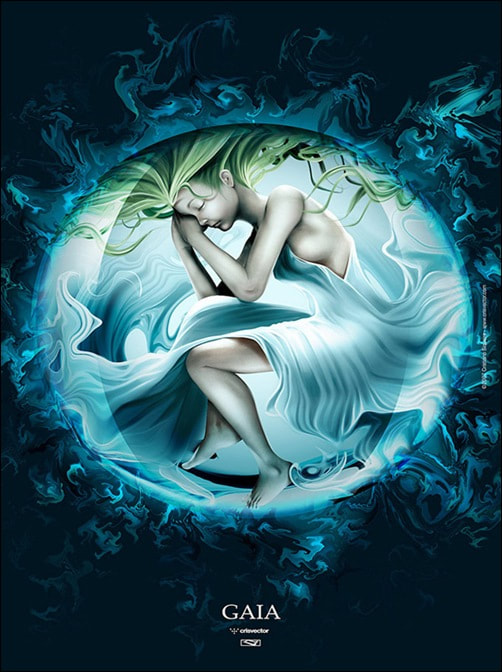
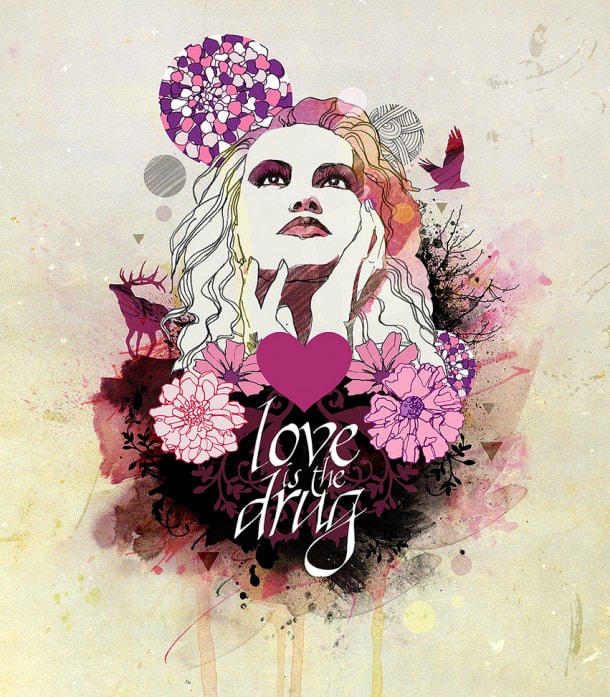
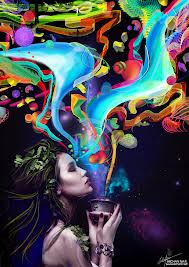
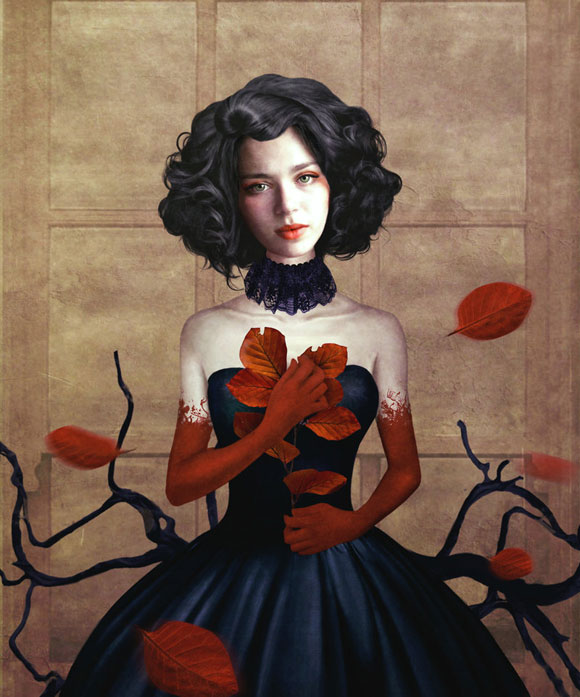
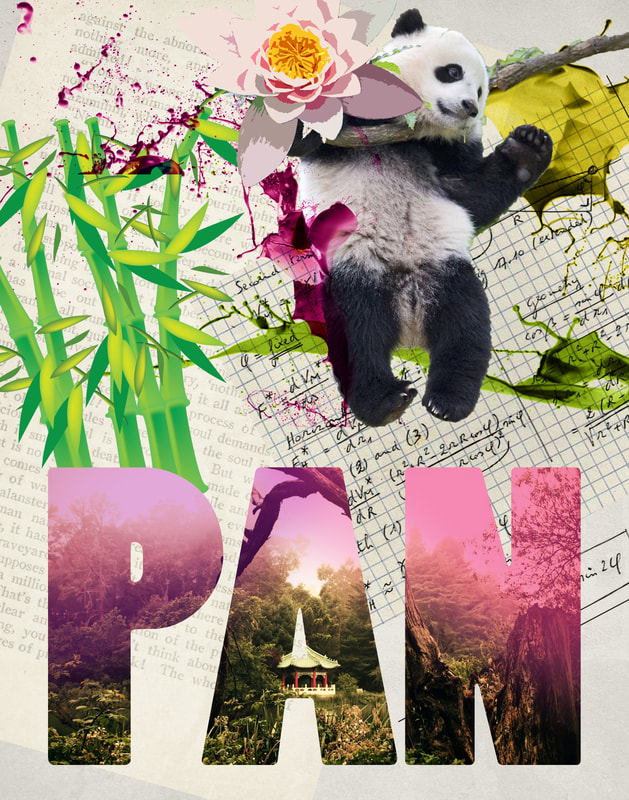
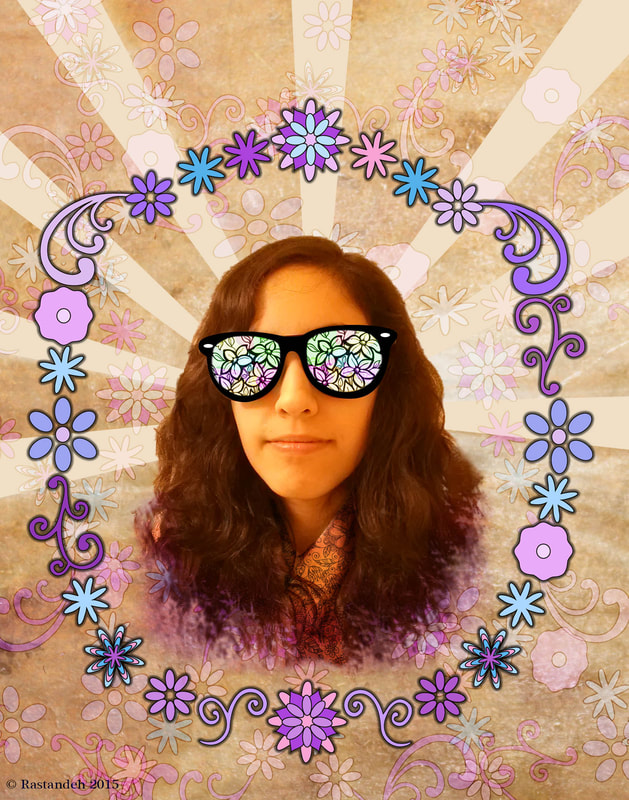
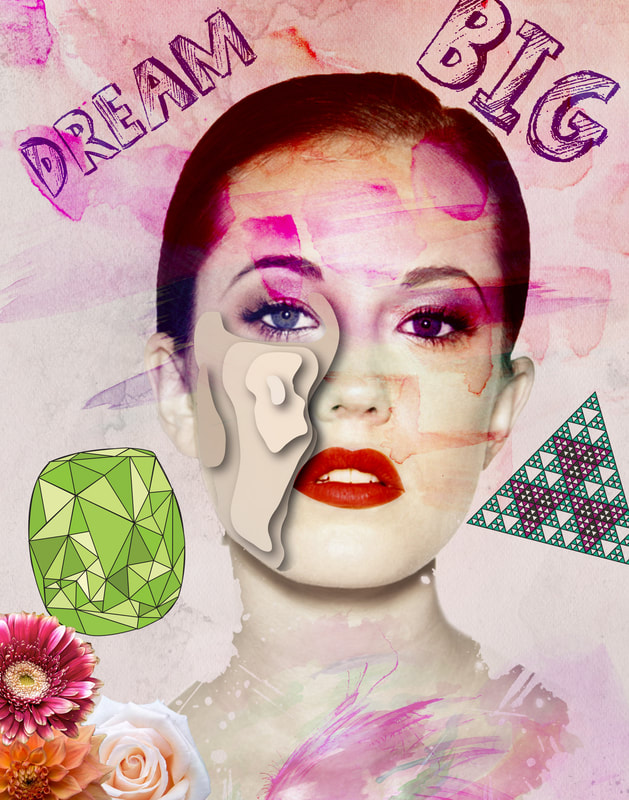
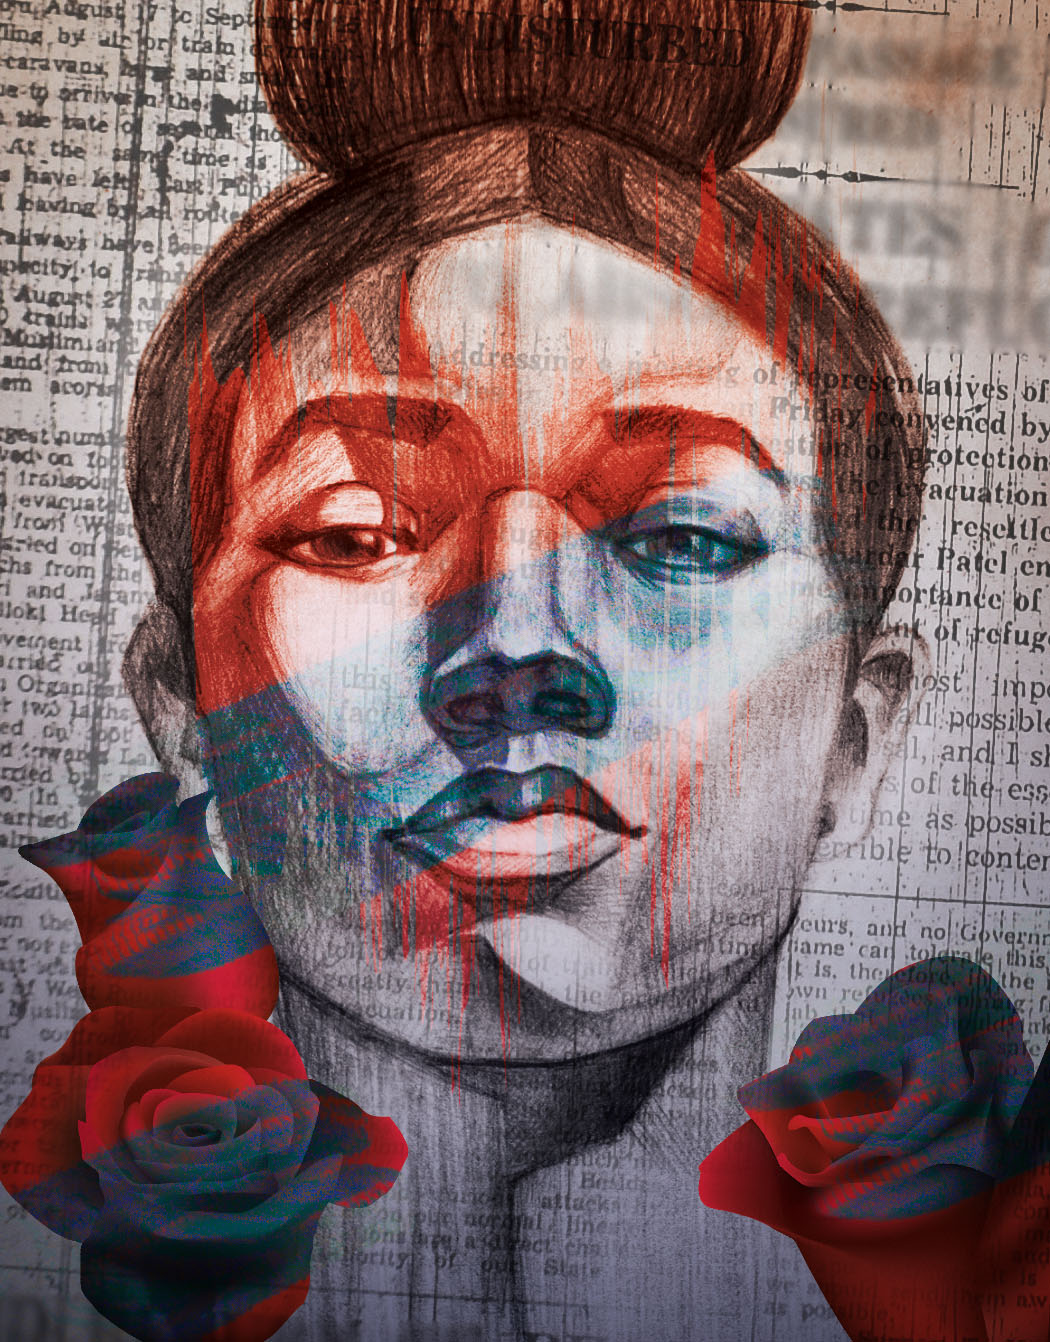
Illustrate a Quote - Color Scheme Project
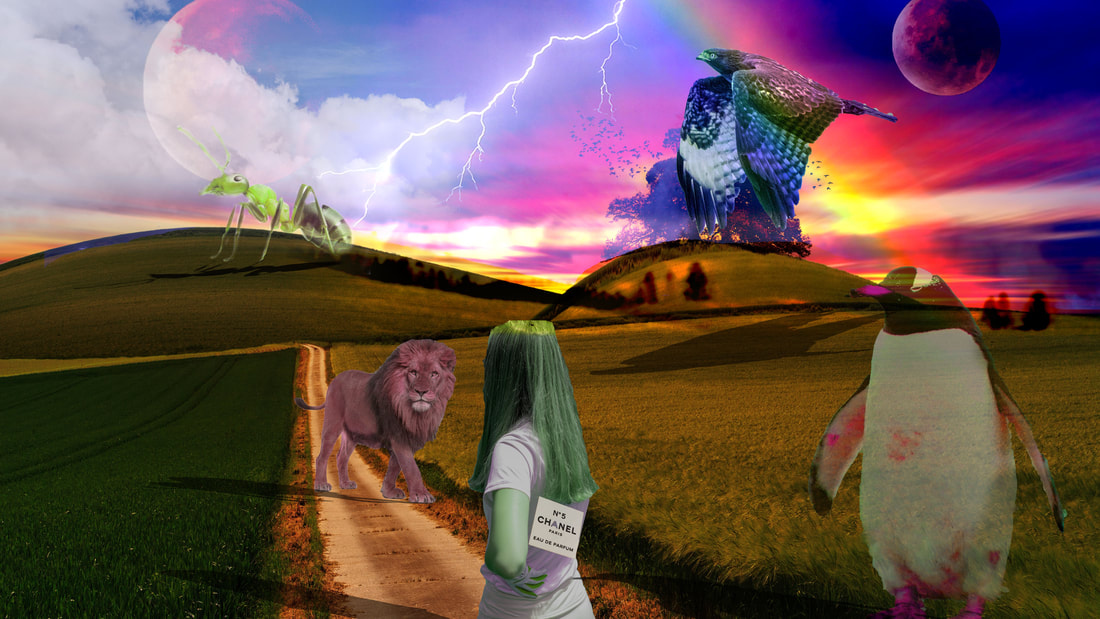
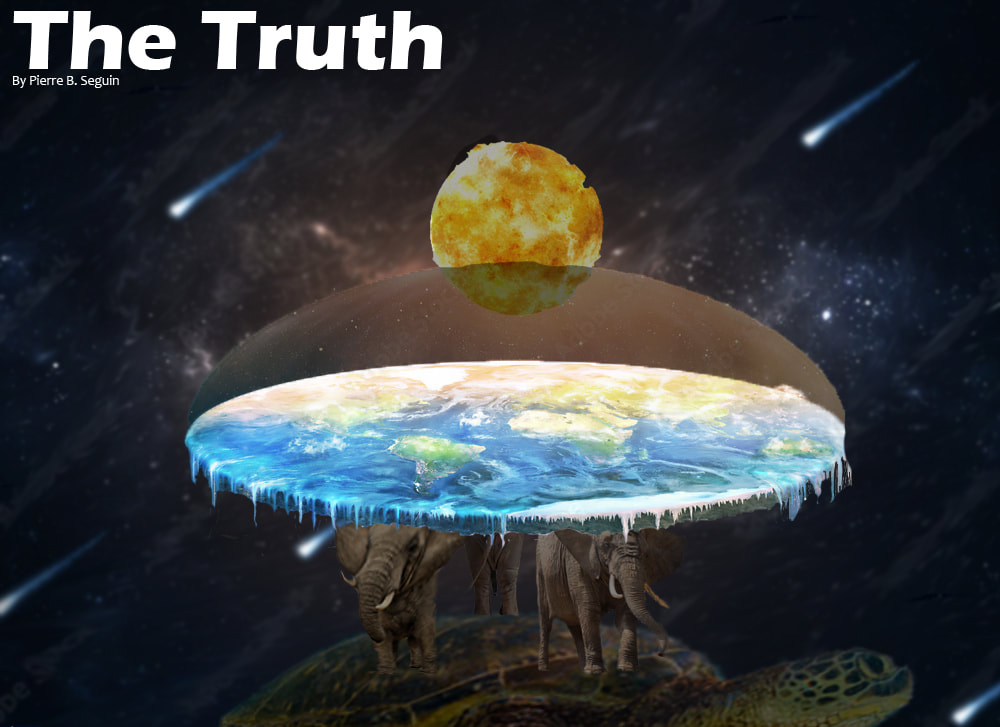
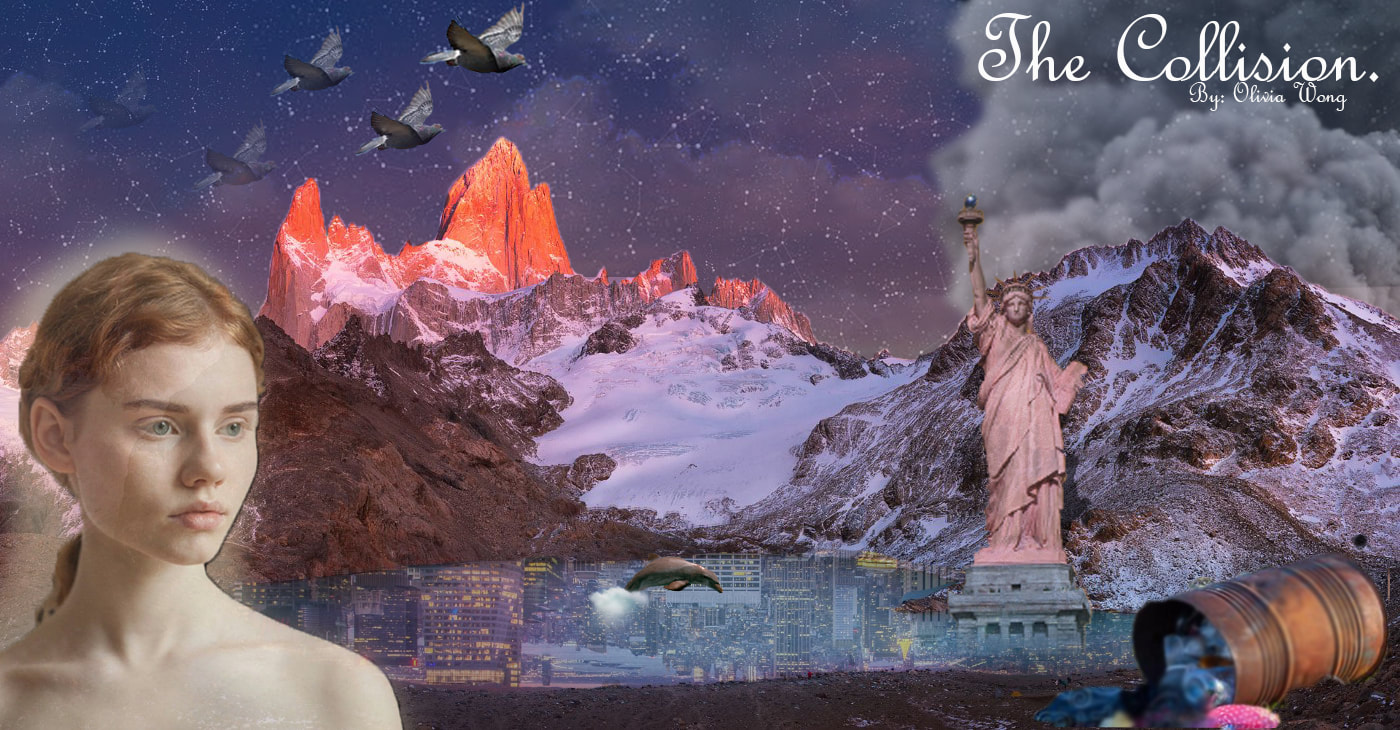
To be successful in this class, you must have a good understanding of the use and function of color in art. Your first project will be to create a Narrative Illustration with a Color Scheme.
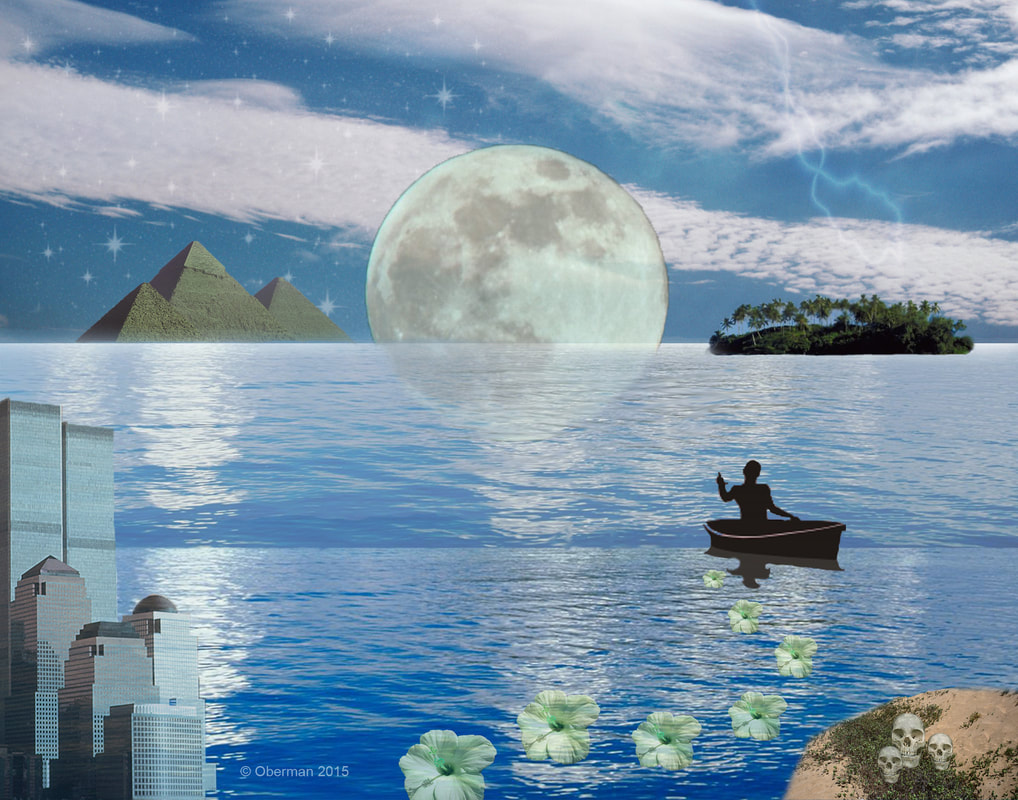
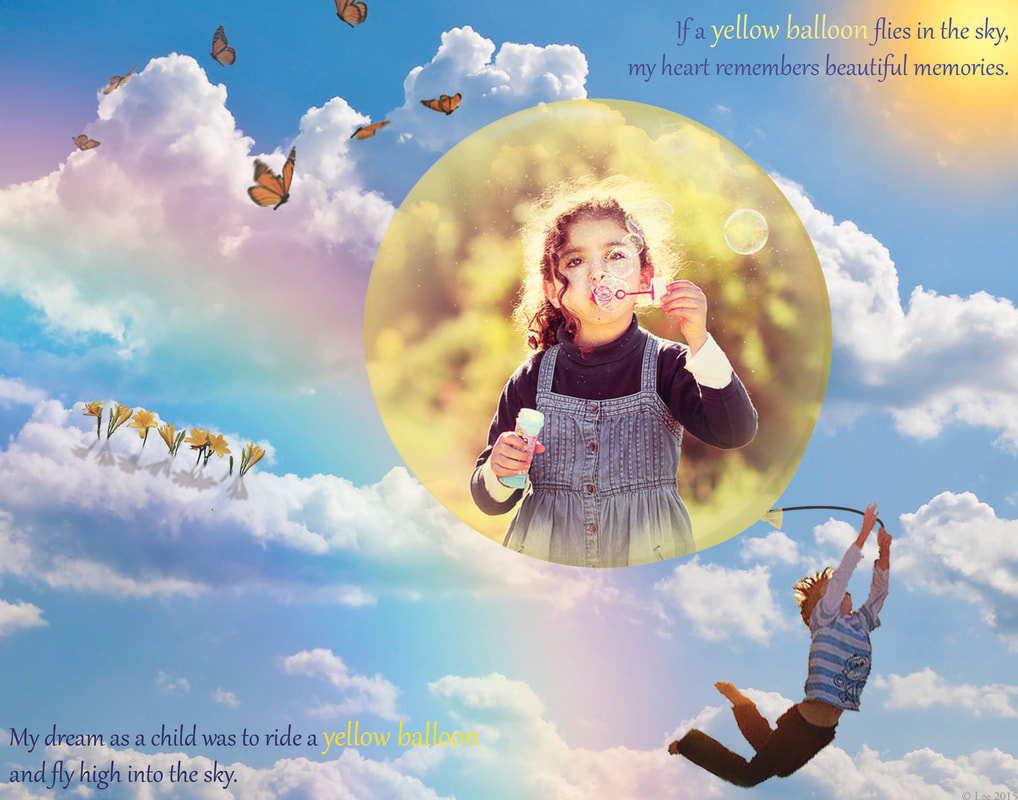
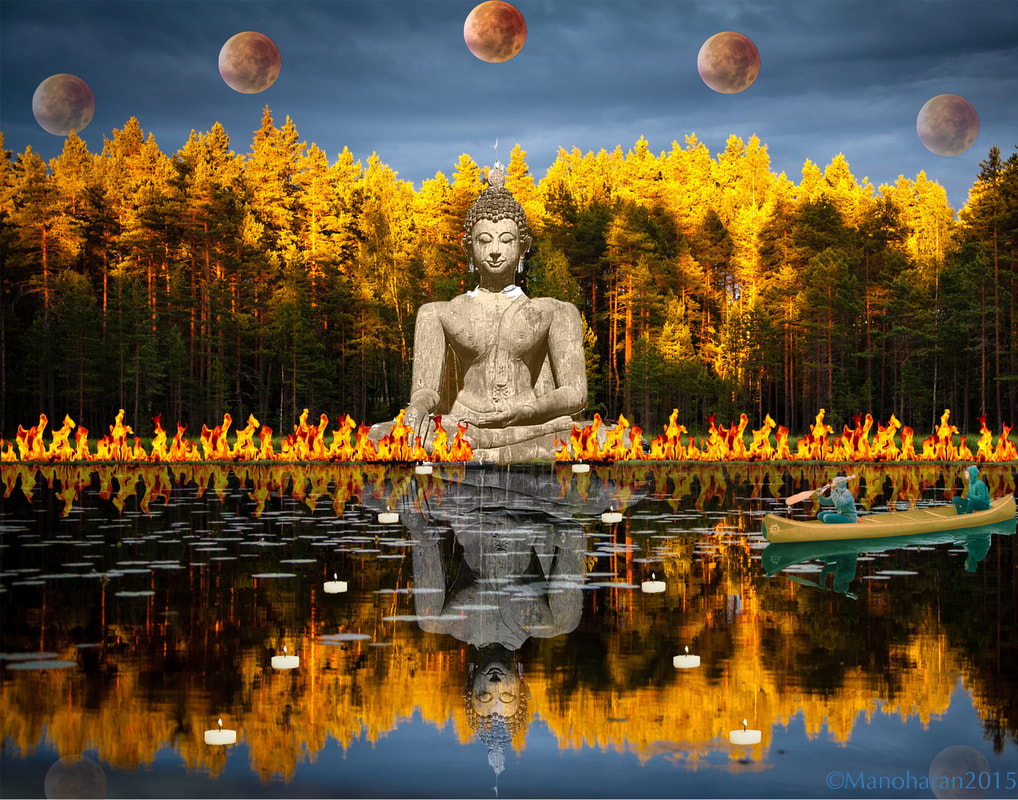
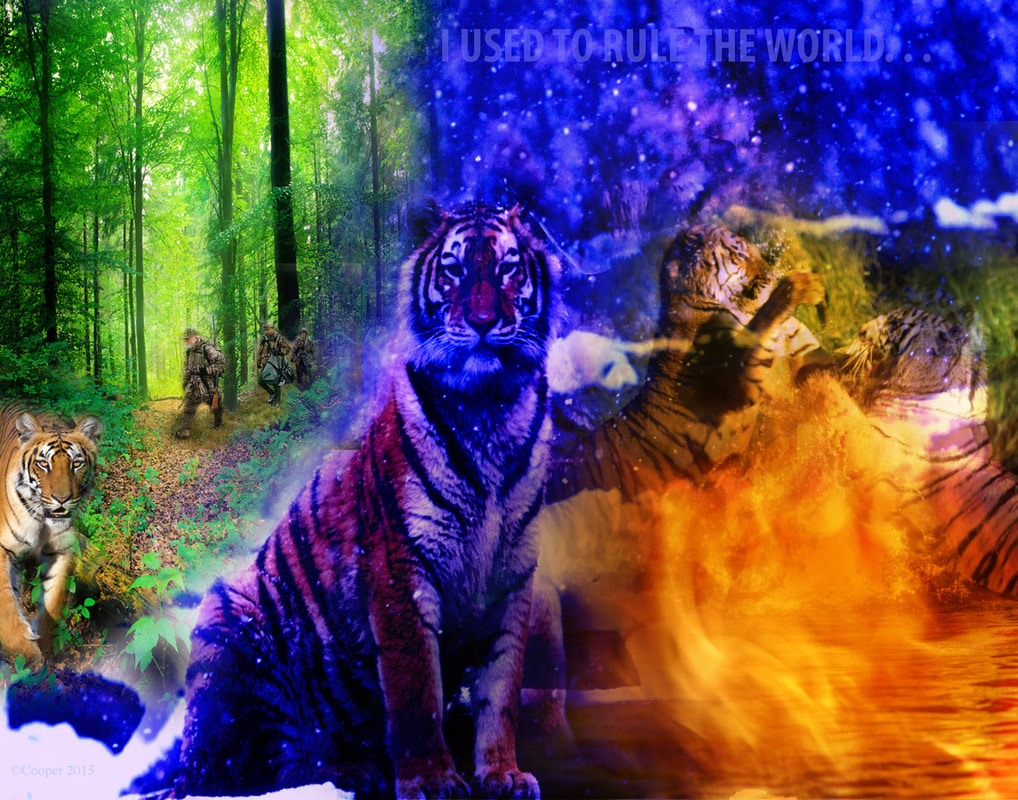
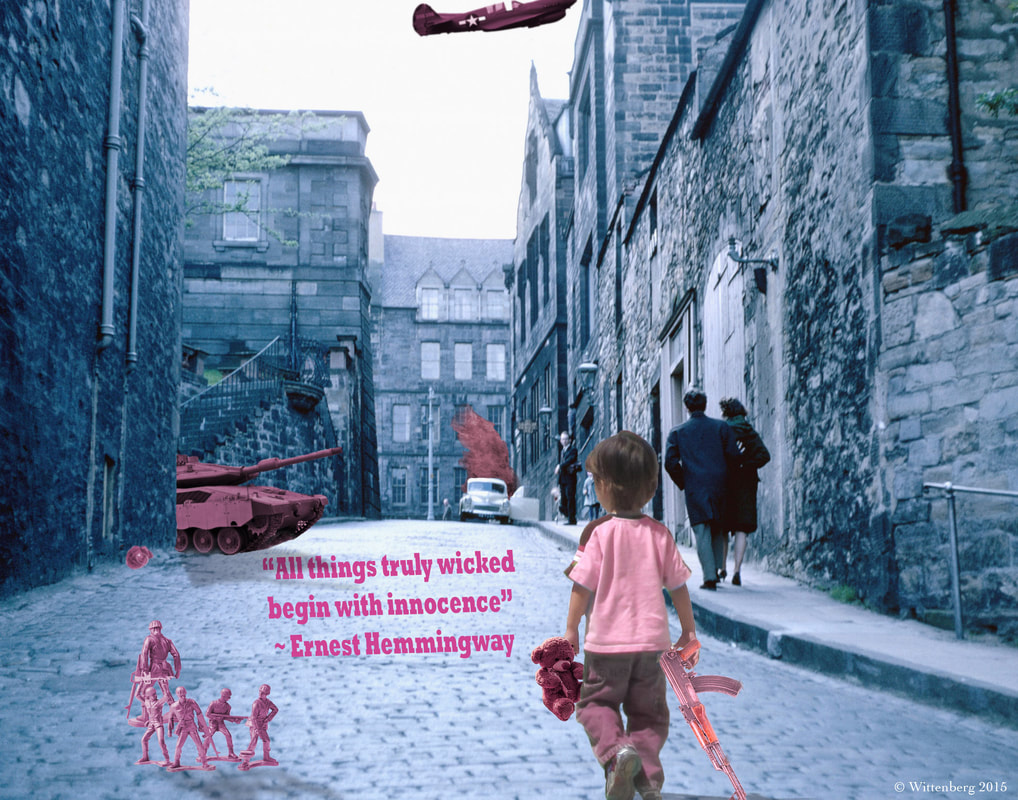
Create an artwork that illustrates words in a song, lines from a poem, a favorite quotation, or a passage from a book or story. Create a composition that depicts your idea about the thoughts that were expressed.
All artwork must be original and created by you. Stock photos from approved sites may be used when the photos are changed and manipulated. You should try your best to take your own photos to manipulate in Photoshop and create all illustrated work yourself. No copyrighted artwork may be used in your artwork.
NO: logos, cartoons, video game characters, movie characters, vectors, clip art, drawings, paintings, manga, etc. created by someone else may be used in your artwork
Choose a specific color scheme: Complementary, analogous, triad, split complement, monochromatic, or neutral. You must use a the colors and their tints and shades in your artwork.
Requirements:
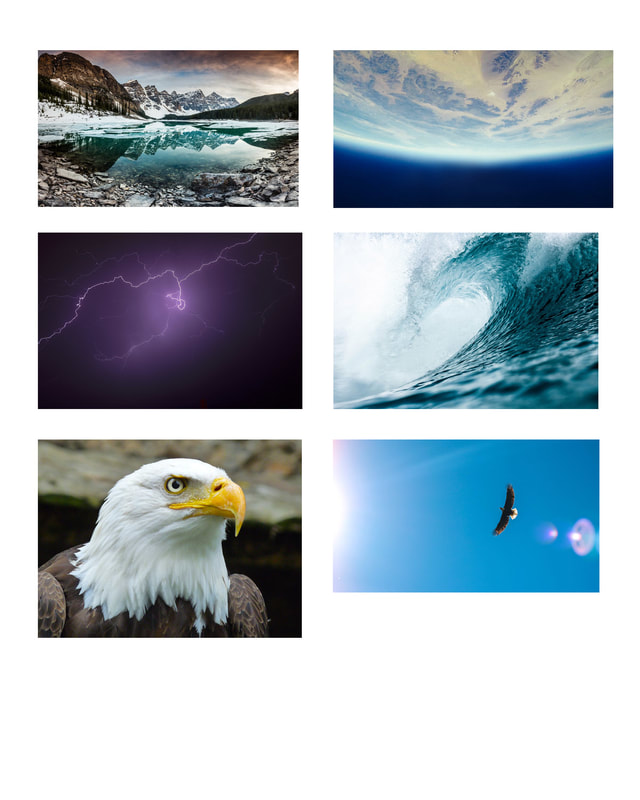
1) A minimum of 6 images seamlessly blended together. Can include textures.
2) A visual illustration of a narrative using subjective color – color chosen by the artist (not realistic color).
3) Use of the entire picture plane (no "floating" elements). Make sure your design goes off the page and that images overlap.
4) Use of subjective color and a color scheme. Choose 2 to 3 colors and use in a color scheme: analogous, complementary, triad, split complement, or neutrals.
5) Value – must use a range of values of the colors including tints, pure hue, and shades of the colors.
6) Use of the elements of art and principles of design. Emphasize at least three in your artwork.
7) Use a “rule of composition.”
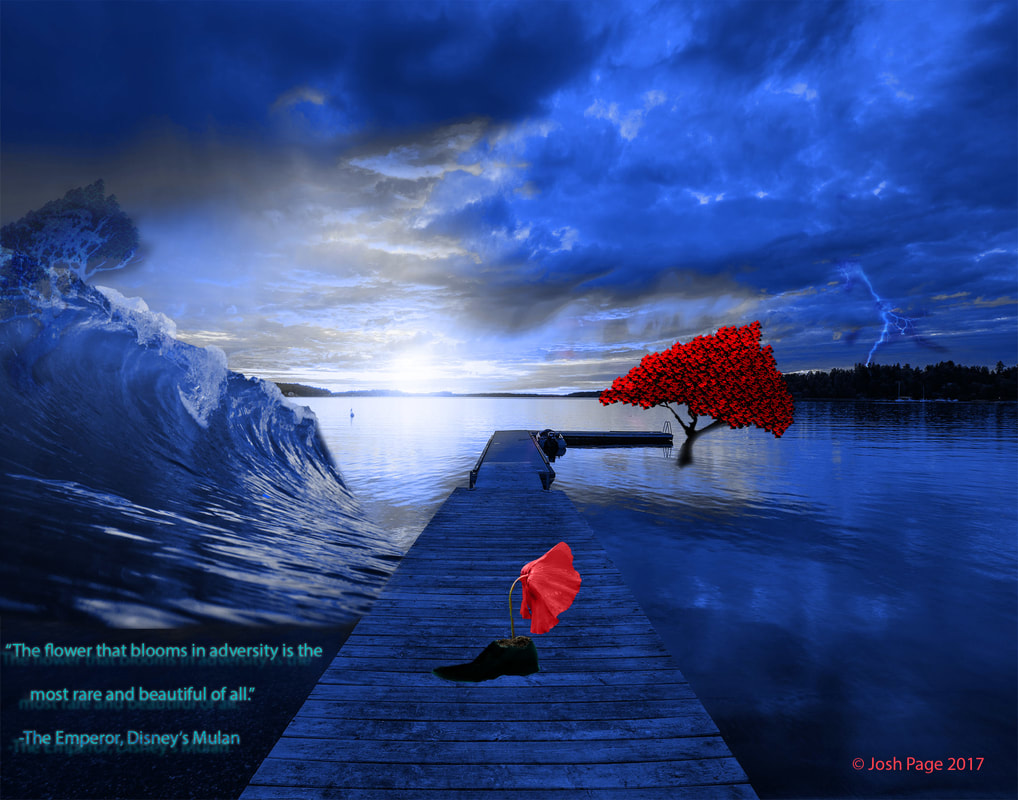
8) Required: include the text from your narrative (your quote) in your artwork. It must be integrated seamlessly as a purposeful design element.
Use the eye dropper to sample color in your artwork for the text, vary the size of the words, vary the placement of the words, try out a clipping mask to place a photo inside the text, choose a font style that matches the style of your artwork
9) Your choice of compositing images or digital paint, or both!
10) Document Size: 11 x 14” or 14 X 11” at 150 ppi
11) Submit your final artwork as a .jpeg
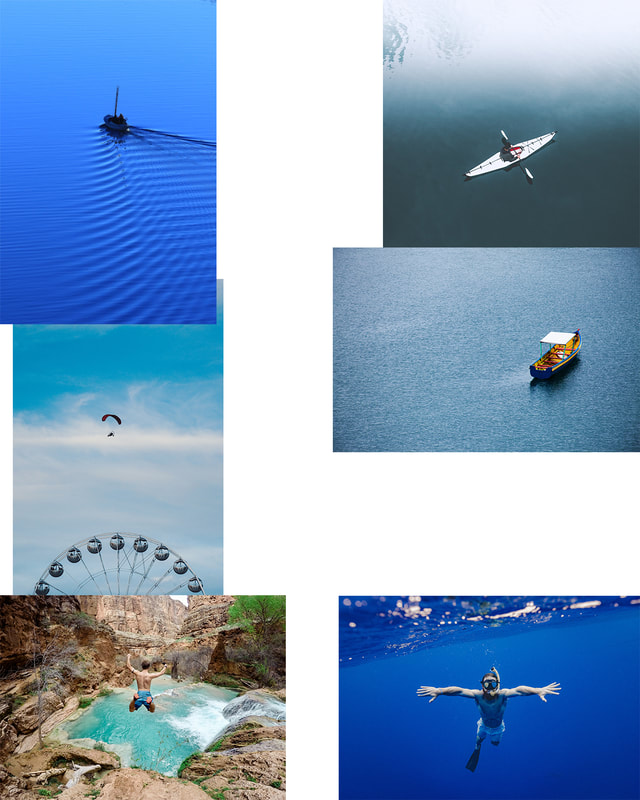
12) You will turn in a Source File that has all your original photos on it BEFORE you edited them. Make a new document at 8x10" and paste all original stock photos used in your artwork on it. Save as a .jpeg
Create an artwork that illustrates words in a song, lines from a poem, a favorite quotation, or a passage from a book or story. Create a composition that depicts your idea about the thoughts that were expressed.
All artwork must be original and created by you. Stock photos from approved sites may be used when the photos are changed and manipulated. You should try your best to take your own photos to manipulate in Photoshop and create all illustrated work yourself. No copyrighted artwork may be used in your artwork.
NO: logos, cartoons, video game characters, movie characters, vectors, clip art, drawings, paintings, manga, etc. created by someone else may be used in your artwork
Choose a specific color scheme: Complementary, analogous, triad, split complement, monochromatic, or neutral. You must use a the colors and their tints and shades in your artwork.
Requirements:
1) A minimum of 6 images seamlessly blended together. Can include textures.
2) A visual illustration of a narrative using subjective color – color chosen by the artist (not realistic color).
3) Use of the entire picture plane (no "floating" elements). Make sure your design goes off the page and that images overlap.
4) Use of subjective color and a color scheme. Choose 2 to 3 colors and use in a color scheme: analogous, complementary, triad, split complement, or neutrals.
5) Value – must use a range of values of the colors including tints, pure hue, and shades of the colors.
6) Use of the elements of art and principles of design. Emphasize at least three in your artwork.
7) Use a “rule of composition.”
8) Required: include the text from your narrative (your quote) in your artwork. It must be integrated seamlessly as a purposeful design element.
Use the eye dropper to sample color in your artwork for the text, vary the size of the words, vary the placement of the words, try out a clipping mask to place a photo inside the text, choose a font style that matches the style of your artwork
9) Your choice of compositing images or digital paint, or both!
10) Document Size: 11 x 14” or 14 X 11” at 150 ppi
11) Submit your final artwork as a .jpeg
12) You will turn in a Source File that has all your original photos on it BEFORE you edited them. Make a new document at 8x10" and paste all original stock photos used in your artwork on it. Save as a .jpeg
Student Examples with Source Files

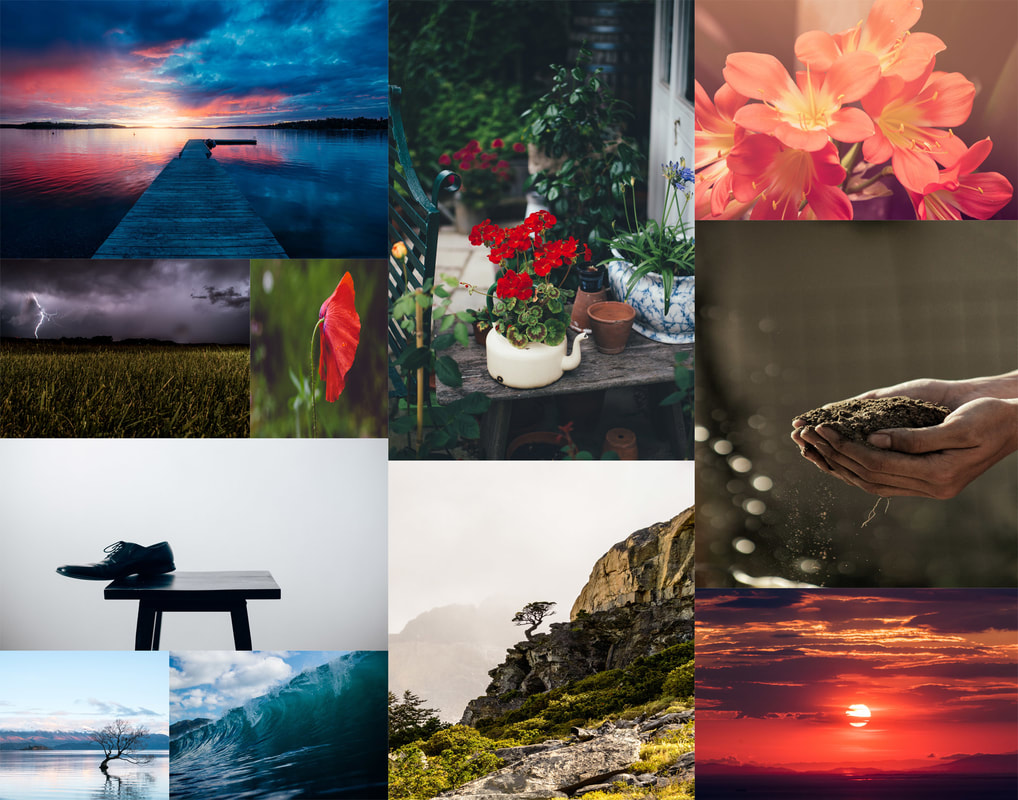
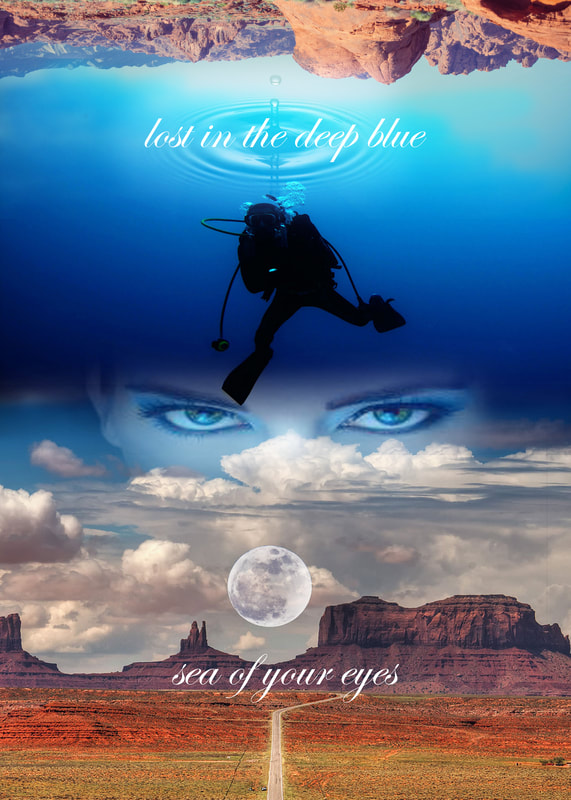
More Student Examples: Illustrate a Quote - Color Scheme
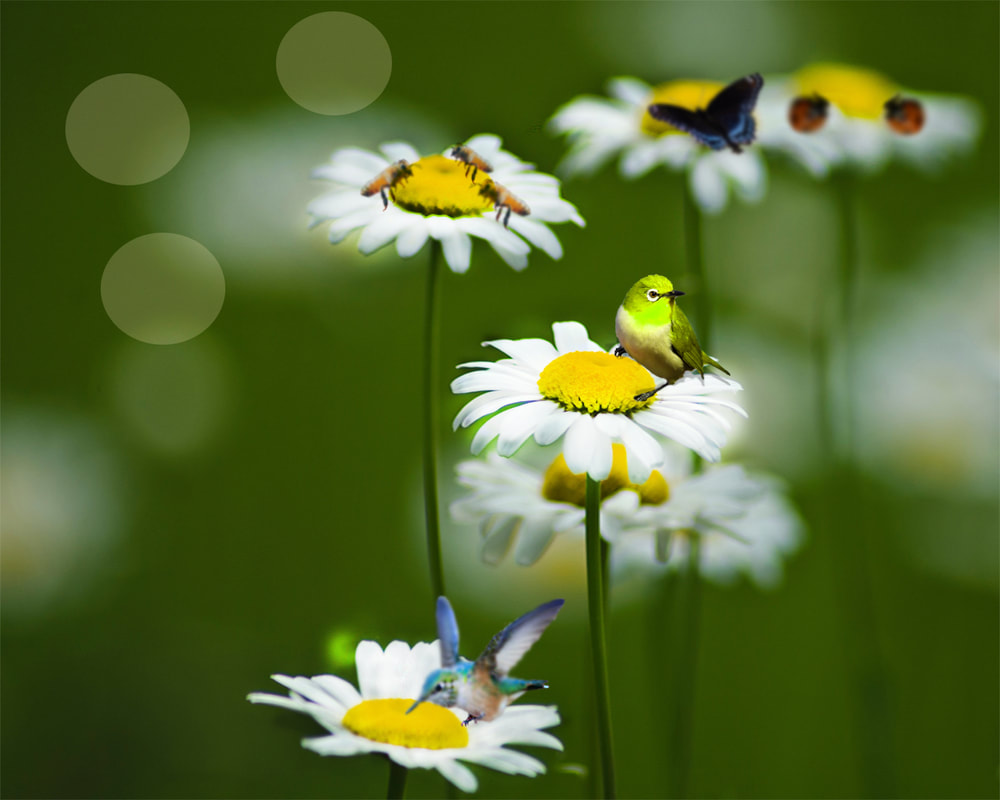
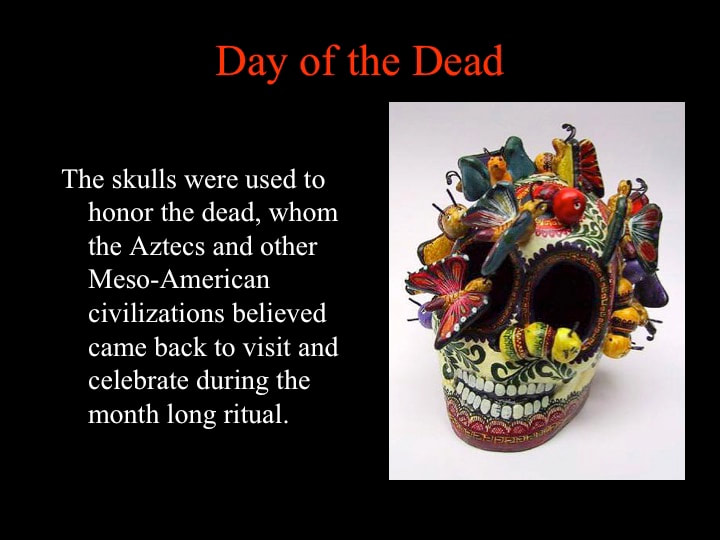
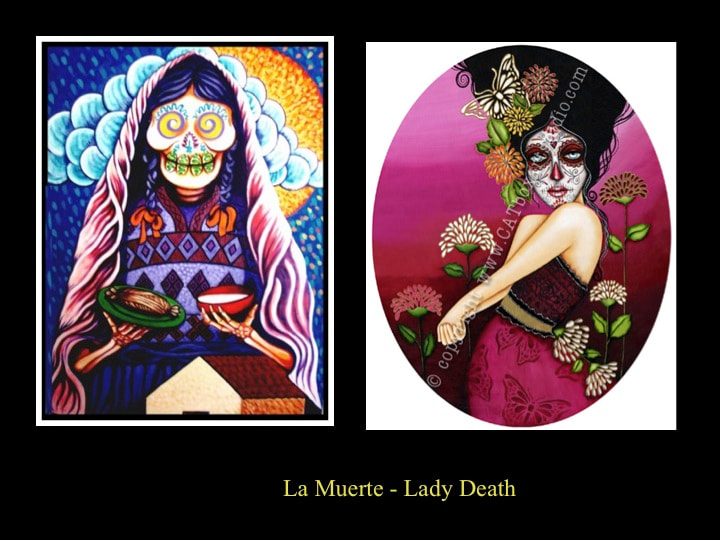
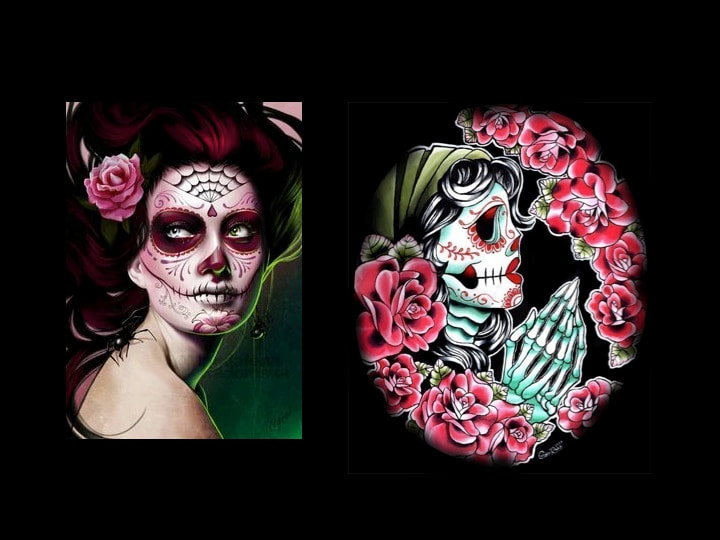
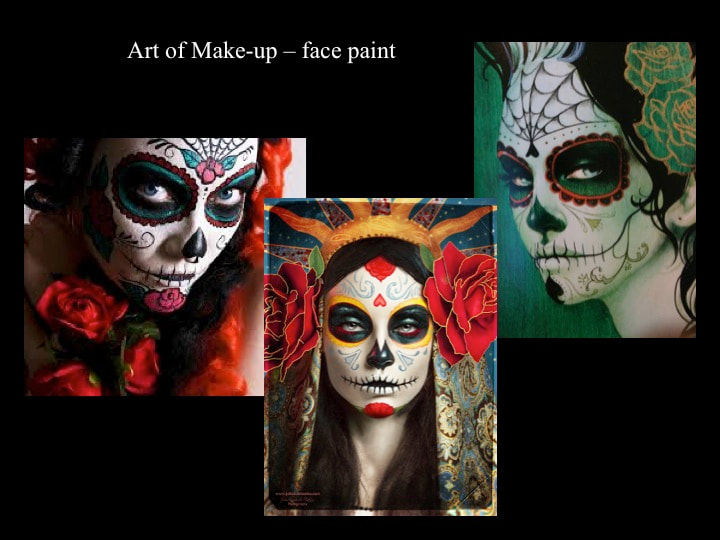
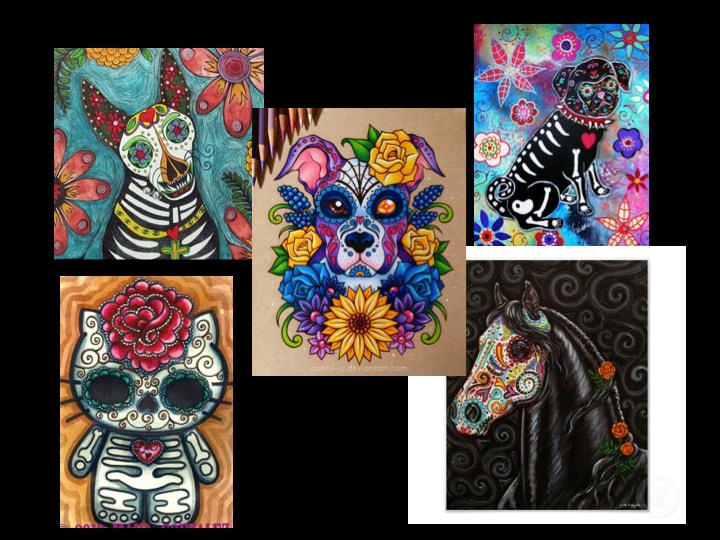
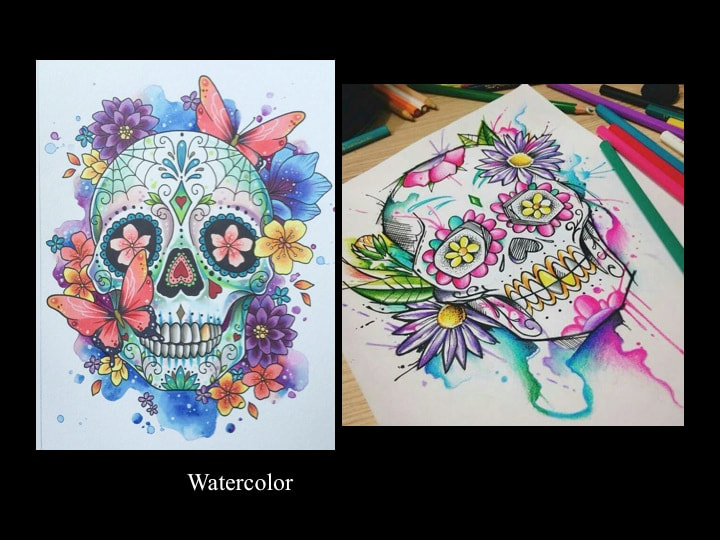
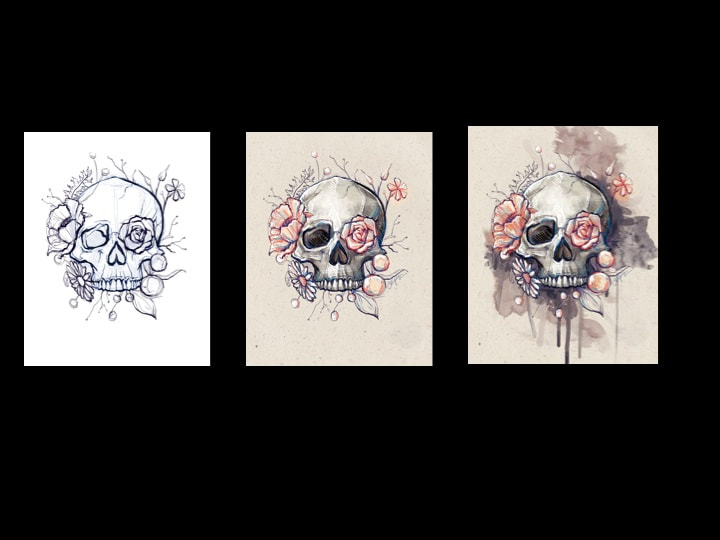
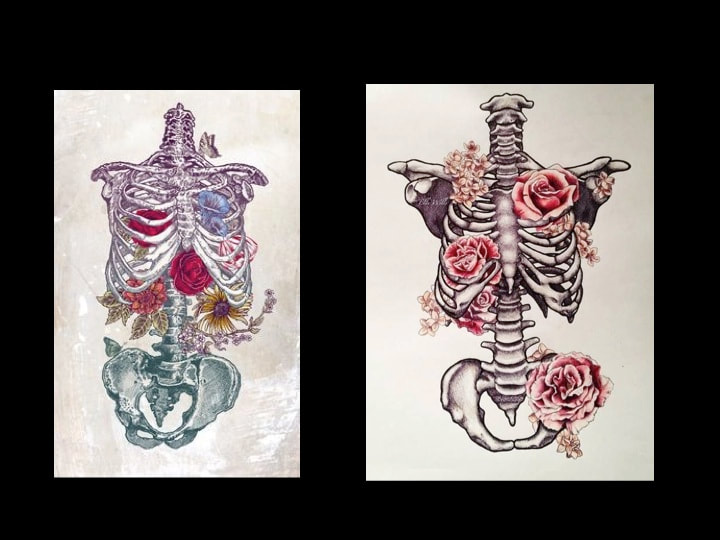
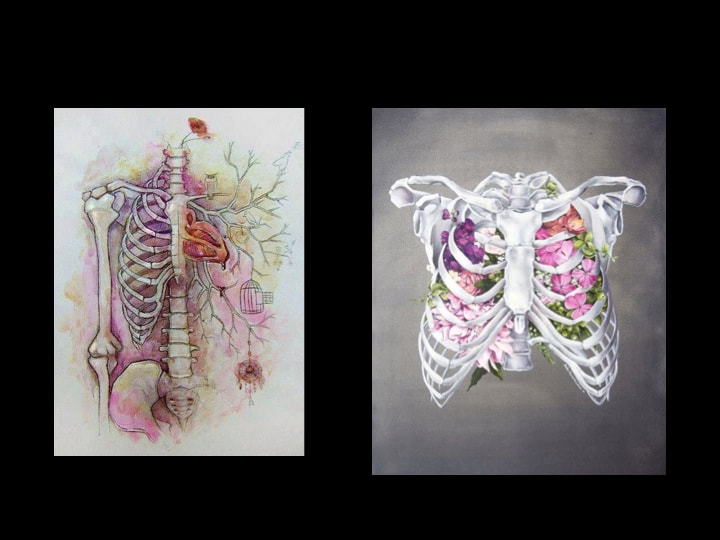
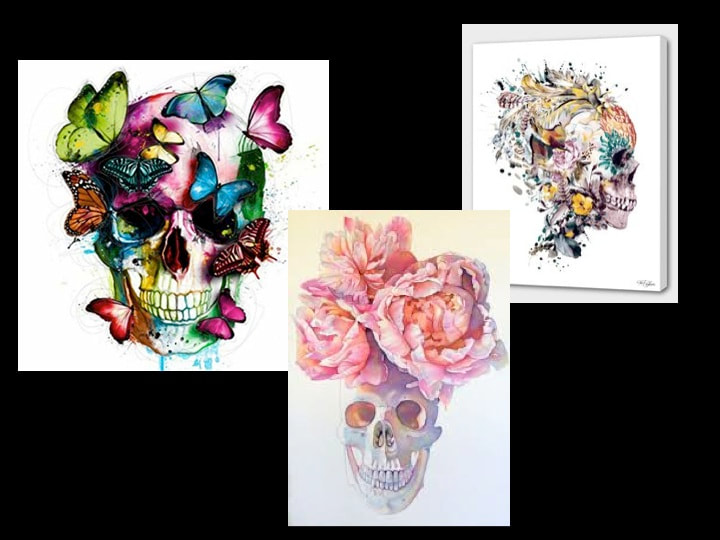
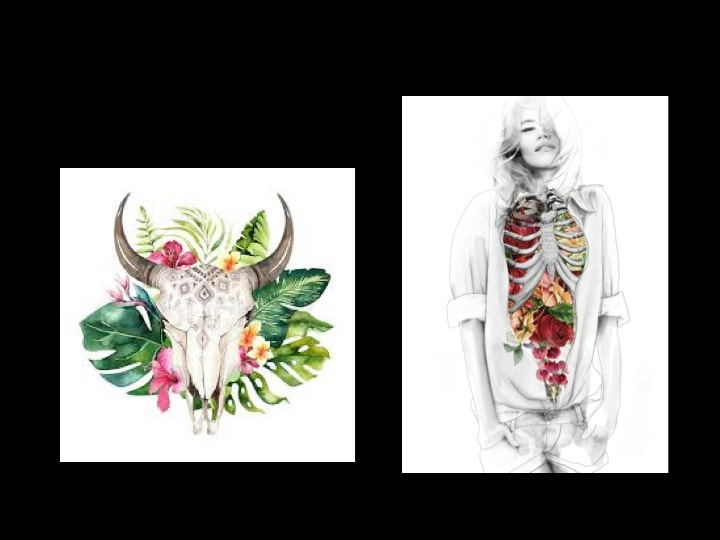
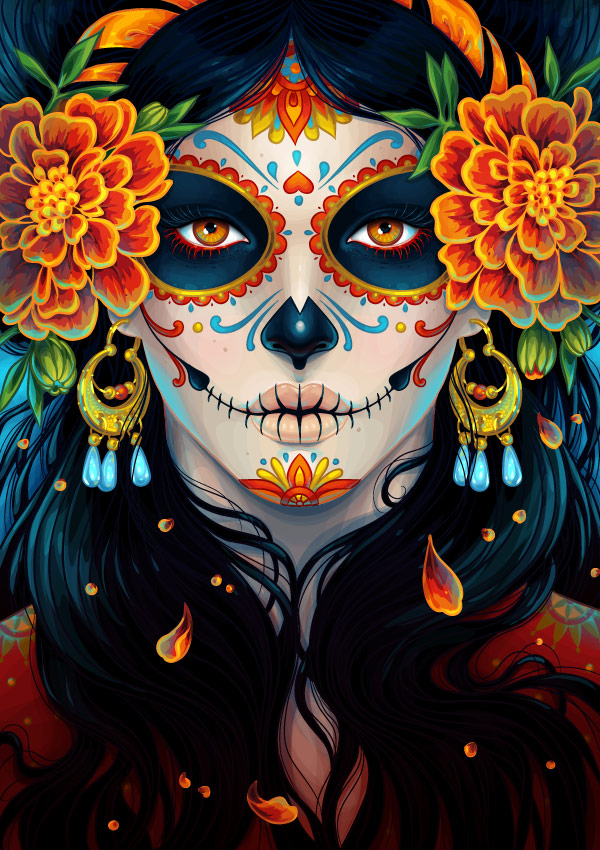
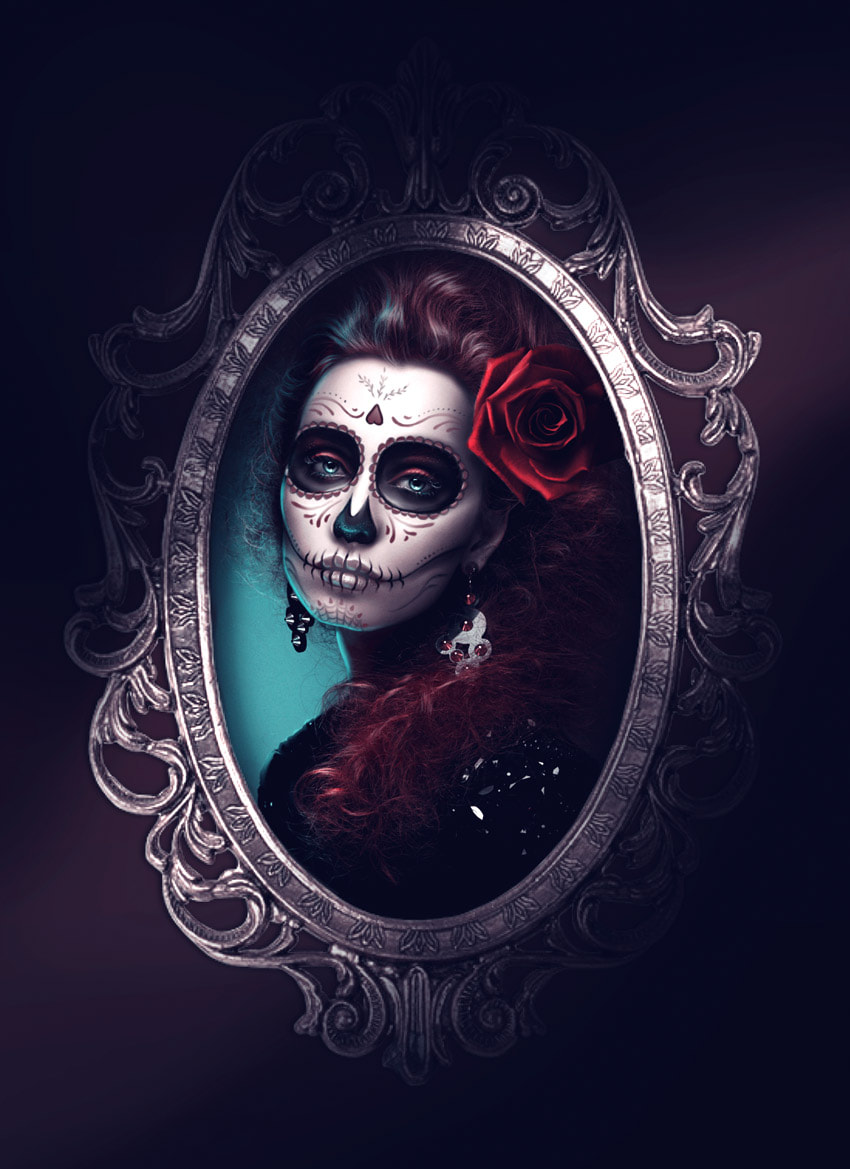
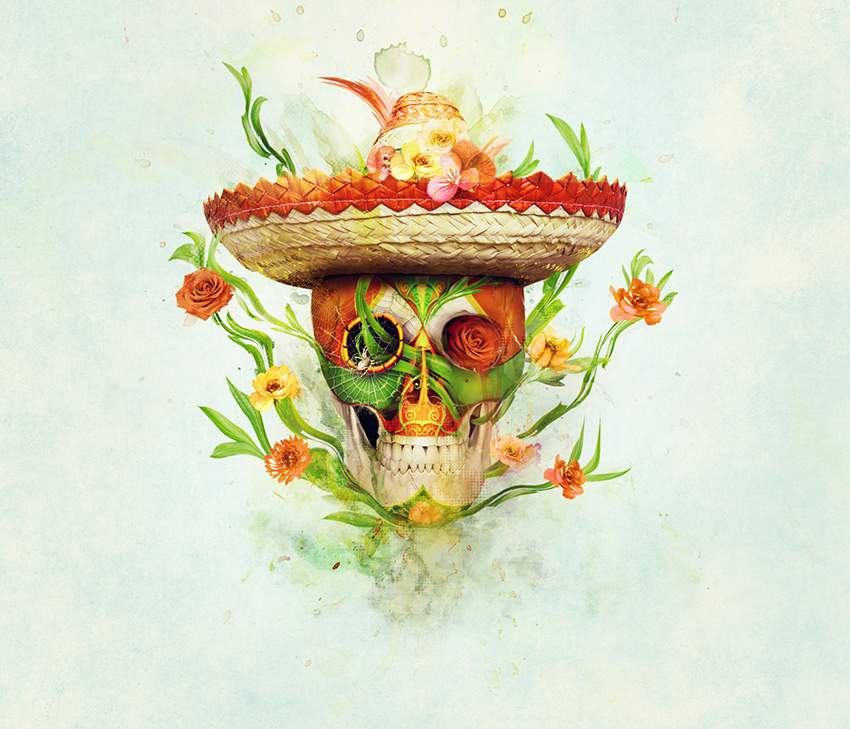
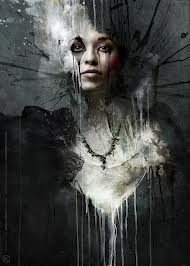
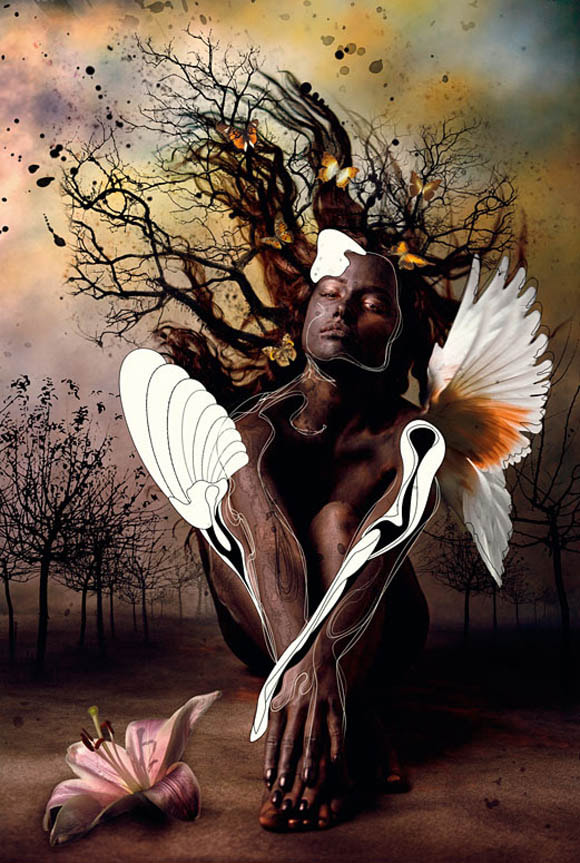
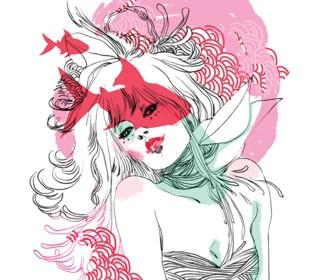
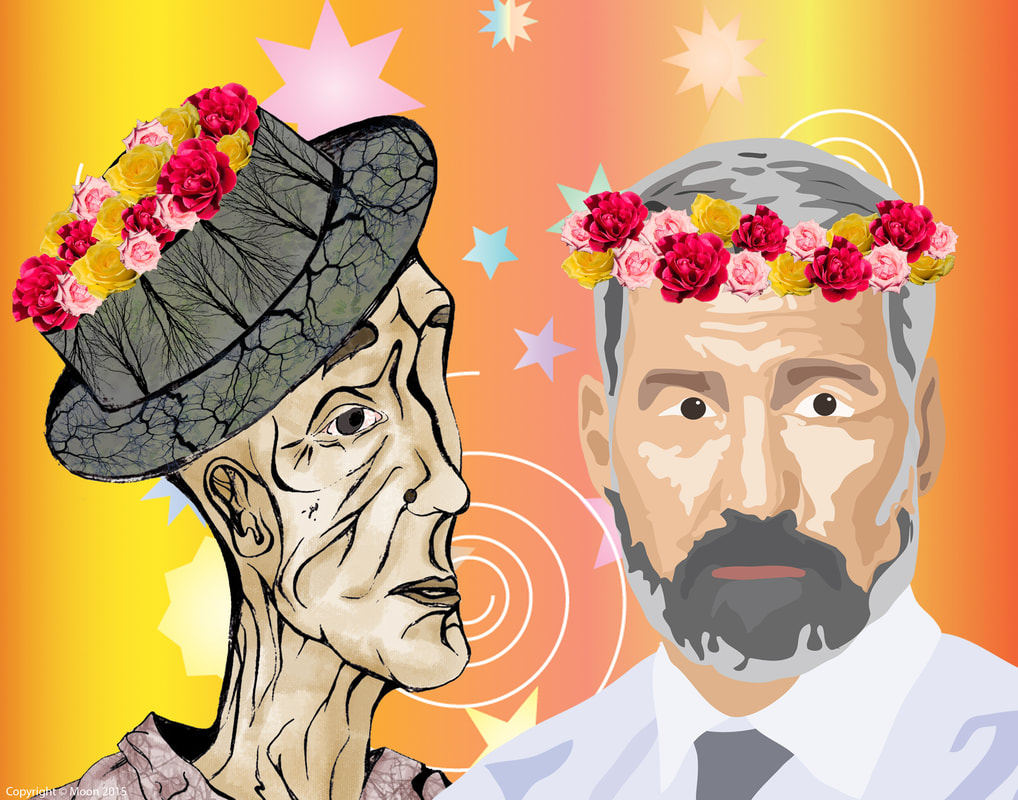
Day of the Dead Artwork
Make a Day of the Dead inspired artwork
8x10" 150ppi
Requirements:
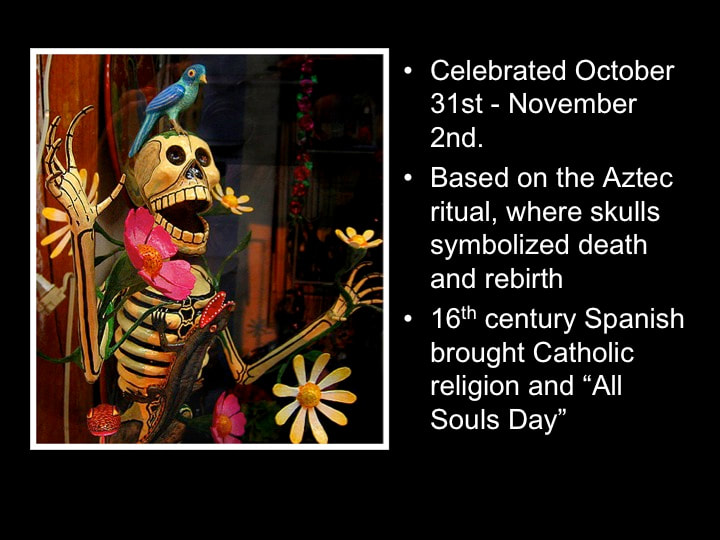
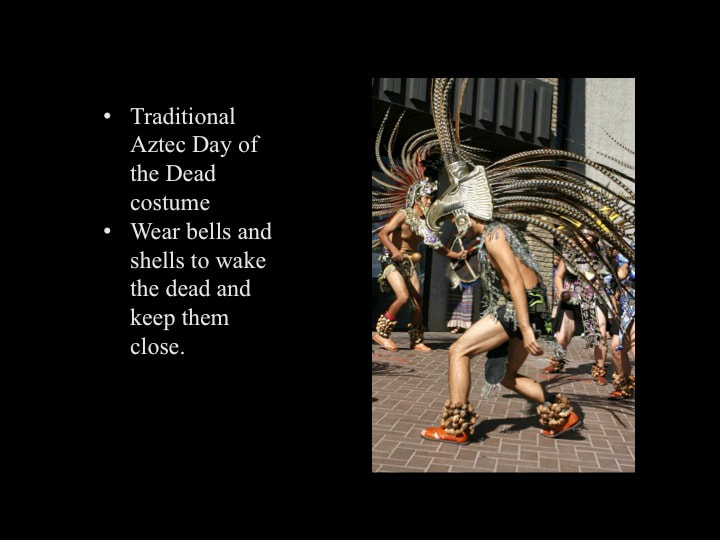
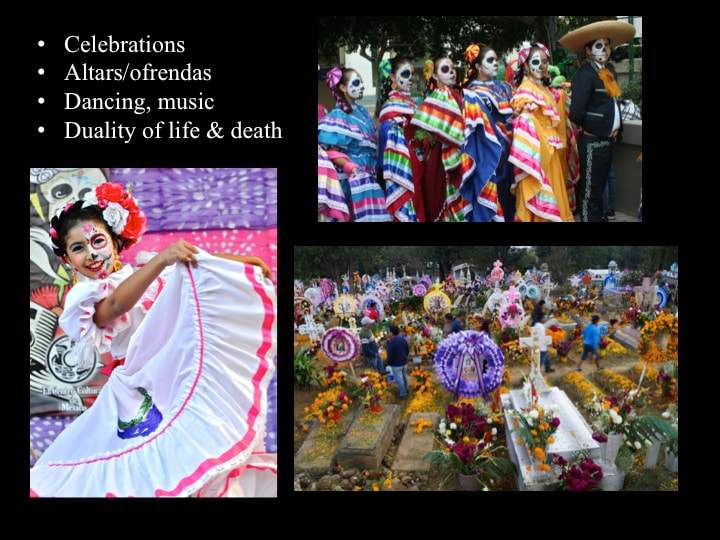
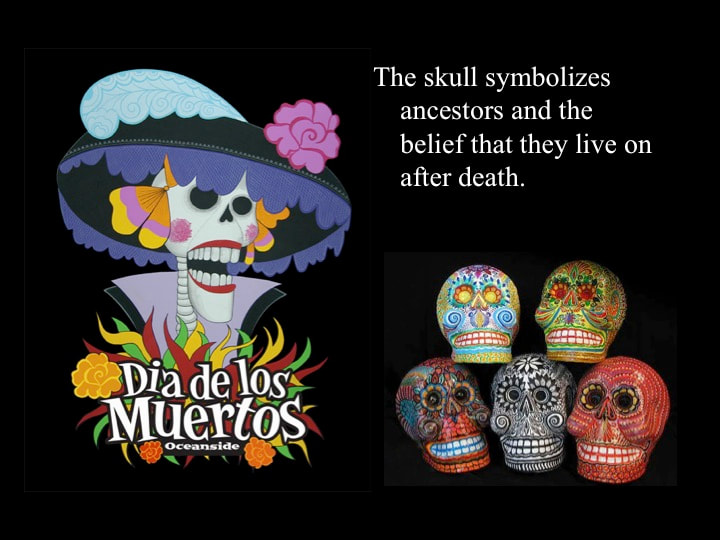
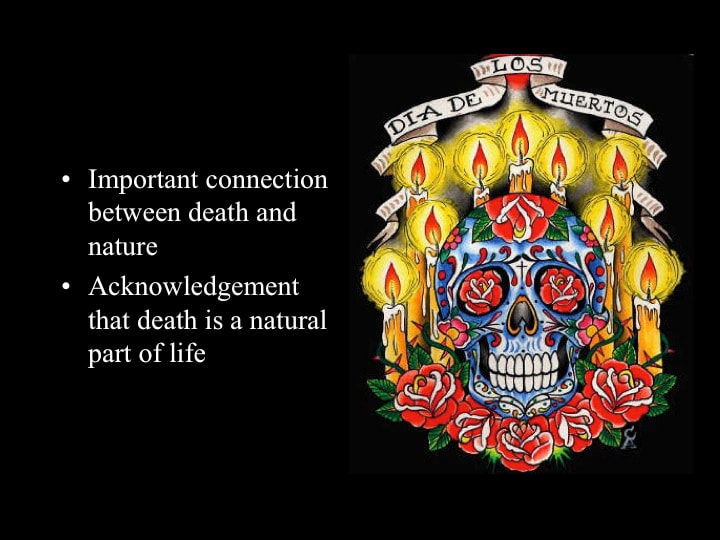
Make an artwork that illustrates the symbolism and cultural traditions of Dia de Los Muertos - Day of the Dead.
It can be a photo composite, digital painting, or blend of both.
Must include:
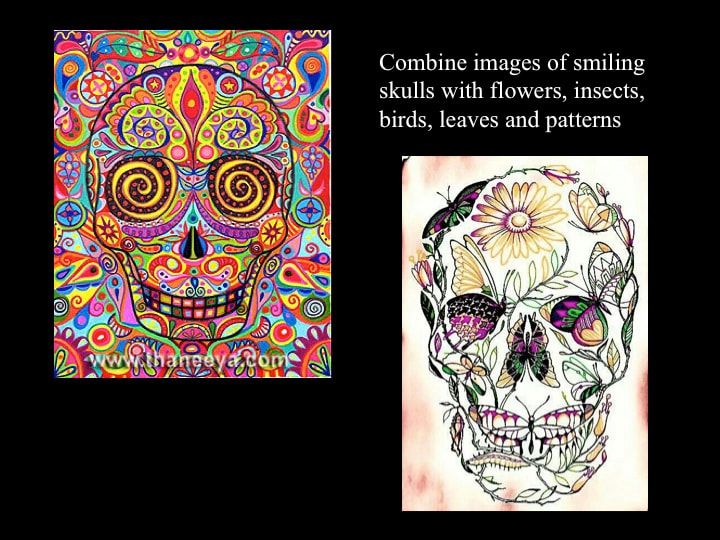
1) Skulls or skeletons
2) Nature: flowers, leaves, vines, trees, etc.
3) Animated nature: butterflies, birds, spiders and webs, snakes, caterpillars, etc.
4) Show Photoshop skills by blending images together, changing hue, using layer styles, using layer blending modes, masking photos together seamlessly, using brushes and digital painting.
5) Include a background: a texture, watercolor texture, night sky, flowers, Day of the Dead patterns, etc.
Choose 1 tutorial to use for your Project:
1) How to Create a Calavera (skull) Portrait :
-Class Demo Part 1 by Mrs. Doerrer - getting started digitally painting the face
-Class Demo Part 2: adding lighting, flowers, butterflies, brush patterns
-Flowers file
-Butterfly file
-Ivy brush patterns file
-Substitute the photo of the woman for your own self portrait.
-Substitute and add different flowers
-Add more nature like butterflies, snakes, etc.
2) How to Create a Floral Sugar Skull:
- Substitute a different realistic skull.
-Substitute different flowers and add more flowers.
-Add more nature like butterflies, snakes, etc.
-Substitute a different hat or a flower crown, a real crown, etc.
Use these skull and skeleton pics as a guide:
-Realistic Skull
-Realistic Skeletons
-Stylized Skull - front view
-Stylized Skull - profile
-Stylized skull with flowers
How to draw a day of the dead skull video
How to Draw a Stylized Skull Step by Step pictures

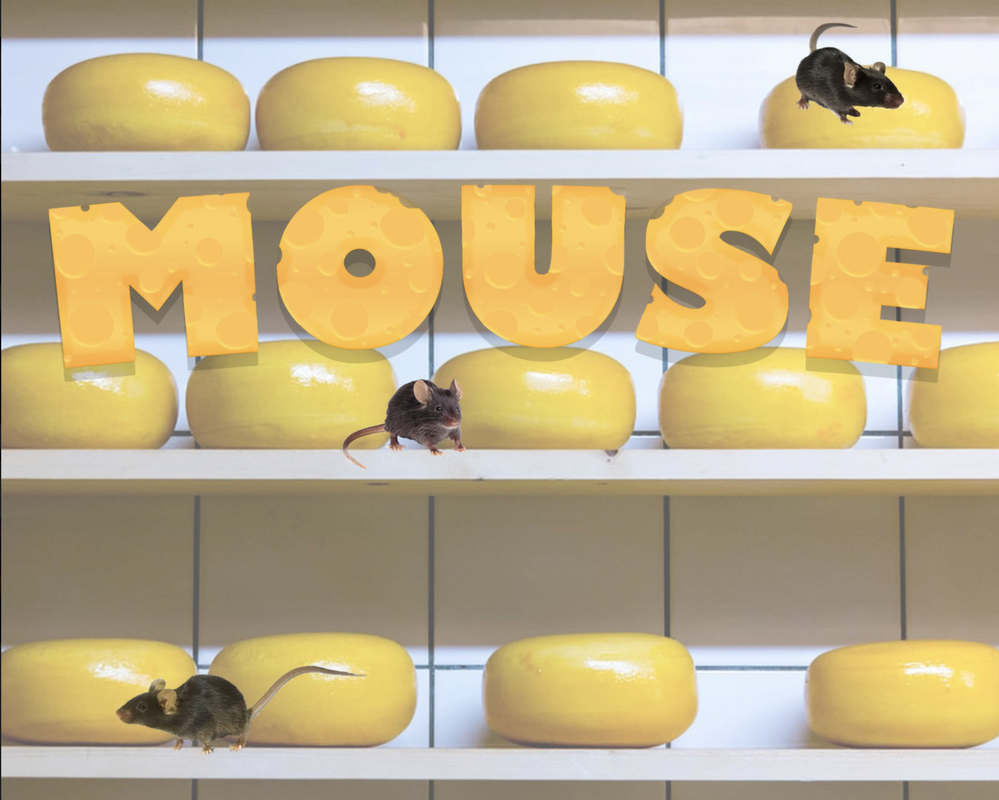
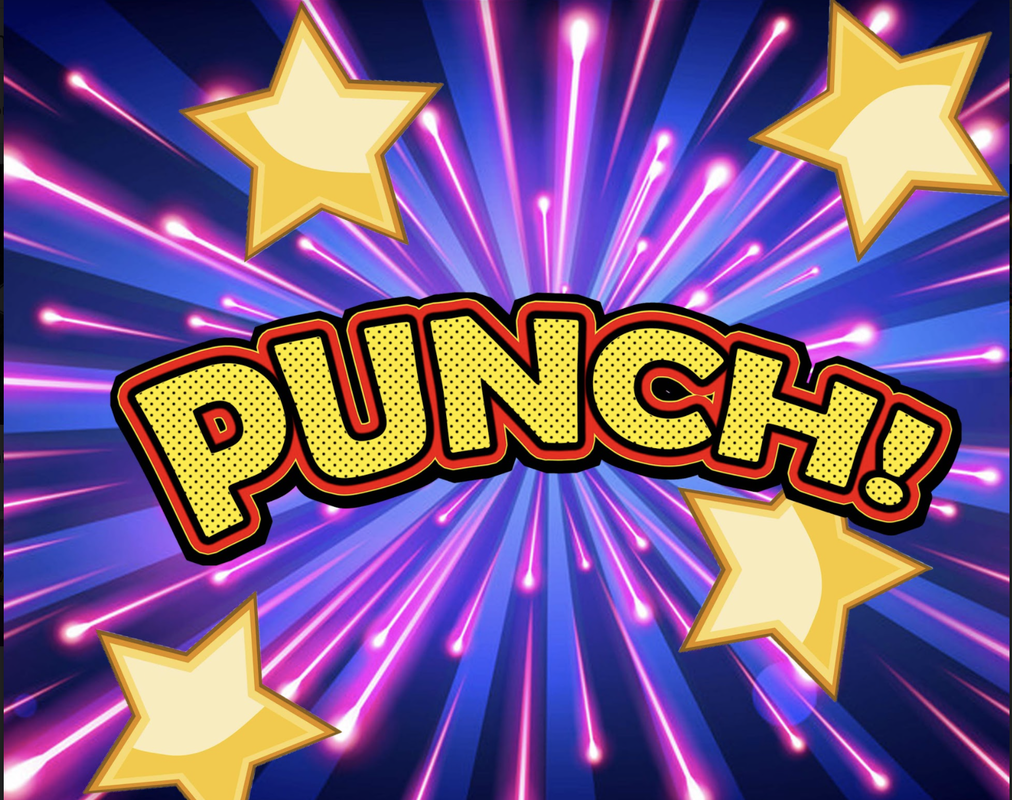
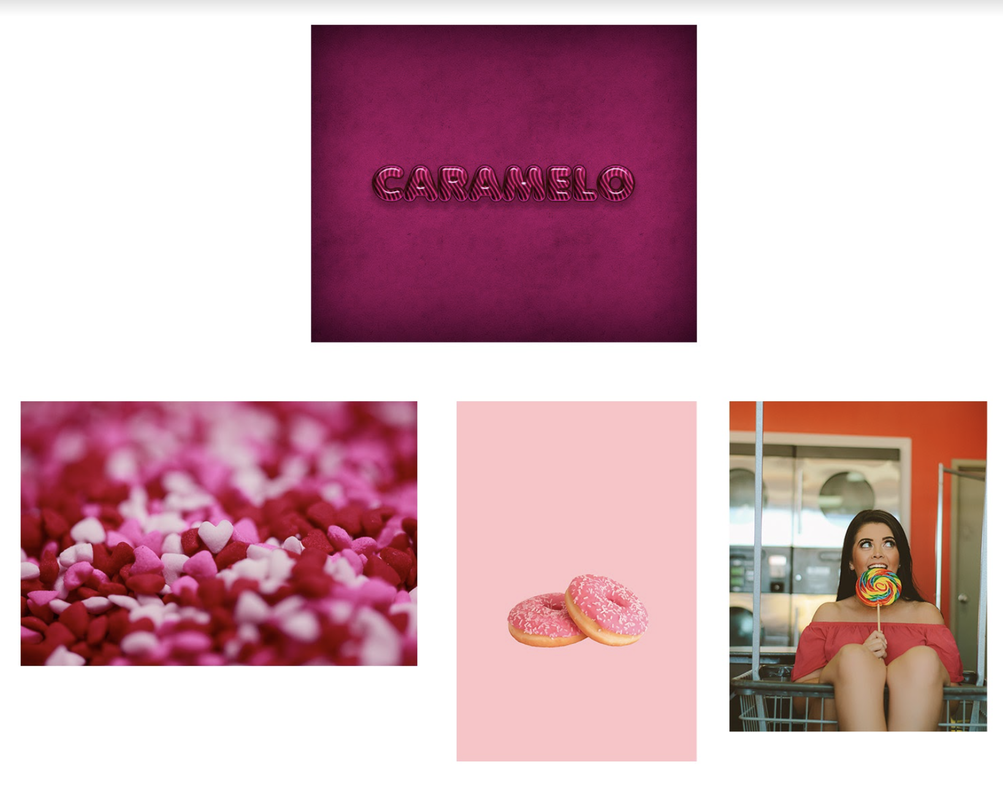
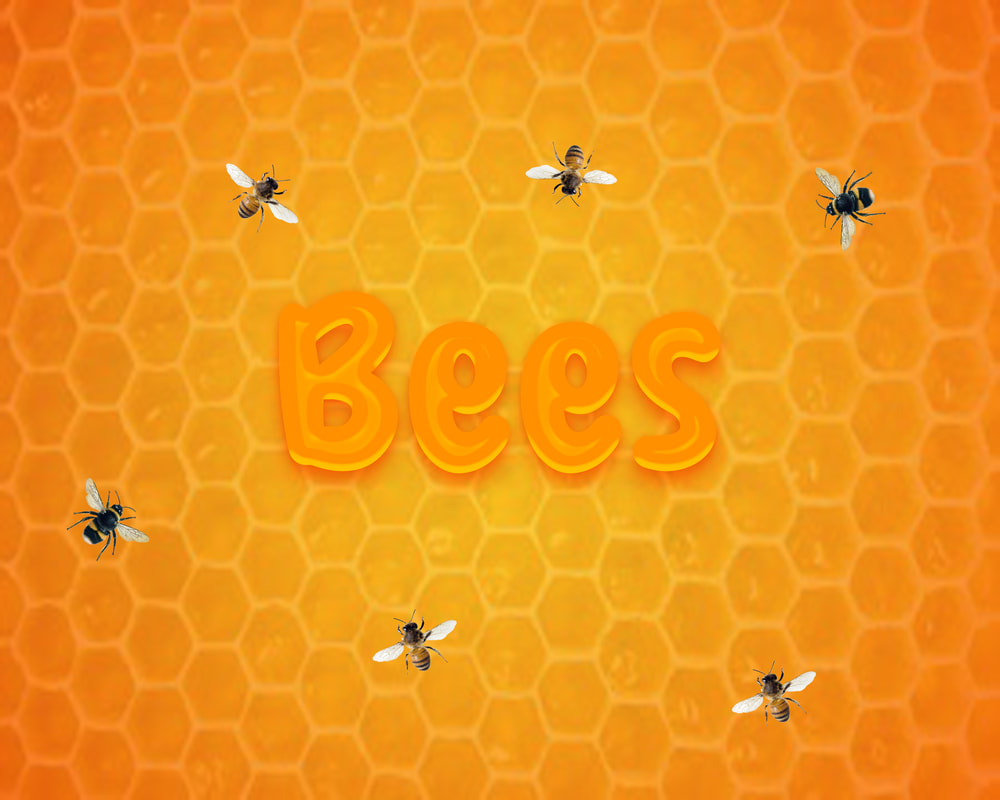
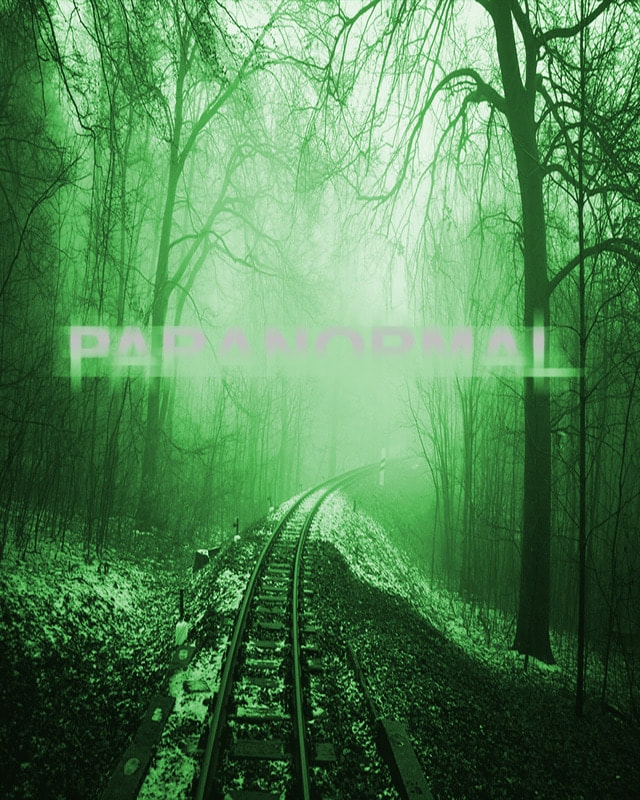
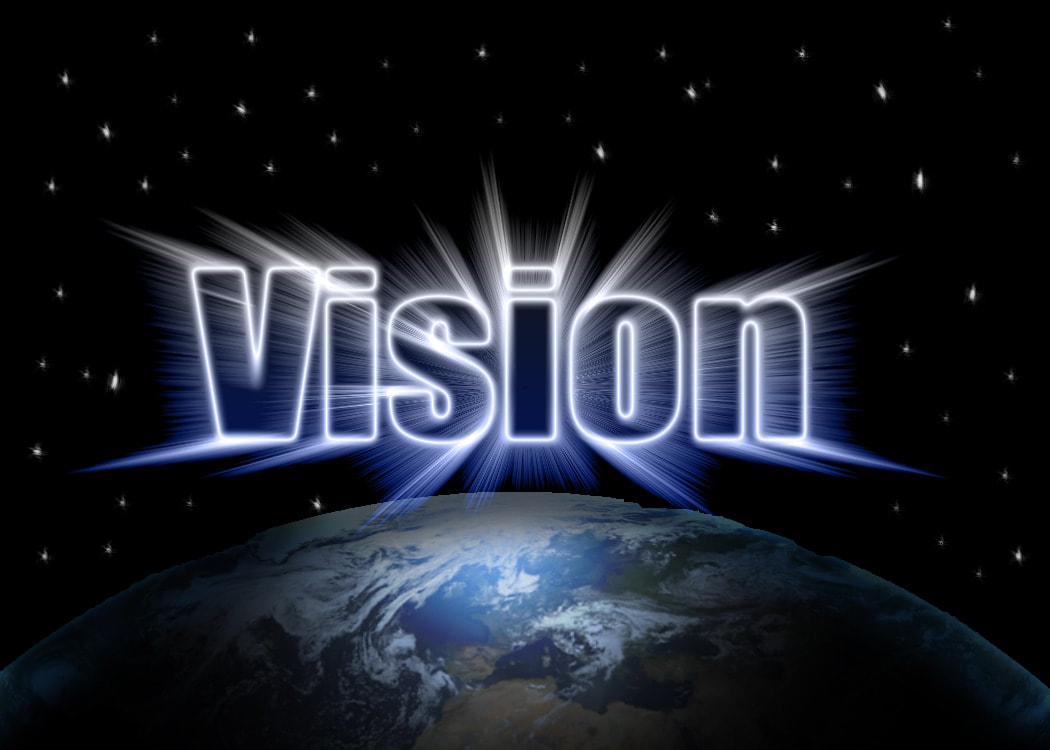
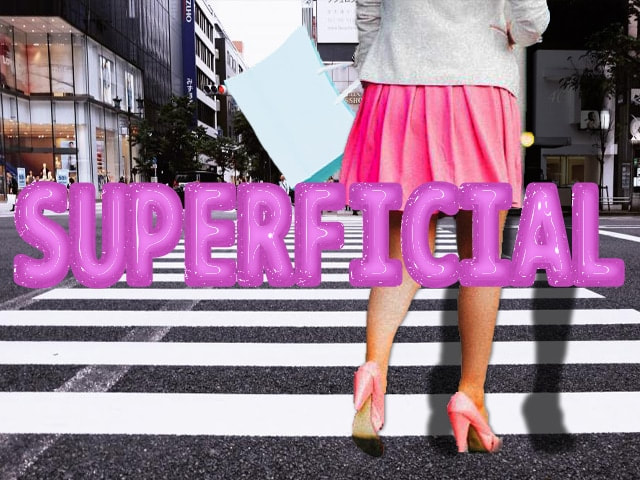
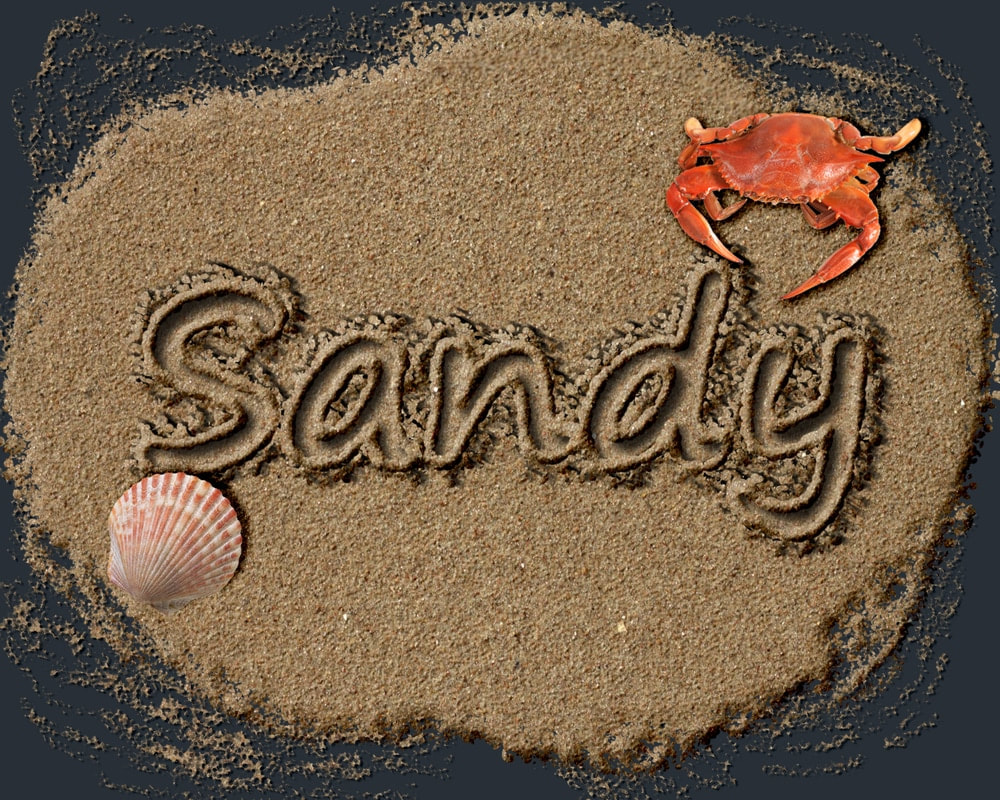
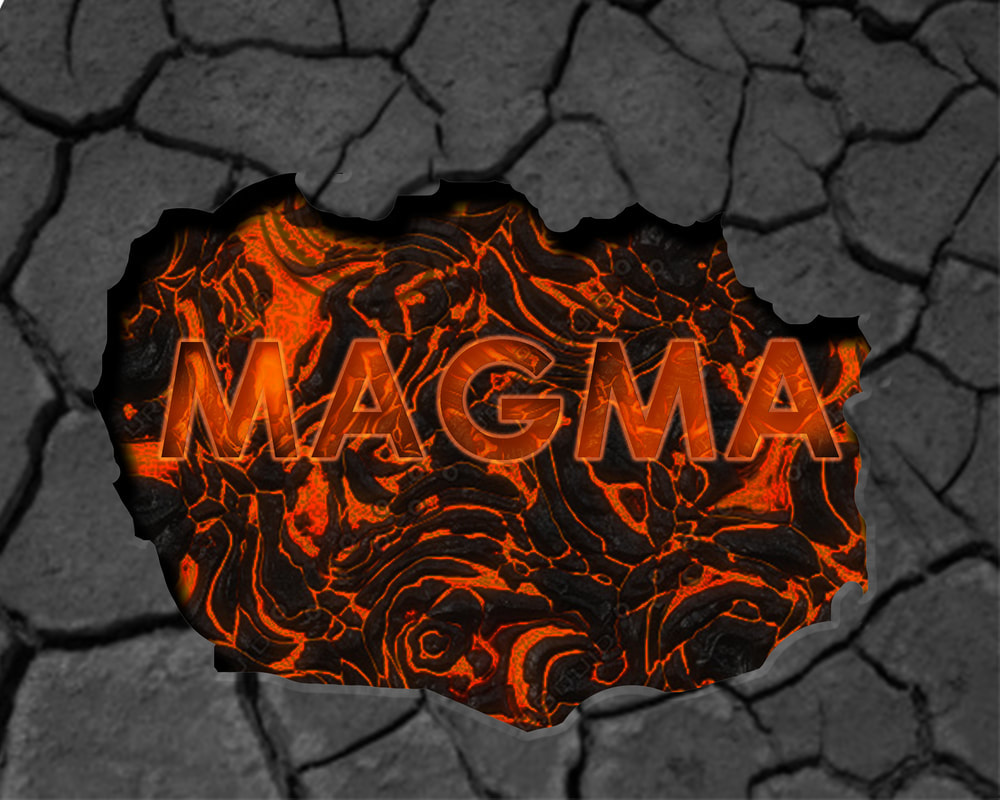
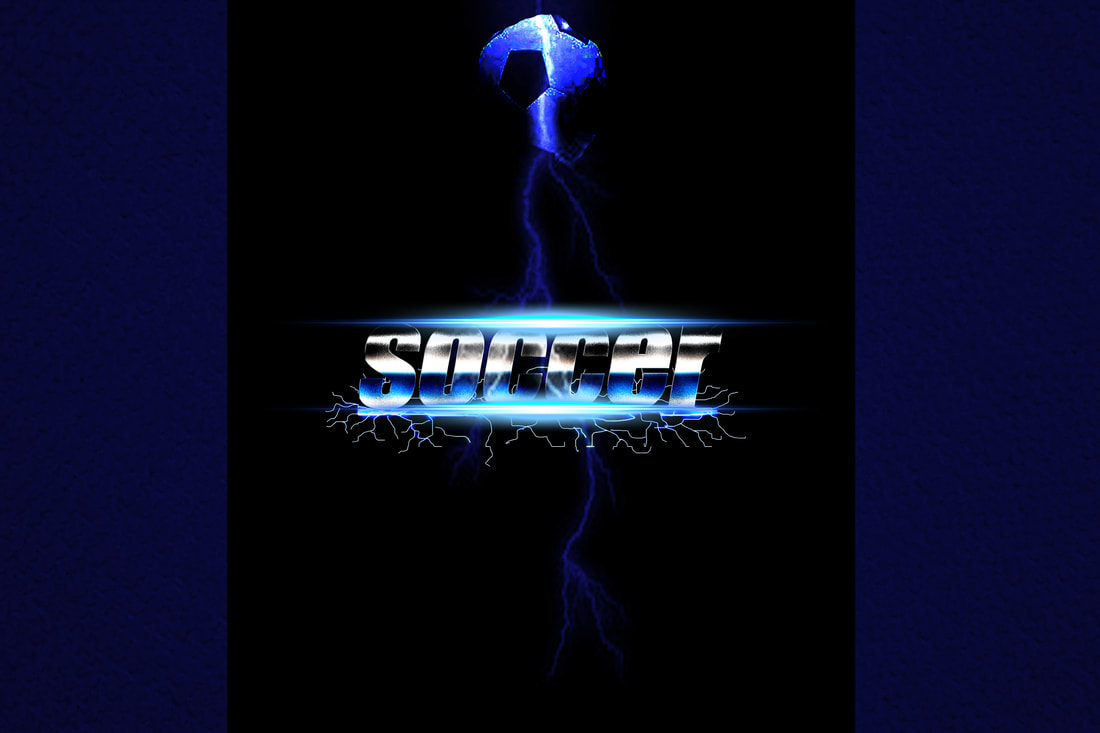
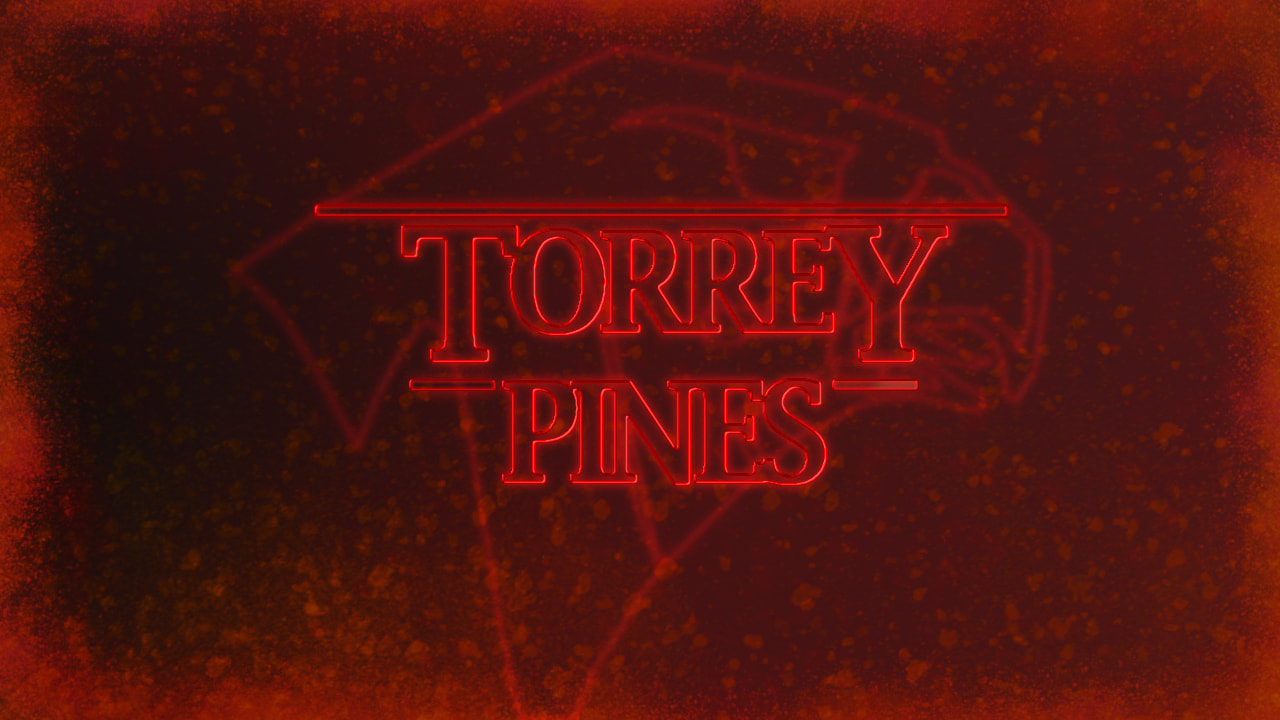
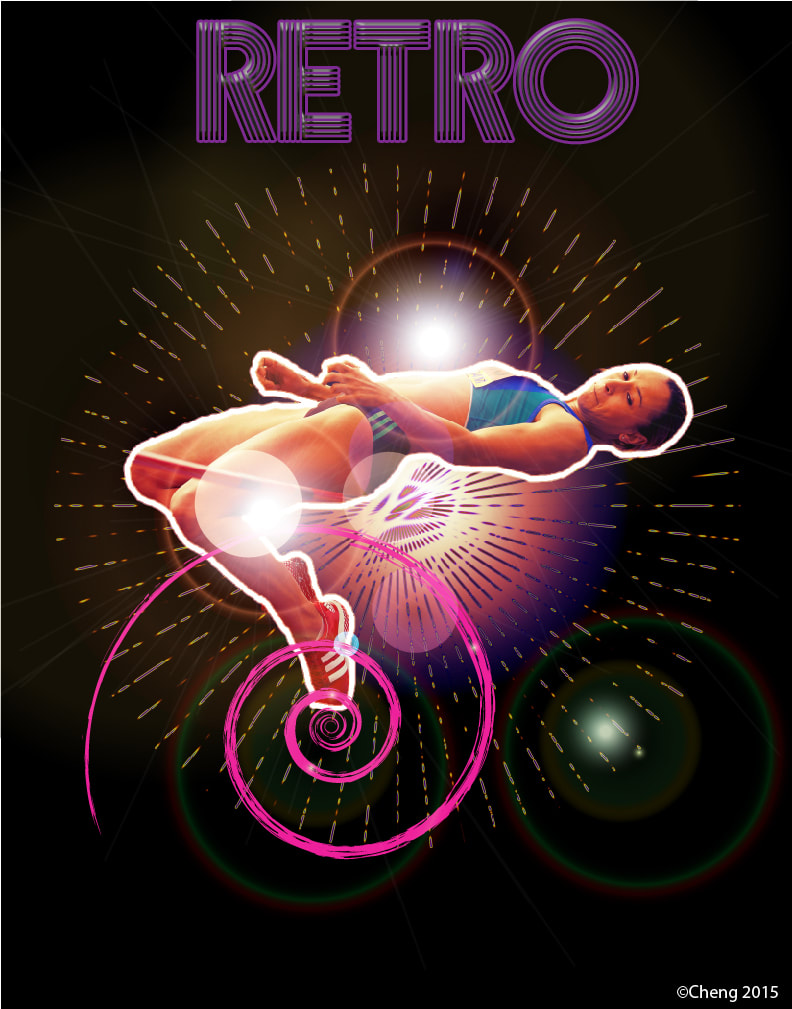
TWO Text Effects ARTWORKS
Create 2 unique text effects artworks by completing 2 different “text effect” tutorials you find on the internet and changing them to make them unique to you.
1 text effect should visually illustrate a word.
1 text effect should visually illustrate a different word.
Browse the text effect tutorials and find 2 complex tutorials to complete. Each should take you at least 45 minutes to complete.
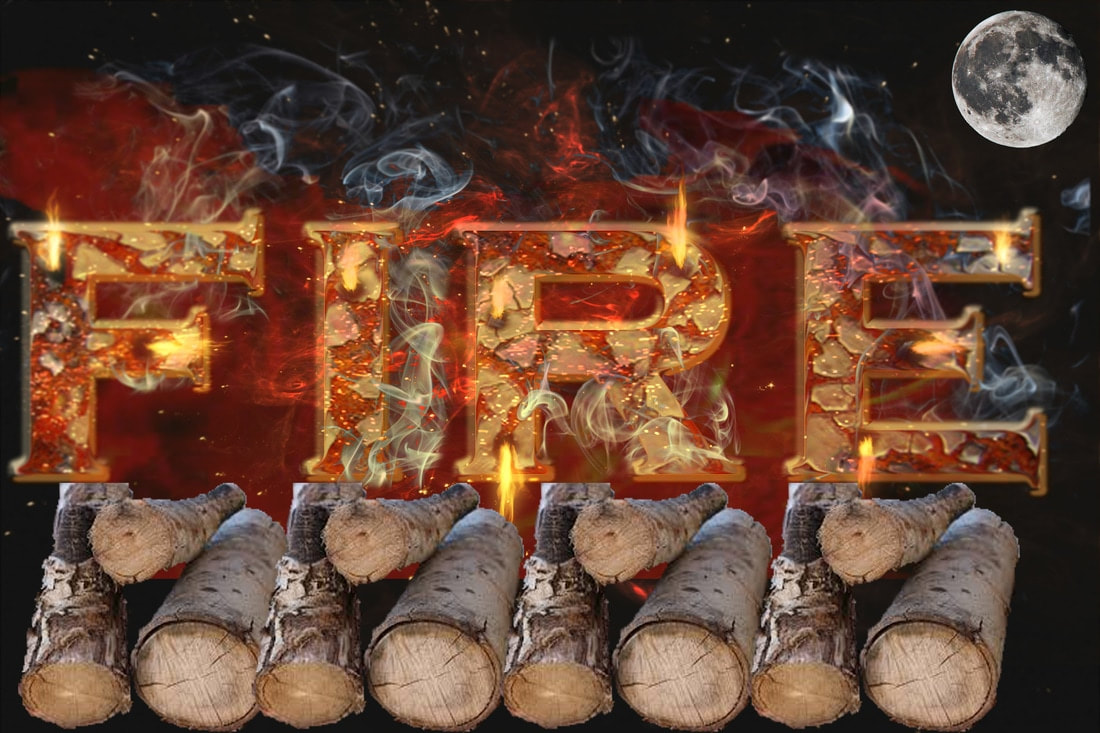
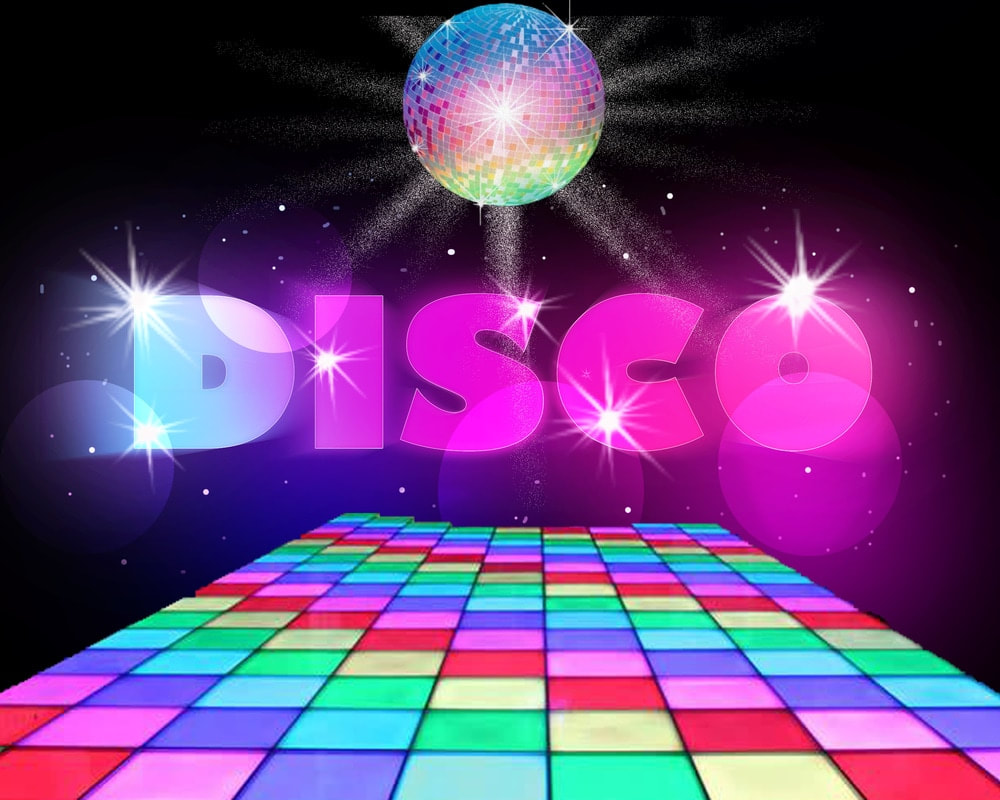
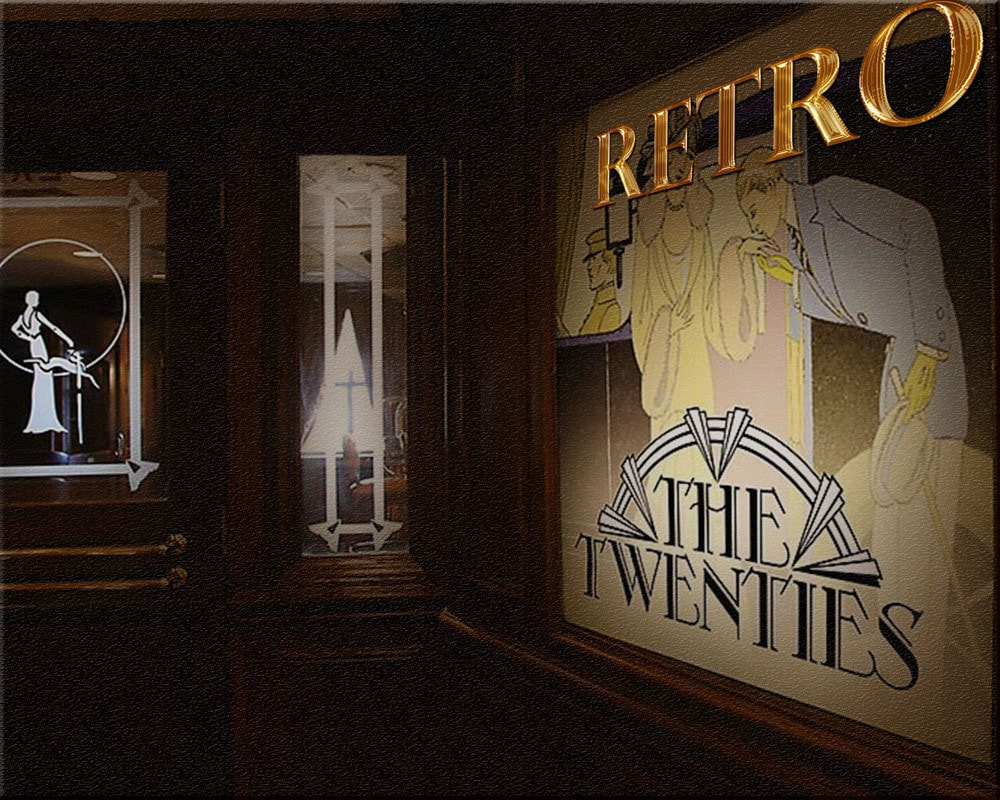
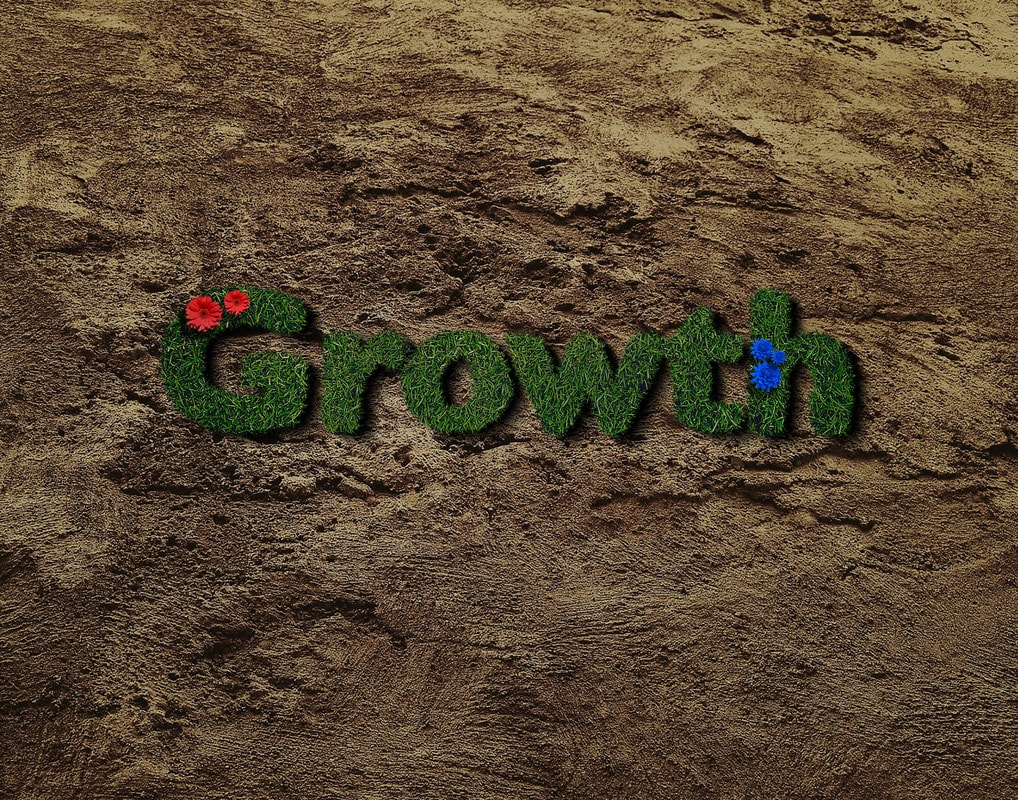
Example words: explode, shatter, rust, grow, float, splash, freezing.
Include a complex and creative background or environment for the word to "live" in.
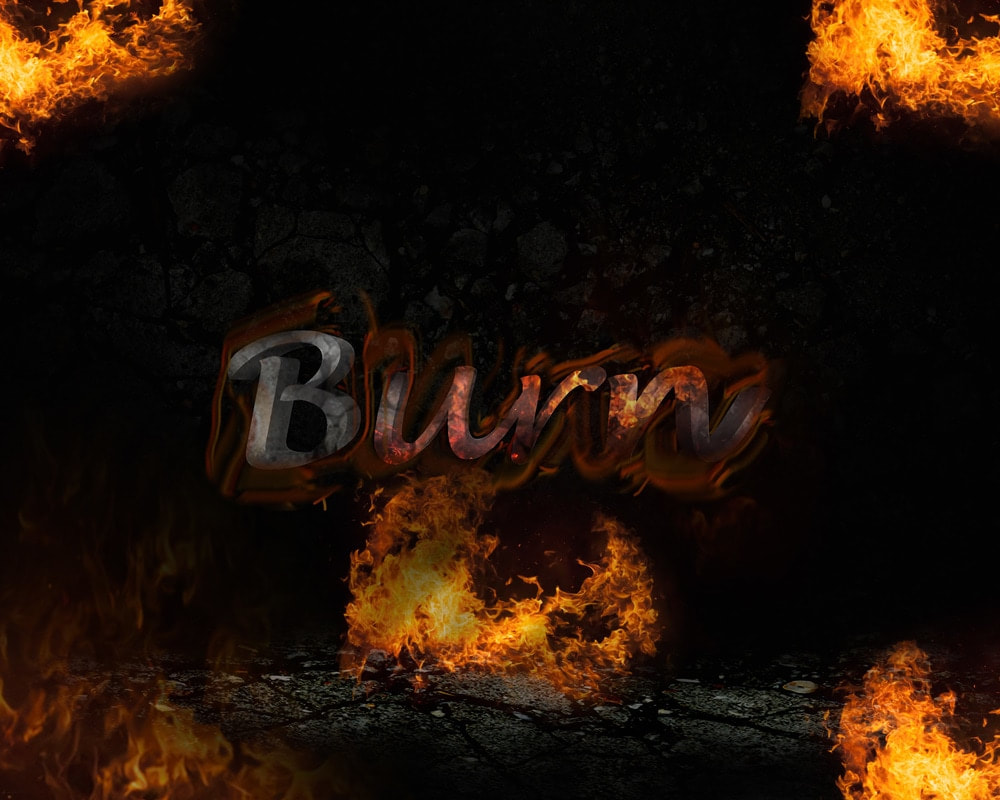
**Your word MAY NOT BE the SAME WORD as the tutorial you follow. You must create a NEW word or use a synonym. Or use your NAME.
For example: if the tutorial uses the word FIRE, then you could change it to BURN or SMOLDER
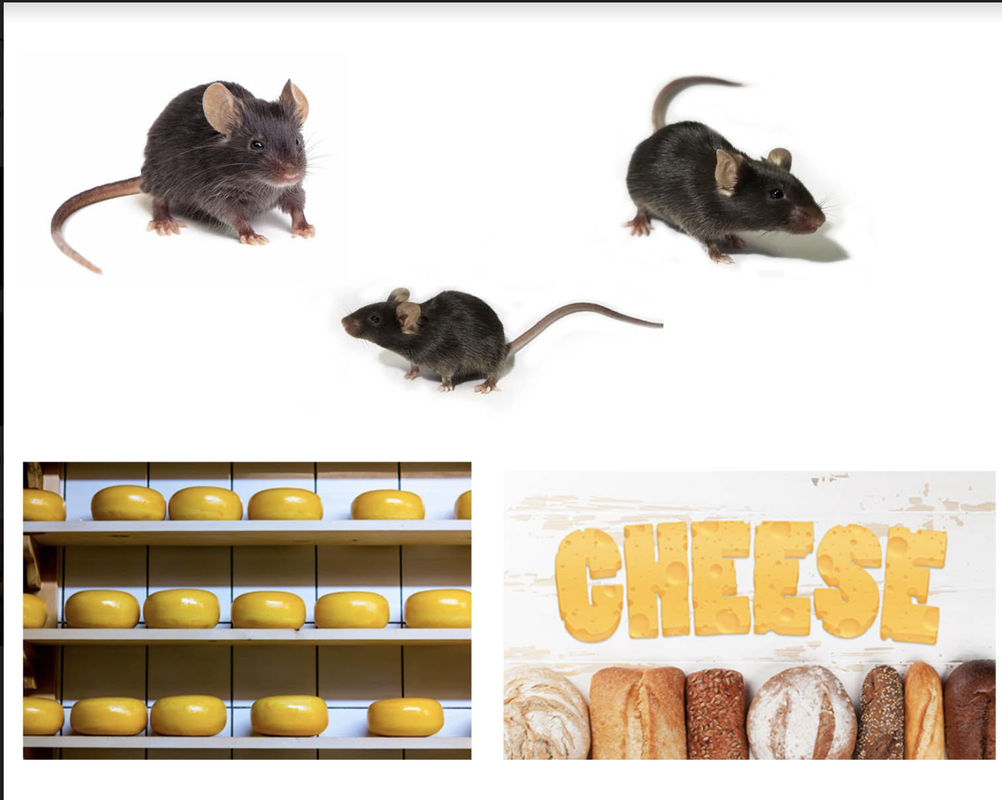
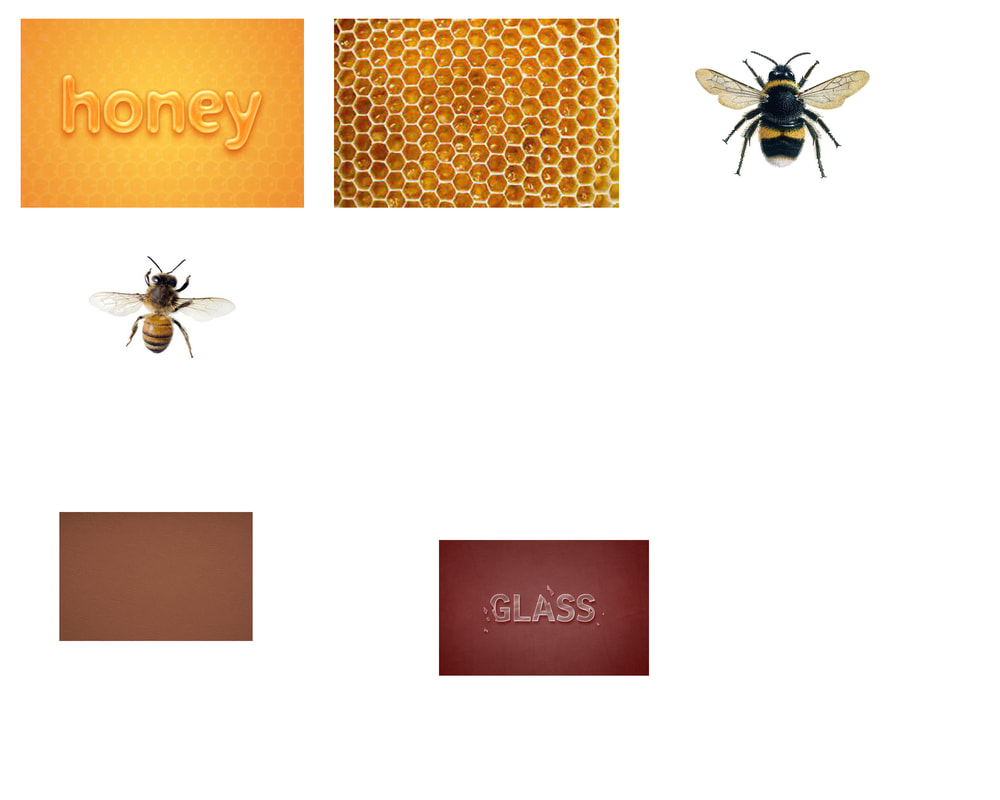
What you will turn:
1) 1 file with your first finalized text effect artwork - including a creative background.
2) Submit source files with SCREEN SHOTS of the tutorial artwork and your substituted stock photos before editing them. Place your finished artwork on the source file and turn in your finished artworks as separate jpegs.
3) 1 file with your second finalized text effect artwork - including a creative background.
4) Submit source files with SCREEN SHOTS of the tutorial artwork and your substituted stock photos before editing them. Place your finished artwork on the source file and turn in your finished artworks as separate jpegs.
Each file should be: 8 x 10” or 10 x 8” 300 ppi RGB color mode
Submit TWO different text effects Artworks with BACKGROUNDS.
Remember, these are completed ARTWORKS with the text effects as the FOCAL Point and include a BACKGROUND that the text effect is integrated into purposefully.
You must use YOUR NAME or a SYNONYM as the words.You may NOT use the SAME word as the tutorial.
Make sure to name your files correctly:
yourlastname-text1.jpeg
yourlastname-text2.jpeg
yourlastname-text-source1.jpeg
yourlastname-text-source2.jpeg
Photoshop Tutorials to Learn:
1) The Type tool.
2) Point vs. Area Type
3) Layer Styles
4) Type and Clipping Masks
5) -How to load a pattern in photoshop (and use in layer style >pattern overlay)
6) How to download & install a new font
7) ) Create a new pattern and use in pattern overlay in Photopea
Layer Styles: drop shadow, bevel and emboss, color overlay, stroke
Introduction to layer styles
More tutorials on layer styles here
Gradients:
-Introduction to gradient tool and gradient editor
-Gradient tool and custom gradients
-Gradient Map Image Adjustment: change colors in a document, isolate color, make a color scheme
Pattern Overlay:
-How to load a pattern in photoshop (and use in layer style >pattern overlay)
"Text Effects" Tutorials websites
Free Font Sites:
dafont.com
1001 free fonts
Example of Text Effect & Source File
Student Examples


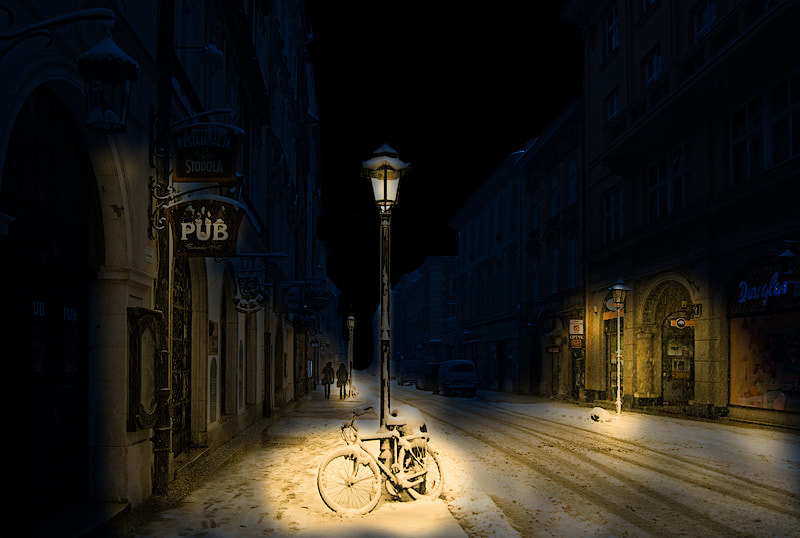
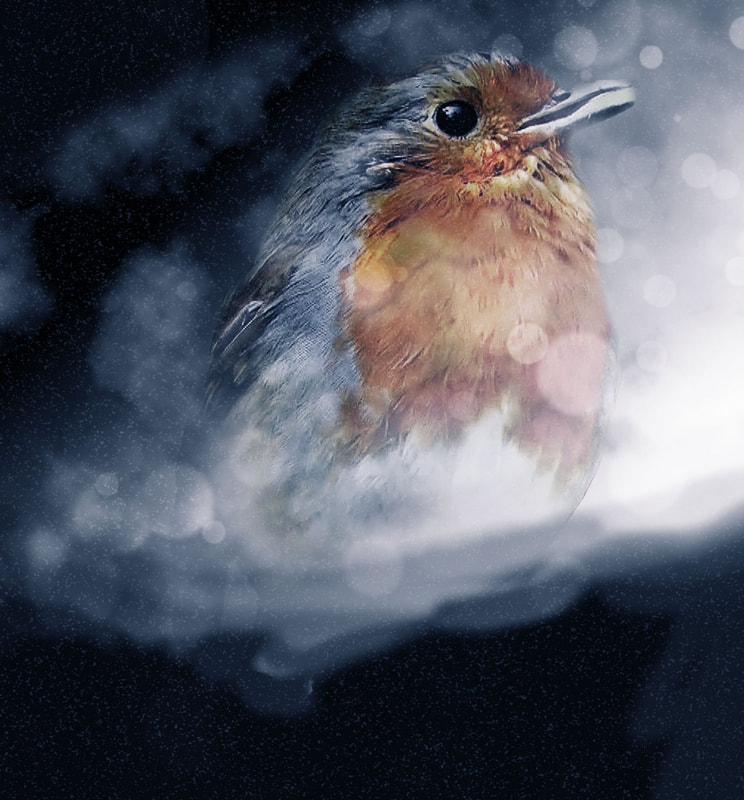
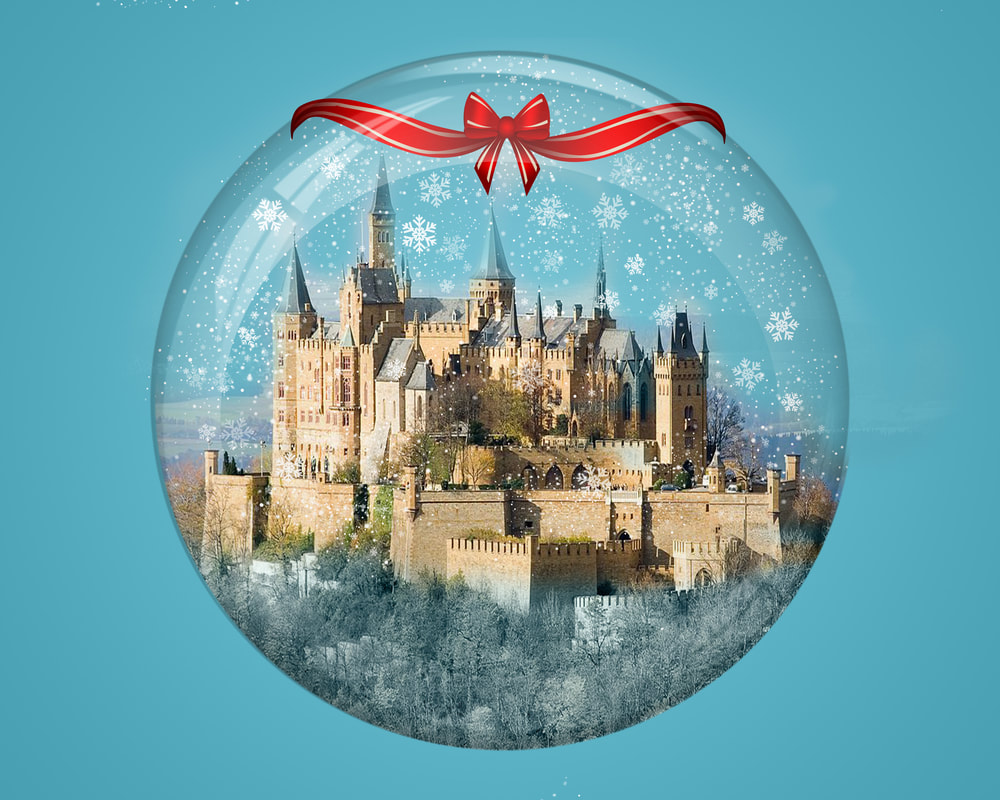
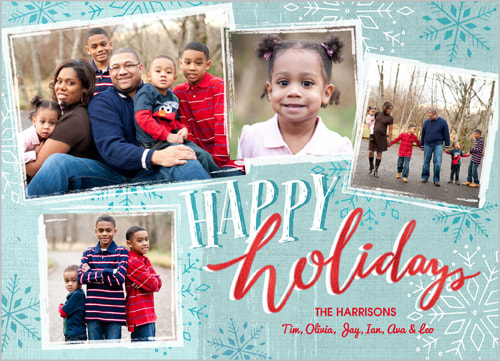
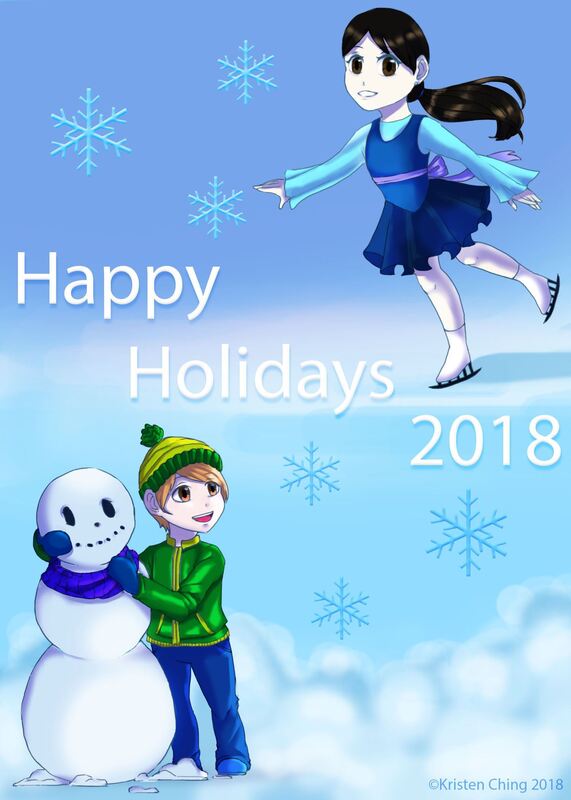
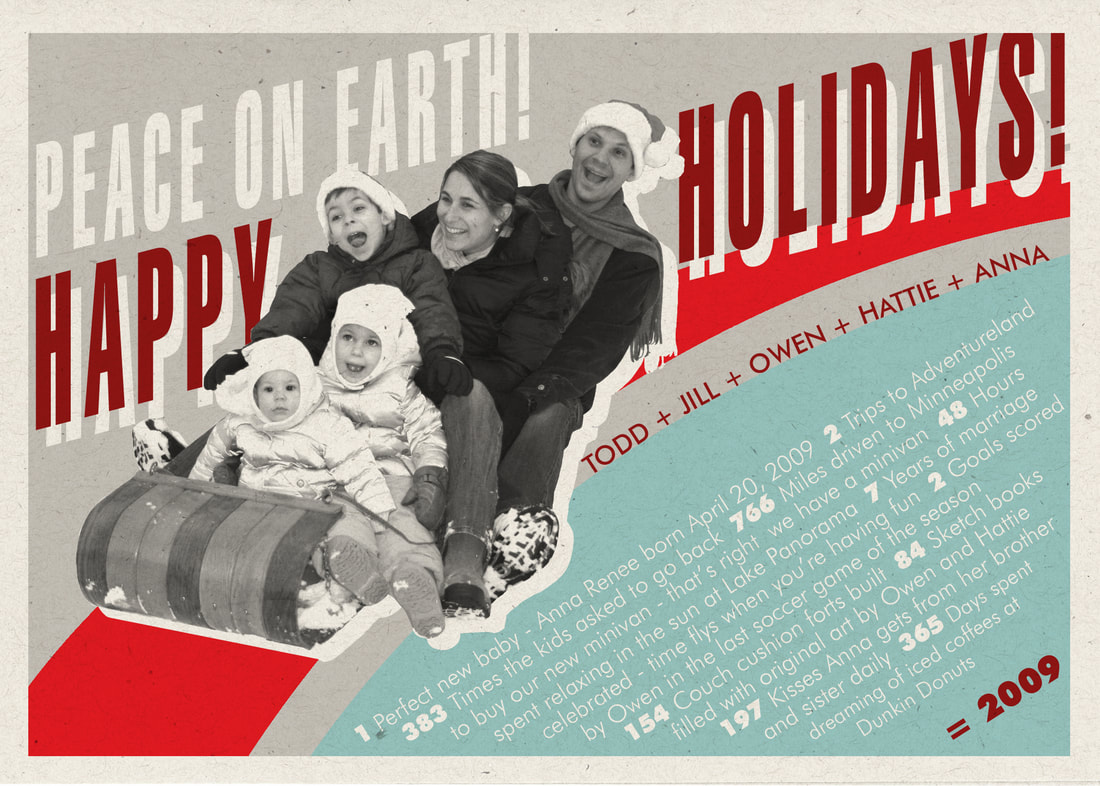
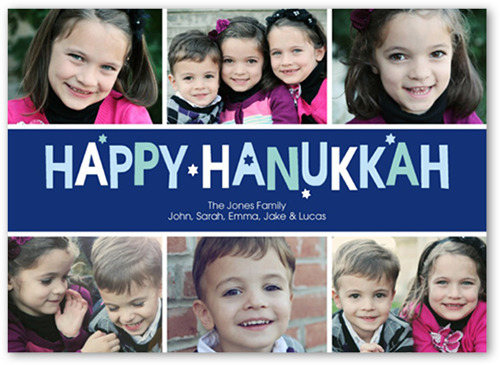
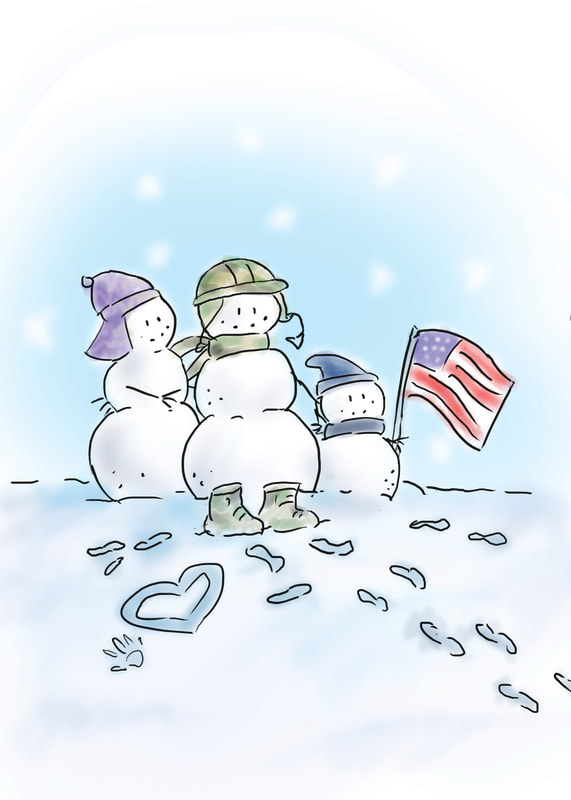
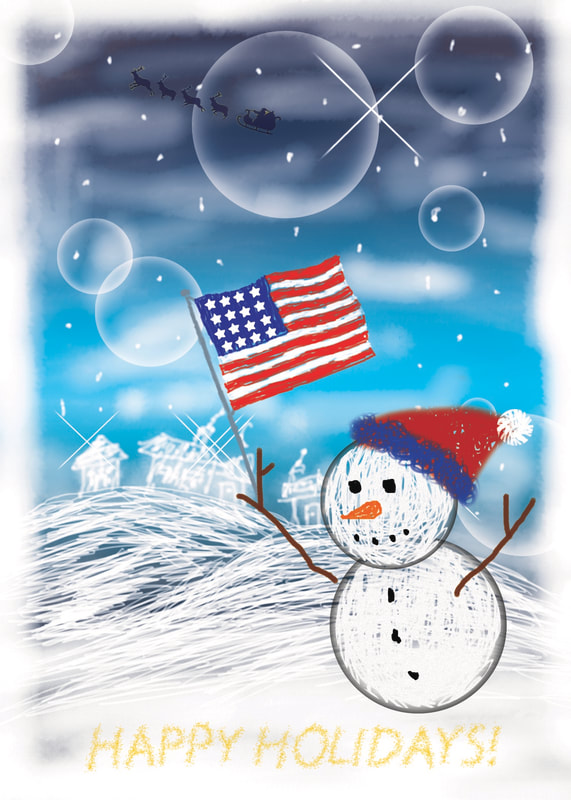
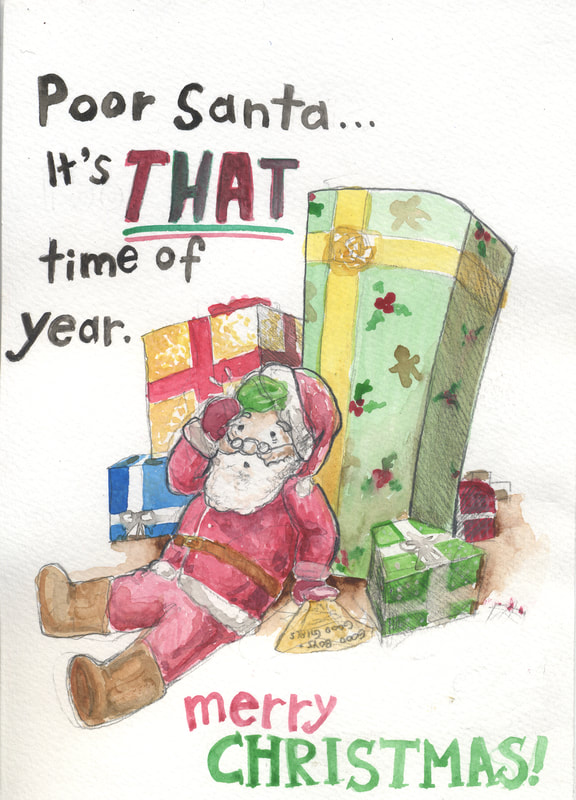
Winter Theme or Holiday Card Project
Create 2 Holiday Cards in Photoshop:
1) Your first card will use photographs (maybe of you and your family), fonts, borders, brushes, etc.
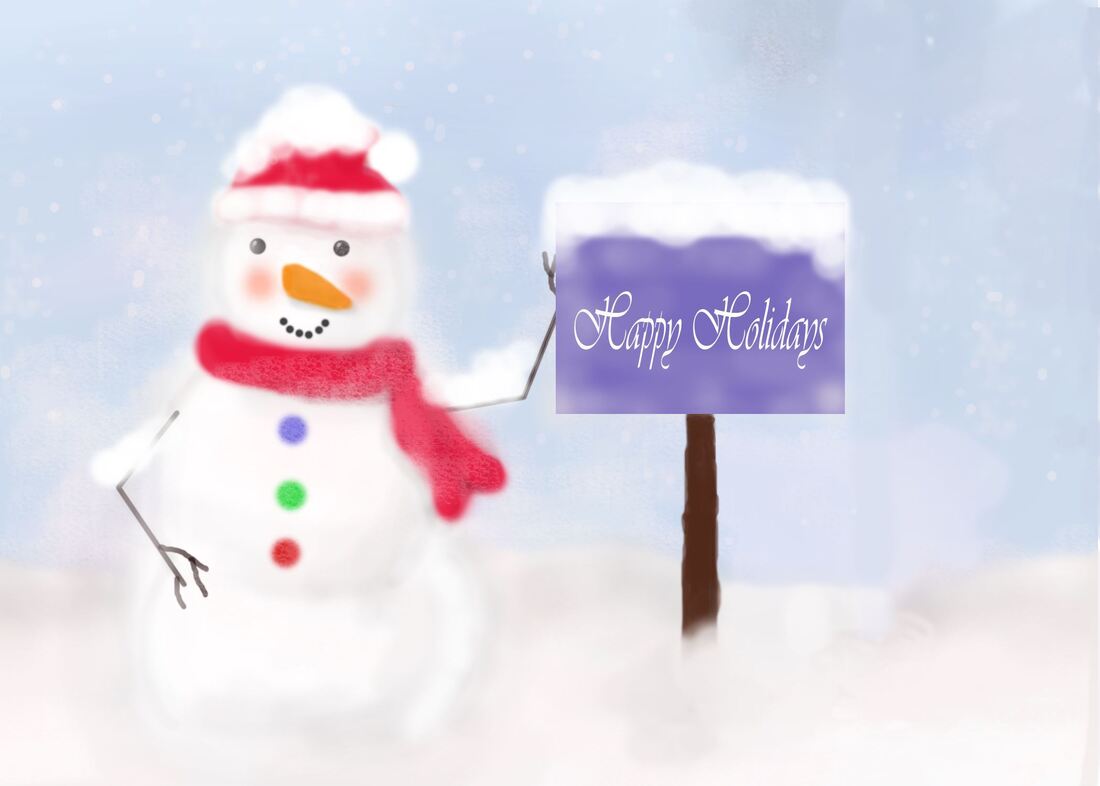
2) Your second card will be illustrated, digitally painted, use fonts, border, brushes, etc.
You may create cards for the Winter Holidays, a Happy New Year's Card, or a Holiday card personal to you and your family traditions.
Size: 5 x 7 inches or 7 x 5 inches
300 ppi
Requirements:
What you will turn in:
2 Winter/Holiday Cards. 5X7", 300 ppi
A source file with any inspiration images, stock photos, or tutorial images
Possible subject matter:
You may use a tutorial to learn new skills, but make sure to substitute new photos, colors, add things, etc. Make it your own!
Greeting Card Tutorials for Inspiration
Free Font Sites:
dafont.com
1001 free fonts
Free Photoshop brushes:
Photoshop/Photopea Winter Themed Brushes
Greeting card templates:
Template 1 - a lot of photo spots
Template 2 - a lot of photo spots
Template 3 - organized in 2 rows of 3 photos
Greeting Card Demos:
Photoshop Demos:
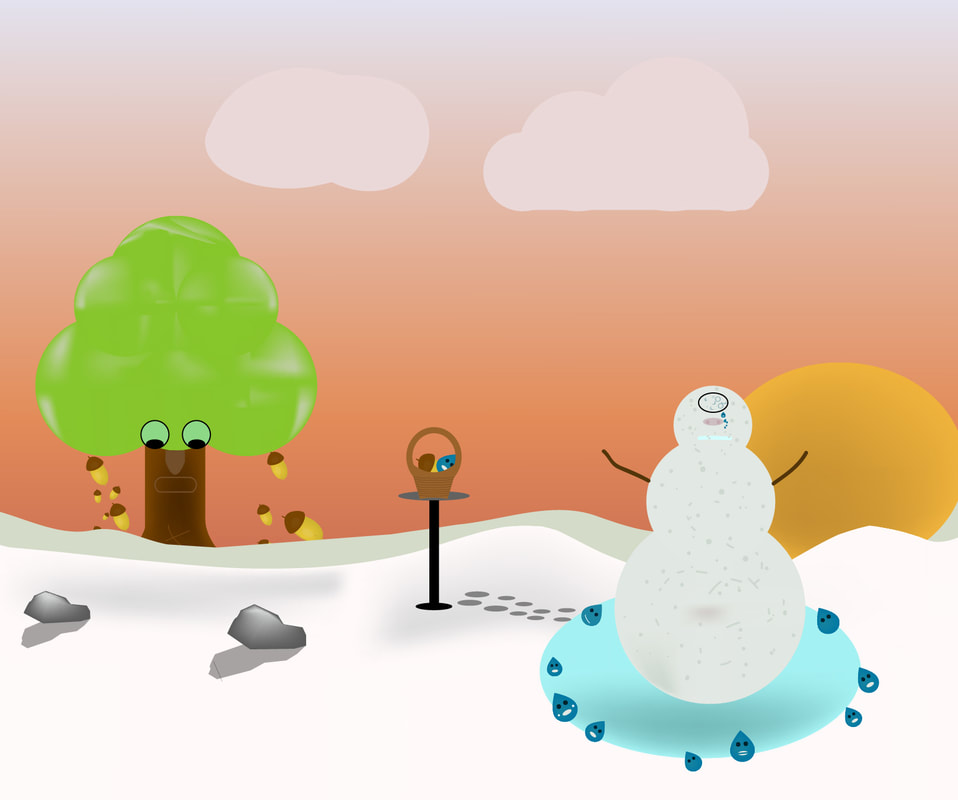
Practice Winter Greeting Card Demo Part 1- Snowman and hills
Practice Winter Greeting Card Demo Part 2 - Snowman and hills
Practice Winter Card Demo Part 3 - snow texture, frame, and downloading fonts
-Illustrated Greeting Card: Snowy Hills & Snowman - Photopea Part 1
-Illustrated Greeting Card - Photopea Part 2
-Photo Greeting Card Demo - Photopea Part 1
-Photo Greeting Card Demo - Photopea Part 2
-Downloading and Importing Photoshop Brushes for Photopea
1) Your first card will use photographs (maybe of you and your family), fonts, borders, brushes, etc.
2) Your second card will be illustrated, digitally painted, use fonts, border, brushes, etc.
You may create cards for the Winter Holidays, a Happy New Year's Card, or a Holiday card personal to you and your family traditions.
Size: 5 x 7 inches or 7 x 5 inches
300 ppi
Requirements:
- Use a specific color scheme
- Have a consistent theme carried throughout and repeated. For example: gold and white colors, snowflakes and winter wonderland
- Use a font that is legible and consistent with your theme
- You may make an illustration or a card with family photos.
- A family photo card must still have a background, theme, and color scheme uniting everything in a cohesive way.
- Show advanced Photoshop skills
- Add a text effect or integrate new fonts into your design
- All text must be a purposeful design element. Consider placement, size, color, font, stacking horizontally or vertically, and visual hierarchy
What you will turn in:
2 Winter/Holiday Cards. 5X7", 300 ppi
A source file with any inspiration images, stock photos, or tutorial images
Possible subject matter:
- Winter landscape: trees, snow, hills, snowman, polar bear, penguins
- Winter activities: skiing, sledding, ice skating
- Holiday items
- A San Diego beach winter scene
- Your family traditions and celebrations
You may use a tutorial to learn new skills, but make sure to substitute new photos, colors, add things, etc. Make it your own!
Greeting Card Tutorials for Inspiration
Free Font Sites:
dafont.com
1001 free fonts
Free Photoshop brushes:
Photoshop/Photopea Winter Themed Brushes
Greeting card templates:
Template 1 - a lot of photo spots
Template 2 - a lot of photo spots
Template 3 - organized in 2 rows of 3 photos
Greeting Card Demos:
Photoshop Demos:
Practice Winter Greeting Card Demo Part 1- Snowman and hills
Practice Winter Greeting Card Demo Part 2 - Snowman and hills
Practice Winter Card Demo Part 3 - snow texture, frame, and downloading fonts
-Illustrated Greeting Card: Snowy Hills & Snowman - Photopea Part 1
-Illustrated Greeting Card - Photopea Part 2
-Photo Greeting Card Demo - Photopea Part 1
-Photo Greeting Card Demo - Photopea Part 2
-Downloading and Importing Photoshop Brushes for Photopea


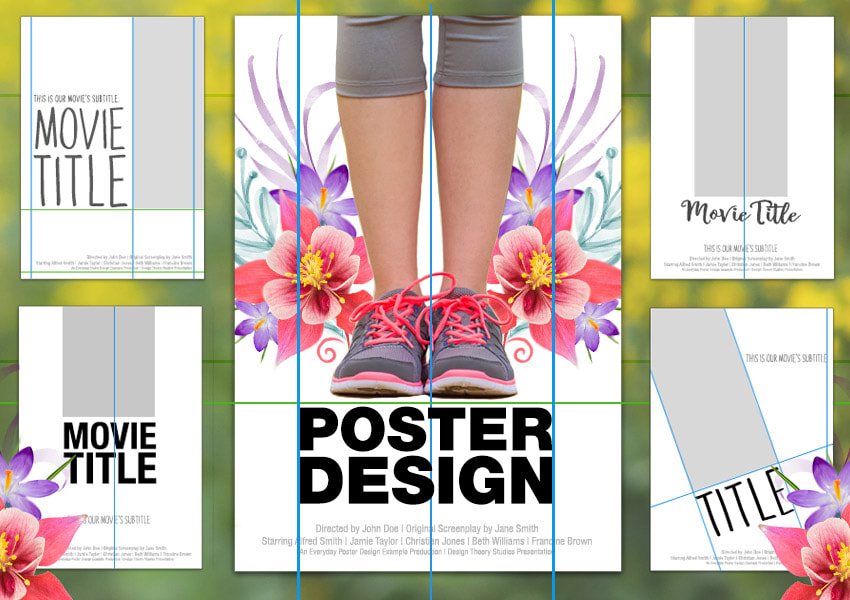
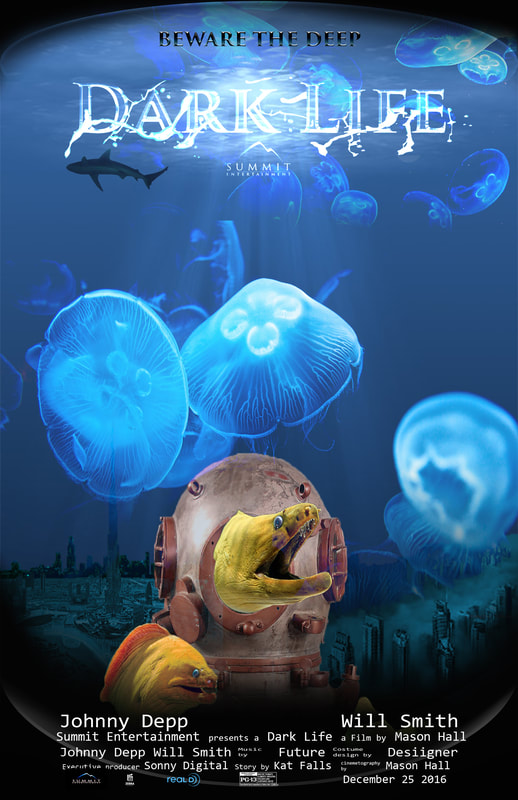
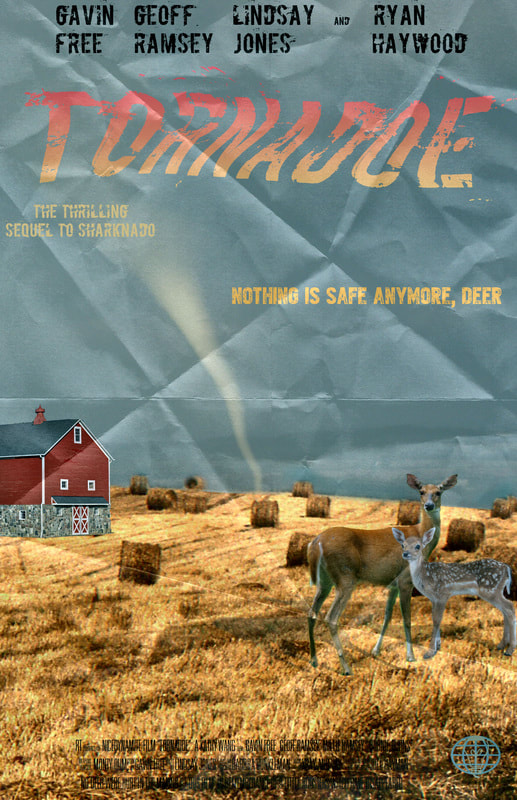
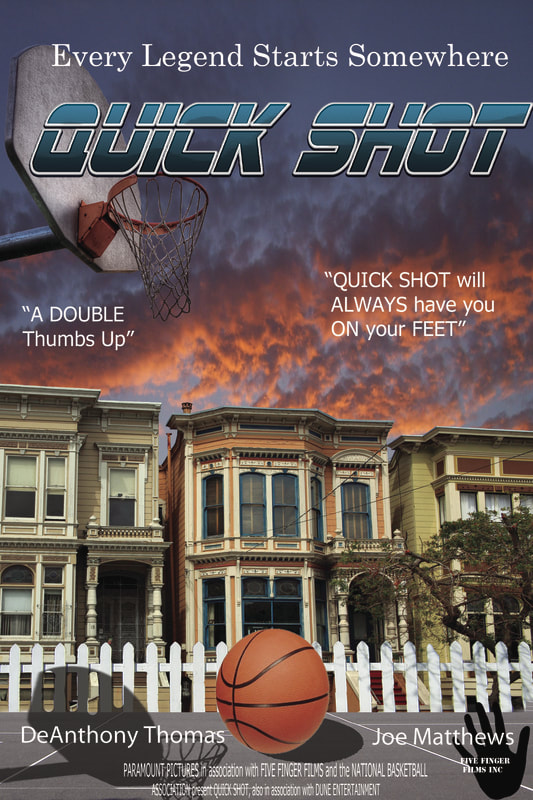
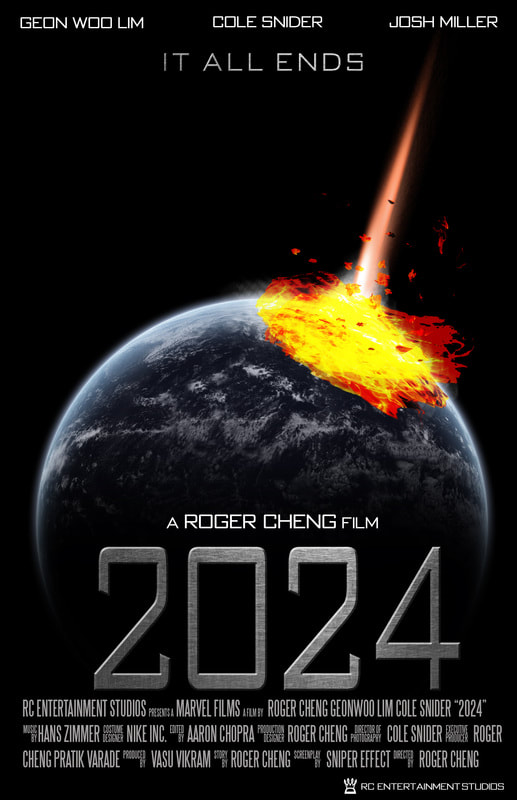
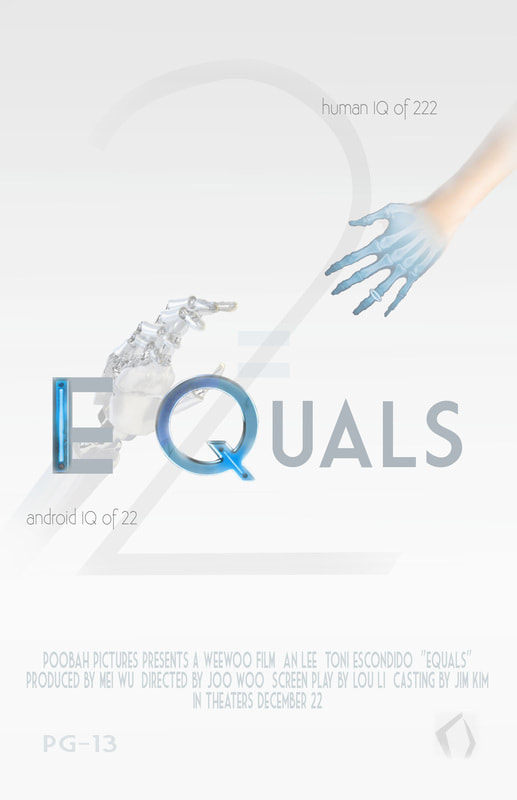
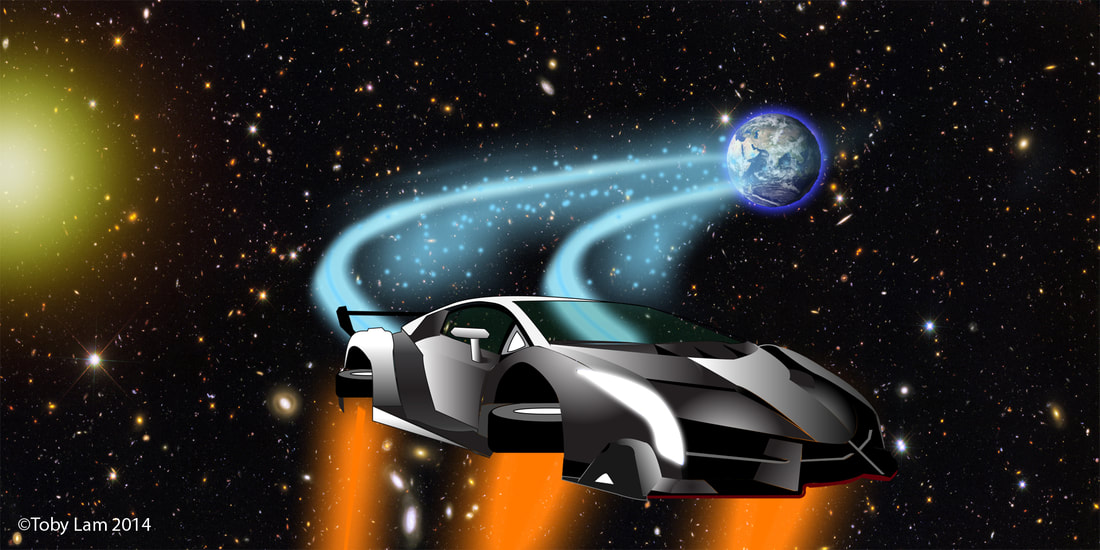
Movie Poster Design
Assignment:
You will be creating an original movie poster.
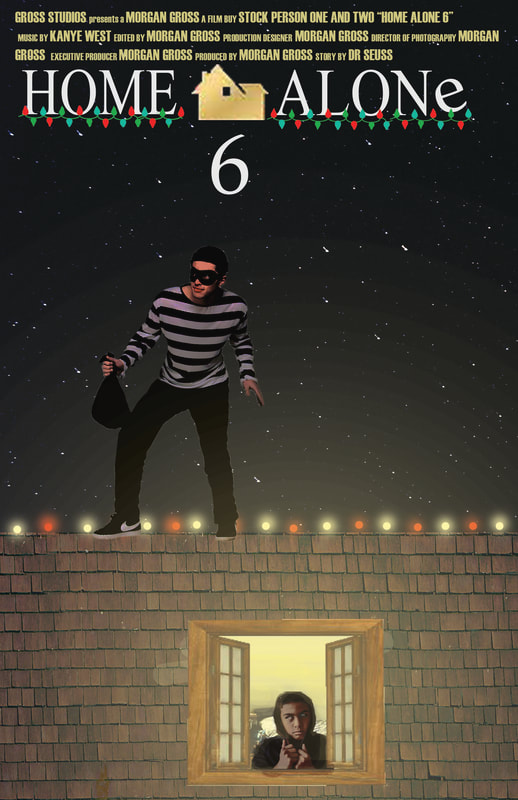
Option #1: Create a sequel to a pre-existing movie and an original movie poster design that advertises it.
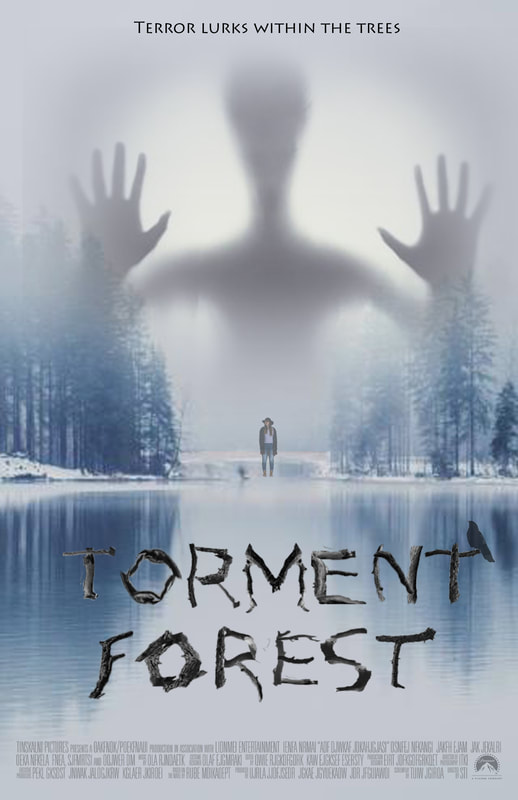
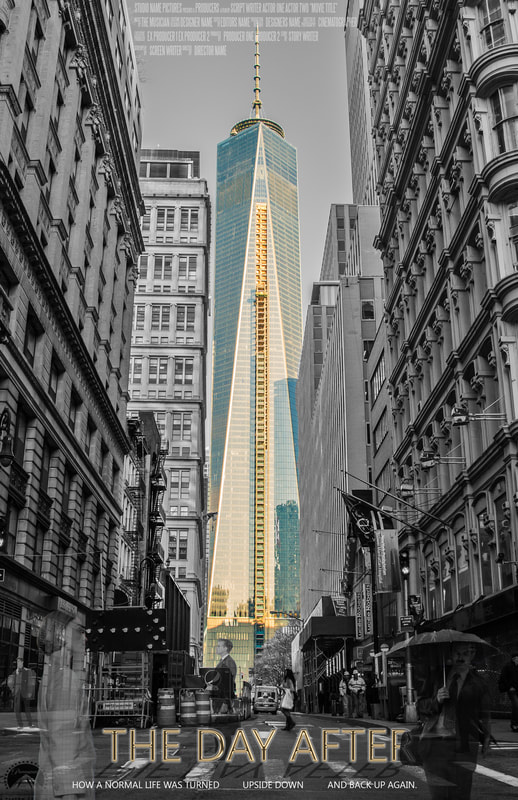
Option #2: Create an entirely new movie and create an original movie poster design that advertises it.
Option #3: Turn a book you have read into a movie (the book has not been made a movie yet) and create an original movie poster design that advertises it.
The movie poster should function as a visual interpretation of the film in a unified design. In addition, it should make the audience want to see your film! Keep in mind the following...
"A good movie poster is one which is attention-grabbing, convincing and memorable."
In order to create a successful project, think about color and image choice and how it will impact the audience as well as convey the idea of your movie.
Objectives:
-To demonstrate understanding of movie advertising and mass communication through visual means.
-To demonstrate understanding of composition, layout, and unity.
-To demonstrate appropriate and innovative use of typography.
-Continue advancement in Photoshop skill.
Design Process:
1) Choose one of the movie poster options listed above.
2) Brainstorm about possible movies, genres, characters, and plots.
3) Create or decide upon your movie genre, characters, and target audience.
4) Determine your title and create an original tagline.
5) Treatment/synopsis: plot summary created for identified target audience
Write a short plot summary about your movie. This summary should be one to two paragraphs that briefly describe the main idea/story of the movie. Before you can progress to Photoshop, you will need to have this summary and your plot idea approved by the teacher. -Movie Poster Proposal
6) Create 3 thumbnail sketches for your Final Movie Poster Proposal. These should be 3 possible ideas for you final poster- 3X3” squares in color.
7) Create your movie poster in Photoshop.
8) Complete the Movie Poster Self Evaluation.
Movie Poster Self Evaluation & Scoring Guide
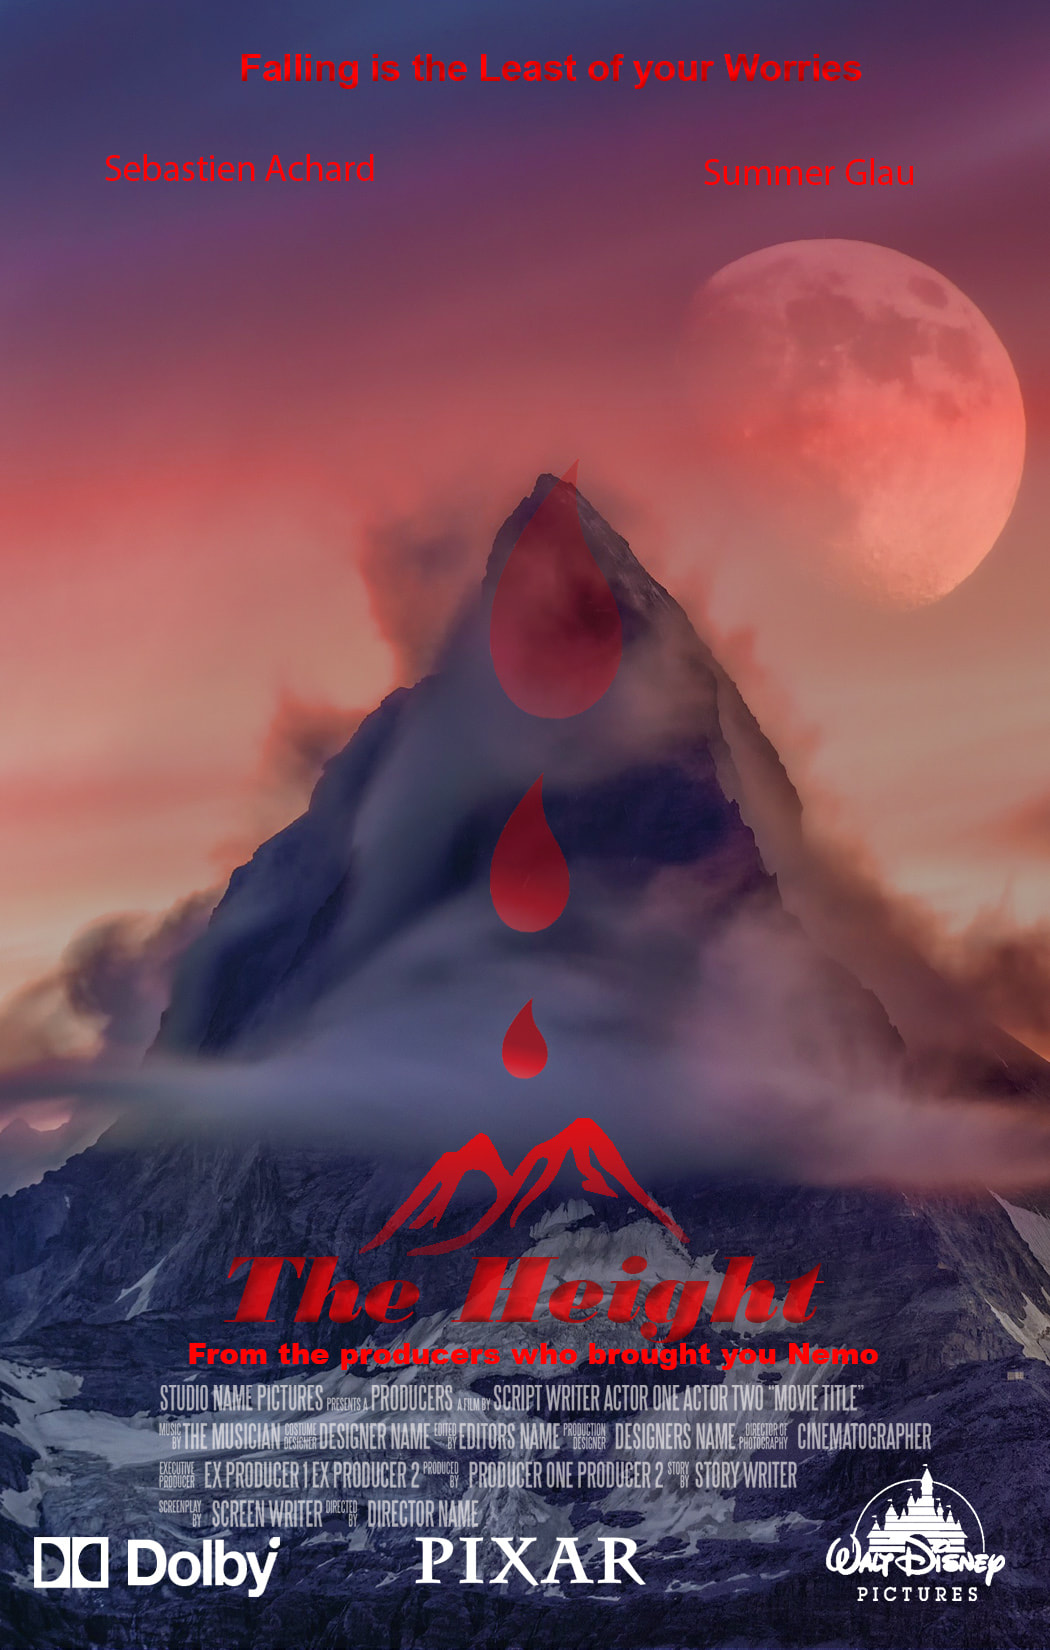
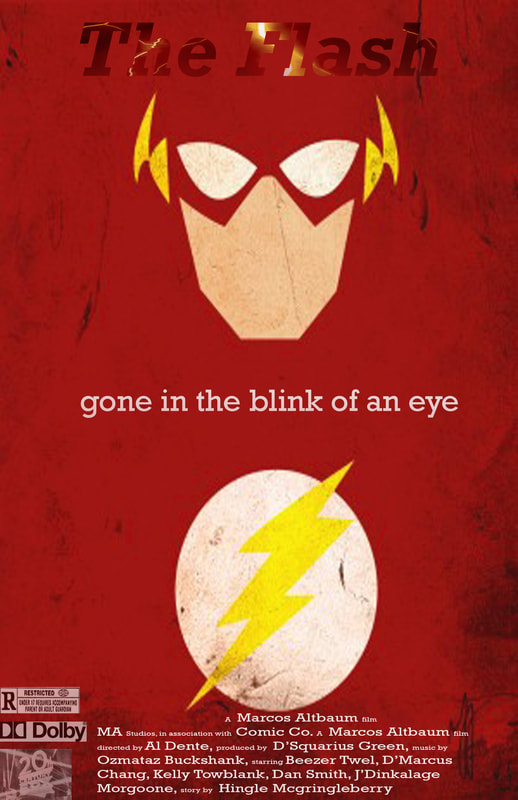
Movie Poster Requirements:
-- Inclusion of the following components in your design:
*original imagery - artwork created by you
-Title - font or text effect that uses your poster genre and style
-Tagline: Original and memorable phrase to pique the viewer's attention. Integrate into the poster design
-actors’ names
-credits at the bottom of the poster
-Logo: seamlessly blended original movie production company logo (created with vector shapes)
-- Thoughtful use of the elements and principles of art including color theory/color schemes and composition.
-- Use of imagery to convey the idea of the movie as well as gain the interest of the audience.
--Minimum of 3 blended images
-- 11x17 inches at 150 ppi, RGB color mode.
-- Clean use of Photoshop.
-- Proper and innovative use of typographical elements in tagline, title, and actors’ names, and credits.
--MUST show ADVANCING photoshop skills: your poster must demonstrate time, effort, and advancement of your photoshop skills. While simple movie poster designs are common in the media, your assignment is to make a CREATIVE, COMPLEX, AND HIGHLY PHOTOSHOPPED POSTER.
Things to AVOID:
• Do not take images from the Internet. All imagery must be taken from class approved stock photo sites.
• No celebrity photographs.
Movie Genres:
Comedy
Action
Drama
Science Fiction/Fantasy
Romance
Western
War
Animated/Anime
Documentary
Musical
Teen
Mystery
Thriller/Horror
Movie Poster Resources:
"101 Movie Poster Tutorials" - if you use a tutorial, make sure to change it and redesign the image. Do not copy exactly.
"7 Elements of Great Movie Poster Design"
Movie Credits Template
You will be creating an original movie poster.
Option #1: Create a sequel to a pre-existing movie and an original movie poster design that advertises it.
Option #2: Create an entirely new movie and create an original movie poster design that advertises it.
Option #3: Turn a book you have read into a movie (the book has not been made a movie yet) and create an original movie poster design that advertises it.
The movie poster should function as a visual interpretation of the film in a unified design. In addition, it should make the audience want to see your film! Keep in mind the following...
"A good movie poster is one which is attention-grabbing, convincing and memorable."
In order to create a successful project, think about color and image choice and how it will impact the audience as well as convey the idea of your movie.
Objectives:
-To demonstrate understanding of movie advertising and mass communication through visual means.
-To demonstrate understanding of composition, layout, and unity.
-To demonstrate appropriate and innovative use of typography.
-Continue advancement in Photoshop skill.
Design Process:
1) Choose one of the movie poster options listed above.
2) Brainstorm about possible movies, genres, characters, and plots.
3) Create or decide upon your movie genre, characters, and target audience.
4) Determine your title and create an original tagline.
5) Treatment/synopsis: plot summary created for identified target audience
Write a short plot summary about your movie. This summary should be one to two paragraphs that briefly describe the main idea/story of the movie. Before you can progress to Photoshop, you will need to have this summary and your plot idea approved by the teacher. -Movie Poster Proposal
6) Create 3 thumbnail sketches for your Final Movie Poster Proposal. These should be 3 possible ideas for you final poster- 3X3” squares in color.
7) Create your movie poster in Photoshop.
8) Complete the Movie Poster Self Evaluation.
Movie Poster Self Evaluation & Scoring Guide
Movie Poster Requirements:
-- Inclusion of the following components in your design:
*original imagery - artwork created by you
-Title - font or text effect that uses your poster genre and style
-Tagline: Original and memorable phrase to pique the viewer's attention. Integrate into the poster design
-actors’ names
-credits at the bottom of the poster
-Logo: seamlessly blended original movie production company logo (created with vector shapes)
-- Thoughtful use of the elements and principles of art including color theory/color schemes and composition.
-- Use of imagery to convey the idea of the movie as well as gain the interest of the audience.
--Minimum of 3 blended images
-- 11x17 inches at 150 ppi, RGB color mode.
-- Clean use of Photoshop.
-- Proper and innovative use of typographical elements in tagline, title, and actors’ names, and credits.
--MUST show ADVANCING photoshop skills: your poster must demonstrate time, effort, and advancement of your photoshop skills. While simple movie poster designs are common in the media, your assignment is to make a CREATIVE, COMPLEX, AND HIGHLY PHOTOSHOPPED POSTER.
Things to AVOID:
• Do not take images from the Internet. All imagery must be taken from class approved stock photo sites.
• No celebrity photographs.
Movie Genres:
Comedy
Action
Drama
Science Fiction/Fantasy
Romance
Western
War
Animated/Anime
Documentary
Musical
Teen
Mystery
Thriller/Horror
Movie Poster Resources:
"101 Movie Poster Tutorials" - if you use a tutorial, make sure to change it and redesign the image. Do not copy exactly.
"7 Elements of Great Movie Poster Design"
Movie Credits Template
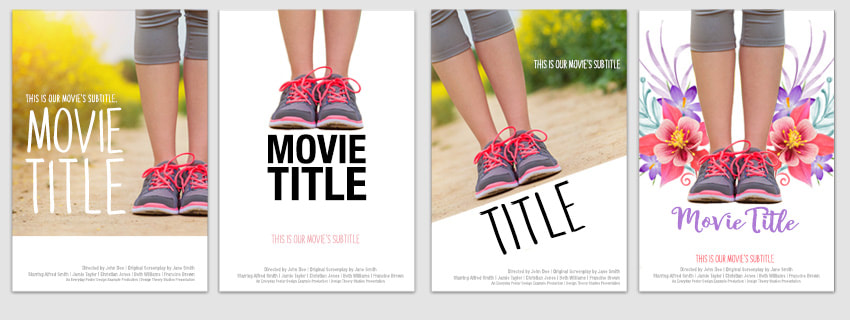
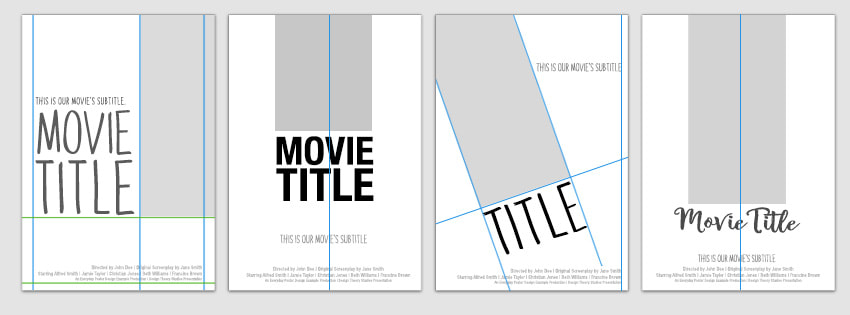
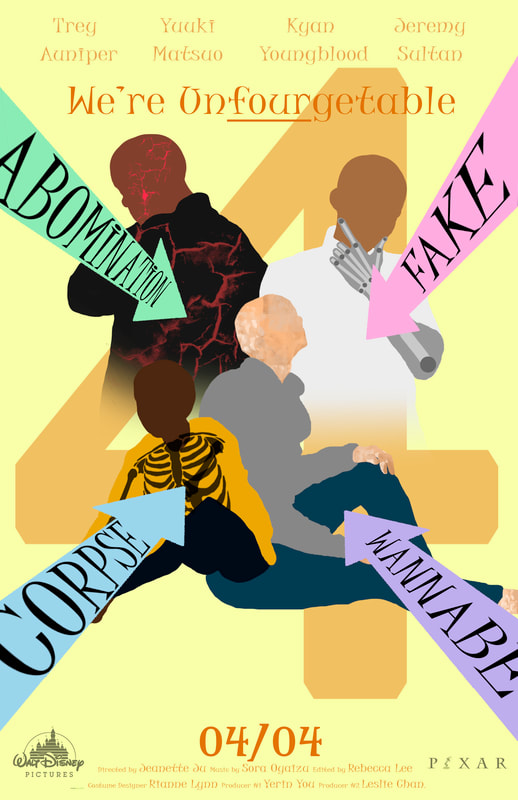
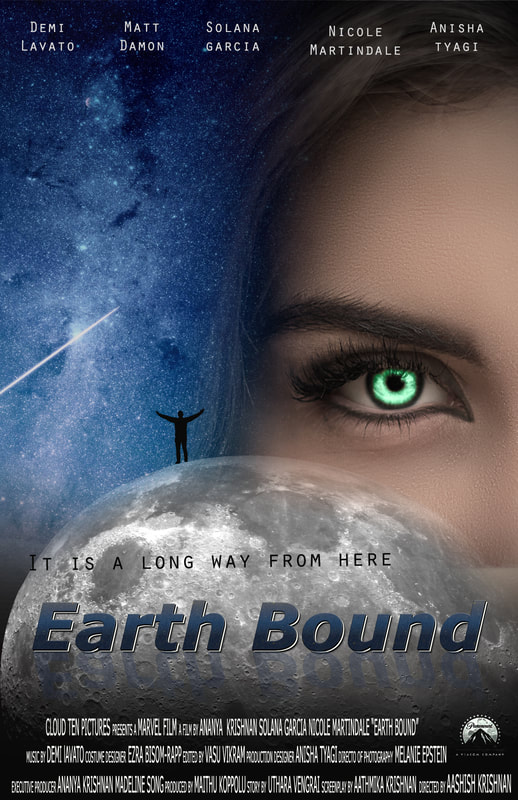
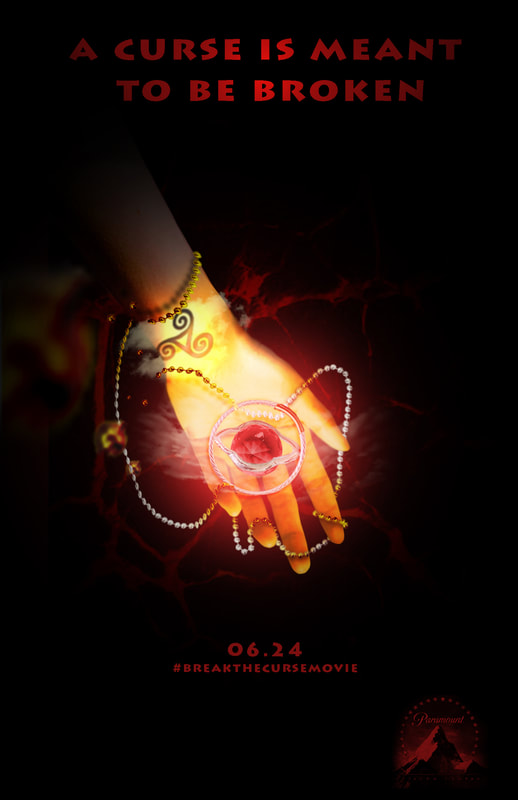
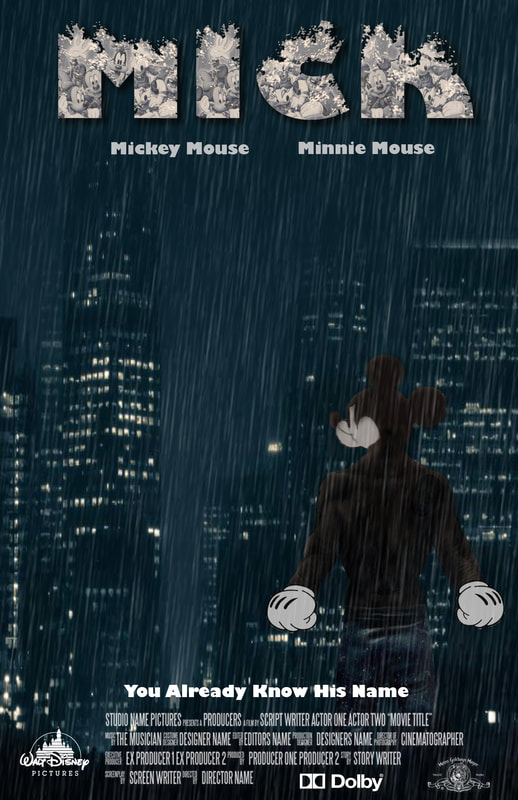
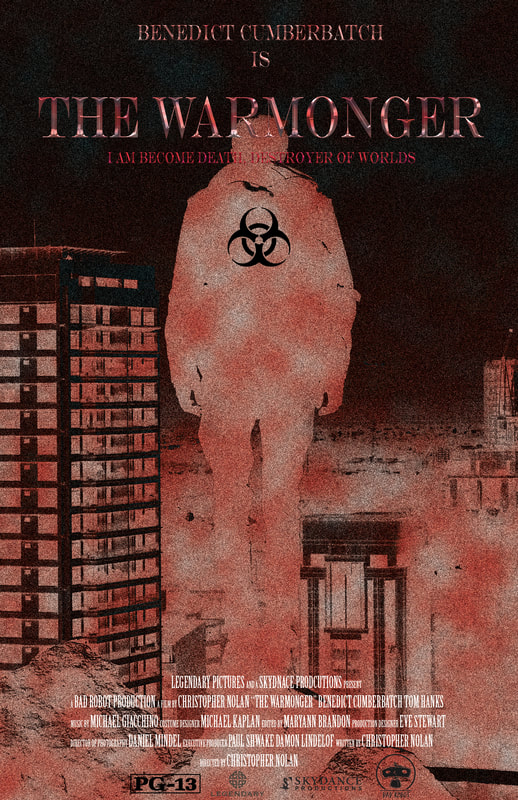
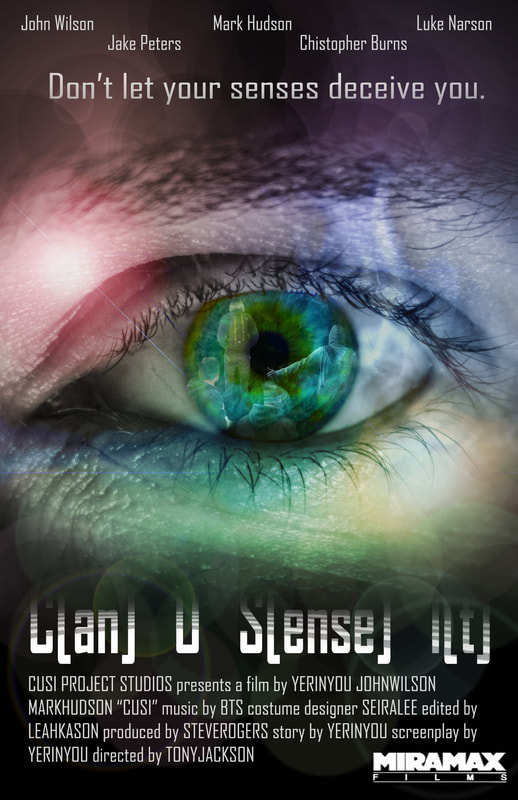
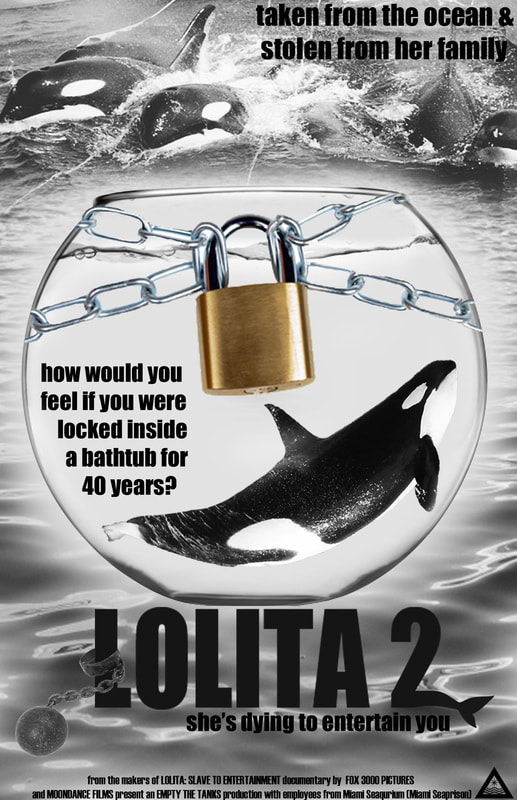
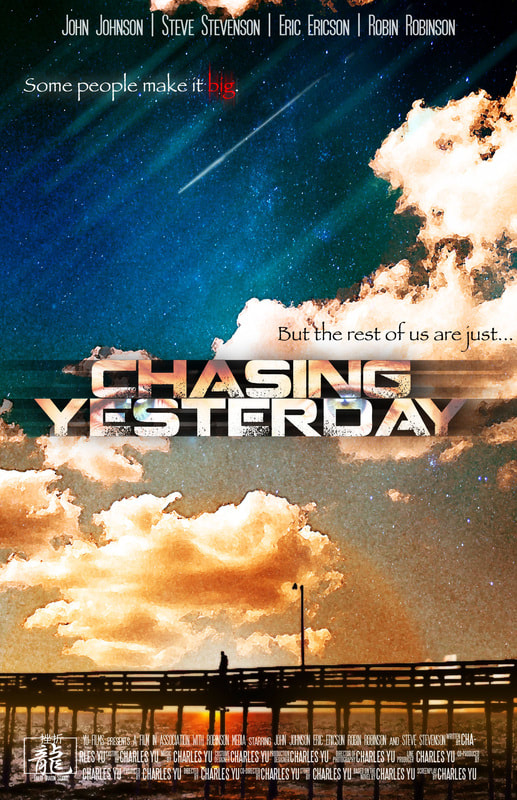
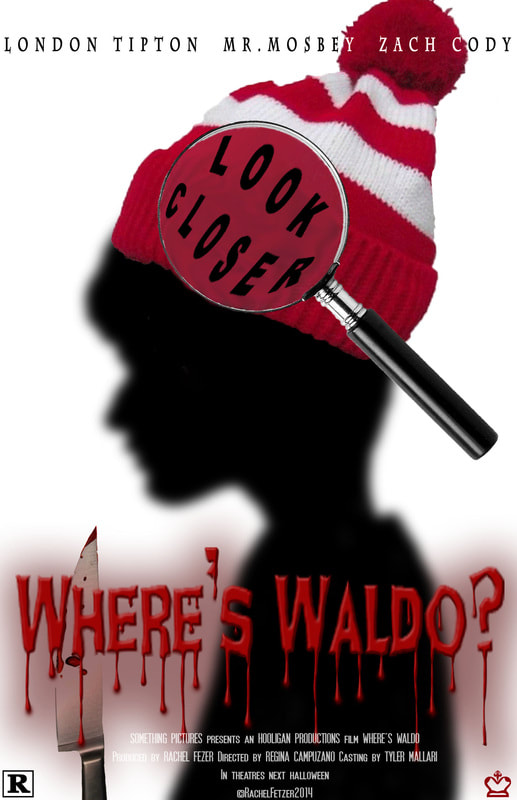
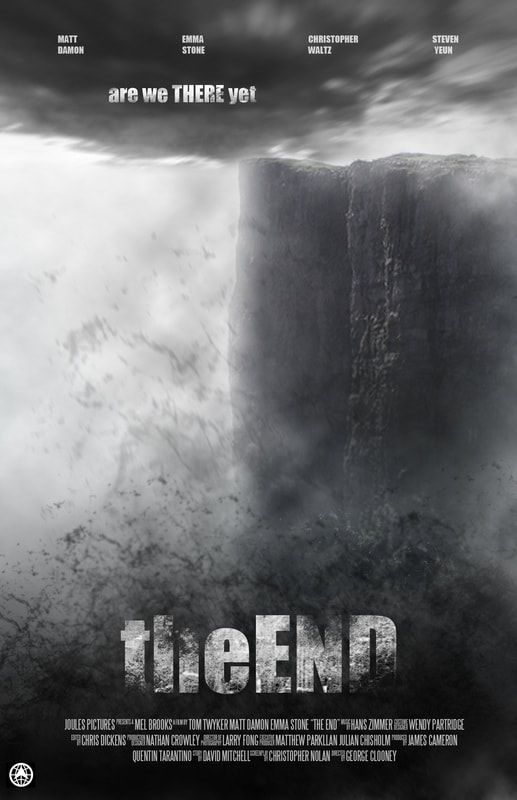
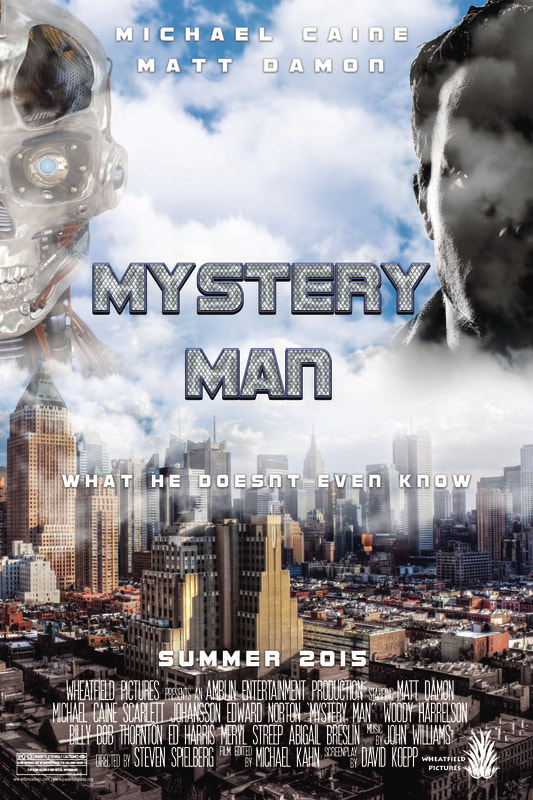
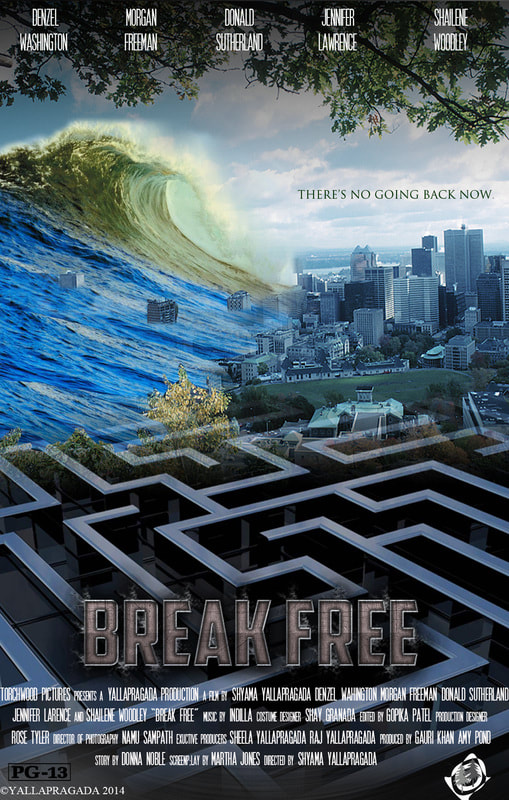
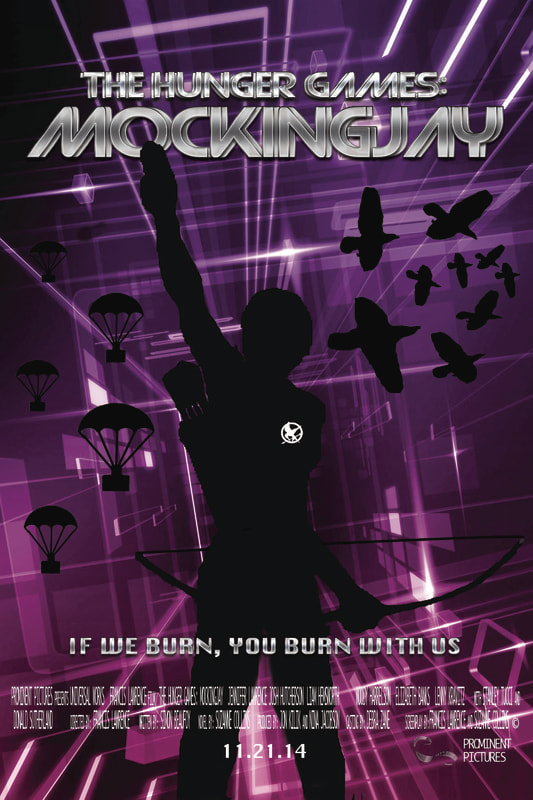
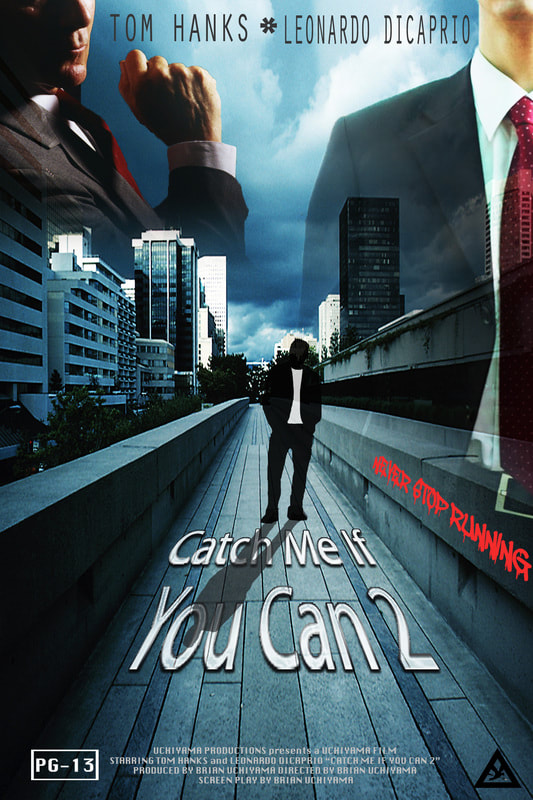
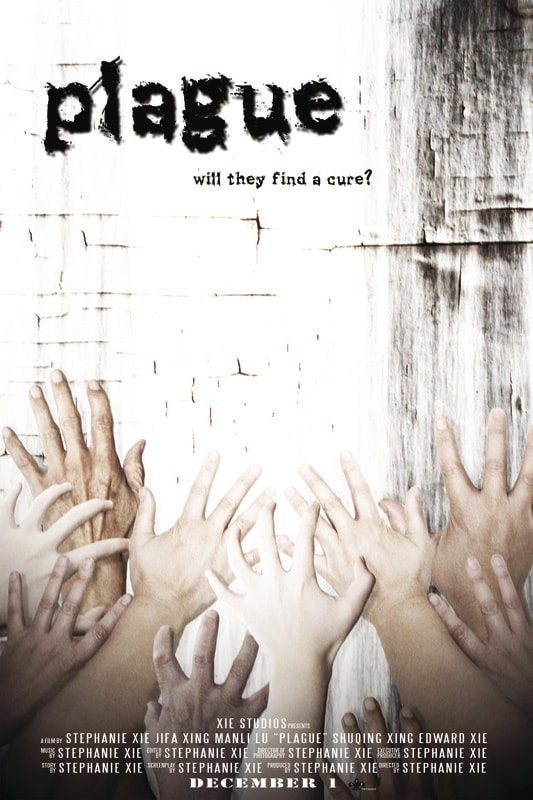
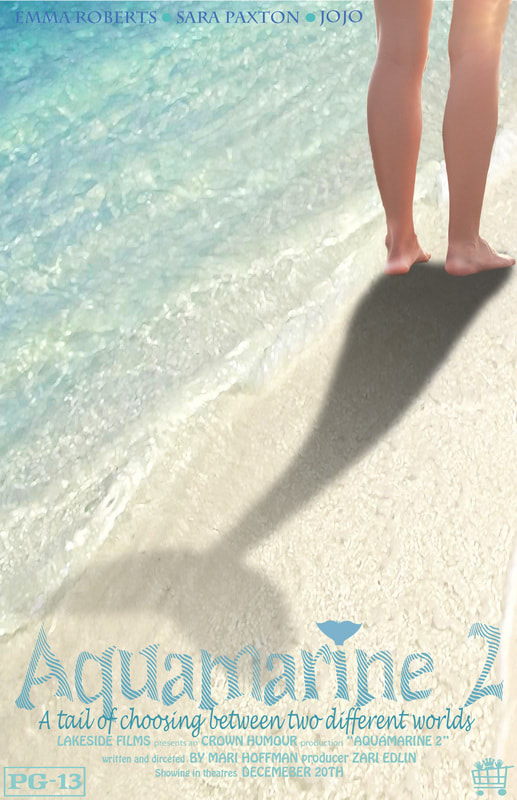
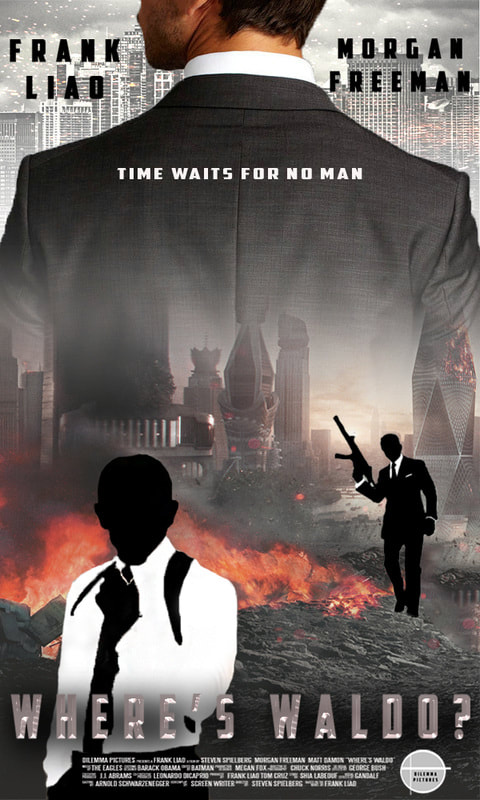
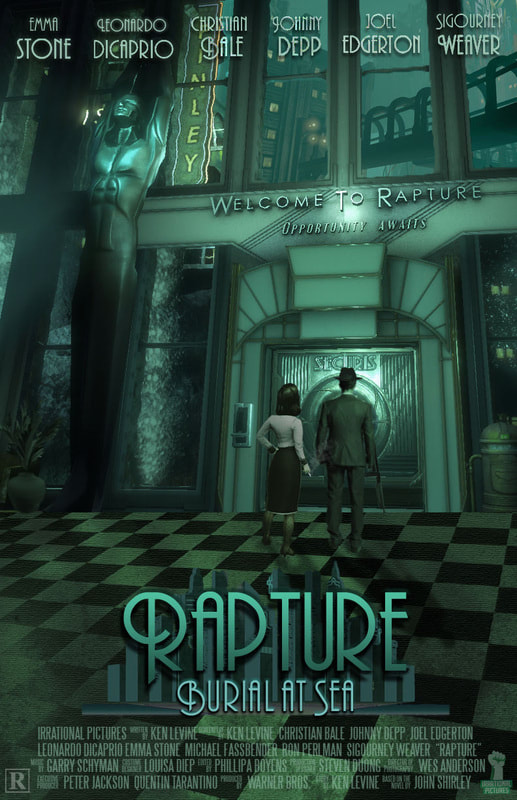
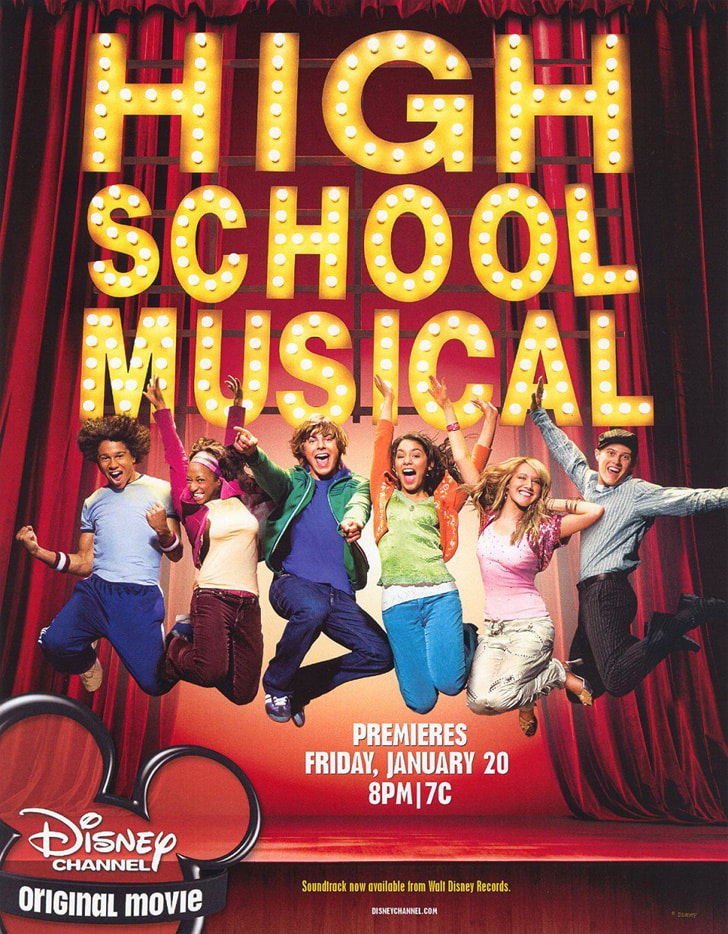
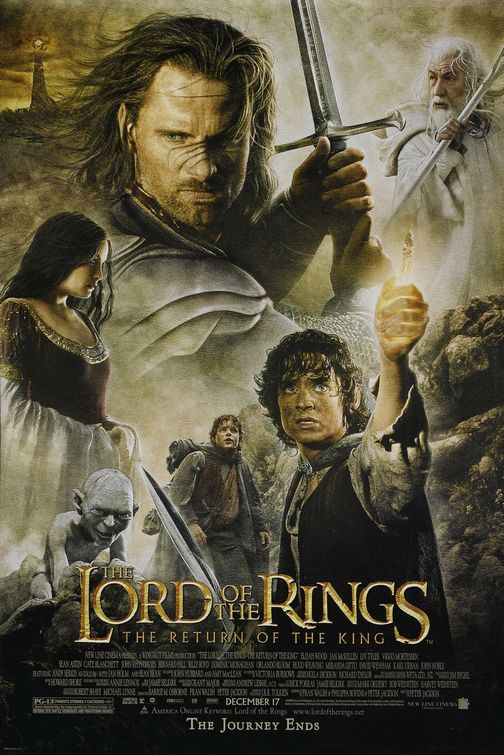
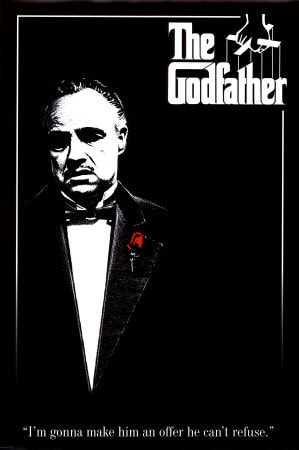
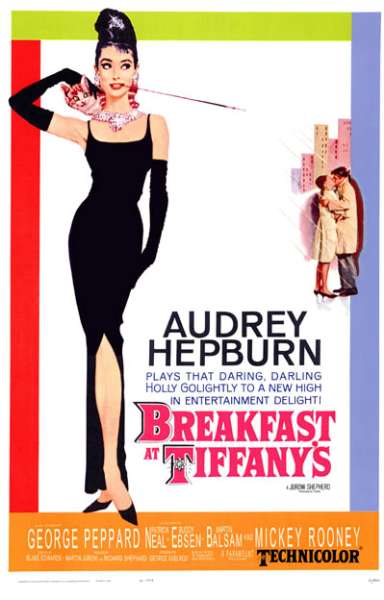
Student Movie Poster Examples
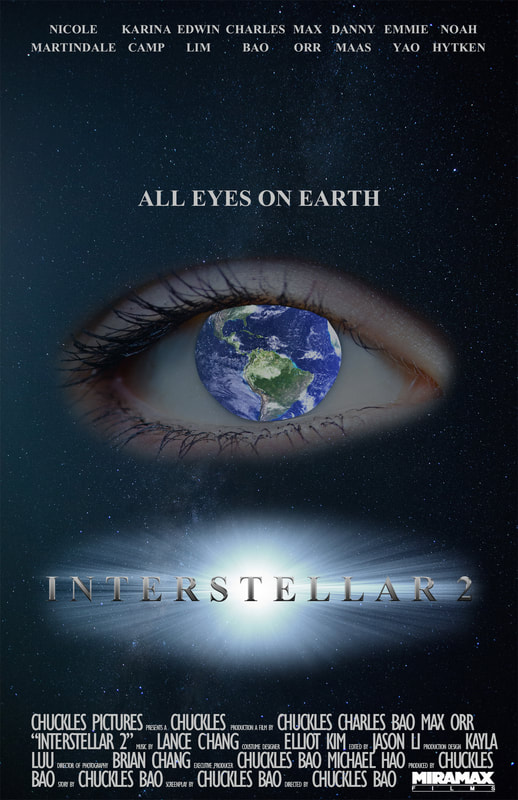
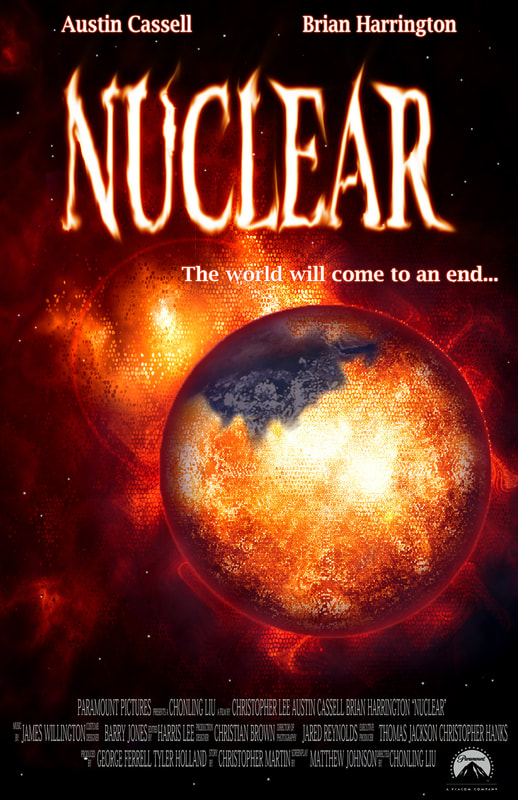


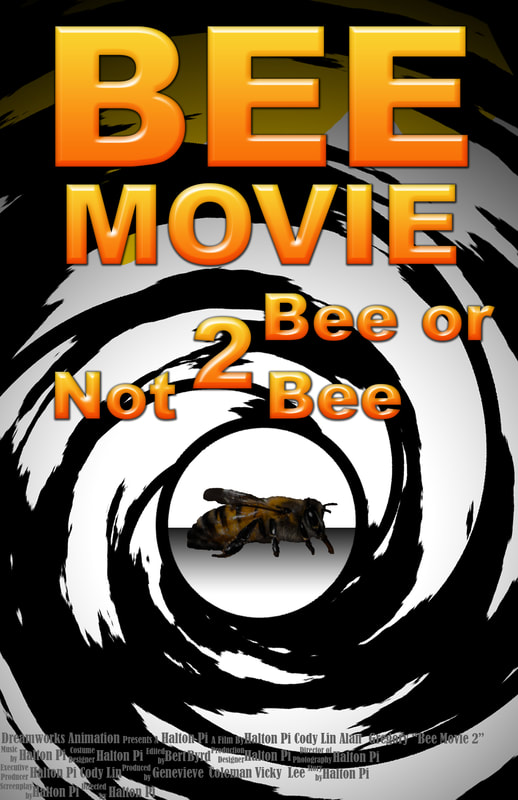
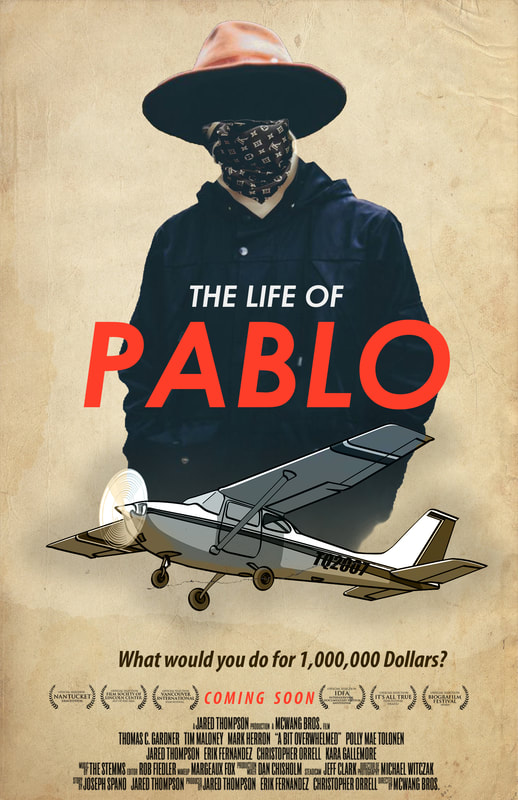
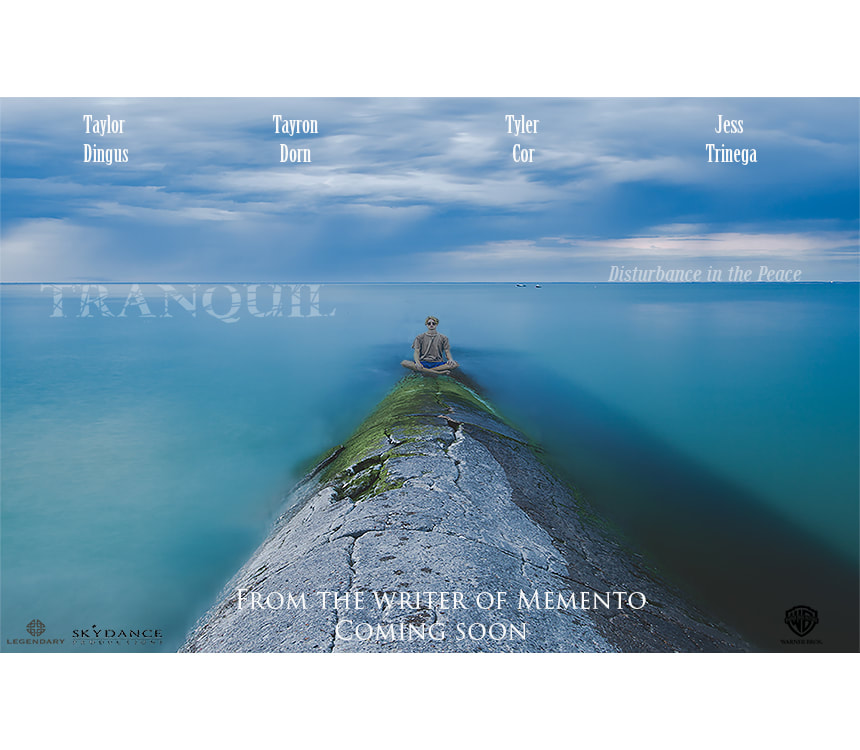


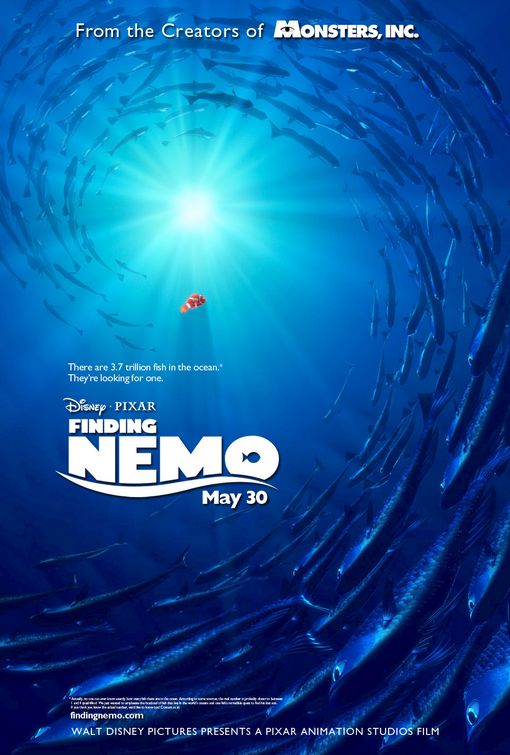
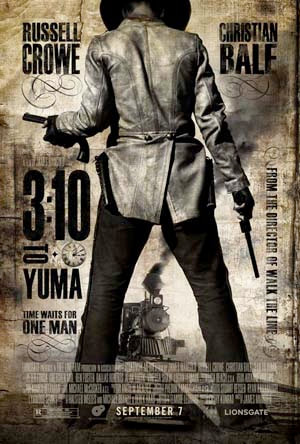
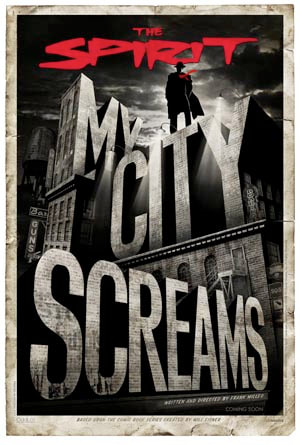
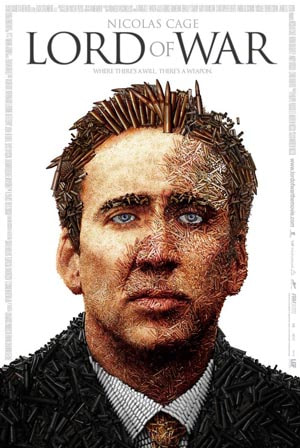
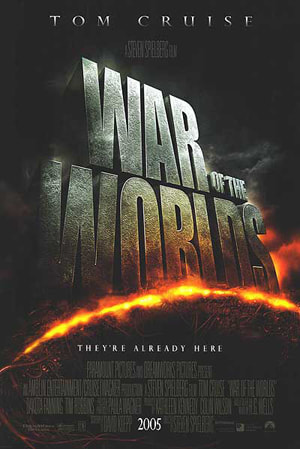
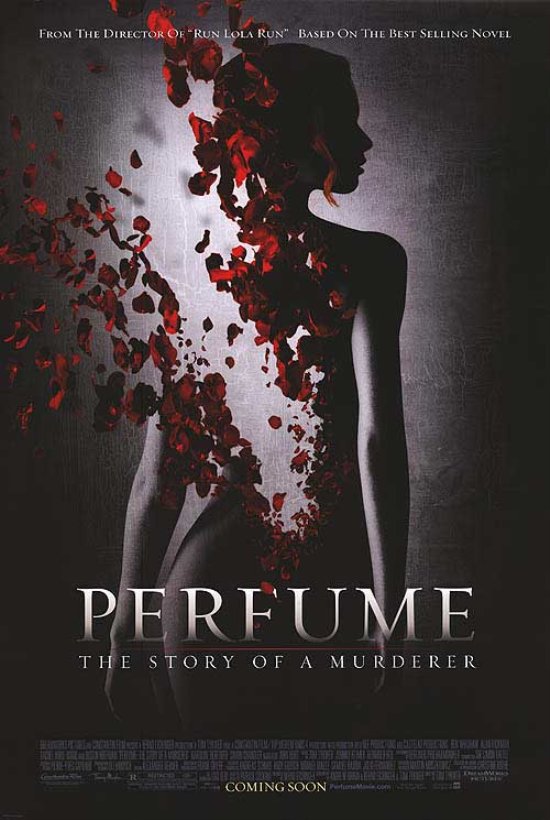
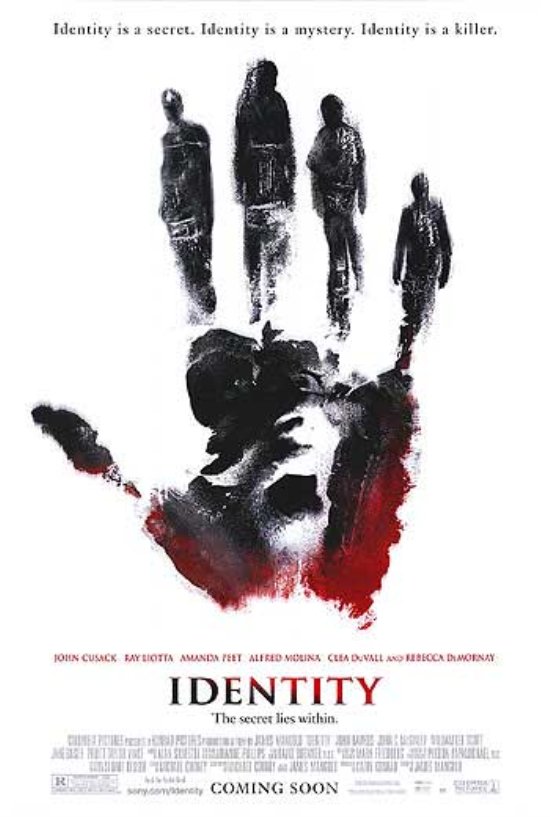
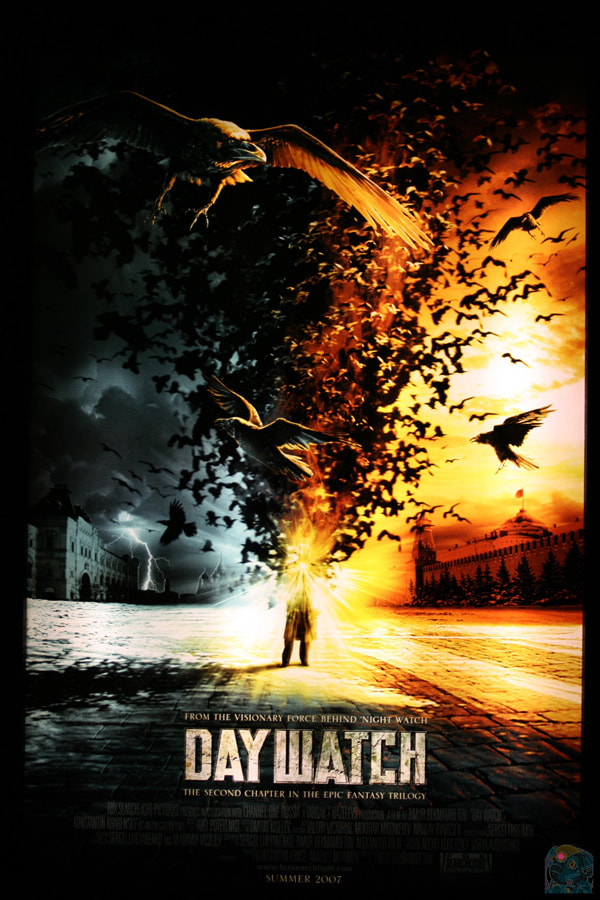
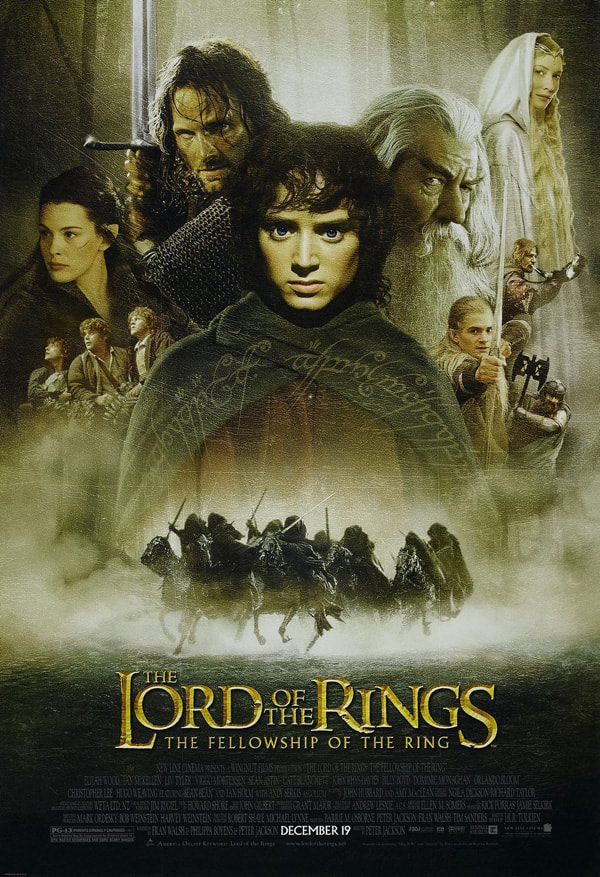
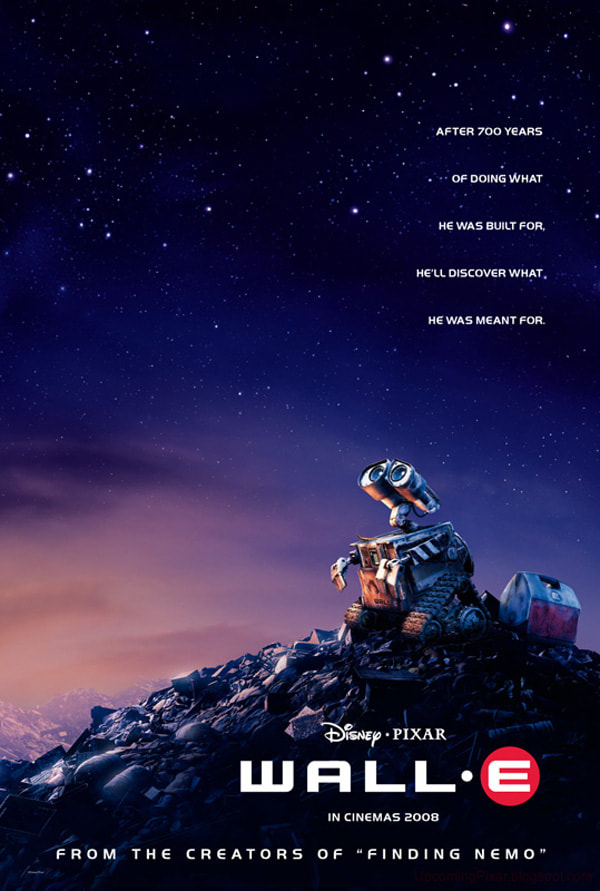
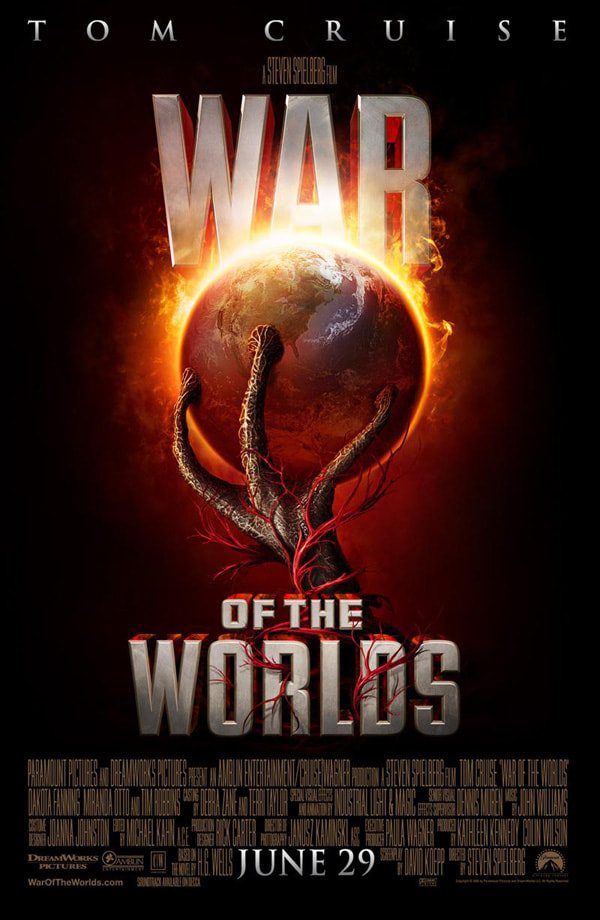
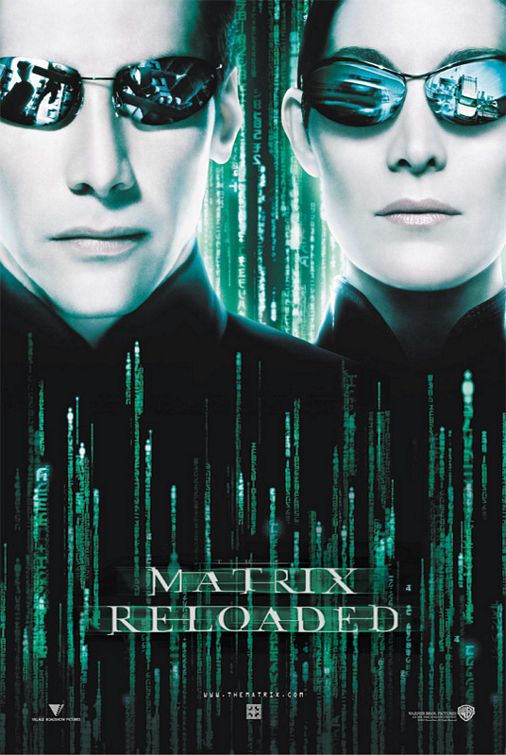
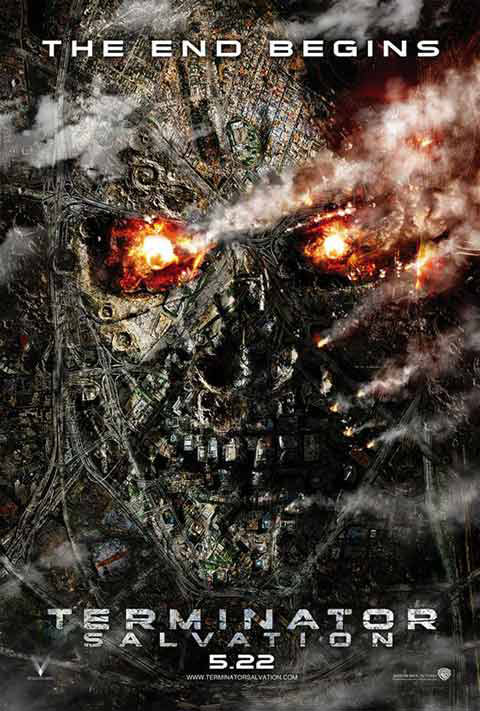
Professional Movie Posters


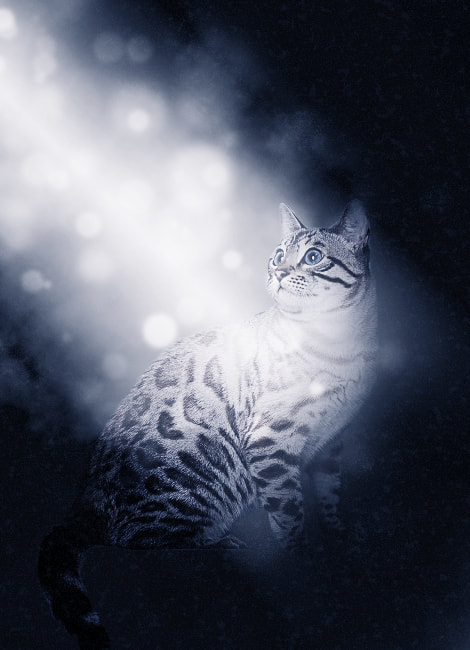
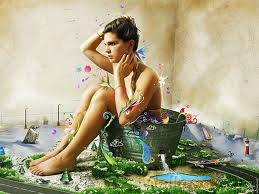
"Comfort and Calm" Project - Young Art 2023: Comfort and Calm
For this project you will create an artwork that illustrates your interpretation of "comfort and calm."
Options:
Options:
- -Photo composite - all photos must be original
- -digital painting
- -vector illustration
- -combination of digital techniques
- File size 11x14" at 300 ppi
- Styles or techniques to explore:
- Neurographic Art
- Mediation Art and Mandala design
-
- Consider how to blend imagination, ideas, or memory to create a work of art that gives others a chance to understand your experiences of comfort or calm through your own style of personal visual storytelling or expression.
- Sample prompts for youth artists include the following:
- What does comfort mean to you?
- Where in your own life do you experience comfort?
- What does calm mean to you?
- Where and when do you experience a sense of calm?
- How are comfort and calm similar? How are they different?
- Are comfort and calm physical, emotional, mental, or….?
- Consider what you do to create comfort for yourself. Consider what you do to calm yourself. How are they different?
- Consider the efforts you make to cultivate comfort or calm for others.
- How do others in your life cultivate comfort or create calm, for you?
- Why is comfort and calm important? How can you extend comfort or calm to someone, today?
- How can we communicate ideas visually?
- We encourage students to personally respond to this year’s Young Art theme by harnessing their own ideas and creativity. Consider how to turn ideas into a visual work, then choose an art media for the translation.
- Objects (Still Life)
- Environment (Landscape or Interior View)
- Figurative: Body language or facial expression (Portrait)
- Abstraction of color, shape or line
- And more…
- Consider how the elements of art and principles of design can support decision-making and editing.
- Elements of Art: (color, value, line, shape, form, texture, and space)
- Principles of Design: (rhythm, unity, emphasis, movement, contrast, pattern
- Jurors will consider youth works who respond to this year’s theme of Comfort and Calm through visual and conceptual counterpoints, including expressions of discomfort or discord.
- SDMA Youth Art Exhibit Submission Information Here
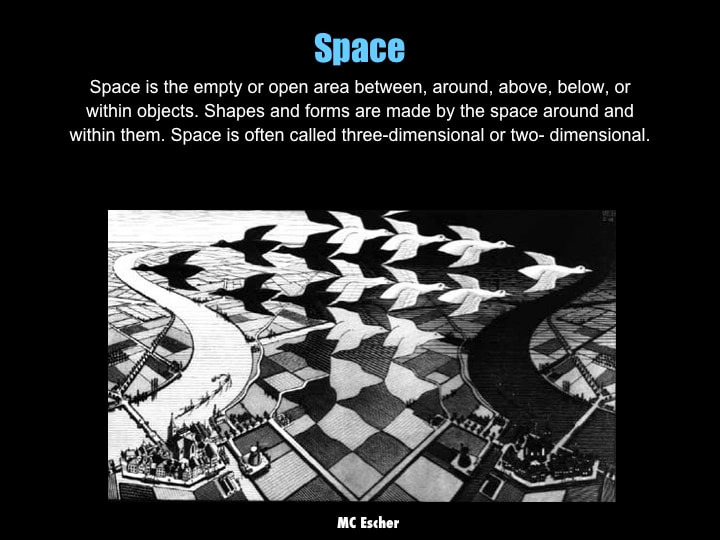
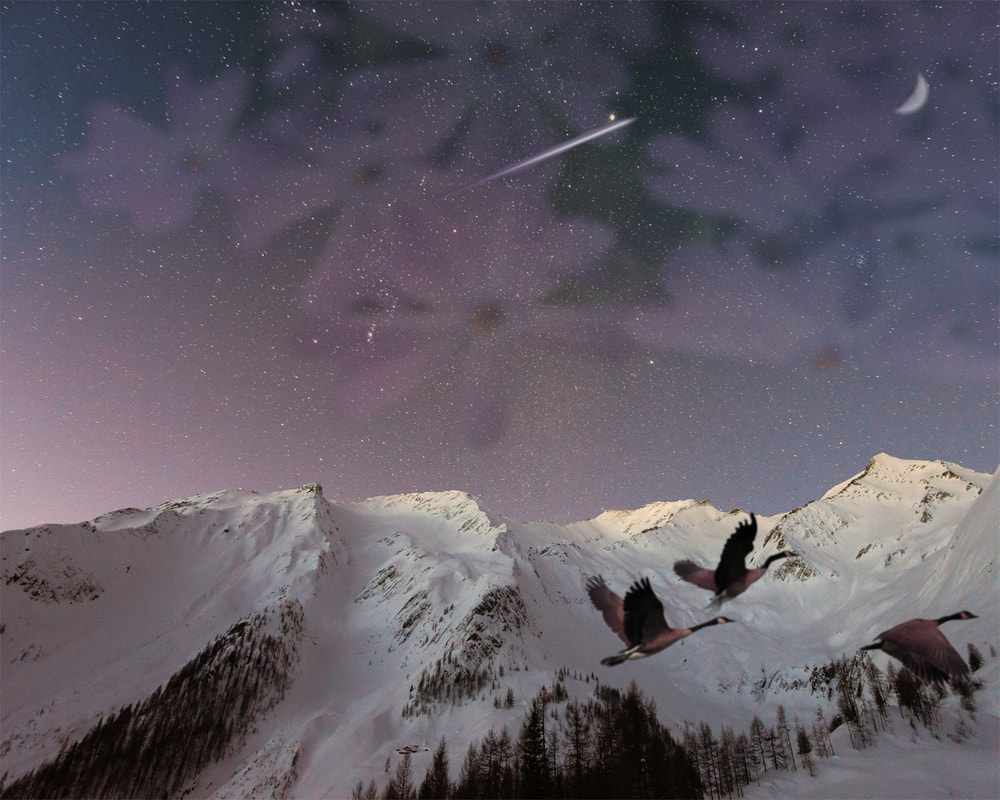
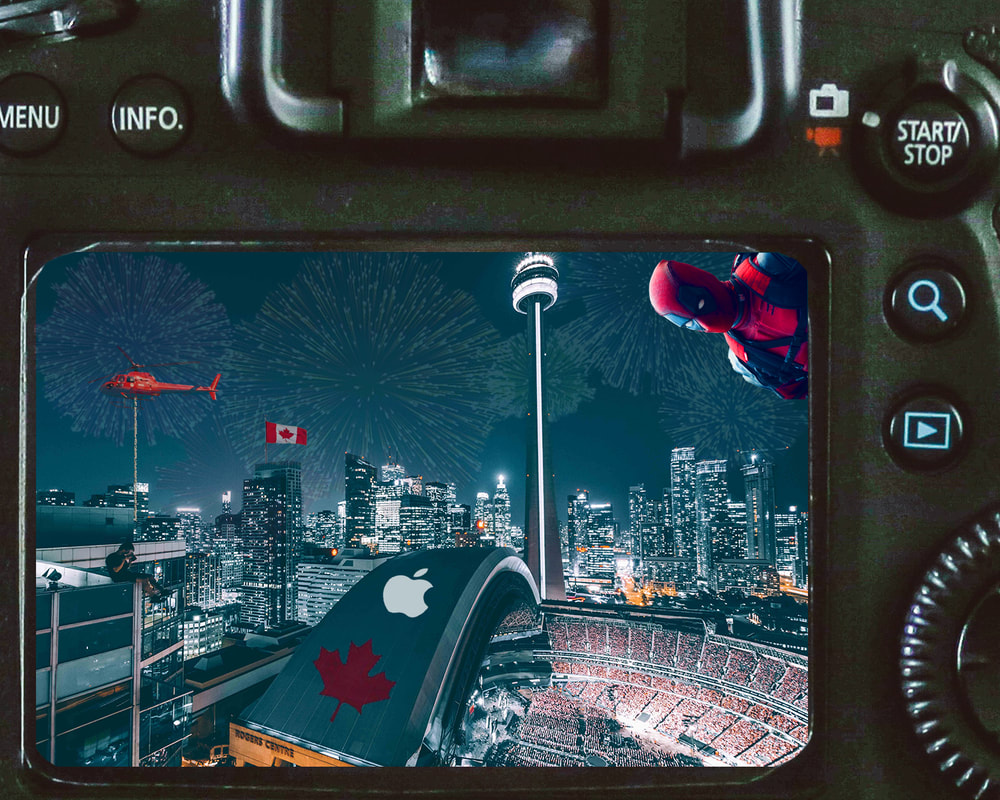
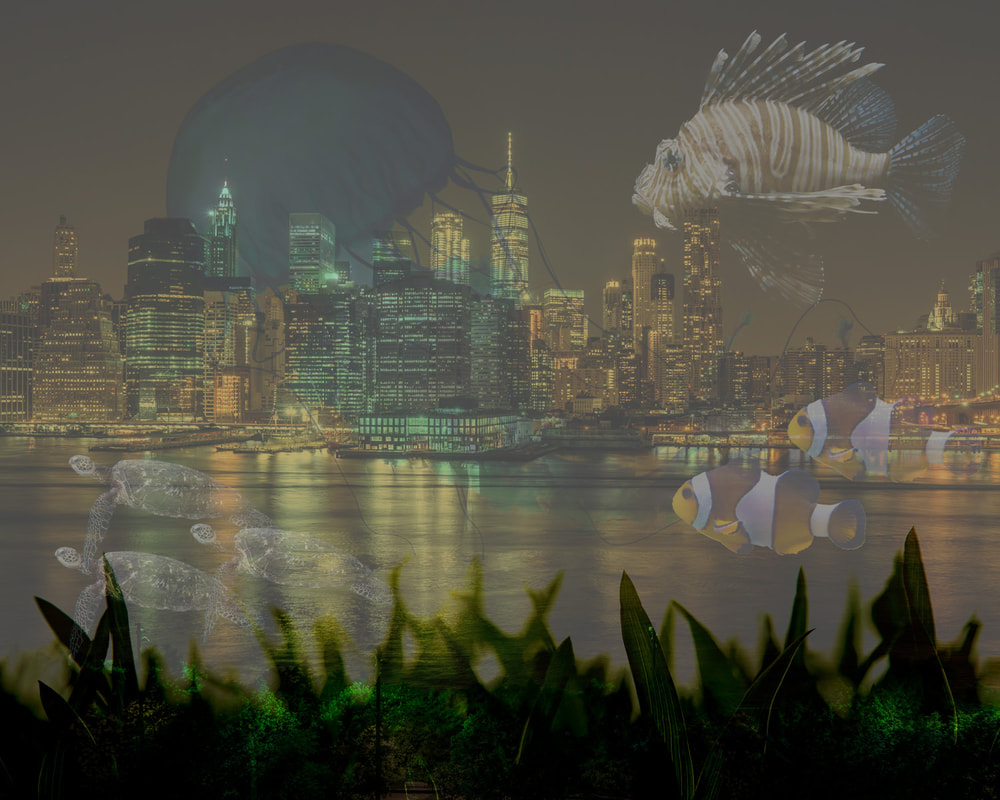
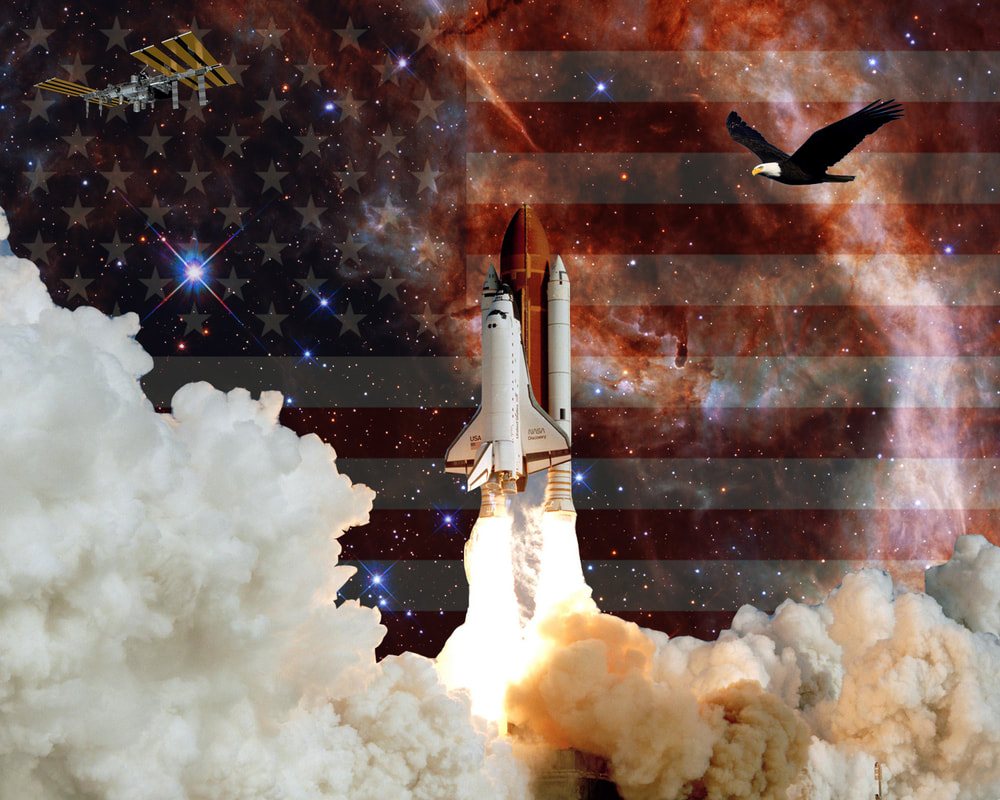
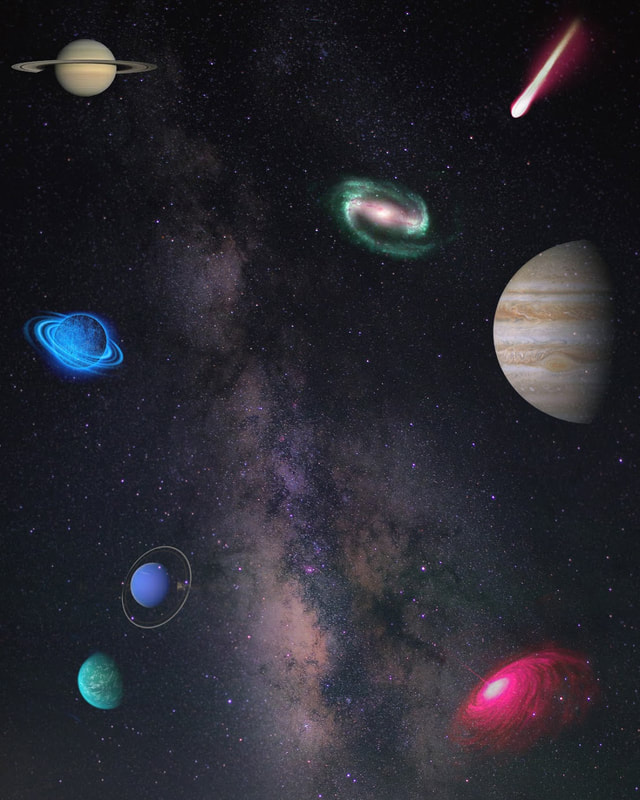
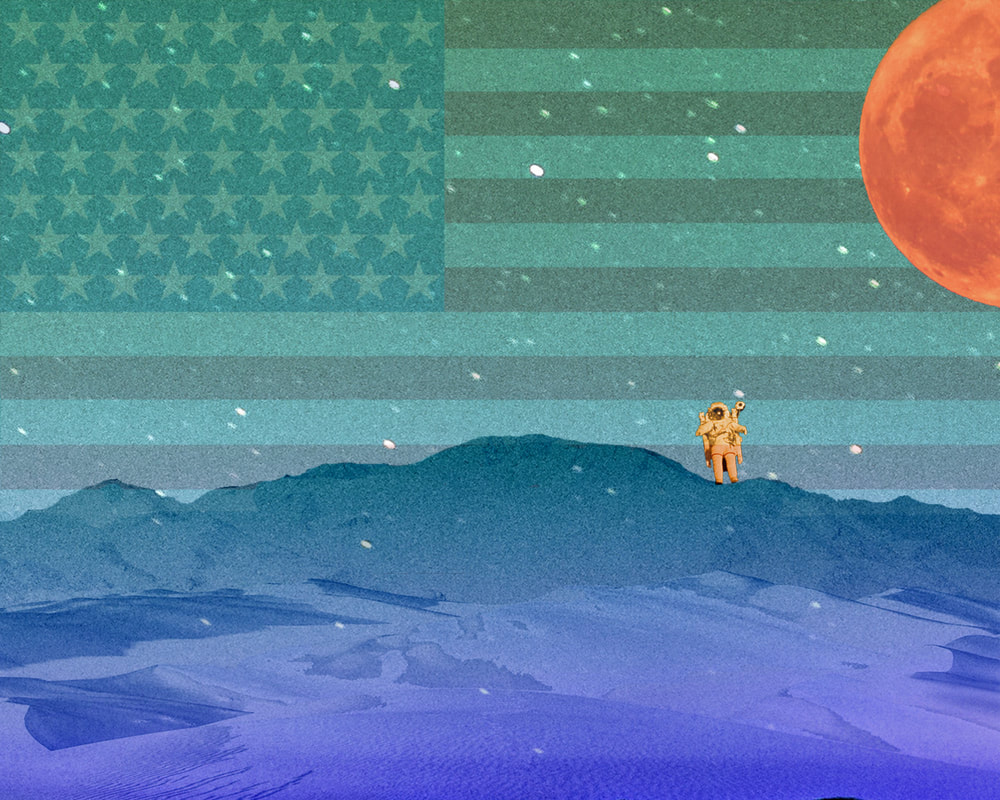
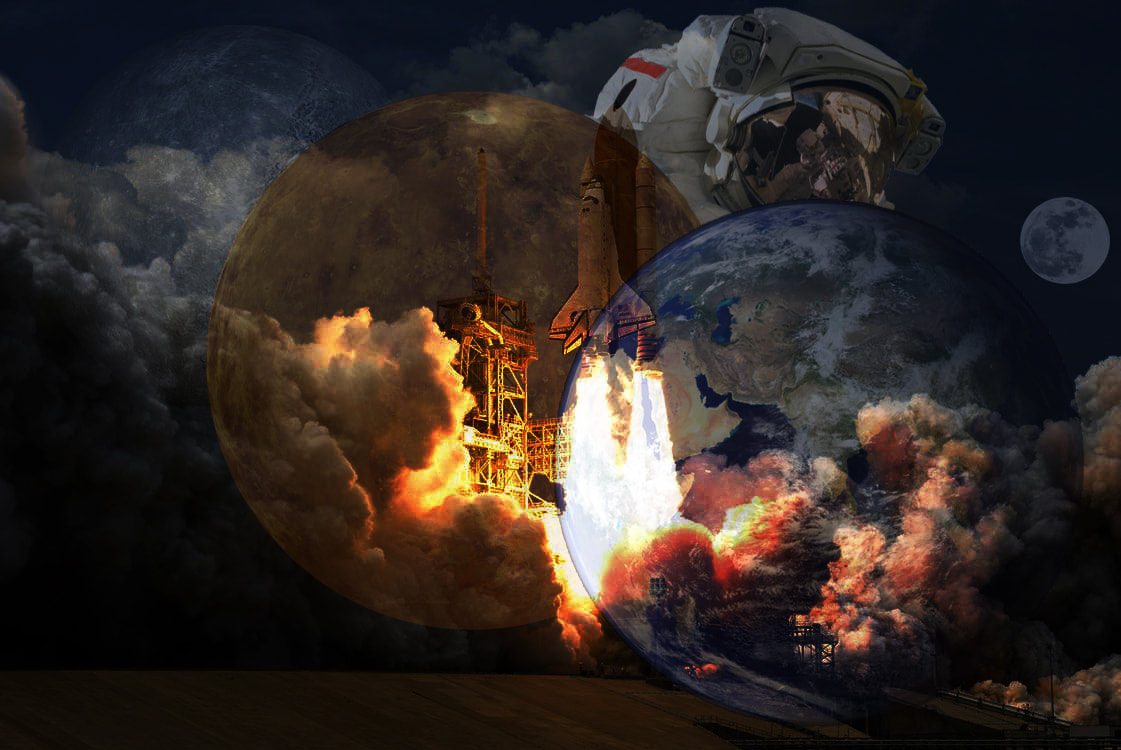
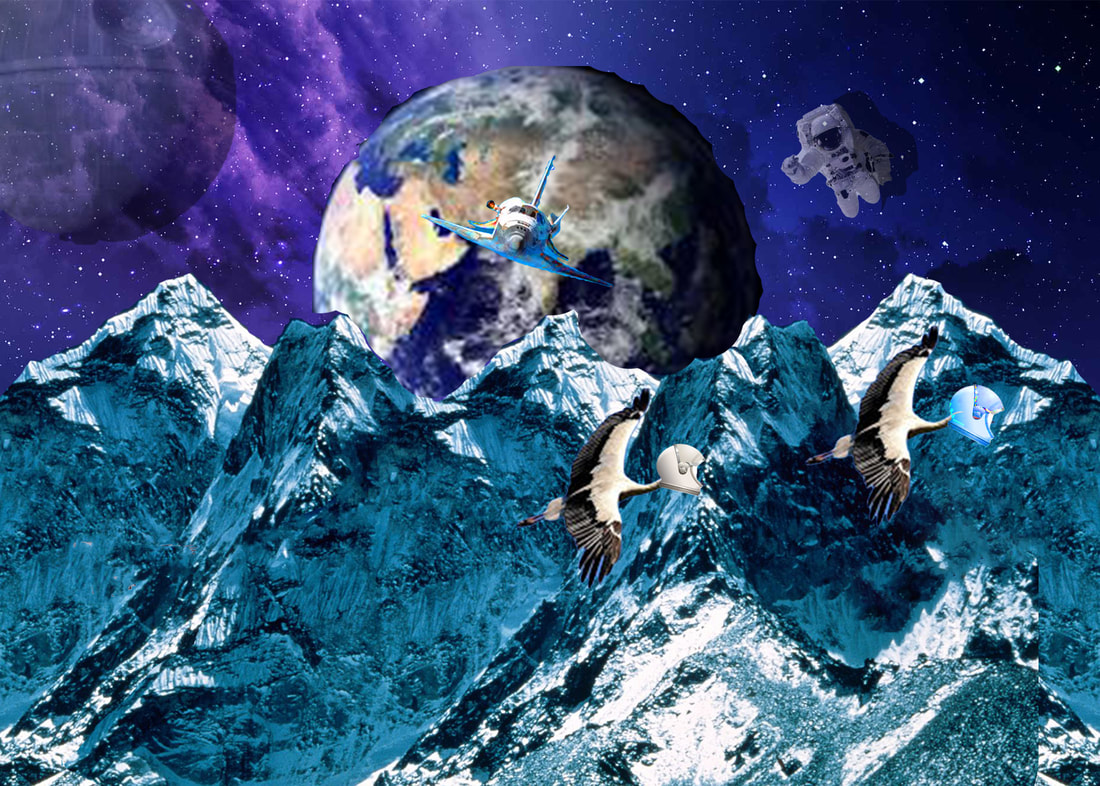
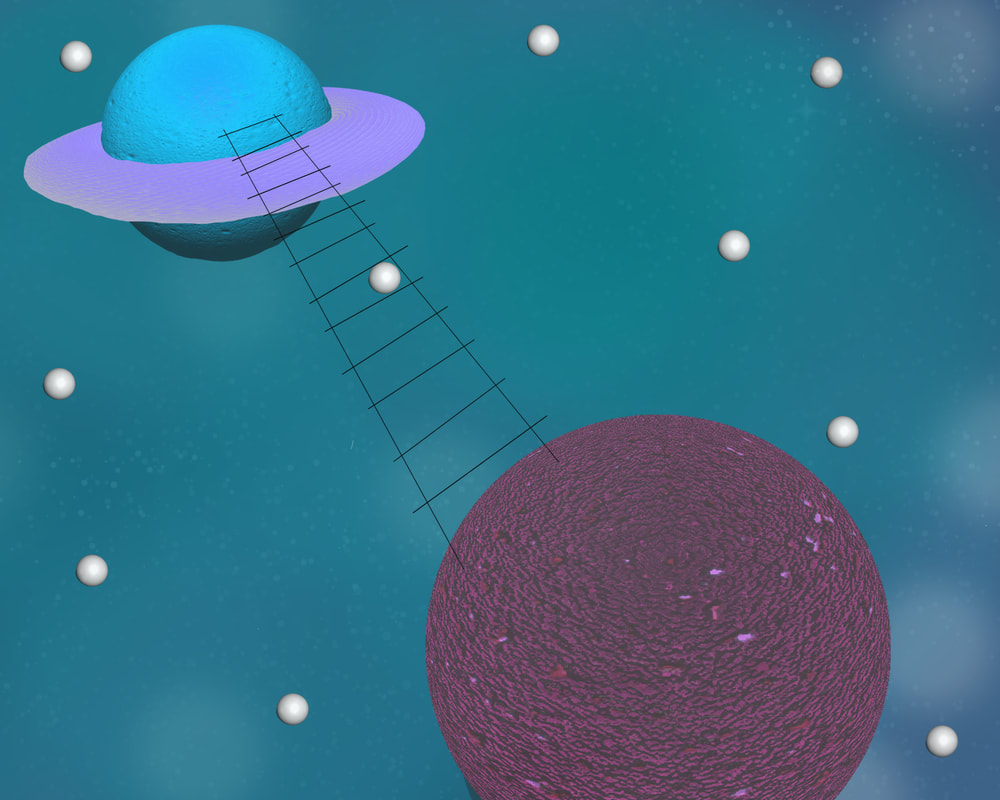
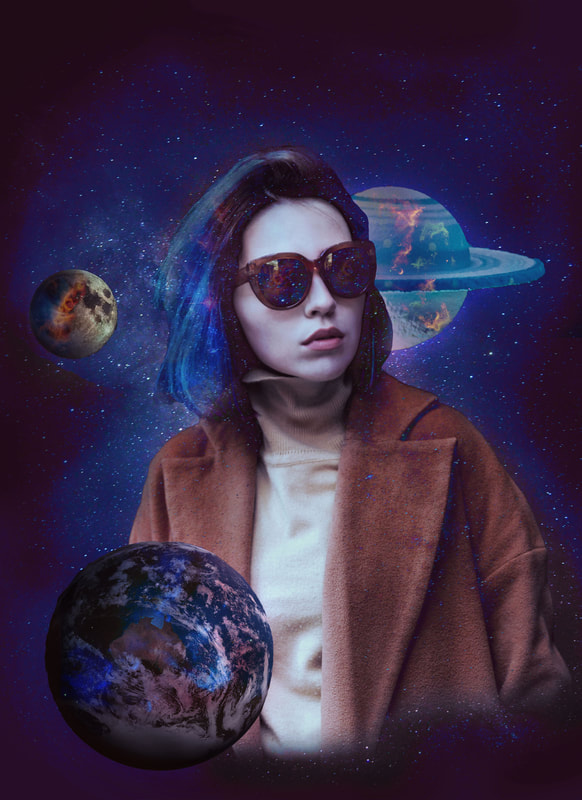
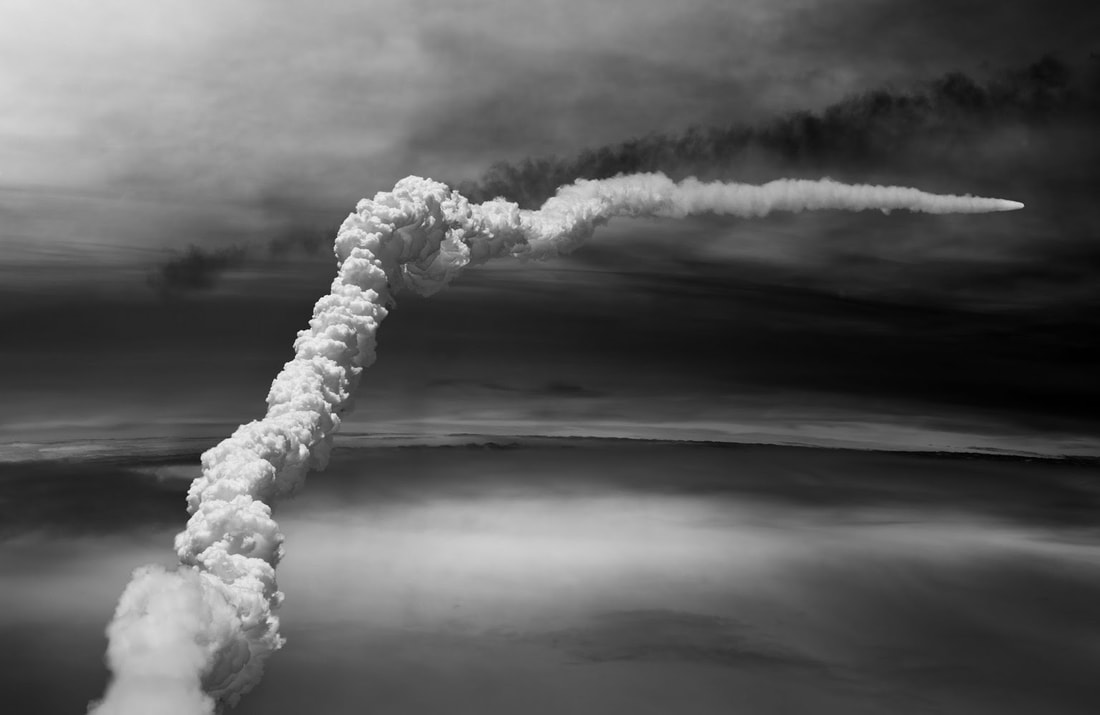
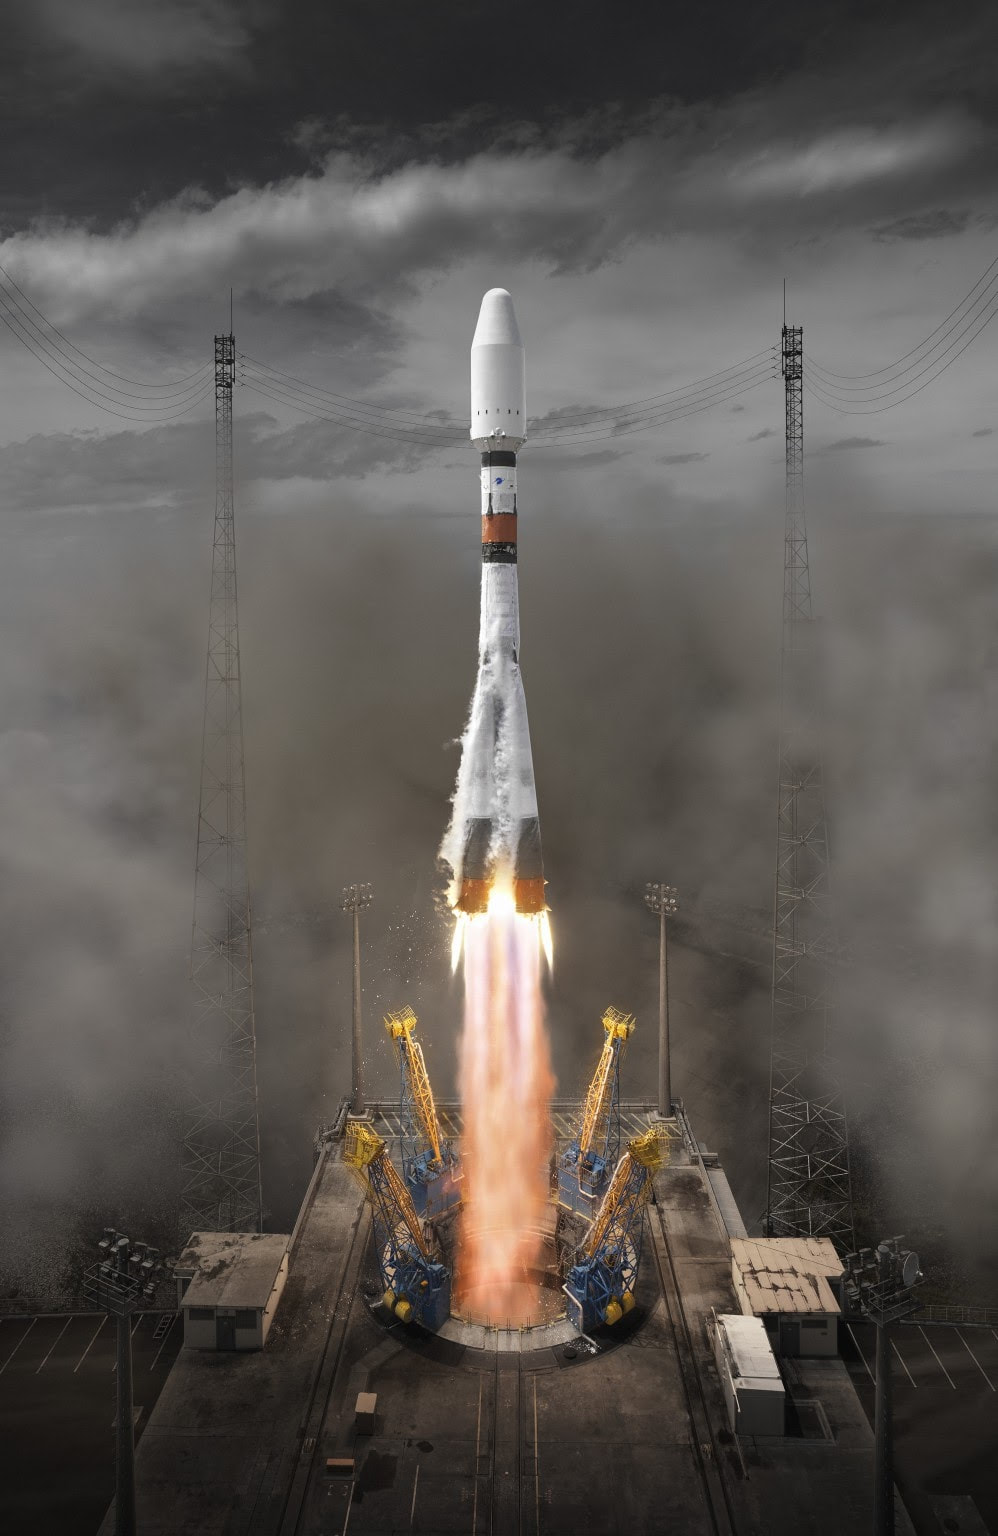
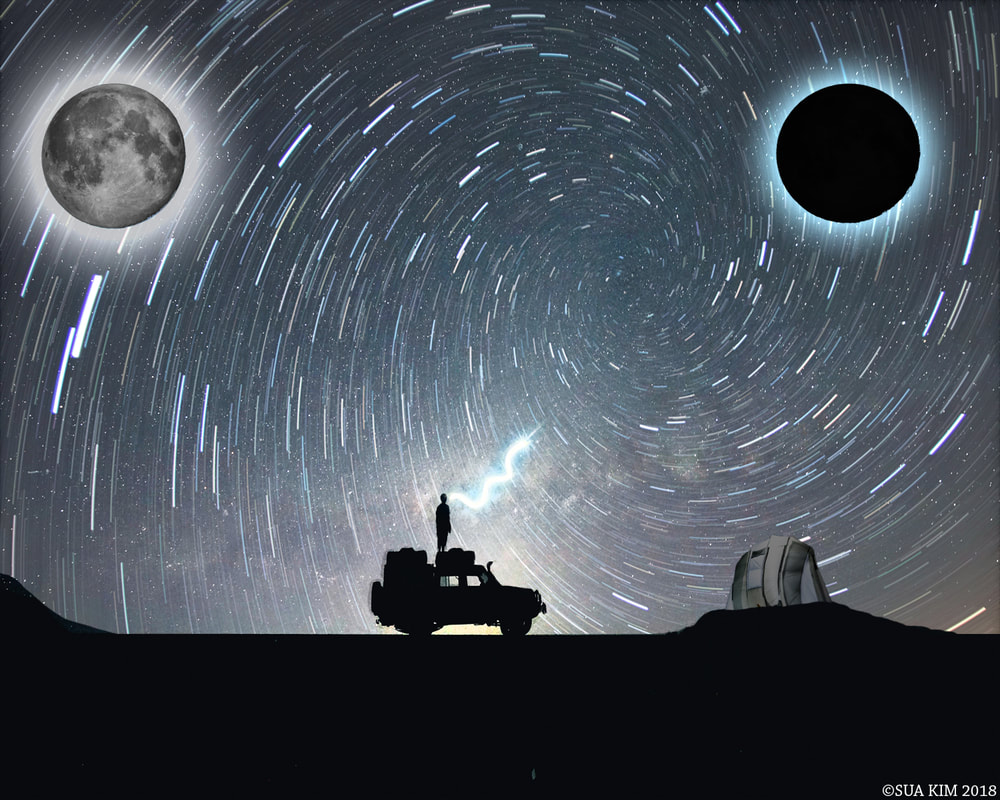
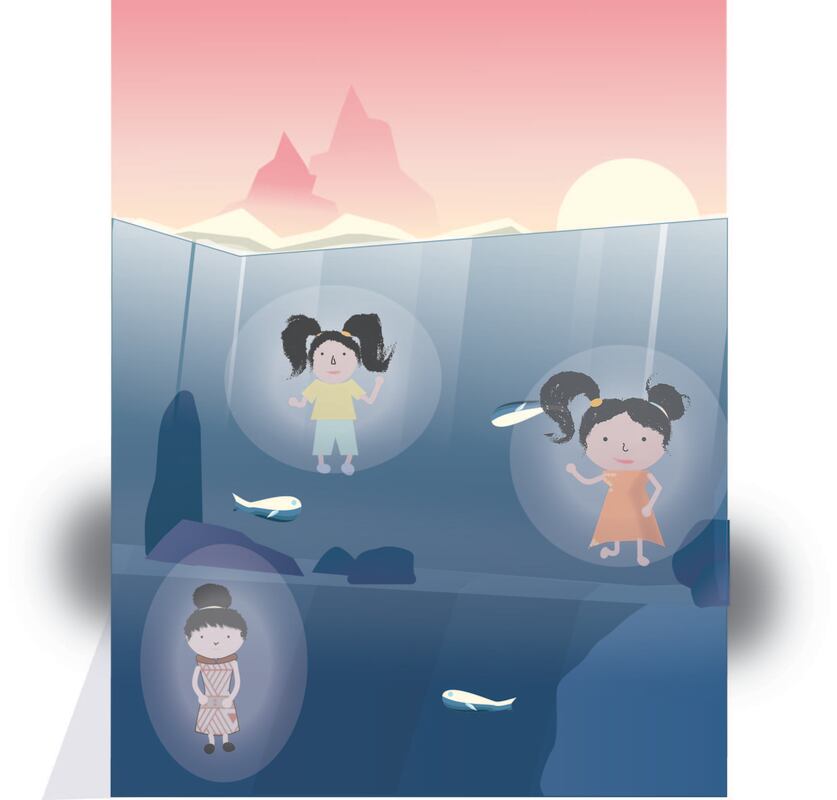
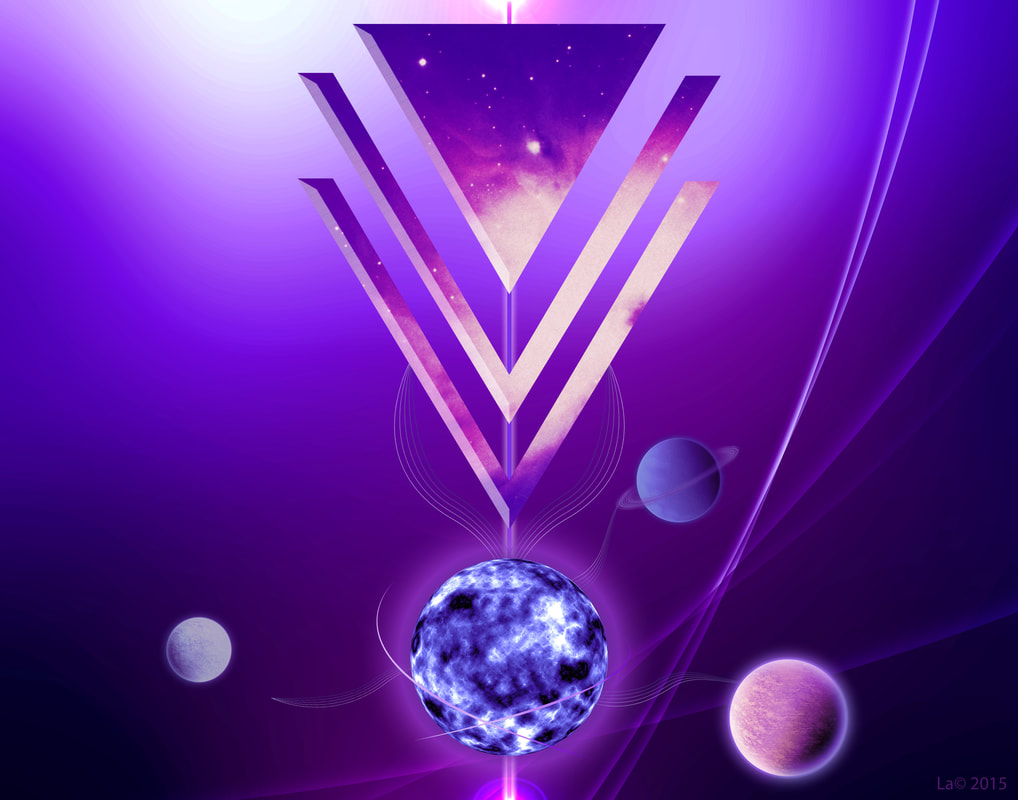
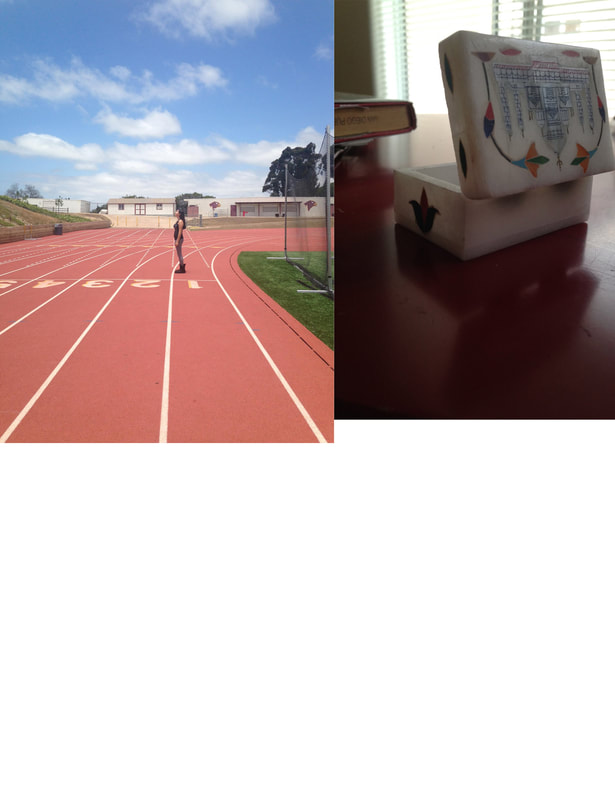
"Space" Theme Project
MOPA - Museum of Photographic Arts:
How can this year’s theme be interpreted?
MOPA encourages you to be creative with your interpretation of the theme!
What do you think of when you think of "Space?"
What might you photograph to show your thoughts and ideas?
Some ideas for interpreting the theme include:
-Explore personal space, like our six feet apart rule during quarantine.
-Think about different emotional head-spaces you can be in.
-Use shape and color to explore the feelings and emotions associated with outer space.
-Create an artwork that explores confined spaces, or wide open vast spaces.
-Personal Space
-Community spaces
-Interior space
-Exterior space
-Create a photo collage, double exposure, or edited image that shows a story of a space in your community.
Assignment:
Create your own "Space" Theme Artwork for our class.
Optional: Submit your artwork to the MOPA 2021 Youth Exhibition
Requirements:
1) Take original photos for your artwork.
2) Demonstrate advancing Photoshop Skills.
3) Demonstrate use of the Elements of Art & Principles of Design
4) Demonstrate use of the Rules of Composition
5) Demonstrate your own unique interpretation of the theme "Space"
6) Submit your original artwork with your own original photos. No stock photos allowed.
7) Submit a Source File with all your photos before editing
Resources and Ideas:
Make a "Multiplicity" artwork where you clone a person or objects in a space:
Tutorial #1
Tutorial #2
Tutorial #3
"10 Creative DIY Photo Tricks at Home"
10 Easy Photo Ideas at Home
"Top 10 Creative Photos 2020"
"Space" Theme Inspiration Images:
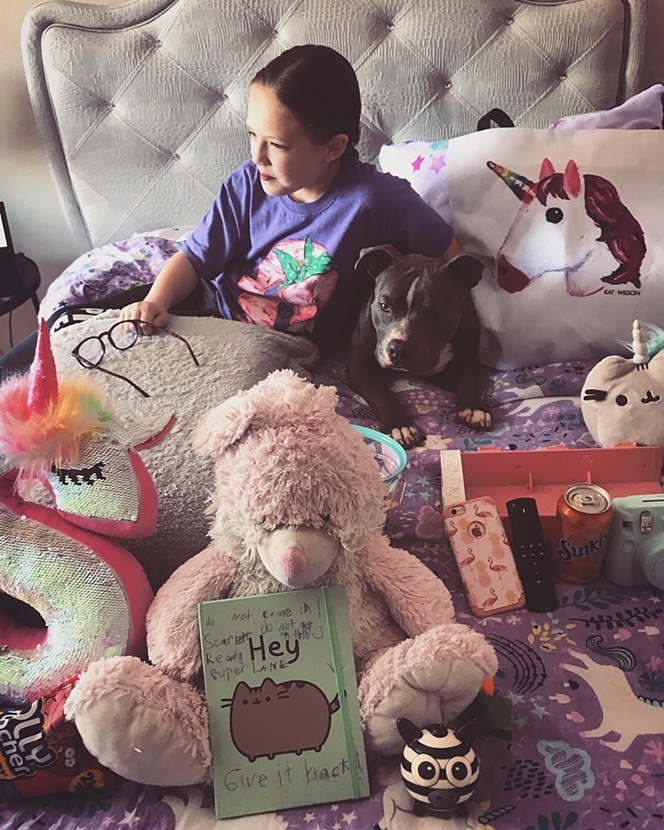
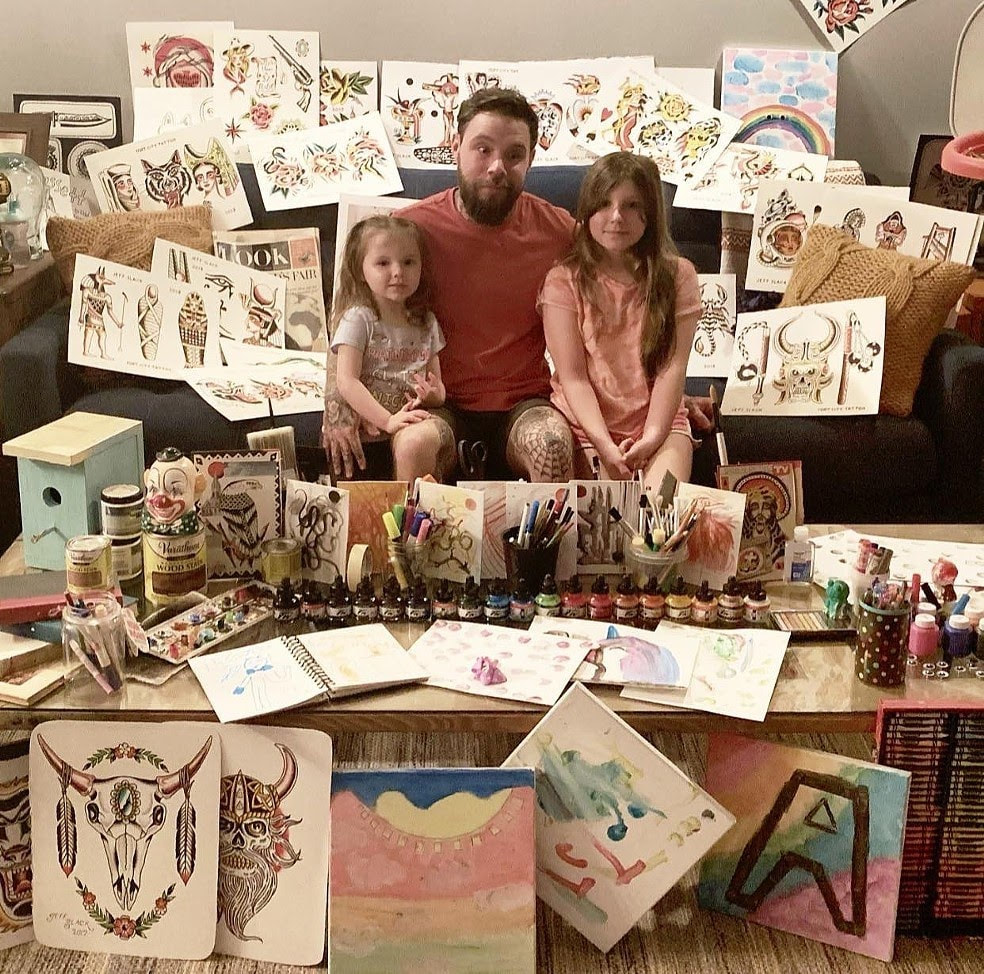
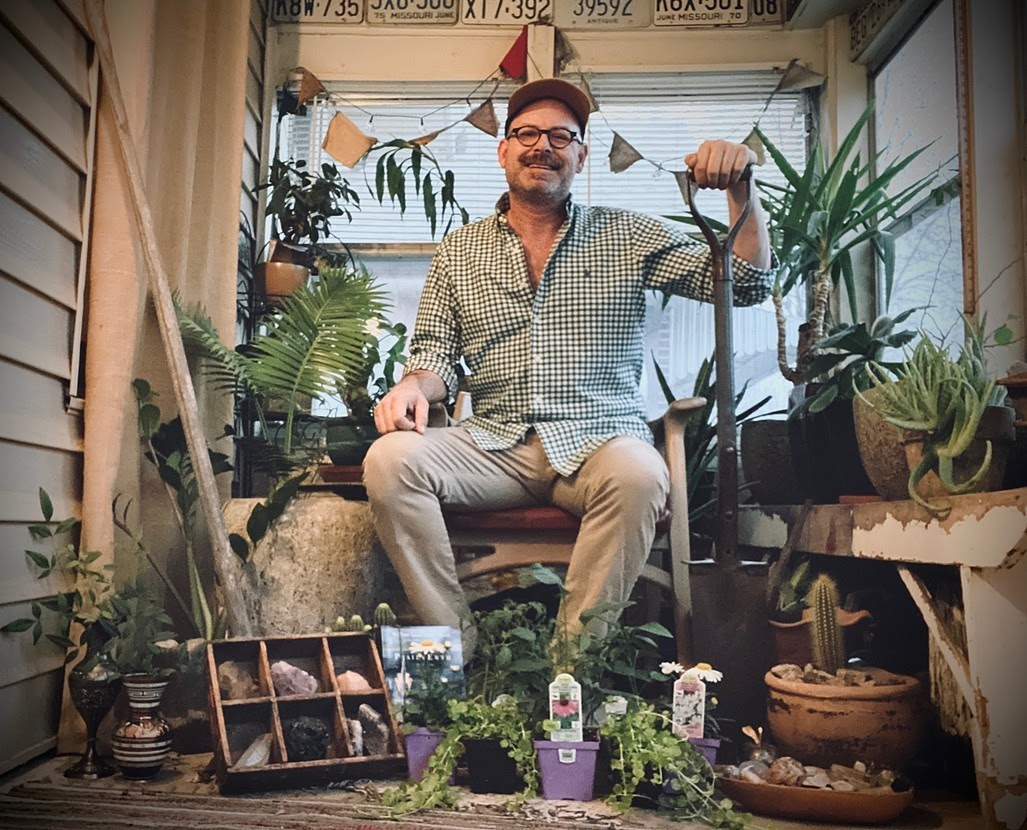
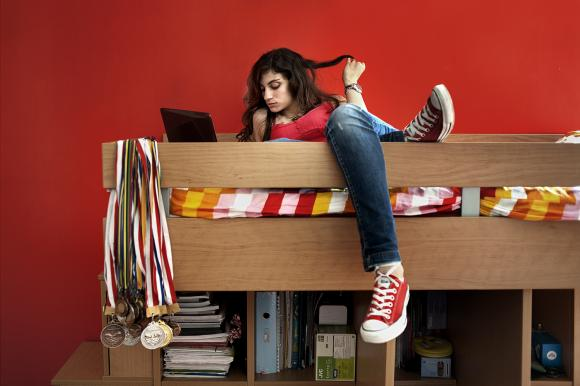
Personal Space:
Photographer: Kat Wilson
Project: Habitats & Quarantine Habitats
Website: https://katwilsonartist.com/section/343183-Habitats-2004.html
Article:https://crystalbridges.org/blog/artist-kat-wilson-on-personal-space/
and
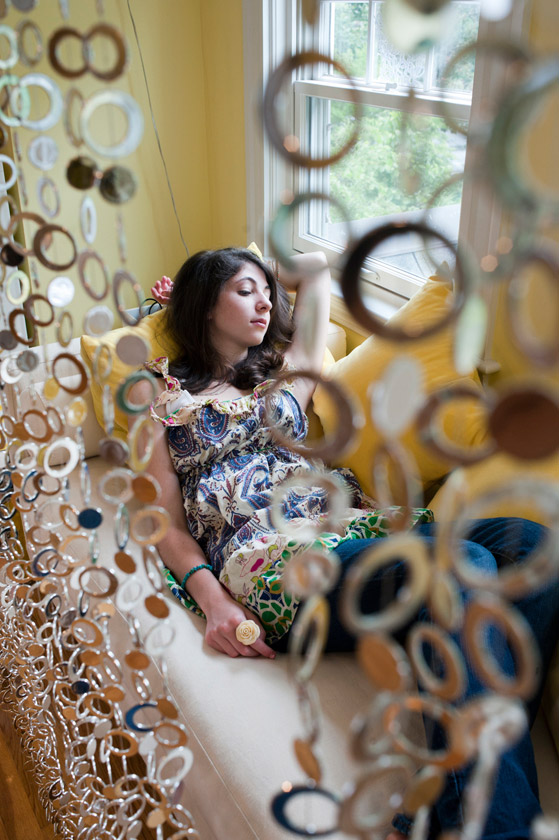
Photographer: Rania Matar
Project: A Girl and Her Room
Website: https://www.raniamatar.com/portfolio/girl-and-her-room/index.php
Rania Matar is a Lebanese-American photographer who focuses on female identity and the transition from adolescence to womanhood. She photographs girls and women in both the United States and the Middle East in their rooms, in a space that is important to them.
Photographer: Kat Wilson
Project: Habitats & Quarantine Habitats
Website: https://katwilsonartist.com/section/343183-Habitats-2004.html
Article:https://crystalbridges.org/blog/artist-kat-wilson-on-personal-space/
and
Photographer: Rania Matar
Project: A Girl and Her Room
Website: https://www.raniamatar.com/portfolio/girl-and-her-room/index.php
Rania Matar is a Lebanese-American photographer who focuses on female identity and the transition from adolescence to womanhood. She photographs girls and women in both the United States and the Middle East in their rooms, in a space that is important to them.

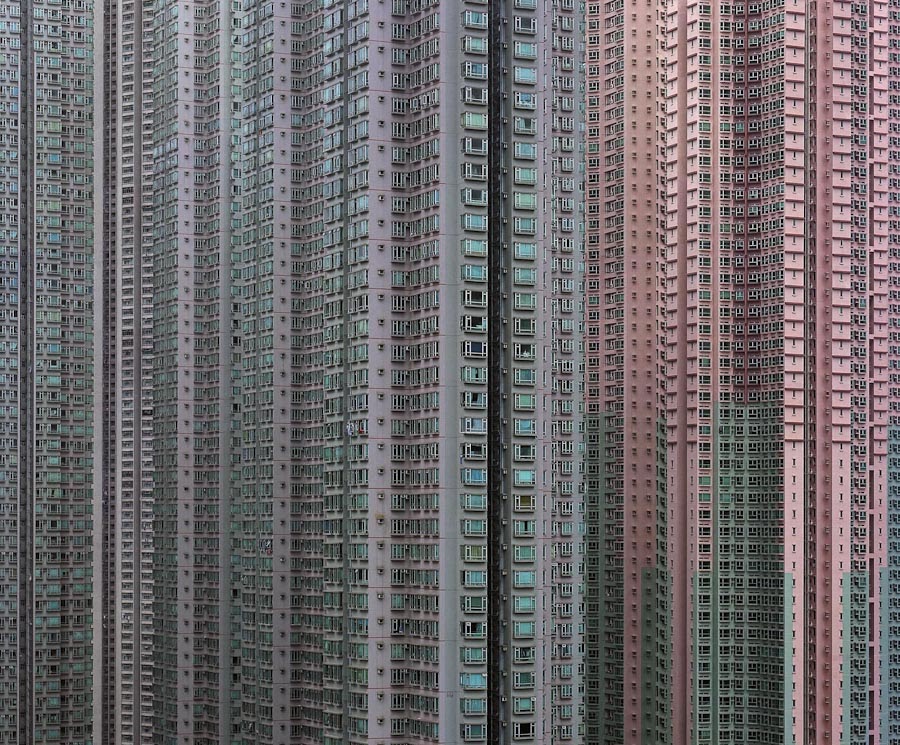
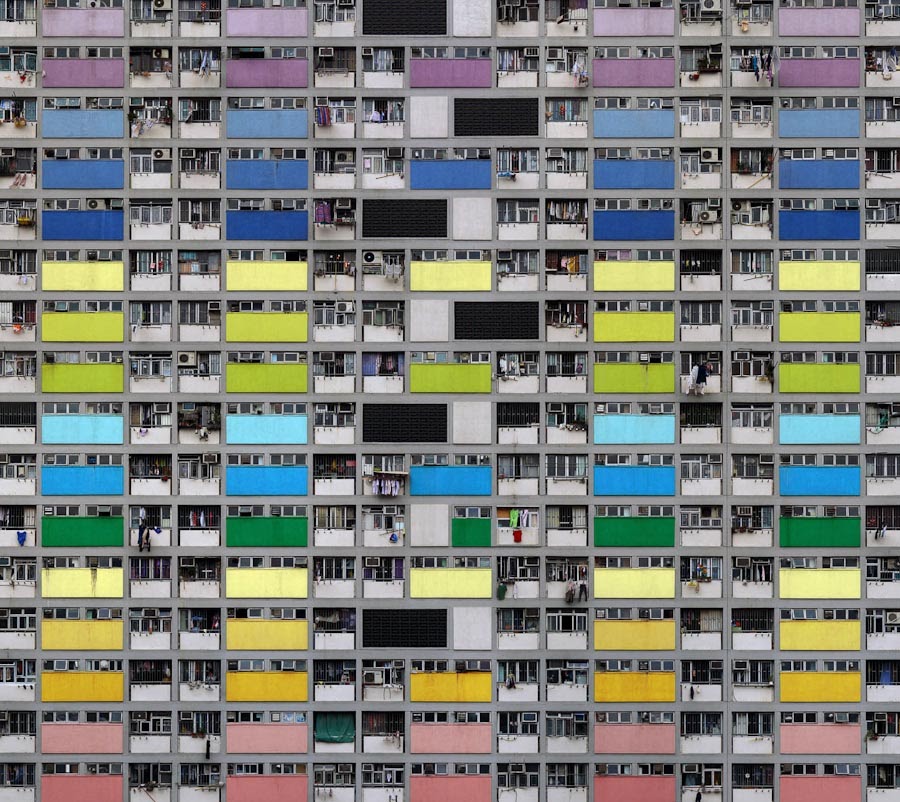
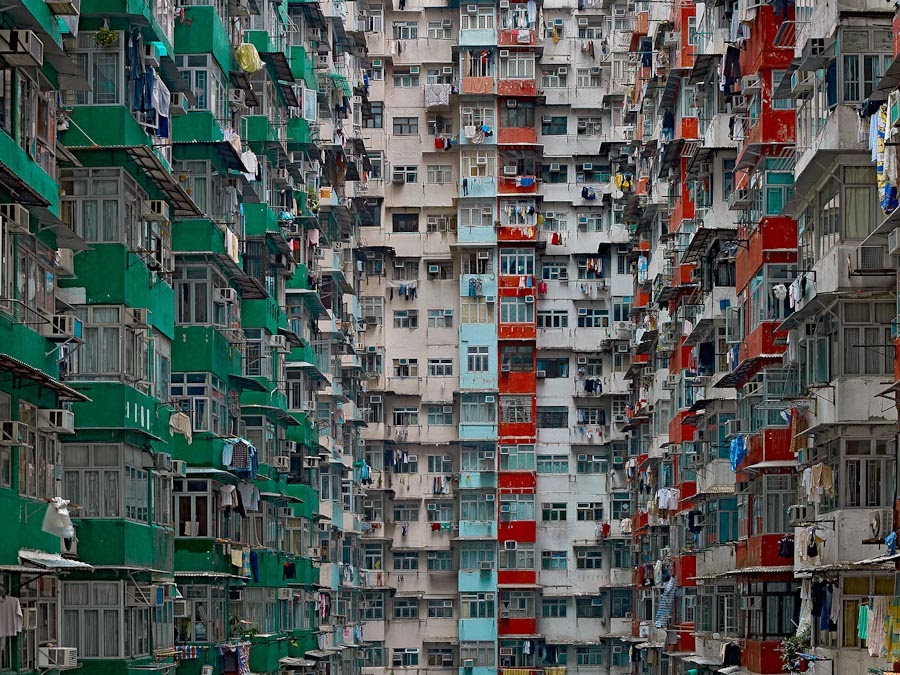
Physical Space:
Photographer: Michael Wolf
Project: Architecture of Density
Website:http://photomichaelwolf.com/#architecture-of-densitiy/1
Photographer: Michael Wolf
Project: Architecture of Density
Website:http://photomichaelwolf.com/#architecture-of-densitiy/1
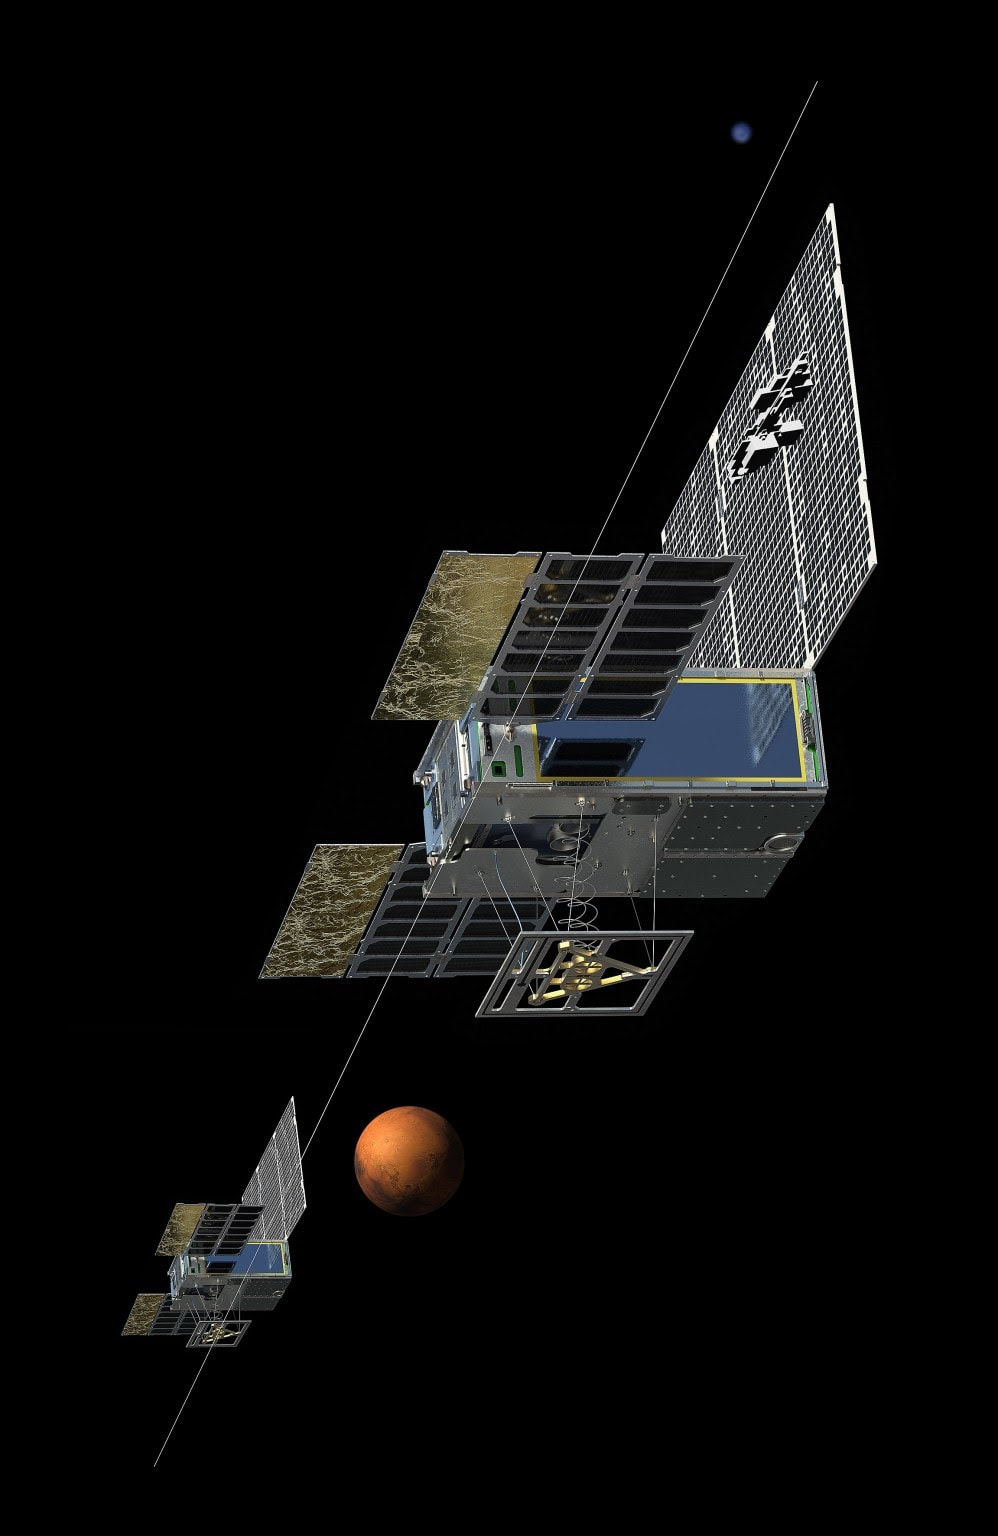
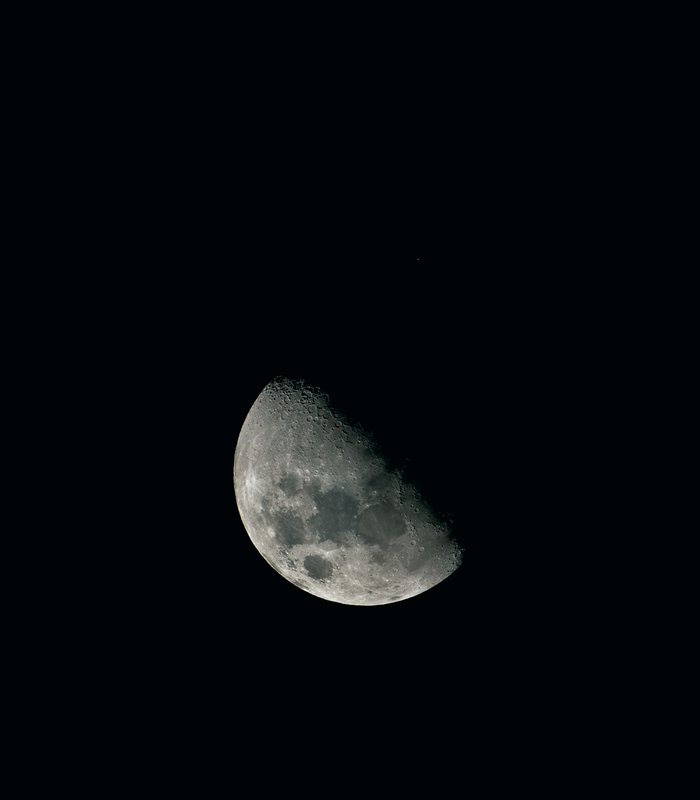
Outer Space:
Photographer: Michael Najjar
Project: Outer Space
Website: https://www.michaelnajjar.com/artworks/outer-space#1
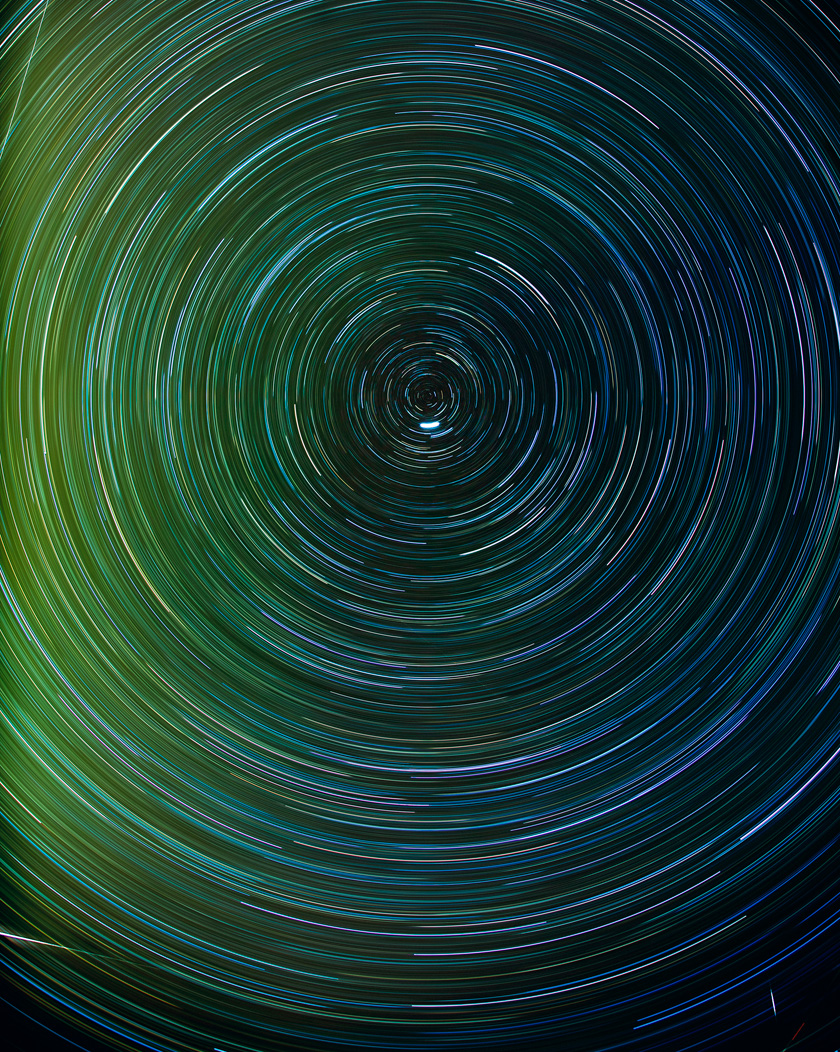
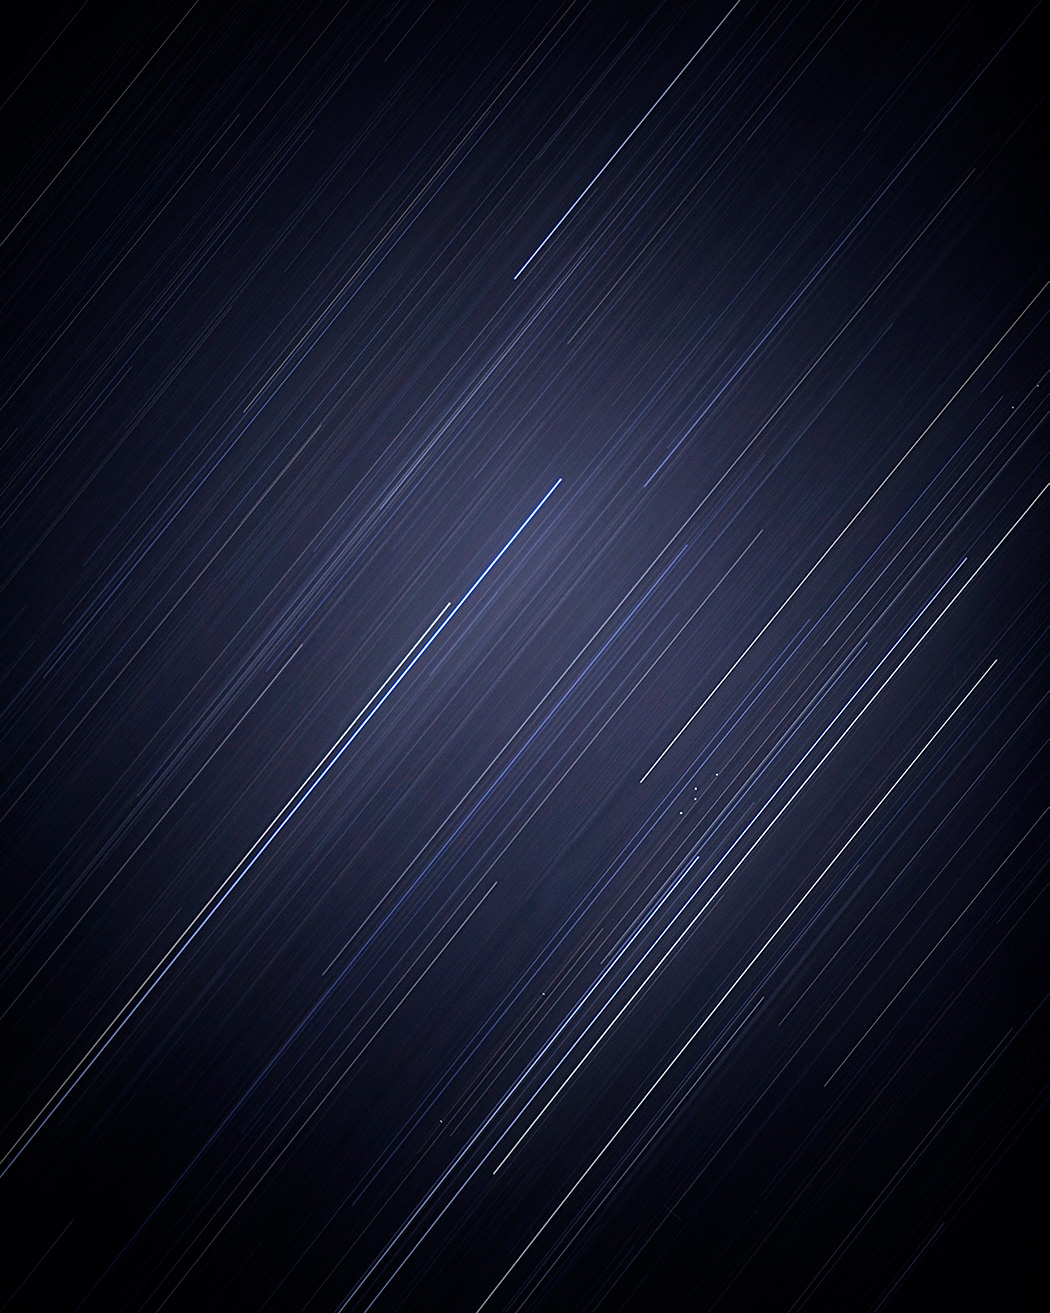
Photographer: Trevor Paglen
Project: The Other Night Sky
Website: https://paglen.studio/2020/05/22/the-other-night-sky/
Photographer: Michael Najjar
Project: Outer Space
Website: https://www.michaelnajjar.com/artworks/outer-space#1
Photographer: Trevor Paglen
Project: The Other Night Sky
Website: https://paglen.studio/2020/05/22/the-other-night-sky/
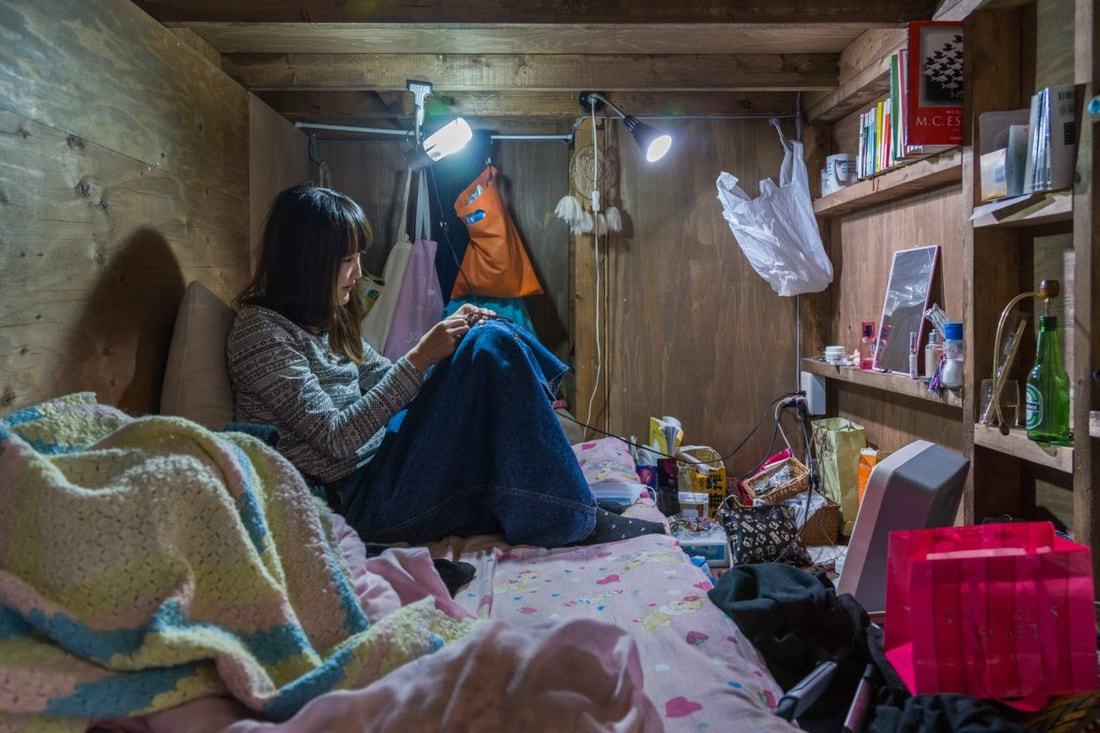
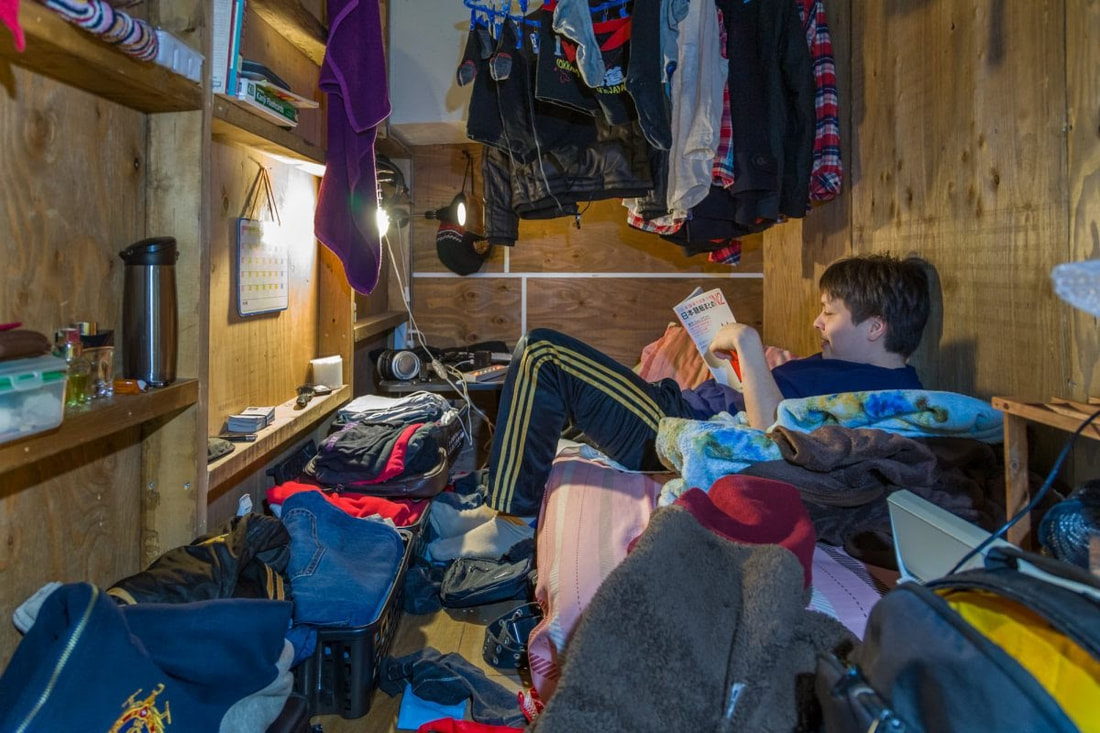
Enclosed Space:
Photographer: Won Kim
Project: Enclosed: Living Small
Website:https://www.wonkimphotography.com/enclosed-living-small/
Photographer: Won Kim
Project: Enclosed: Living Small
Website:https://www.wonkimphotography.com/enclosed-living-small/
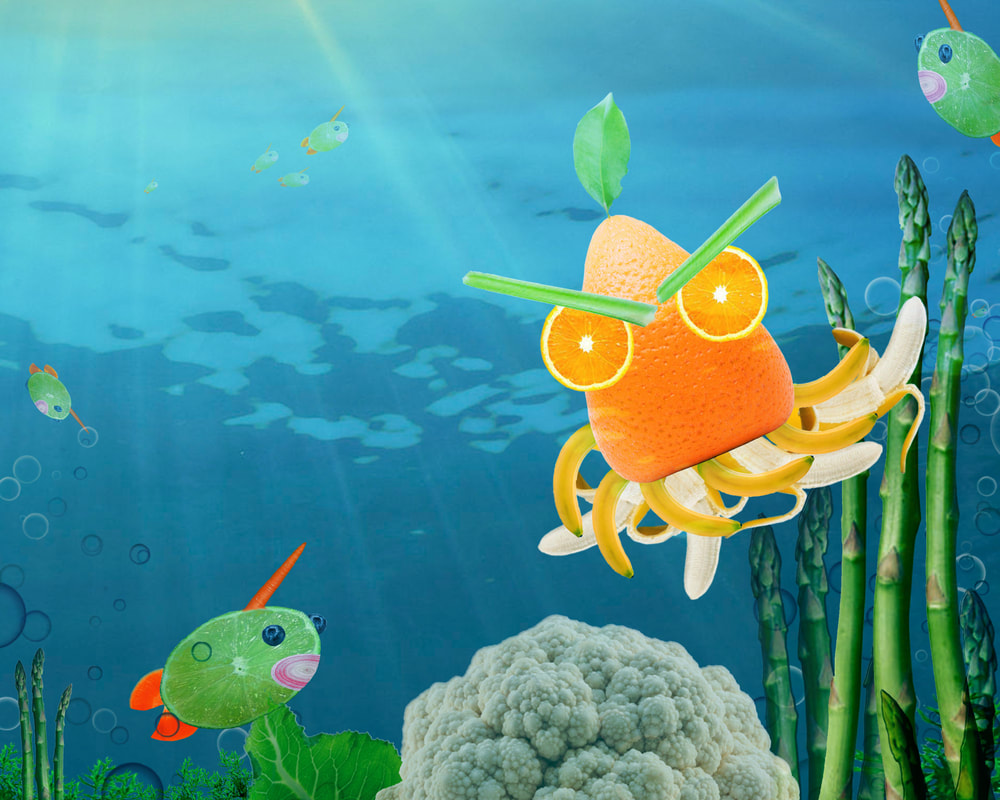
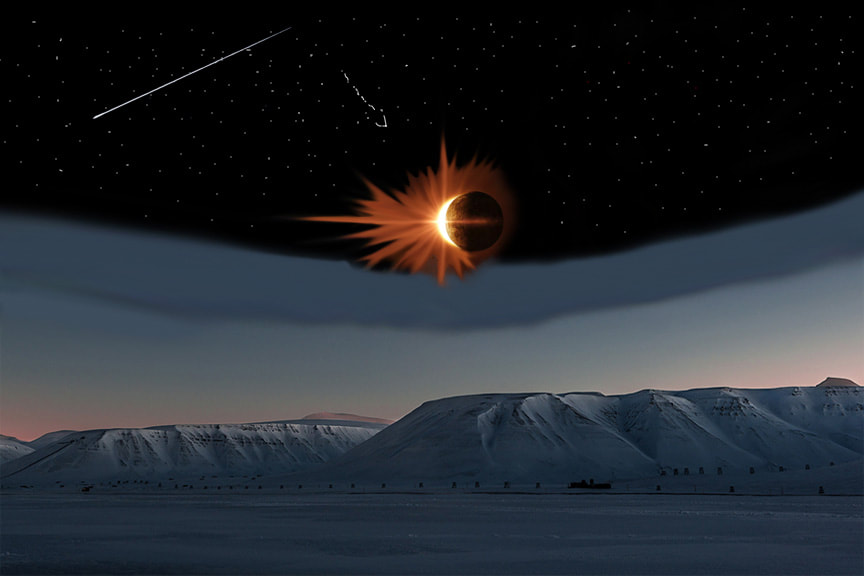
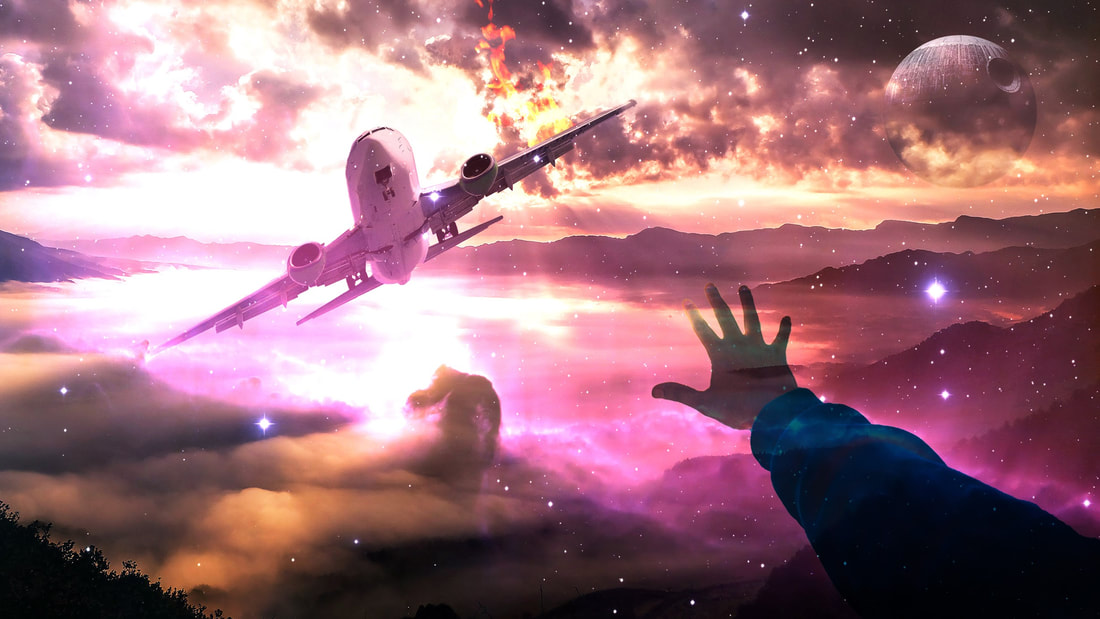
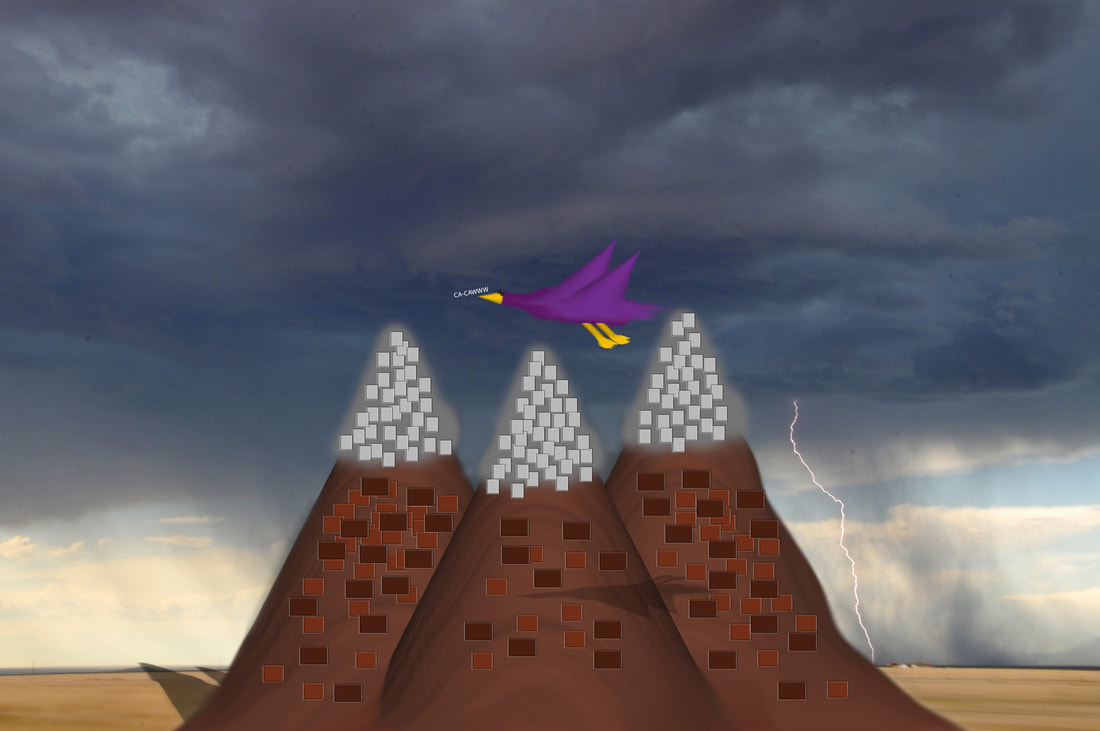
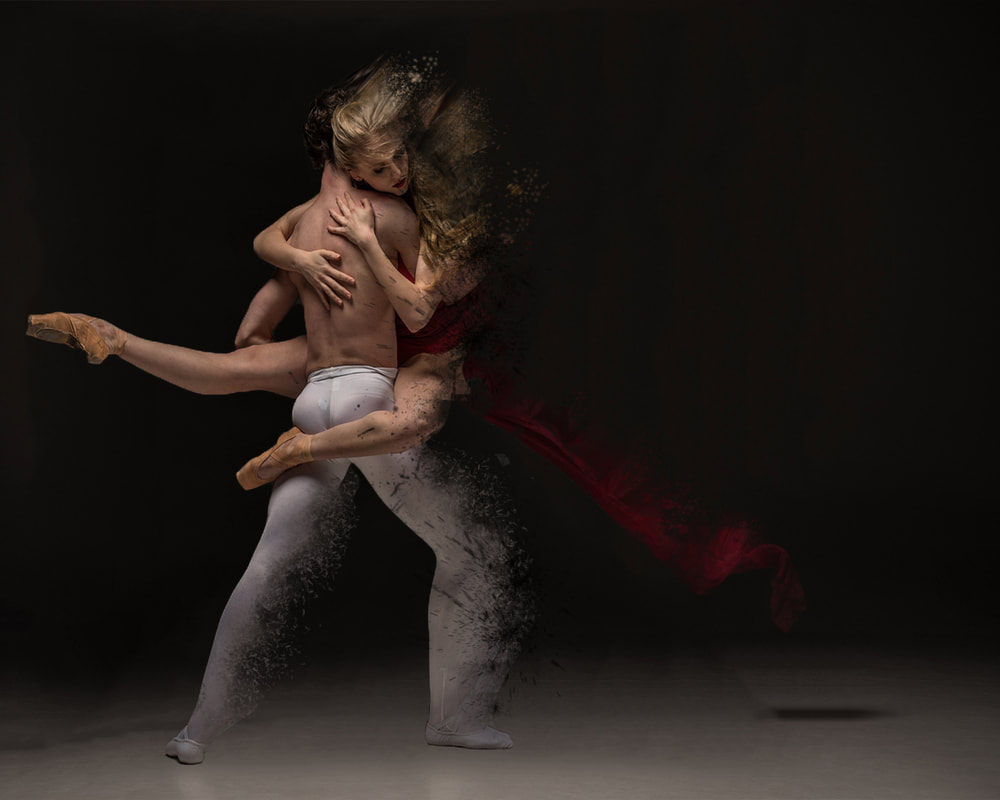
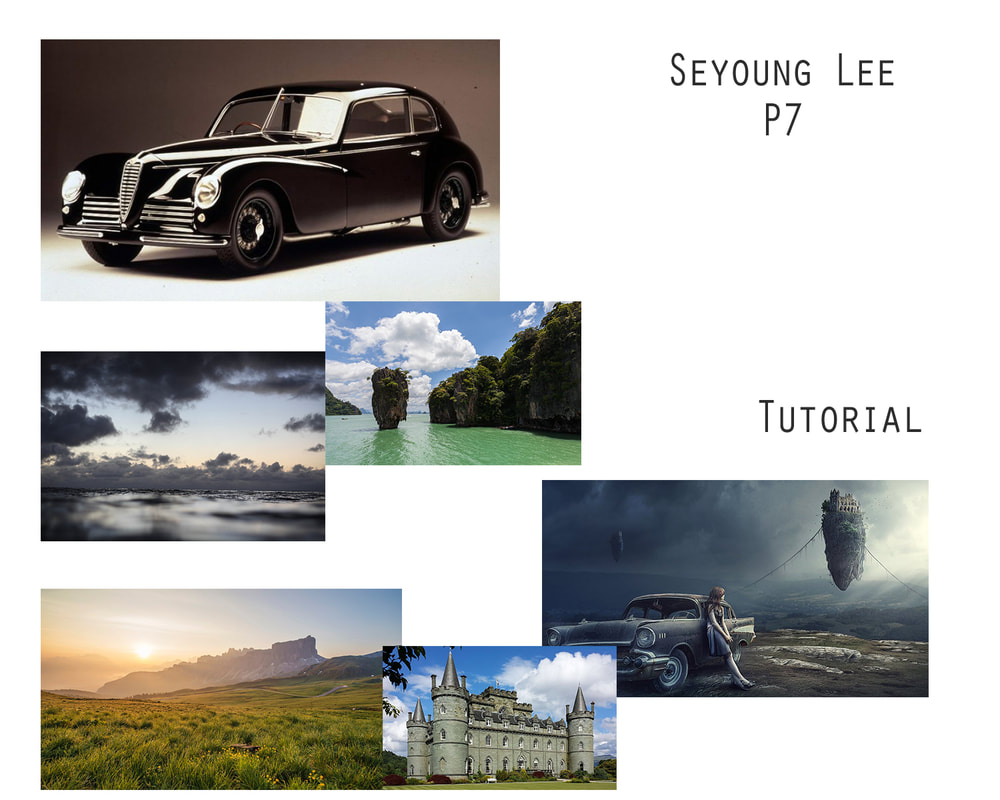
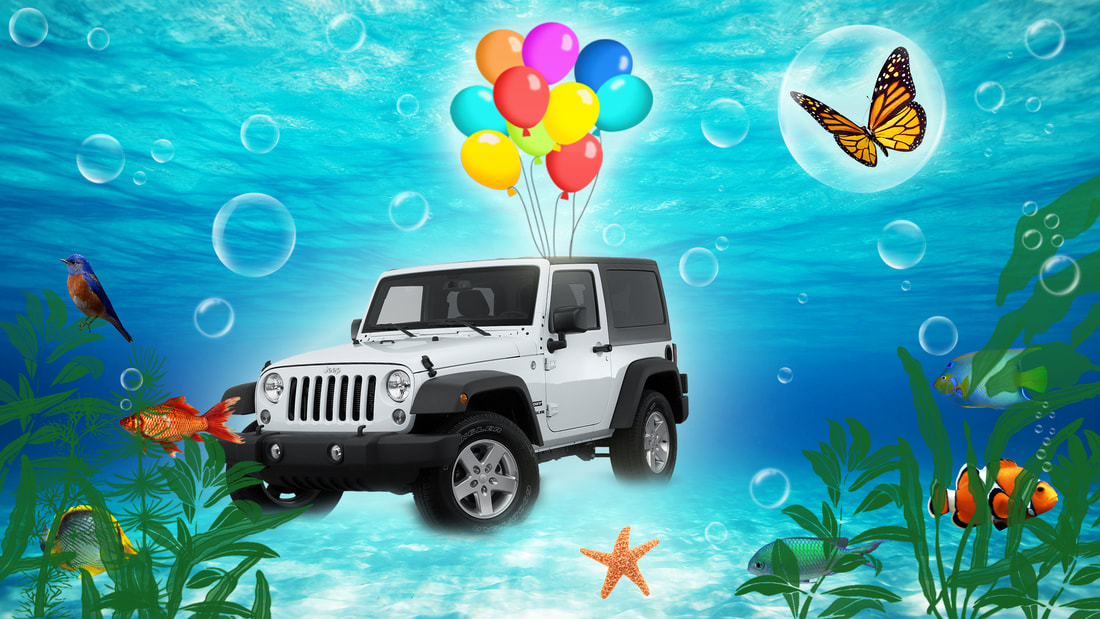
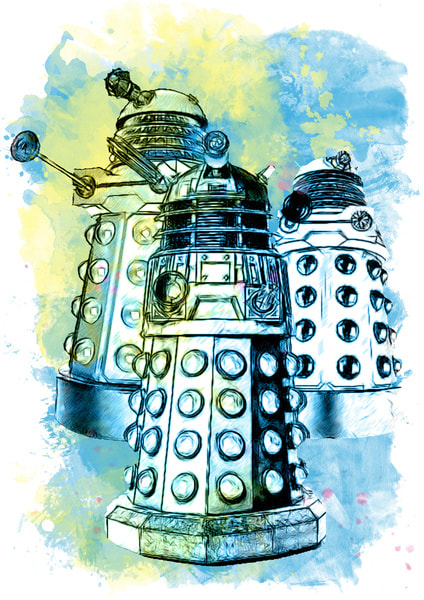
Surreal Effect Tutorial Assignment
Choose 1 tutorial that interests you and will teach you new and complex surreal photoshop effects.
Complete the tutorial by following the steps but substitute the photos from the tutorial with DIFFERENT photos you find.
Learn the skills but create a new artwork.
•The tutorial and artwork should take you at least 60 minutes to complete. It should take more - if not, it may not be complex. Choose a different tutorial.
•You must use different photos than the tutorial. Learn the skills, but make the artwork your own! For example: if the tutorial makes a frog out of raspberries, than you make a lizard out of eggs, or a squirrel out of grapes.
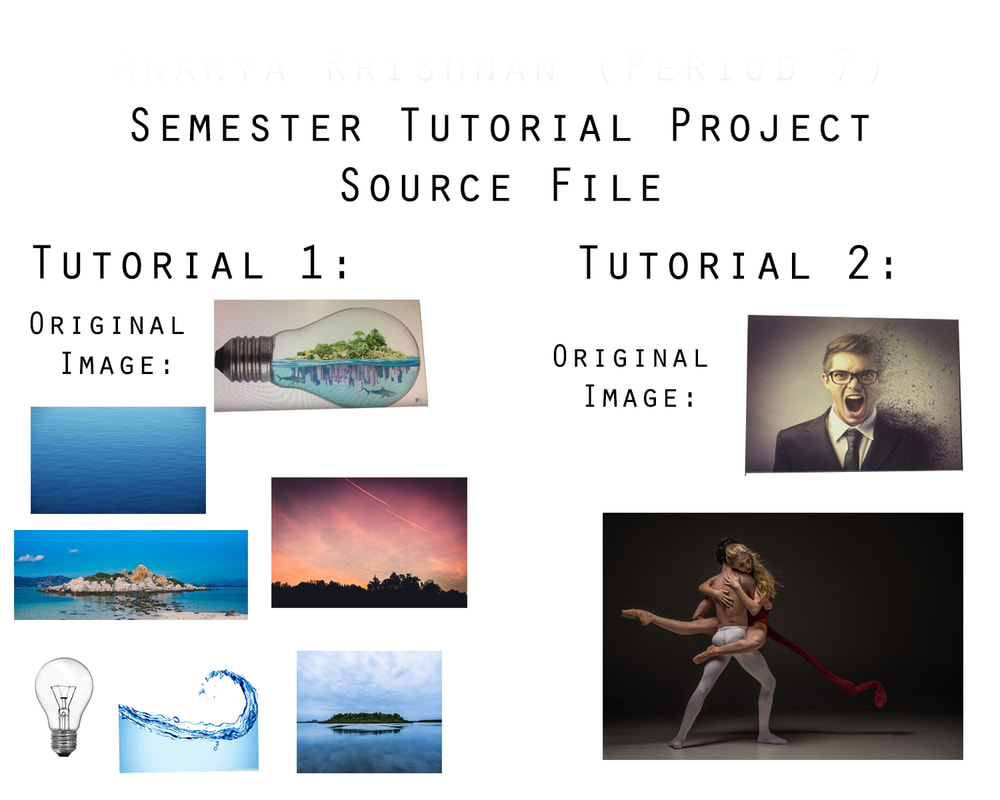
*You will turn in your completed artwork and
a source file with a screen shot of the original tutorial image and your substituted photos.
Surreal Effects Tutorials:
-Link 1
-Link 2
-Link 3
-Link 4
Complete the tutorial by following the steps but substitute the photos from the tutorial with DIFFERENT photos you find.
Learn the skills but create a new artwork.
•The tutorial and artwork should take you at least 60 minutes to complete. It should take more - if not, it may not be complex. Choose a different tutorial.
•You must use different photos than the tutorial. Learn the skills, but make the artwork your own! For example: if the tutorial makes a frog out of raspberries, than you make a lizard out of eggs, or a squirrel out of grapes.
*You will turn in your completed artwork and
a source file with a screen shot of the original tutorial image and your substituted photos.
Surreal Effects Tutorials:
-Link 1
-Link 2
-Link 3
-Link 4
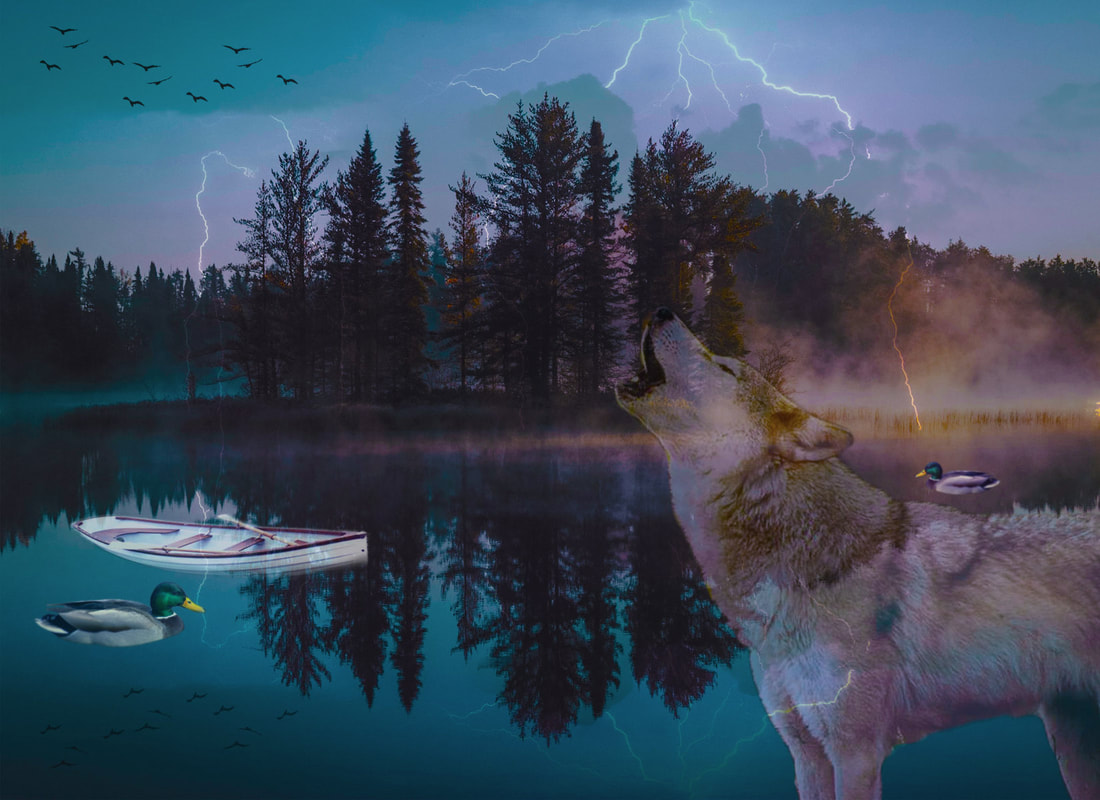
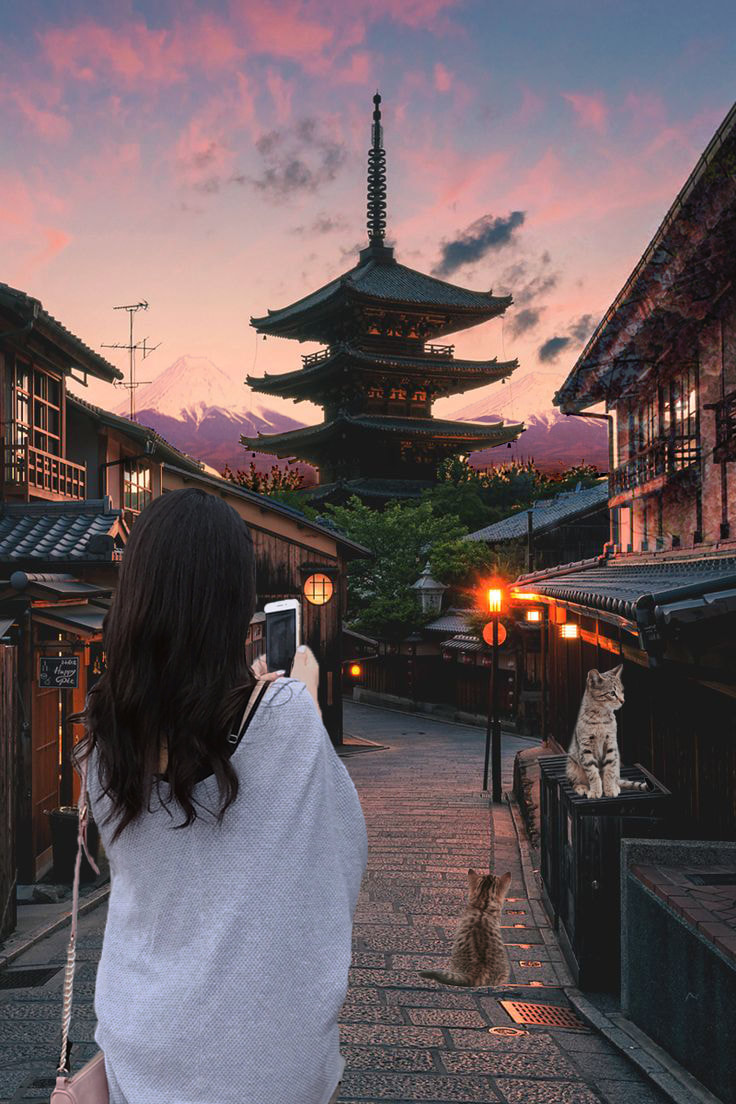
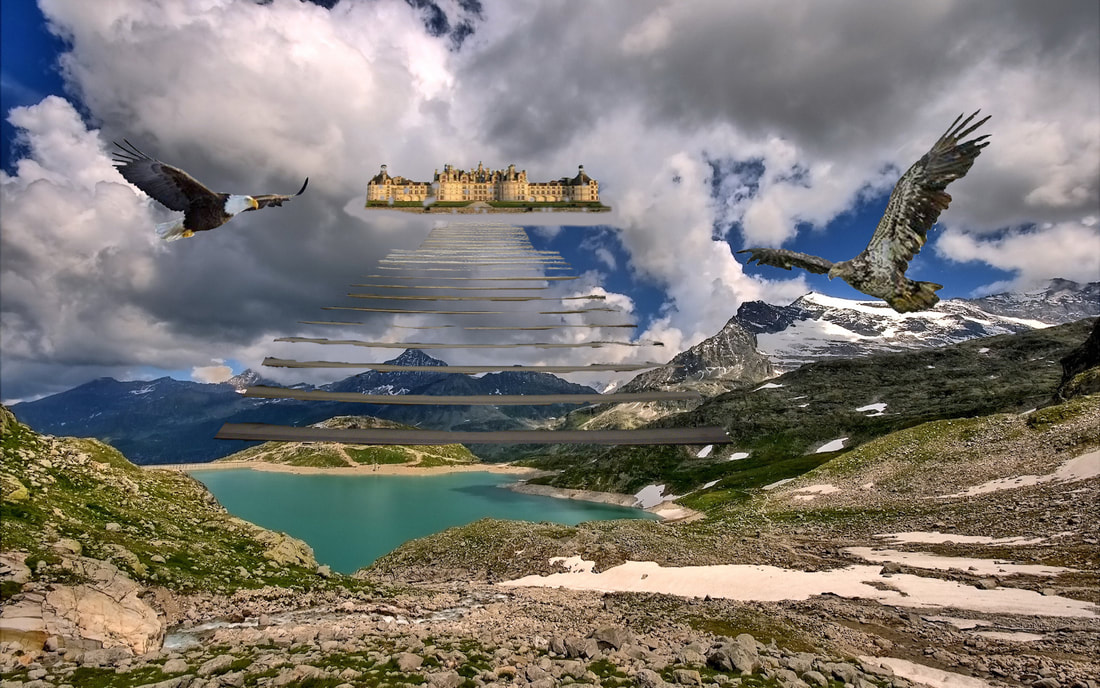
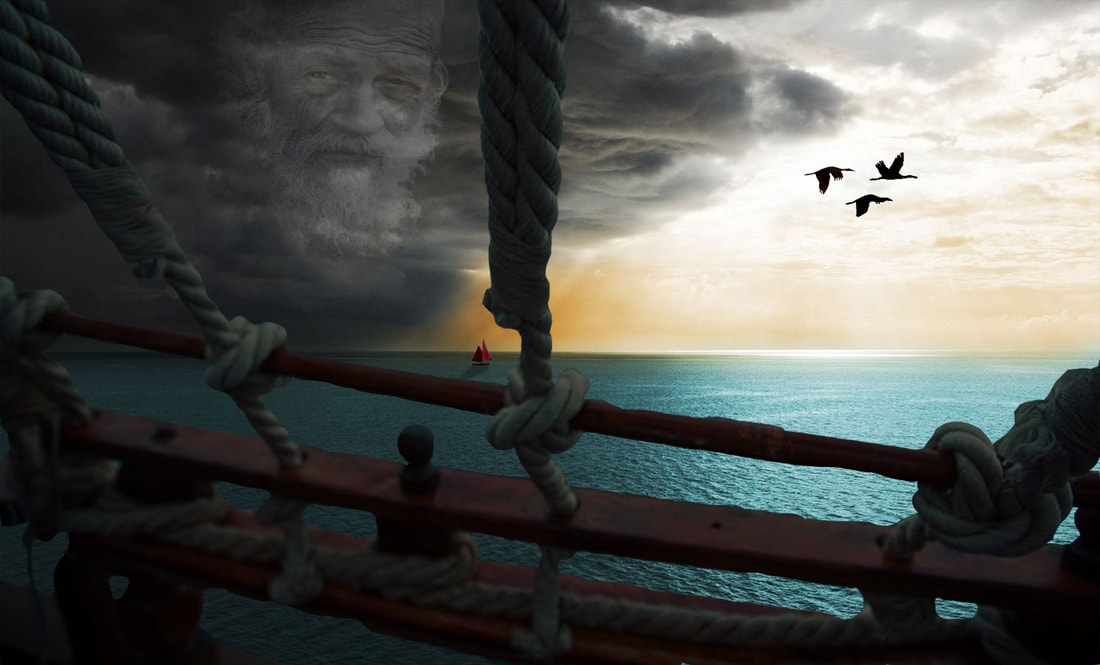
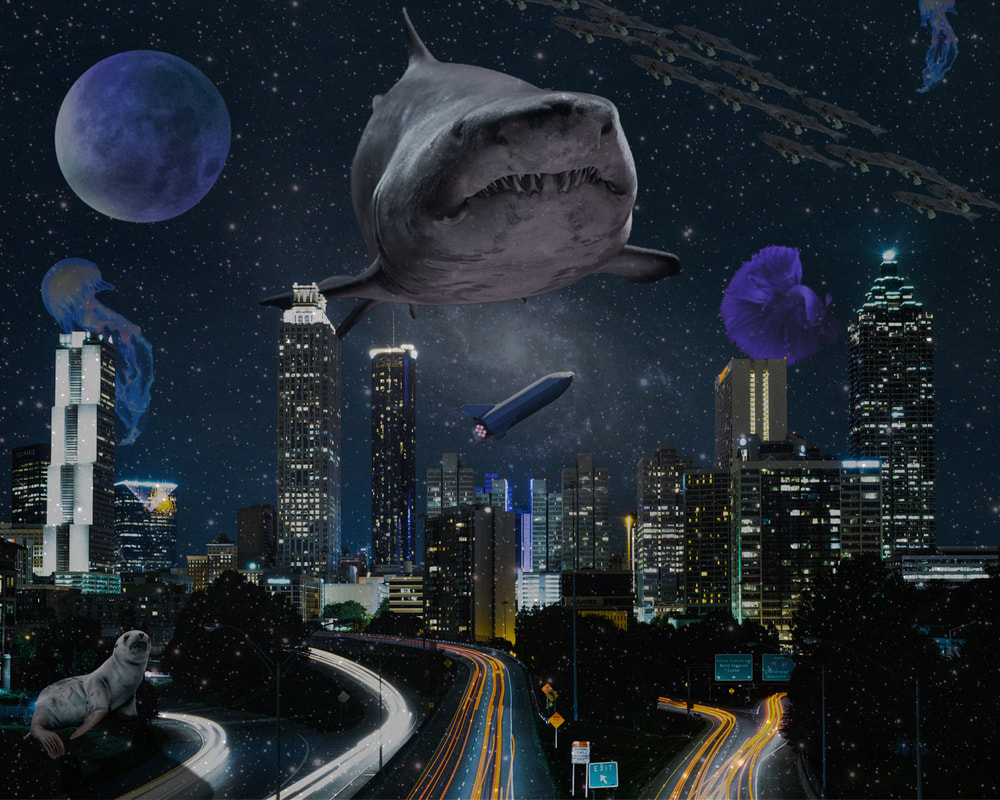
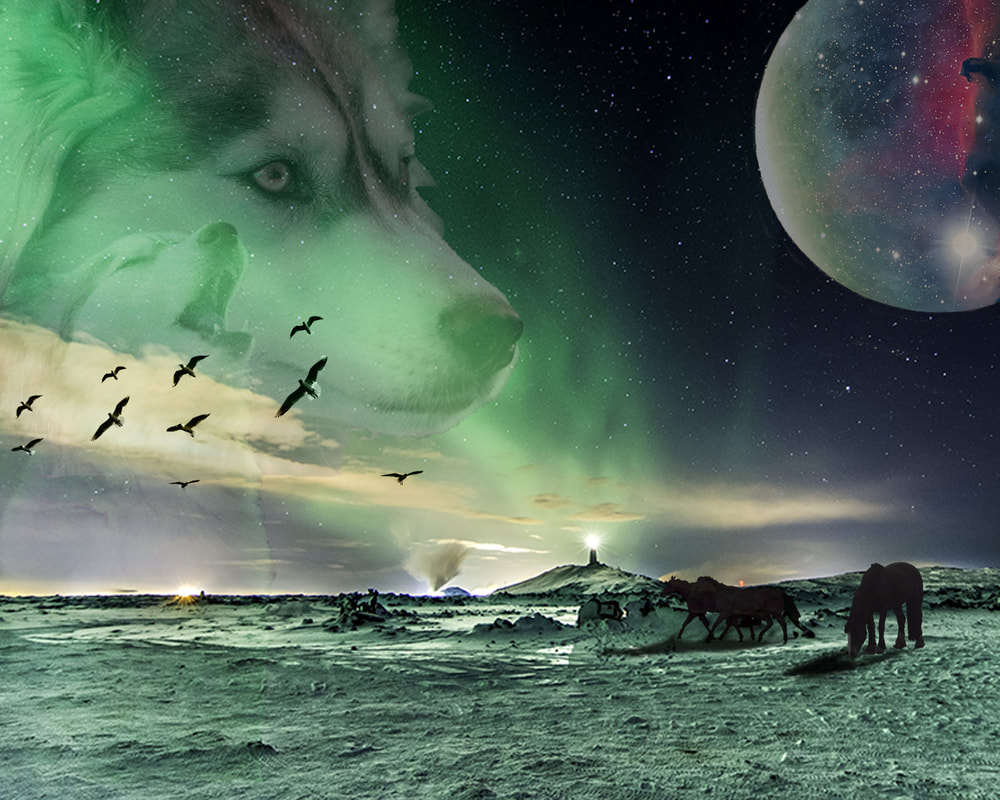
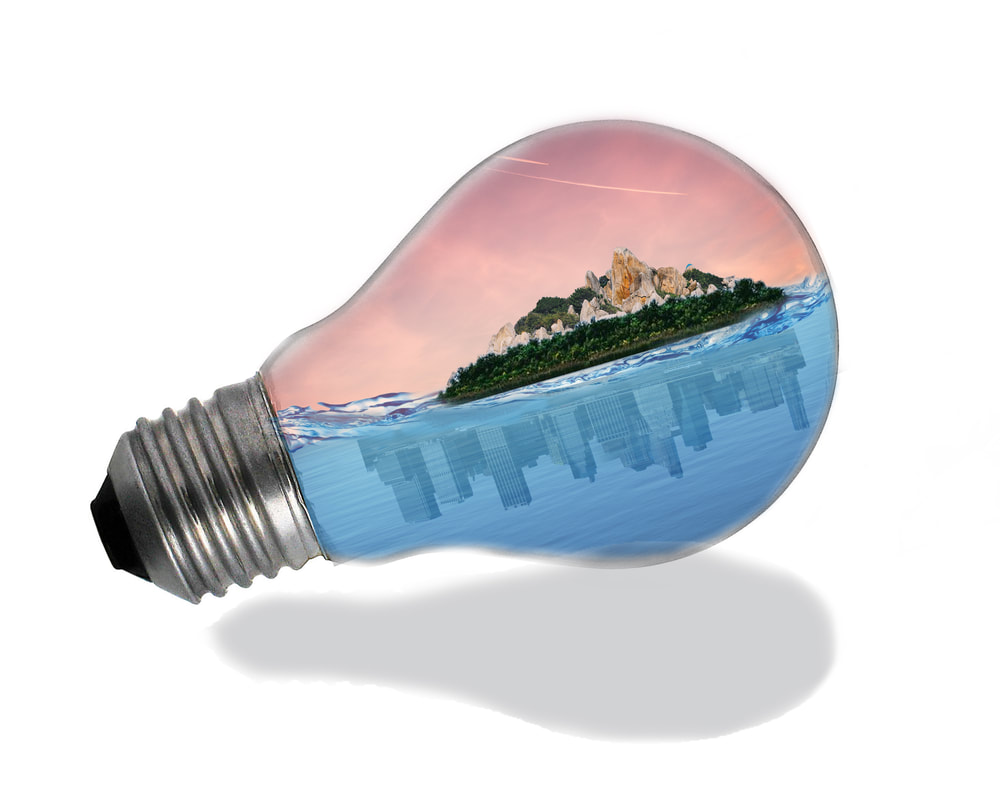
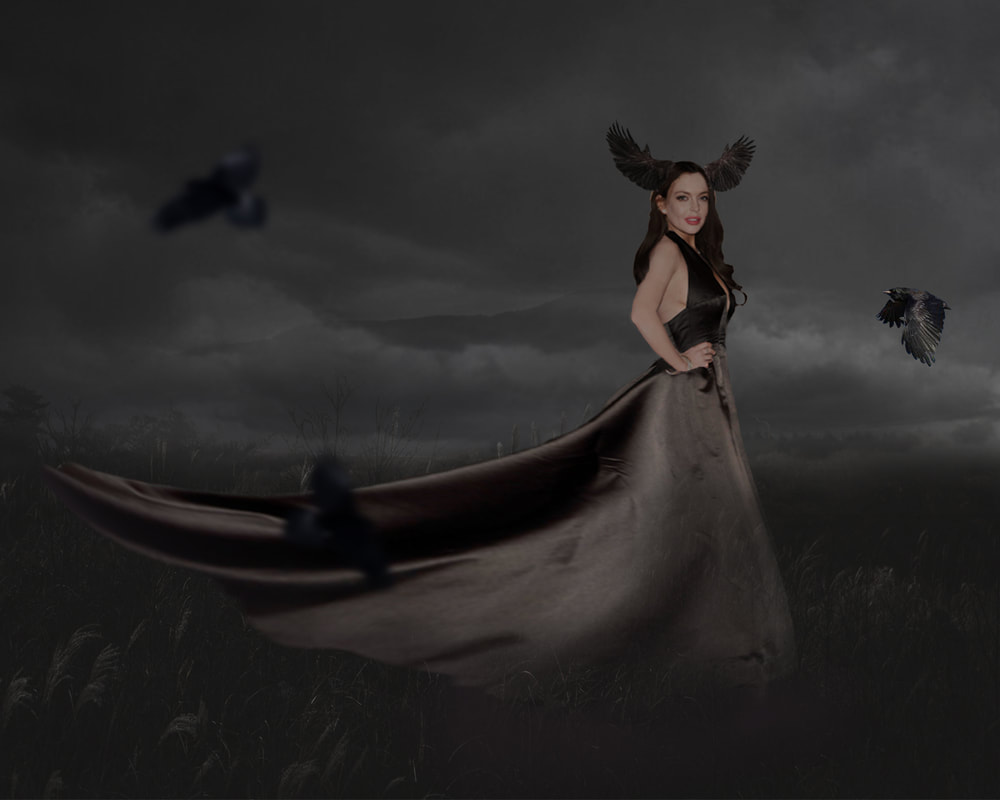
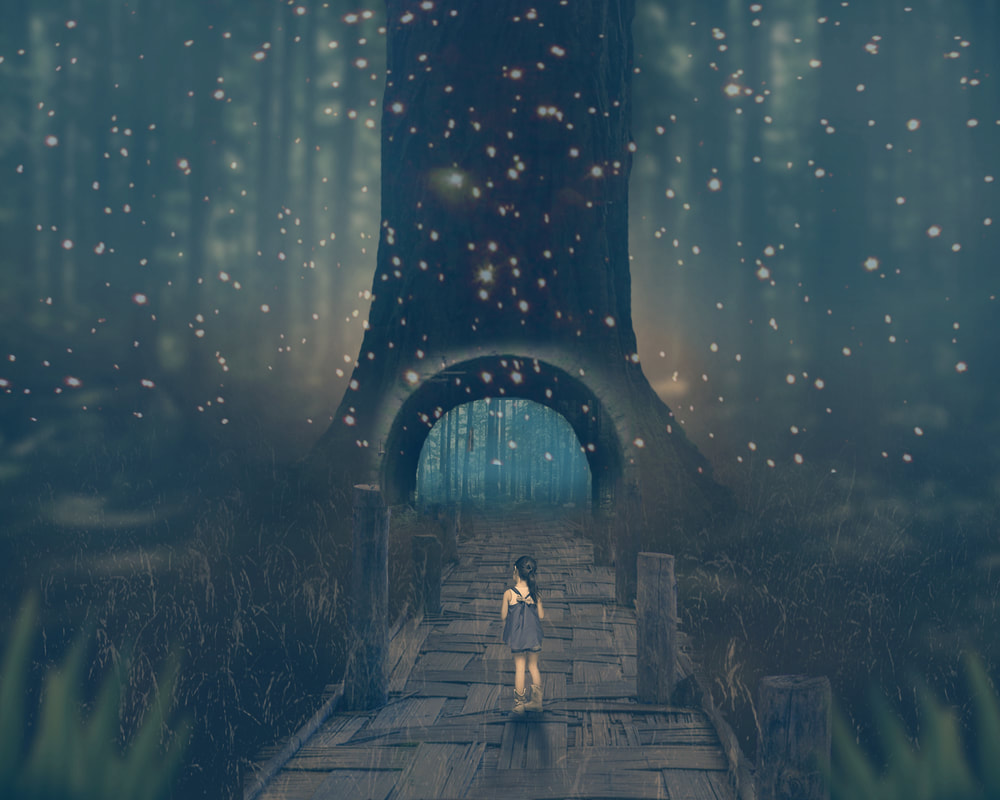
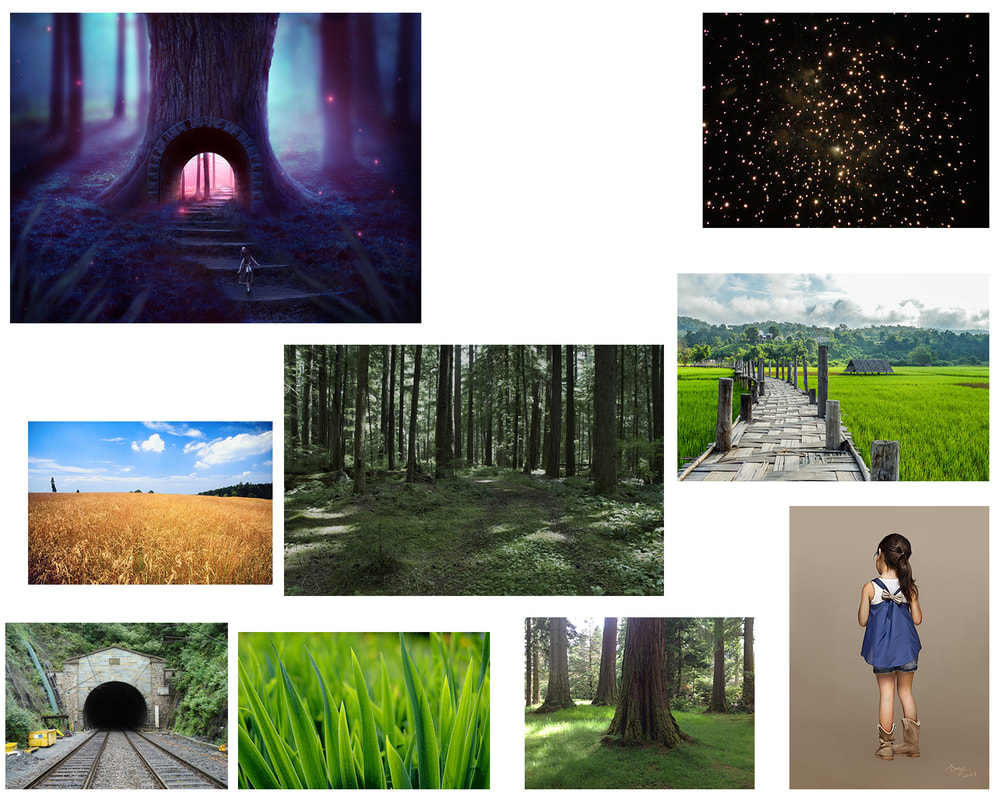
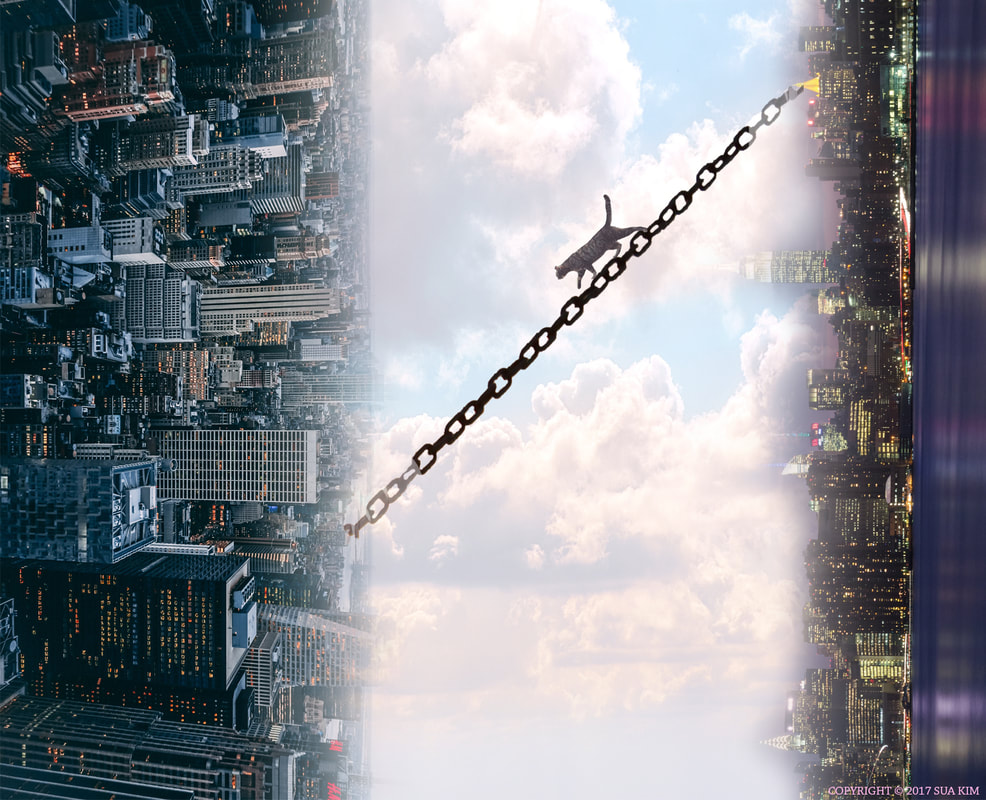
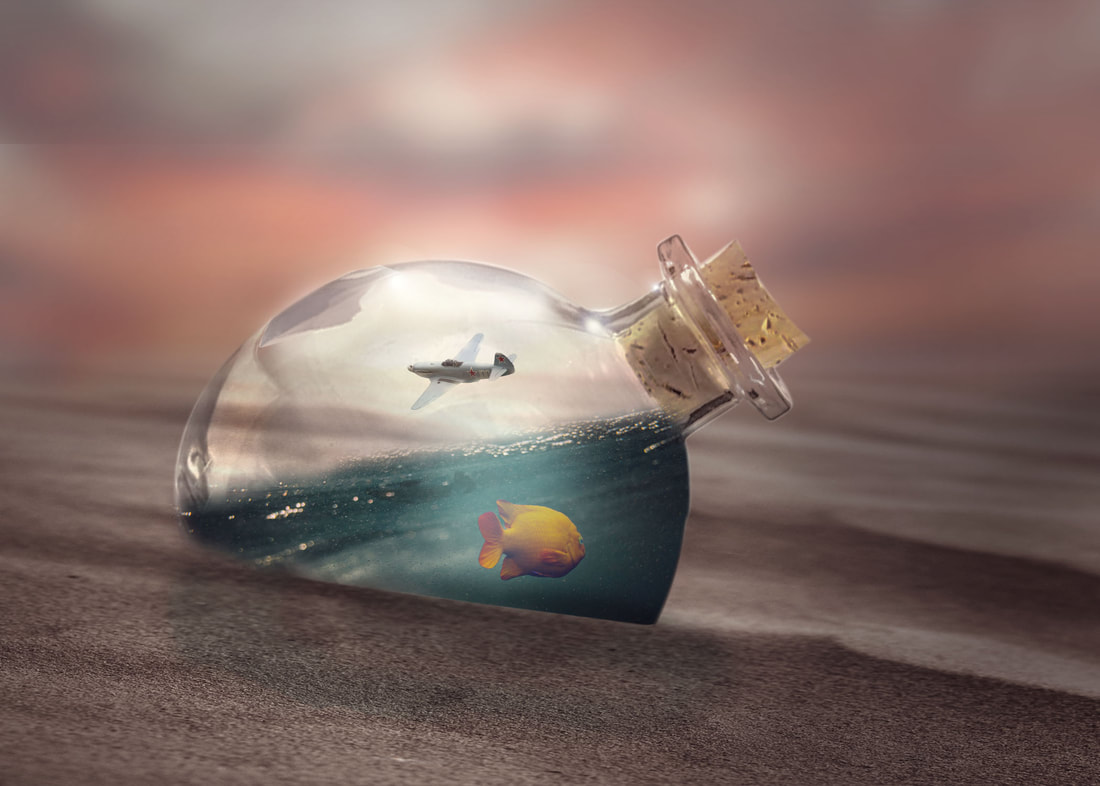
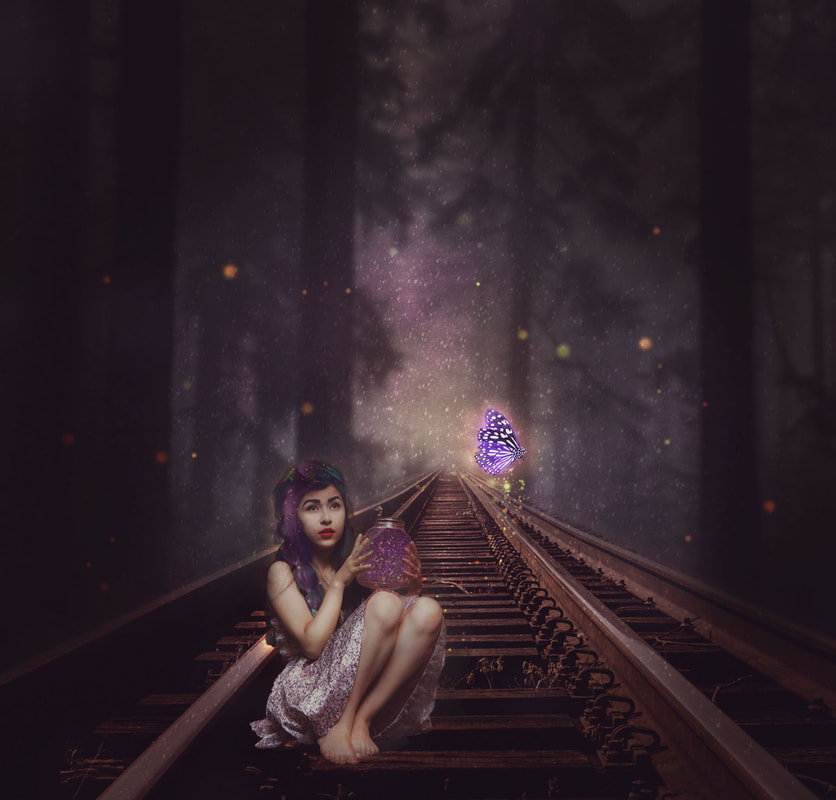
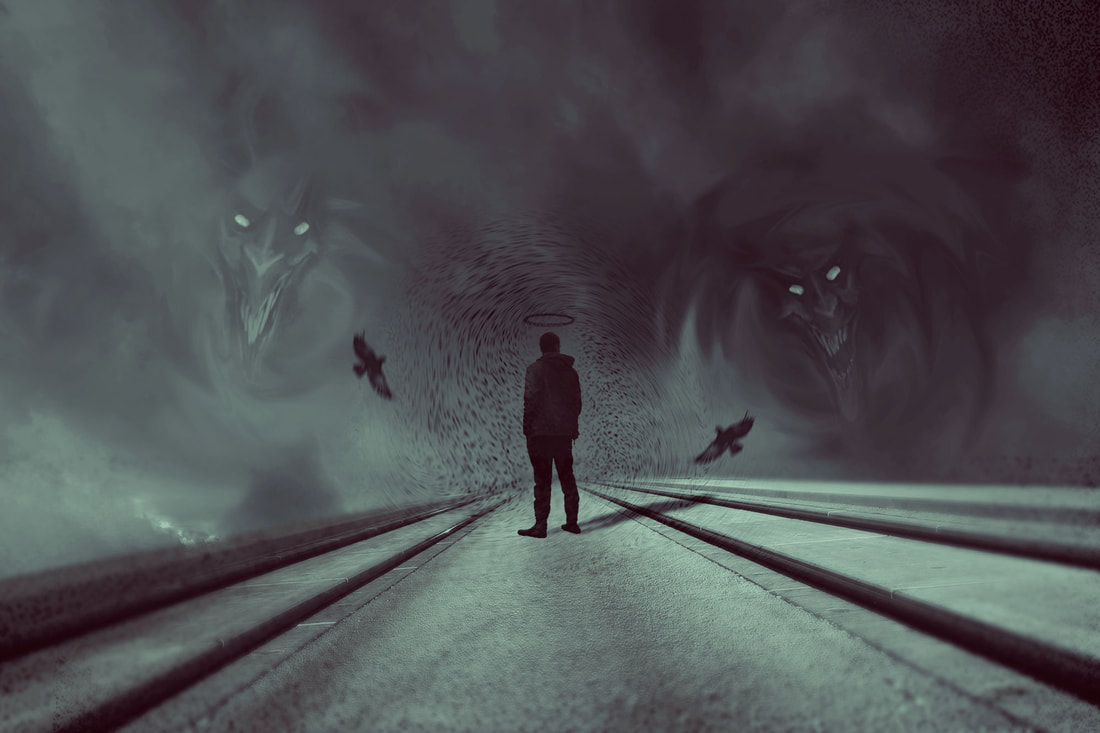
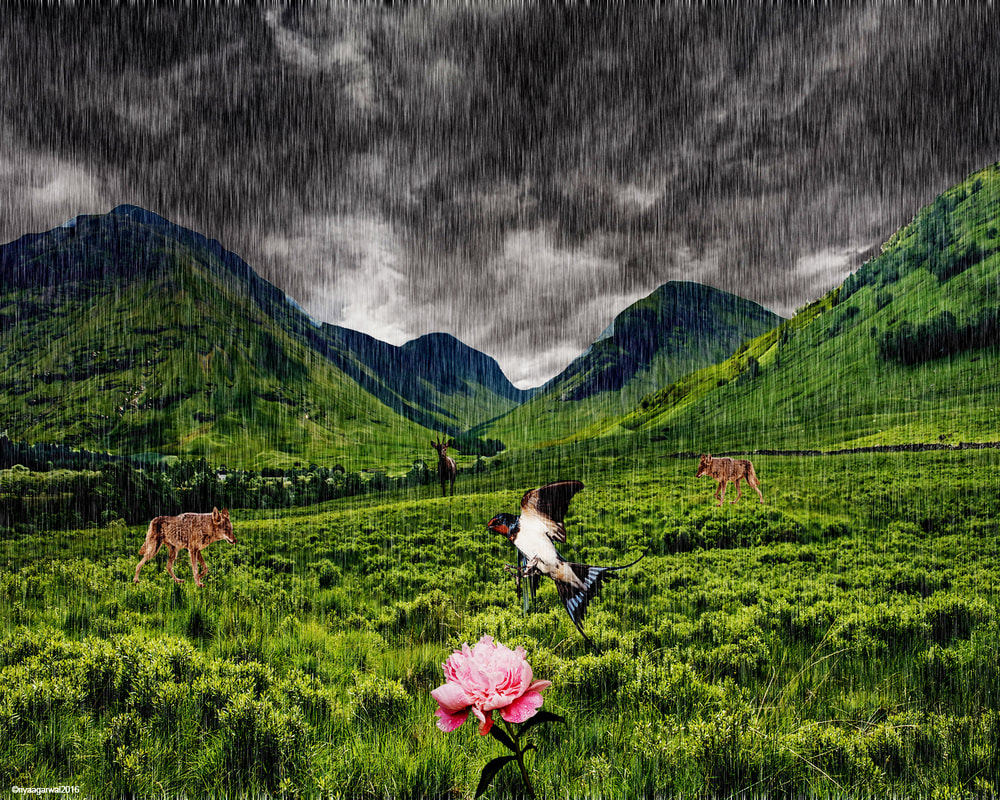
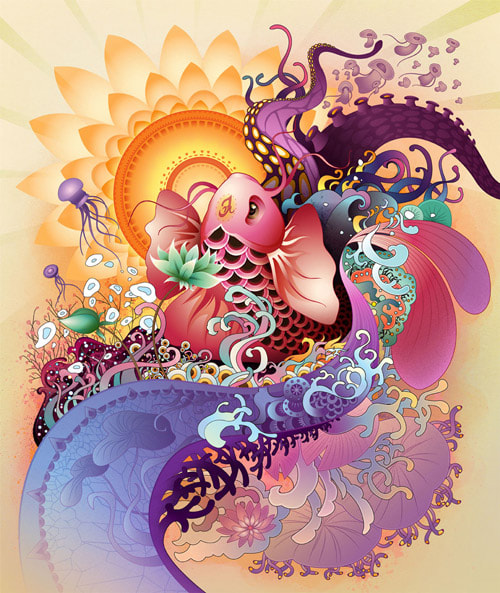
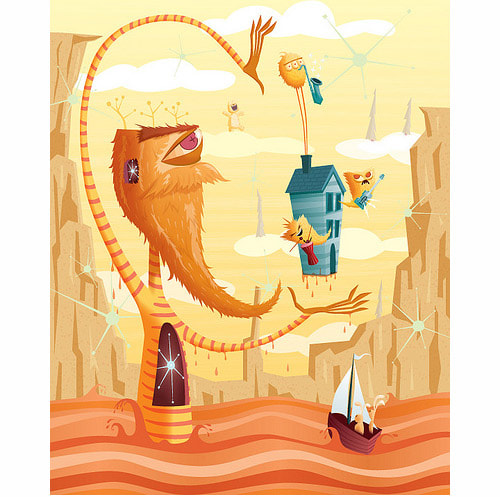
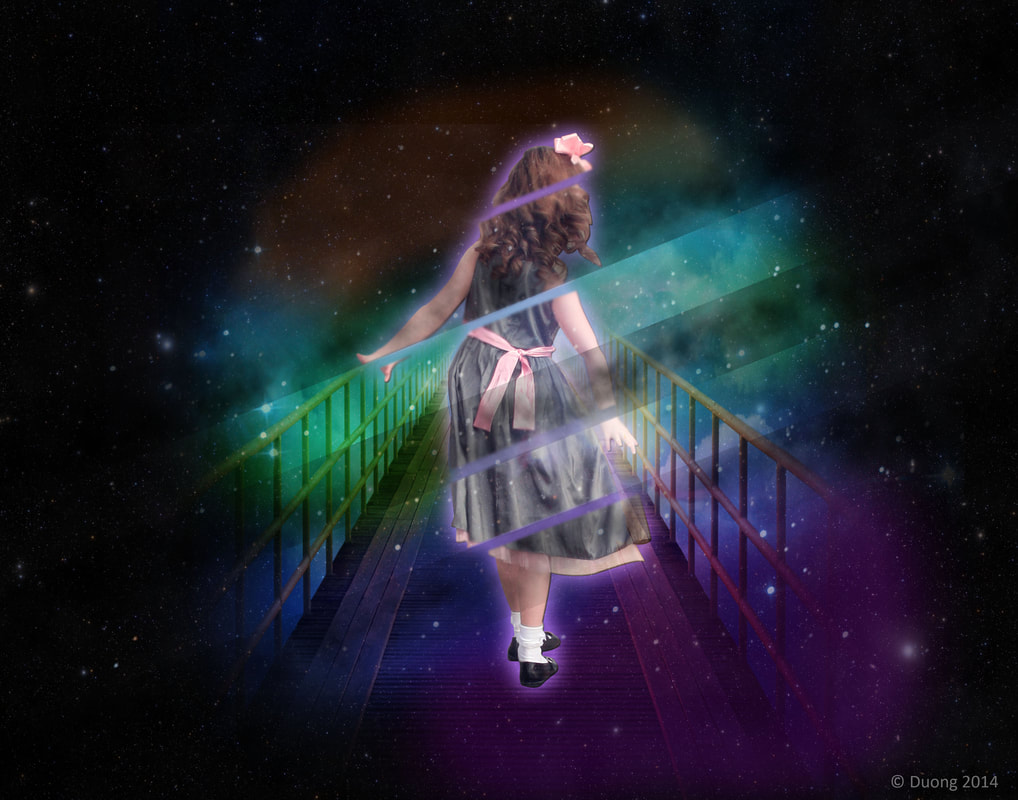
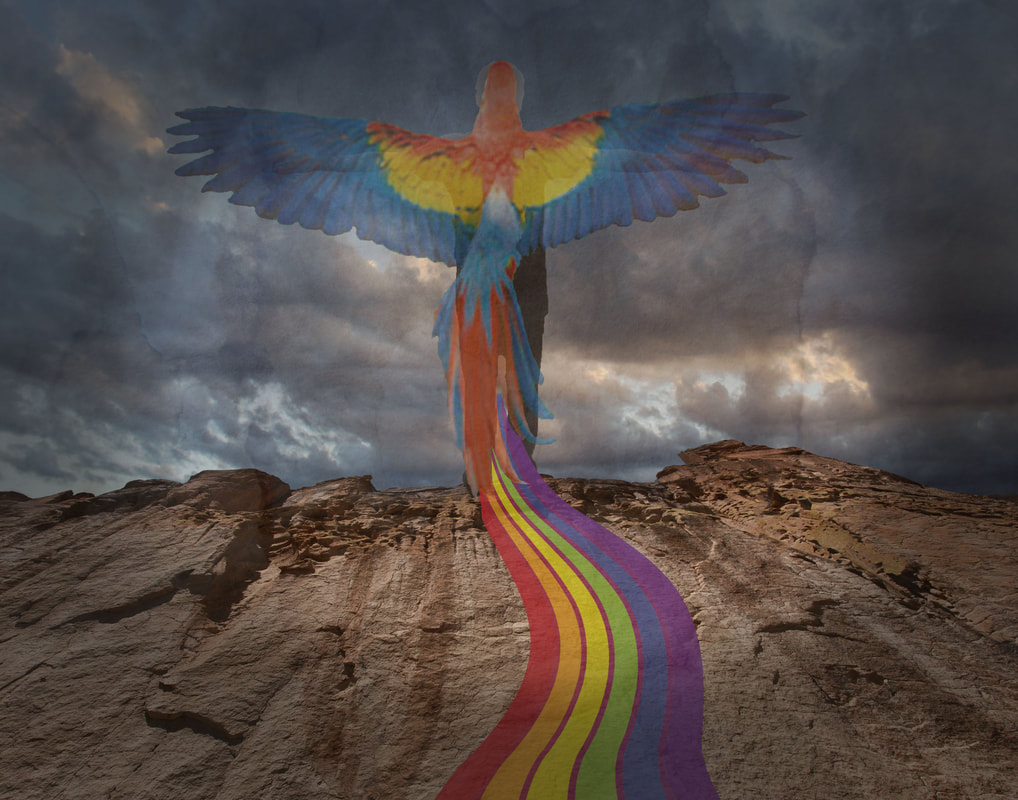
Surreal World Project
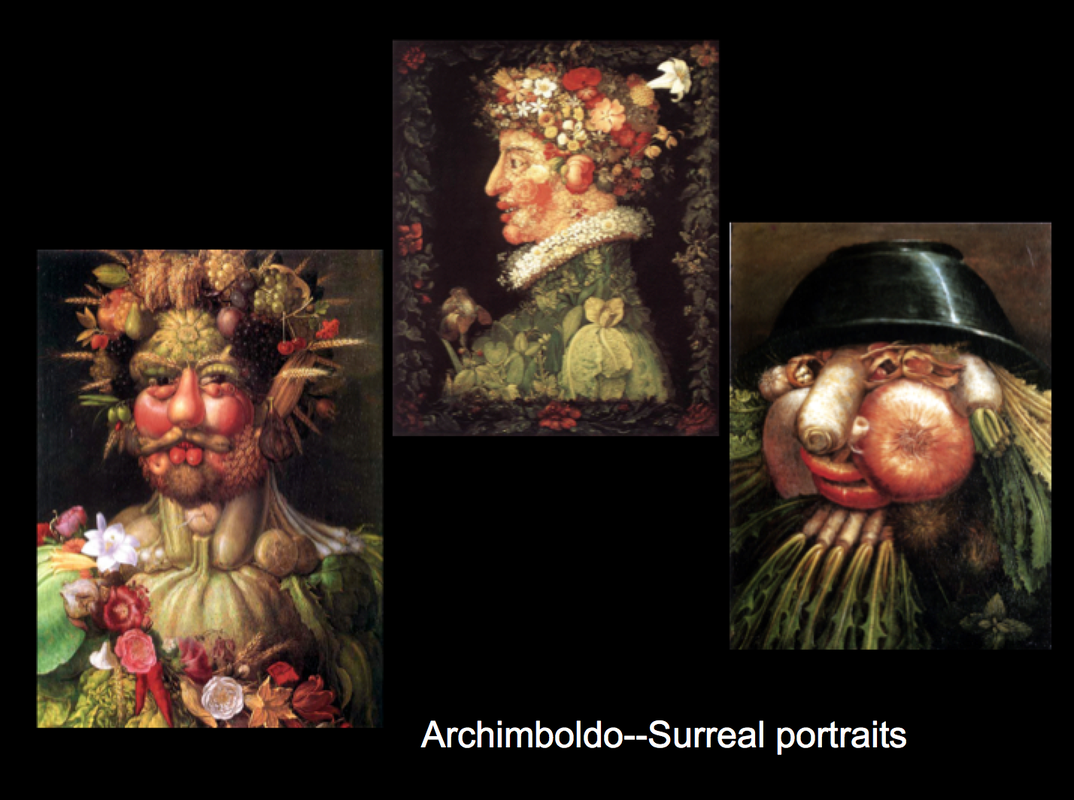
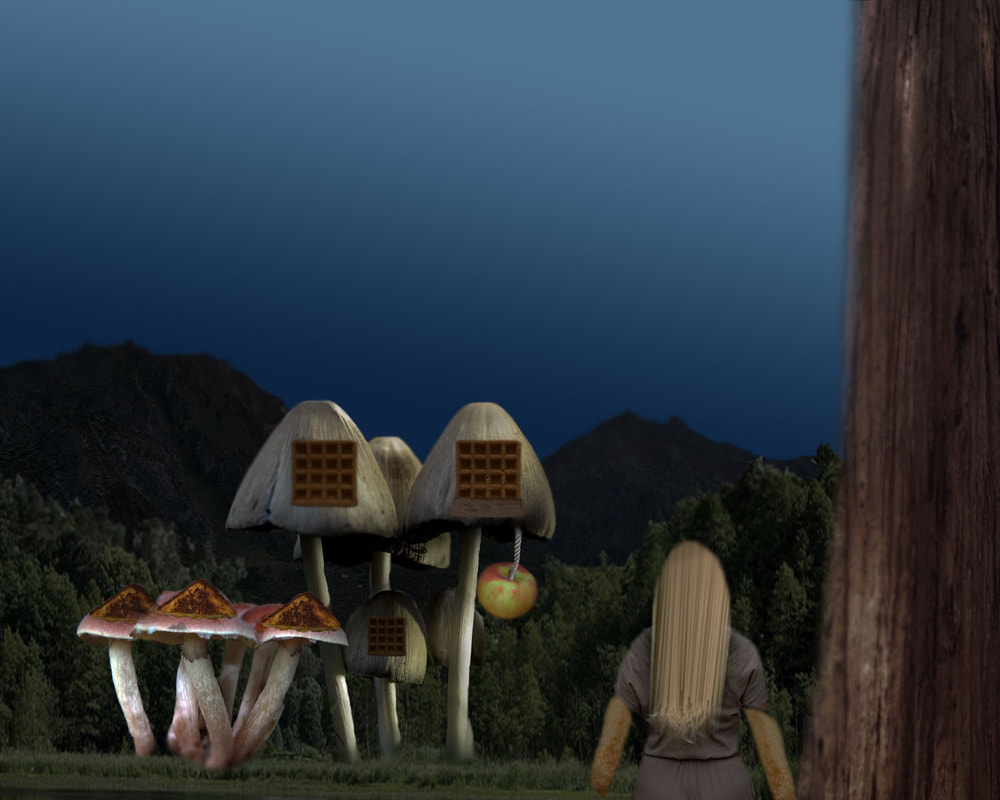
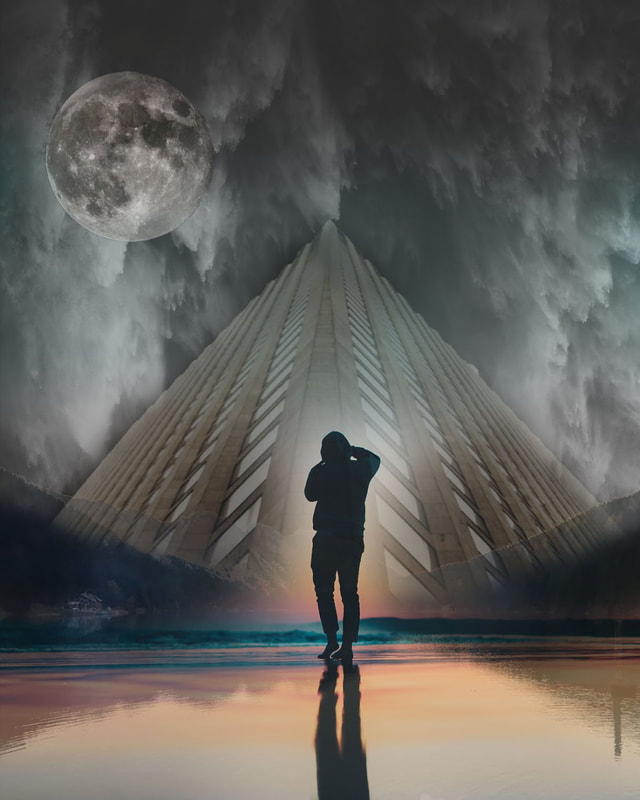
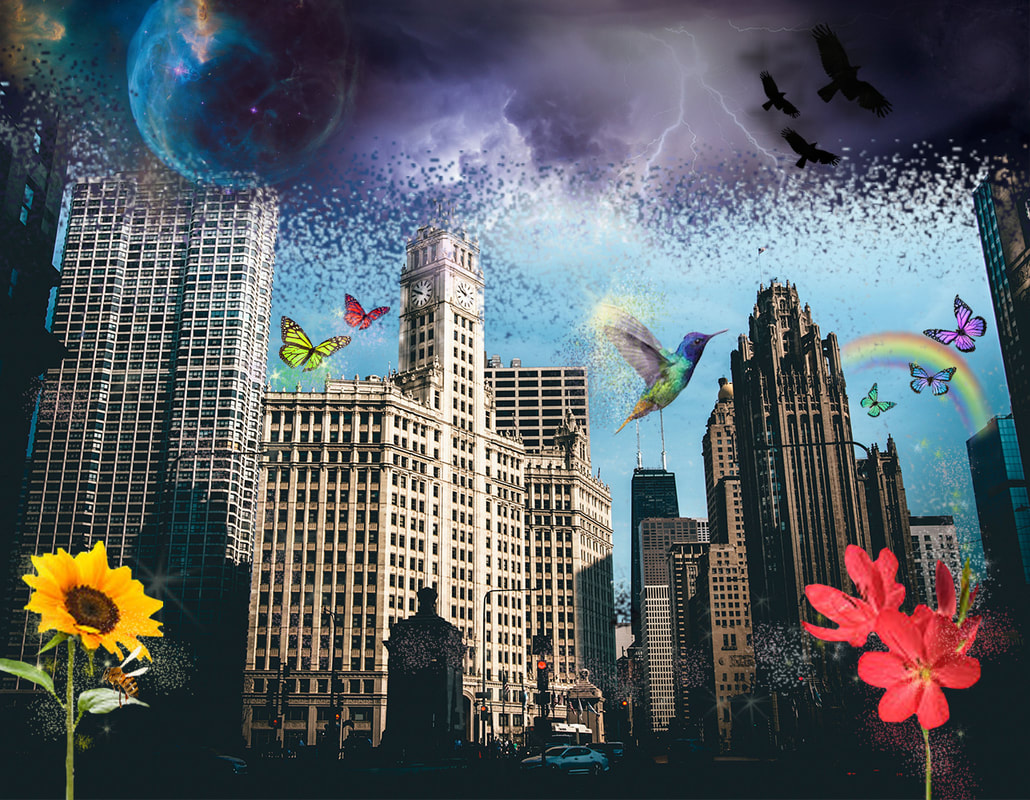
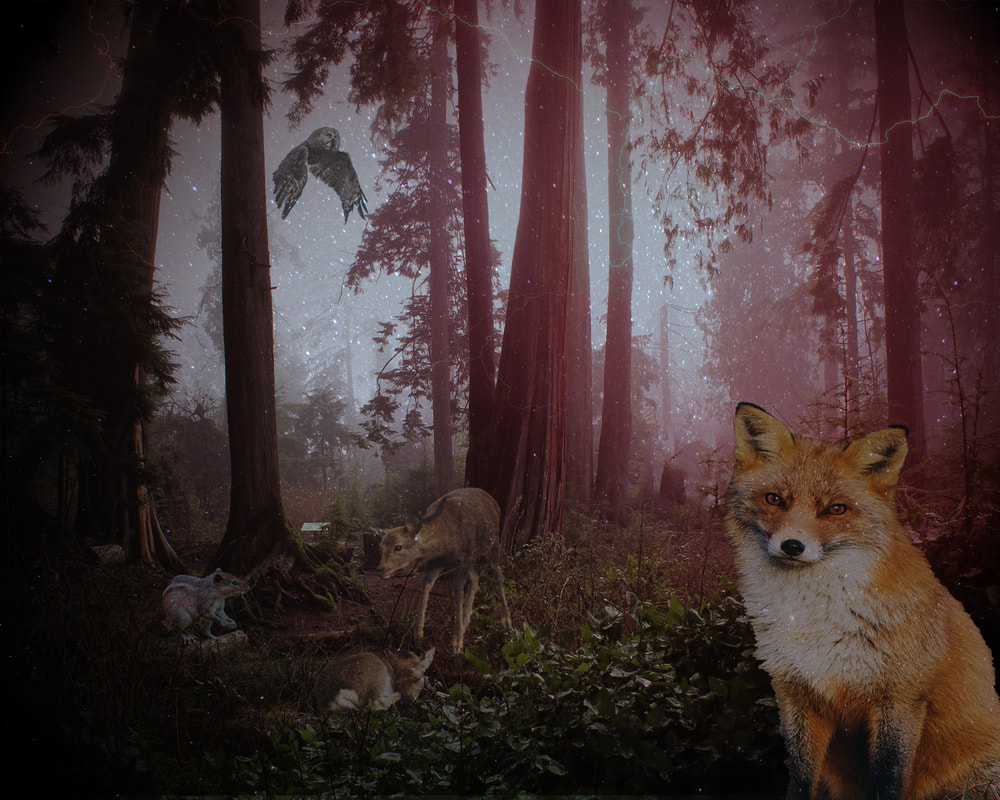
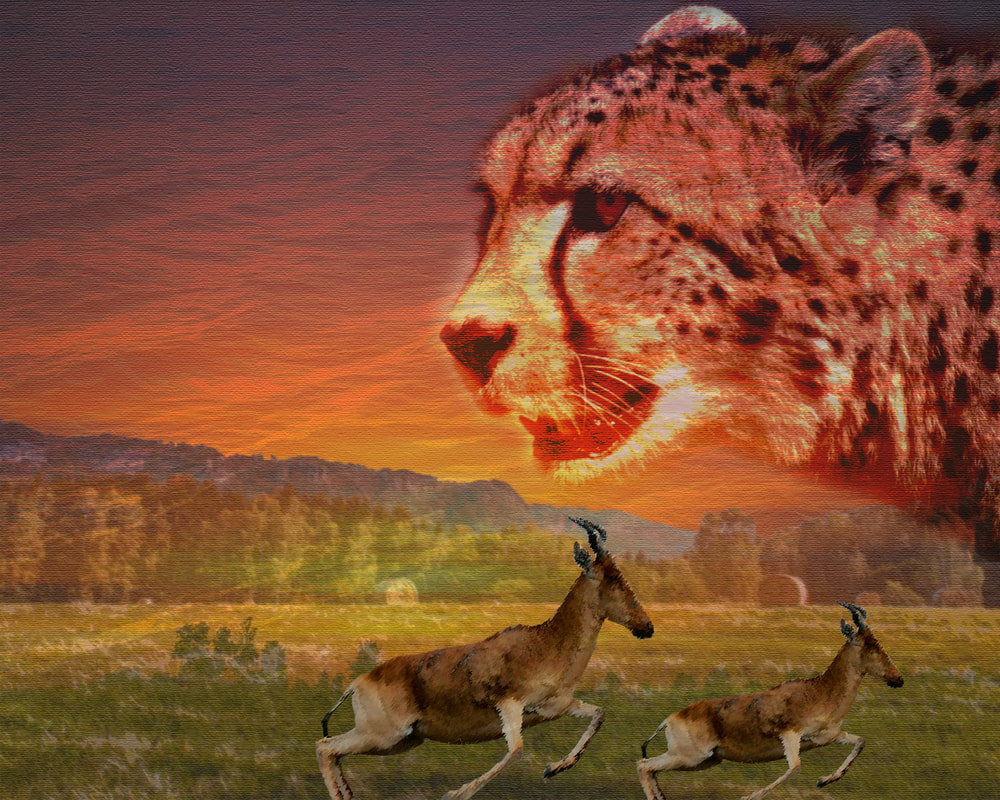
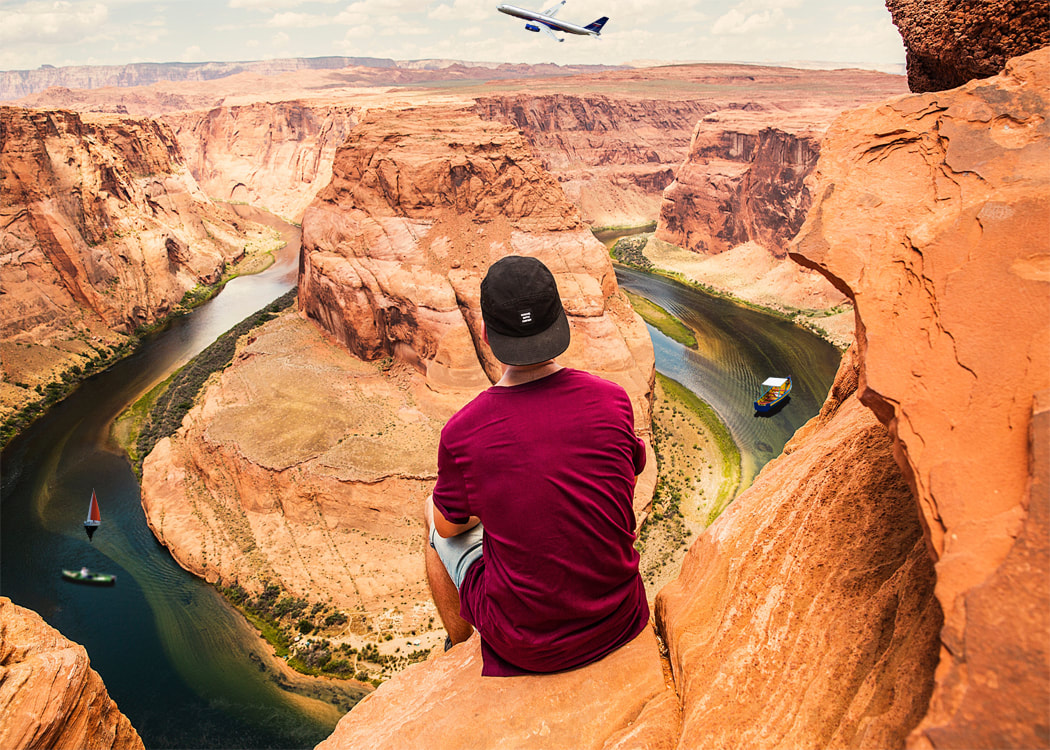
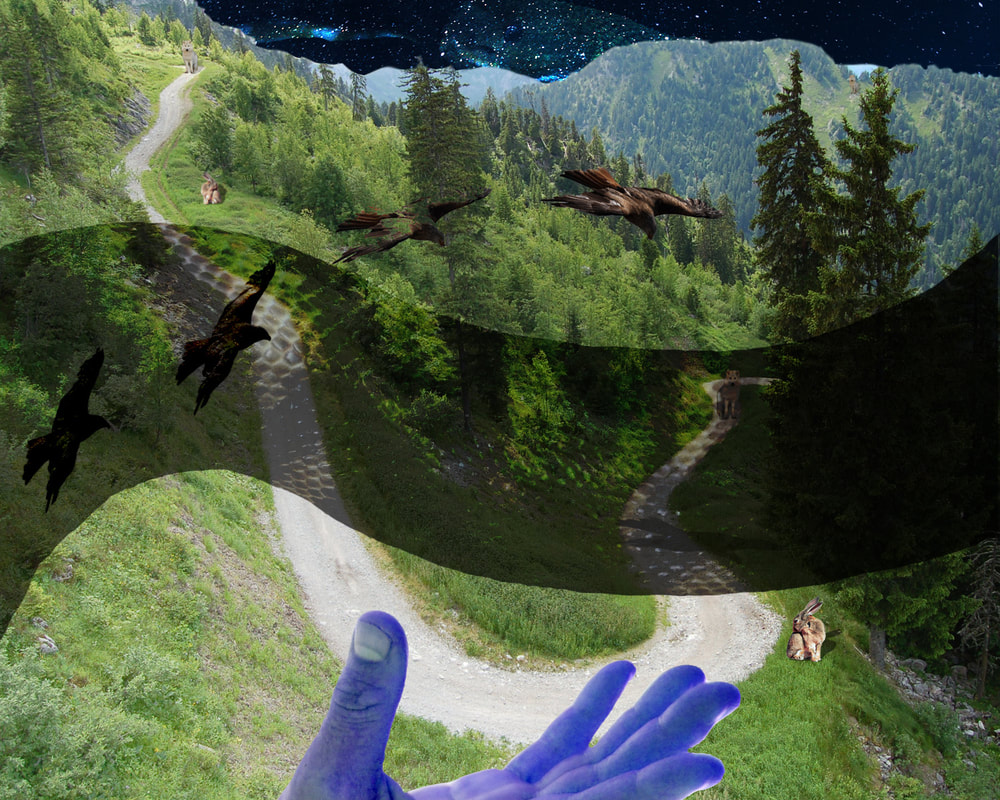
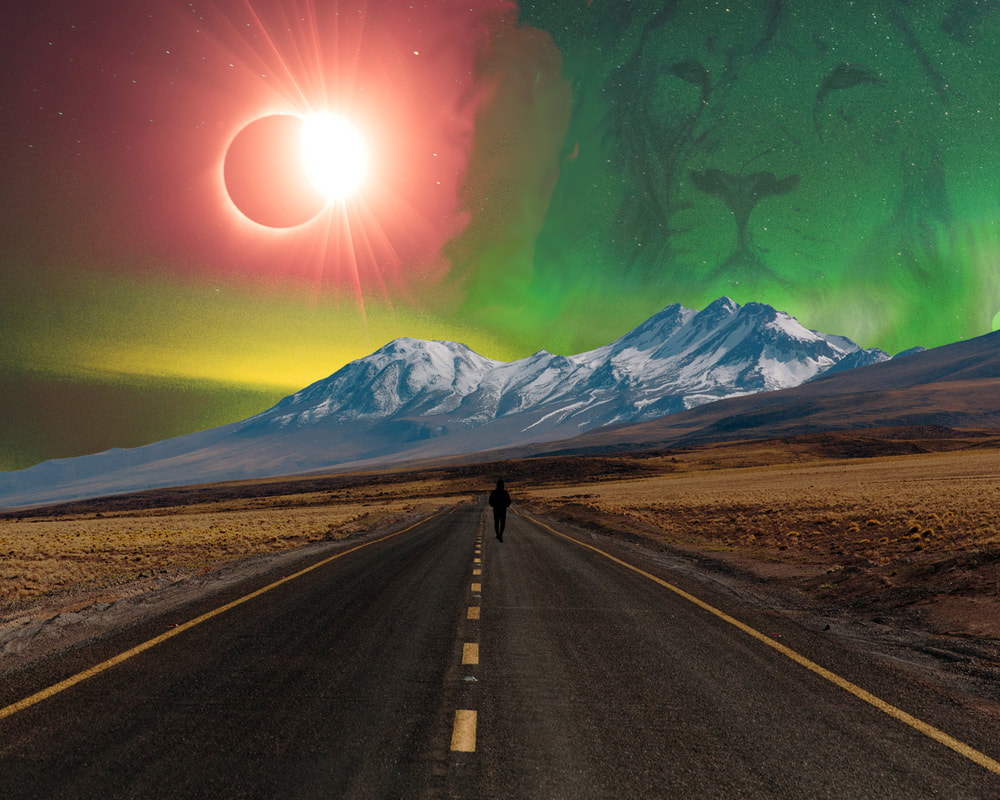
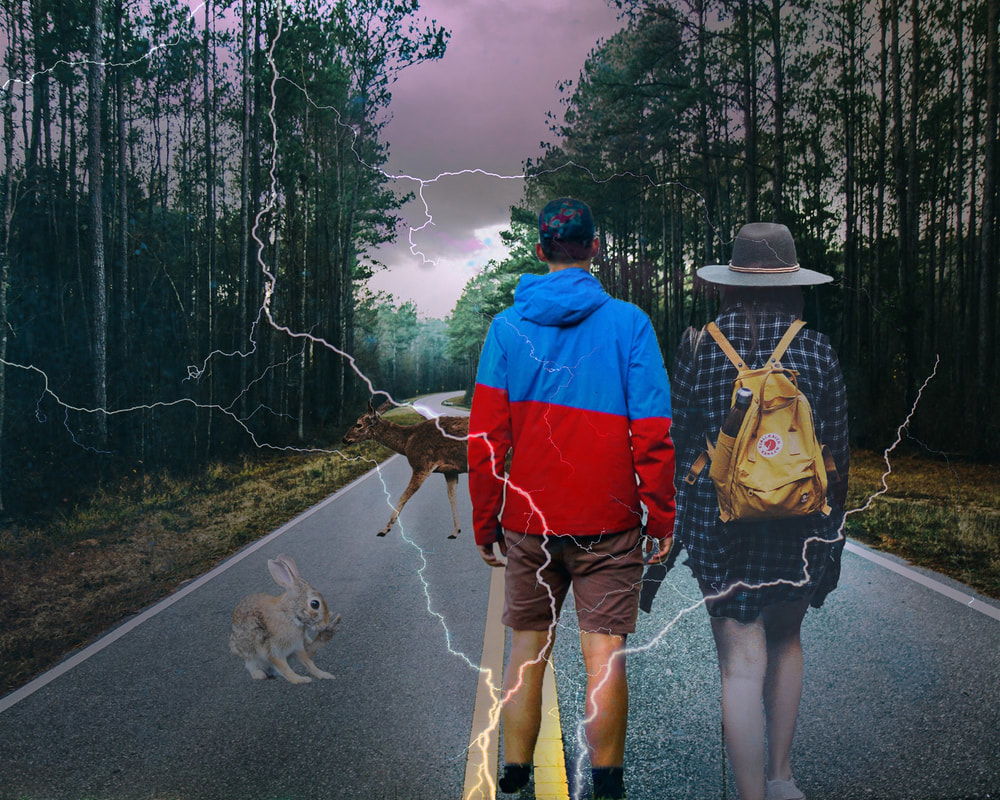
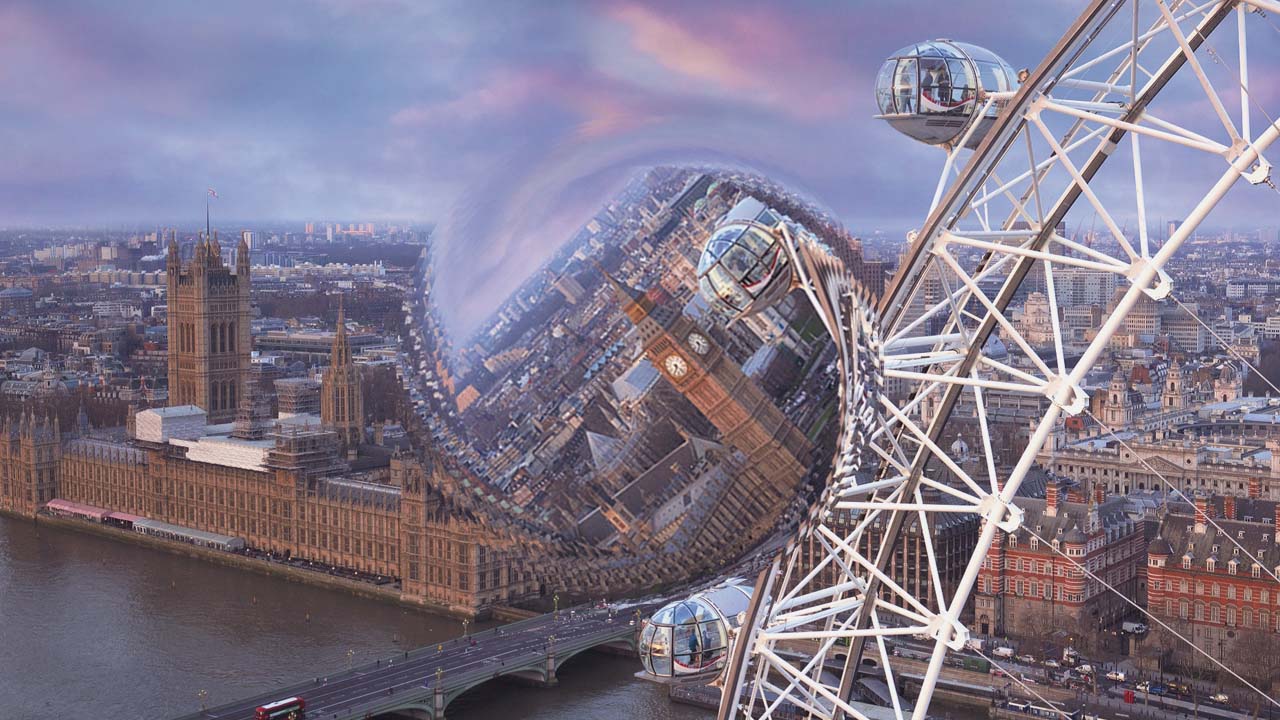
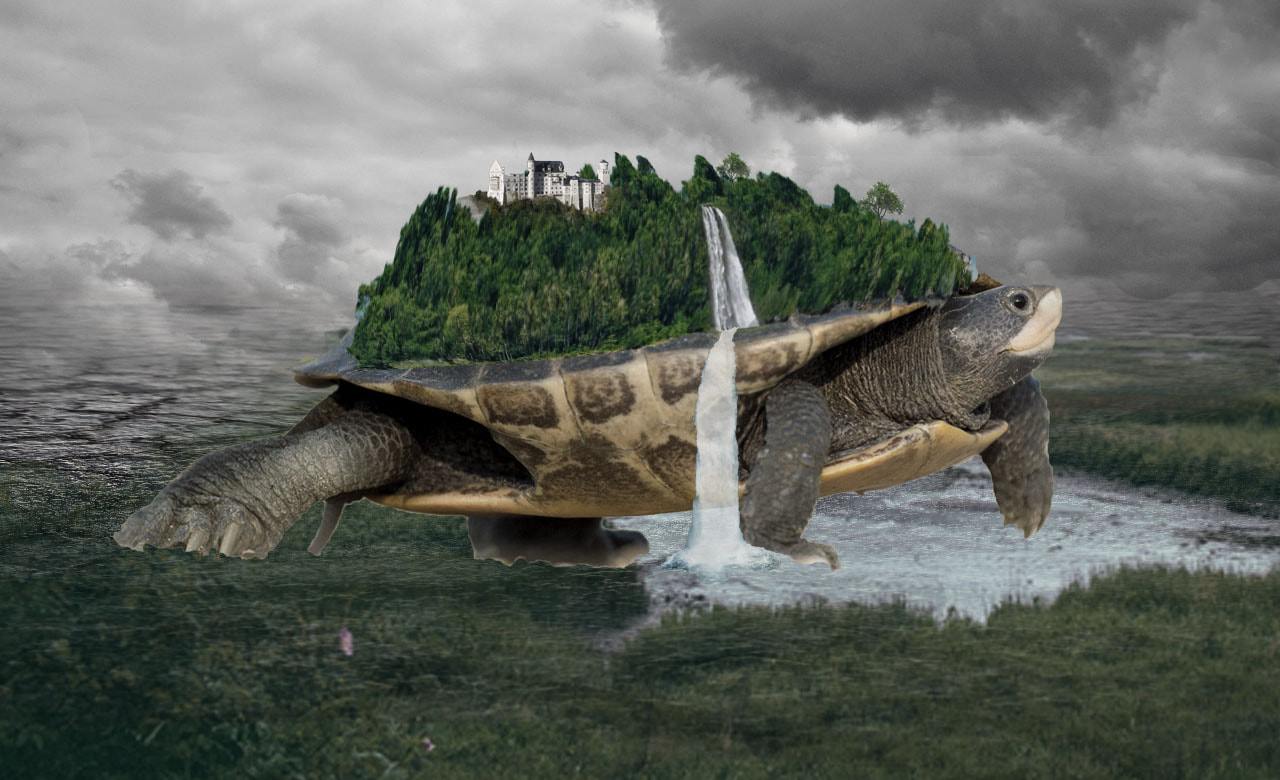
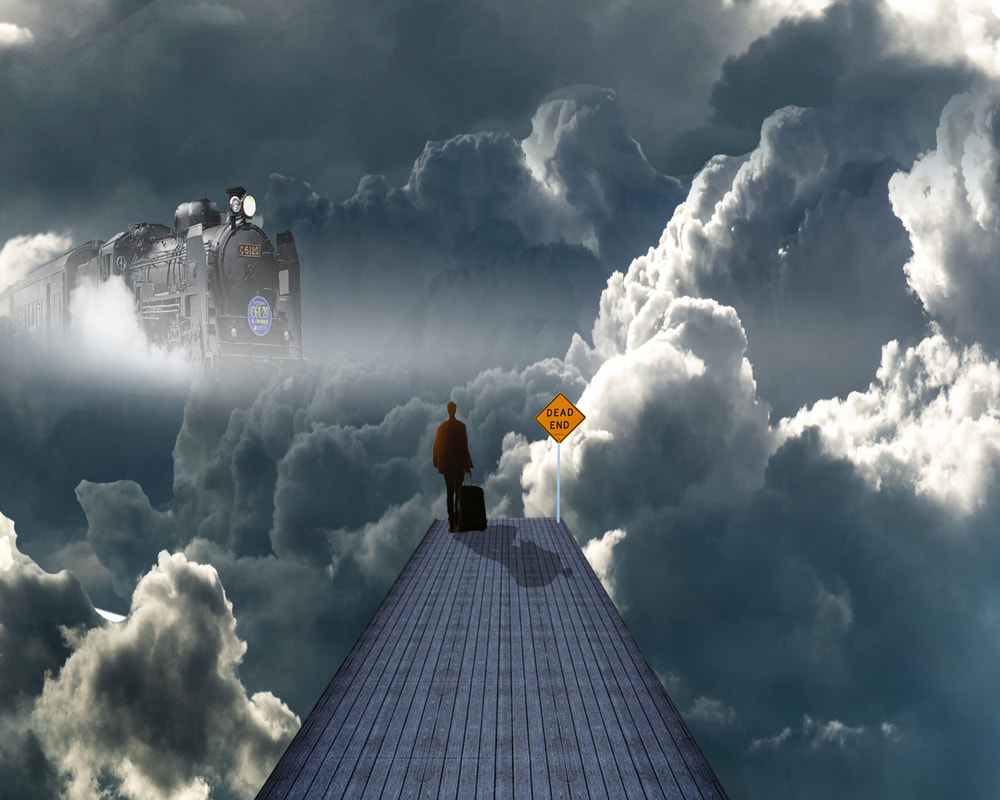
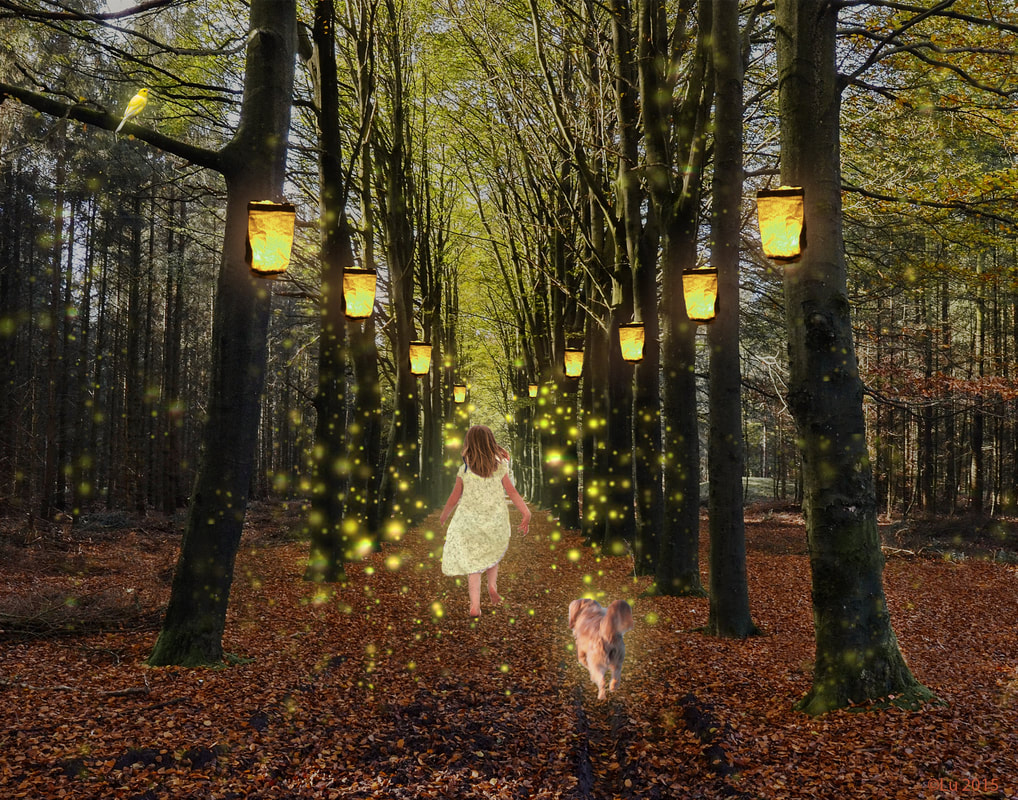
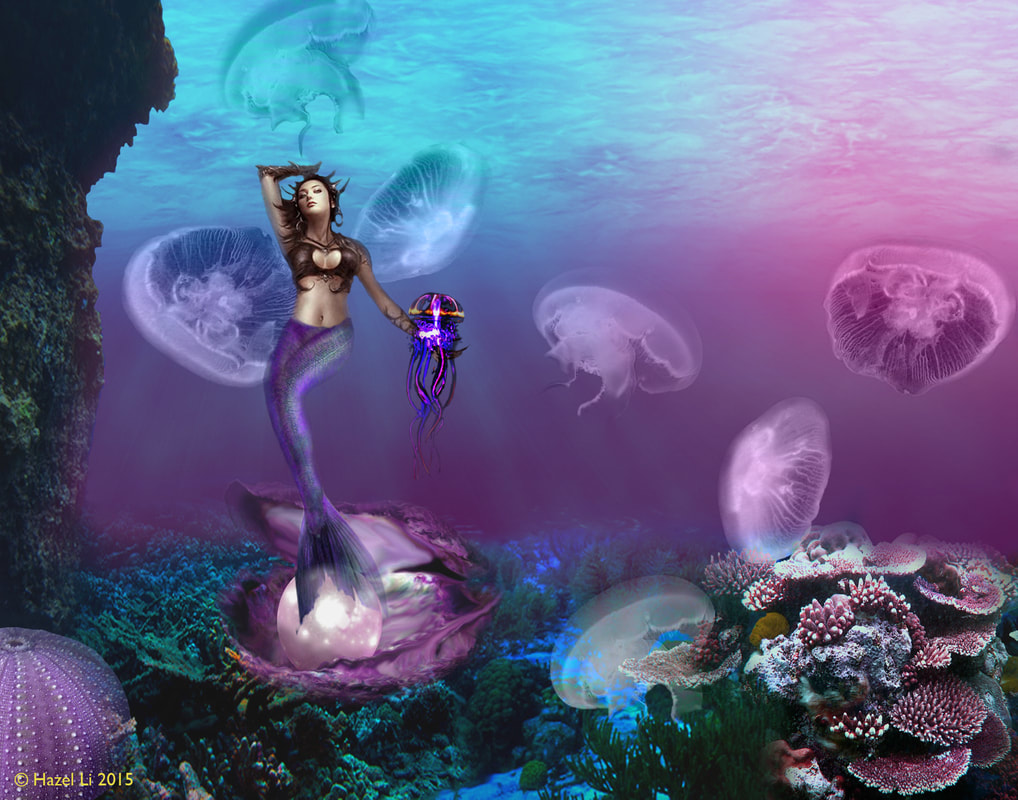
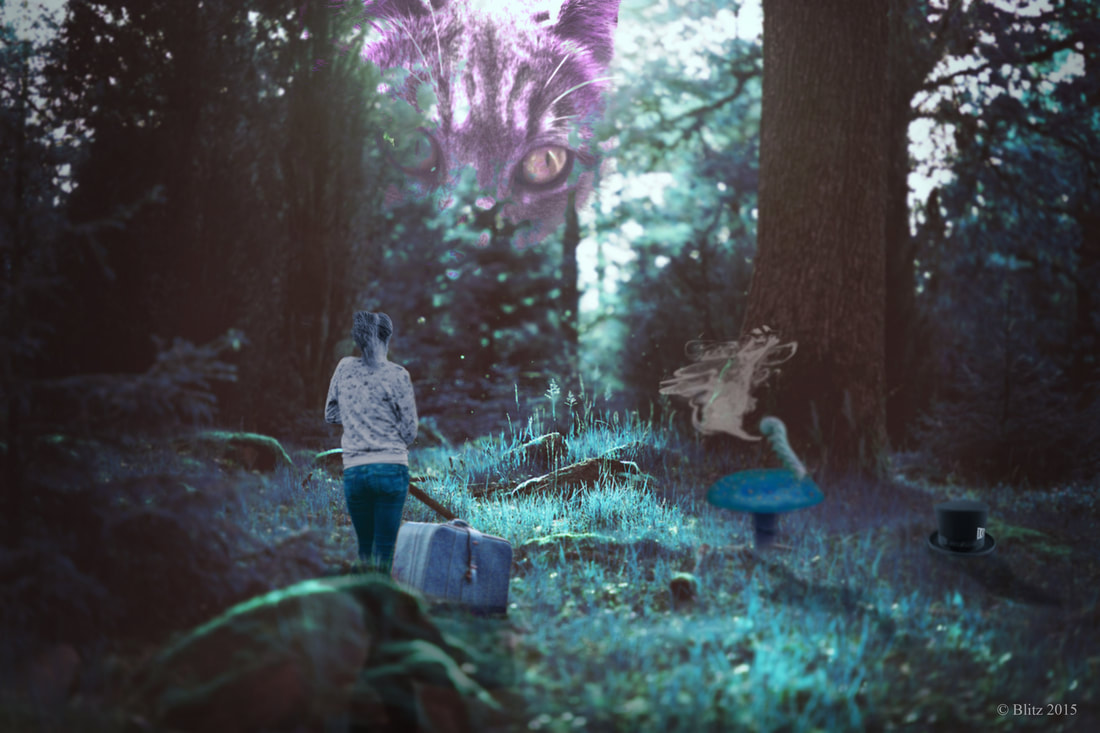
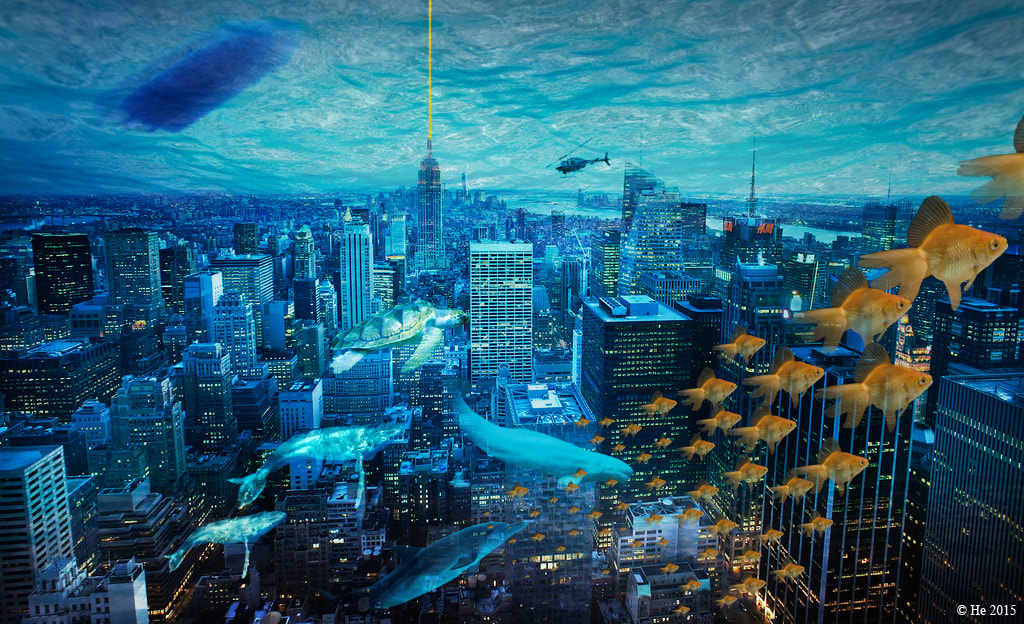
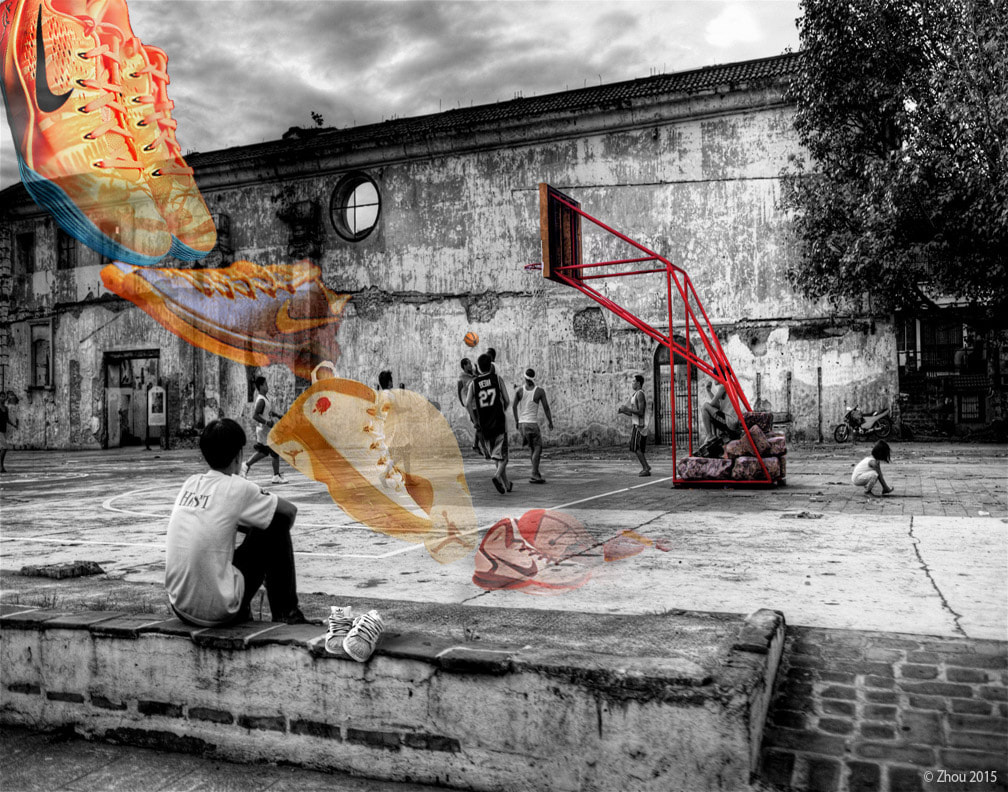
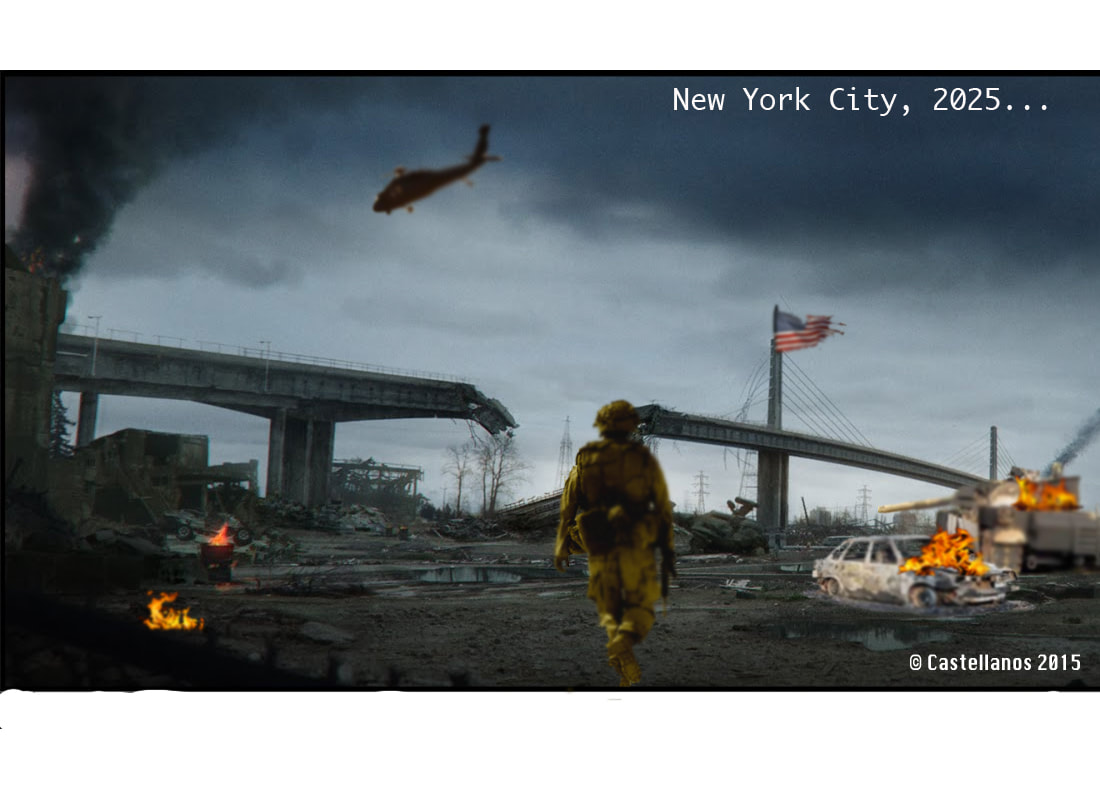
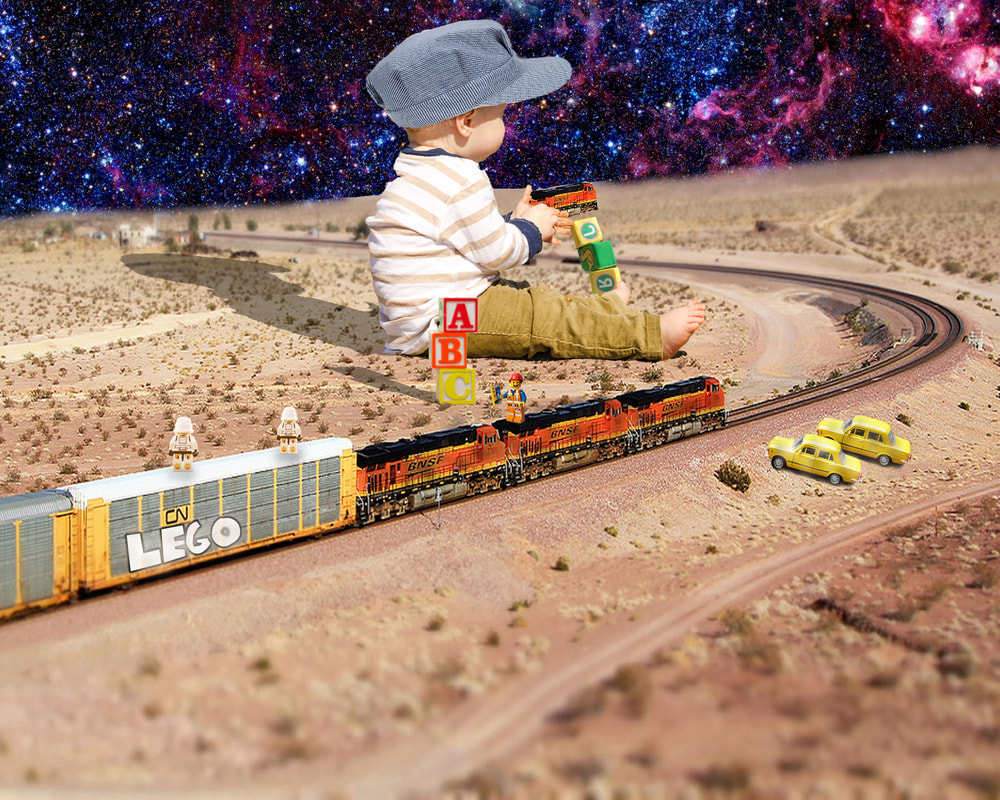
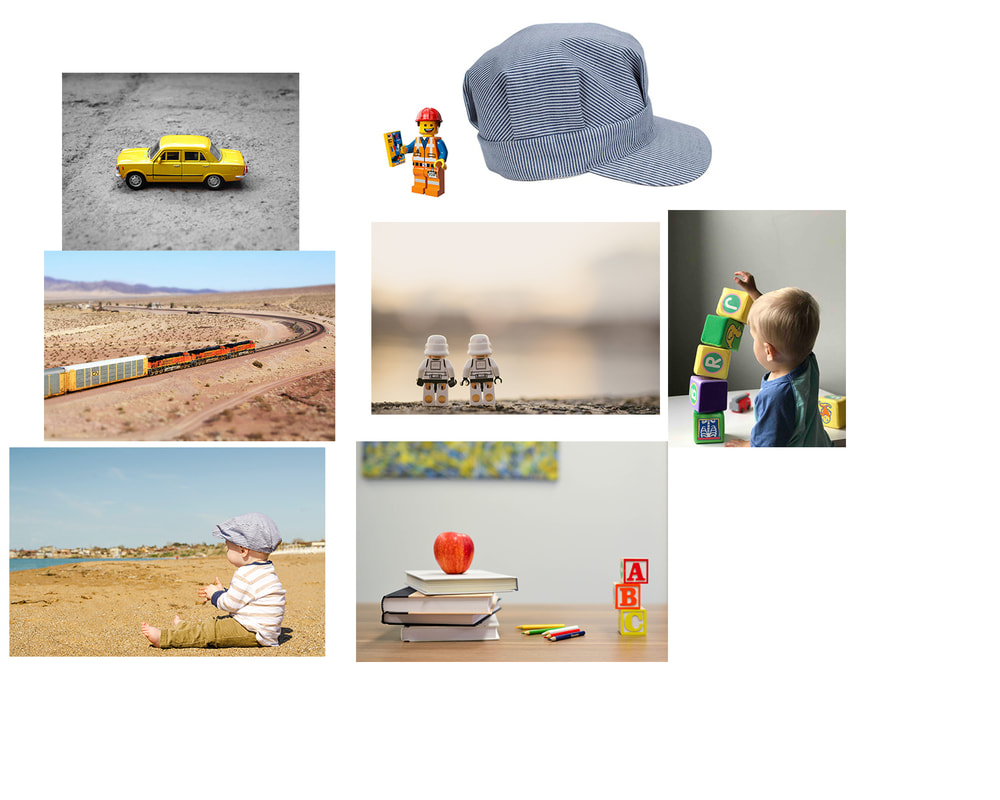
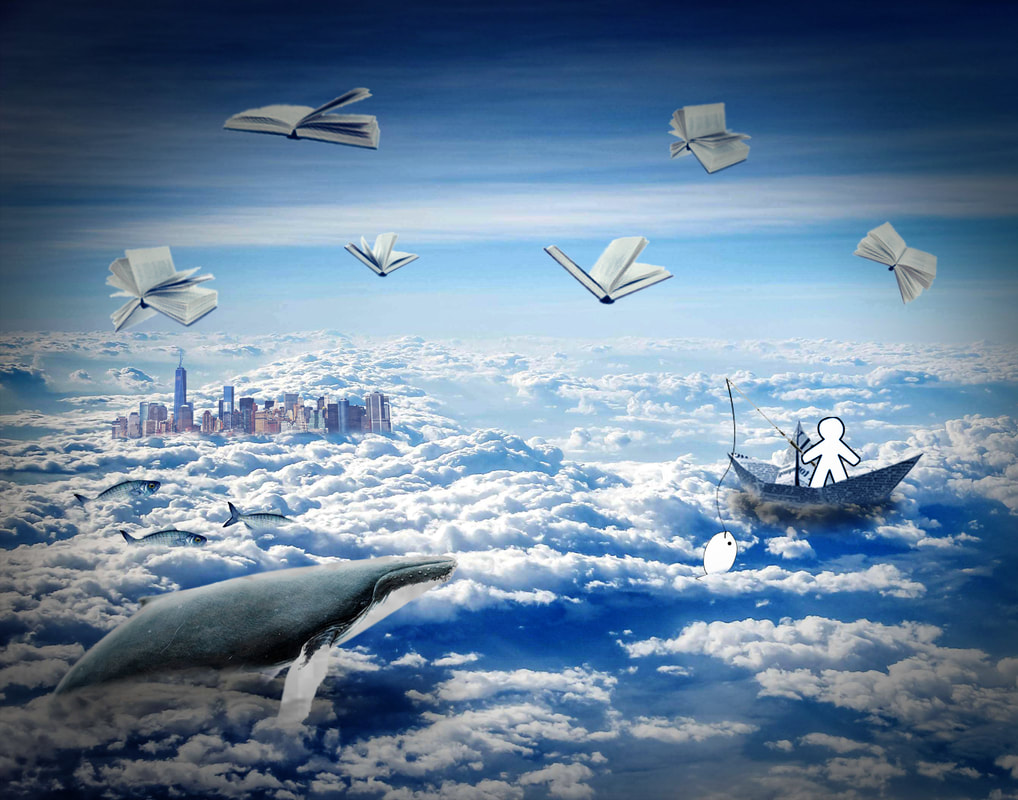
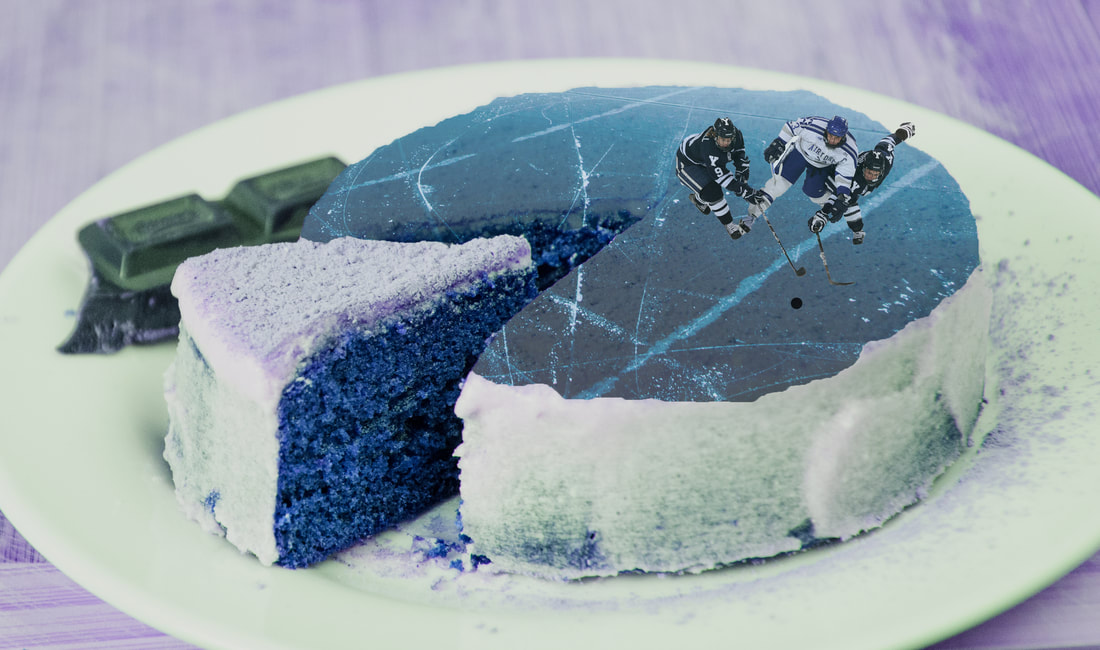
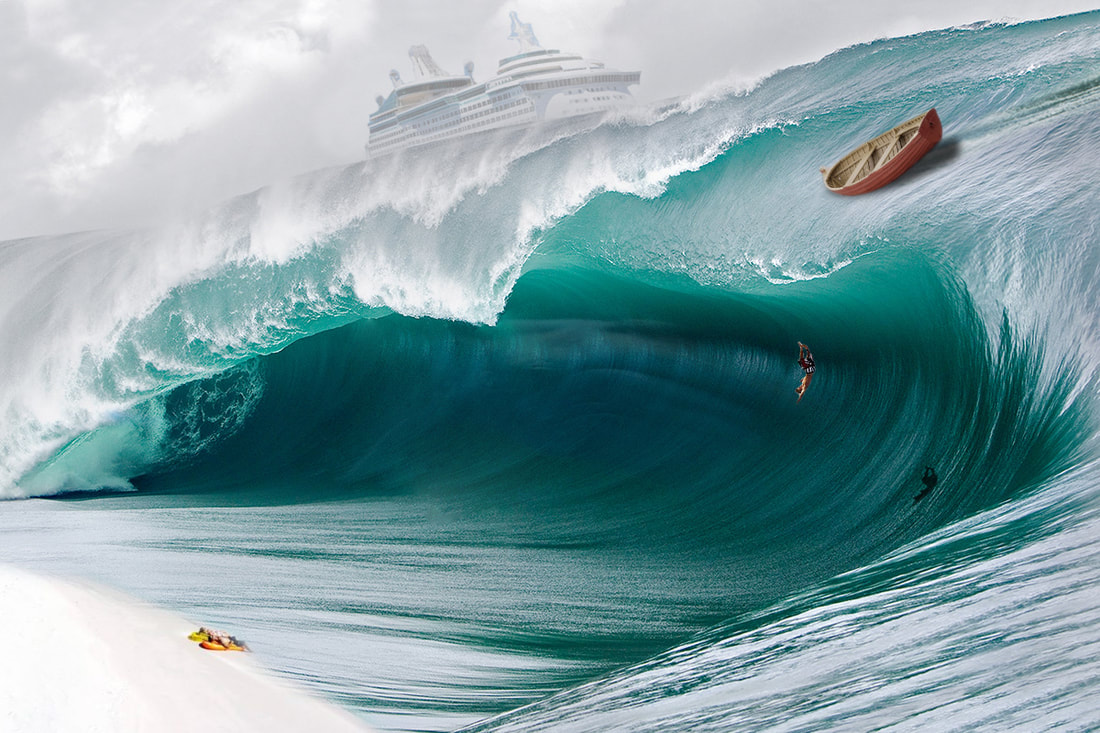
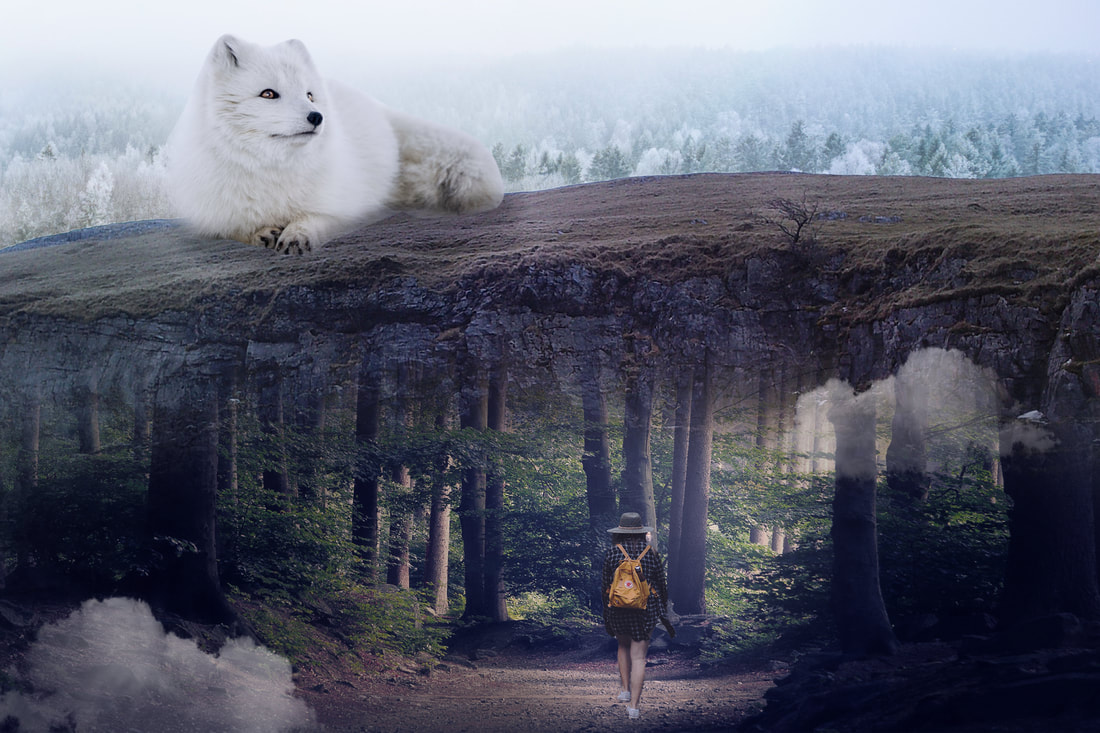
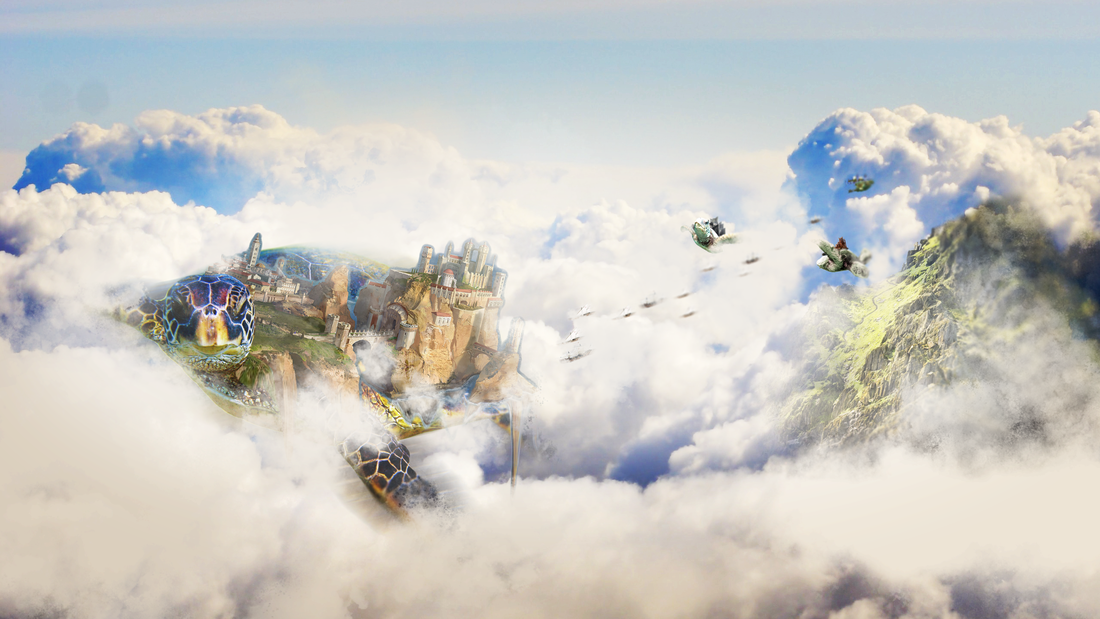
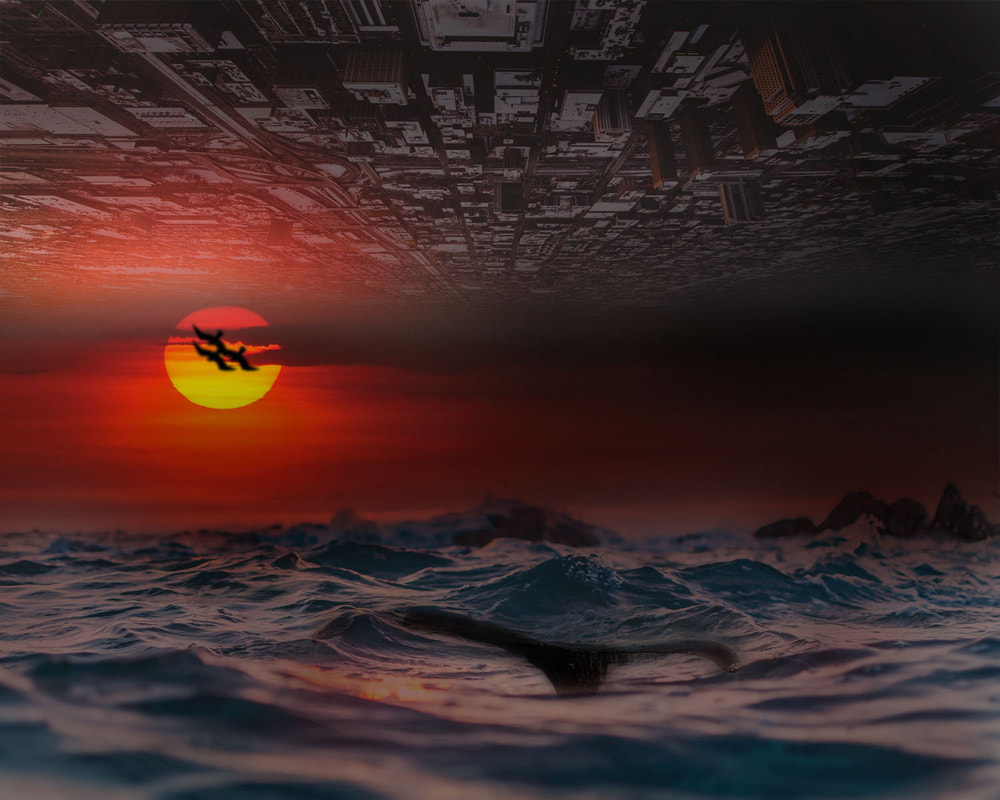
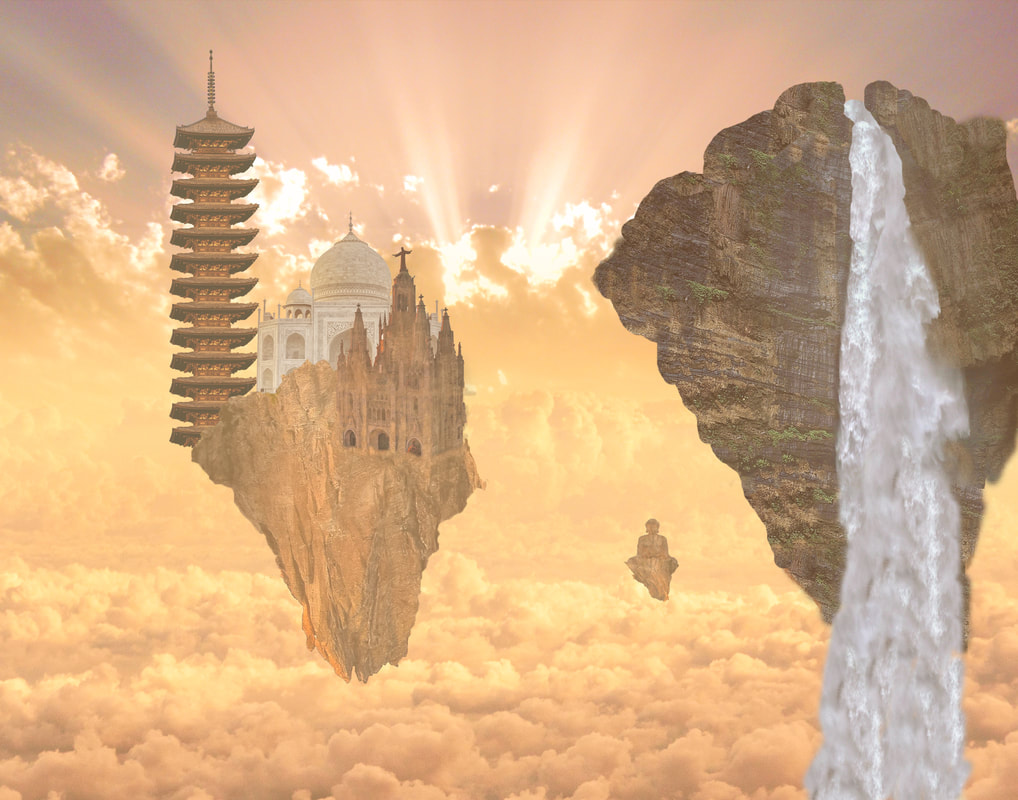
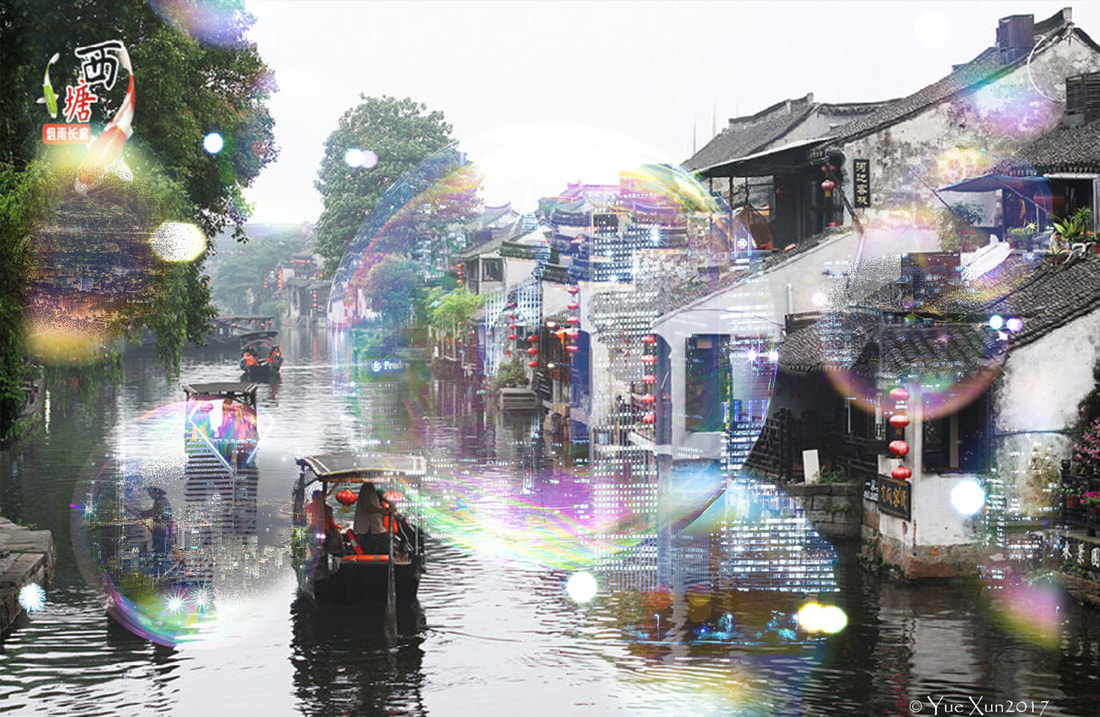
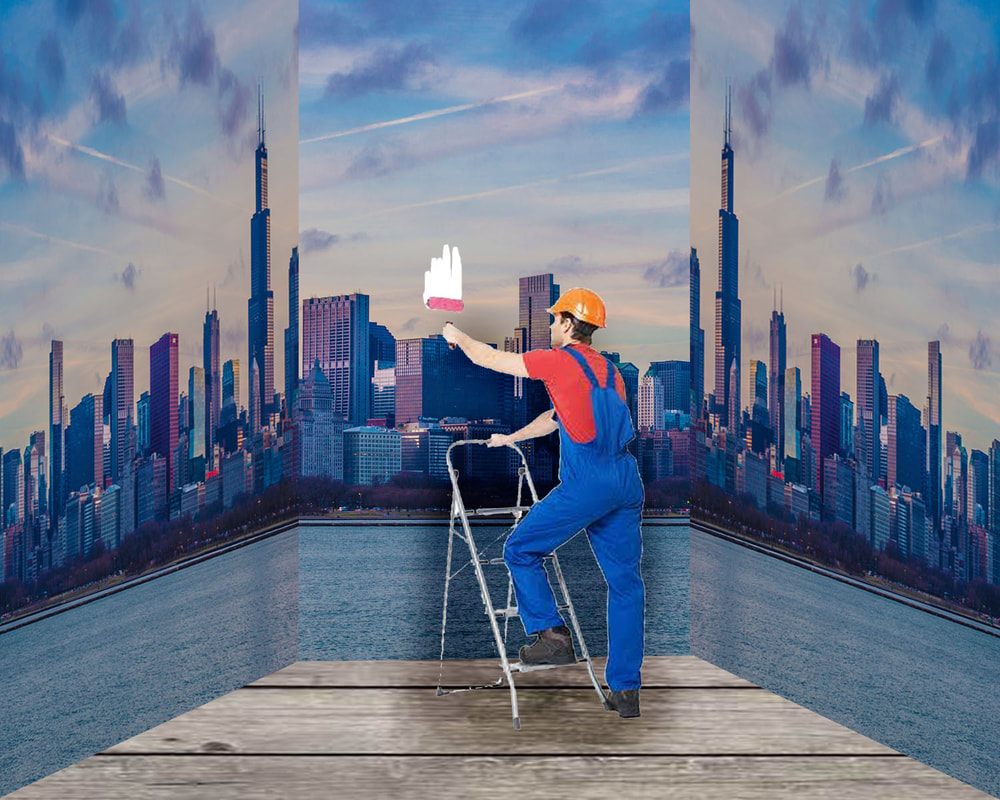
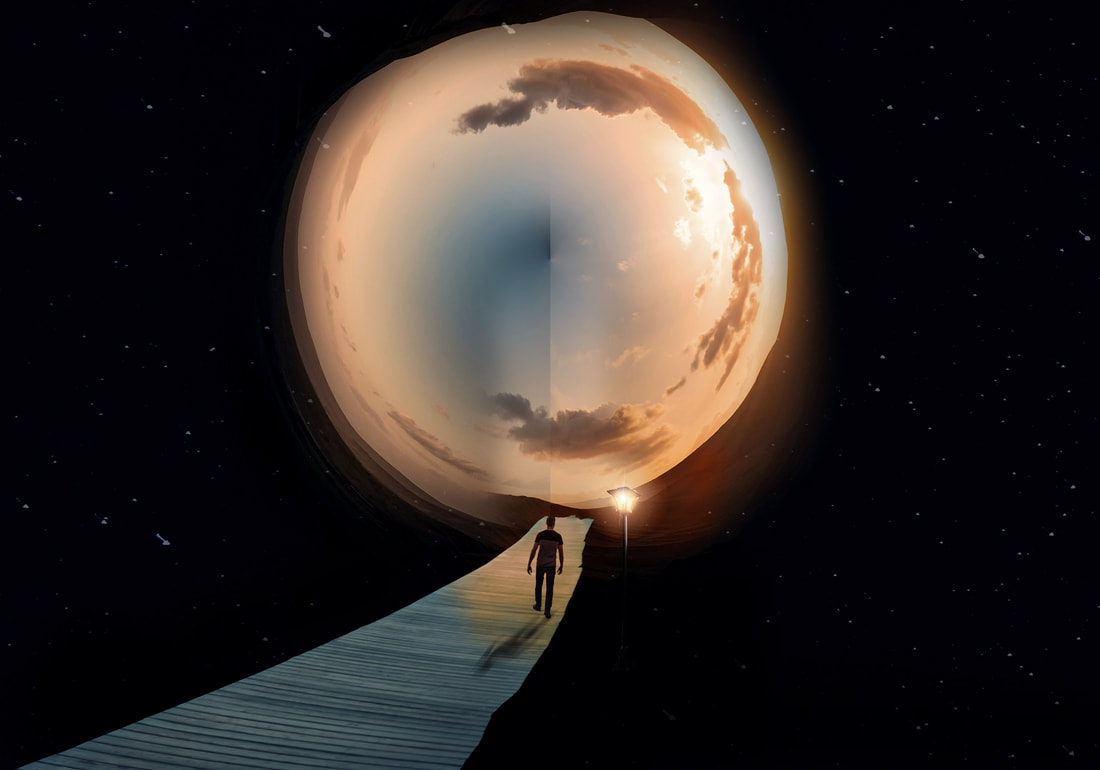
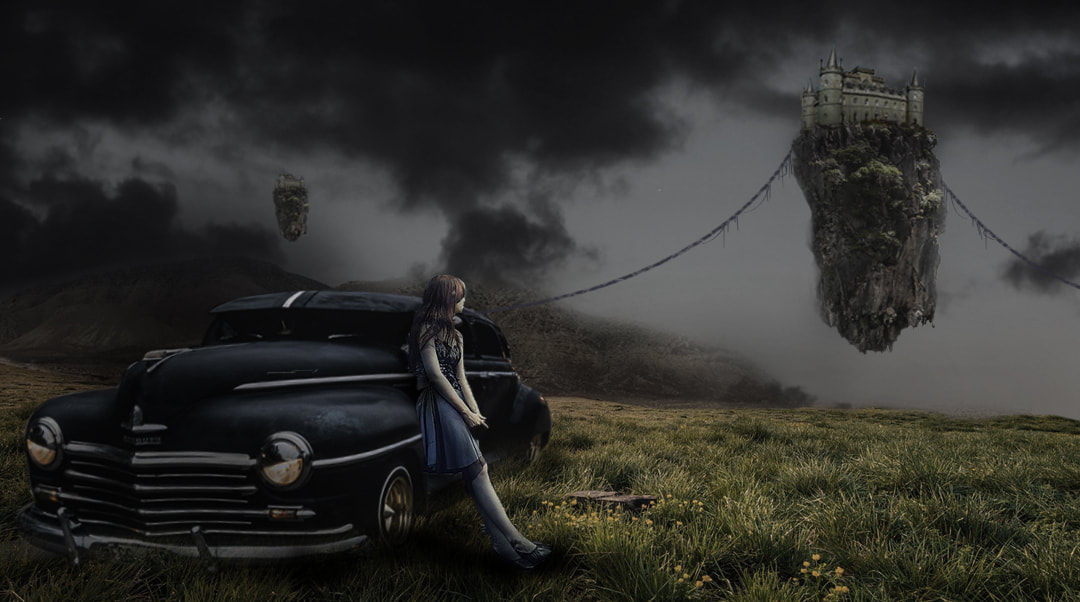
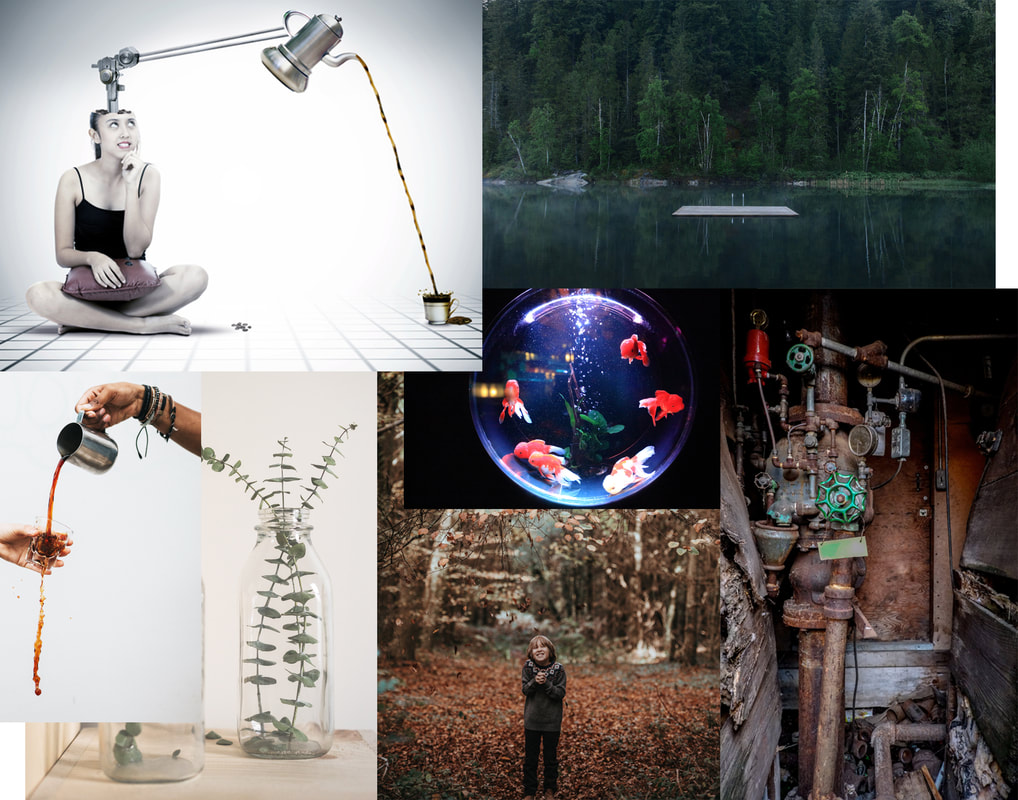
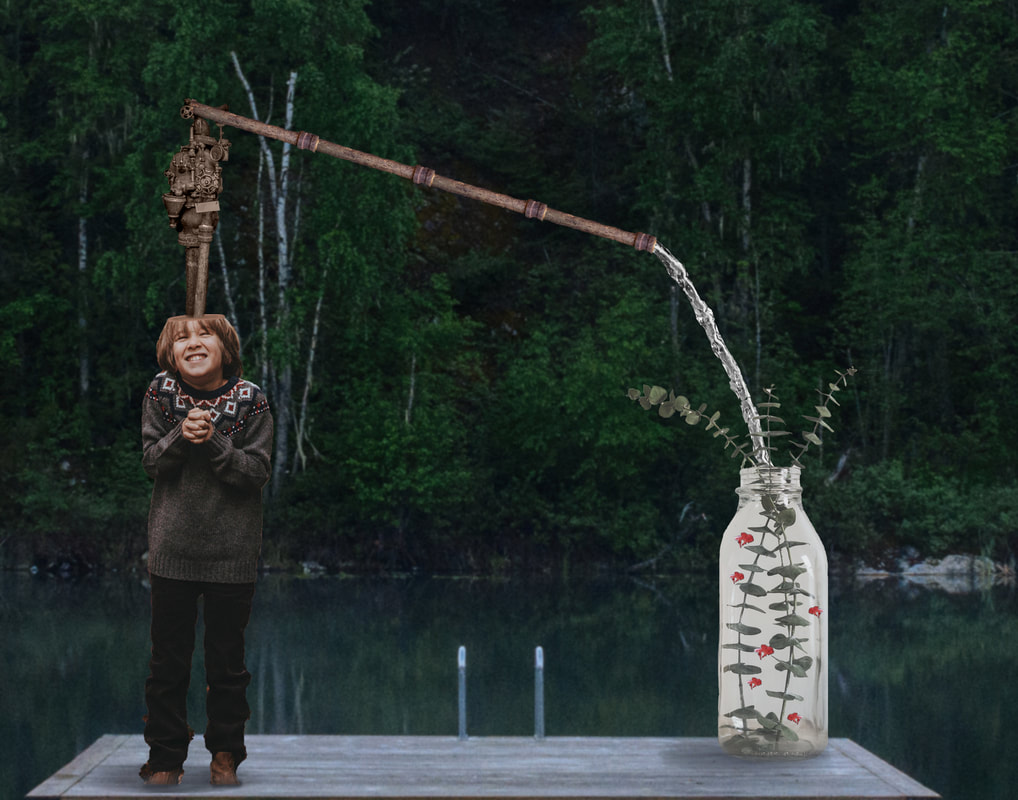
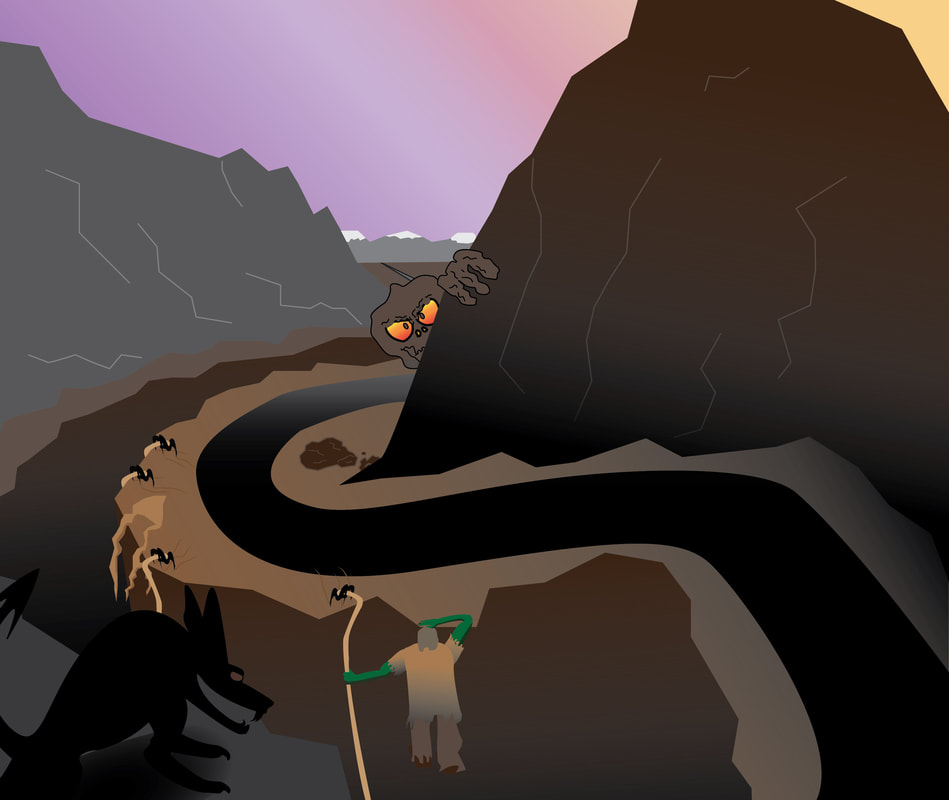
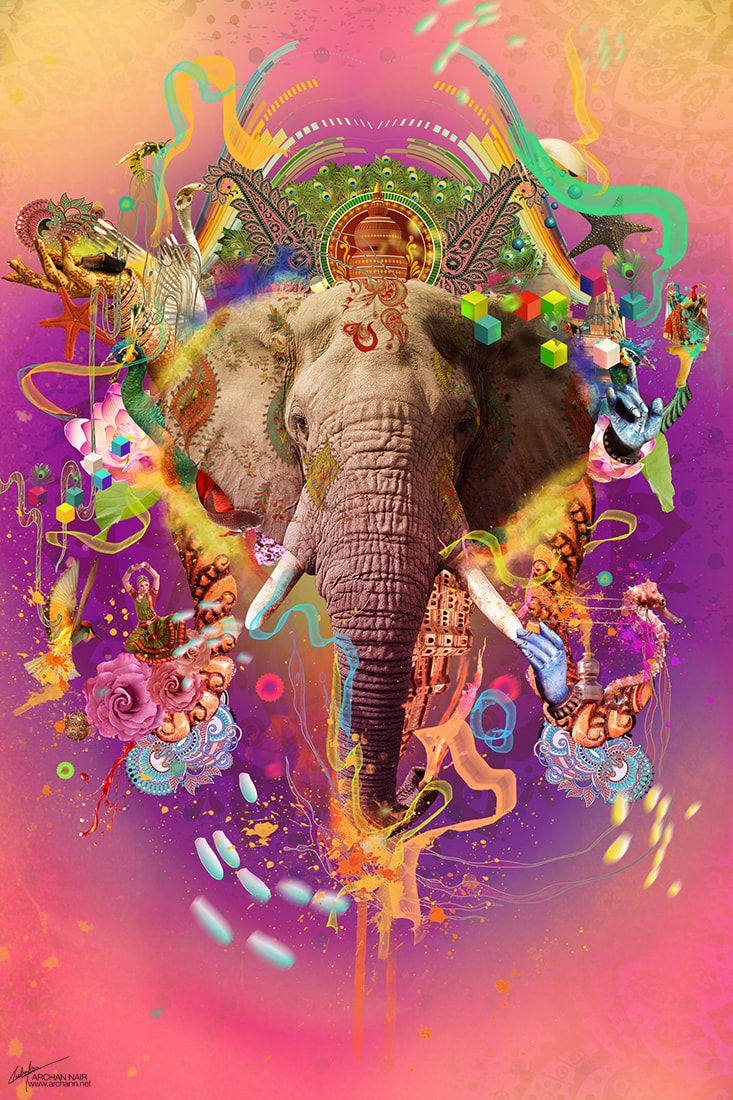
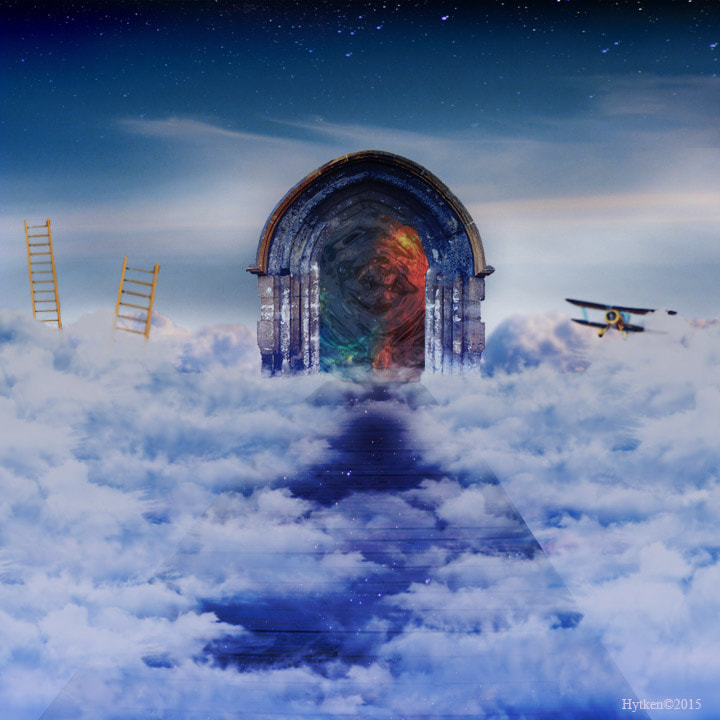
After looking at surrealist paintings by Dali, Miro, Magritte, the photography of Robert Parke-Harrison, and various digital surreal artworks, you will be creating your own "Surreal World".
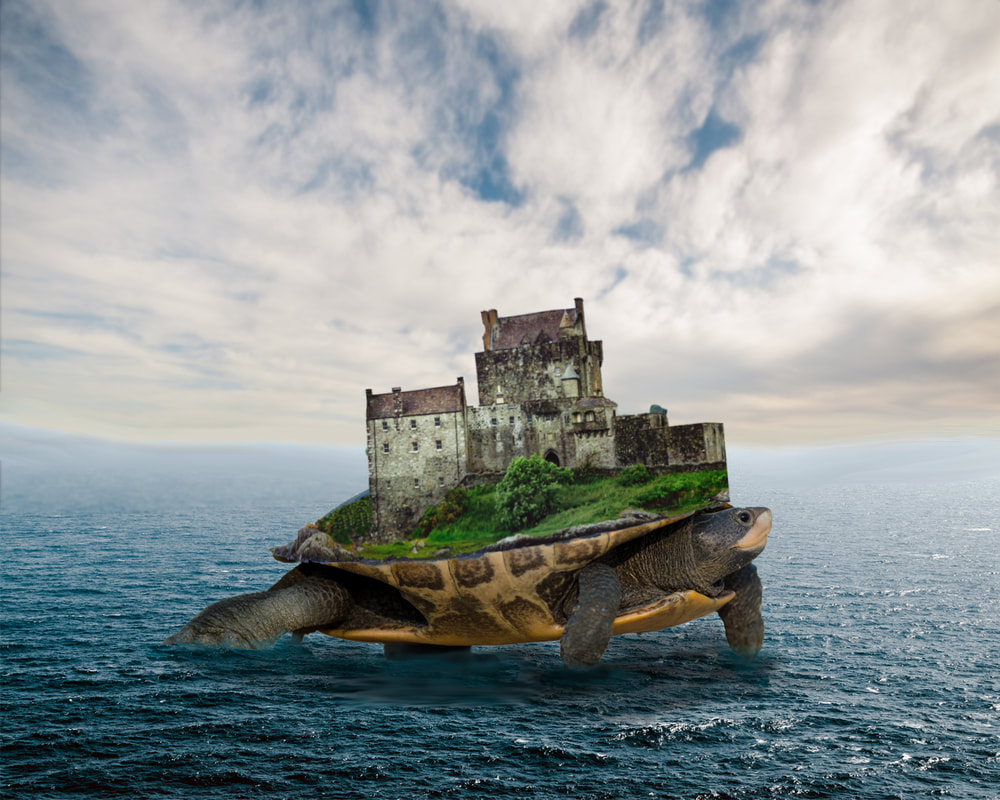
Your completed piece should be realistic, yet have a dreamlike quality. The images should not be simply collaged or pieced together -- think about how you can create a believable world or scene.
Objectives:
1) Analyze and discuss the art of Dali Magritte, Parke-Harrison, and other contemporary digital artists.
2) Read articles and write about idea generation techniques and surreal techniques.
3) Brainstorm ideas for your surreal artwork with sketching and writing.
4) Create a surreal artwork in Photoshop demonstrating surreal techniques, elements of art and principles of design..
5) Analyze the art of yourself and your peers for technique, symbolism, and concept.
The basis for your idea for this artwork can be about one of the following (these are just some ideas to get you going!):
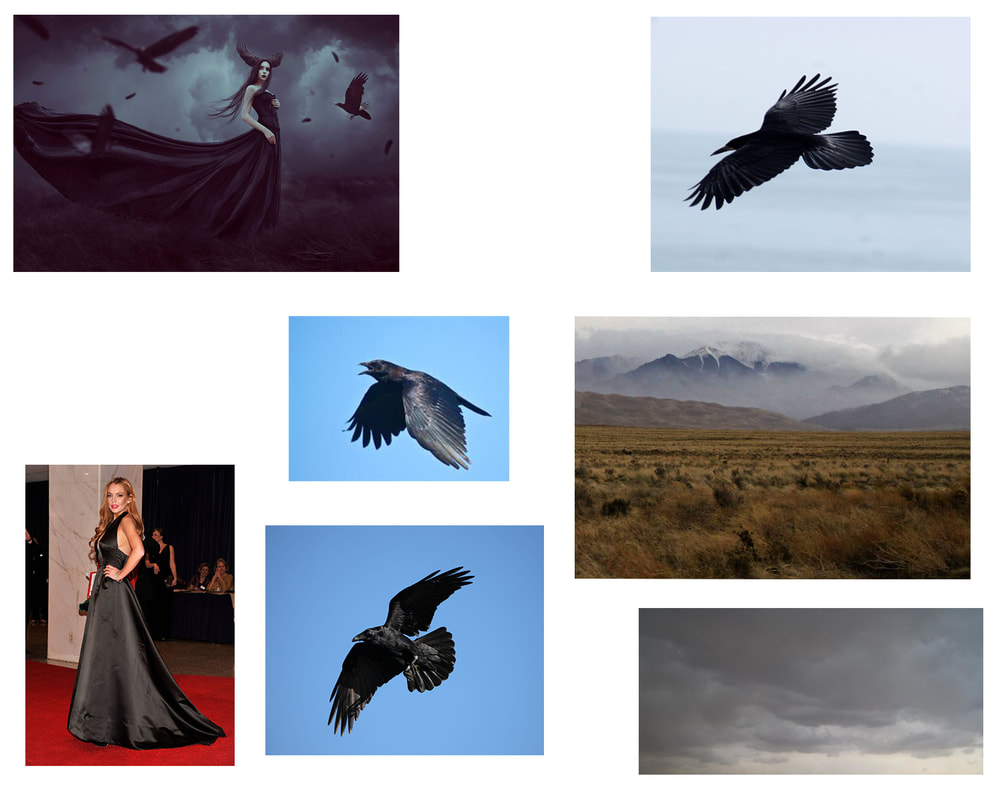
Requirements:
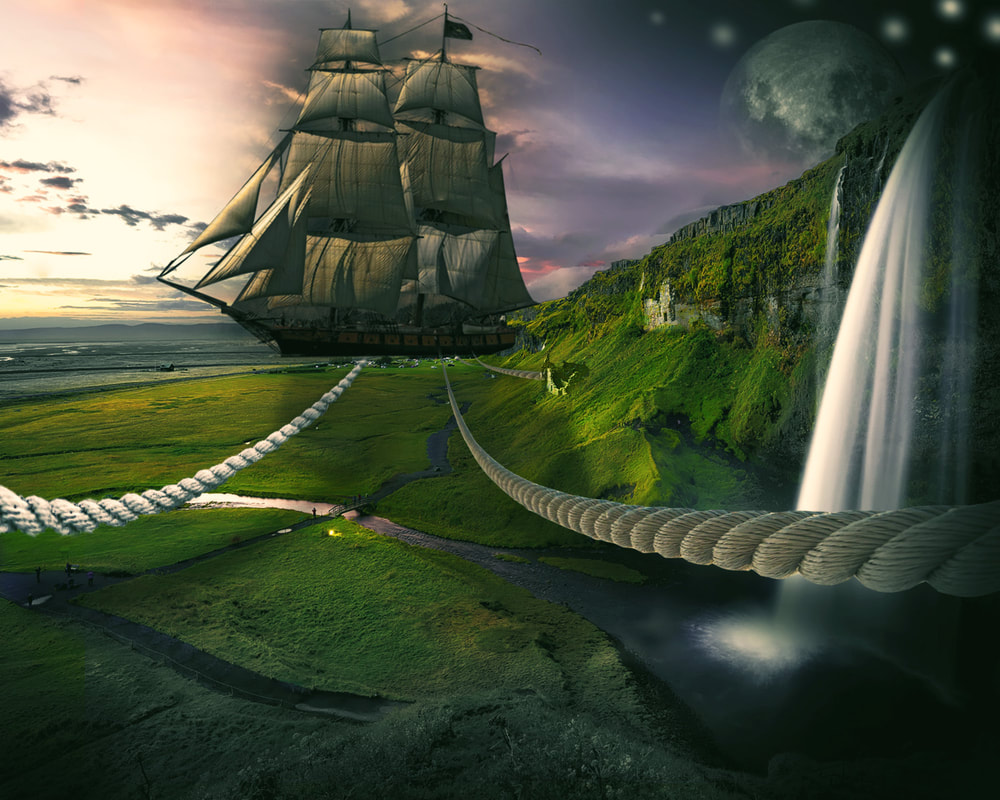
• Creation of a realistic, yet dreamlike world.
-A minimum of 5 blended images
-Images must be UNIFIED to create a realistic environment.
-Use of the rules of composition
-Use of the elements of art & pronciples of design
• Image size and resolution: 11X14” or 14X11” 150 ppi
• Demonstrate advancing photoshop skills
• Presentation of artwork to class/participation in critique
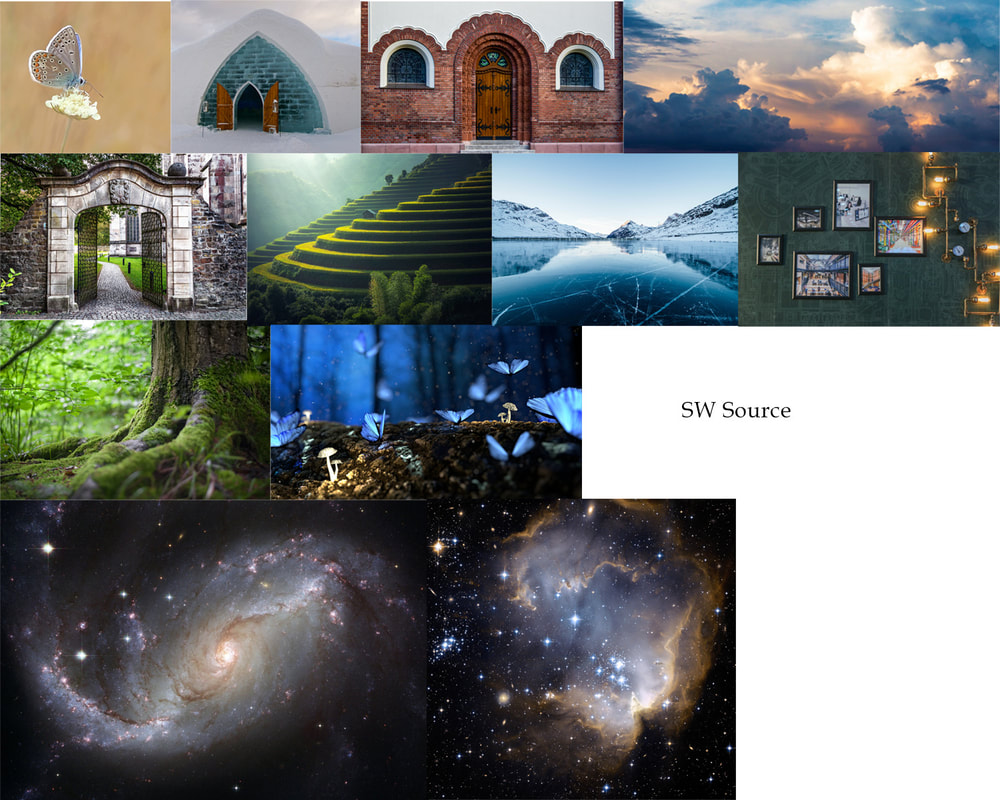
-You will turn in a completed artwork and a source file
Resources:
Erik Johansson Website
-Erik Johansson Ted TalkVideo
Video Quiz questions-Erik Johansson youtube channel with behind the scenes time lapse videos
Surreal Painters
Coldplay Video "Up & Up"
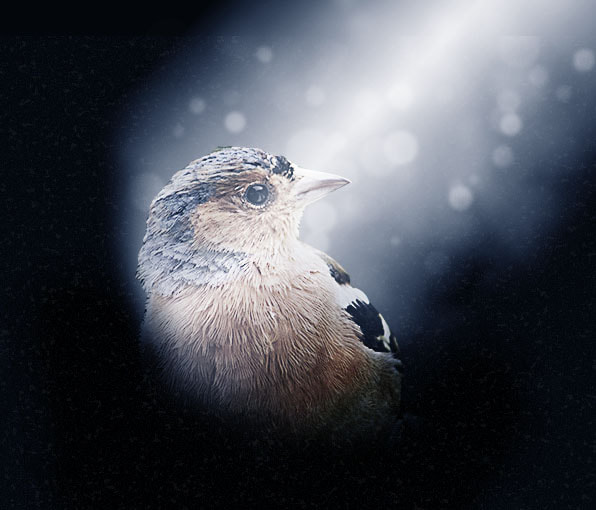
-How to create a Vignette
-Another Vignette Tutorial
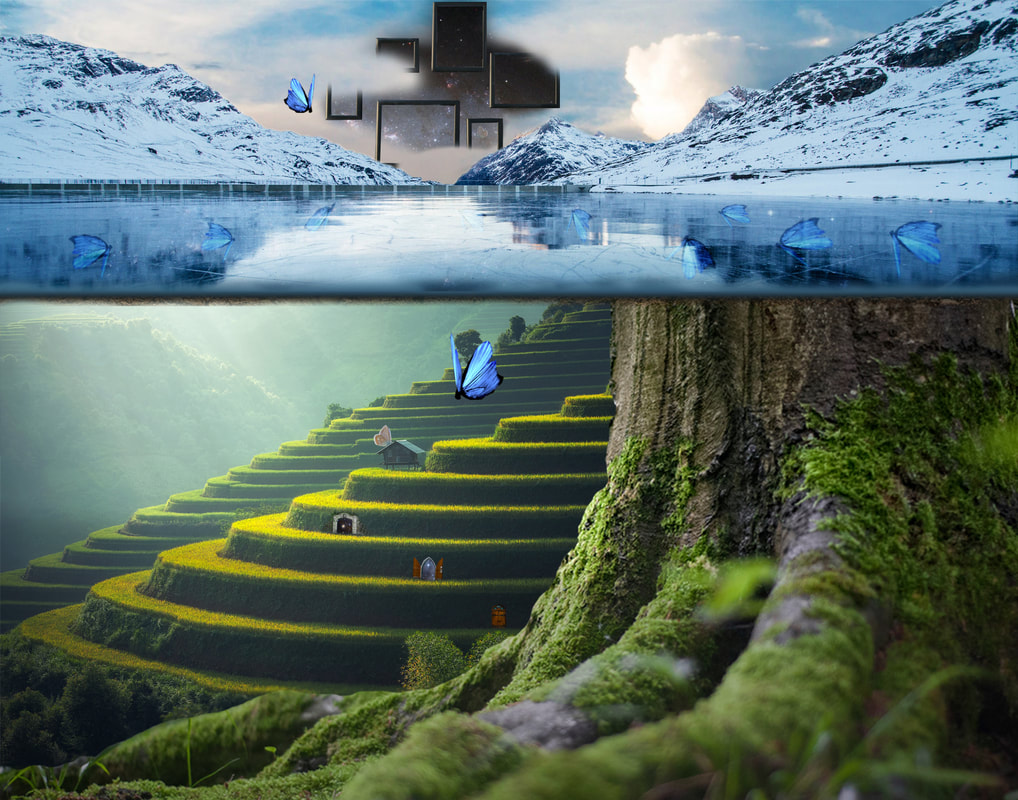
-What Lies Beneath Artwork
Your completed piece should be realistic, yet have a dreamlike quality. The images should not be simply collaged or pieced together -- think about how you can create a believable world or scene.
Objectives:
1) Analyze and discuss the art of Dali Magritte, Parke-Harrison, and other contemporary digital artists.
2) Read articles and write about idea generation techniques and surreal techniques.
3) Brainstorm ideas for your surreal artwork with sketching and writing.
4) Create a surreal artwork in Photoshop demonstrating surreal techniques, elements of art and principles of design..
5) Analyze the art of yourself and your peers for technique, symbolism, and concept.
The basis for your idea for this artwork can be about one of the following (these are just some ideas to get you going!):
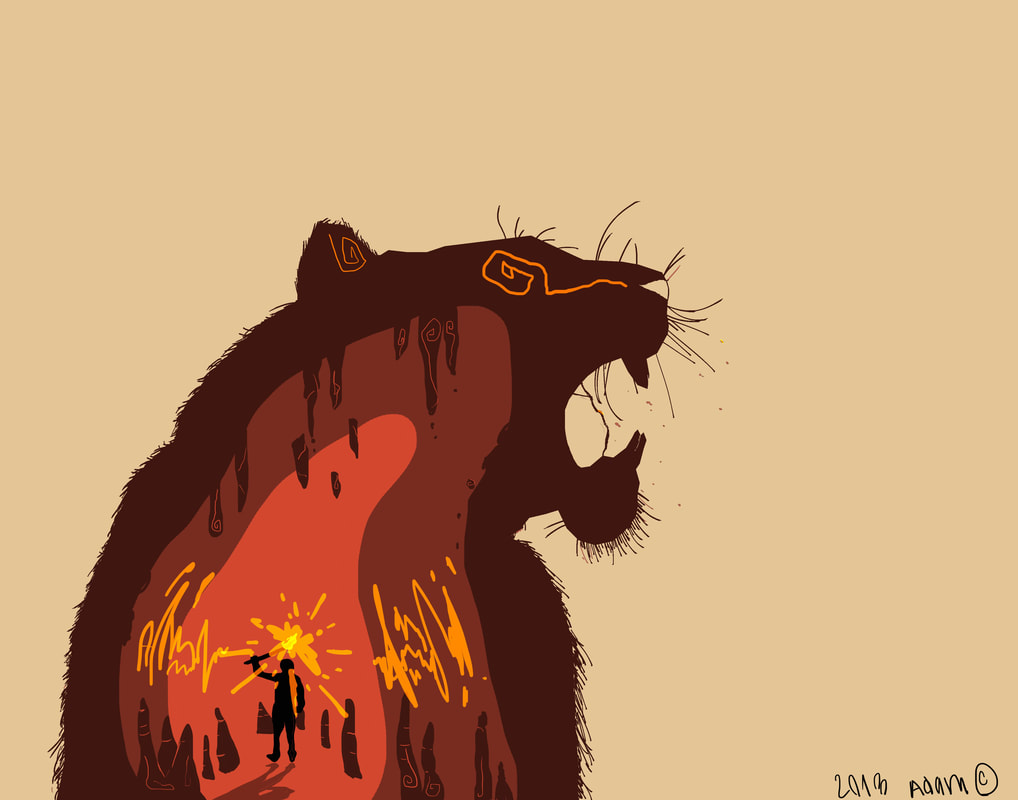
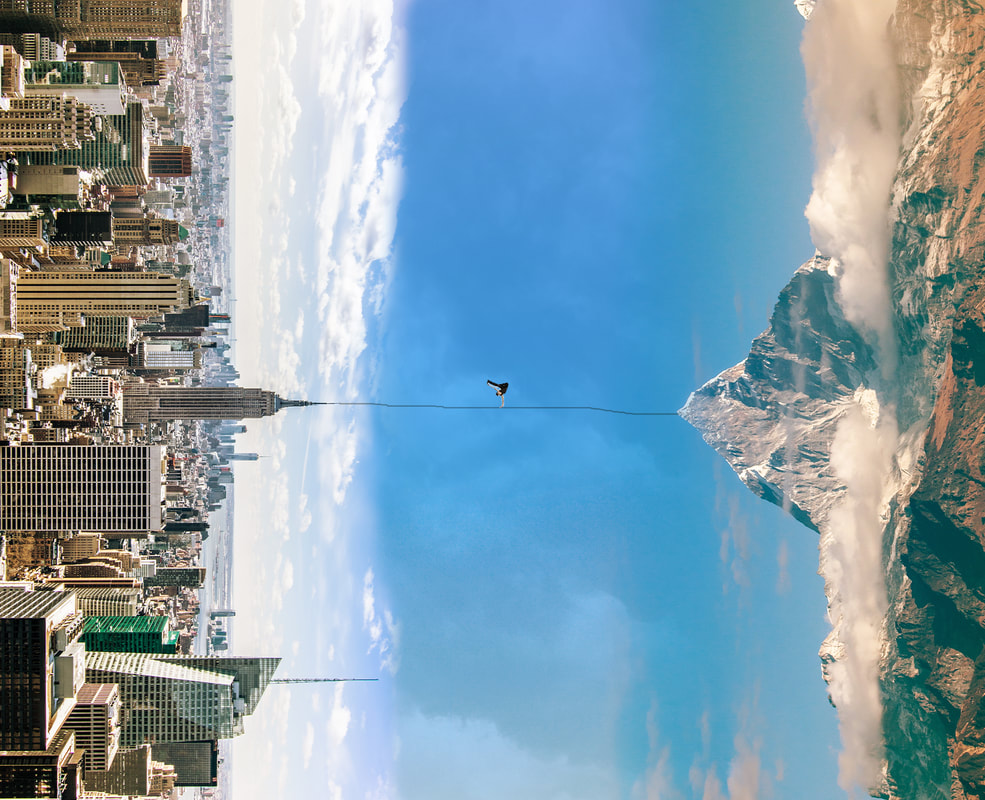
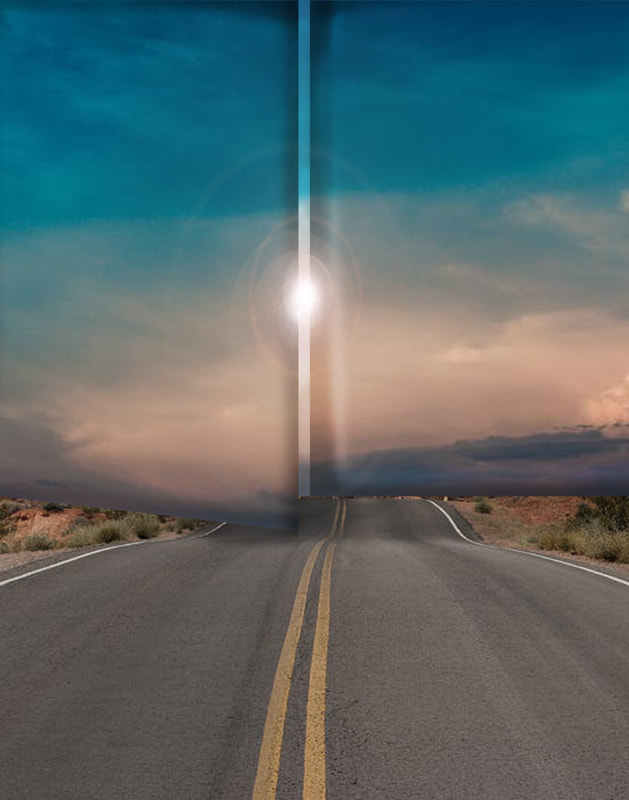
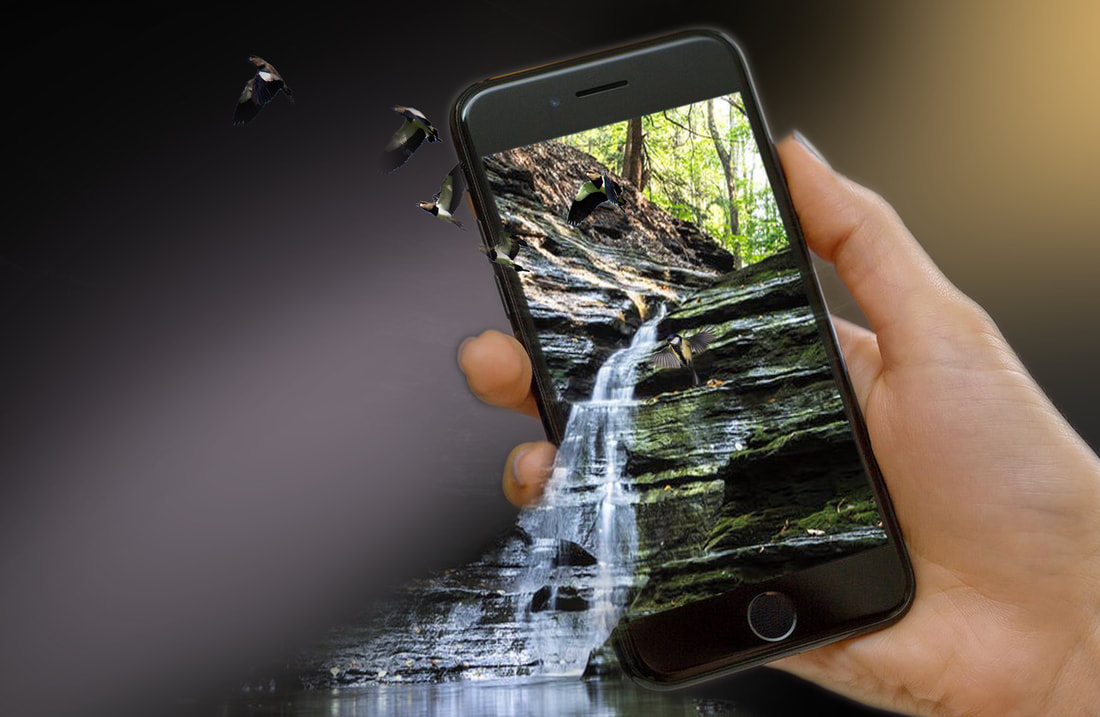
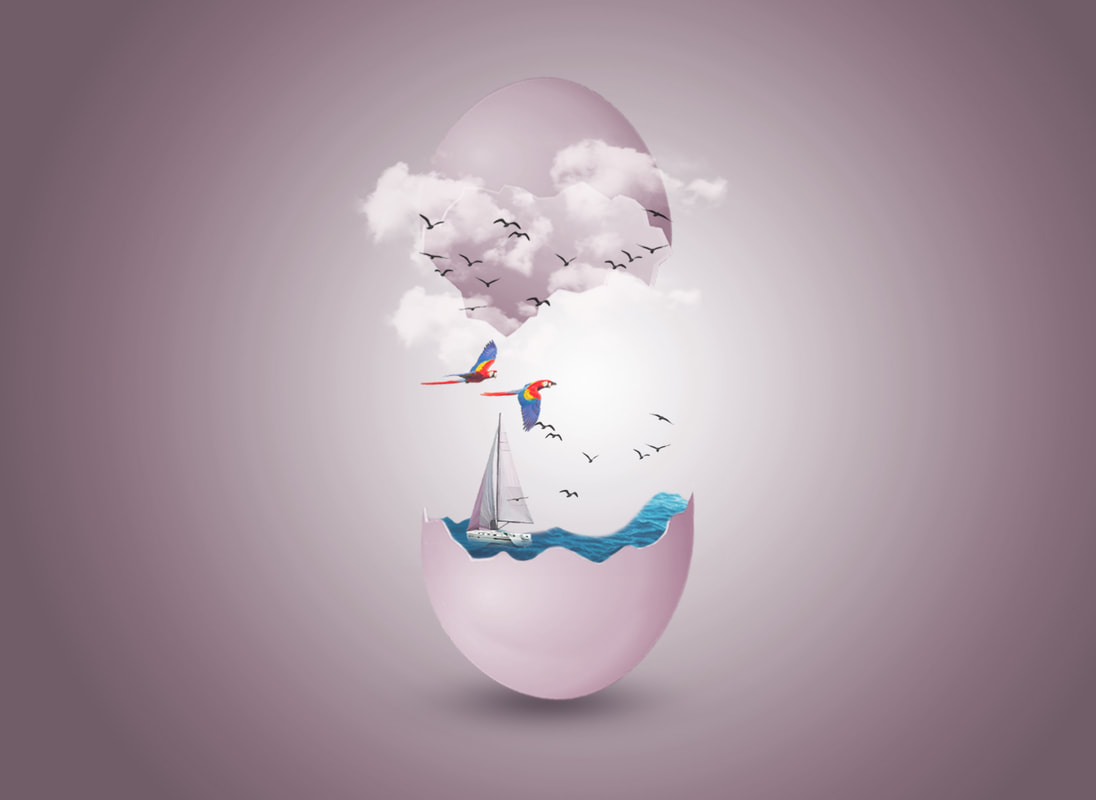
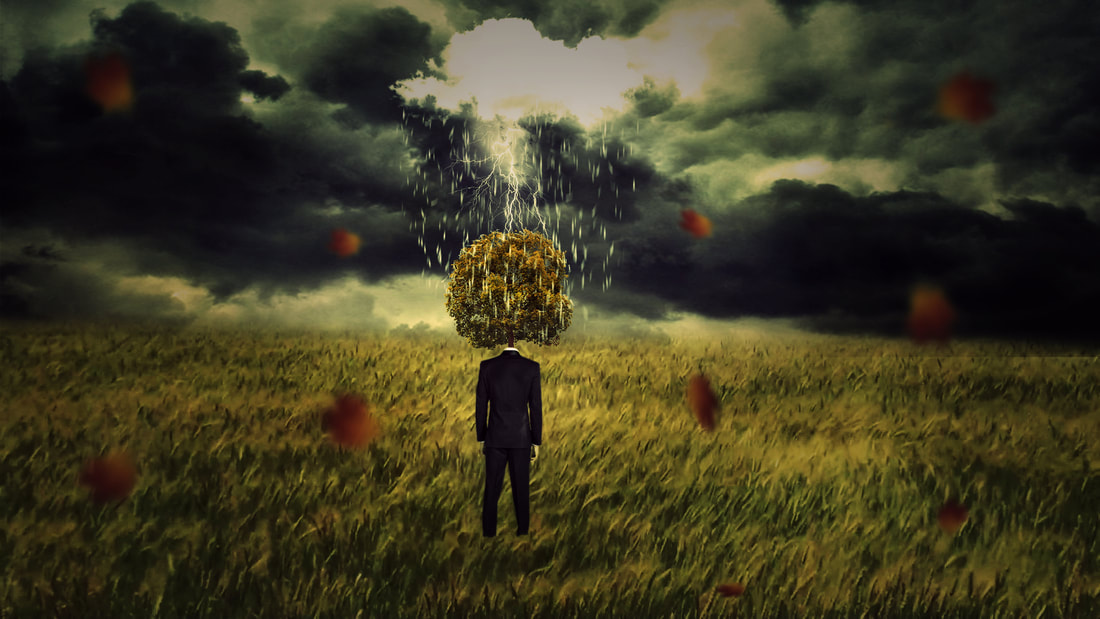
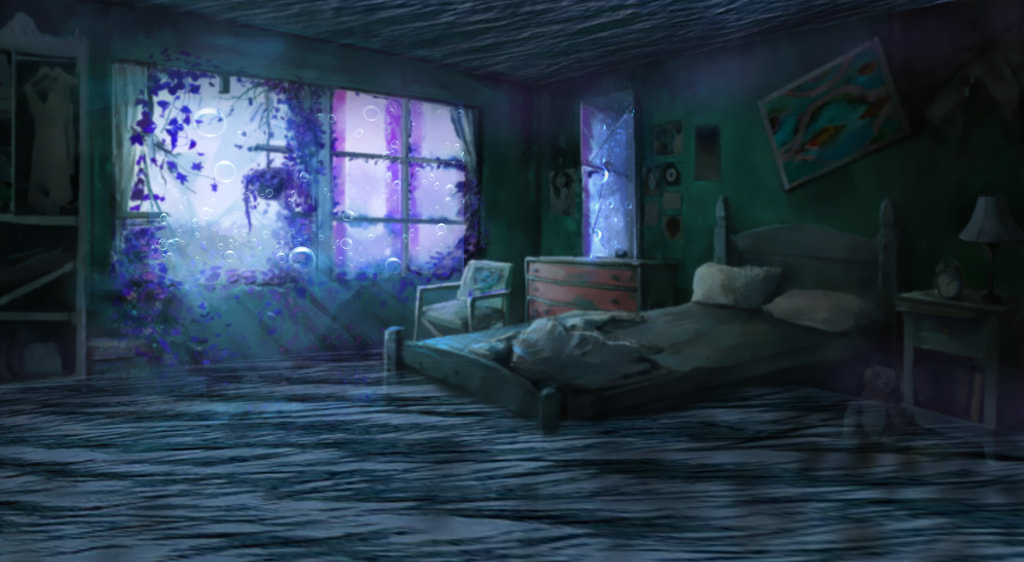
- “Out of Bounds” style artwork.
- “What Lies Beneath” style artwork.
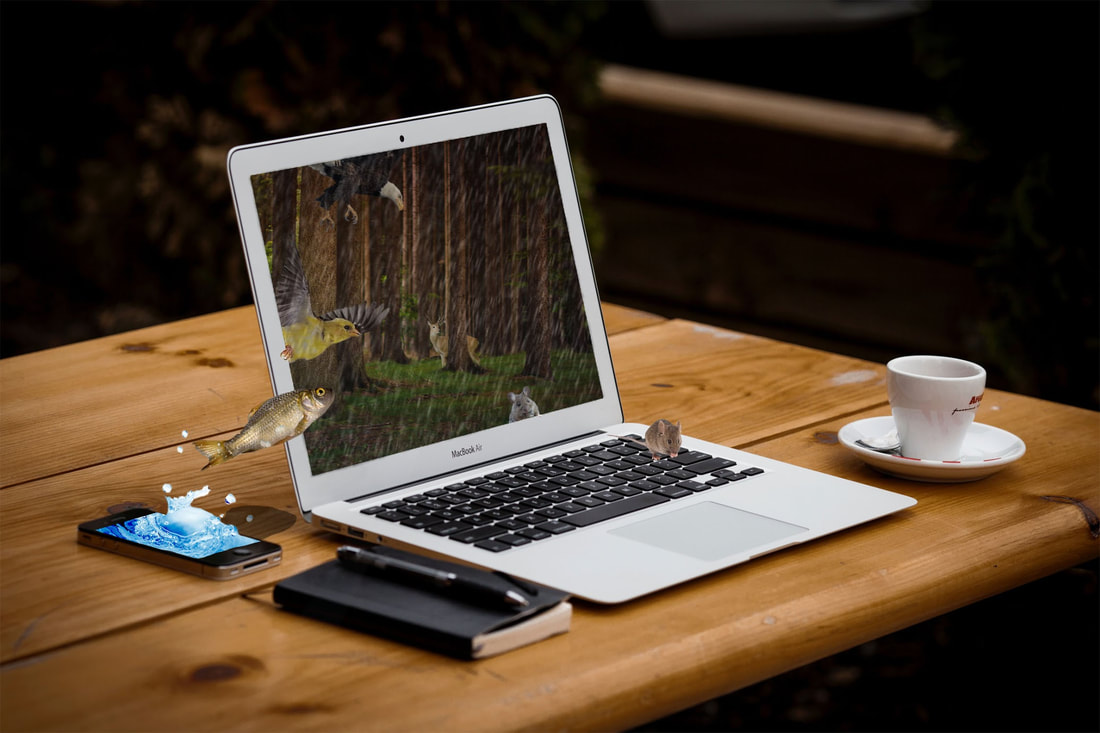
- a social issue that is important to you... such as the protection of the environment, pollution or peace in the world. (Think about Robert Parke Harrison's work and how he created artwork which addressed man's destruction of the earth and then his ideals about how to repair it.)
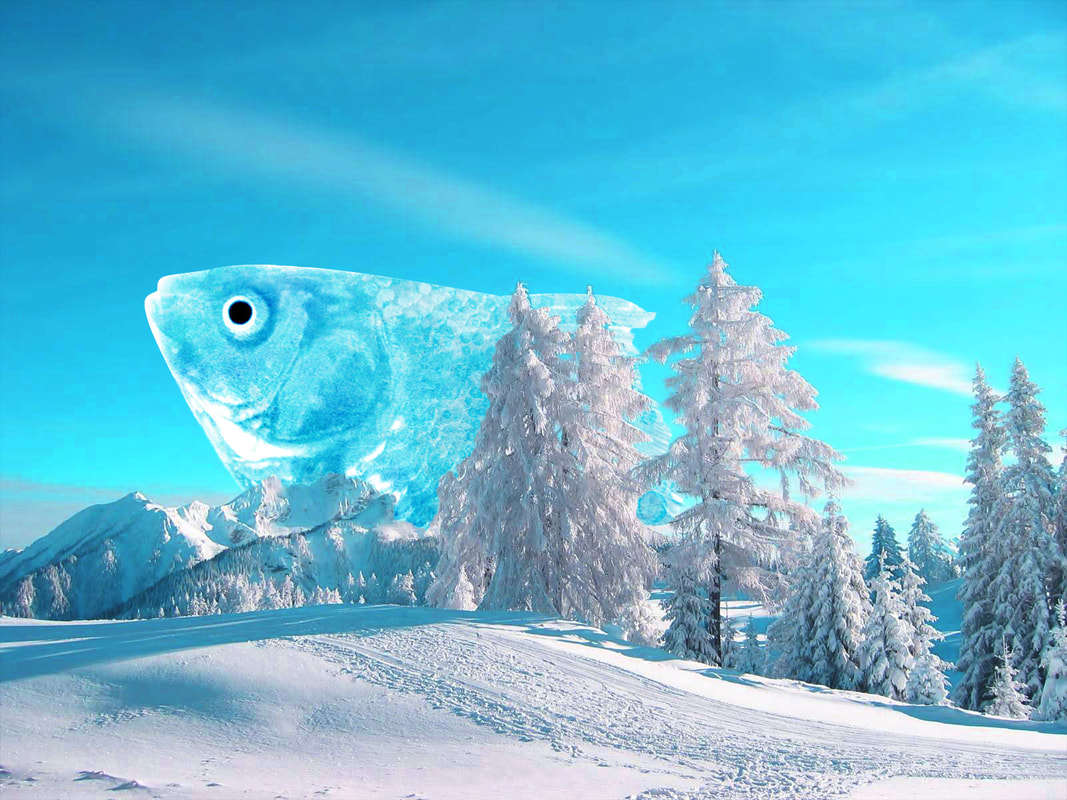
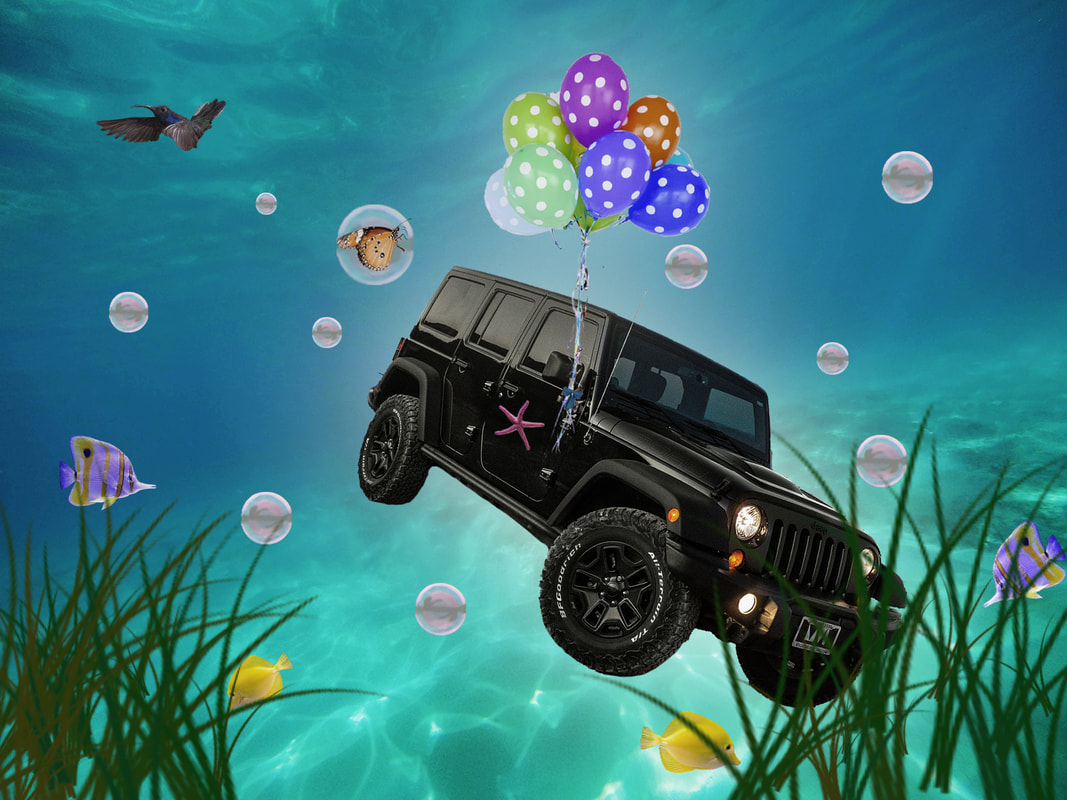
- a twist on reality or a reversal of roles... such as a fish out of water, flowers picking people, upside down world, etc.
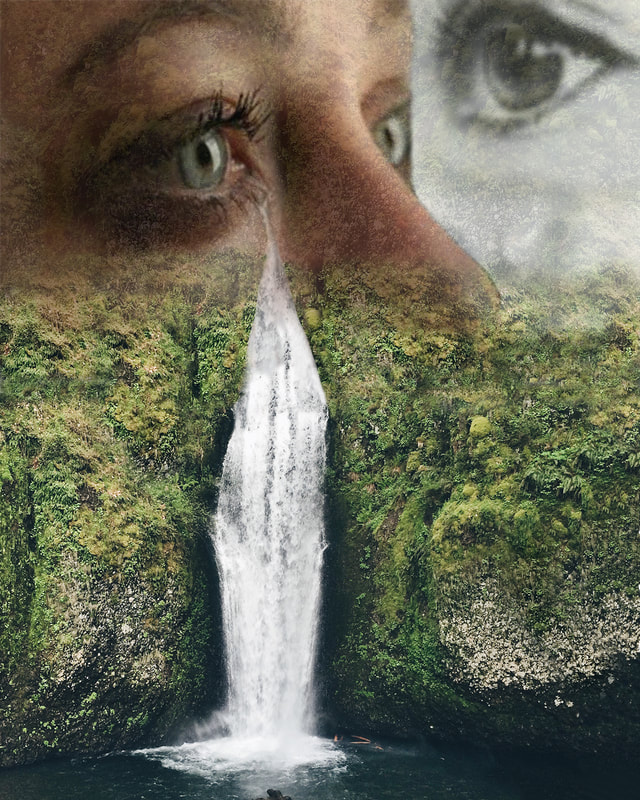
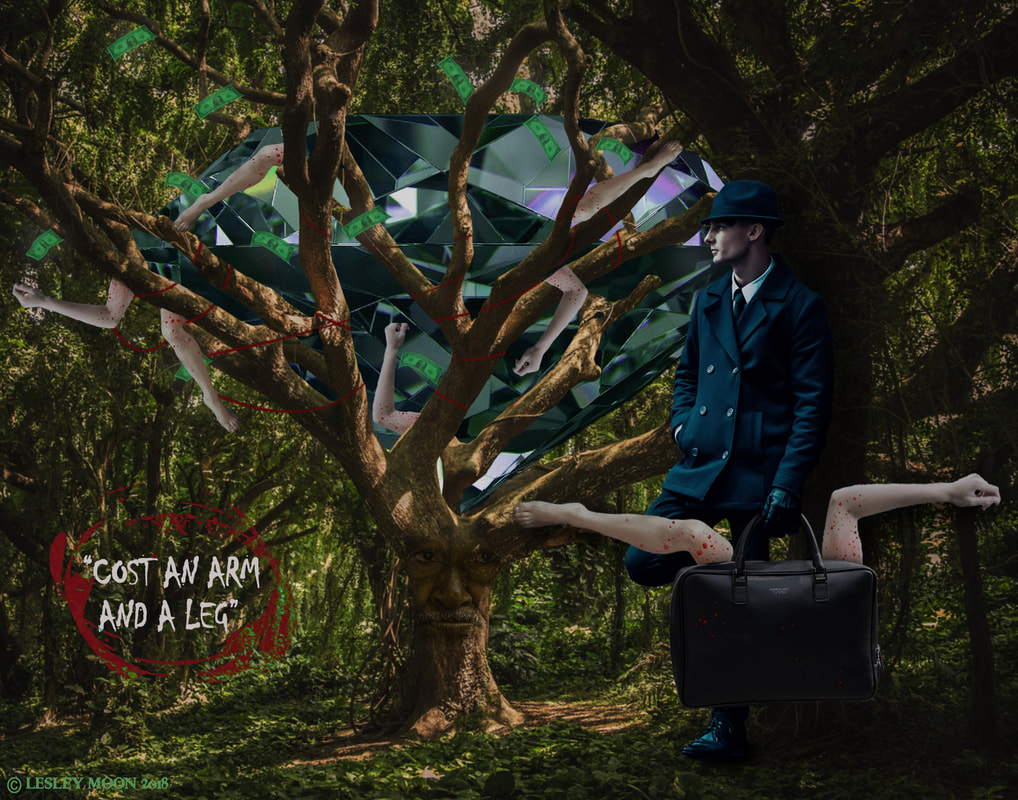
- a visual representation of an idiomatic expression... such as "raining cats and dogs", a "frog in your throat", "wasting time", etc.
- a representation of one of your dreams.
- A symbolic self-portrait. A symbolic representation of your and your personality.
Requirements:
• Creation of a realistic, yet dreamlike world.
-A minimum of 5 blended images
-Images must be UNIFIED to create a realistic environment.
-Use of the rules of composition
-Use of the elements of art & pronciples of design
• Image size and resolution: 11X14” or 14X11” 150 ppi
• Demonstrate advancing photoshop skills
• Presentation of artwork to class/participation in critique
-You will turn in a completed artwork and a source file
Resources:
Erik Johansson Website
-Erik Johansson Ted TalkVideo
Video Quiz questions-Erik Johansson youtube channel with behind the scenes time lapse videos
Surreal Painters
Coldplay Video "Up & Up"
-How to create a Vignette
-Another Vignette Tutorial
-What Lies Beneath Artwork
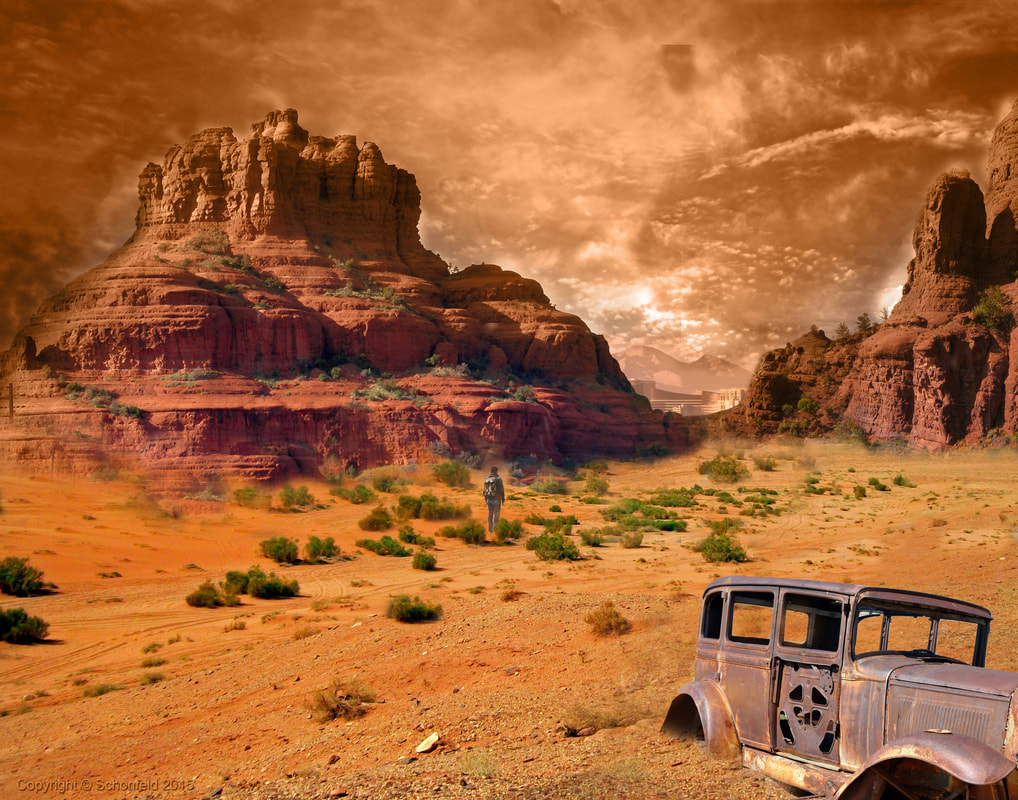
Student Examples


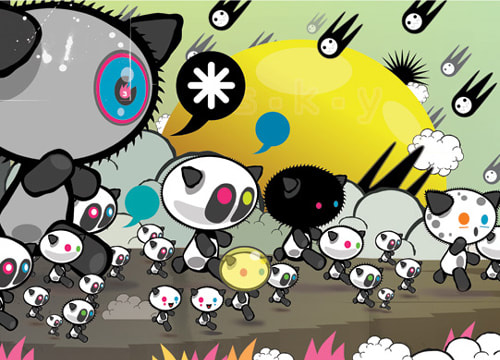
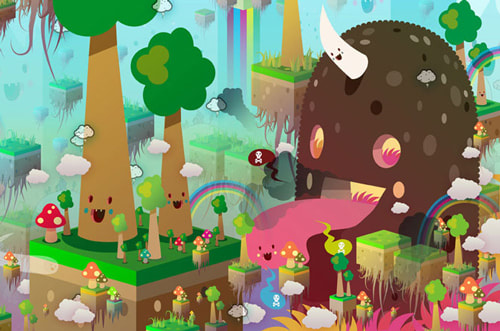
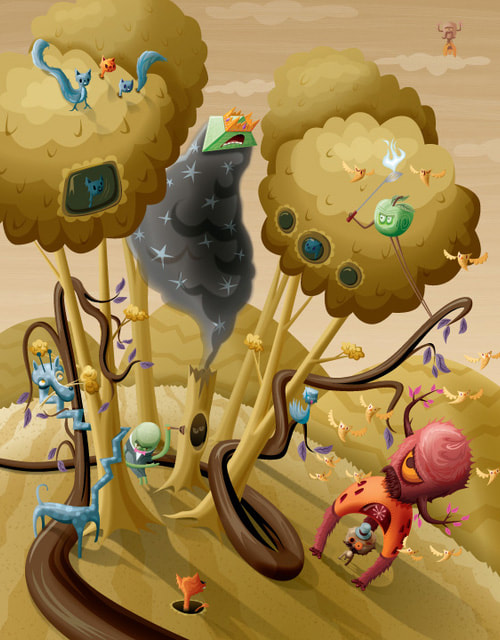
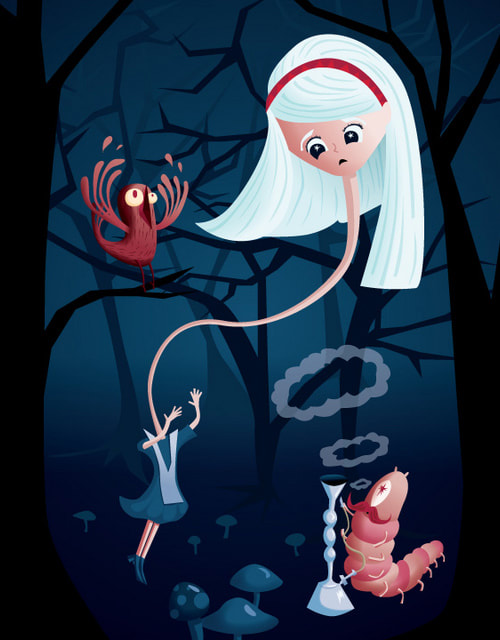
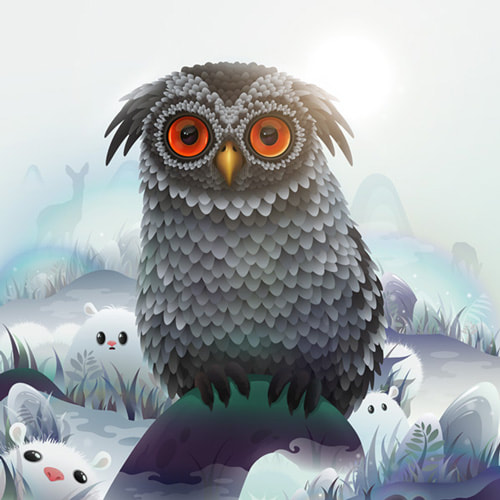
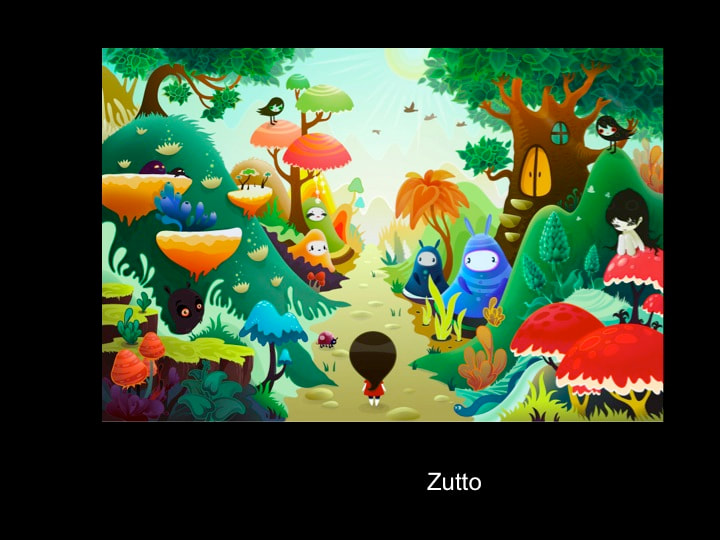
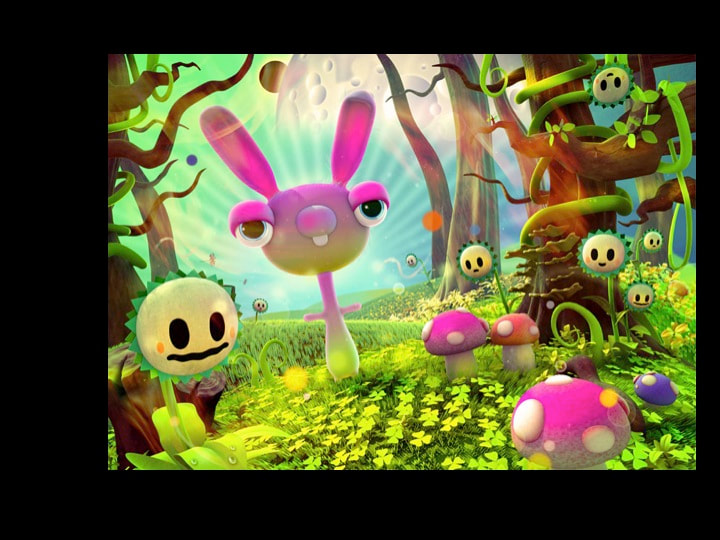
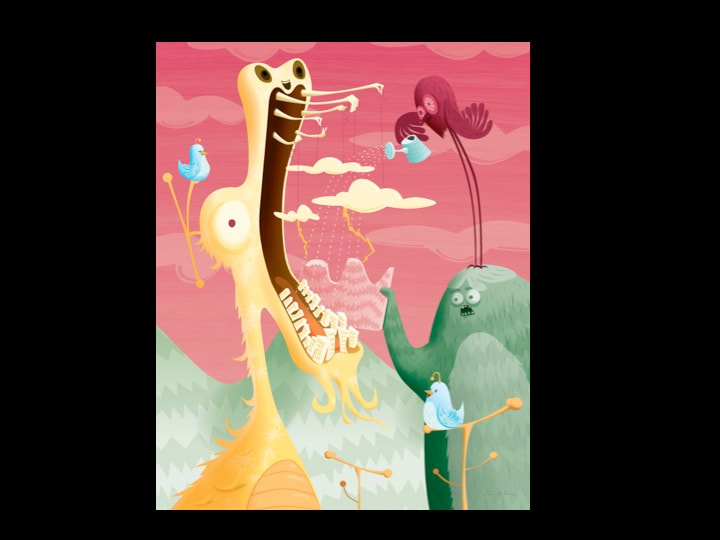
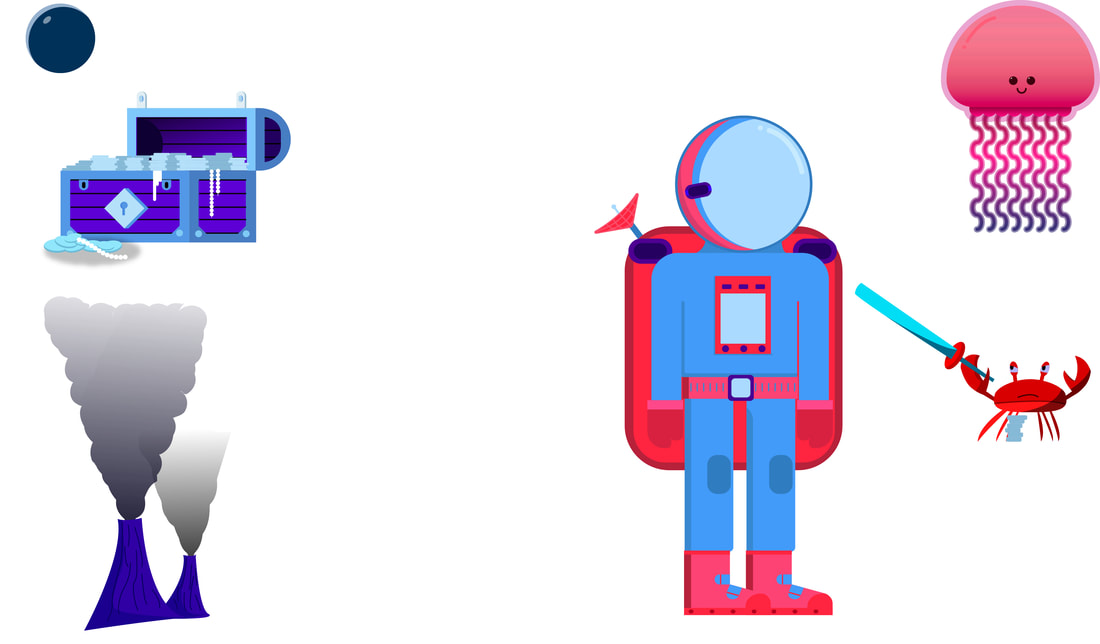
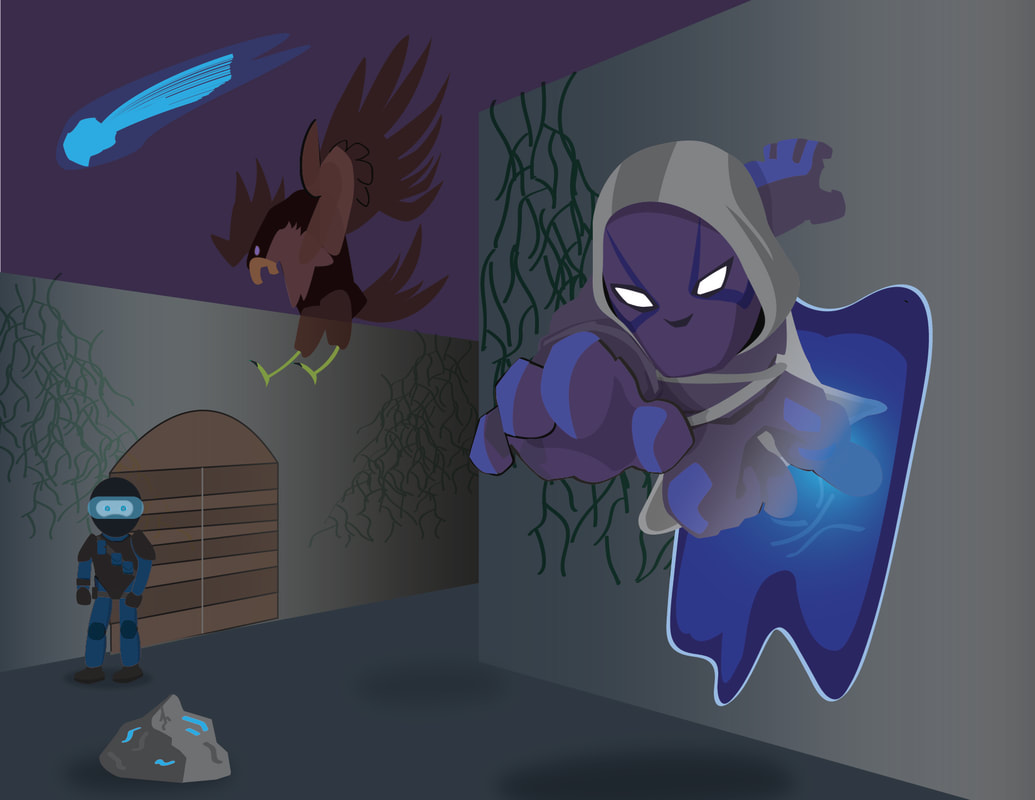
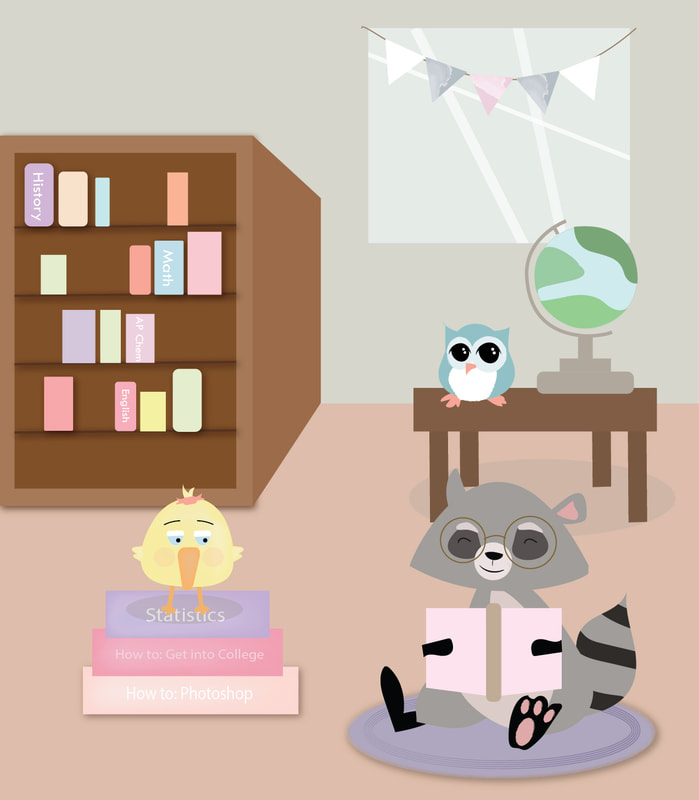
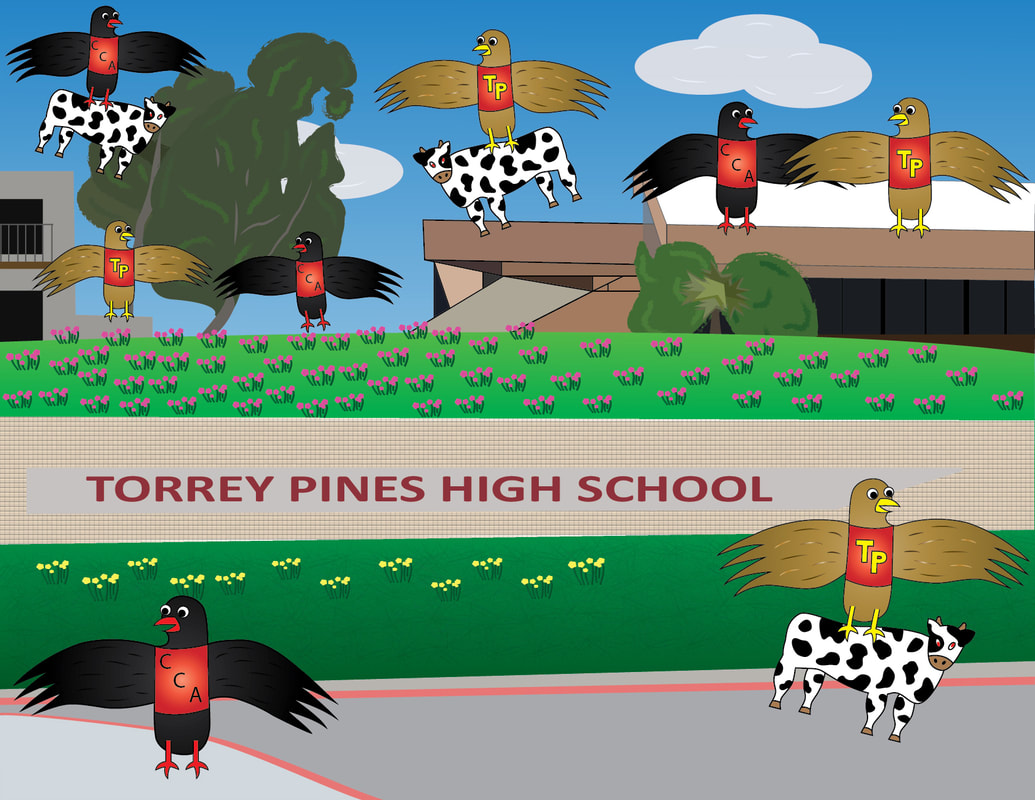
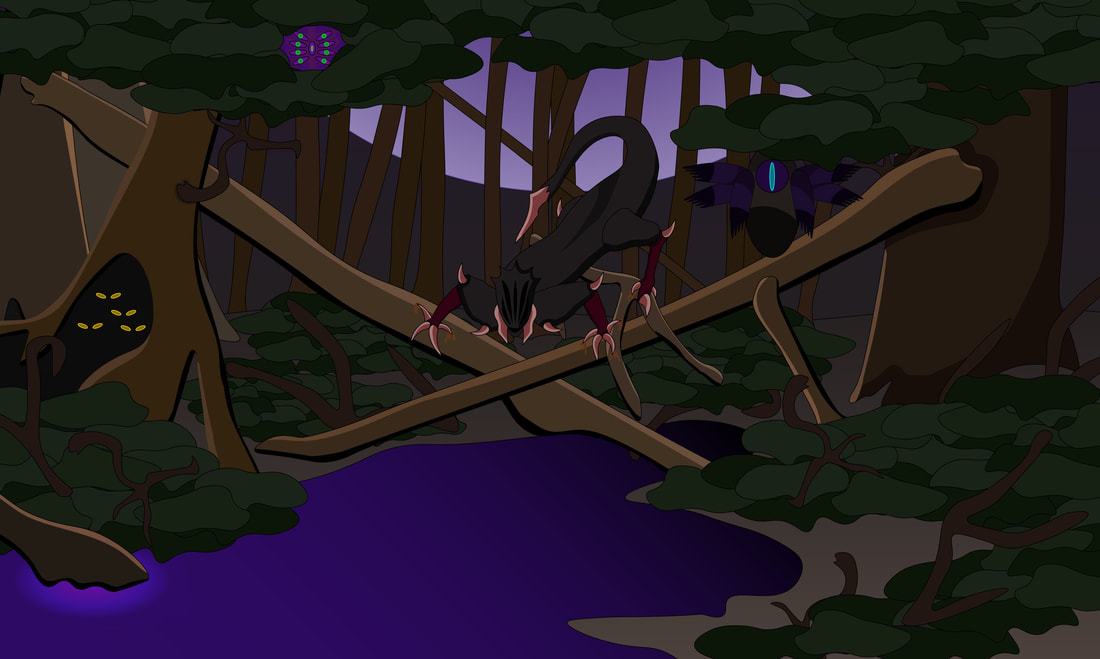
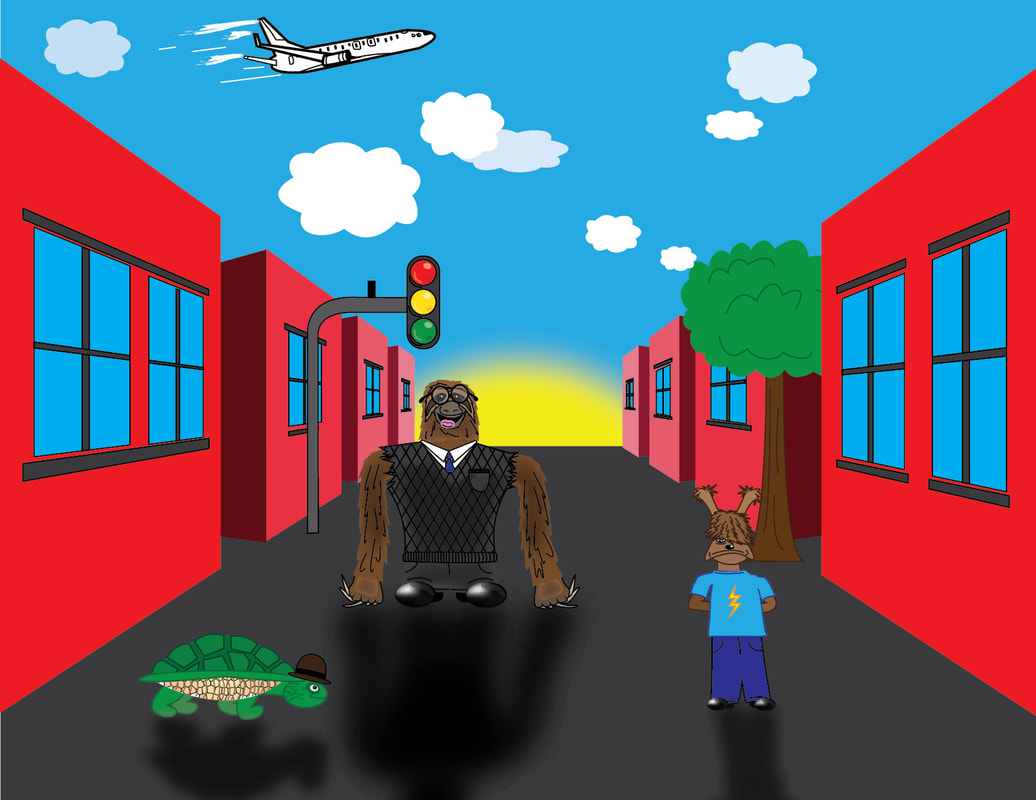
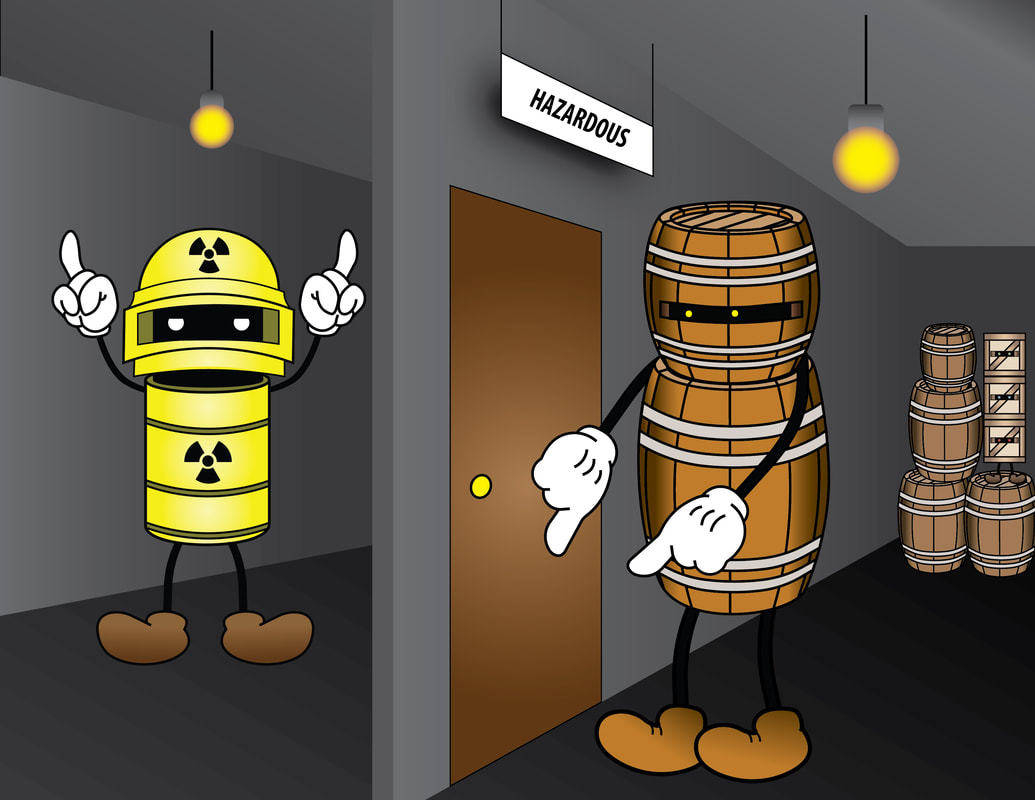
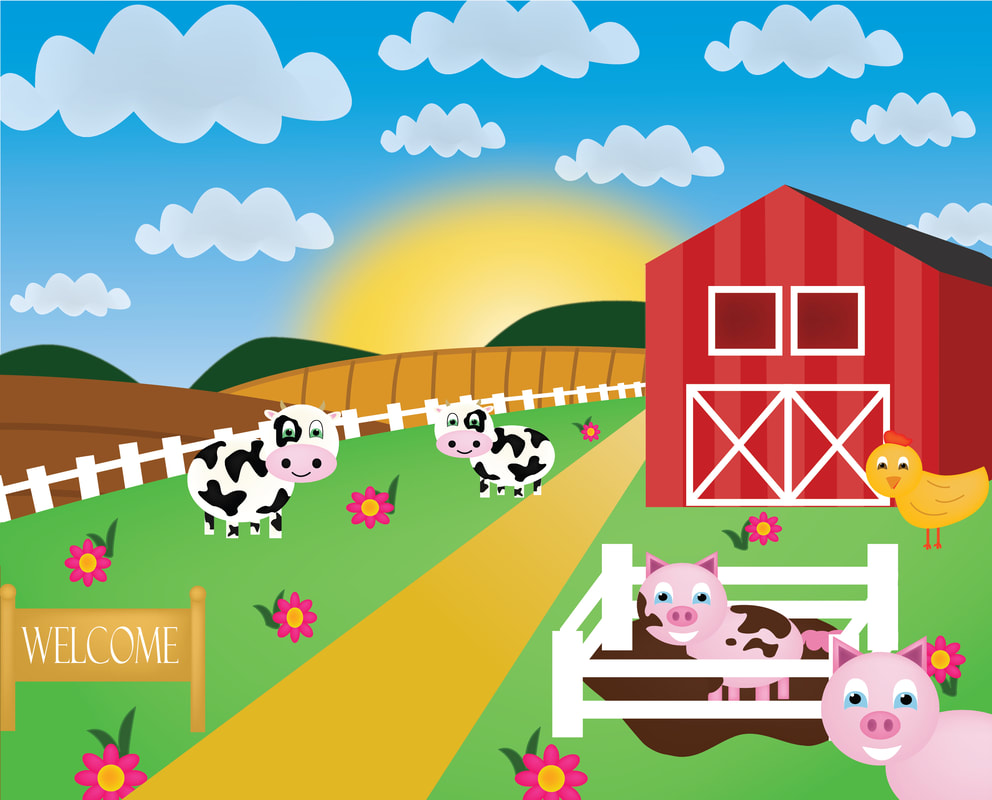
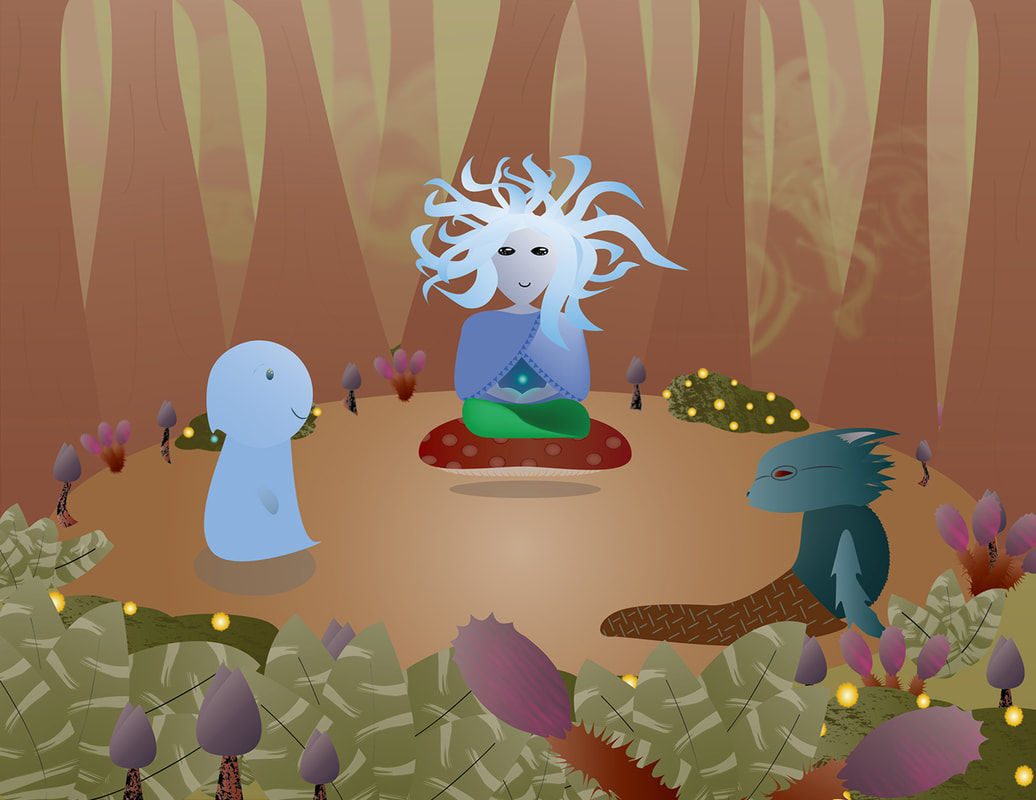
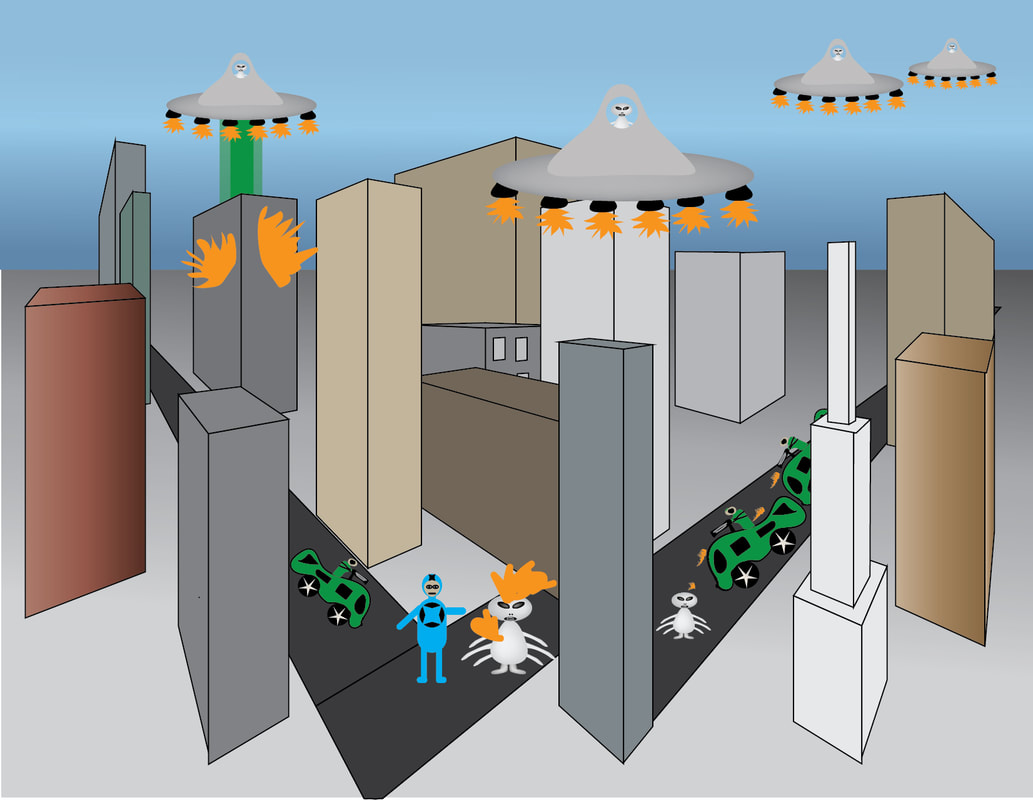
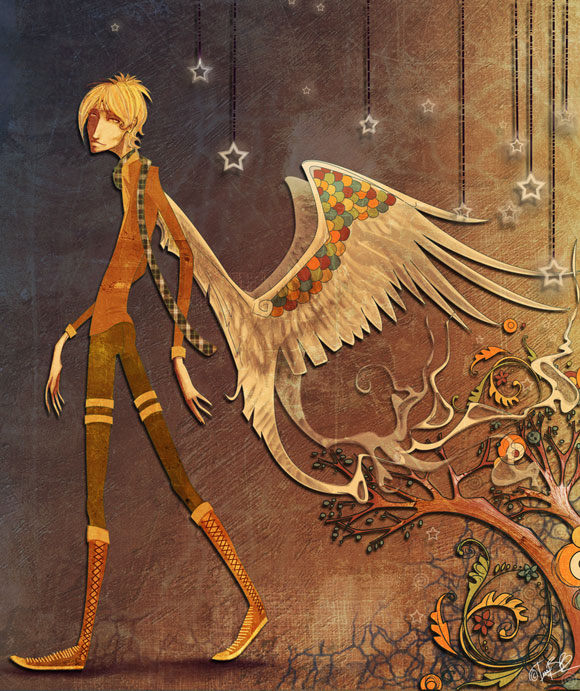
Complex Character Illustration
Assignment:
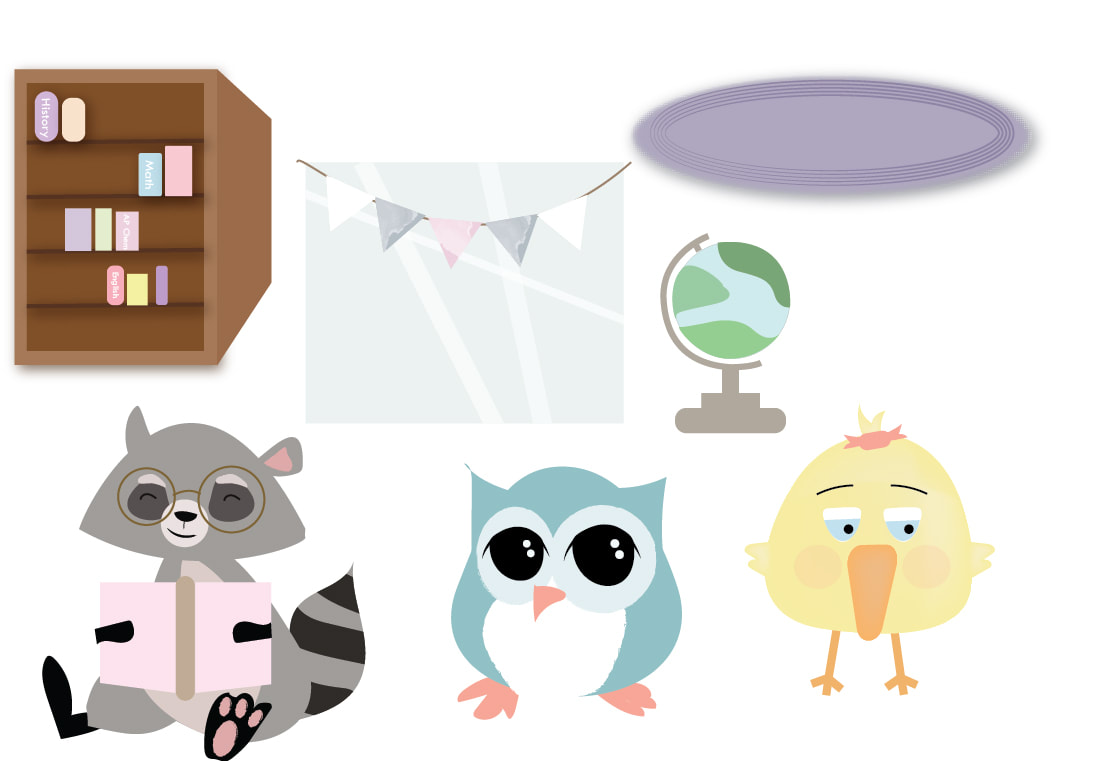
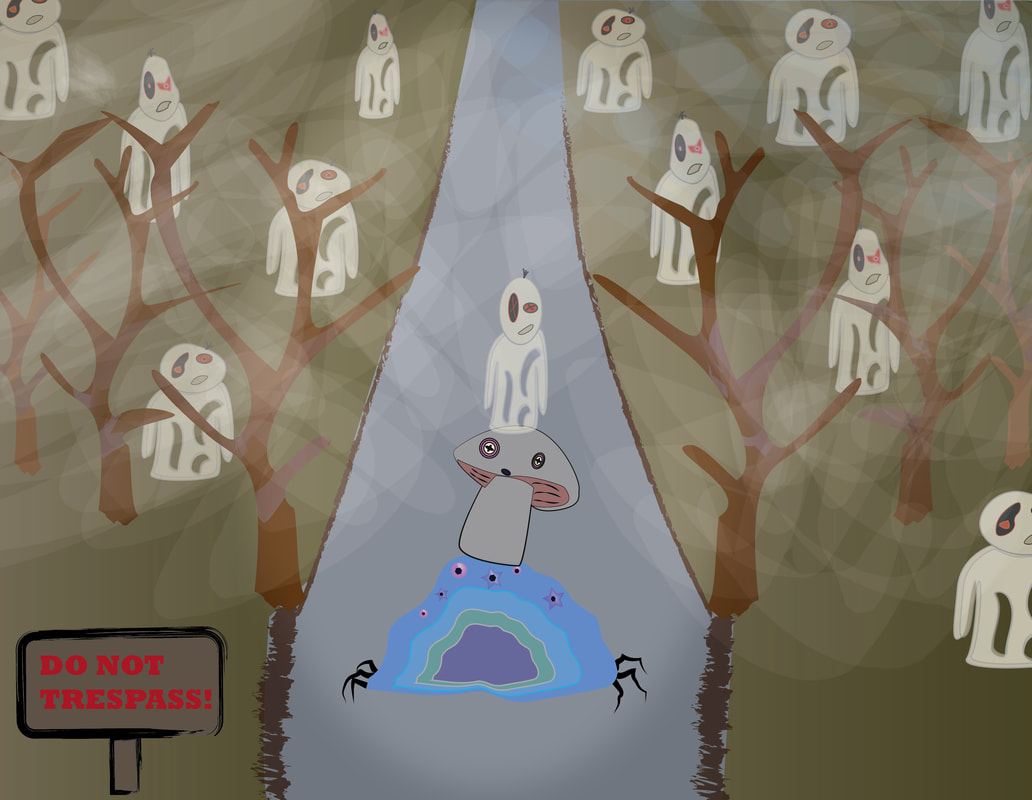
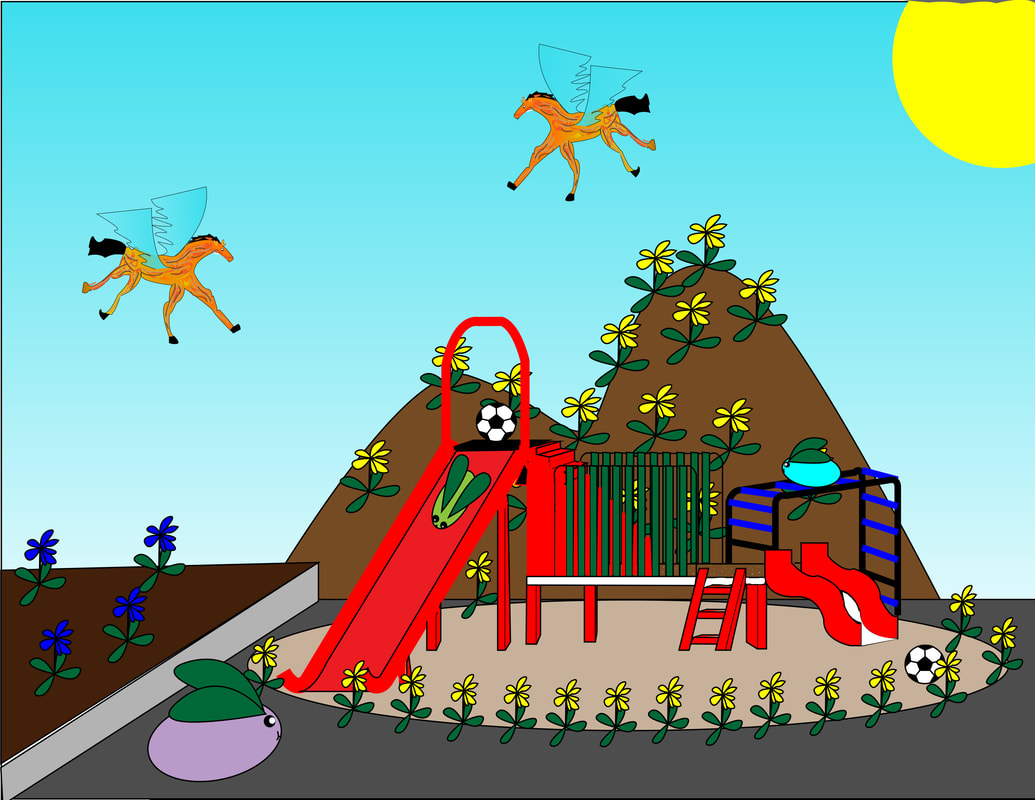
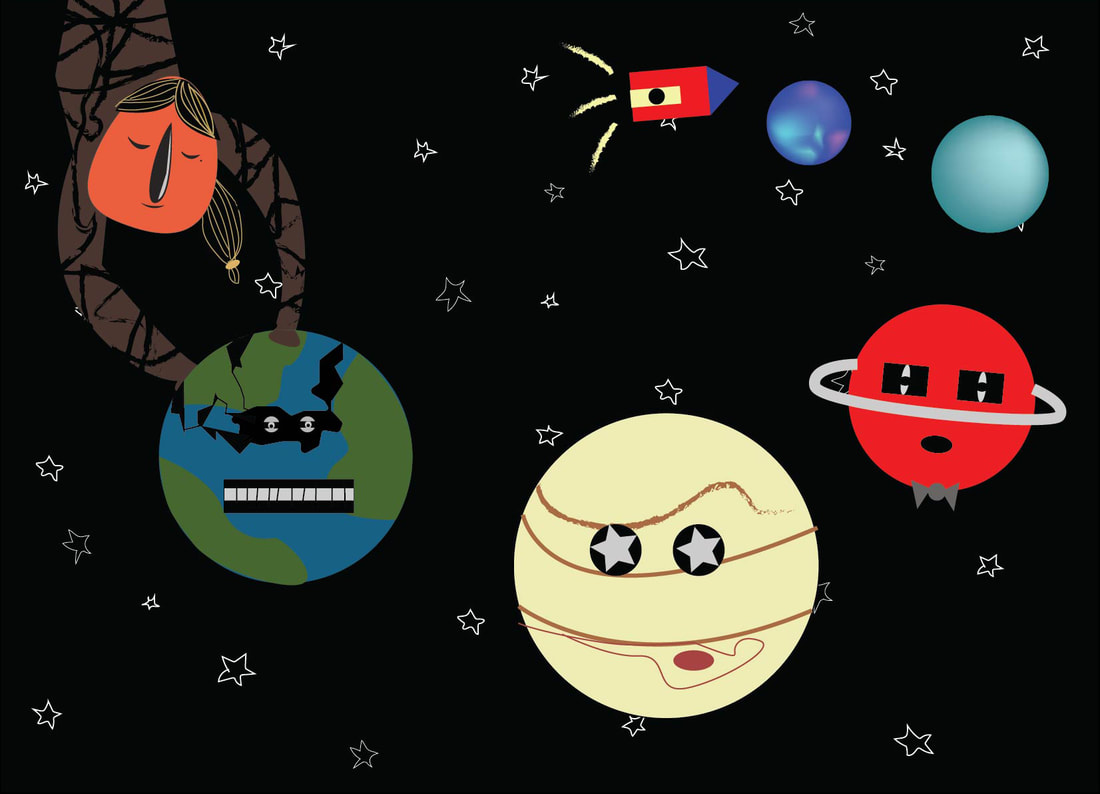
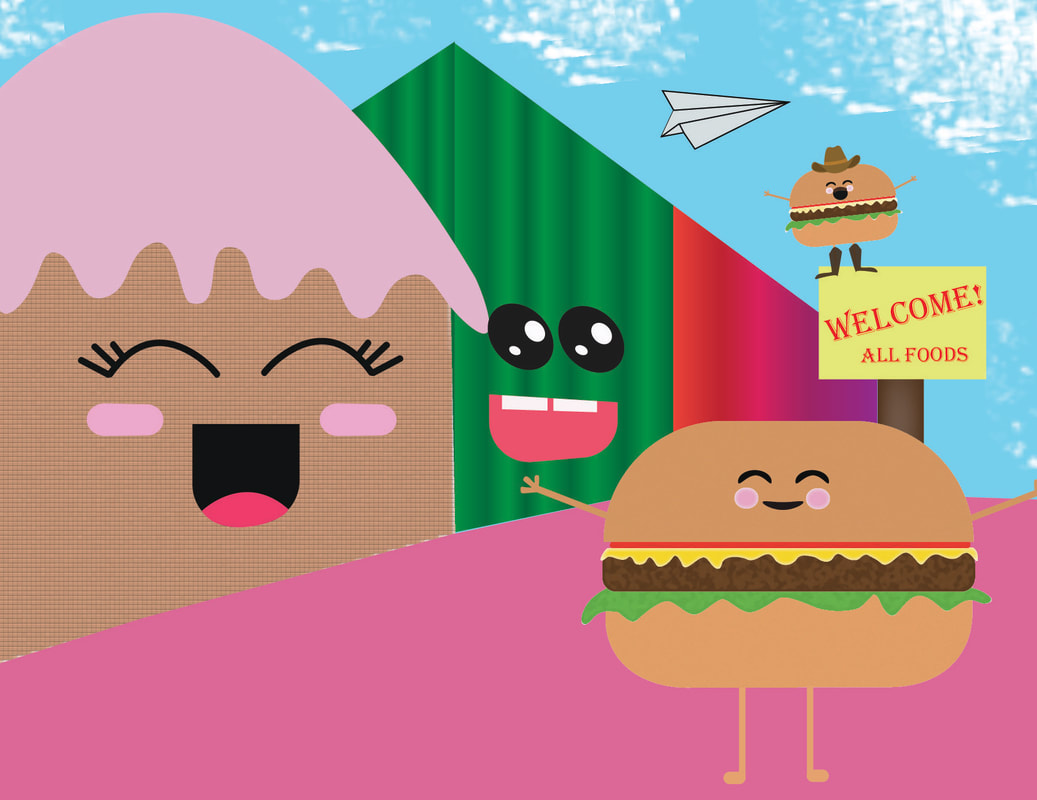
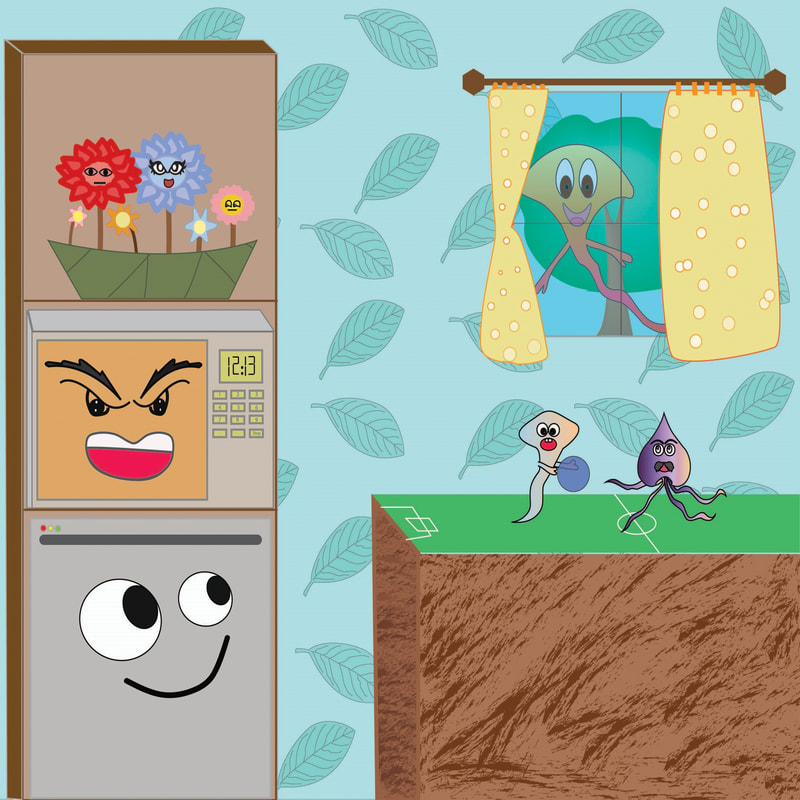
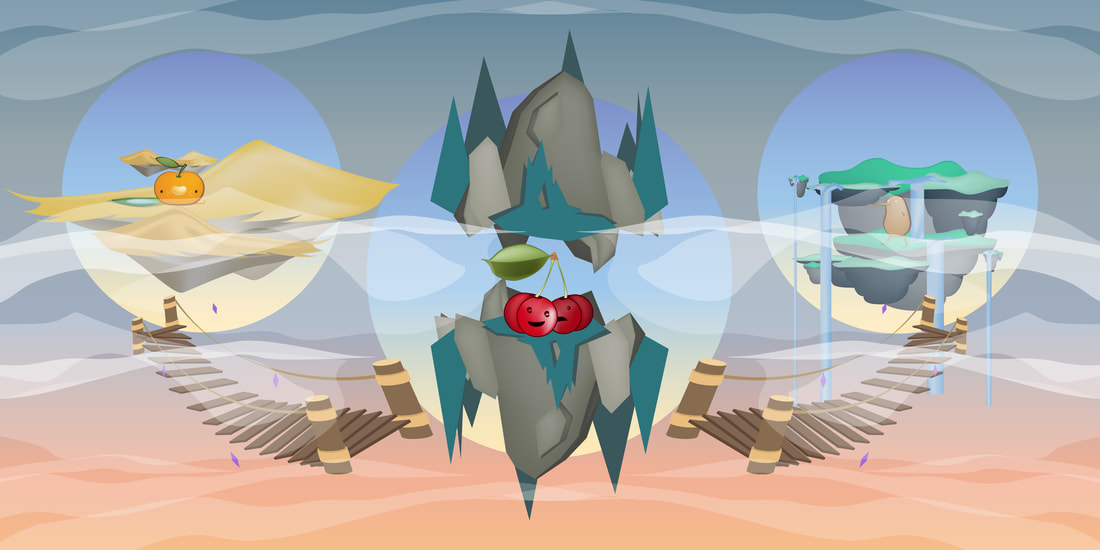
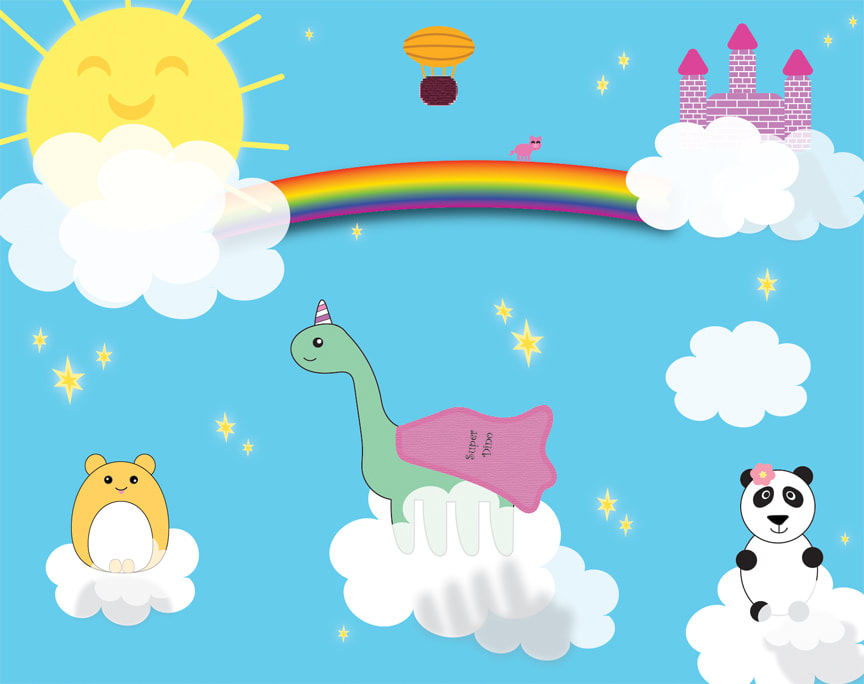
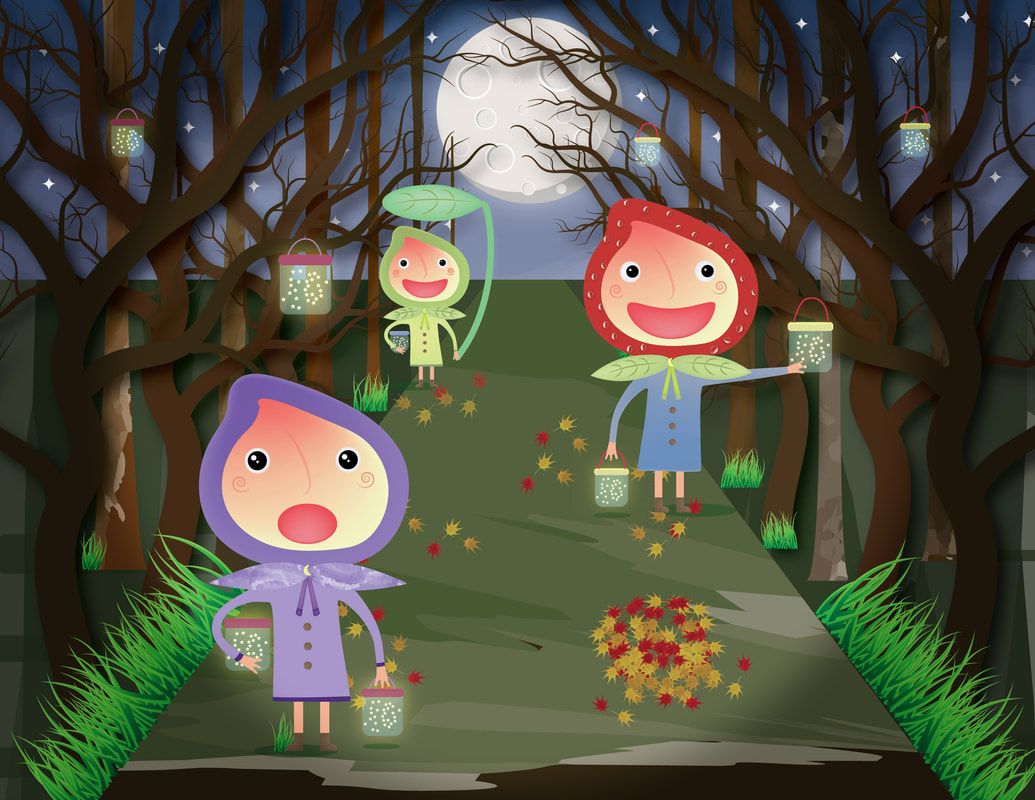
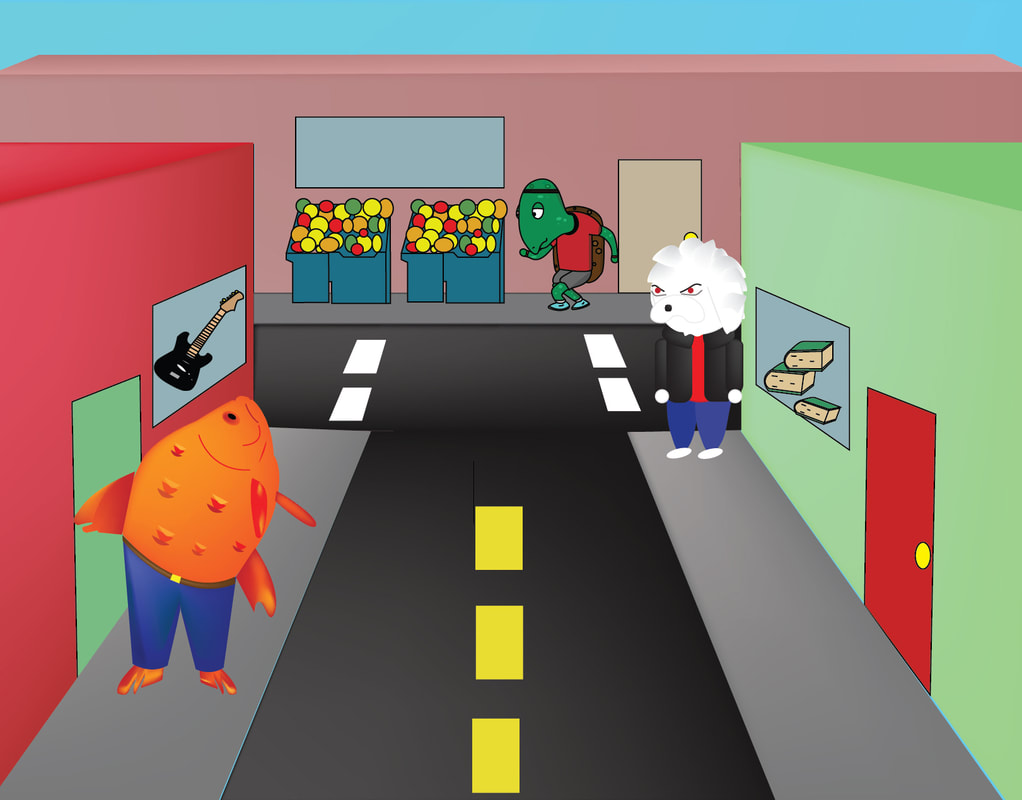
Using Illustrator, create an original complex illustration with characters that you have invented. Create an illustrated world with a background environment and a minimum of 3 original characters interacting. This can be a stand alone artwork, a video game concept, a concept for an animated movie, or a children’s illustrated book or graphic novel.
Option:
You may complete this project with a partner.
Requirements:
-1 original concept created by you and your partner.
-2 artworks/storyboards that illustrate your concept.
-You will turn in your own Complex Character Illustration Project and your partner will turn in their own Complex Character Illustration Project.
-Your 2 artworks will be unified by your concept and show a progression in the plot/game/graphic novel.
Requirements:
What you will turn in:
Using Illustrator, create an original complex illustration with characters that you have invented. Create an illustrated world with a background environment and a minimum of 3 original characters interacting. This can be a stand alone artwork, a video game concept, a concept for an animated movie, or a children’s illustrated book or graphic novel.
Option:
You may complete this project with a partner.
Requirements:
-1 original concept created by you and your partner.
-2 artworks/storyboards that illustrate your concept.
-You will turn in your own Complex Character Illustration Project and your partner will turn in their own Complex Character Illustration Project.
-Your 2 artworks will be unified by your concept and show a progression in the plot/game/graphic novel.
Requirements:
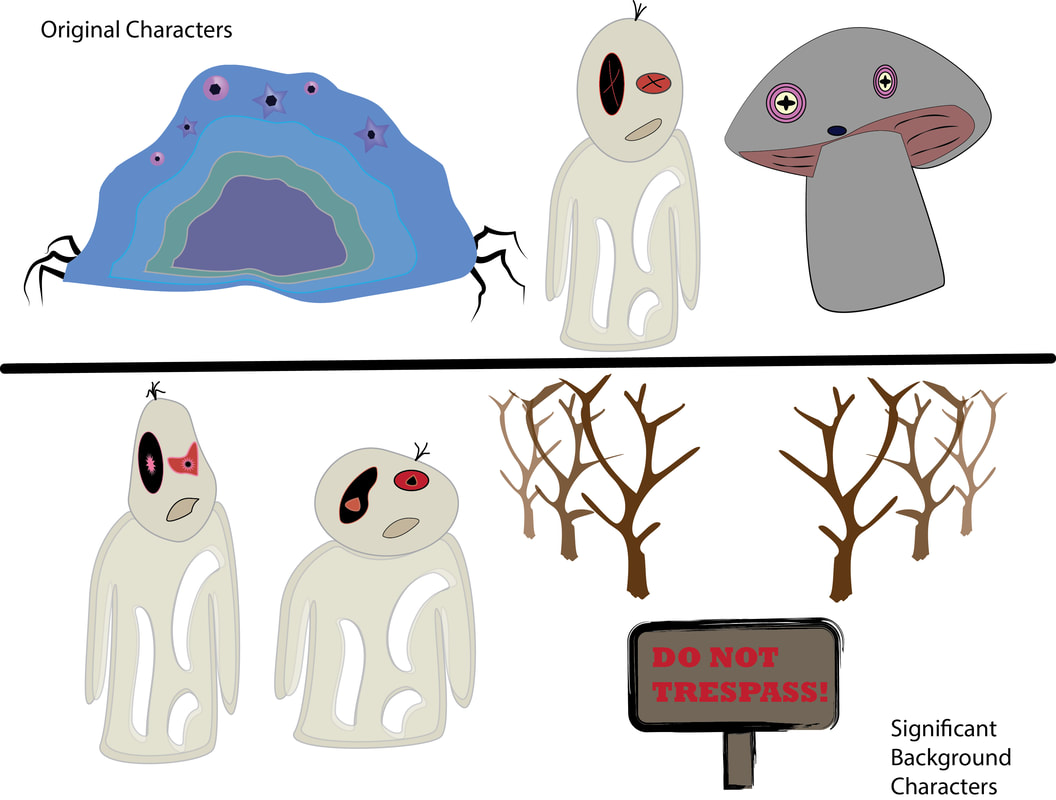
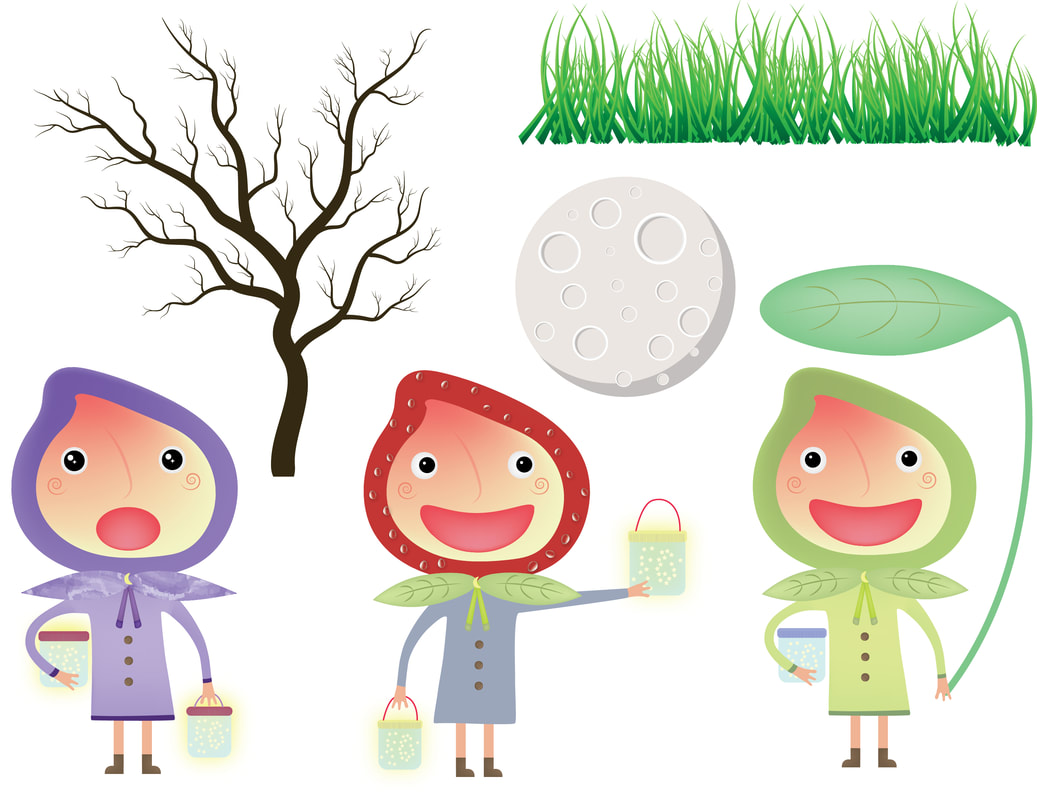
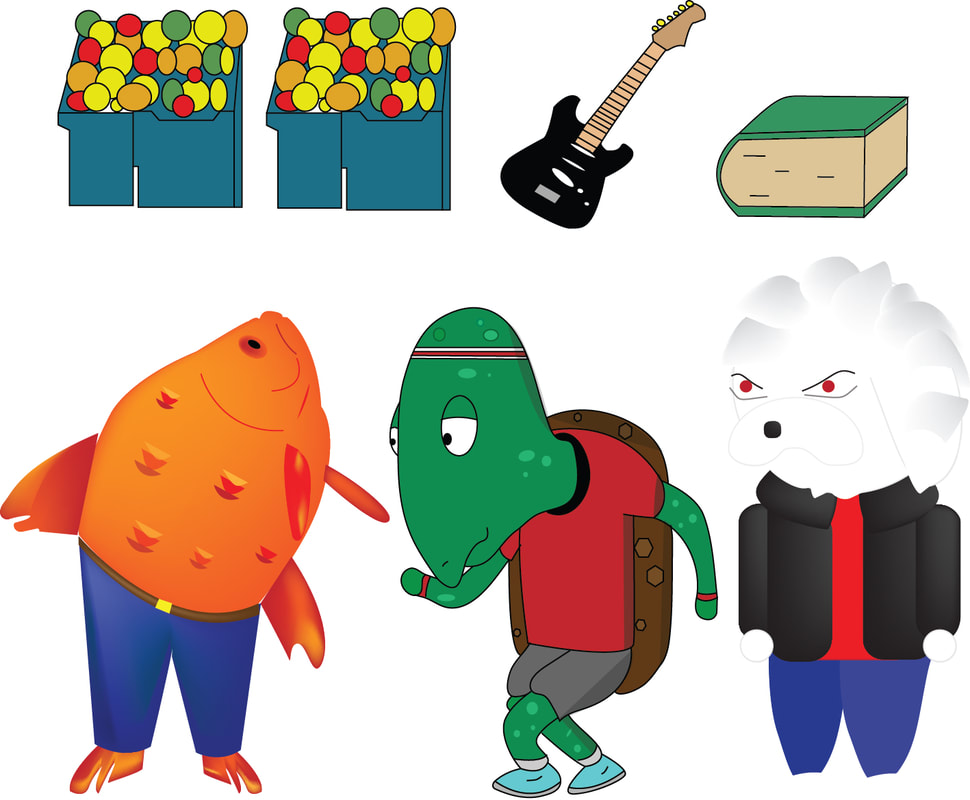
- A minimum of 3 original characters. They must be completely original and invented by you. (No copying other artists. No Mickey Mouse, no Pokemon, no Halo characters, no existing videogame characters, etc.)
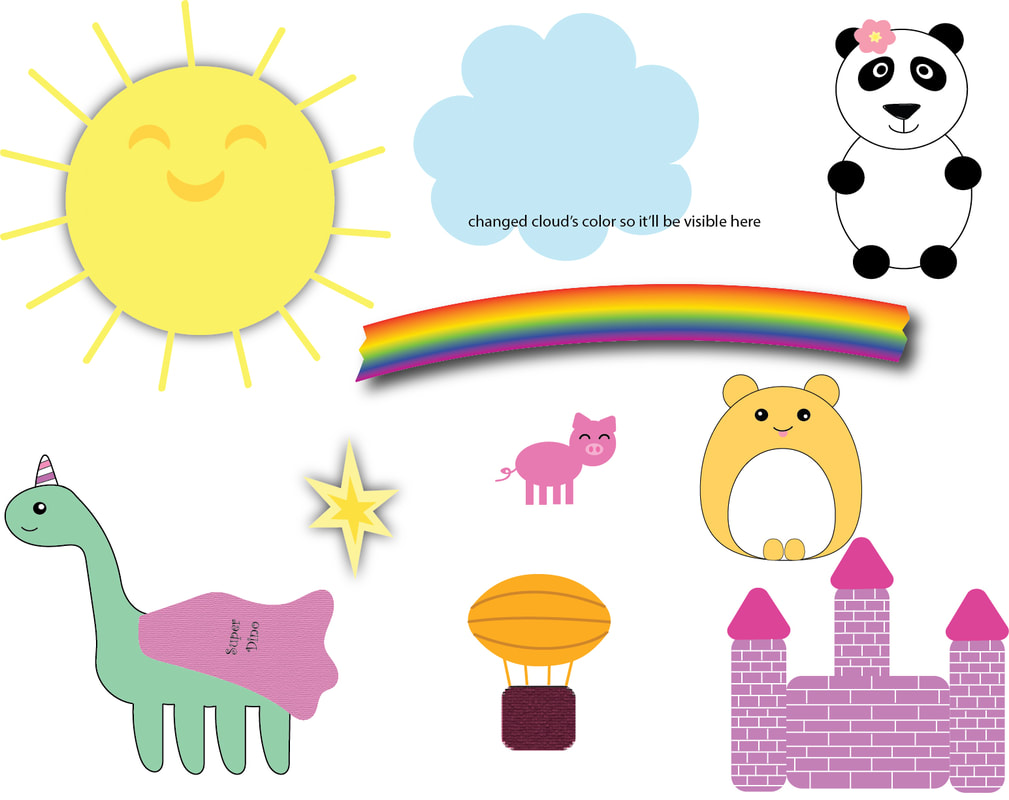
- A minimum of 3 original background objects, for example a tree, cloud, flower, mushroom, etc. (no preset symbols).
- Create a complex background/environment for your characters.
- Advanced use of Illustrator: pen tool, gradients, mesh tool, blends, transparency, etc.
- Insightful use of the Elements of Art and Principles of Design.
- Dynamic Composition and layout.
- Complex shapes and layering of shapes to create dimension and depth.
- Use of color: use a color scheme including a range of values with tints and shades.
- Use of varying opacity and layers.
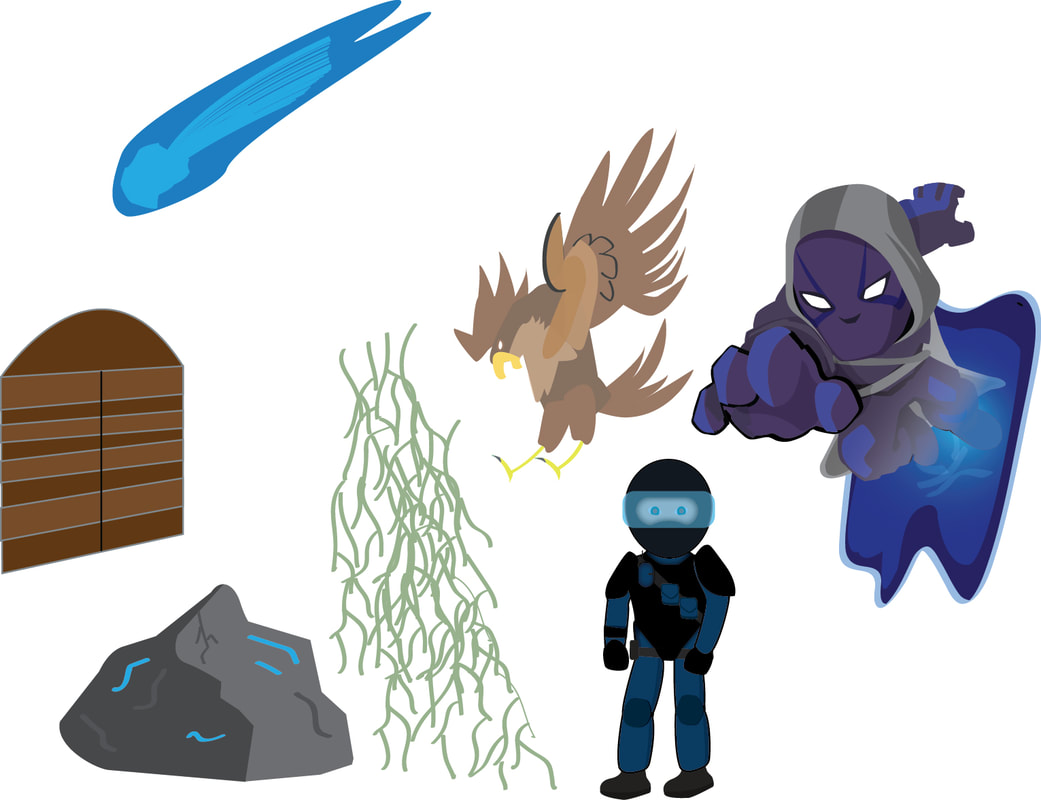
What you will turn in:
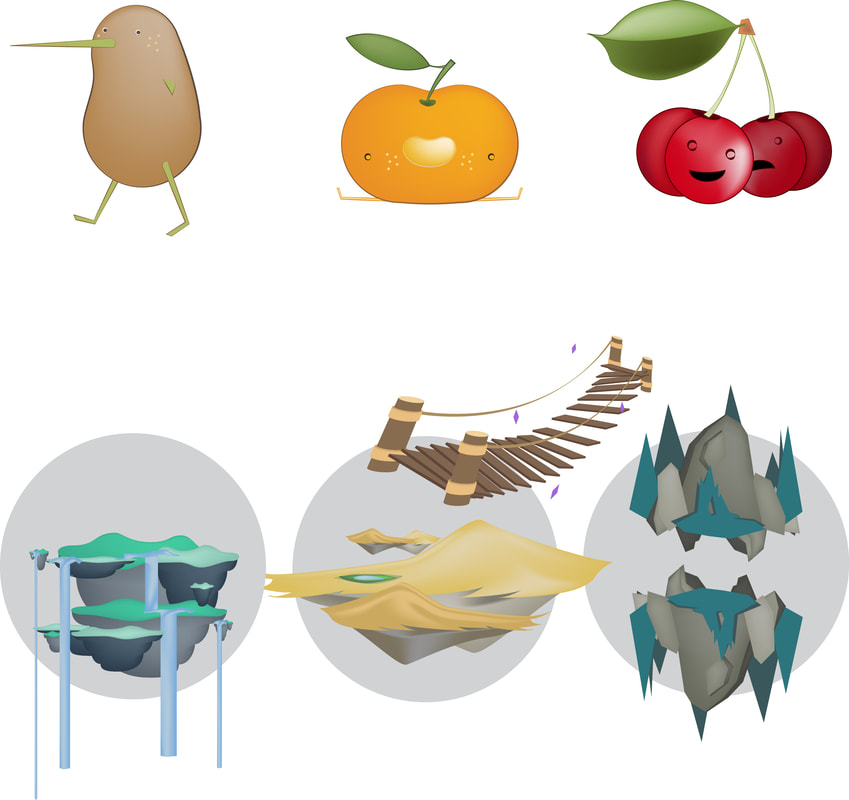
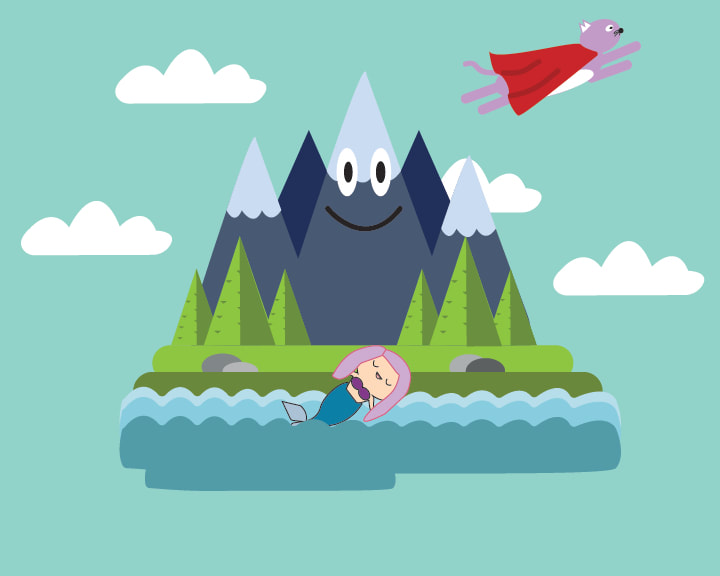
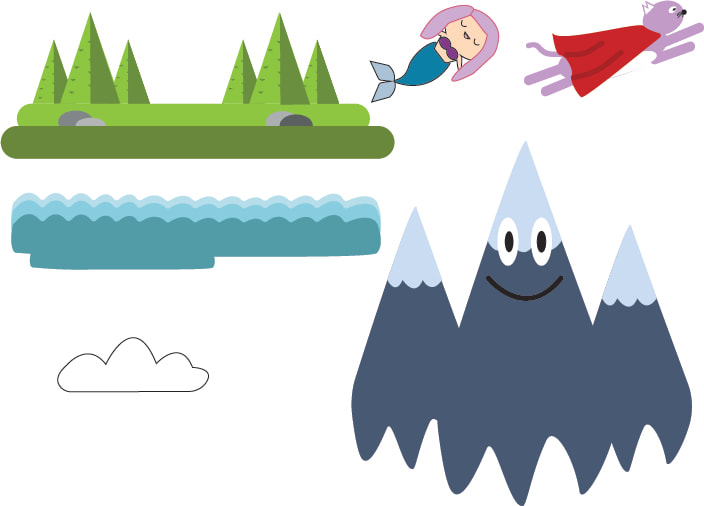
- A document that has only your 3 original characters and 3 significant background objects (ie tree, cloud, flower, mushroom) on a blank background. Label this “Yourlastname-characters.jpeg”
- The final “Complex Character illustration” with all your characters interacting in the original world. Label this “Yourlastname-CCI. jpeg”
Professional Character Design Examples
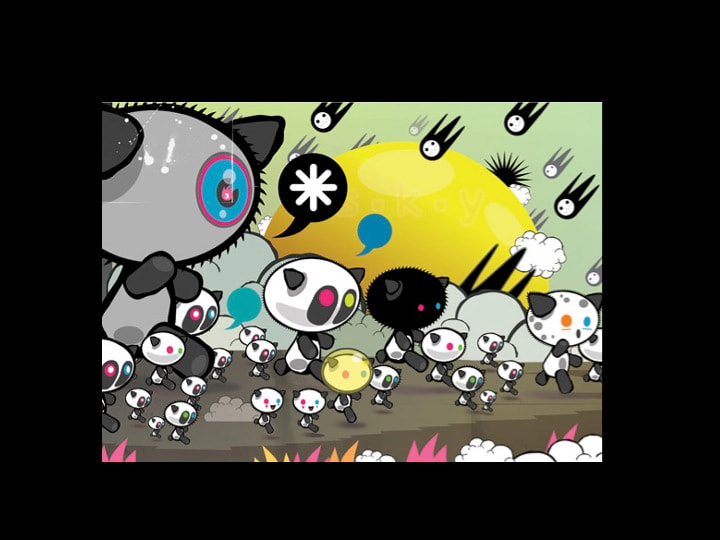
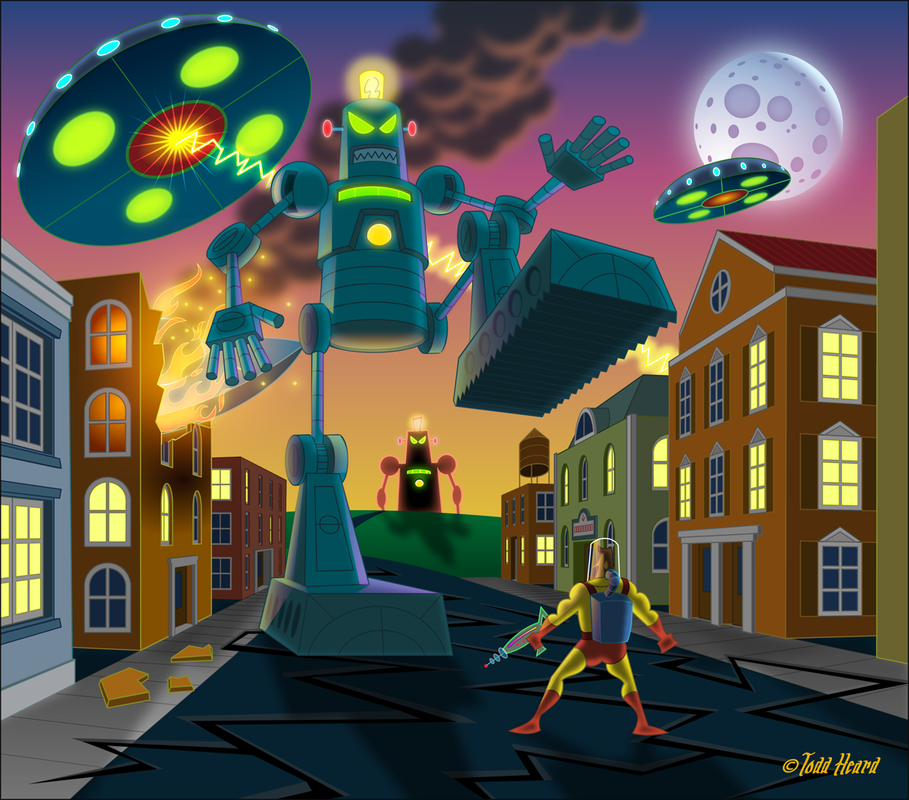
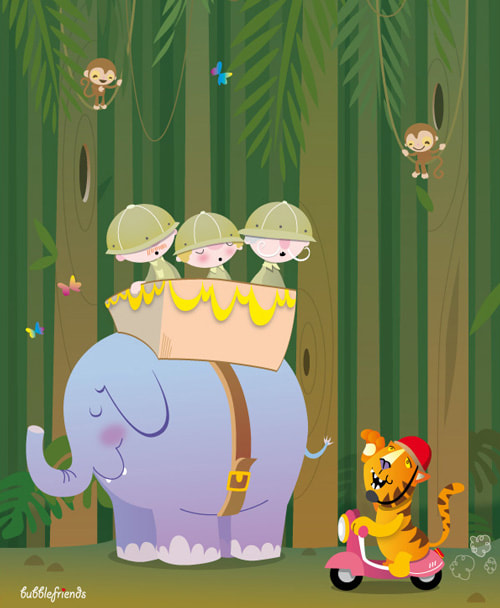
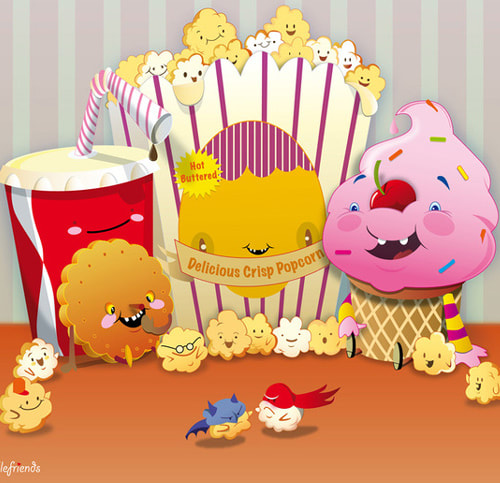

Student Examples - Complex Character Illustrations


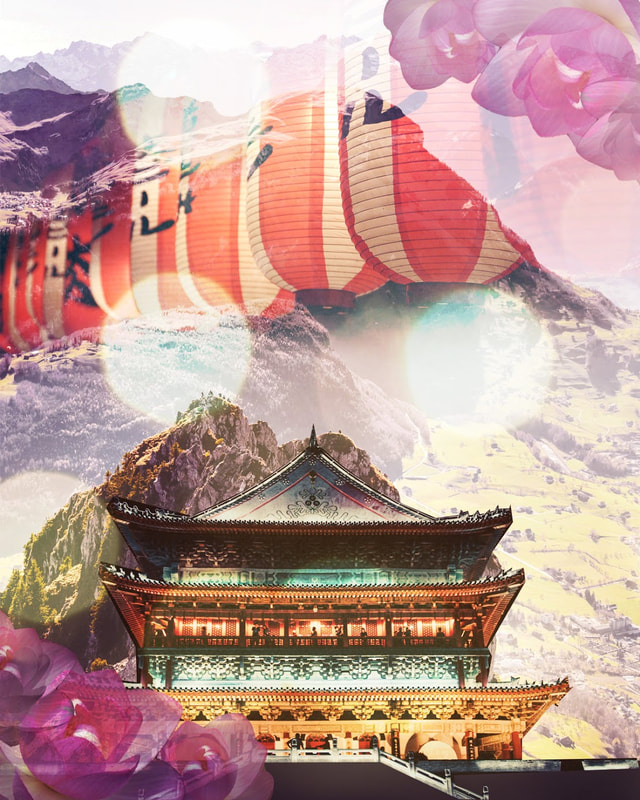
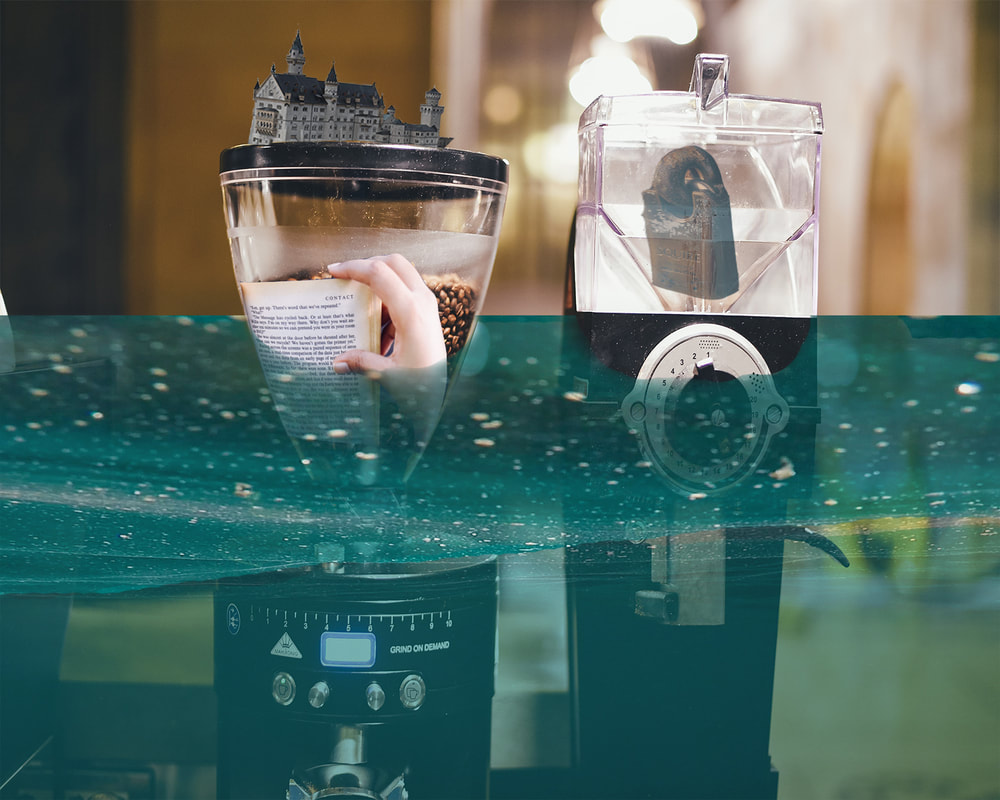
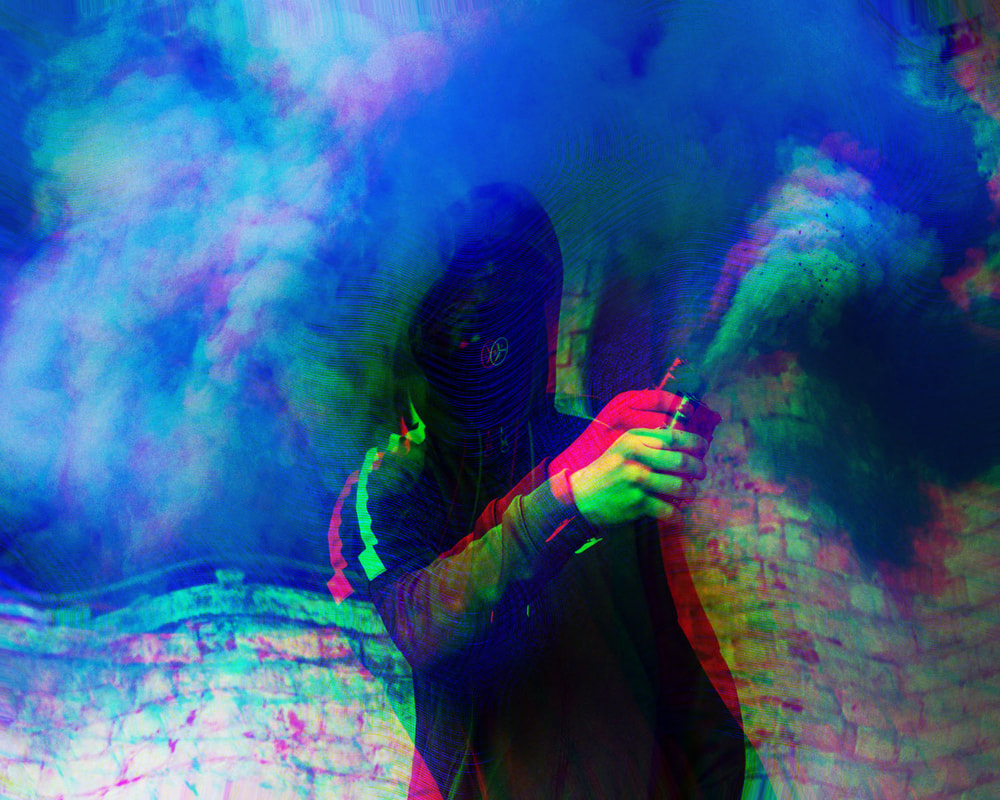
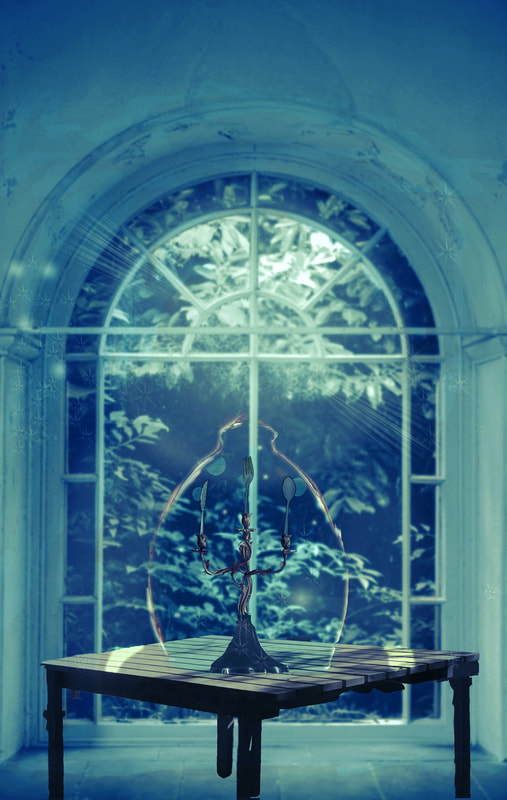
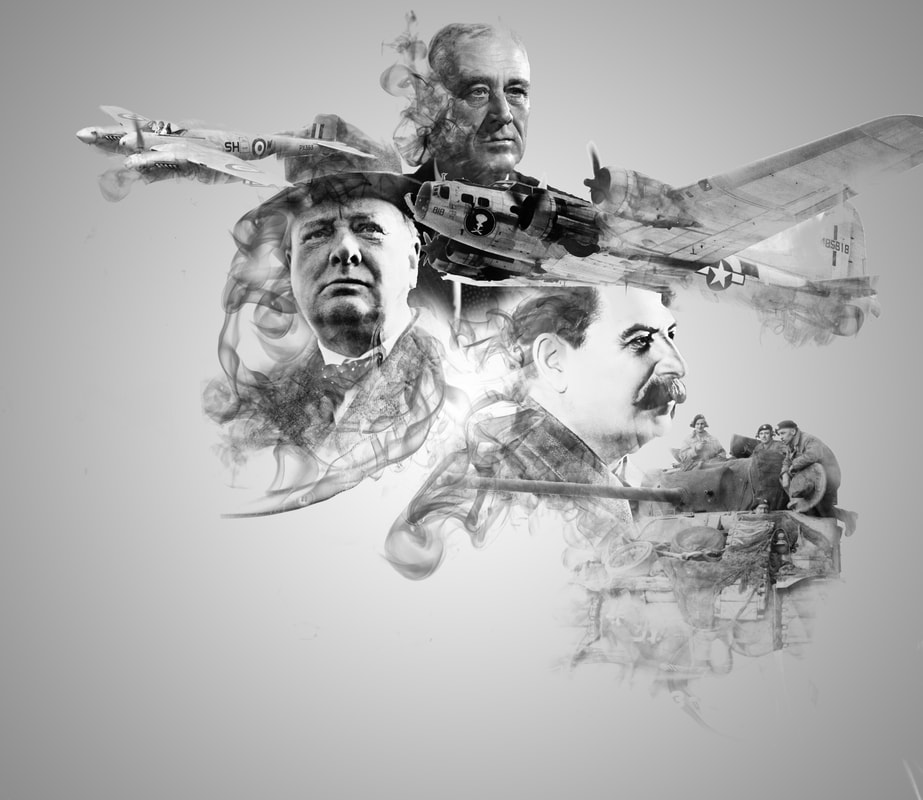
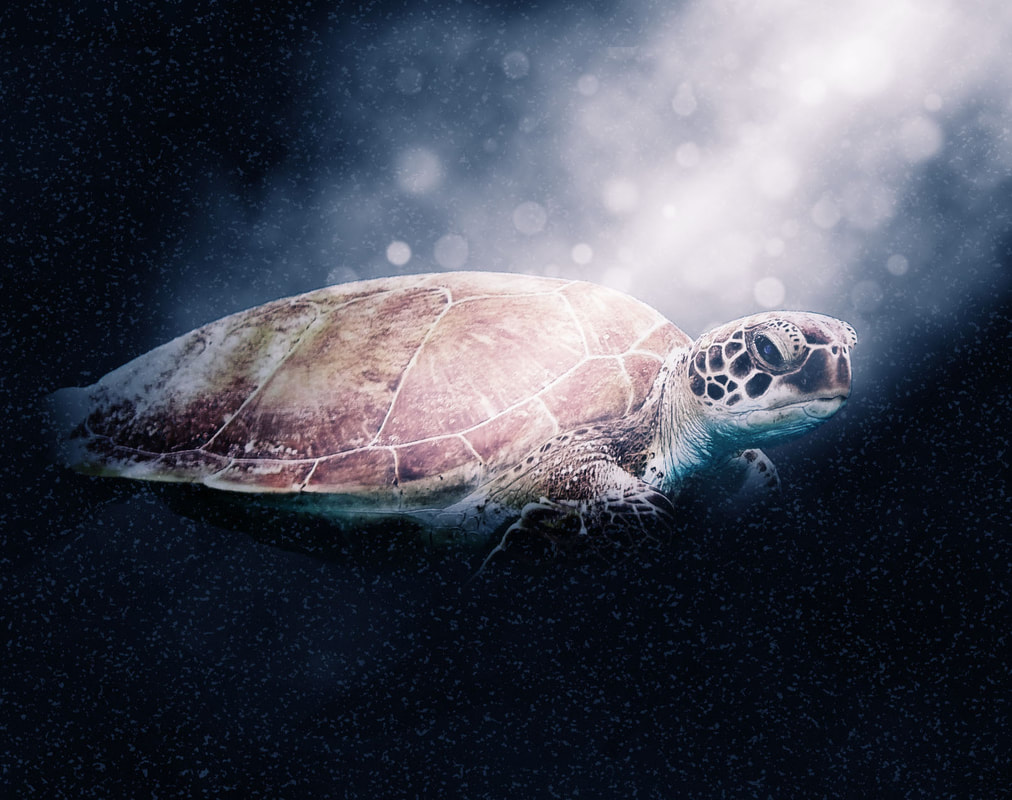
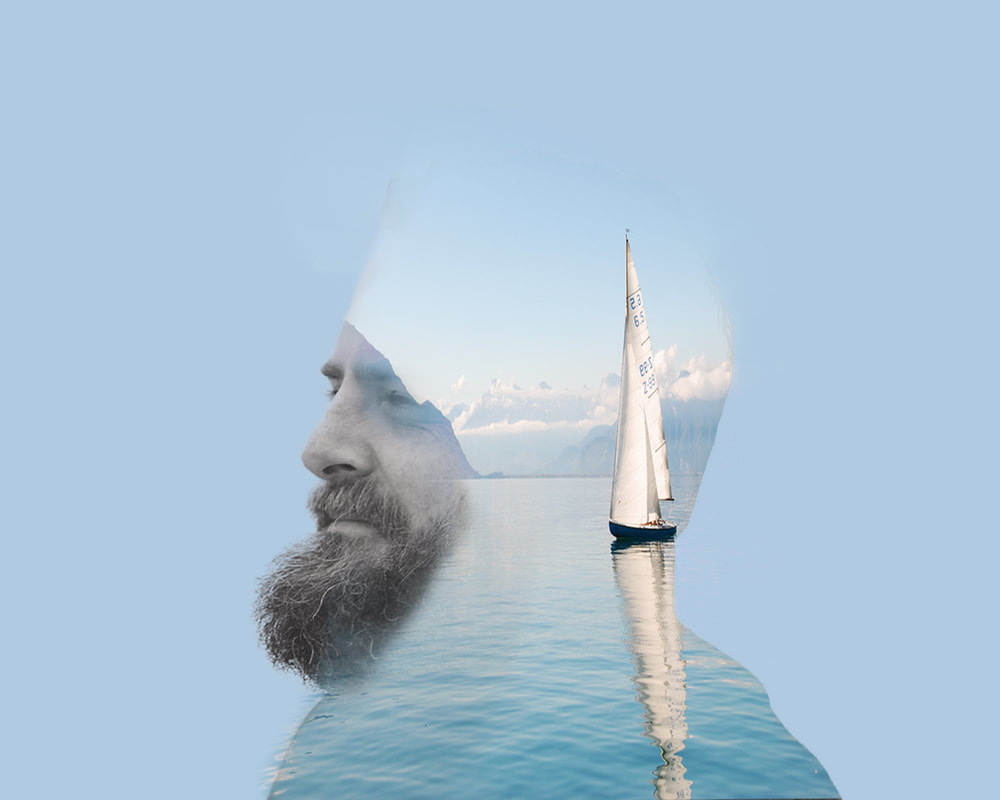
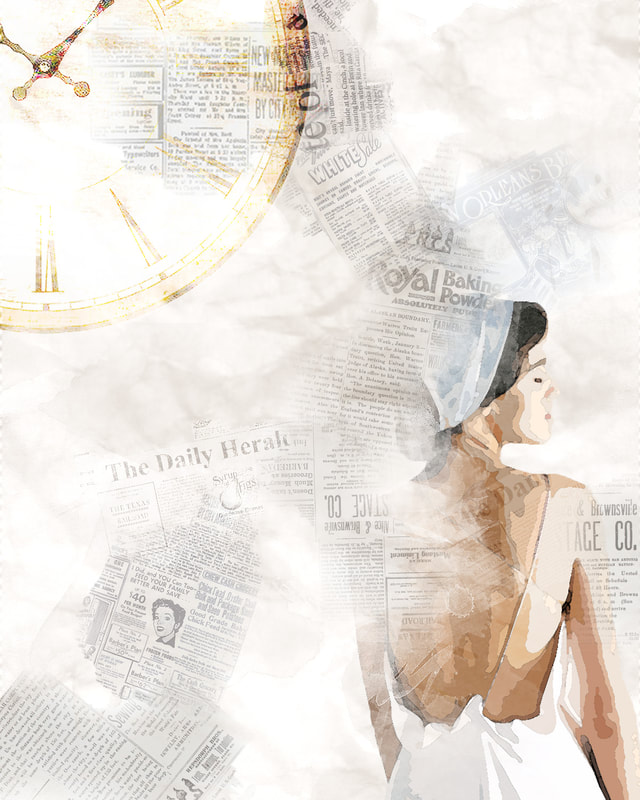
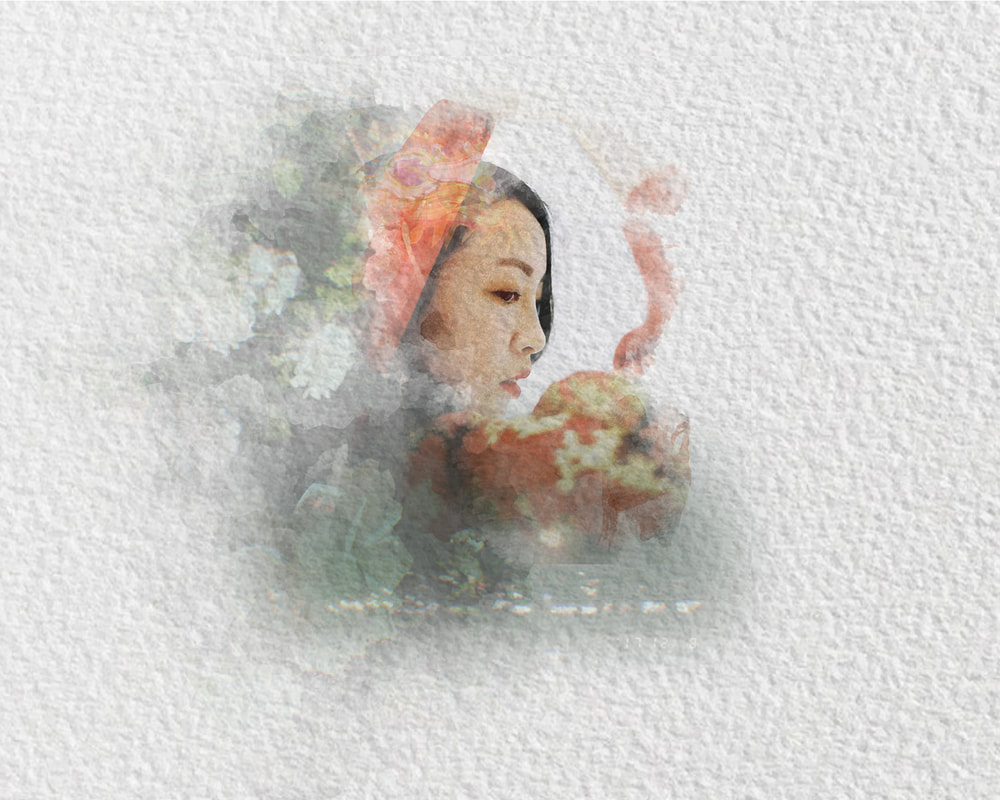
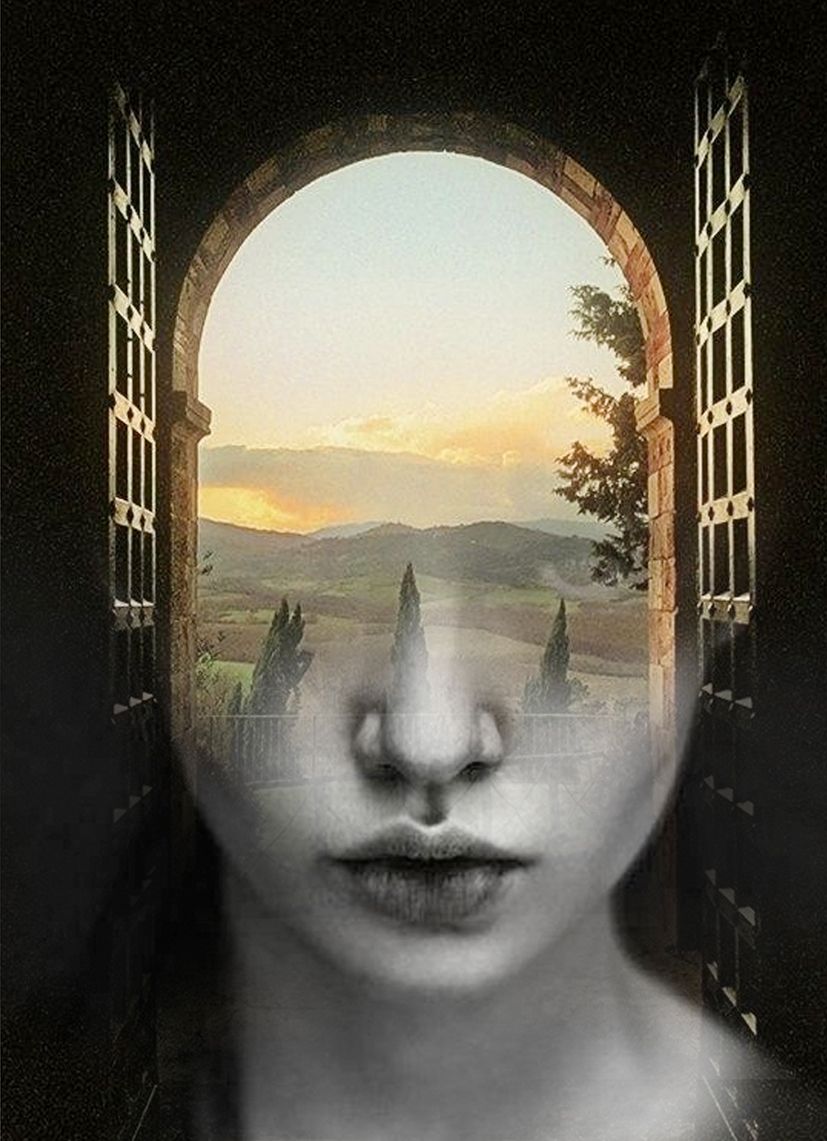
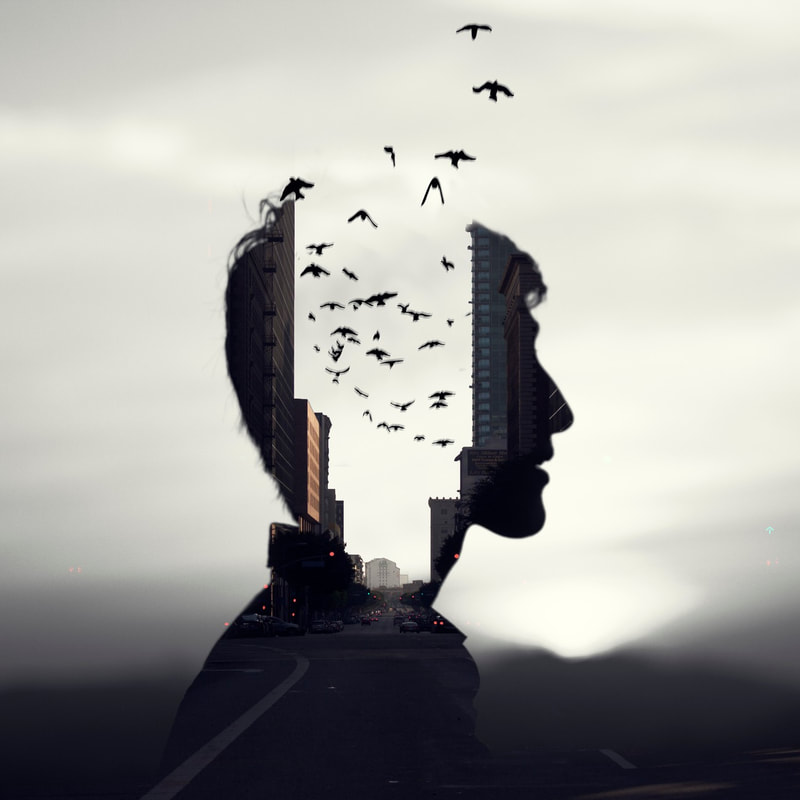
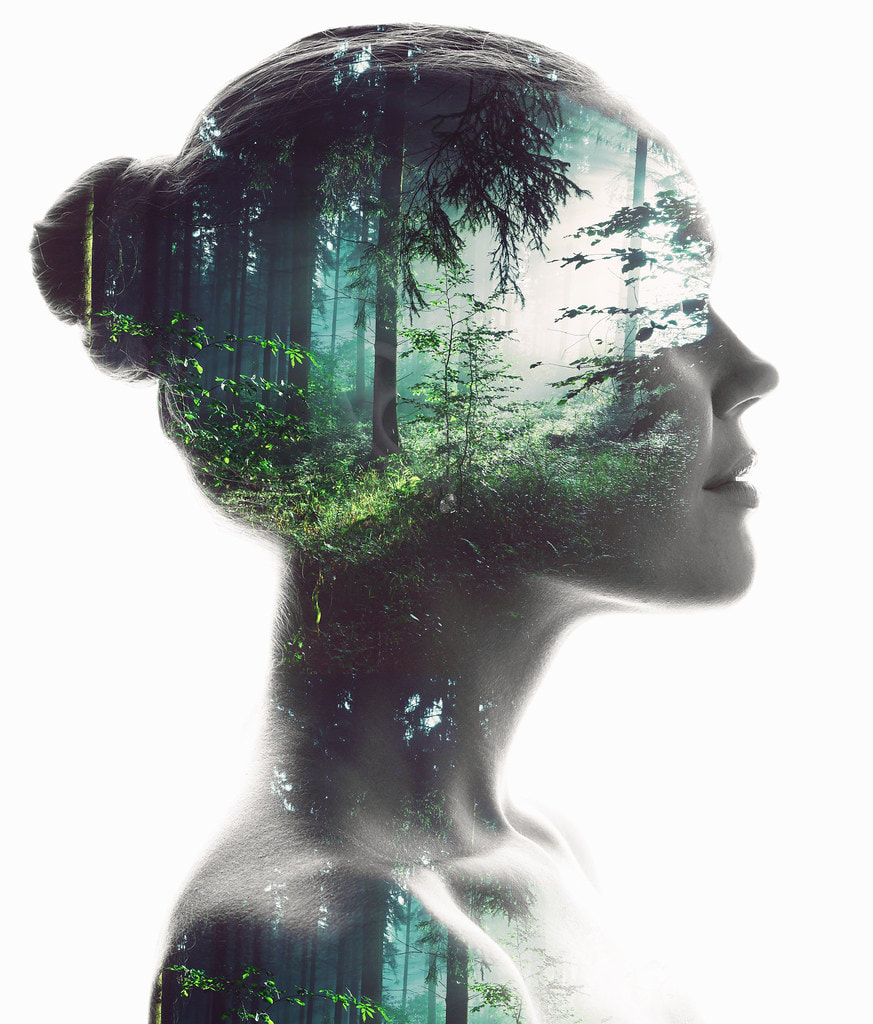
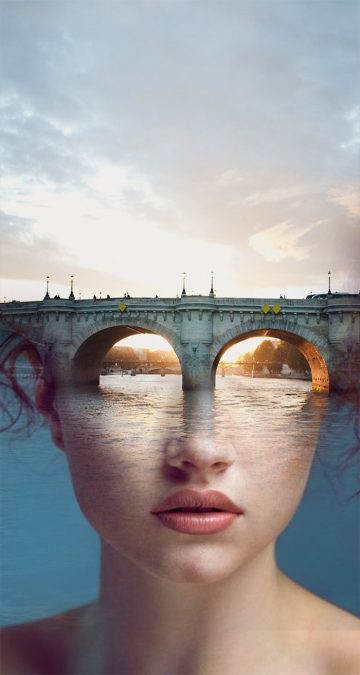
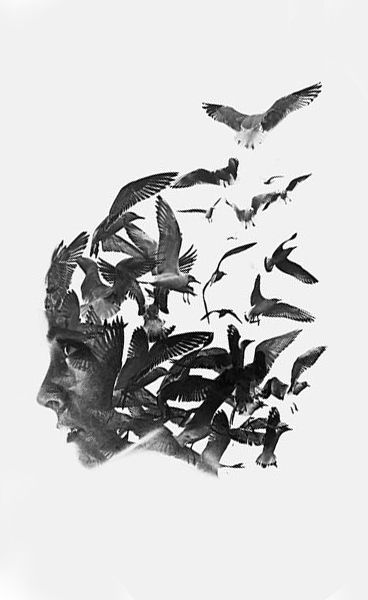
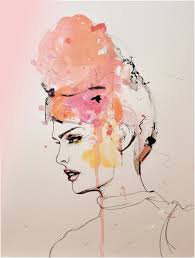
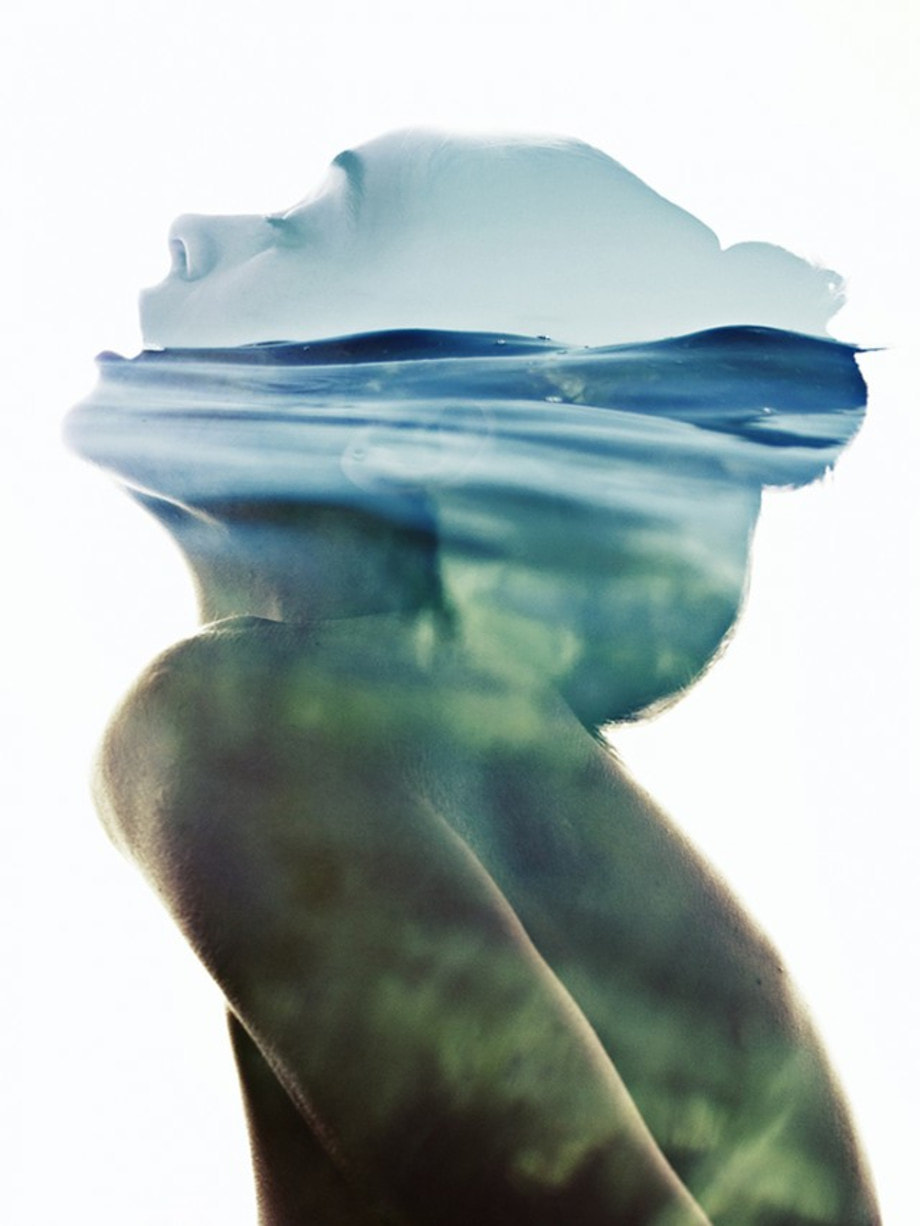
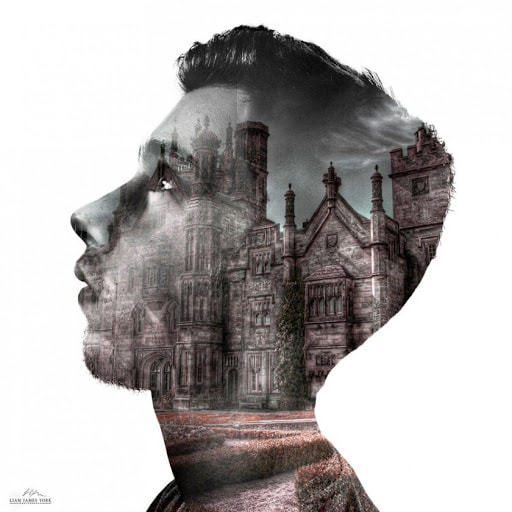
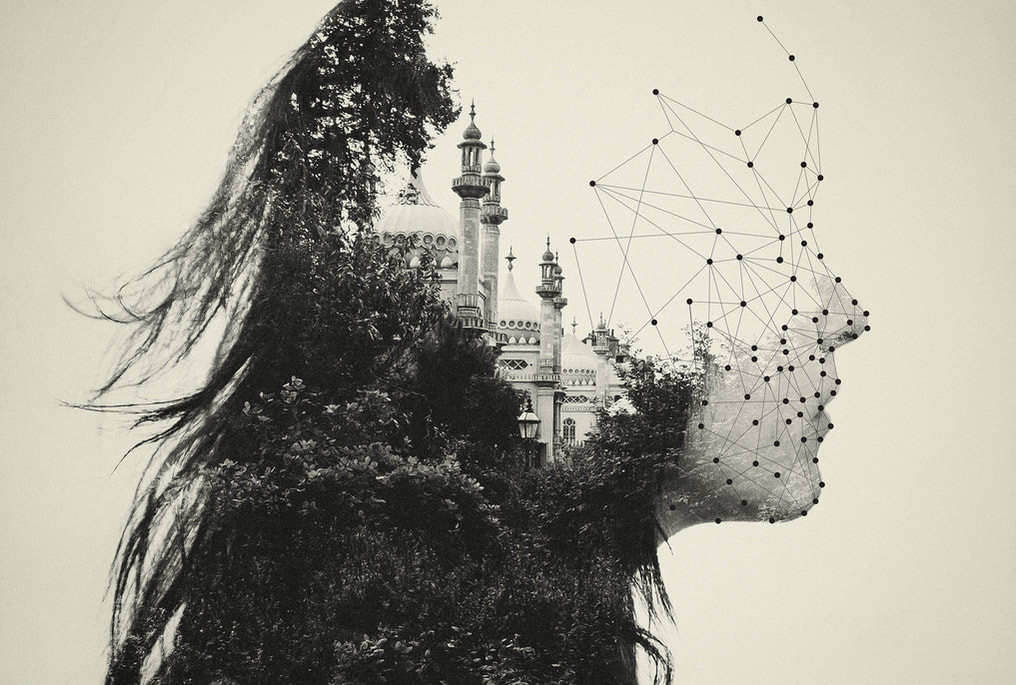
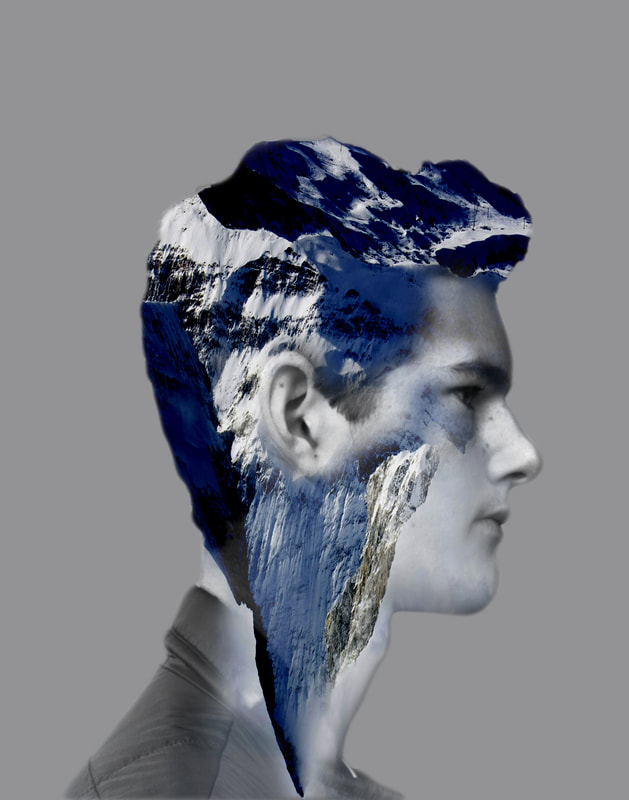
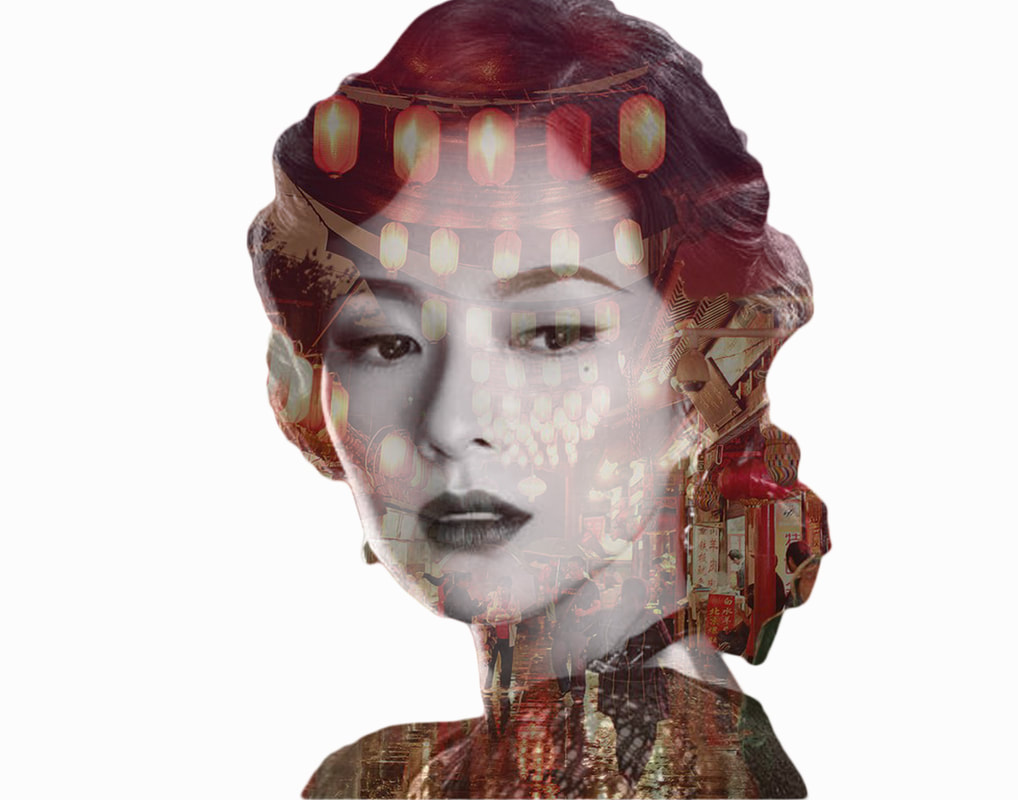
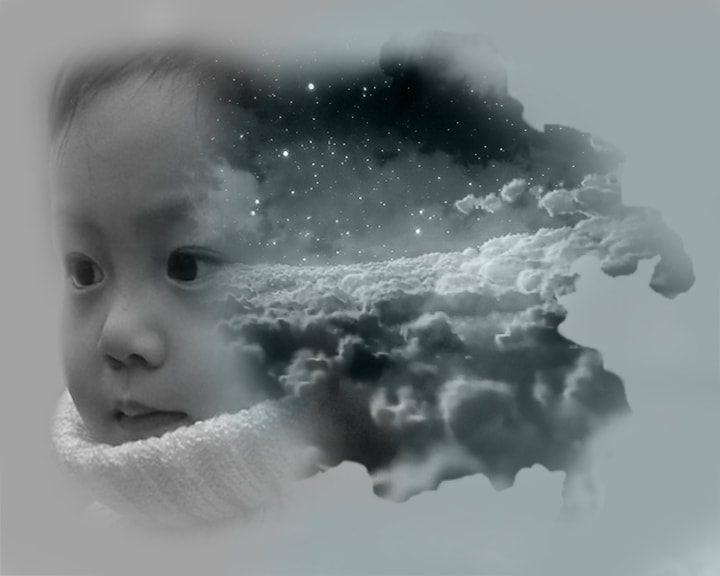
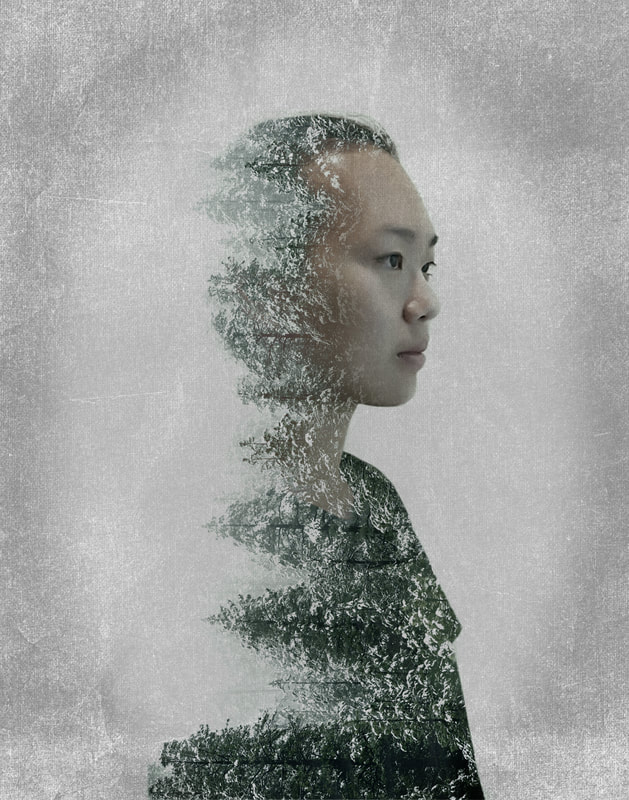
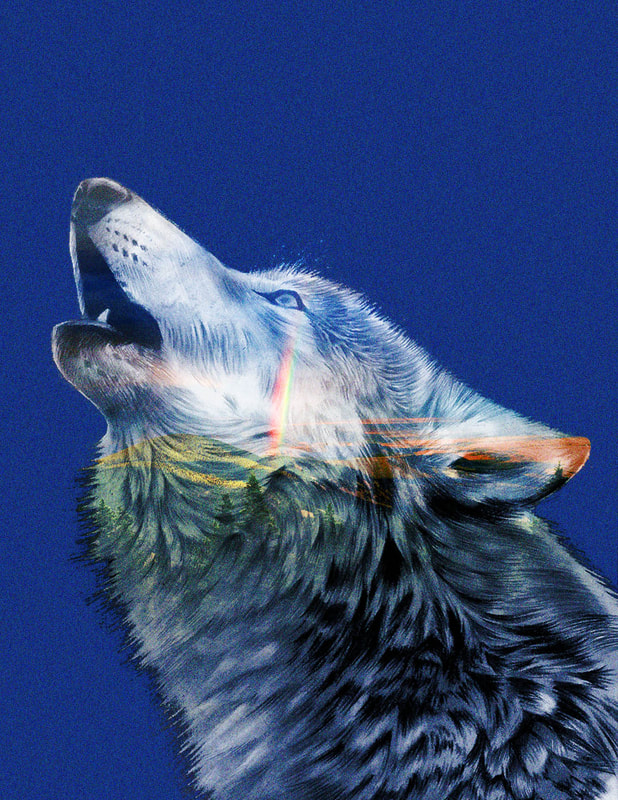
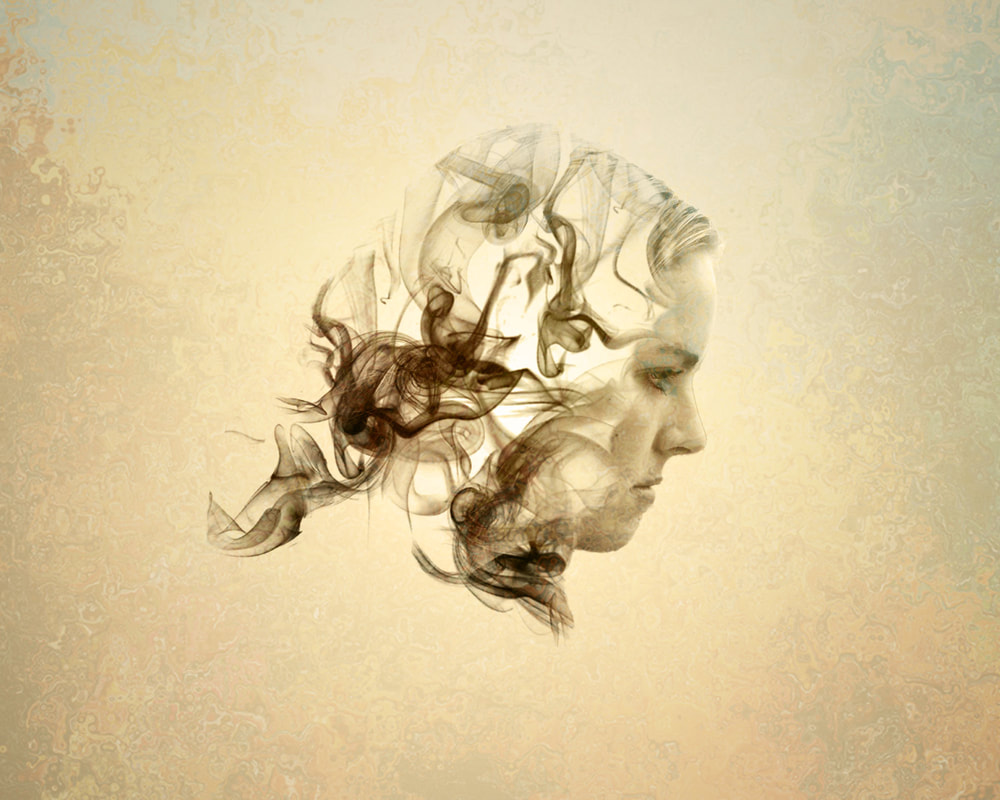
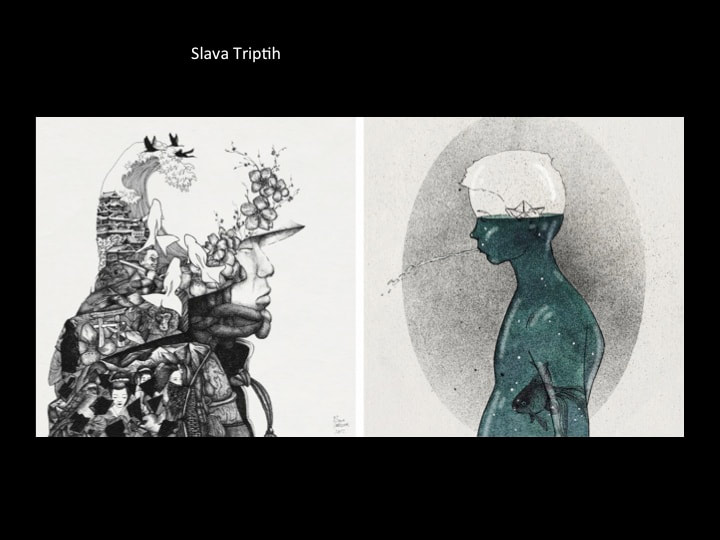
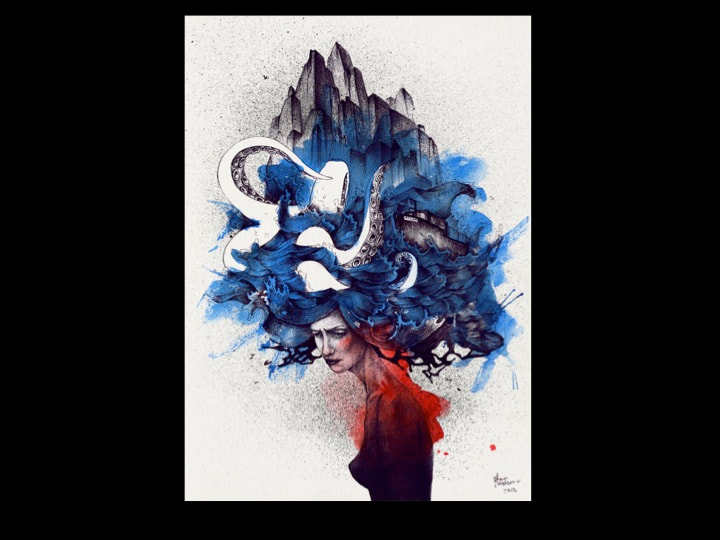
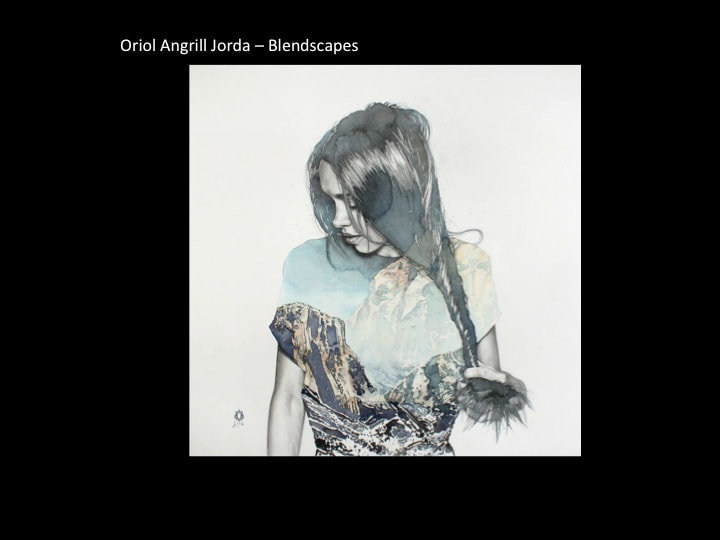
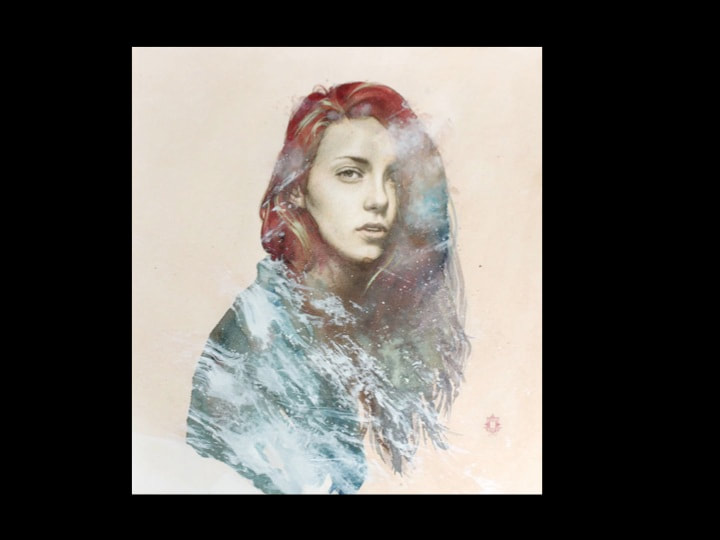
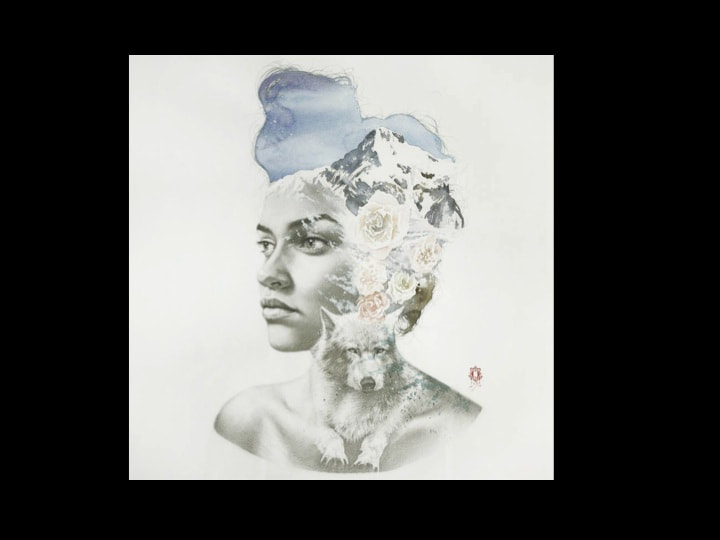
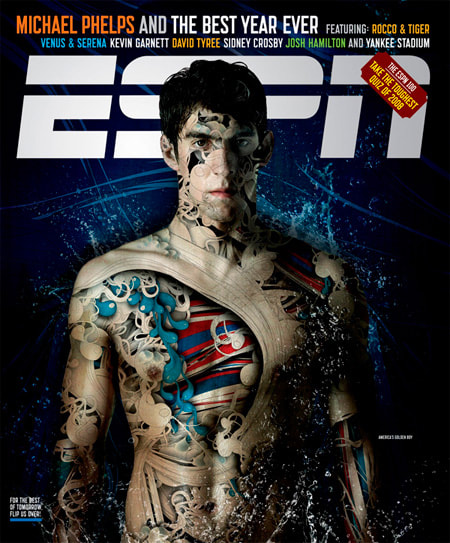
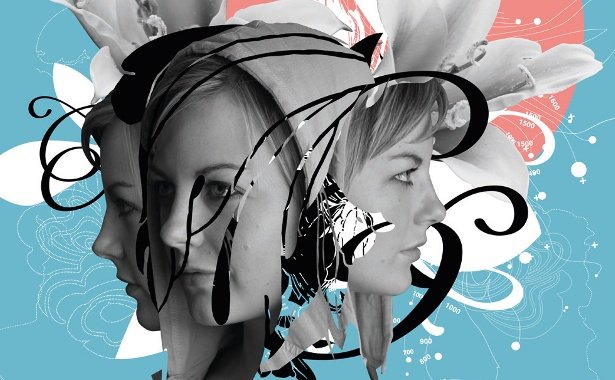
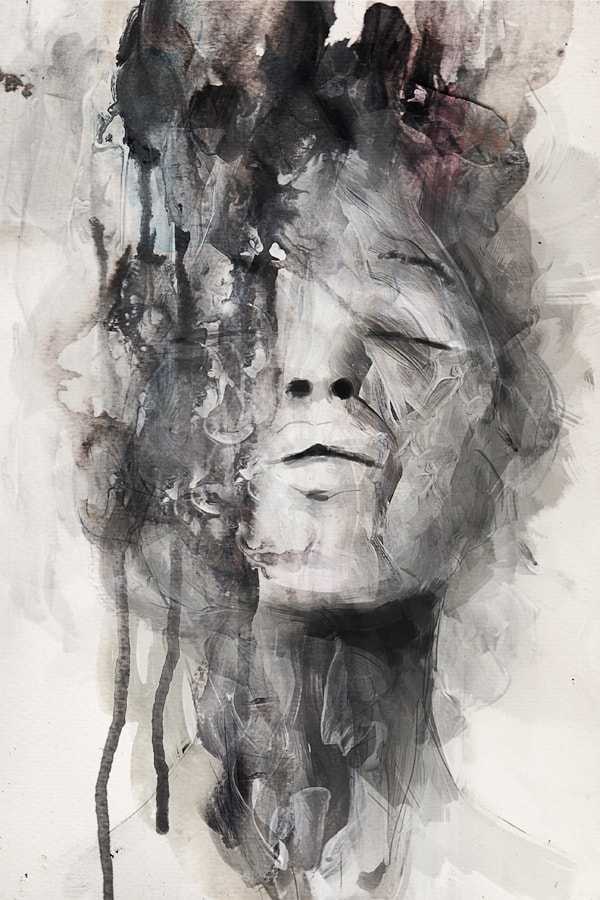
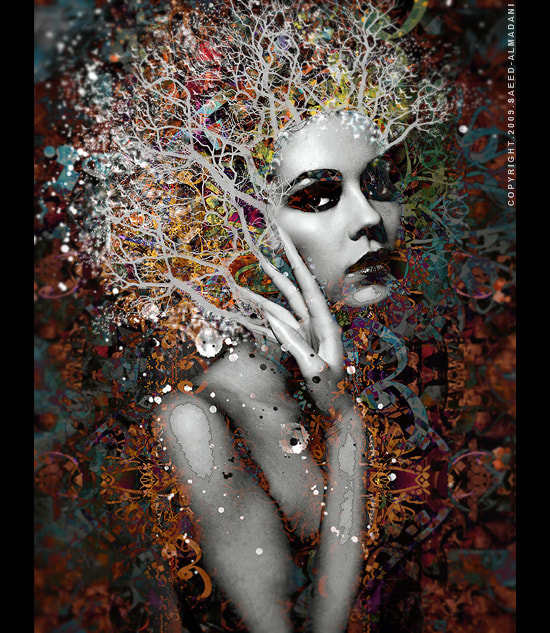
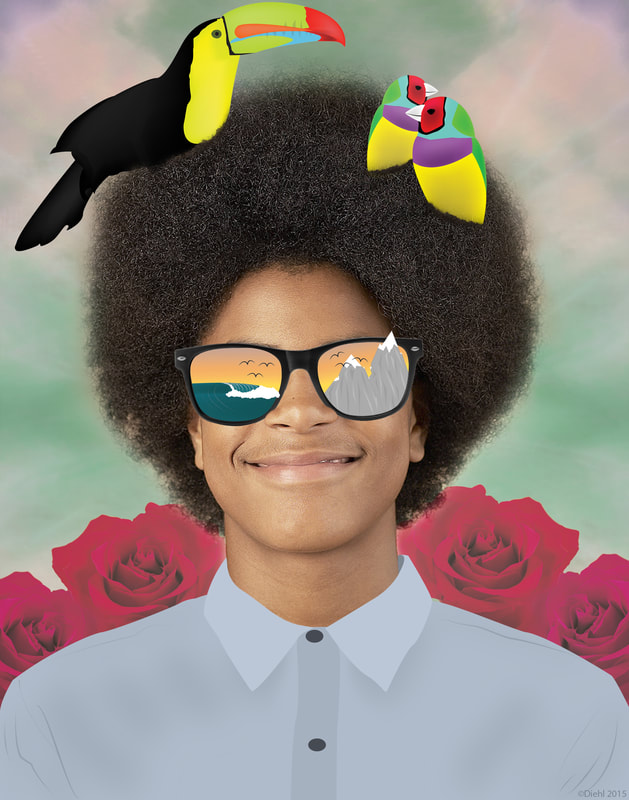
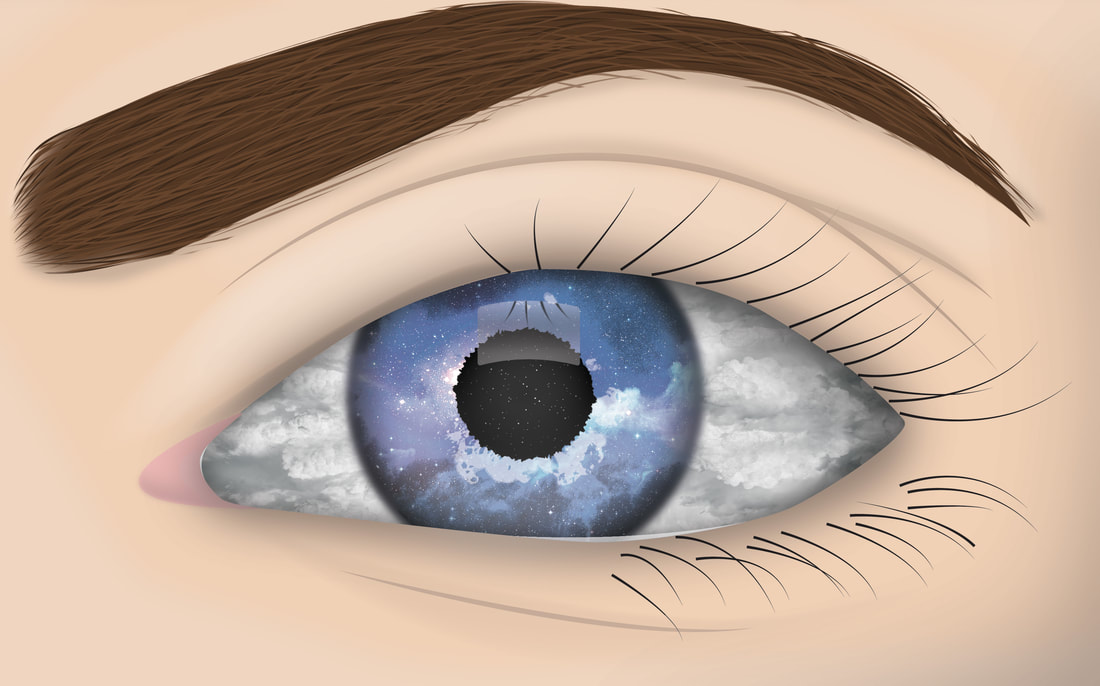
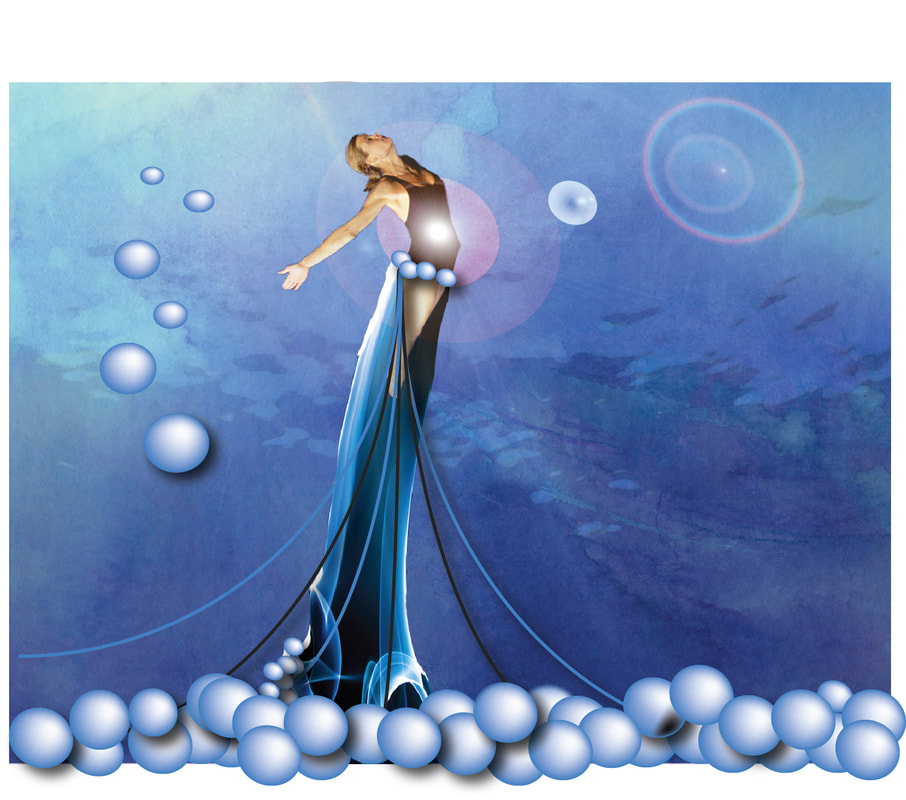
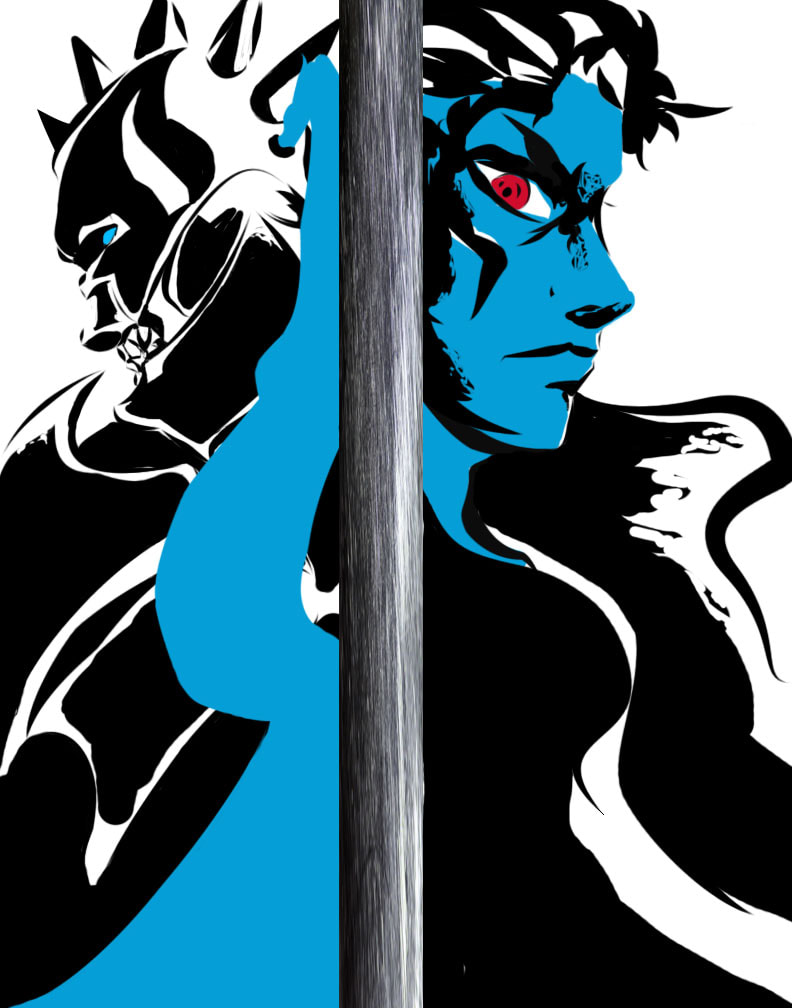
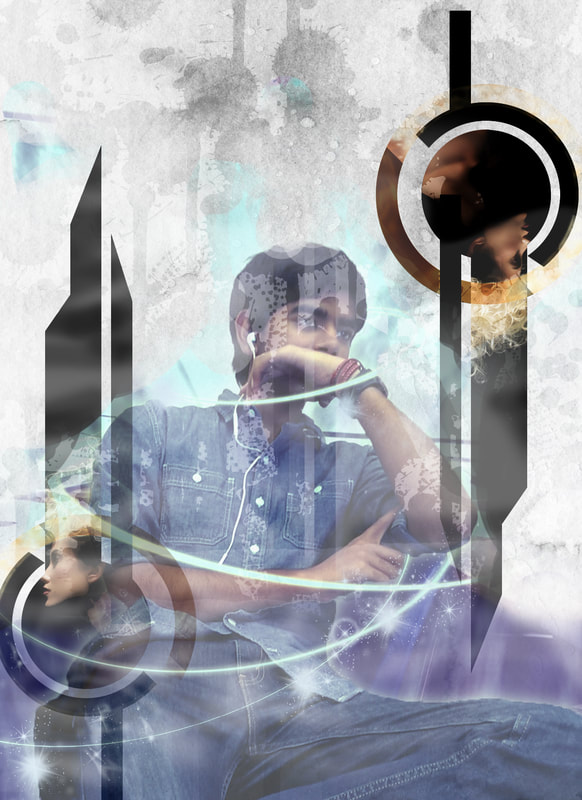
Double Exposure - Blendscapes Project
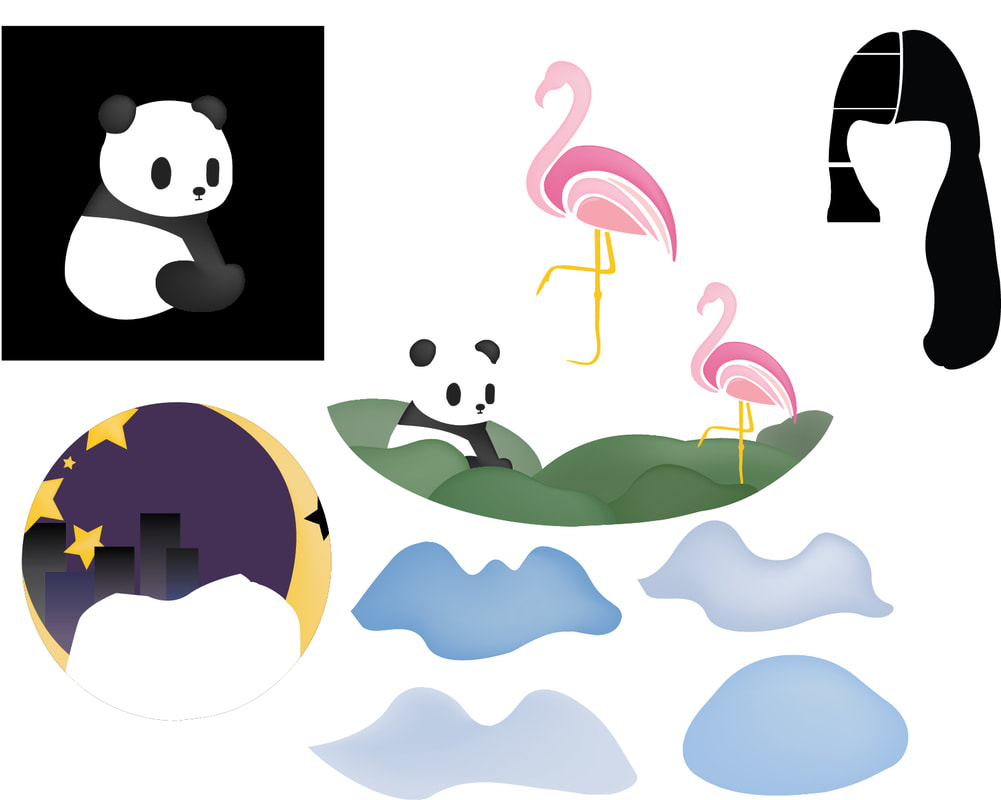
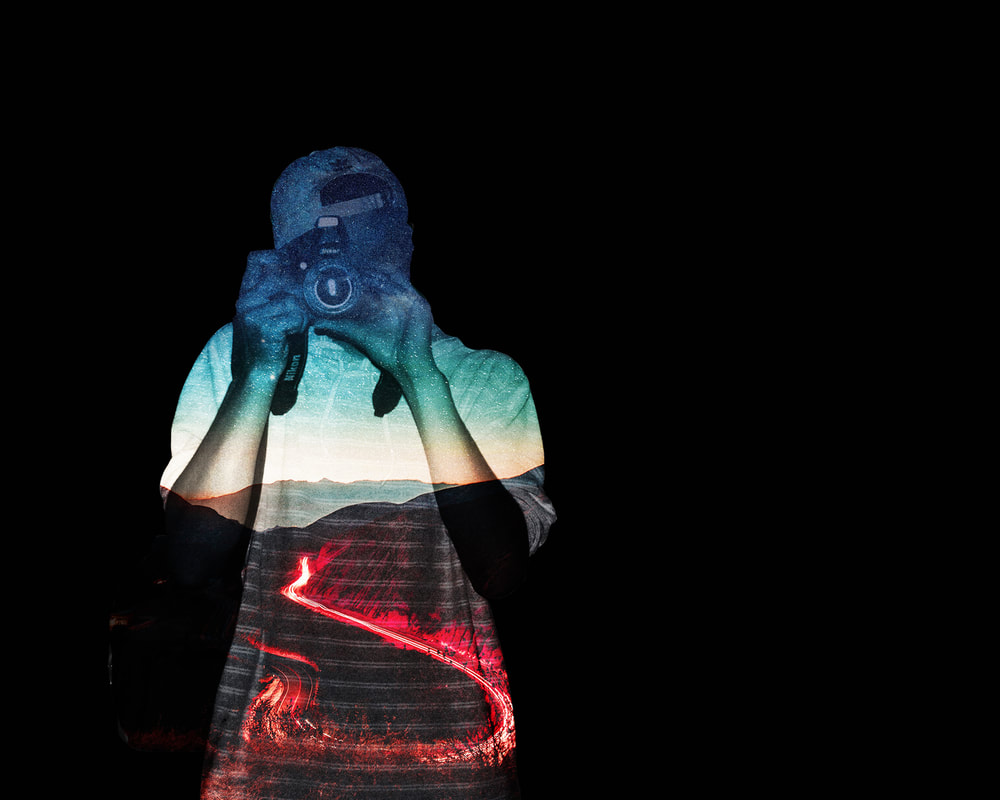
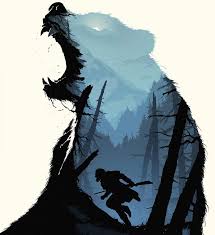
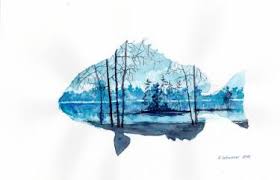
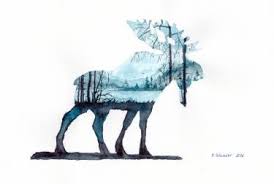
Assignment: Create 2 original and different Double Exposure images.
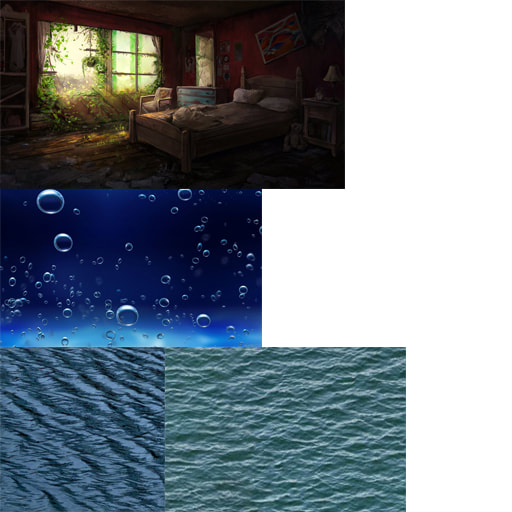
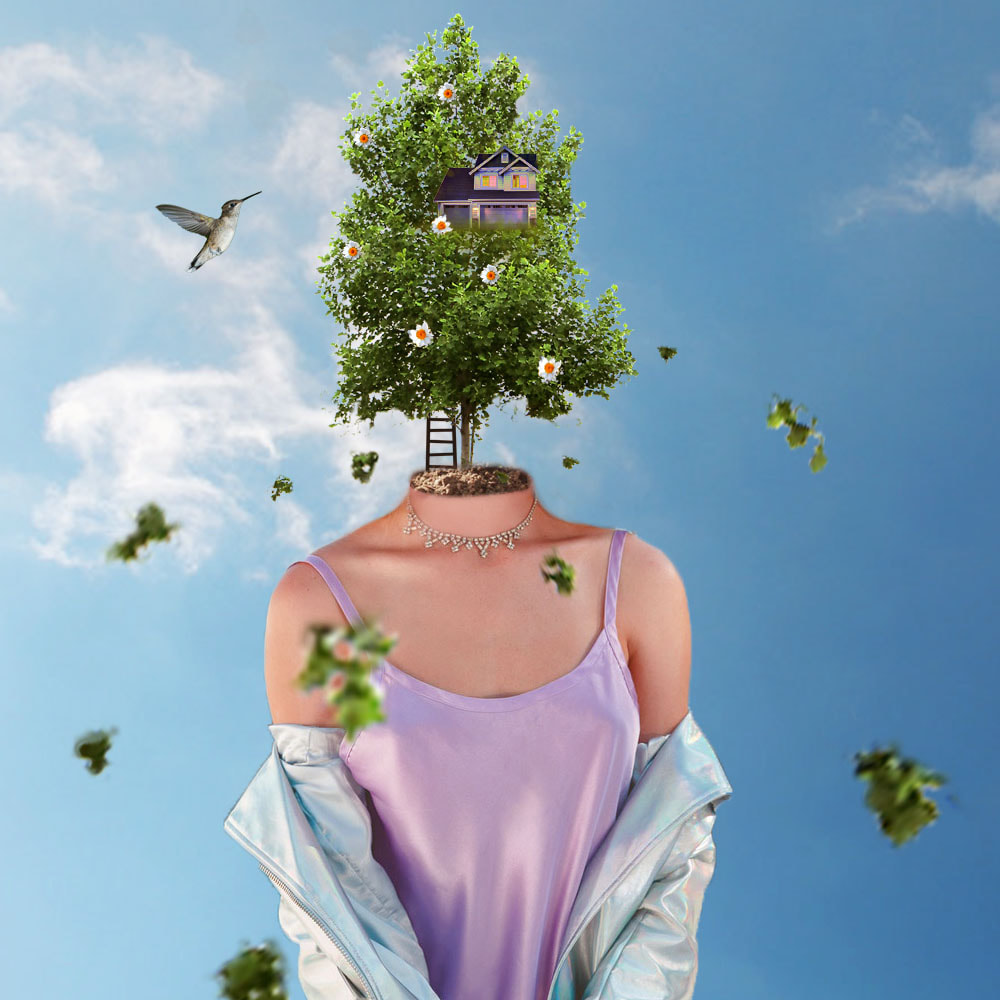
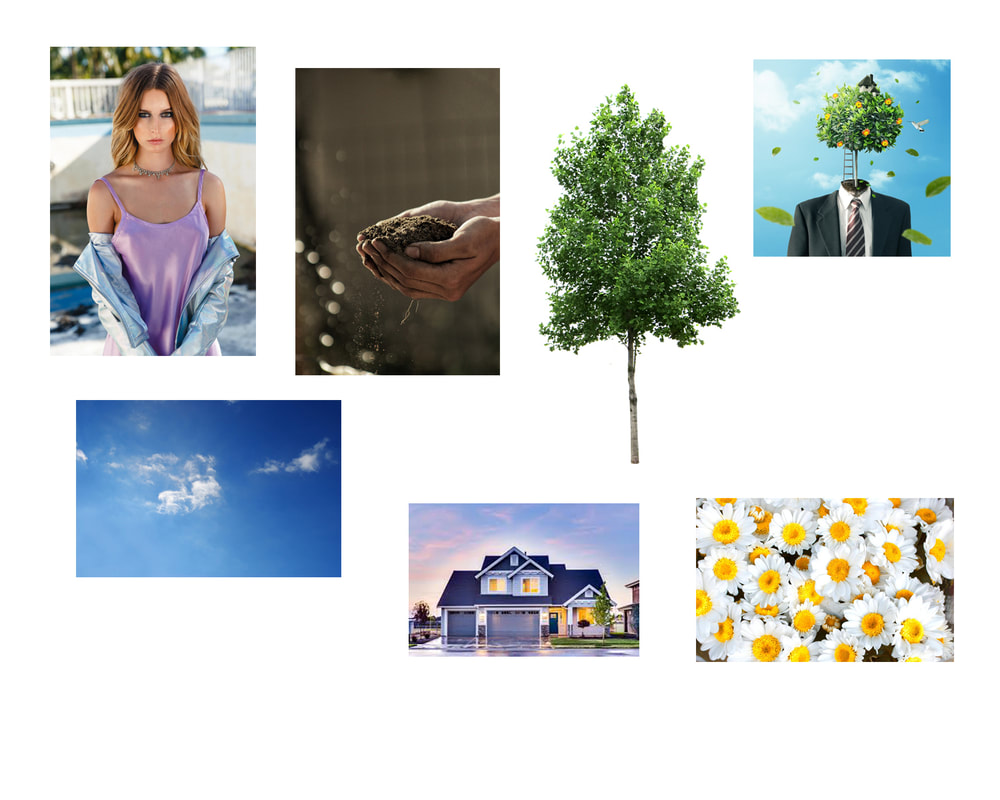
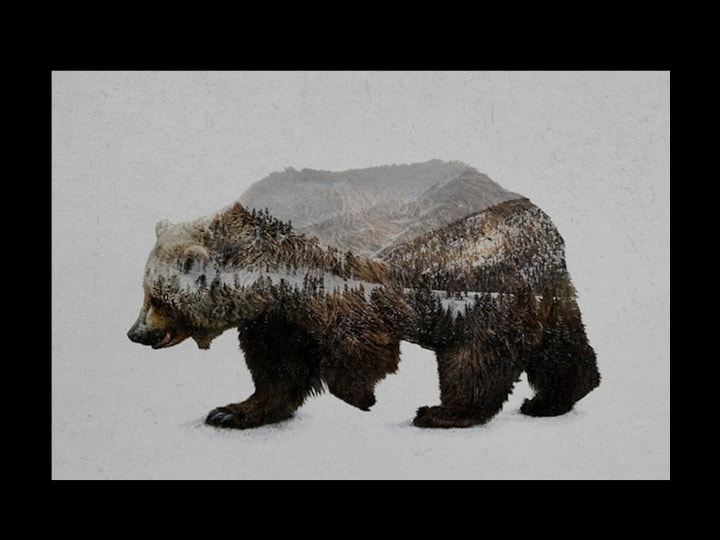
1) Double Exposure Self-Portrait:
*1 Double Exposure must be a self portrait.
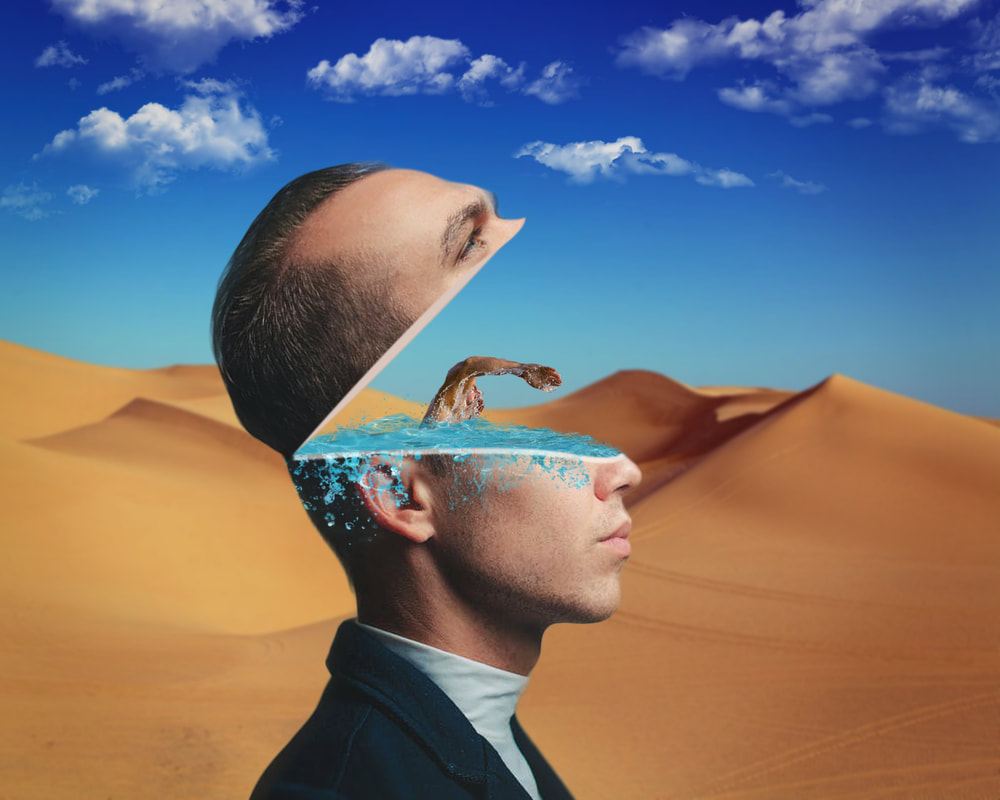
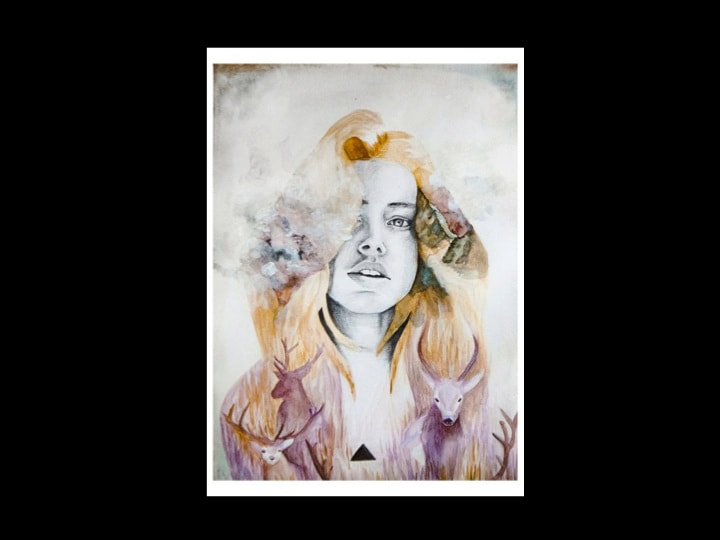
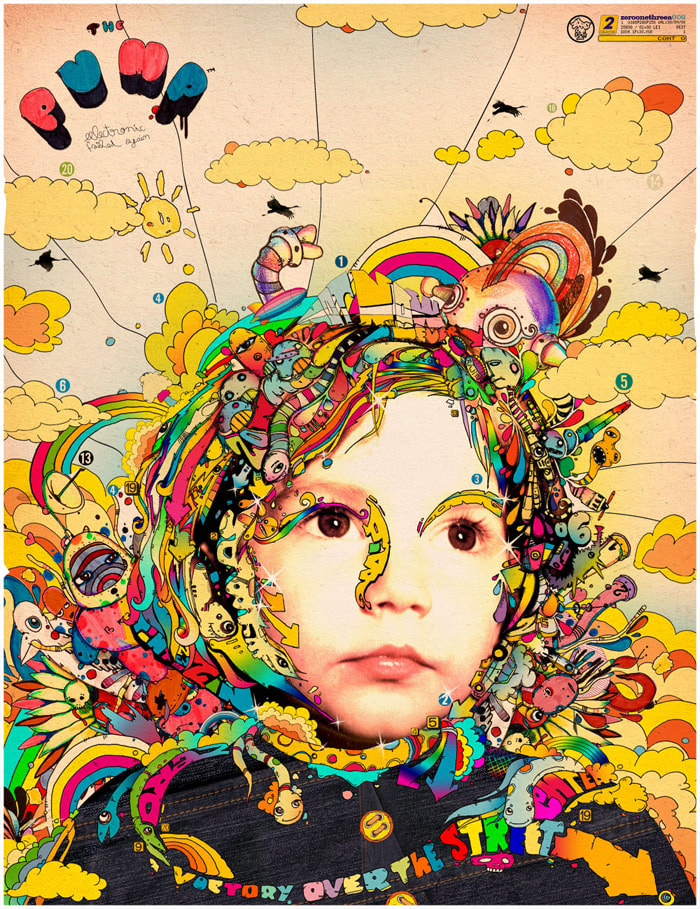
Take a photo of yourself and blend in images that symbolically represent your personality. The photo of you can be at any age. Try to take a photo at an angle and match the structure of your head and facial features with other images like buildings, trees, water, flowers, etc. Use your hair as surface area for the other images. Or put a hoodie, hat, large head phones on as surface area for the other images.
MUST blend a minimum of 3 - 4 images together.
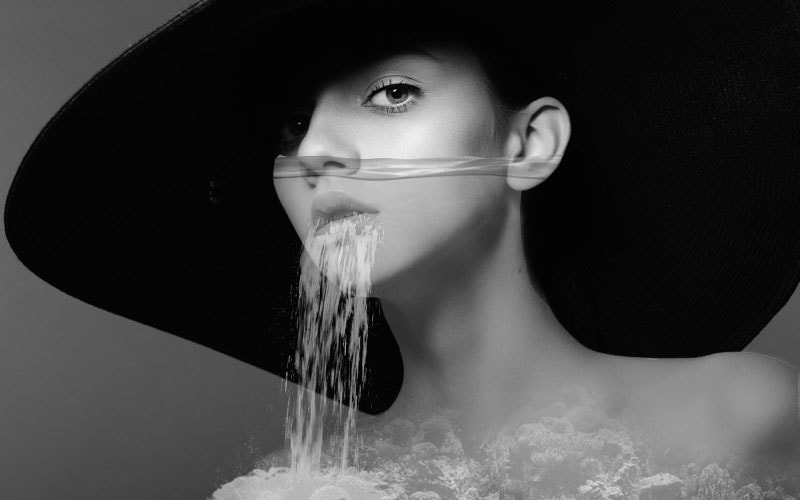
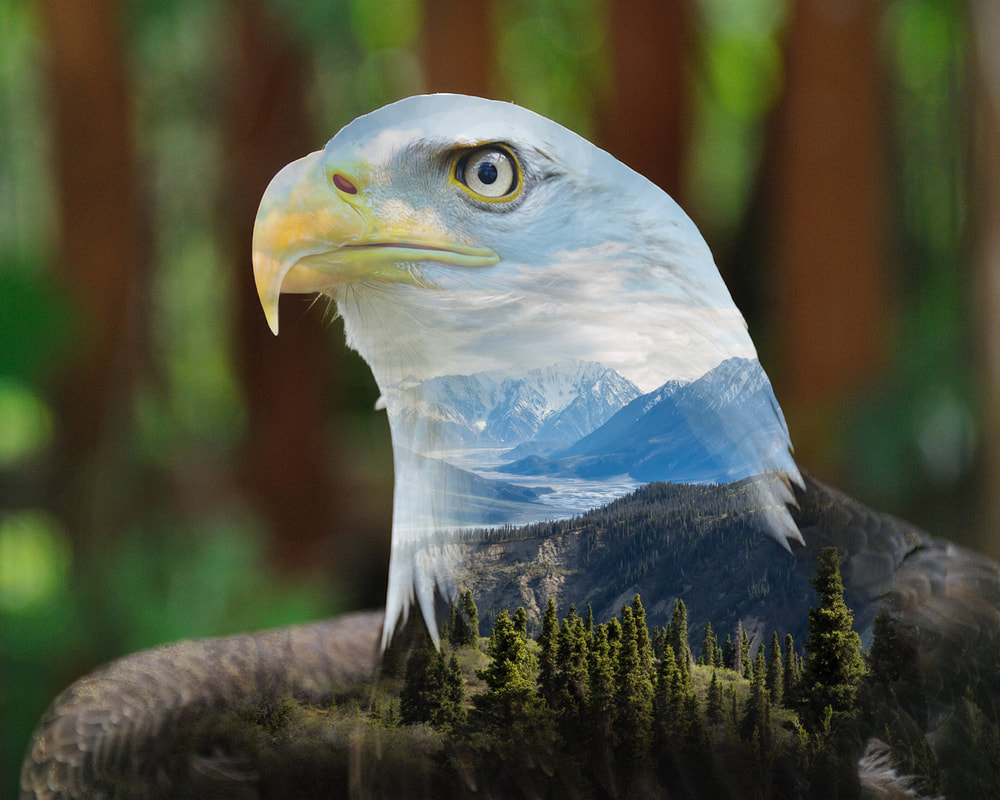
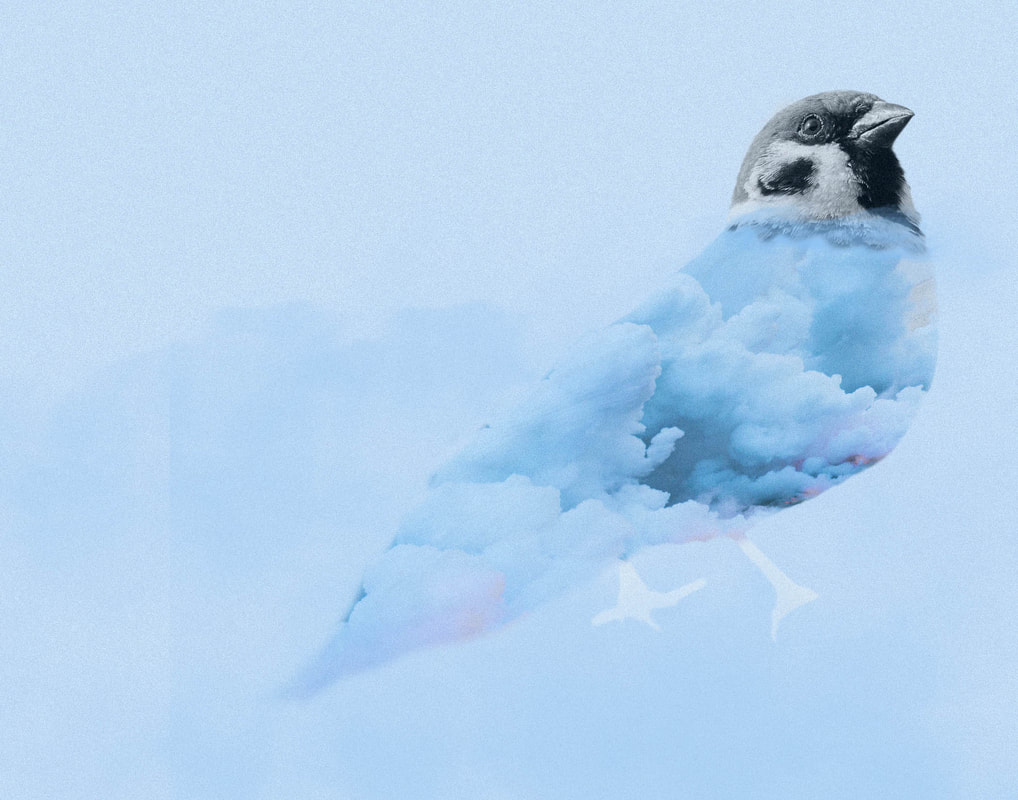
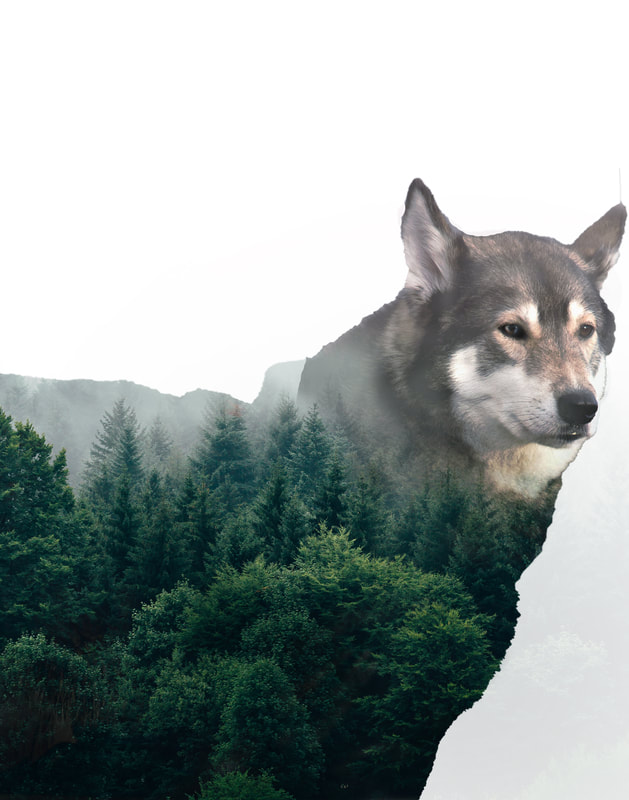
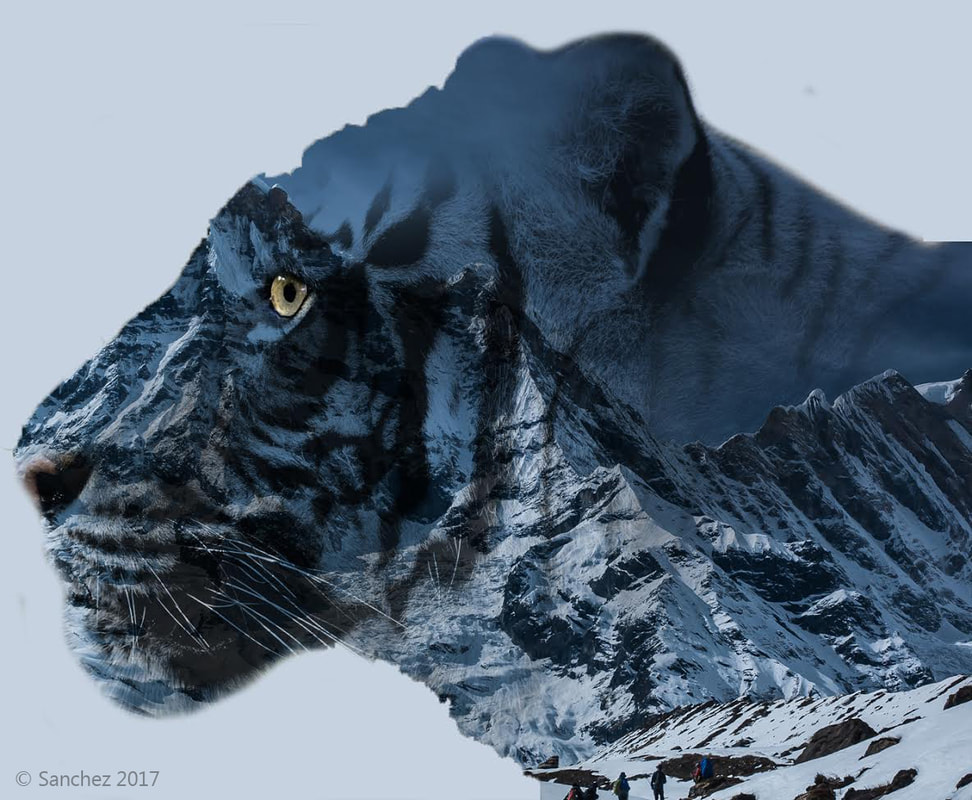
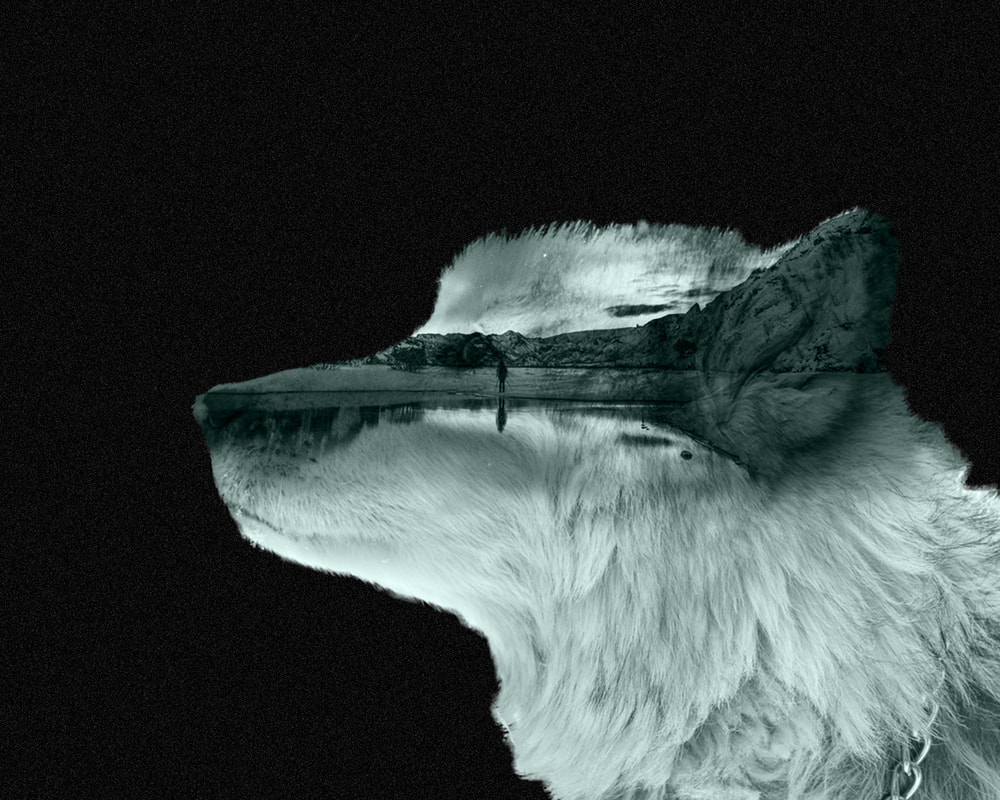
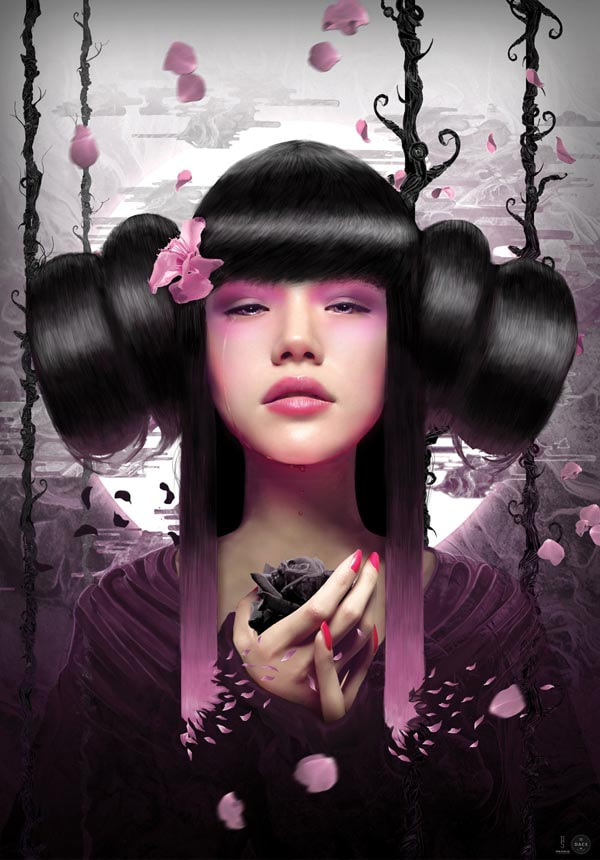
2) Double Exposure Subject your Choice:
*1 Double Exposure may use any subject you like with other images blended in. (People, animals, Objects)
MUST blend a minimum of 3 - 4 images together.
Requirements:
Each image must demonstrate at least 1 technique listed below:
1) Double Exposure Self-Portrait:
*1 Double Exposure must be a self portrait.
Take a photo of yourself and blend in images that symbolically represent your personality. The photo of you can be at any age. Try to take a photo at an angle and match the structure of your head and facial features with other images like buildings, trees, water, flowers, etc. Use your hair as surface area for the other images. Or put a hoodie, hat, large head phones on as surface area for the other images.
MUST blend a minimum of 3 - 4 images together.
2) Double Exposure Subject your Choice:
*1 Double Exposure may use any subject you like with other images blended in. (People, animals, Objects)
MUST blend a minimum of 3 - 4 images together.
Requirements:
Each image must demonstrate at least 1 technique listed below:
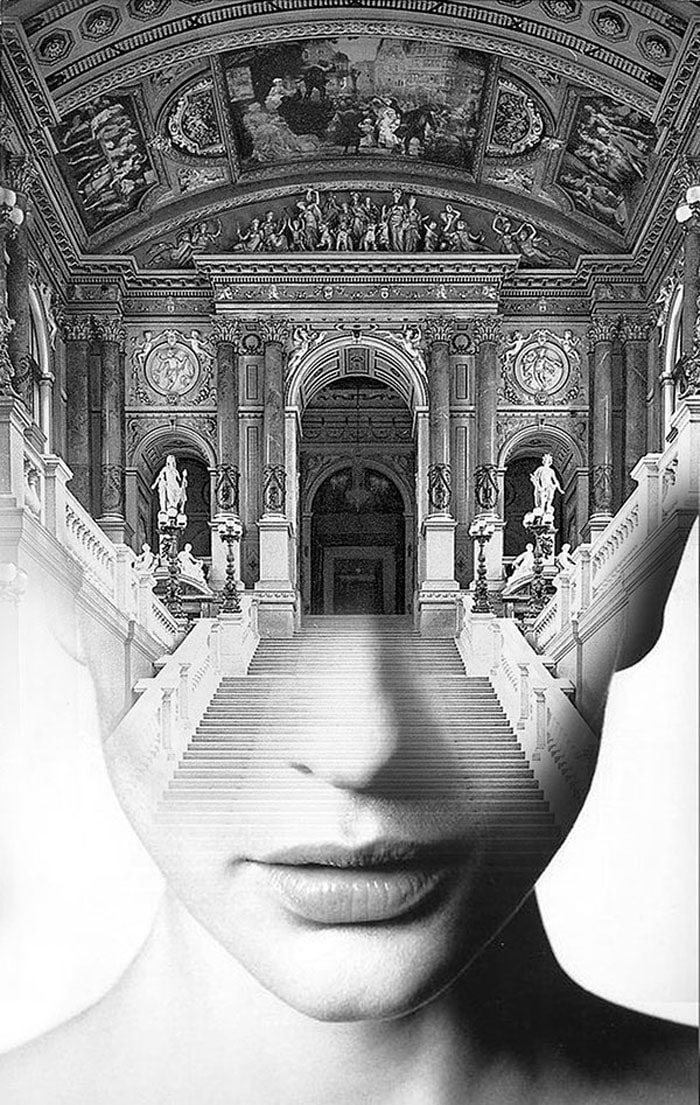
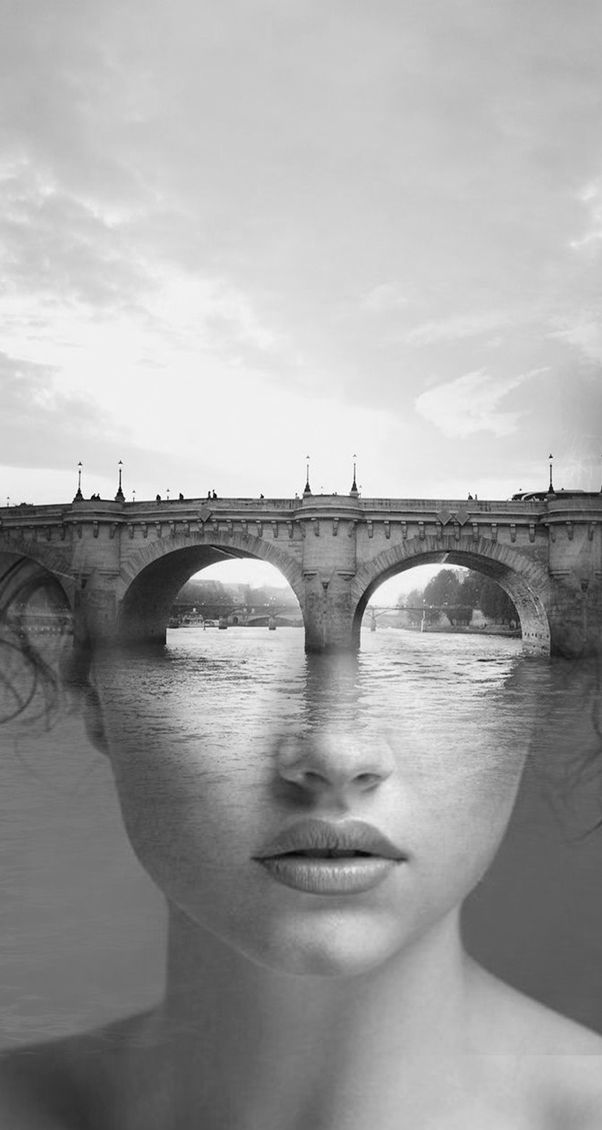
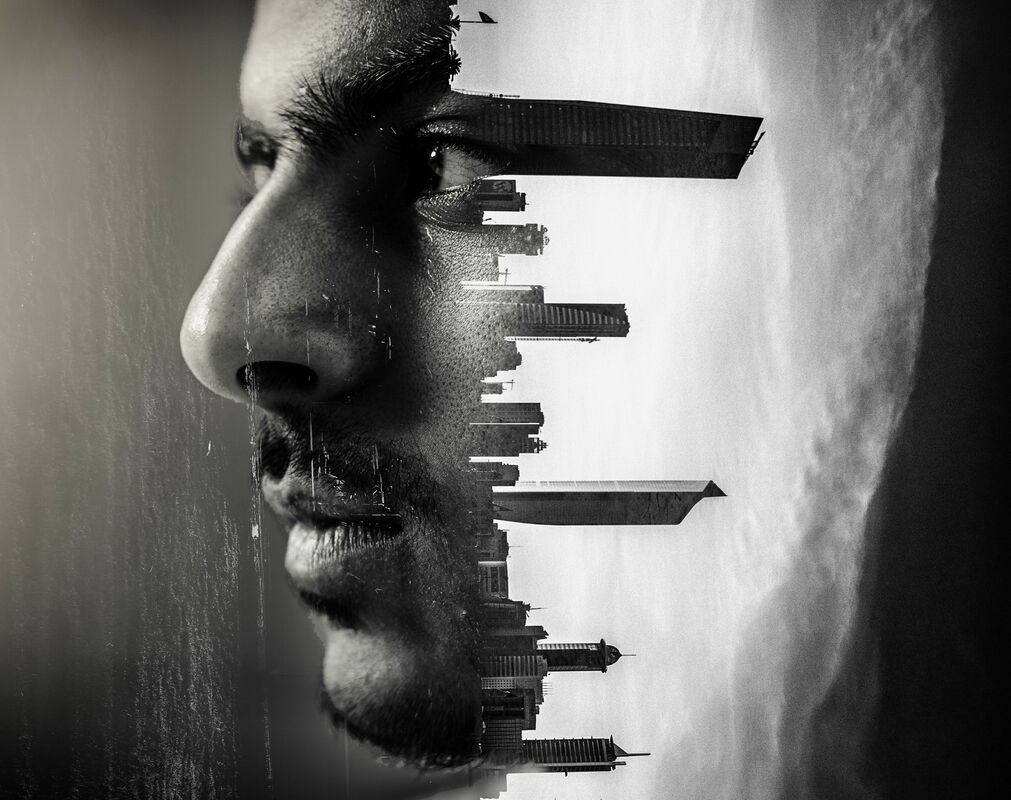
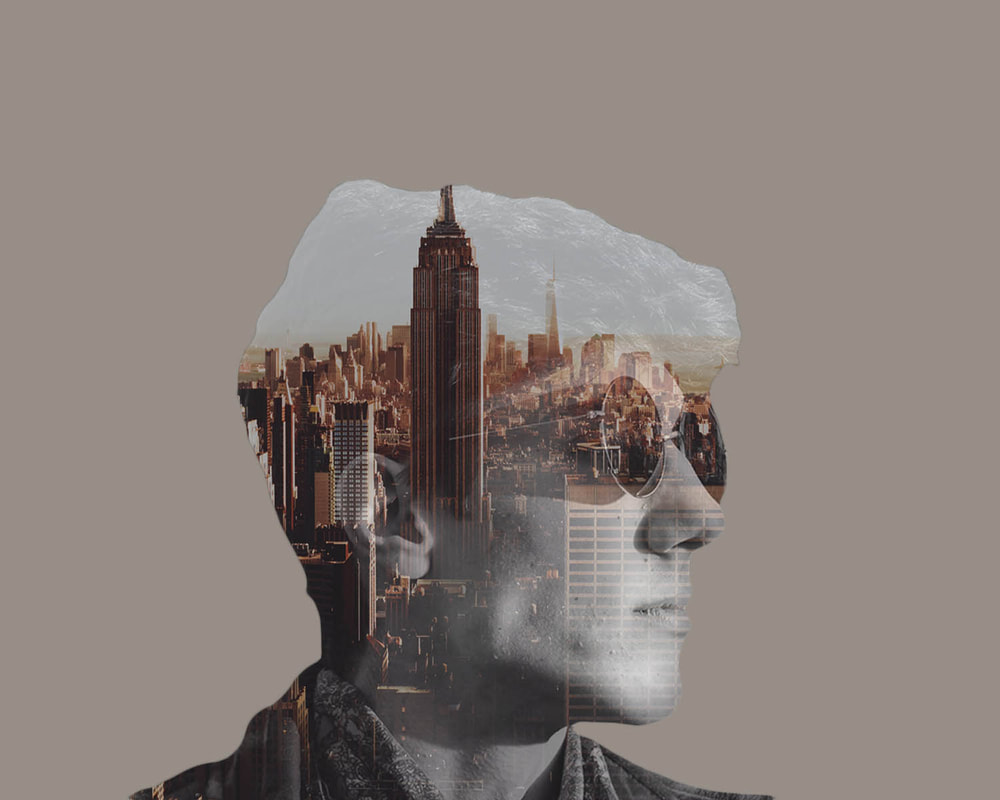
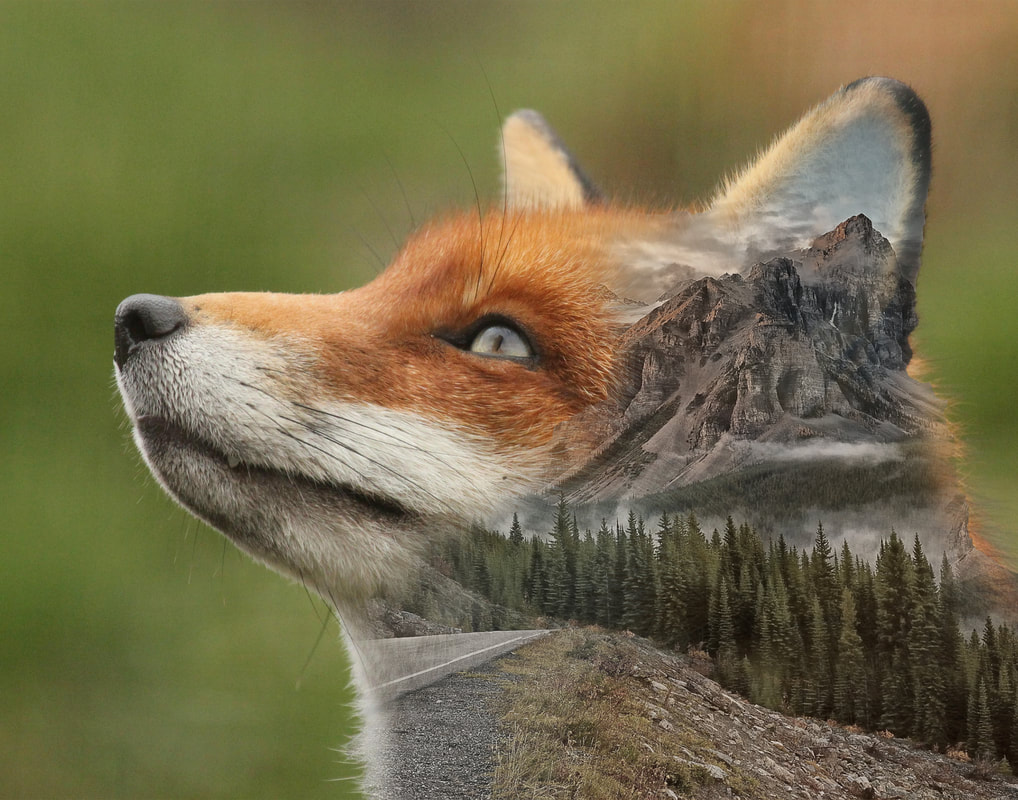
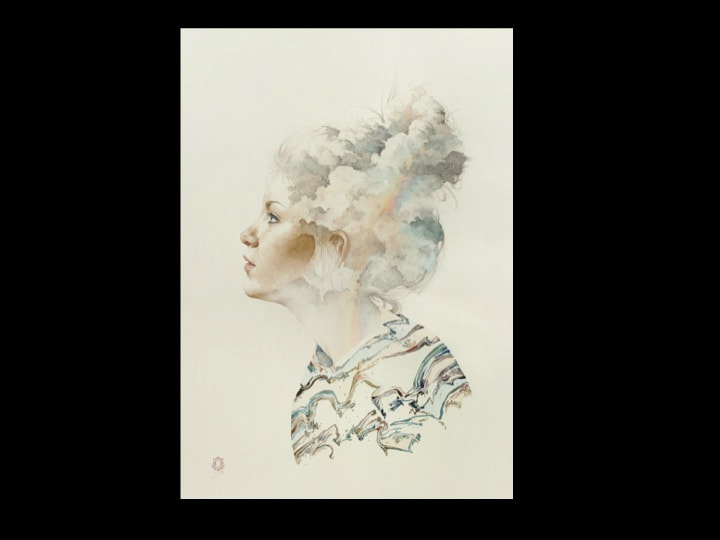
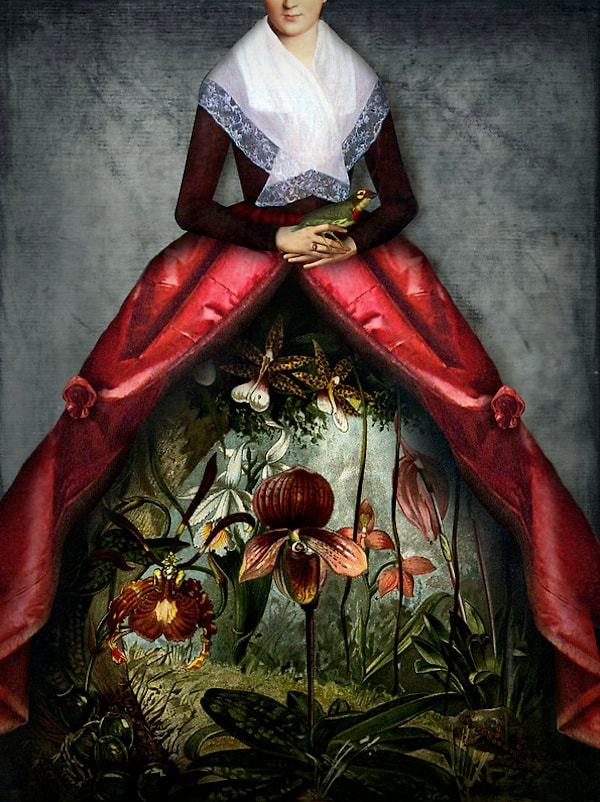
- Use a portrait combined with a nature scene, architecture, landscape, or cityscape. The background is a solid color. (white, black, sepia, tan). The images brake away form the silhouette of the head.
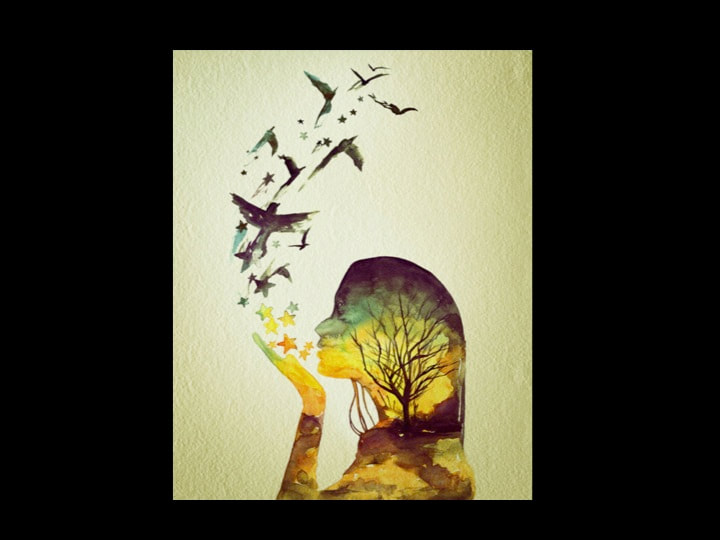
- Superimpose portraits of people within a full landscape/cityscape/seascape, etc. The background is visible through the person’s silhouette.
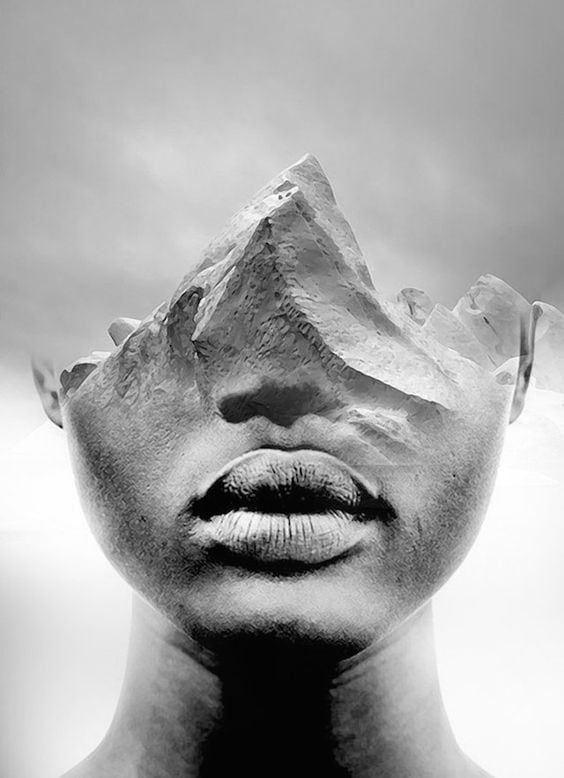
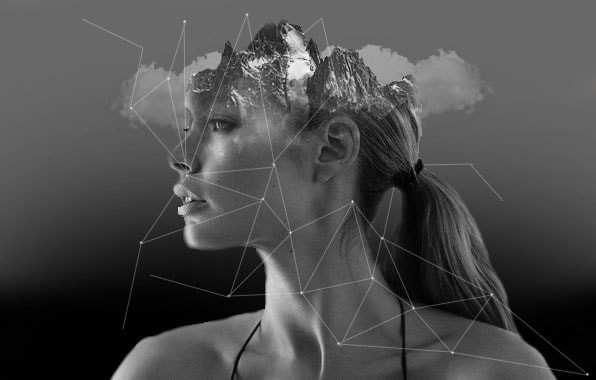
- Combine a portrait with zoomed in objects that conform or break away from the form of the portrait. For instance flowers, trees, shells, birds, paint or ink swirls, light trails, etc.
- Image size 8X10”, 10X8” or 11X14”, 14X11”
- You may use Photoshop and/or Illustrator for this project.
- Submit both images as jpegs.
- Brainstorm ideas/concepts for your 2 double exposure images in your sketchbook.
- Take photos with your phone or camera. Use photos from stock photos sites such as unsplash.com
- Experiment in Photoshop: layering, blending modes, color, opacity.
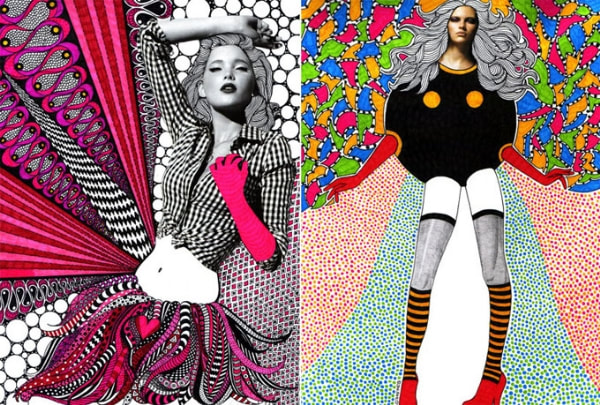
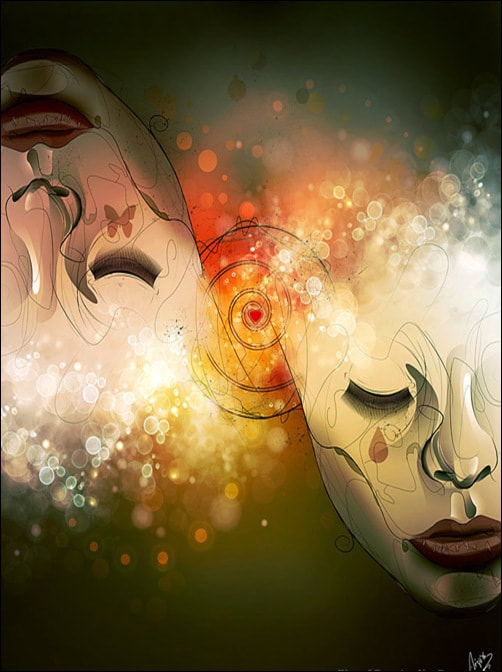
Professional Examples - Antonio Mora and Aneta Ivanova
Student Double Exposure Examples


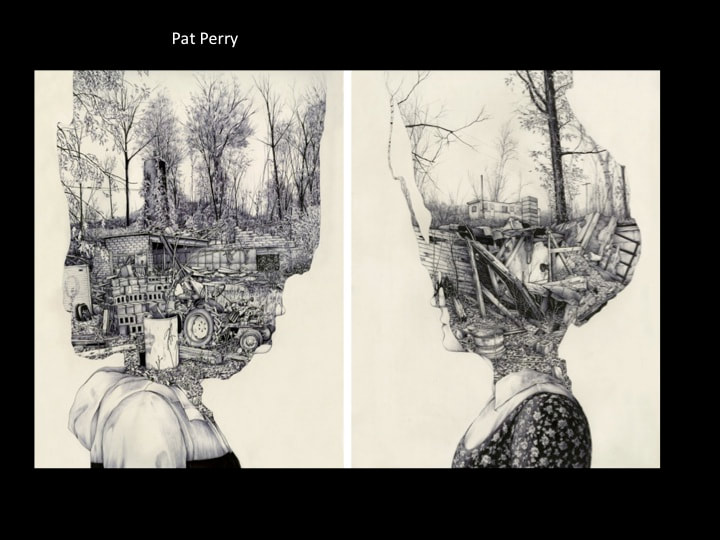
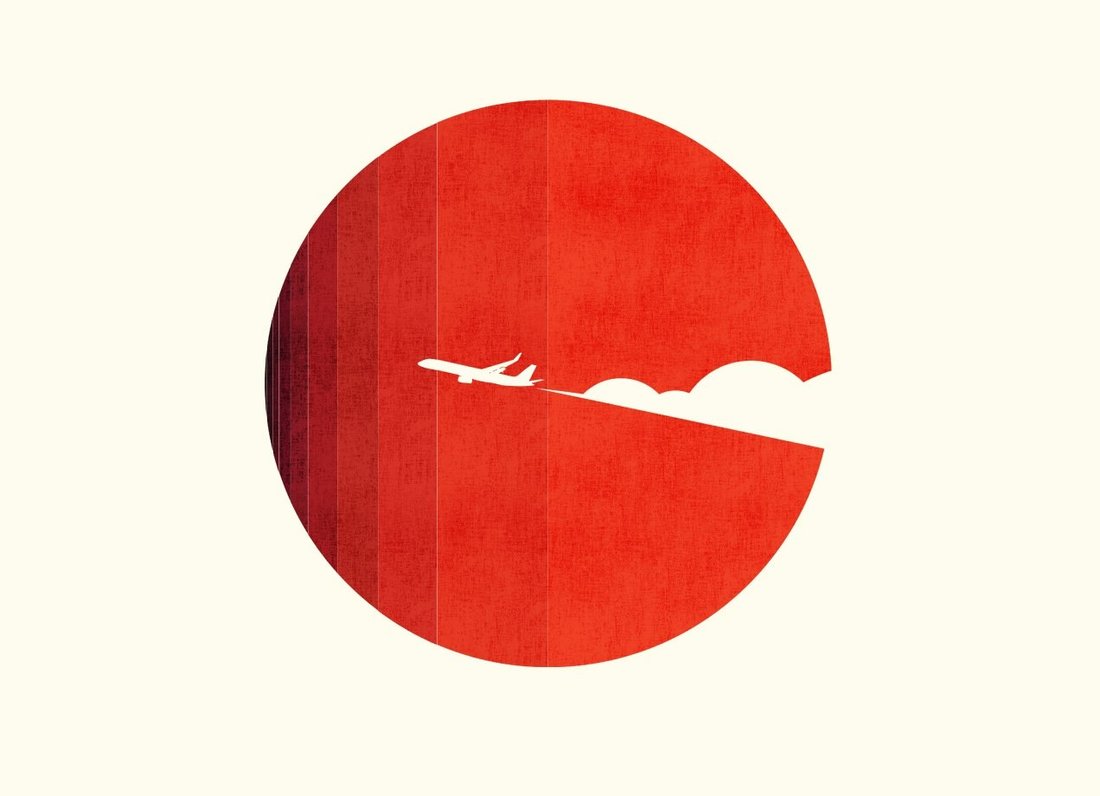
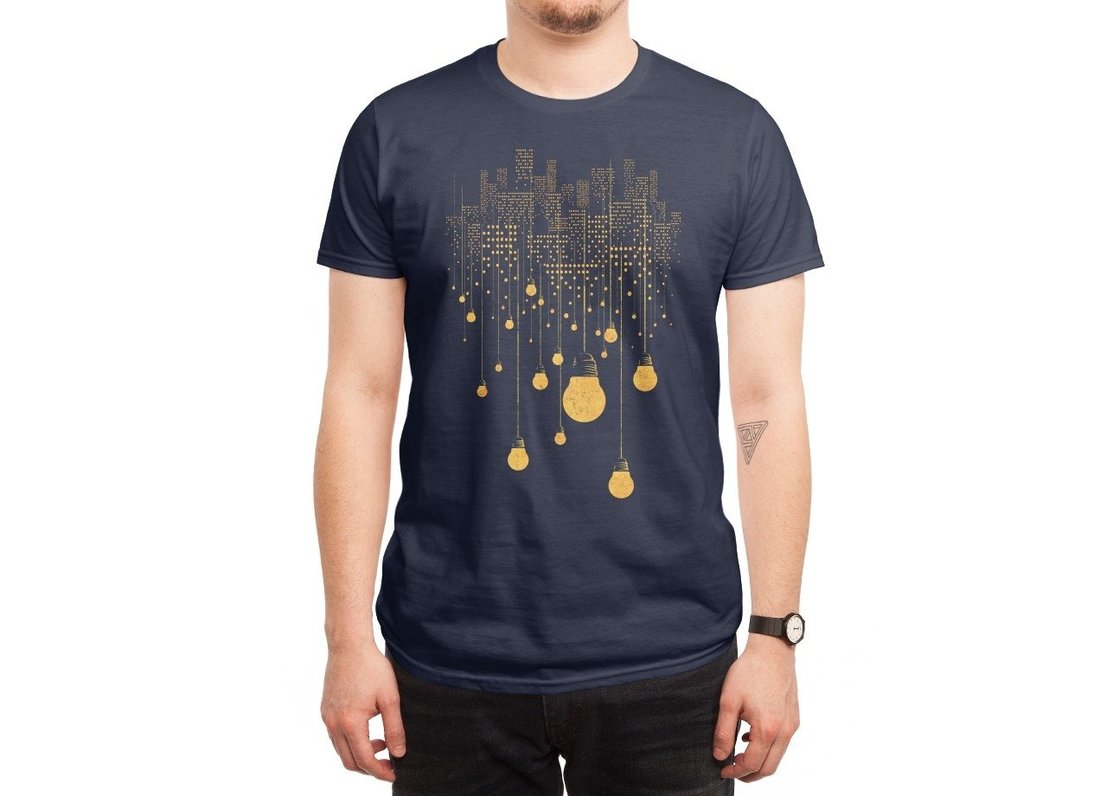
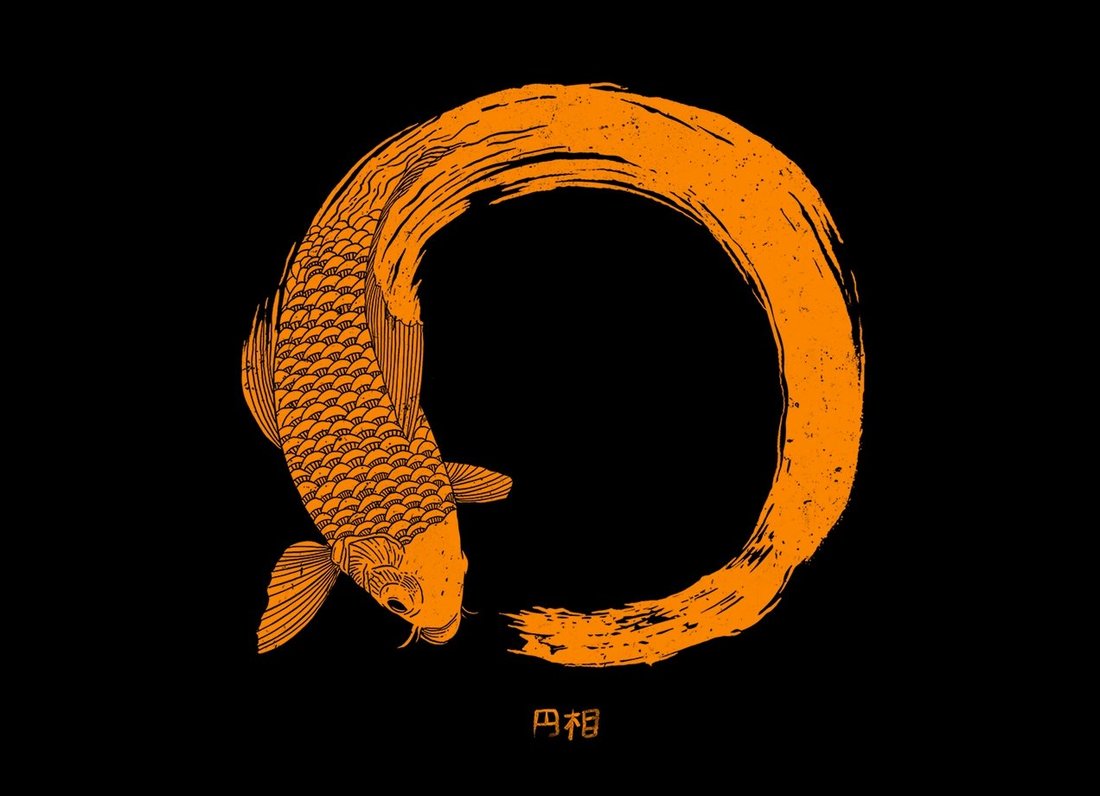
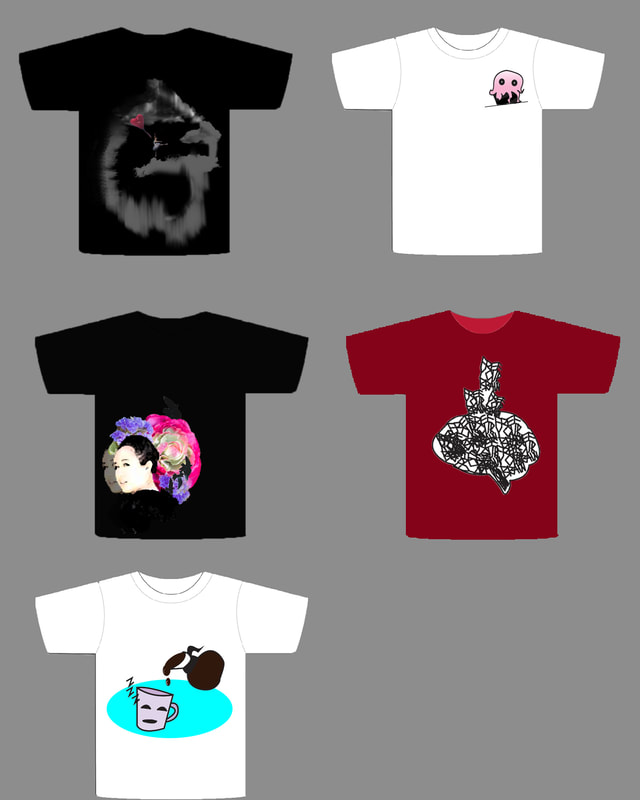
Vinyl T-shirt Design
Create your own T-shirt design and use the vinyl heat transfer method to print your design on a T-shirt or tote bag.
Requirements:
T-shirt design tutorials:
20+ tutorials
Another collection of T-shirt design tutorials
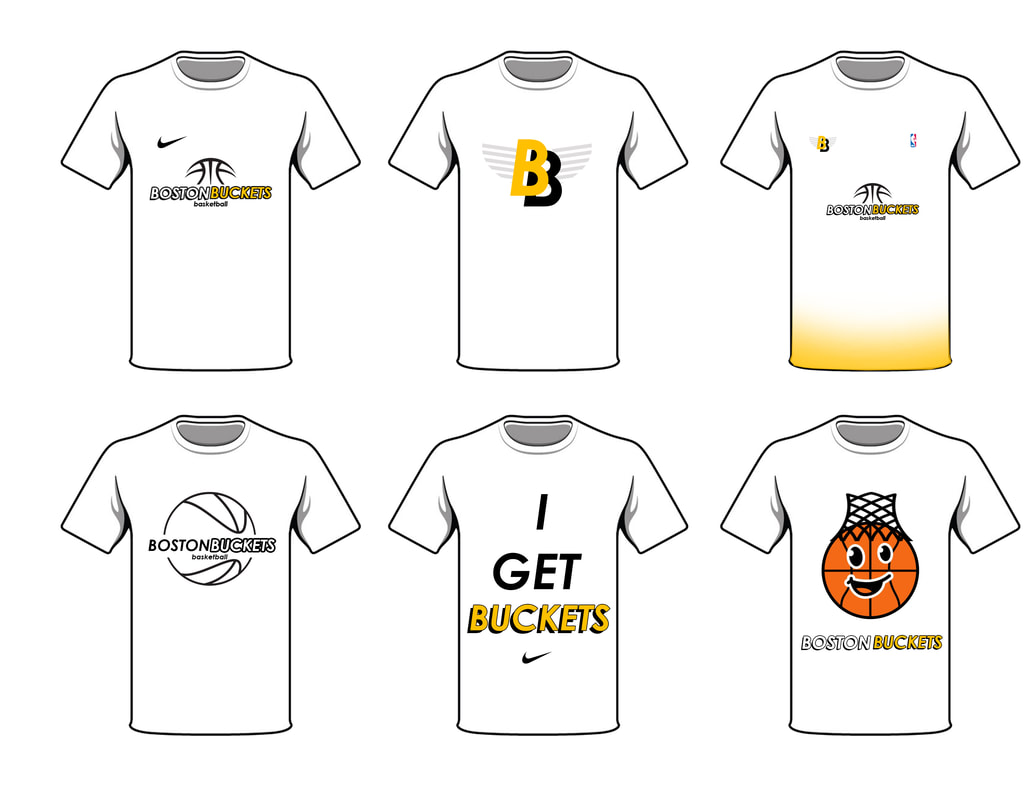
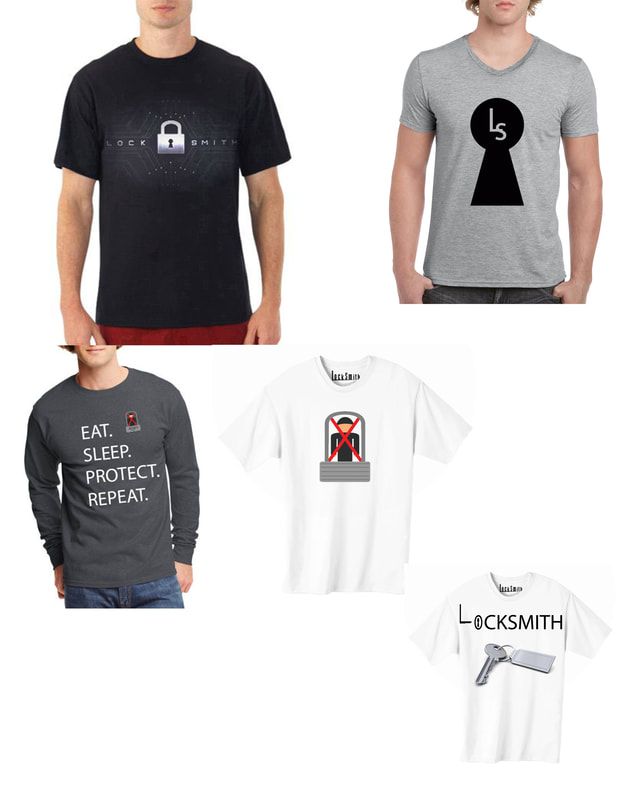
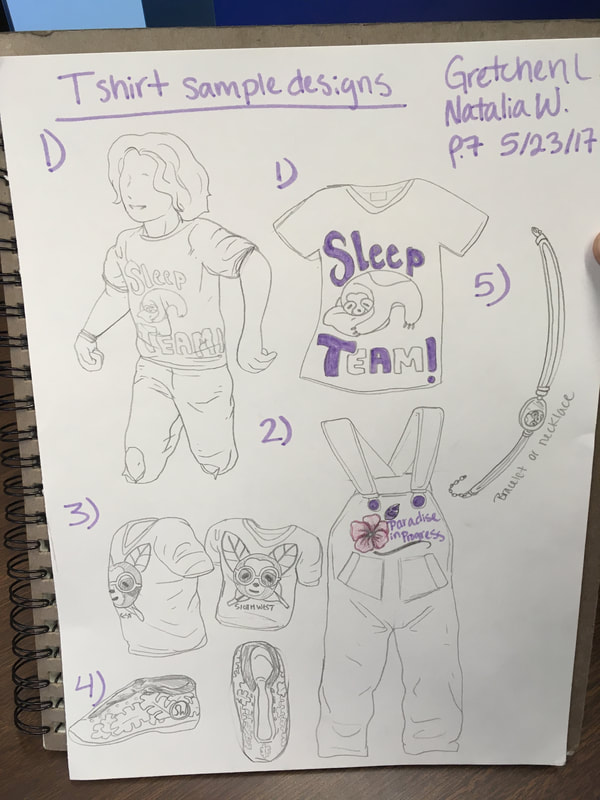
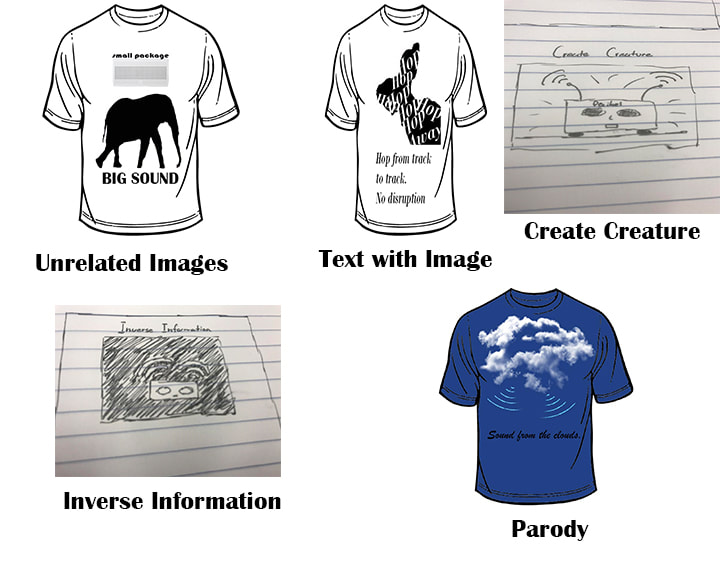
T-shirt Examples and brainstorming ideas
T-shirt mock up templates
Requirements:
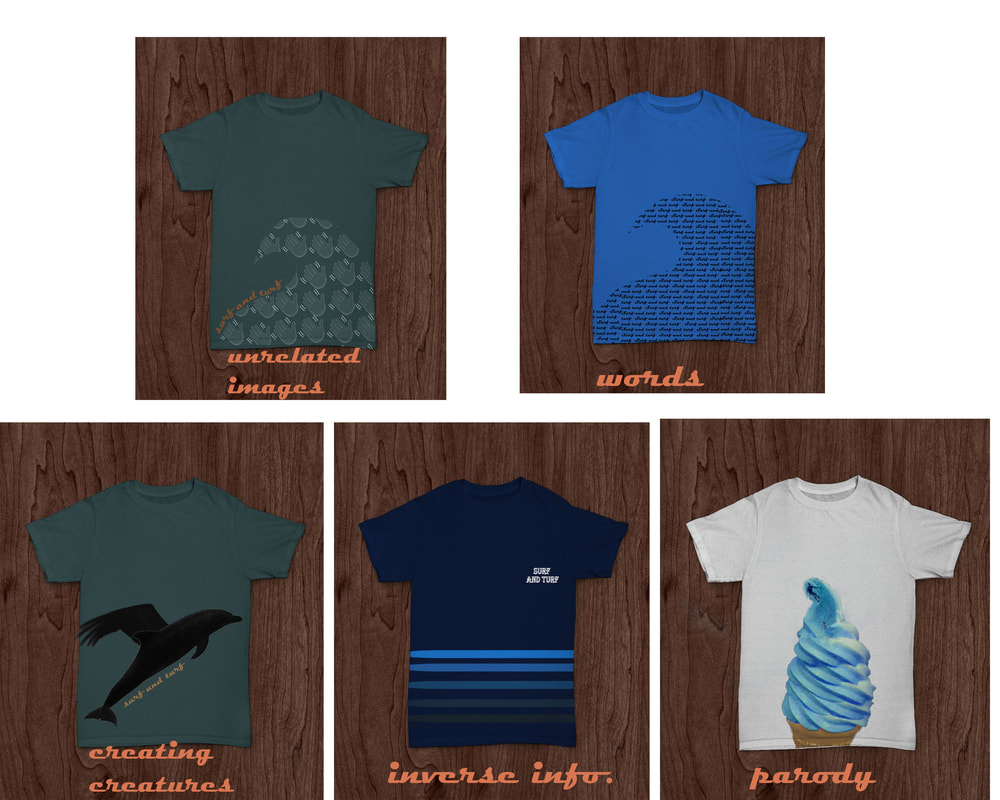
- Create your own original design using 1 color only. (no clip art from the internet or stock vectors/photos.)
- Make your design black on a white background. You will choose your vinyl color later.
- Submit your design as a .jpeg on a blank white background. Your design must be the EXACT size that it will appear on your t-shirt. Measure on a real t-shirt.
- Create your apparel following the procedures on the Design Process Presentation.
- Photograph your final product and submit the file.
- Wear your t-shirt!
- Your file(s) with your design on a white background saved as .jpeg and Complete this document to turn with your design files
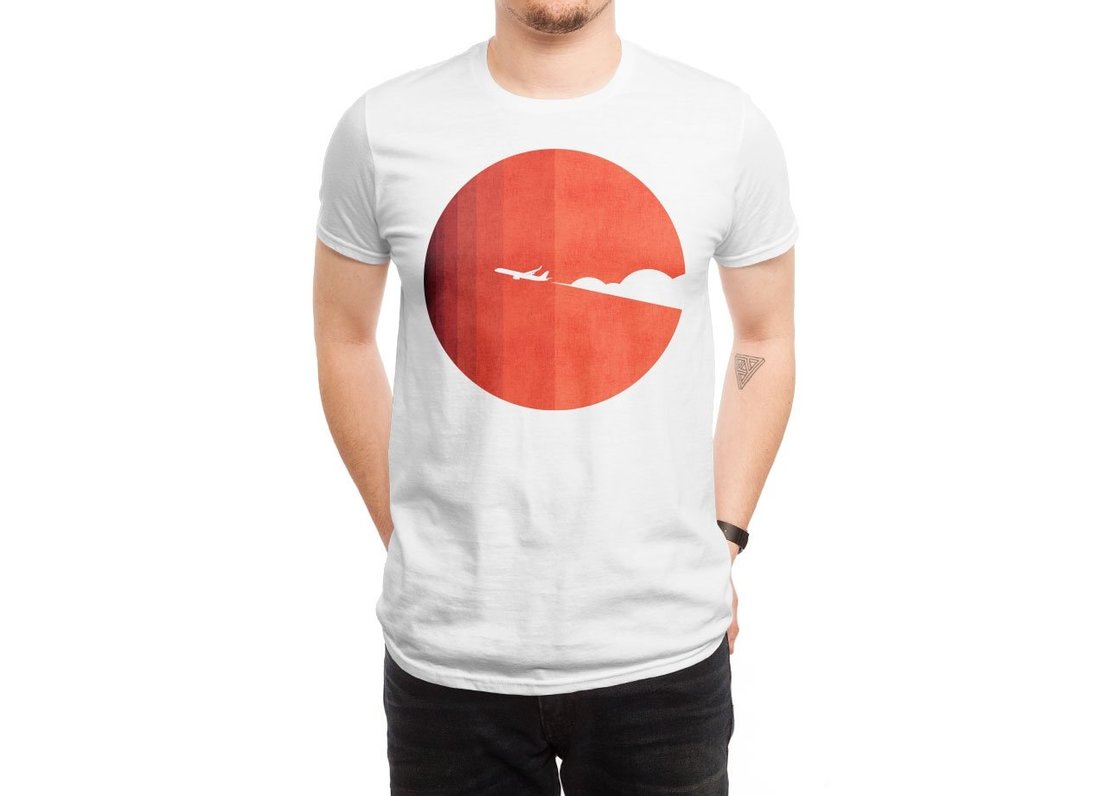
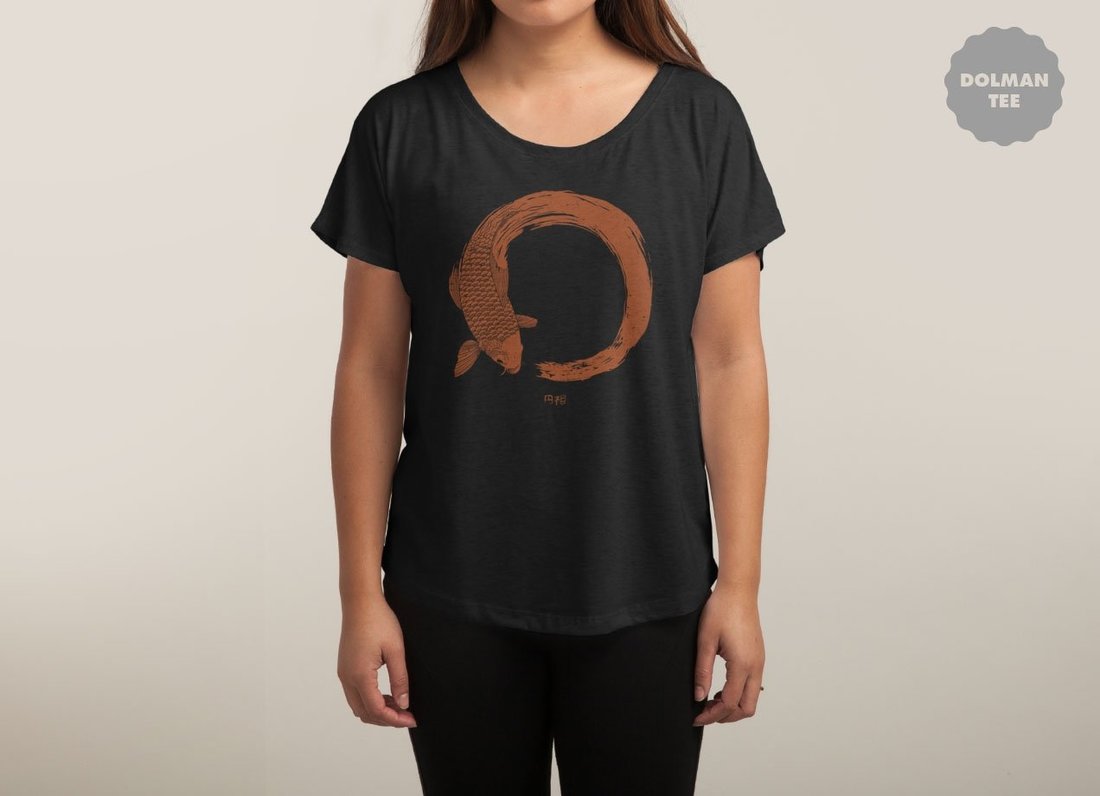
- A professional mock-up: Your apparel design on a model with no faces visible, your T-shirt design all by itself.
- Use a layout template
T-shirt design tutorials:
20+ tutorials
Another collection of T-shirt design tutorials
T-shirt Examples and brainstorming ideas
T-shirt mock up templates
T-shirt Process:
T-shirt Examples

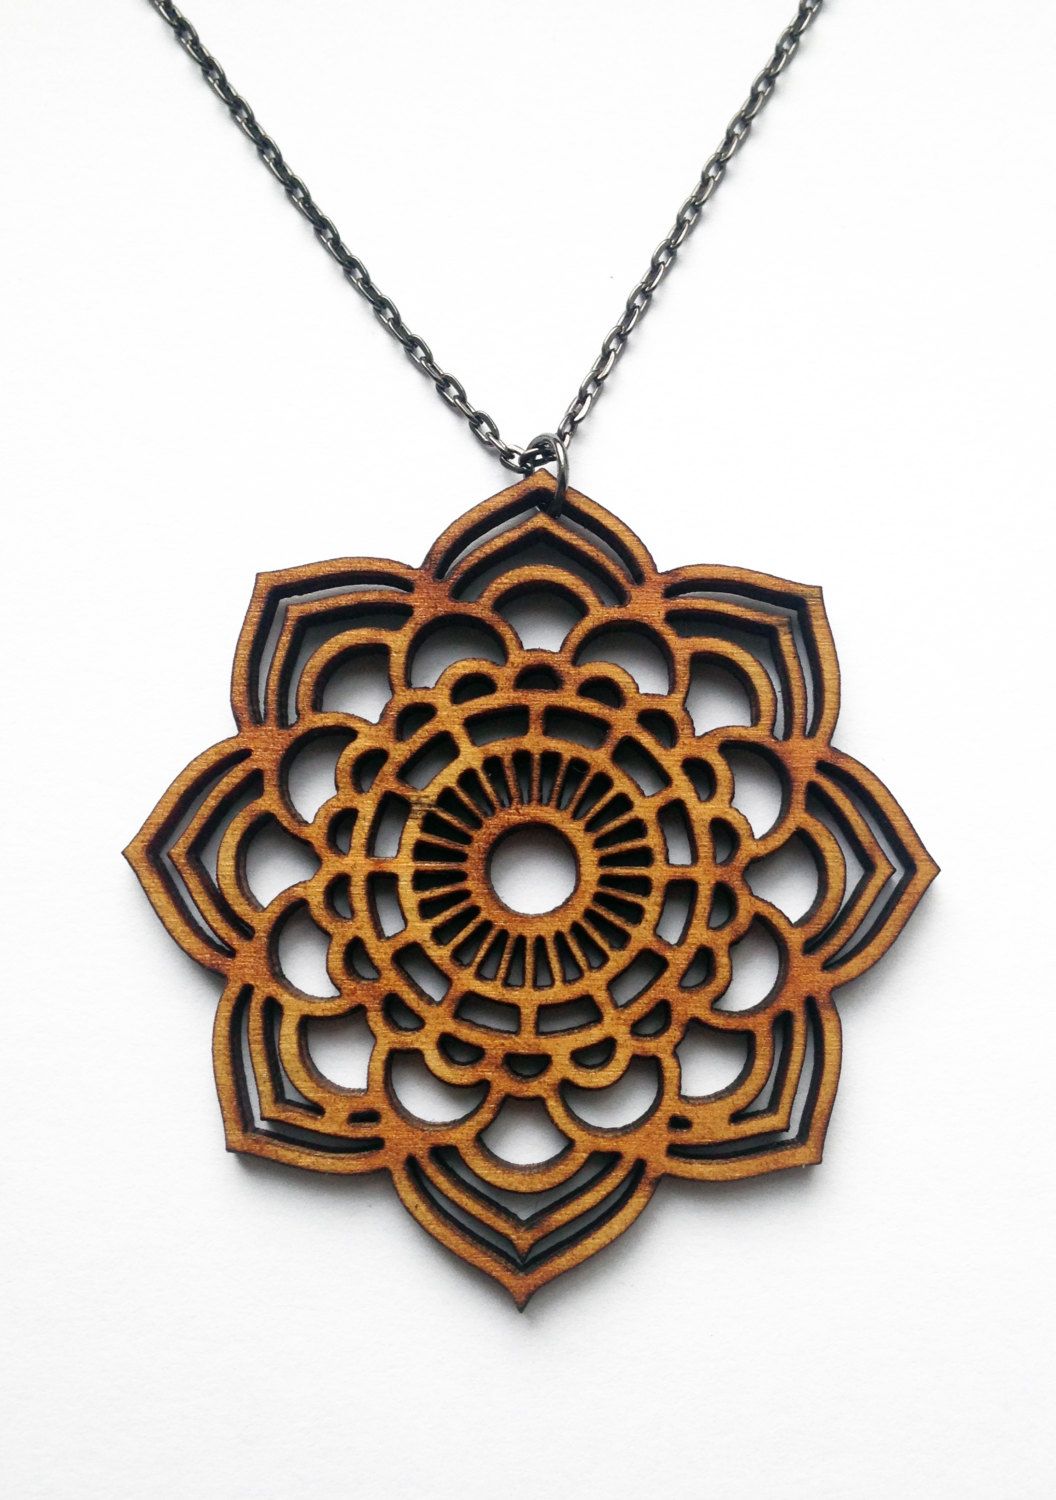
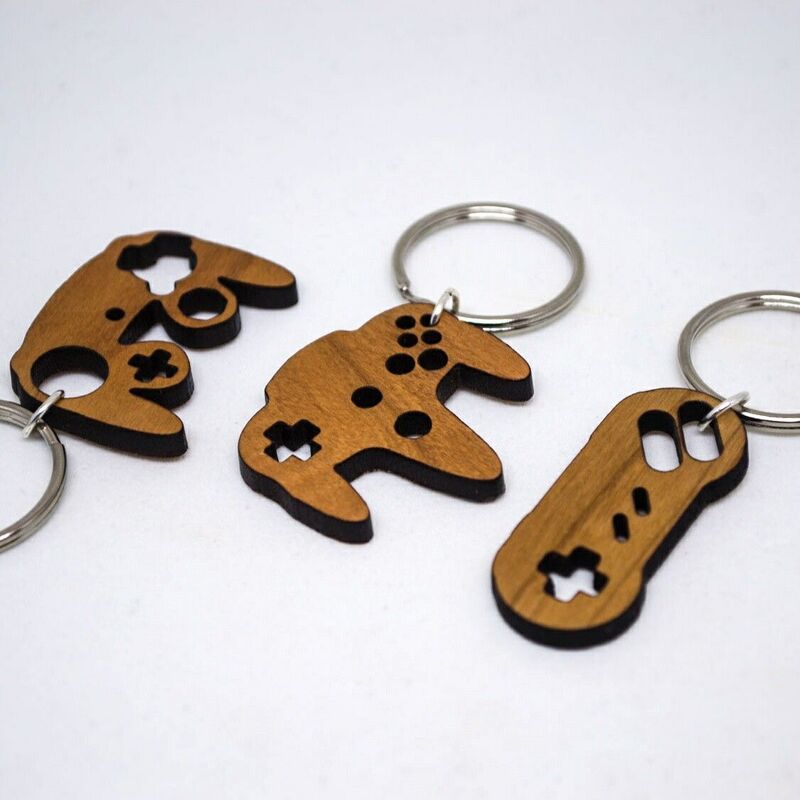
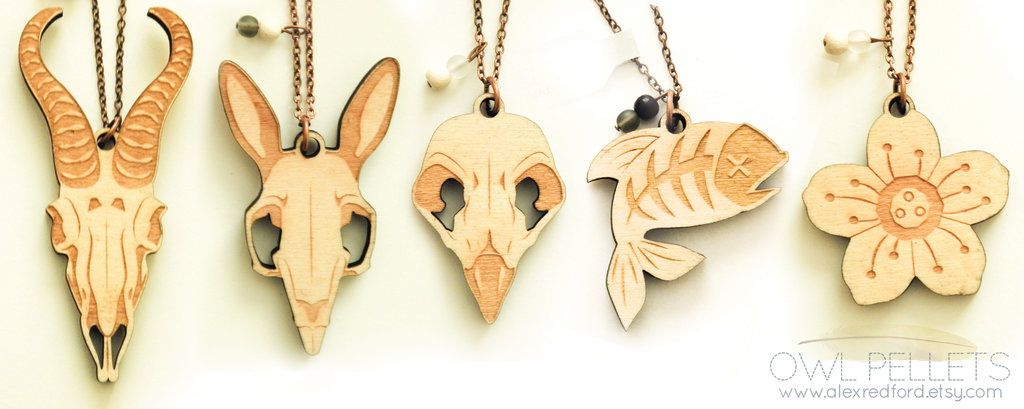
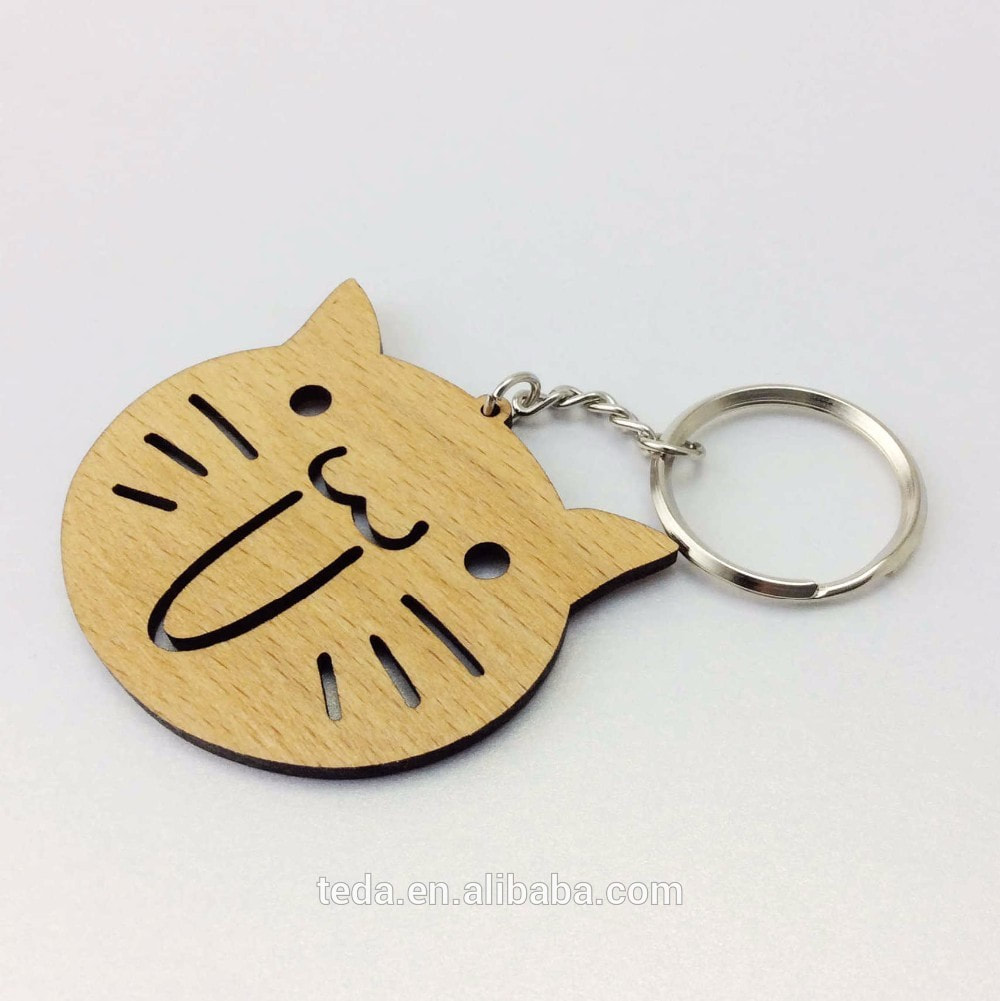
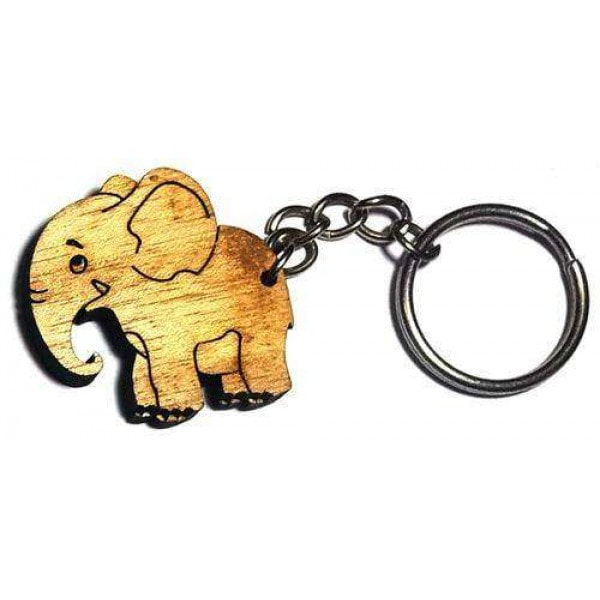
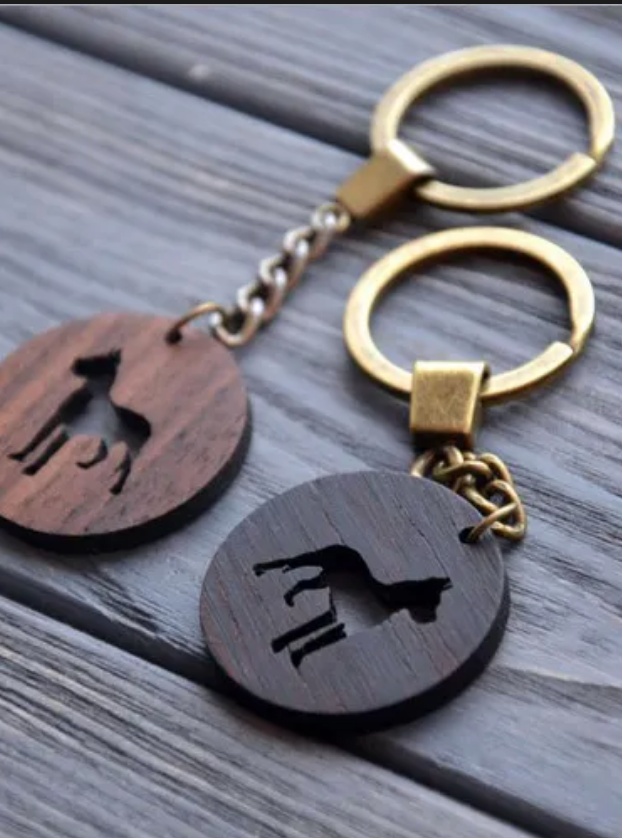
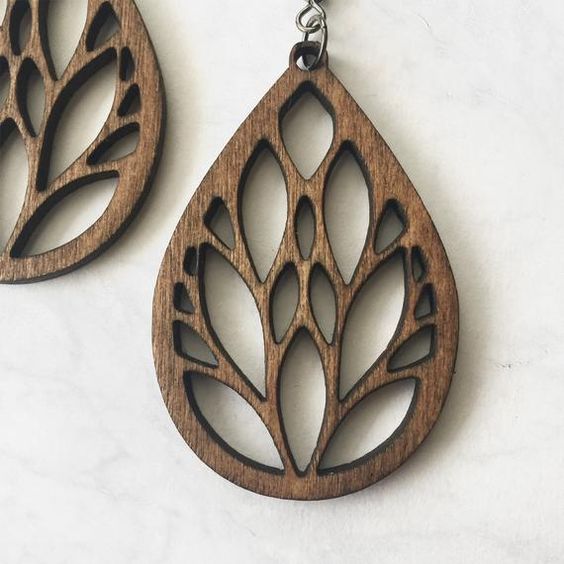
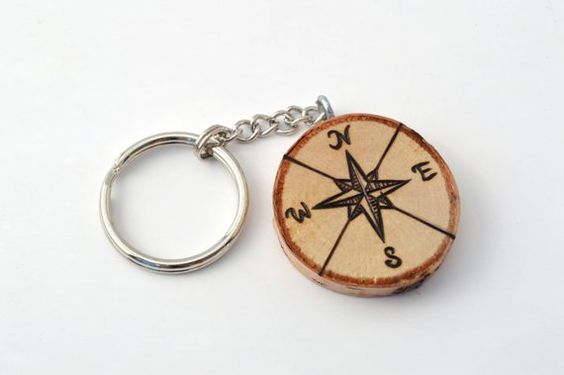
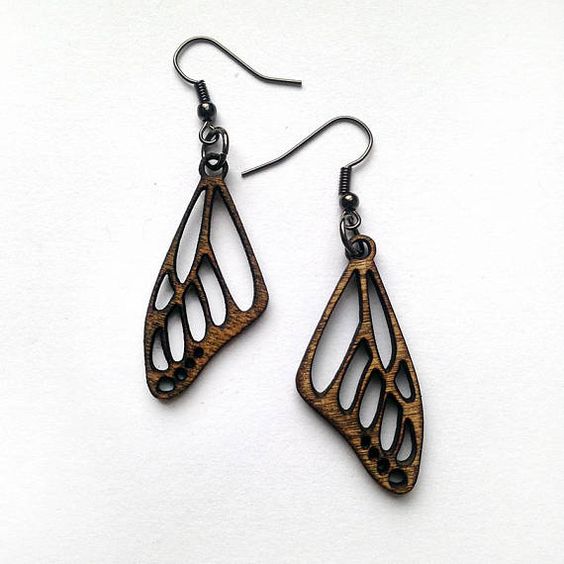
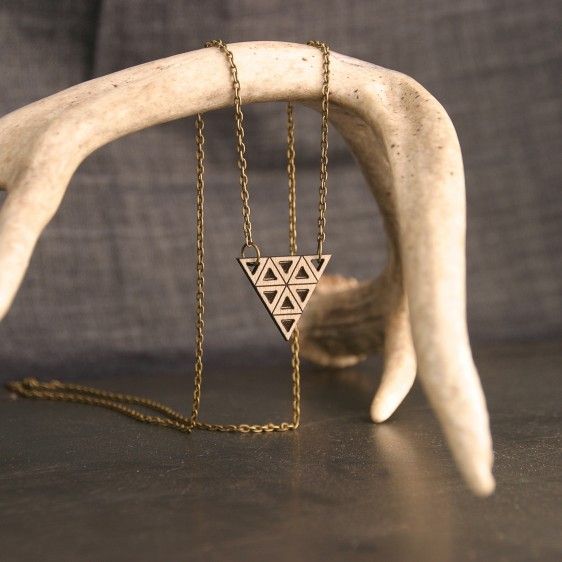
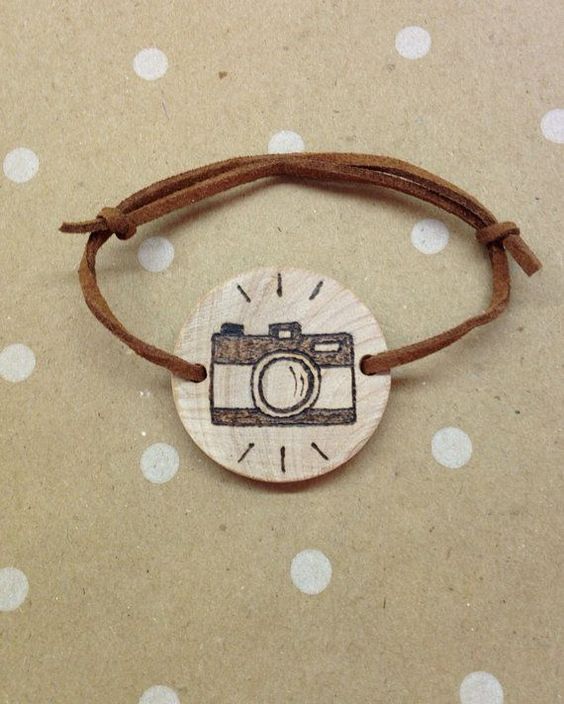
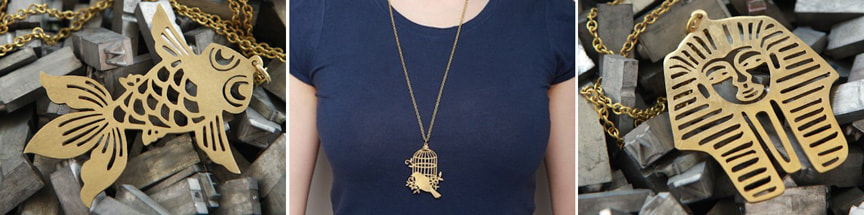
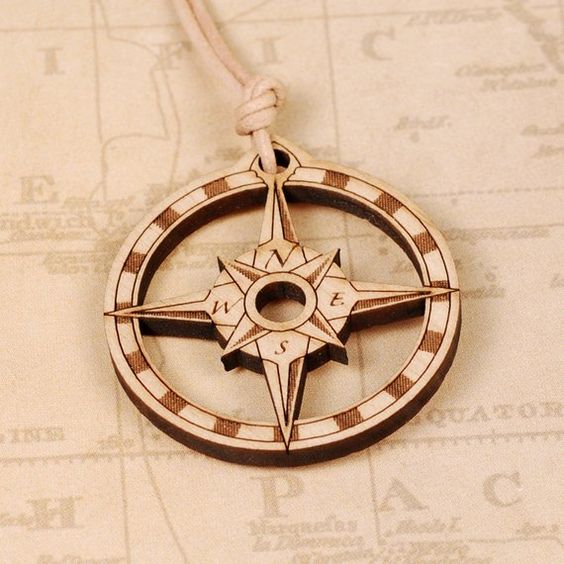
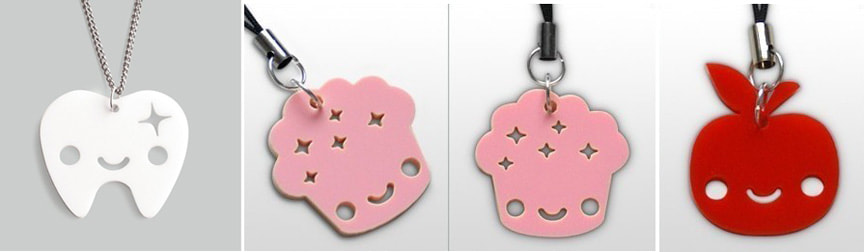
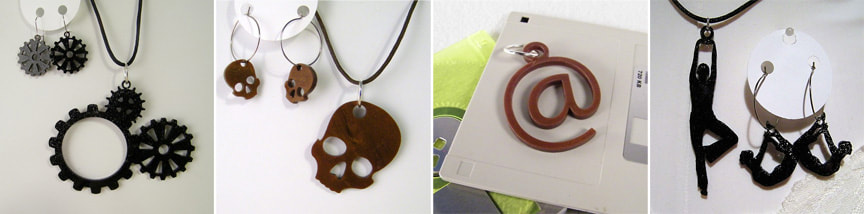
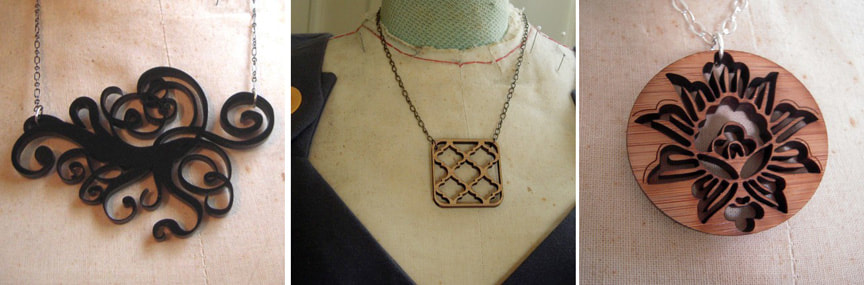
Keychain or Pendant Design
Design a keychain or necklace pendant that will be cut on wood on the laser cutter.
Design Options:
-an original character
-an original object that represents you or an interest of yours
-an abstract design
Process:
1) Using Illustrator, create your design using vector shapes and tools
2) Fill your design with black.
3) Your design should demonstrate positive and negative space where areas will be cut out.
4) If an area will be engraved, stroke it with white. *Minimal engraving. Rely on cut out areas instead.
5) All shapes must be merged or minus front to subtract a shape. Use the pathfinder palette.
6) Make sure to include a hole for the keychain or necklace chain. Minus front the hole from your design.
7) Expand all when finished: Select all>Object>Expand
8) If any text is included in the design it must be turned into outlines and expanded. Type>create outlines
9) Save your file as a .svg
10) Maximum design size 2x2"
11) After your design is cut on the laser cutter: assemble your keychain or necklace.
12) Photograph your keychain or necklace on a white background, model with no face, or a professional background of your choice in 2-3 viewpoints.
13) Create a professional mock up file of your keychain or necklace including the digital design and 2 -3 other viewpoints of the real keychain or necklace. Include a photo of your sketch if you hand sketched your design, too.
14) Make the final professional mockup file 8x10" at 300 ppi and use a layout template.
15) Leave the wood natural or you may paint it.
More examples at ponoko.com
Examples


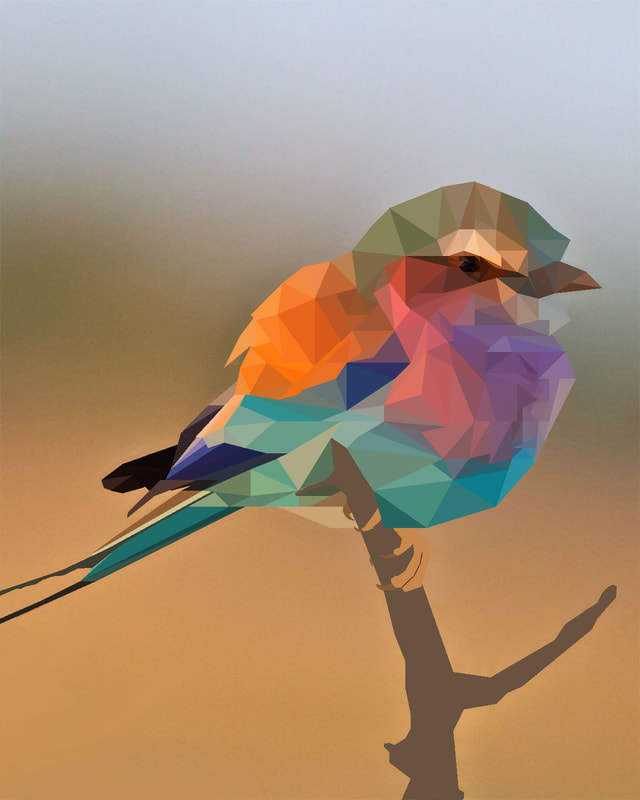
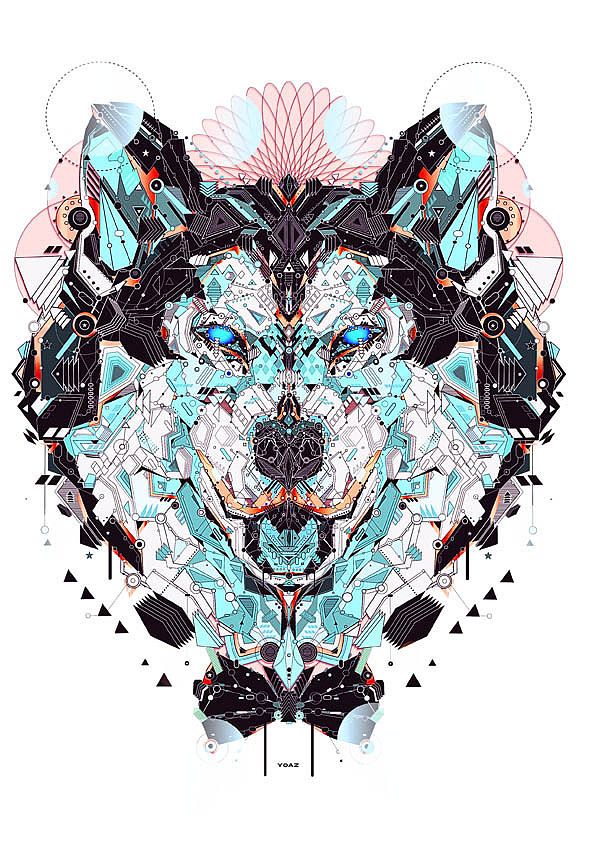
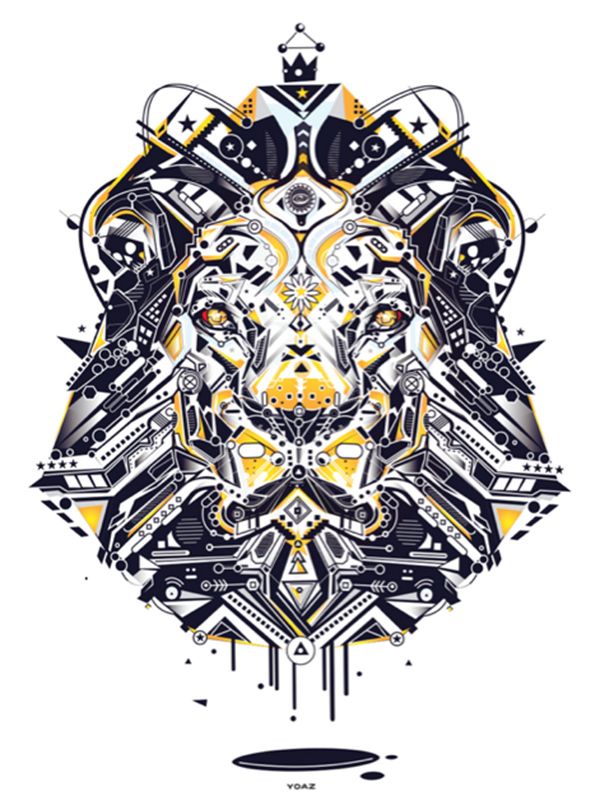
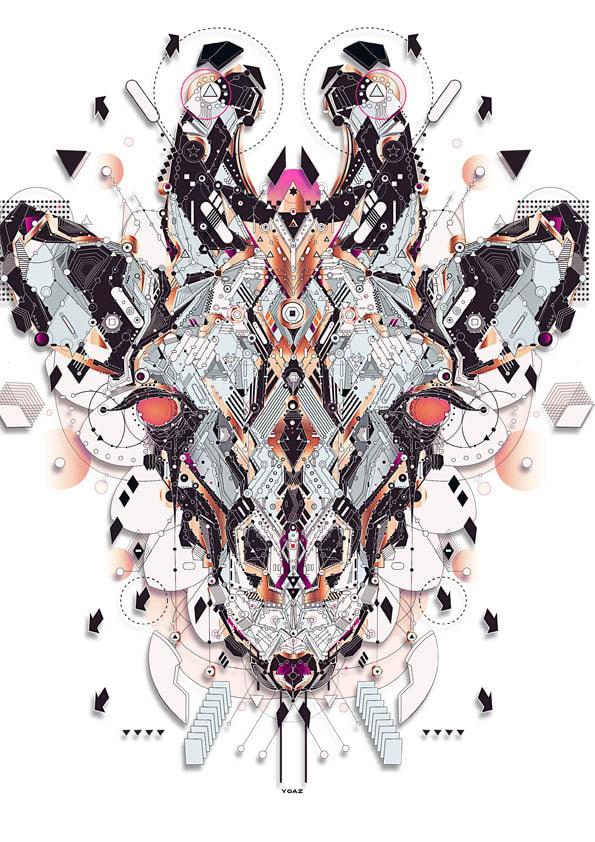
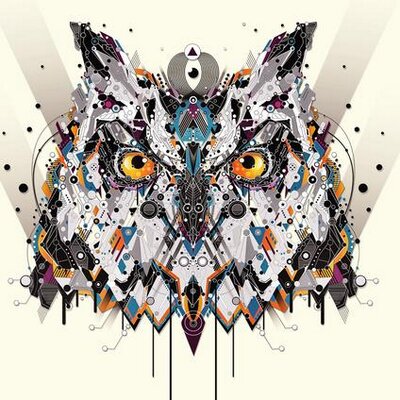
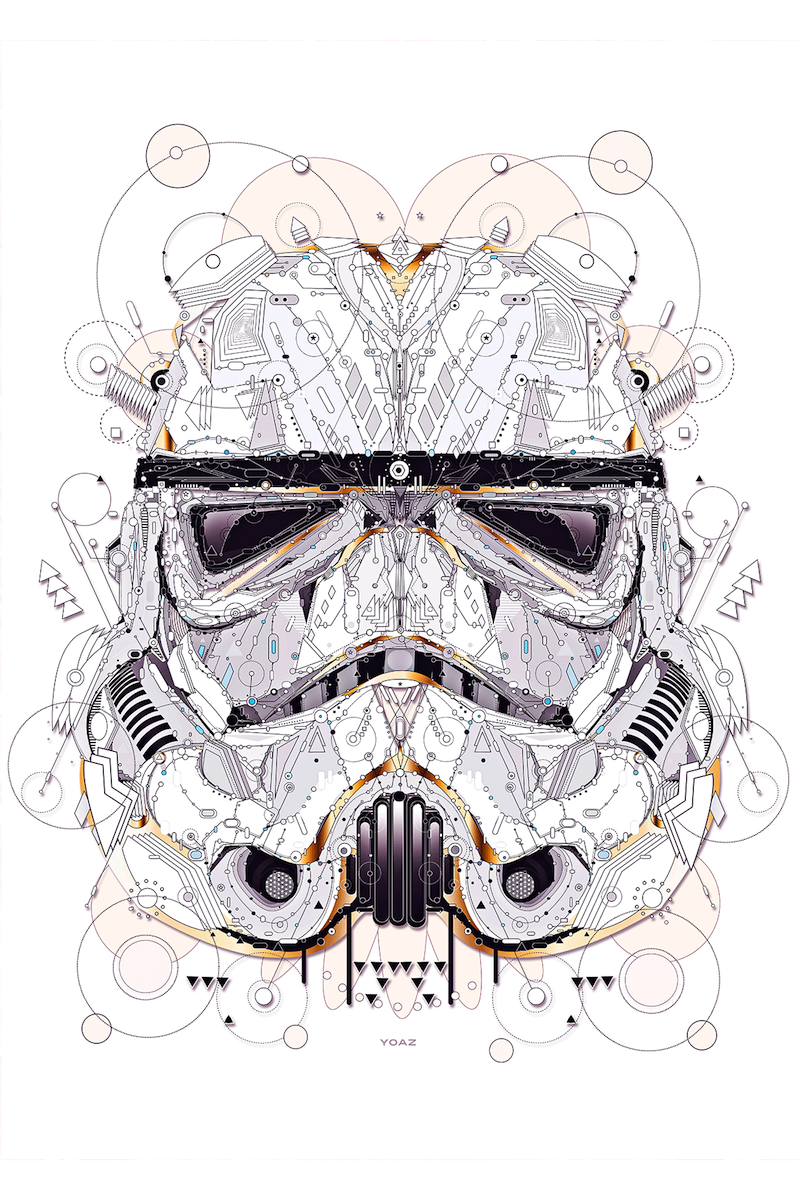
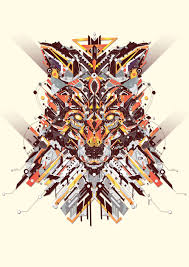
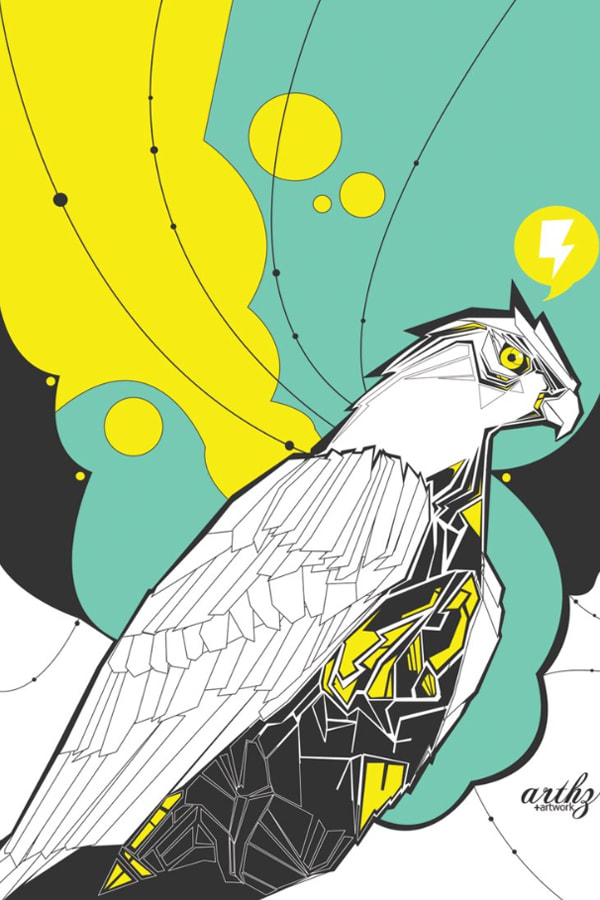
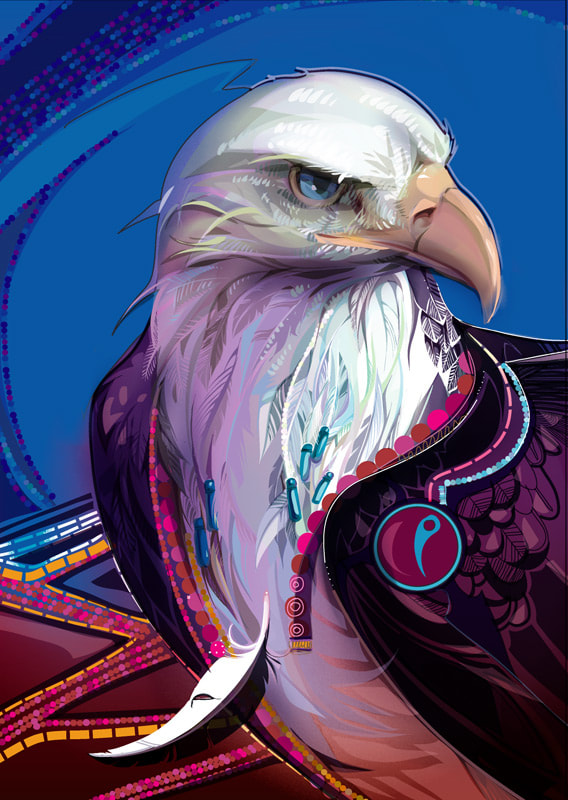
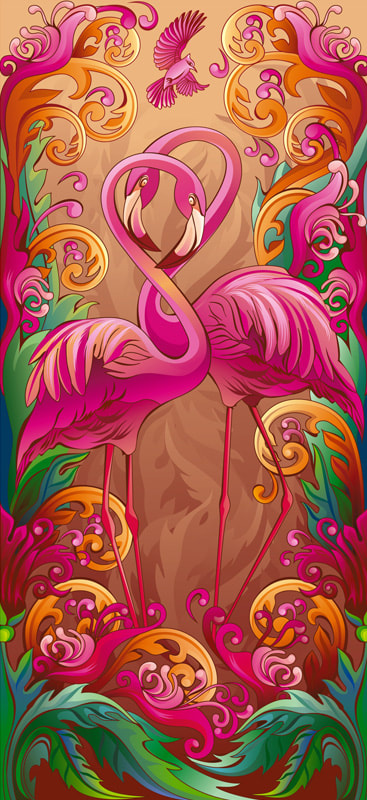
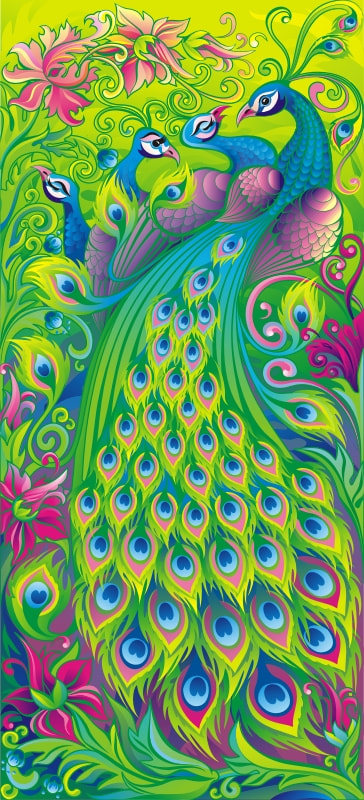
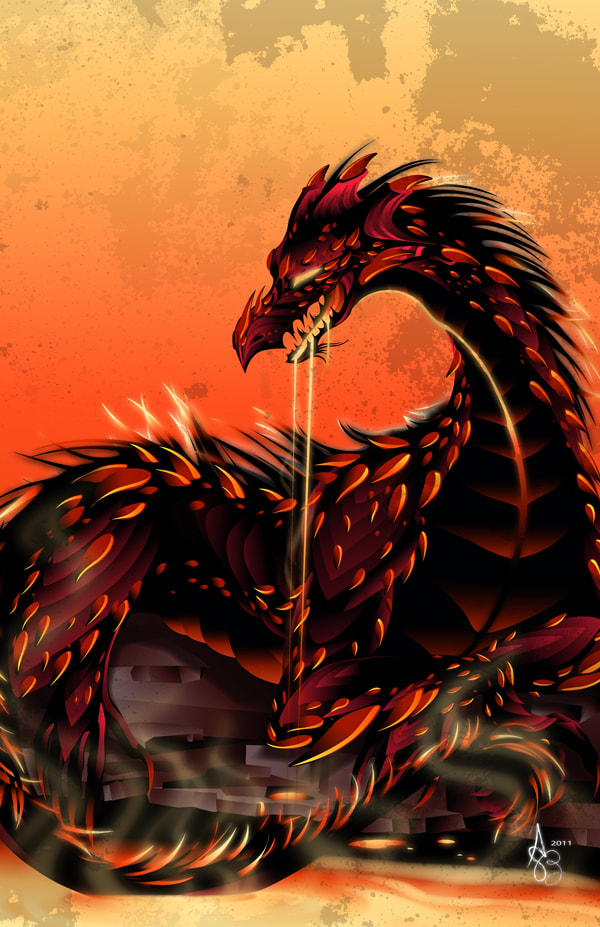
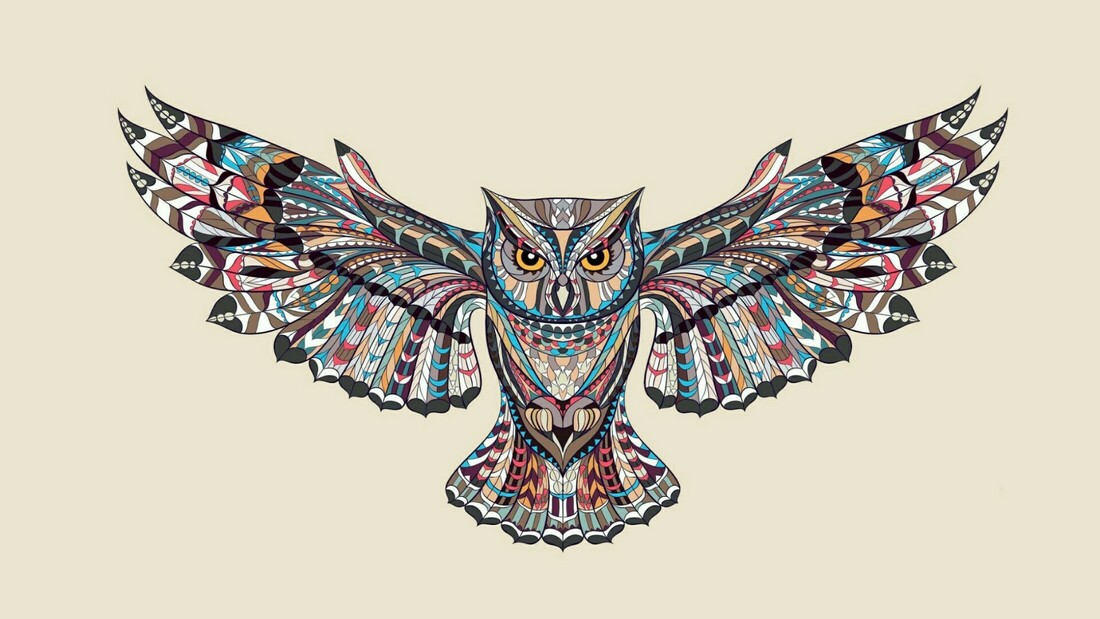
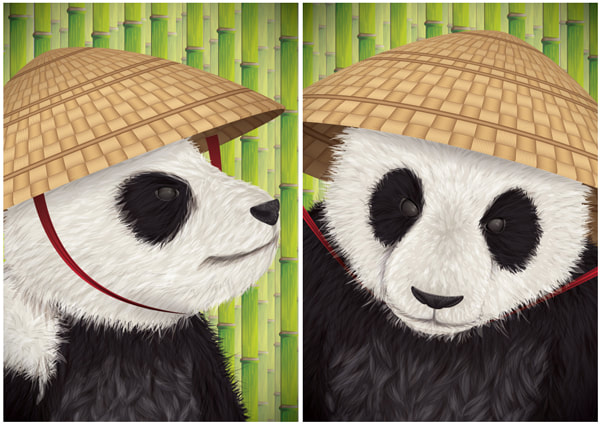
Shape & Line Animal Vector Portraits
Assignment:


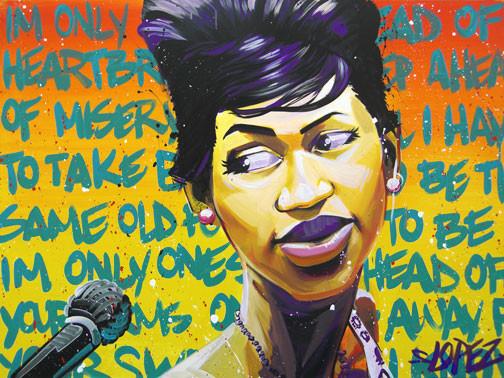
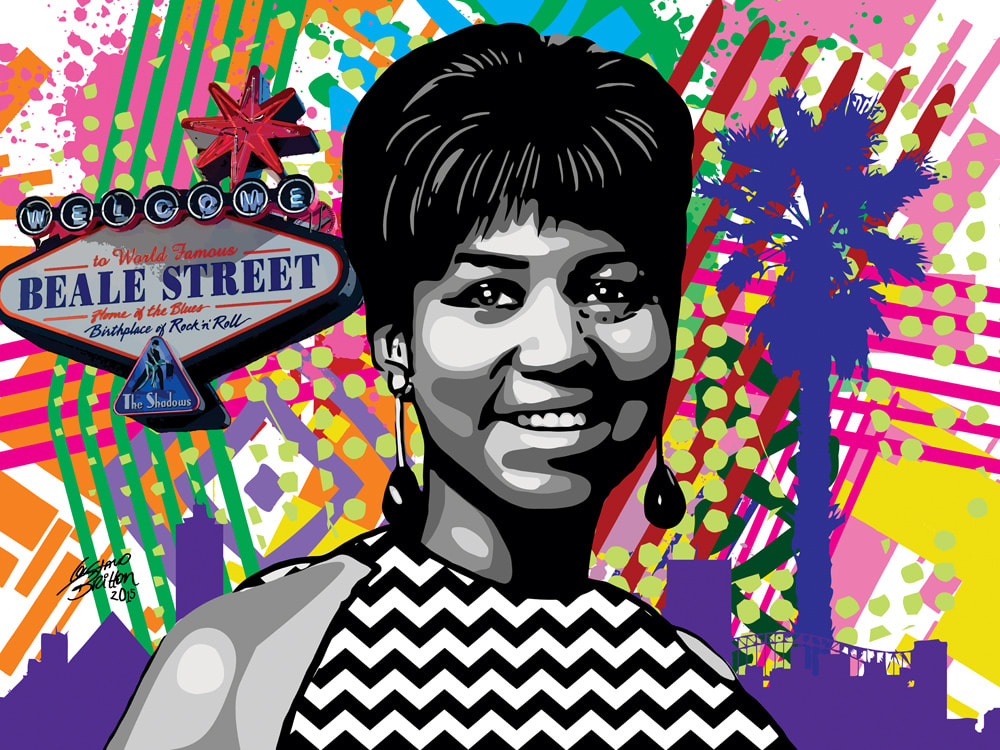
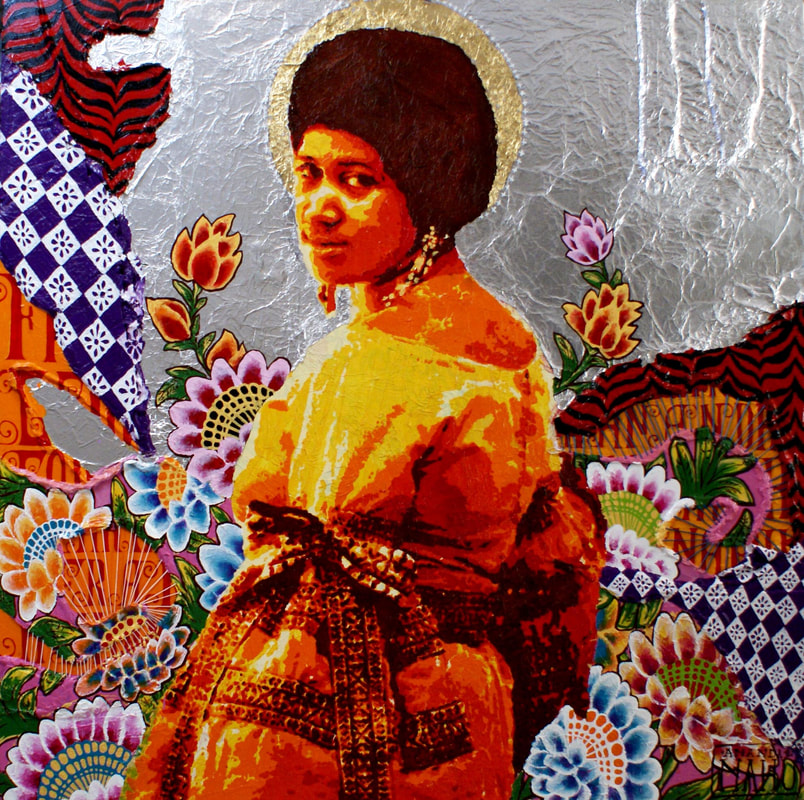
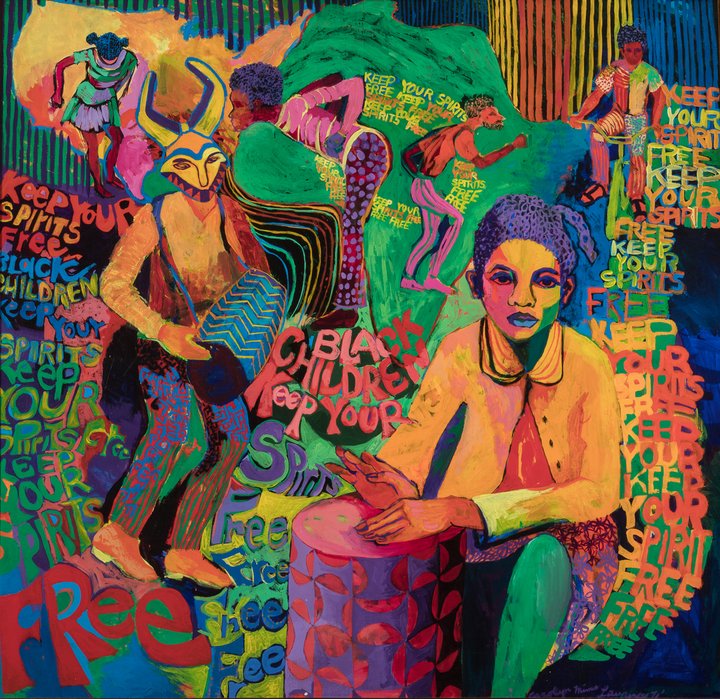
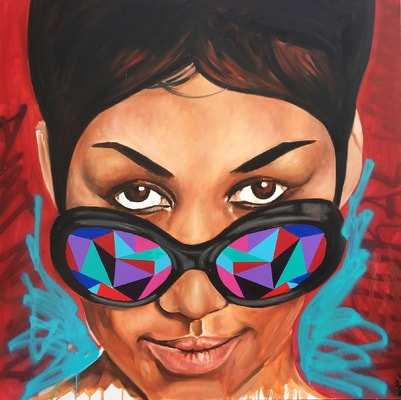
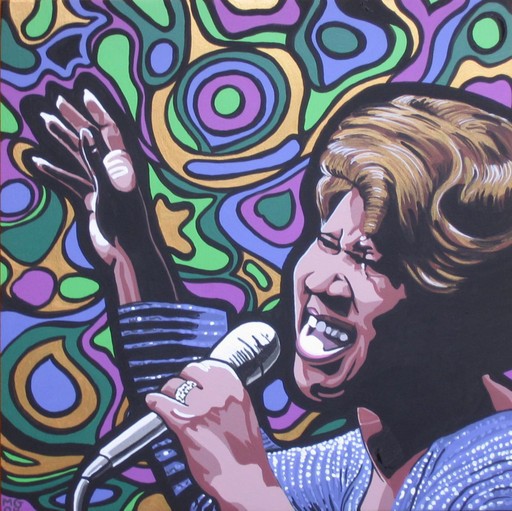
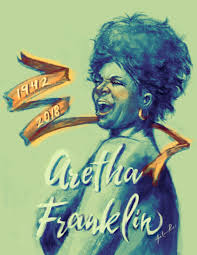
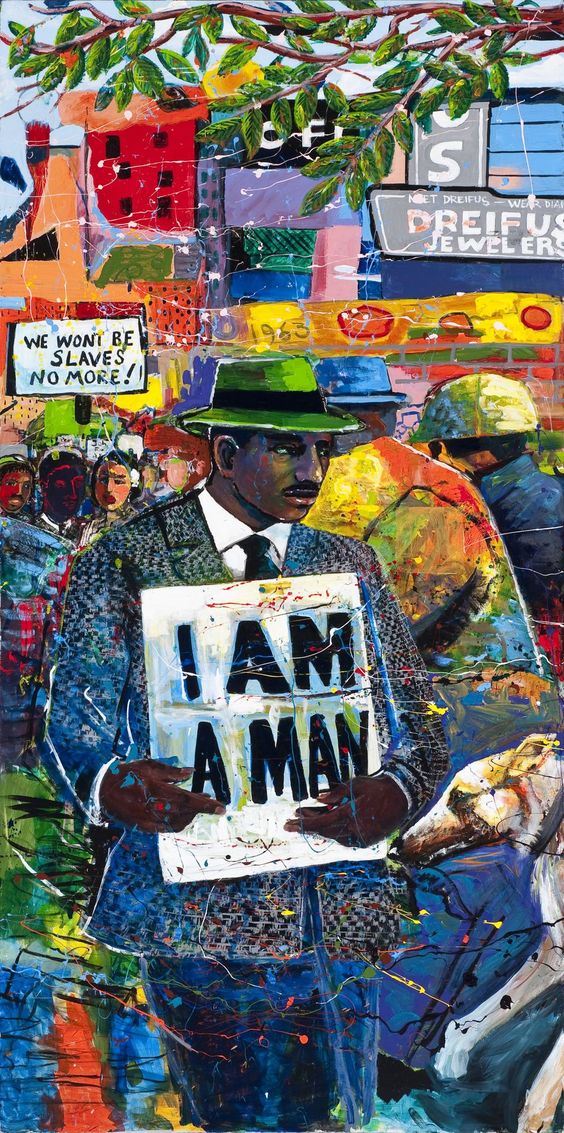
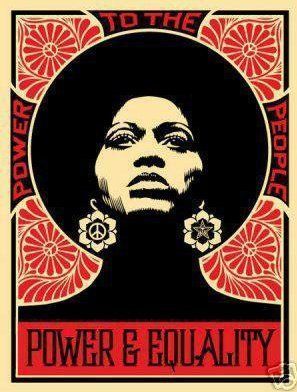
Aretha Franklin & The Civil Rights Artwork
Create a poster or artwork that depicts Aretha Franklin from a civil rights and musical perspective.
Artworks will be created in honor of Black History Month. 25+ posters will be chosen to be displayed at the 26th annual presentation of the Fair Housing Laws and Litigation Conference
Topics to research:
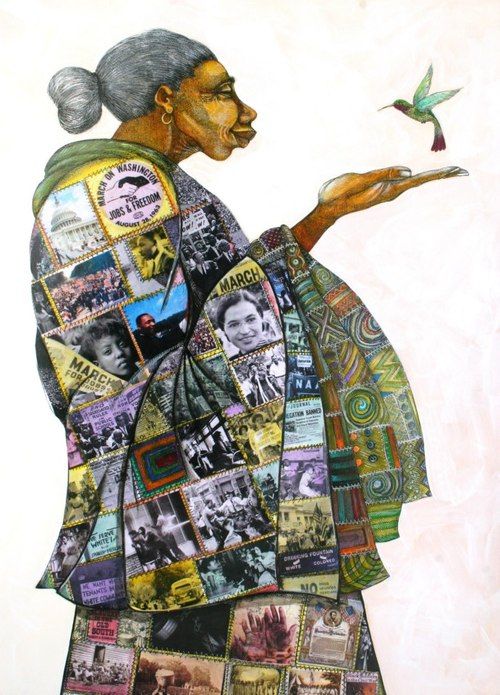
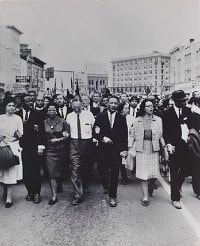
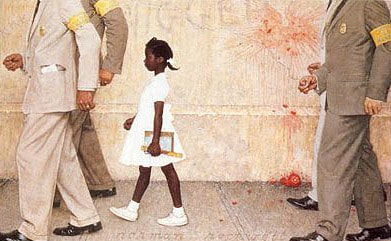
1) The Civil Rights Movement
2) Aretha Franklin's song lyrics and how they contributed to the Civil Rights Movement
3) How Aretha Franklin's actions, interviews, political connections, and beliefs contributed to the Civil Rights Movement
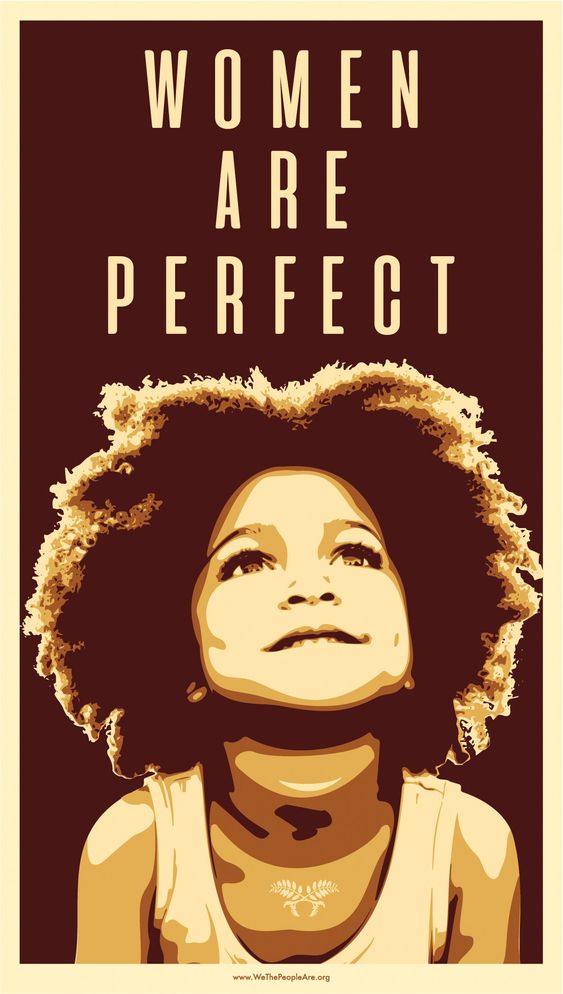
4) Women's Rights
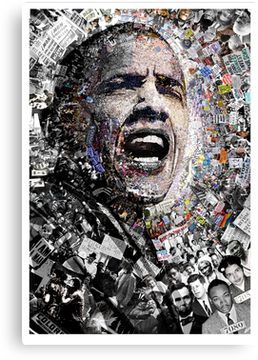
5) The connections between Martin Luther King Jr. , Jesse Jackson, Barack Obama and Aretha Franklin
Requirements:
Complete the Aretha Franklin Inspiration Board
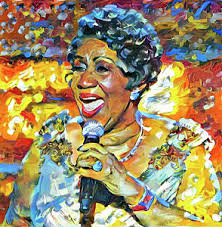
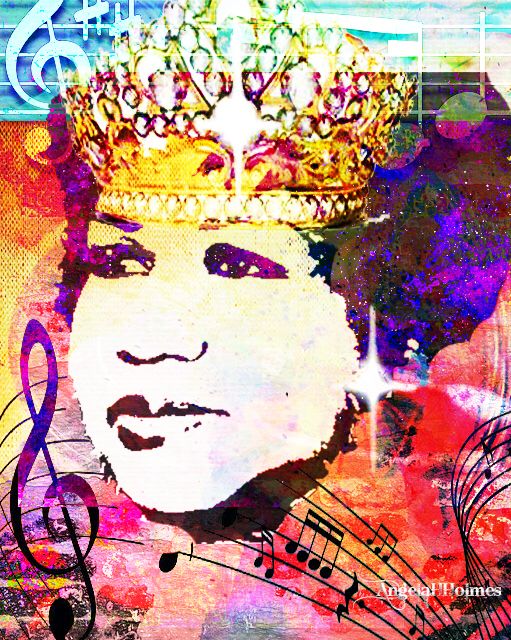
1) Create an original poster or artwork that depicts Aretha Franklin from a civil rights and musical perspective
2) Must include an image of Aretha Franklin
3) Must include references to her work with the Civil Rights Movement Visually and through text
4) Include imagery that illustrates Aretha's music
5) Poster size 11x14" at 300 ppi
6) Technique of your choice: blend photos, vector illustration, digital painting, or combine several styles and techniques.
7) Style of your choice: Black and white, color, graphic, realistic, stylized, digital painted...
8) include text in a unique and integrated way: Aretha Franklin song lyrics, quotes from Aretha, important civil rights quotes, etc.
9) Must have a color scheme
10) Must demonstrate advancing Photoshop or Illustrator skills
11) Must demonstrate use of the Elements of Art & Principles of Design
12) Must demonstrate the use of at least 1 rule of composition
13) IMPORTANT: YOUR ARTWORK MUST BE NEW AND ORIGINAL AND CREATED BY YOU. YOU MAY NOT COPY AN ARTWORK FROM THE INTERNET.
Resources:
"Aretha Franklin Rose with the Civil Right Movement" - Billboard.com
"Aretha Franklin: the Sound of the Civil Right Movement" - bbc
"Aretha Franklin's History with the Civil Rights Movement: from Martin Luther King Jr. to Barack Obama" - Vanity Fair
"Remembering Aretha Franklin as a Women's Rights and Civil Rights Activist"
Jesse Jackson on Aretha Franklin's Legacy
Aretha Franklin Songs that inspired the Civil Right Movement and videos
Create a poster or artwork that depicts Aretha Franklin from a civil rights and musical perspective.
Artworks will be created in honor of Black History Month. 25+ posters will be chosen to be displayed at the 26th annual presentation of the Fair Housing Laws and Litigation Conference
Topics to research:
1) The Civil Rights Movement
2) Aretha Franklin's song lyrics and how they contributed to the Civil Rights Movement
3) How Aretha Franklin's actions, interviews, political connections, and beliefs contributed to the Civil Rights Movement
4) Women's Rights
5) The connections between Martin Luther King Jr. , Jesse Jackson, Barack Obama and Aretha Franklin
Requirements:
Complete the Aretha Franklin Inspiration Board
1) Create an original poster or artwork that depicts Aretha Franklin from a civil rights and musical perspective
2) Must include an image of Aretha Franklin
3) Must include references to her work with the Civil Rights Movement Visually and through text
4) Include imagery that illustrates Aretha's music
5) Poster size 11x14" at 300 ppi
6) Technique of your choice: blend photos, vector illustration, digital painting, or combine several styles and techniques.
7) Style of your choice: Black and white, color, graphic, realistic, stylized, digital painted...
8) include text in a unique and integrated way: Aretha Franklin song lyrics, quotes from Aretha, important civil rights quotes, etc.
9) Must have a color scheme
10) Must demonstrate advancing Photoshop or Illustrator skills
11) Must demonstrate use of the Elements of Art & Principles of Design
12) Must demonstrate the use of at least 1 rule of composition
13) IMPORTANT: YOUR ARTWORK MUST BE NEW AND ORIGINAL AND CREATED BY YOU. YOU MAY NOT COPY AN ARTWORK FROM THE INTERNET.
Resources:
"Aretha Franklin Rose with the Civil Right Movement" - Billboard.com
"Aretha Franklin: the Sound of the Civil Right Movement" - bbc
"Aretha Franklin's History with the Civil Rights Movement: from Martin Luther King Jr. to Barack Obama" - Vanity Fair
"Remembering Aretha Franklin as a Women's Rights and Civil Rights Activist"
Jesse Jackson on Aretha Franklin's Legacy
Aretha Franklin Songs that inspired the Civil Right Movement and videos
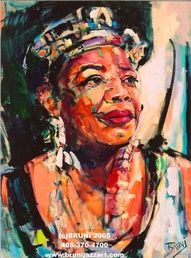
Examples of Professional Artworks of Aretha Franklin

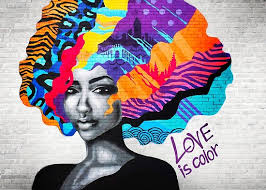
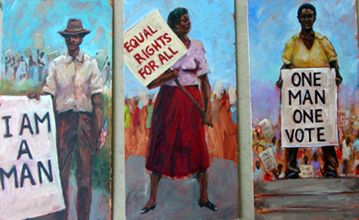
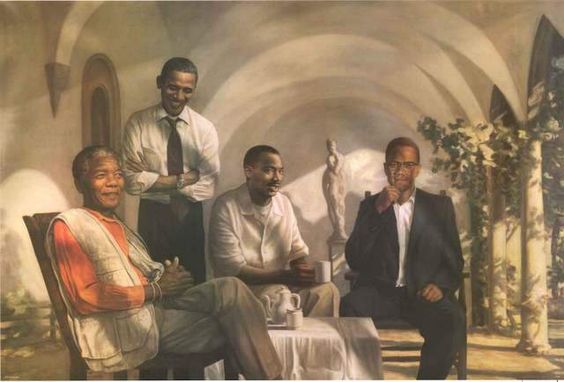
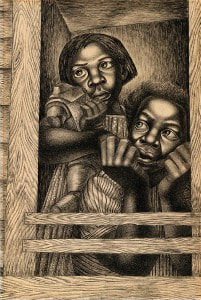
Examples of Civil Rights Artworks for Inspiration
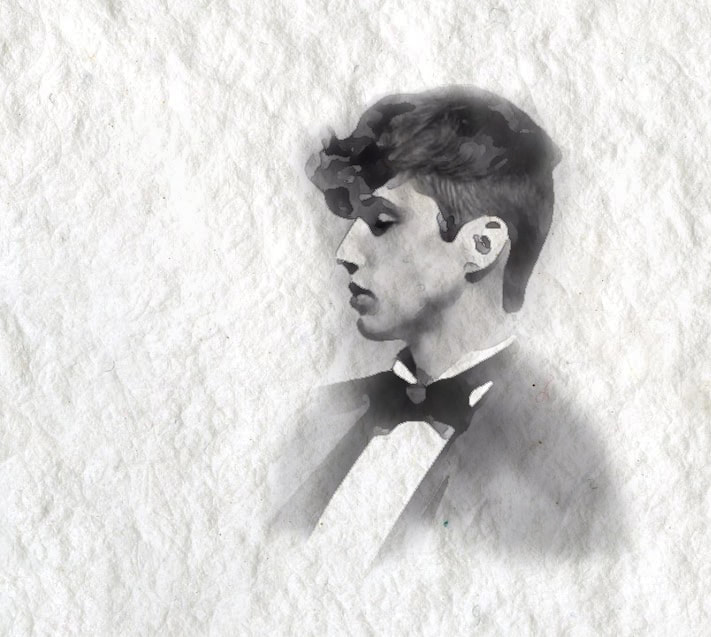
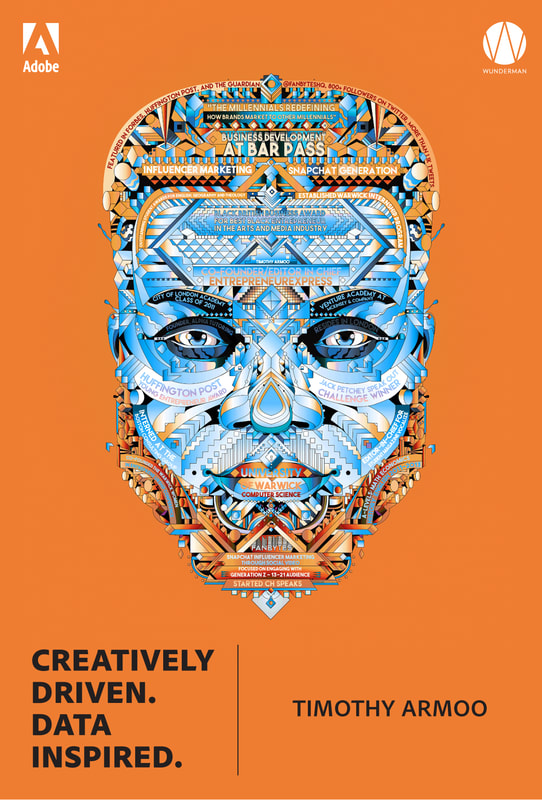
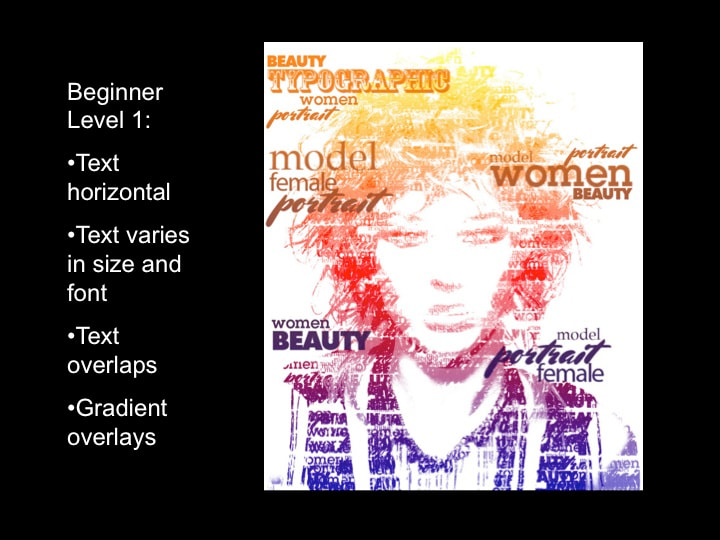
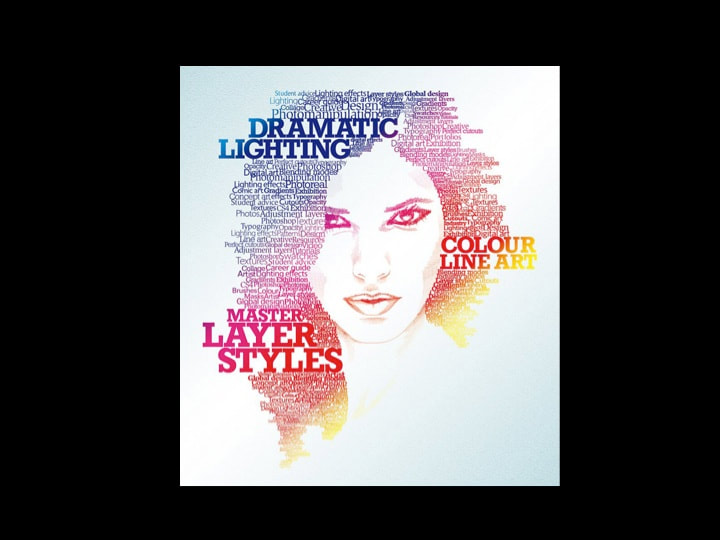
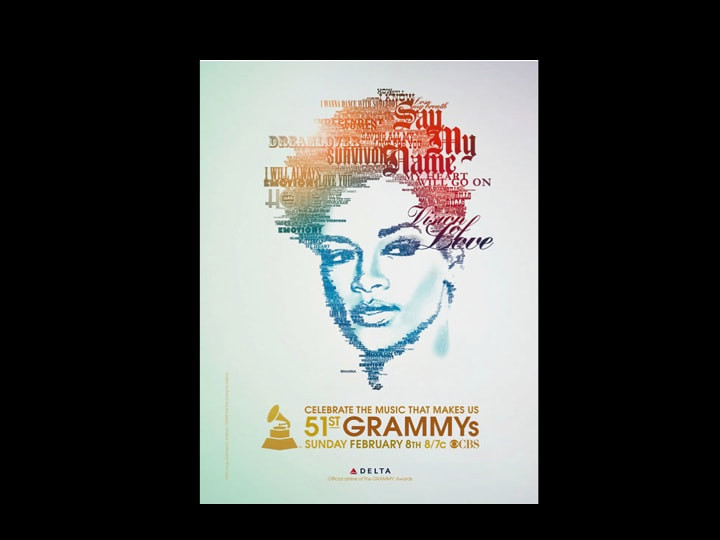
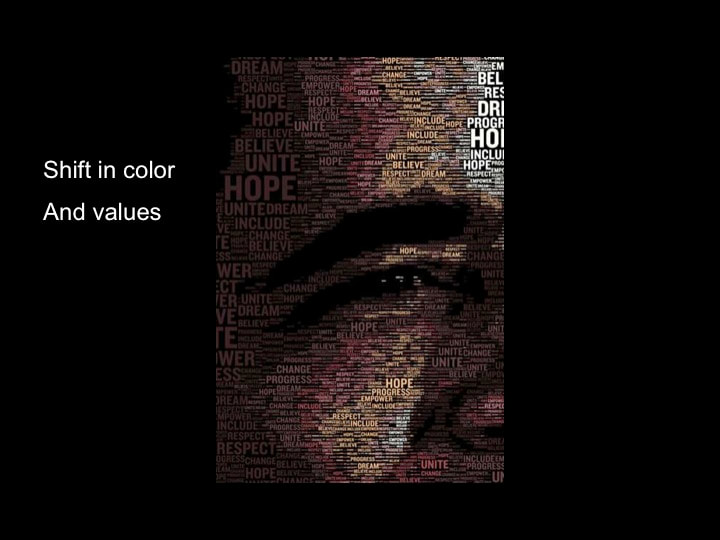
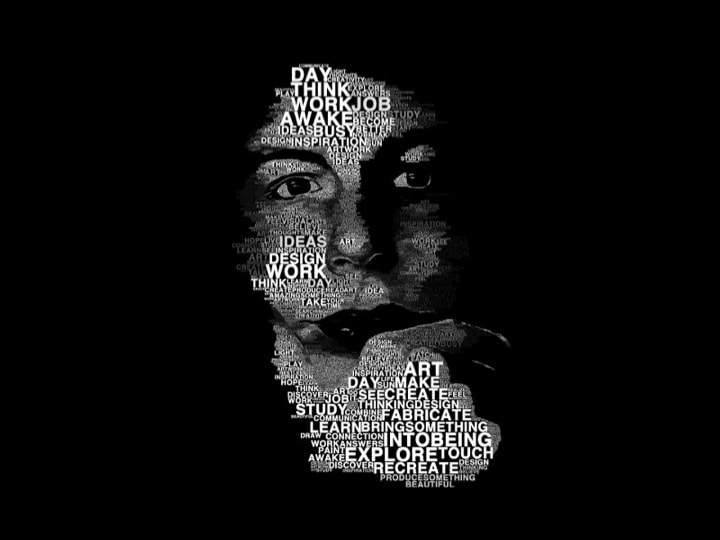
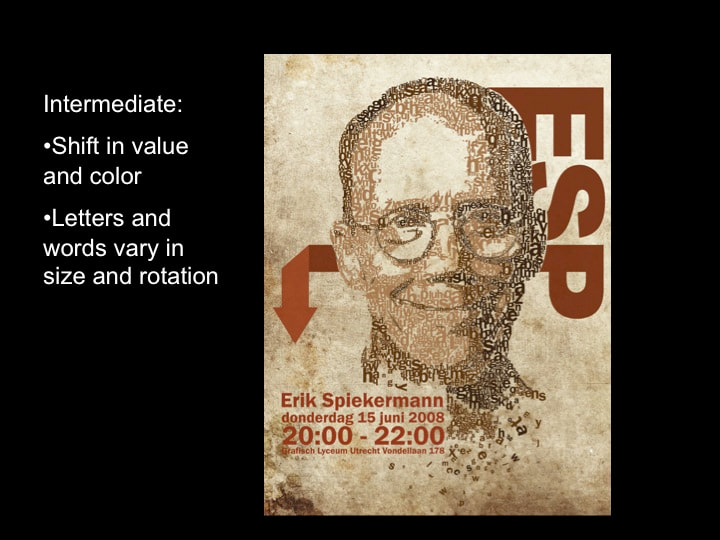
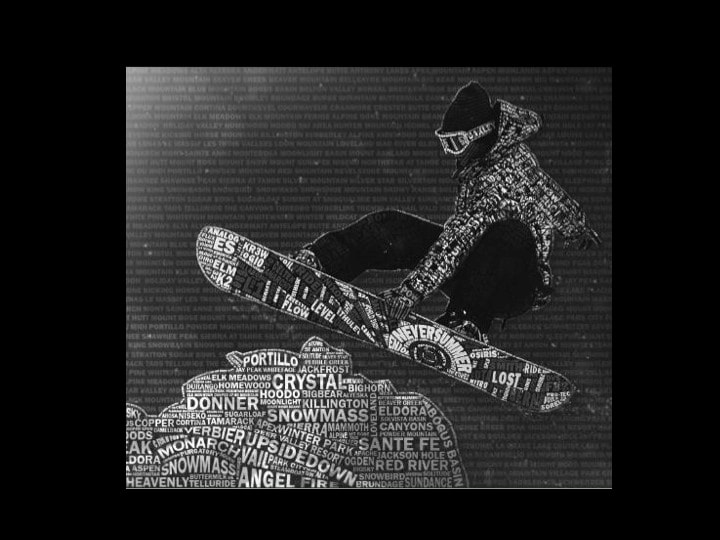
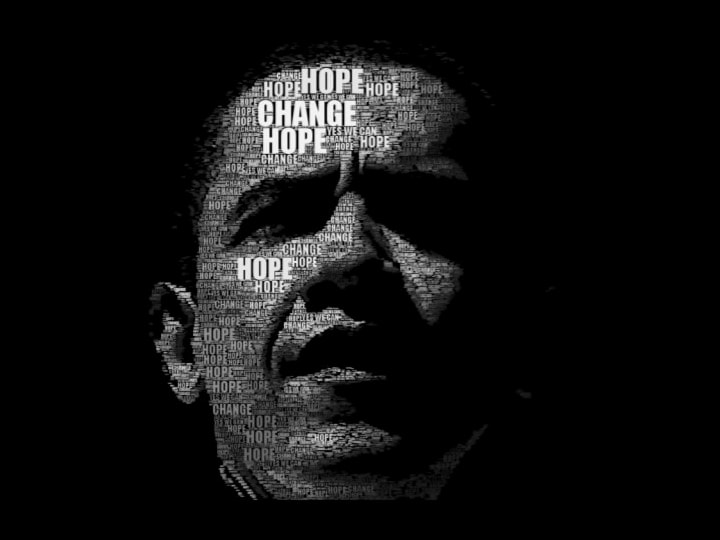
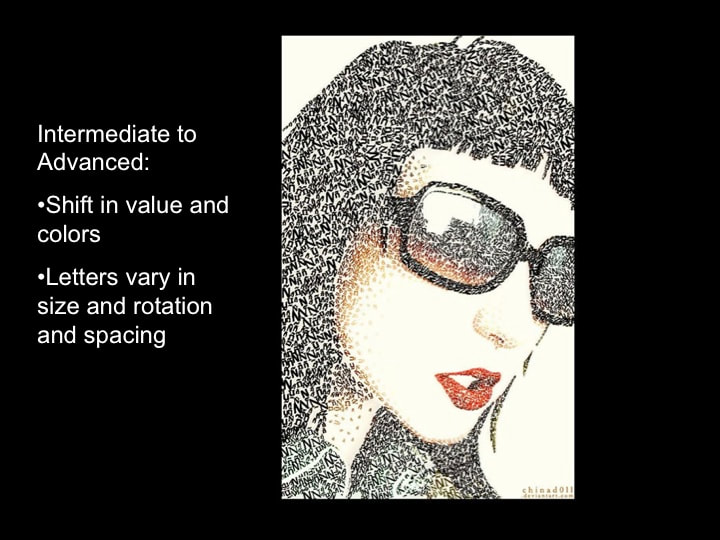
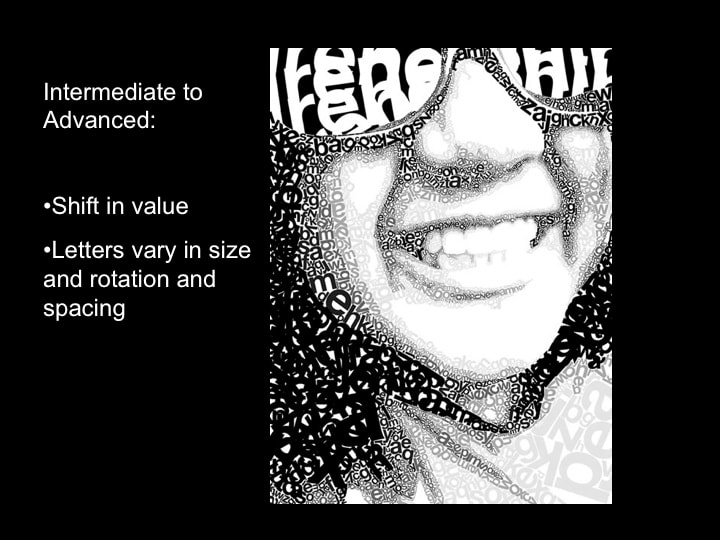
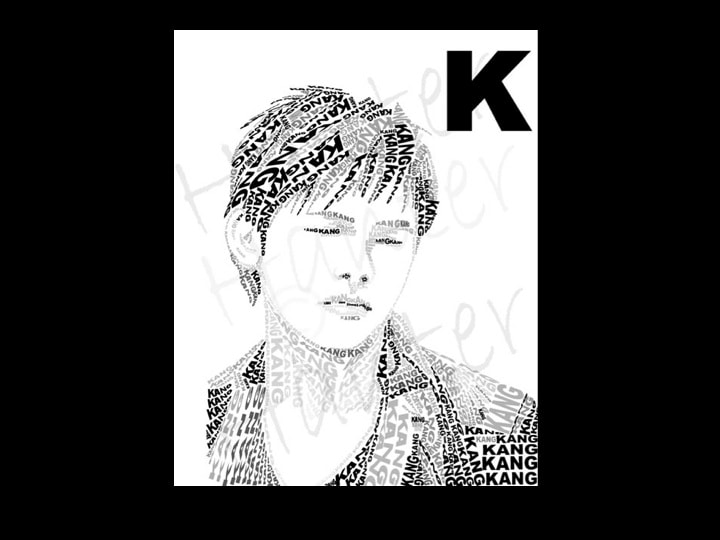
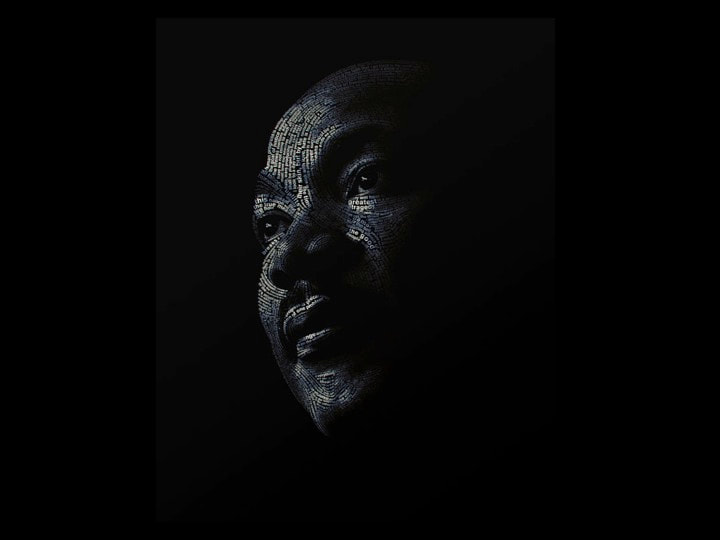
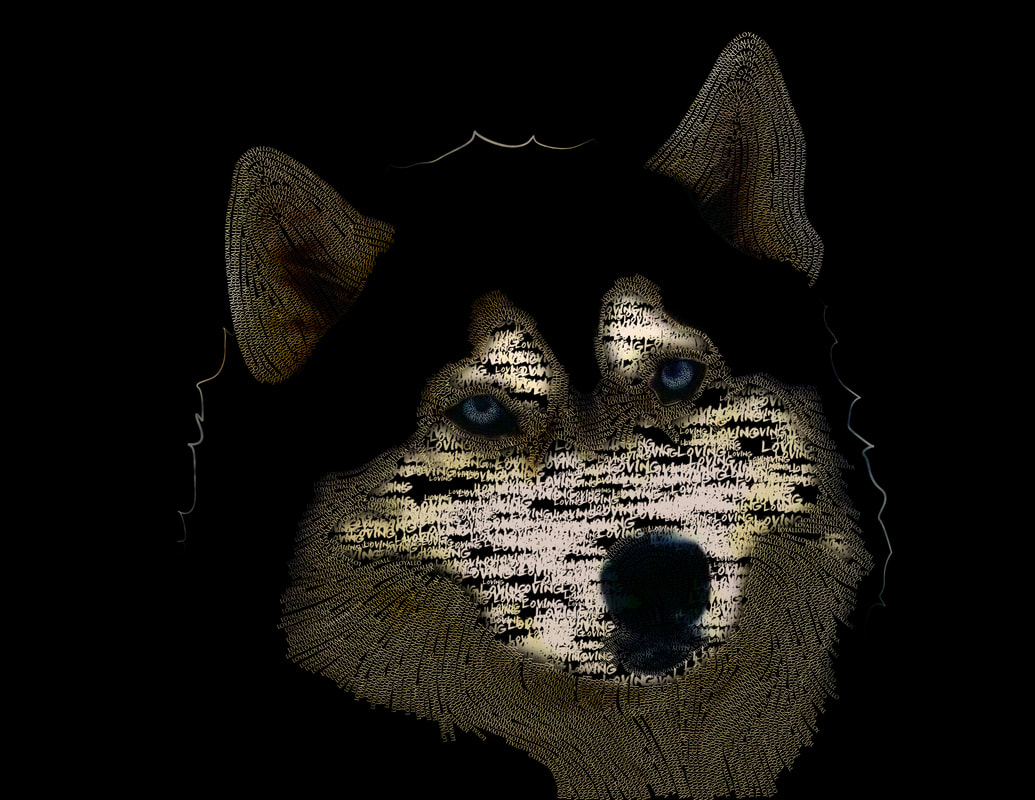
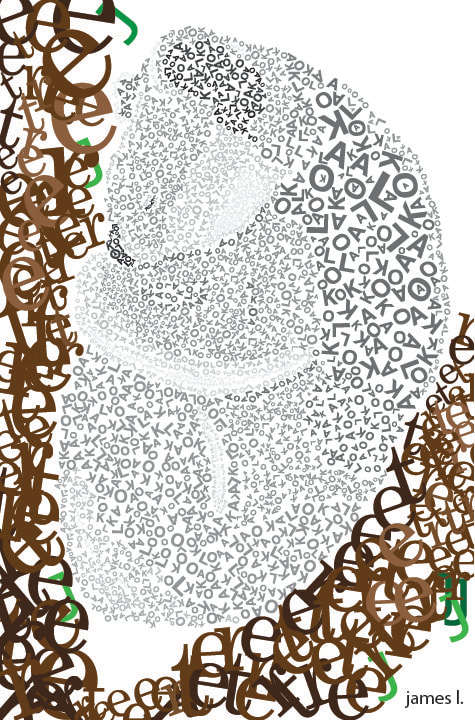
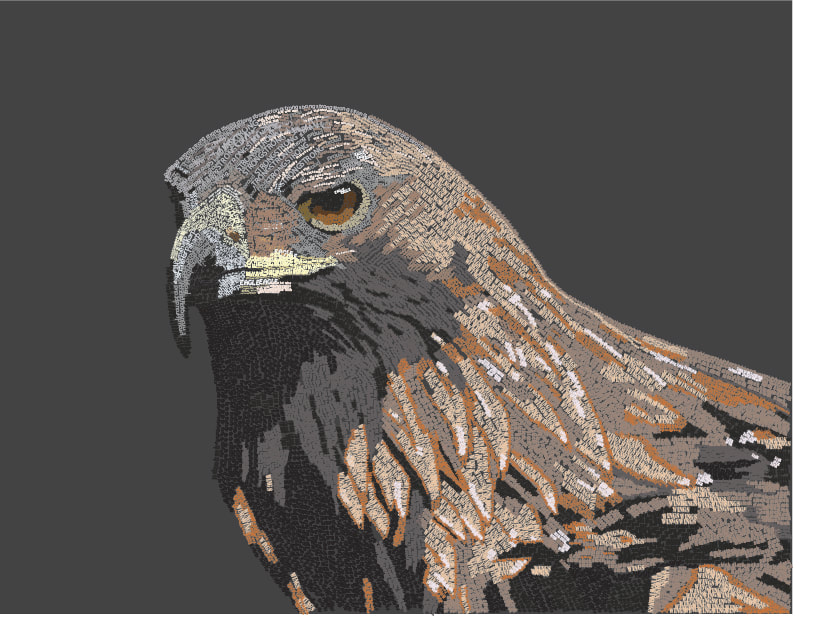
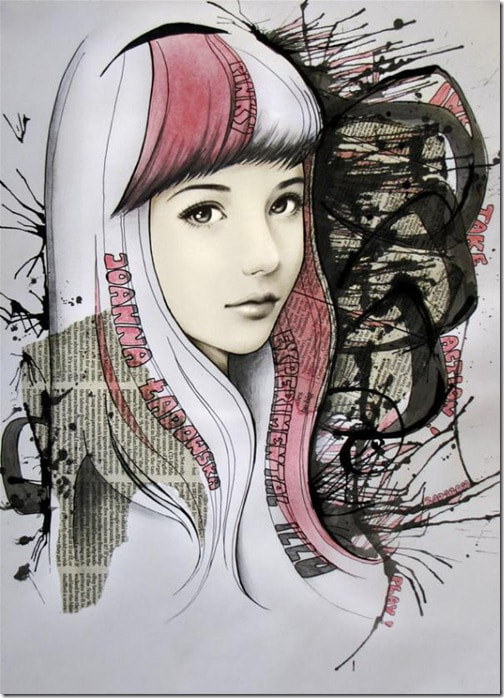
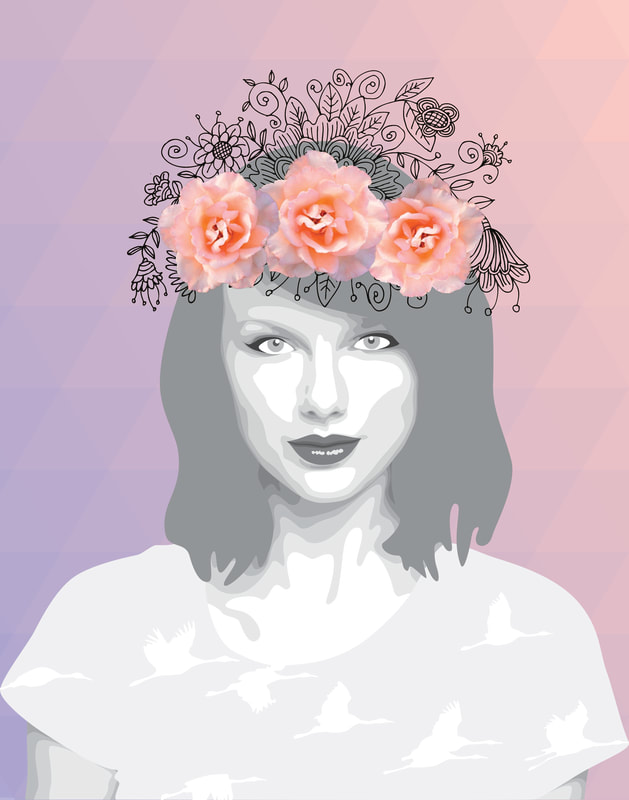
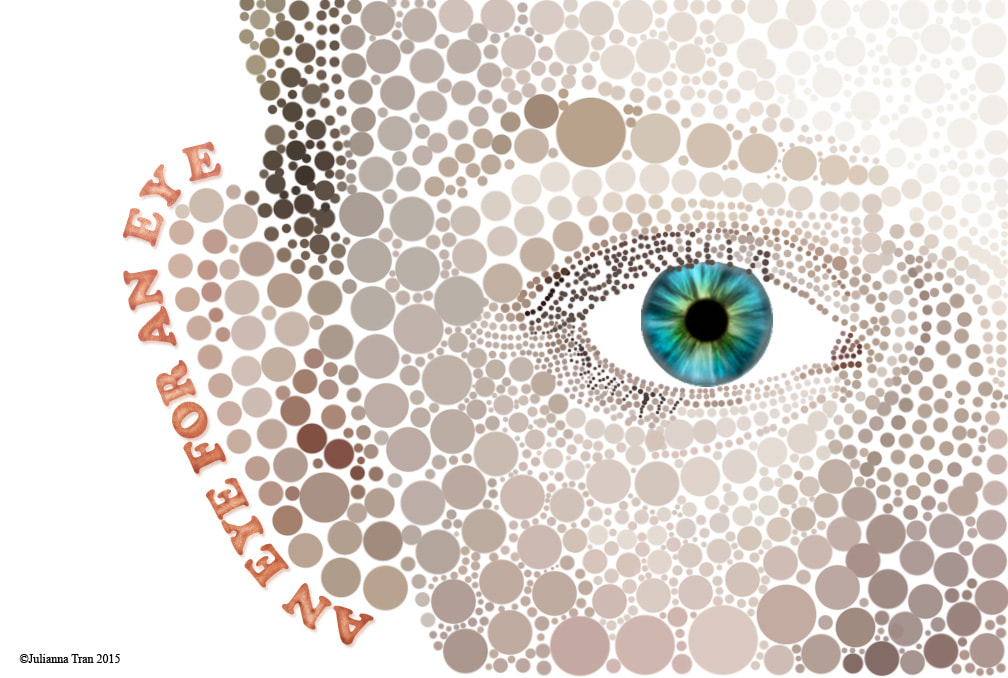
Typographic Portrait Project
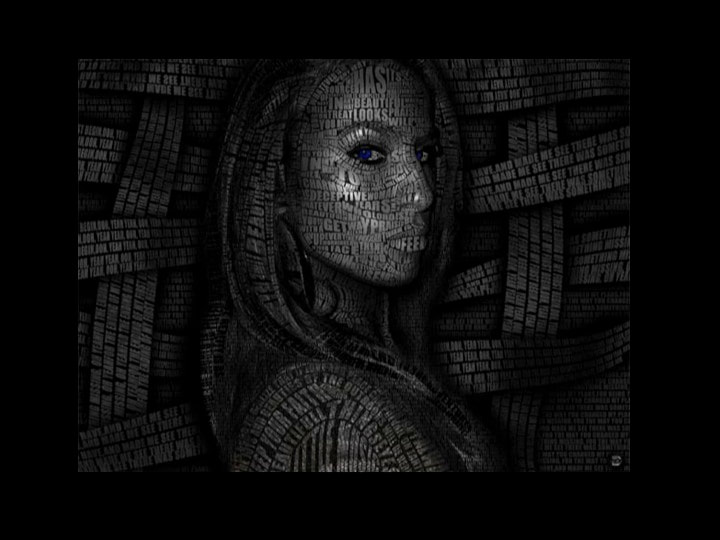
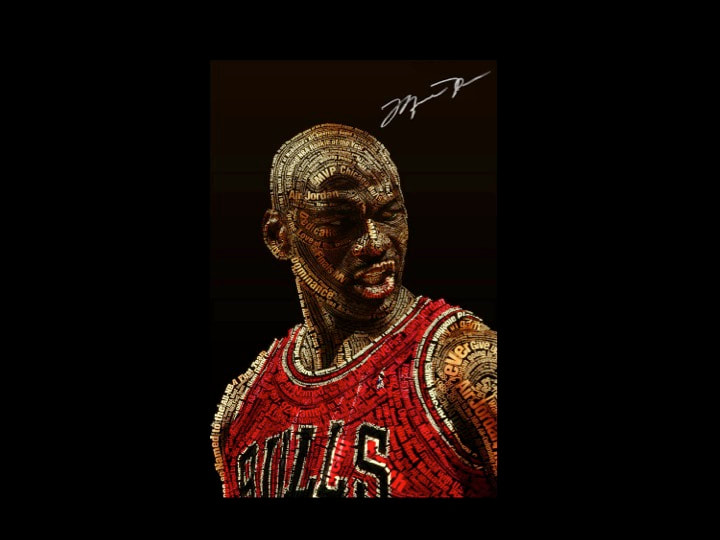
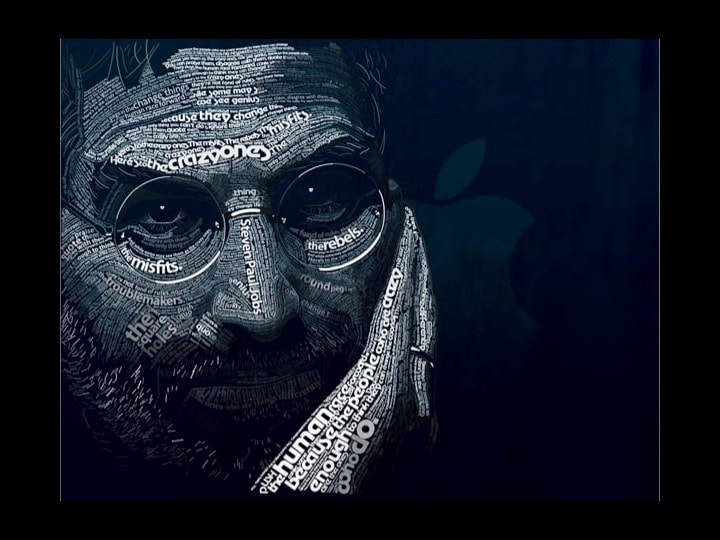
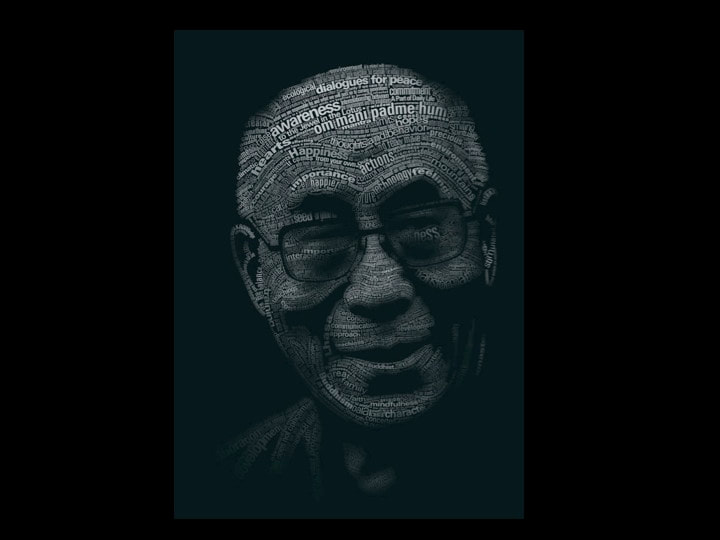
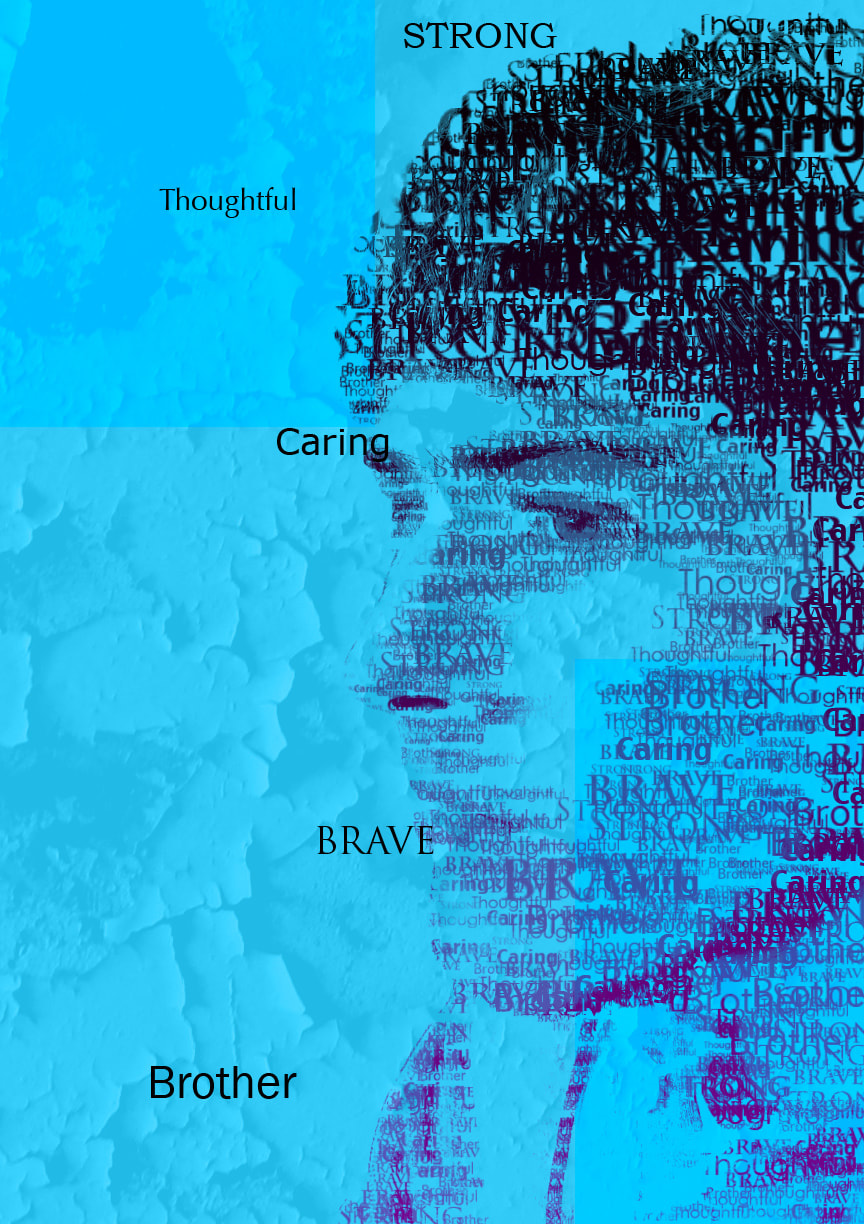
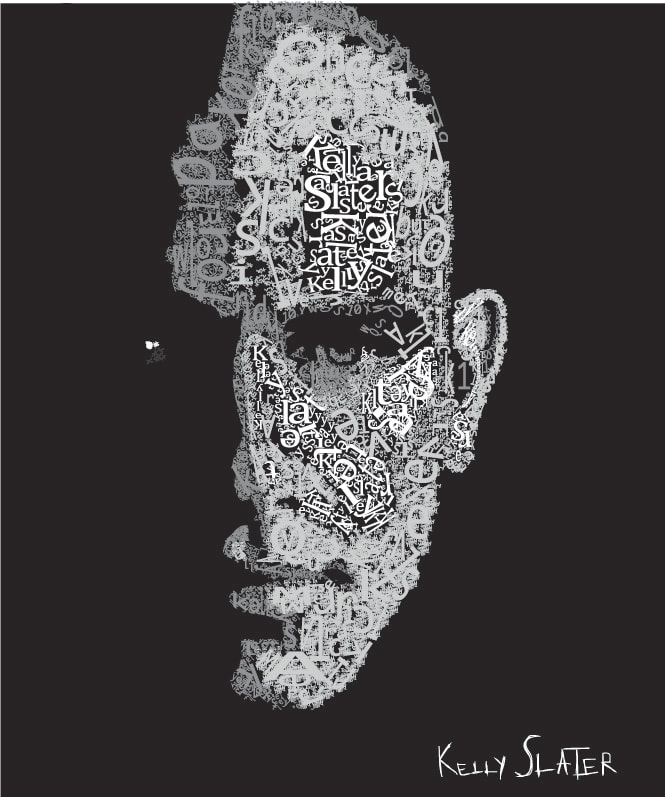
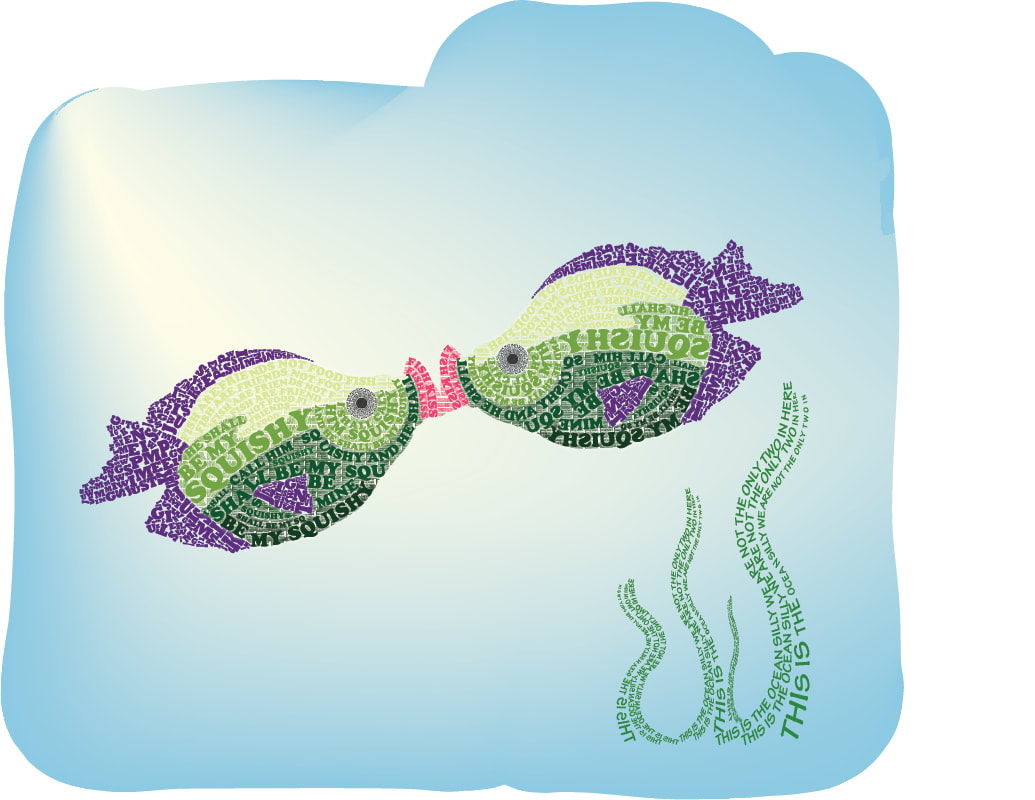
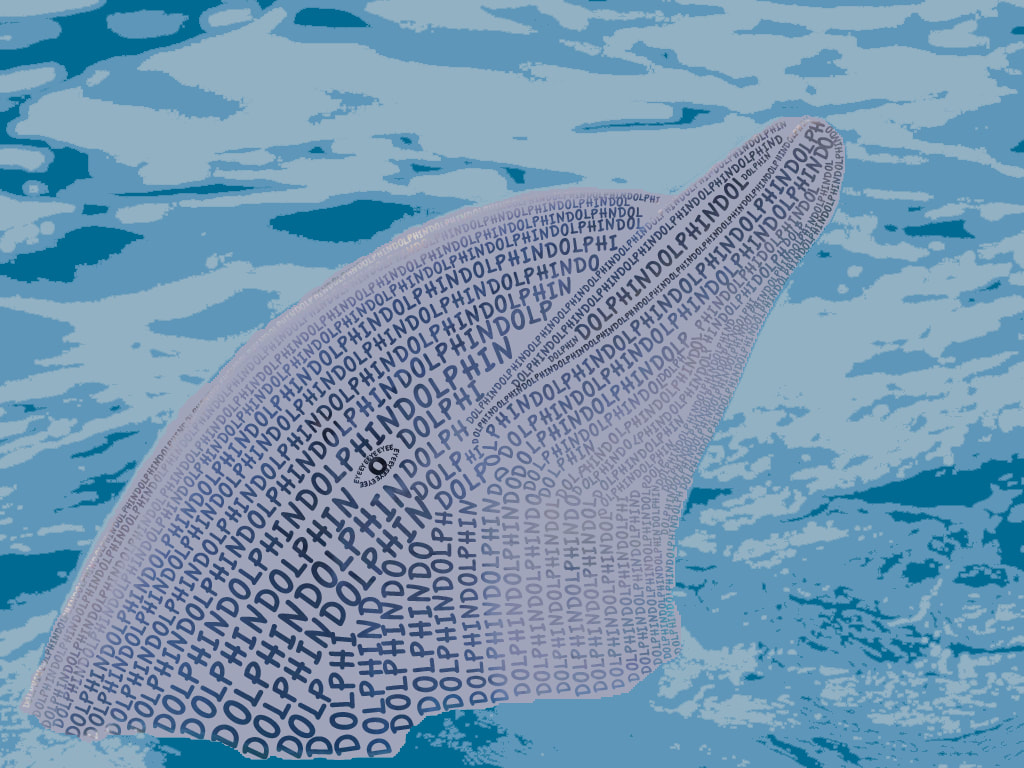
Create a Typographic Portrait of a person or animal.
•Person option: The person must be you, a family member, friend, or someone you greatly admire and is a POSITIVE historical or contemporary figure.
•Animal option: the animal portrait must show as much three dimension, complexity, time and effort as a portrait of a person.
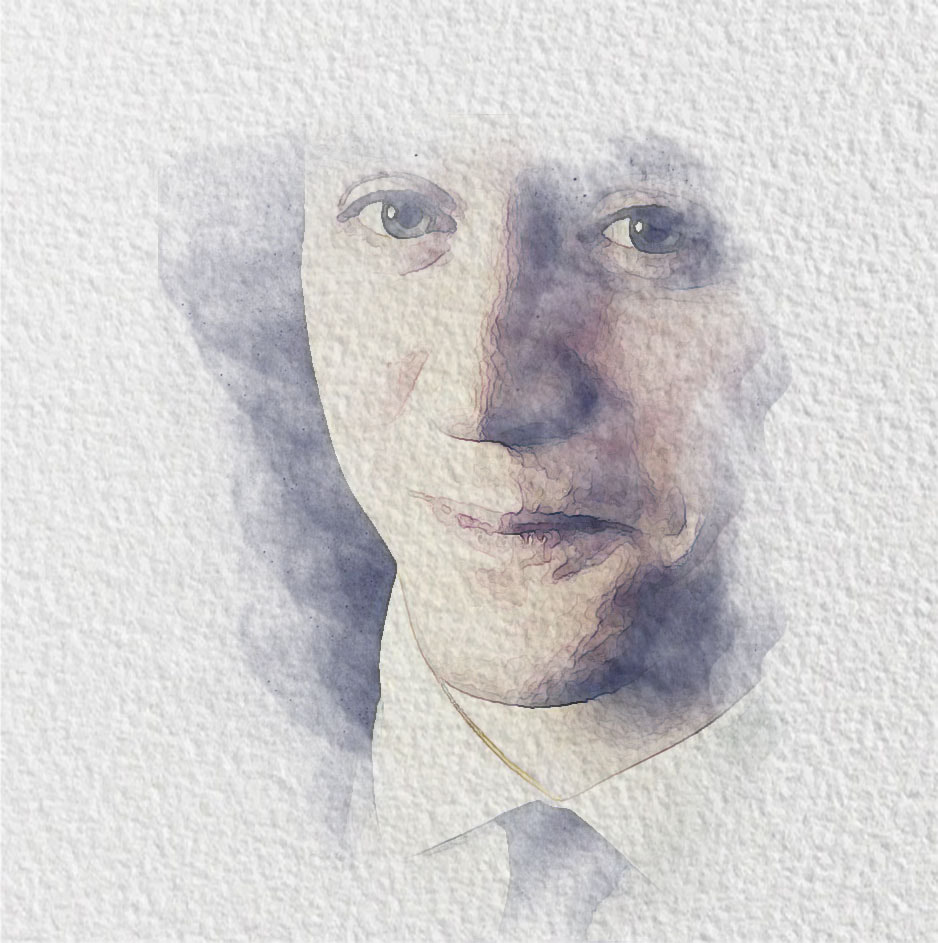
Typographic Portrait Requirements:
•Use techniques learned in the video tutorials
•Include the Entire face, body, etc. created out of letters and words.
•Transitions and variations in values (possibly colors) creating three dimension- shadows and highlights or use a photo and clipping mask.
•Variation is size of text. There should be smaller text and larger text. Change the size.
•Variation in font. Use a maximum of 3 different fonts.
•Variation in placement and rotation of text.
•Background can fade to black or white.
•Clean use of pen tool and paths.
•Exhibit time, effort, quality, and personal artistic voice.
-The WORDS of the text must be legible and easy to read. Do not copy and paste a paragraph of random text and clip it over a photo.
-The WORDS MUST conform to the shape of the face to maintain a 3D form.
-DO NOT use a Type Portrait Generator or App.
- You will turn in a Source document and it will include screen shots of your process from beginning to middle to end.
You may use Photoshop, Illustrator, or Photopea for this project.
Tutorials:
Illustrator Tutorials:
Tutorial #1
Photoshop Tutorials:
Tutorial #1 - easiest
Tutorial #2
Typographic Portrait Examples


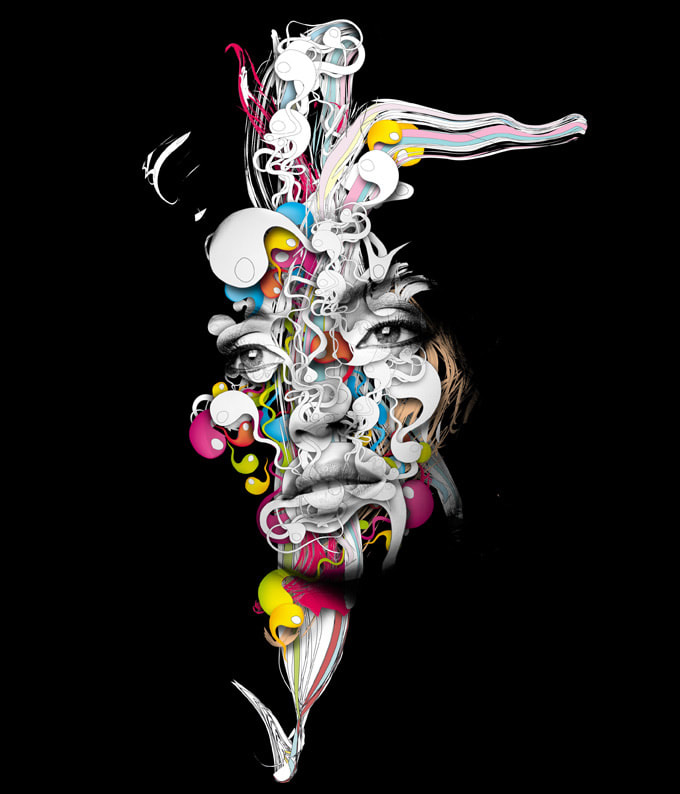
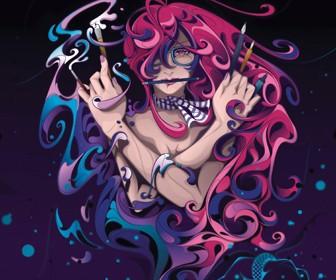
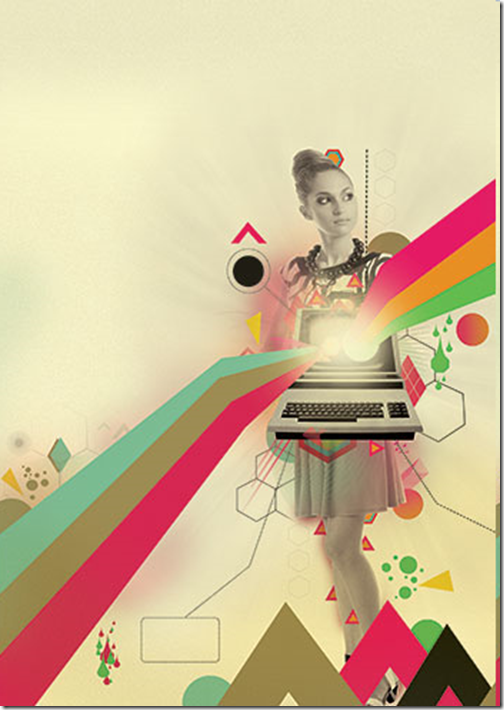
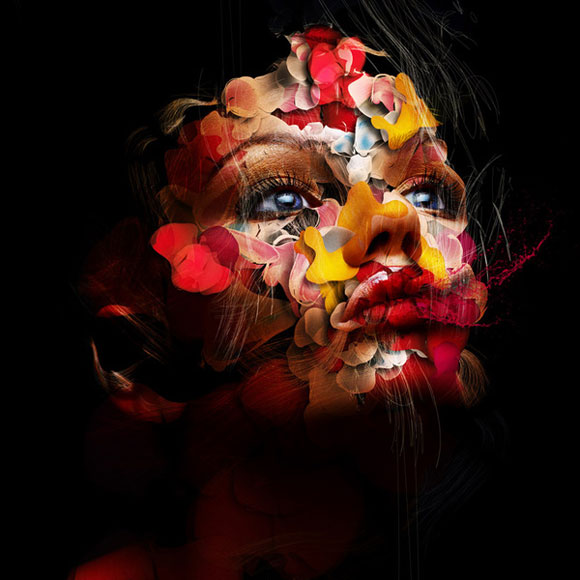
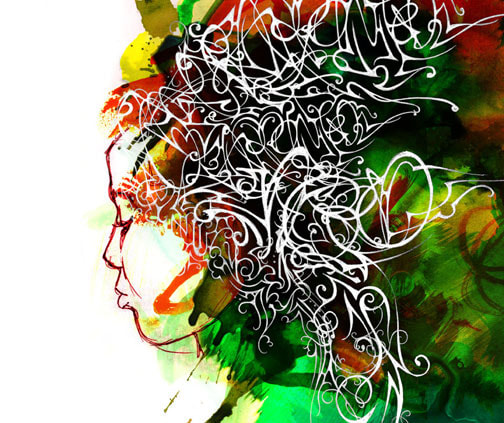
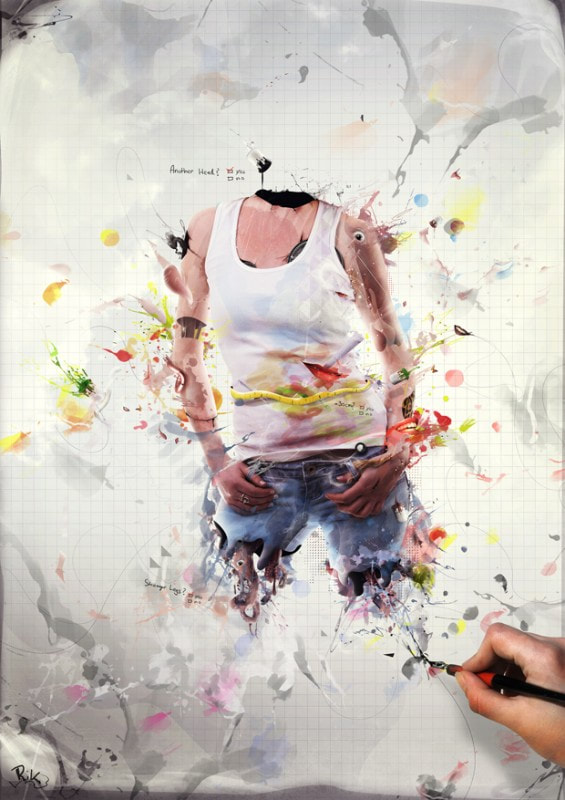
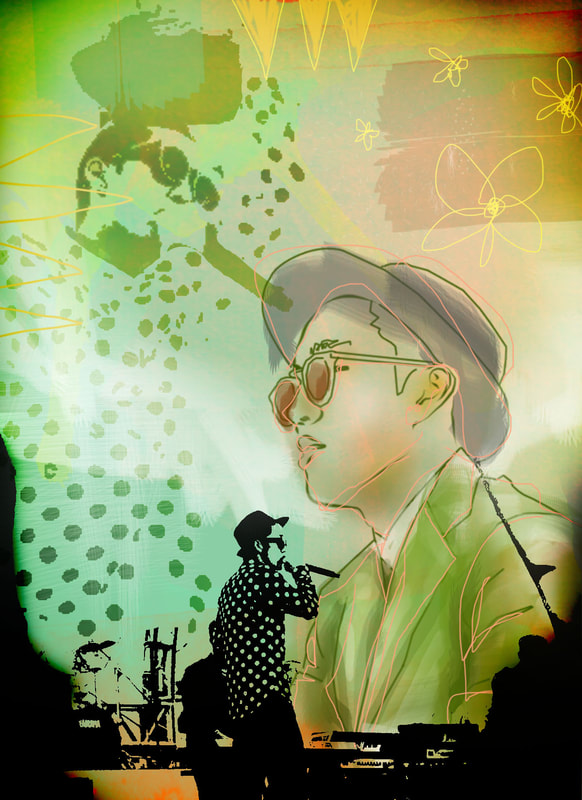
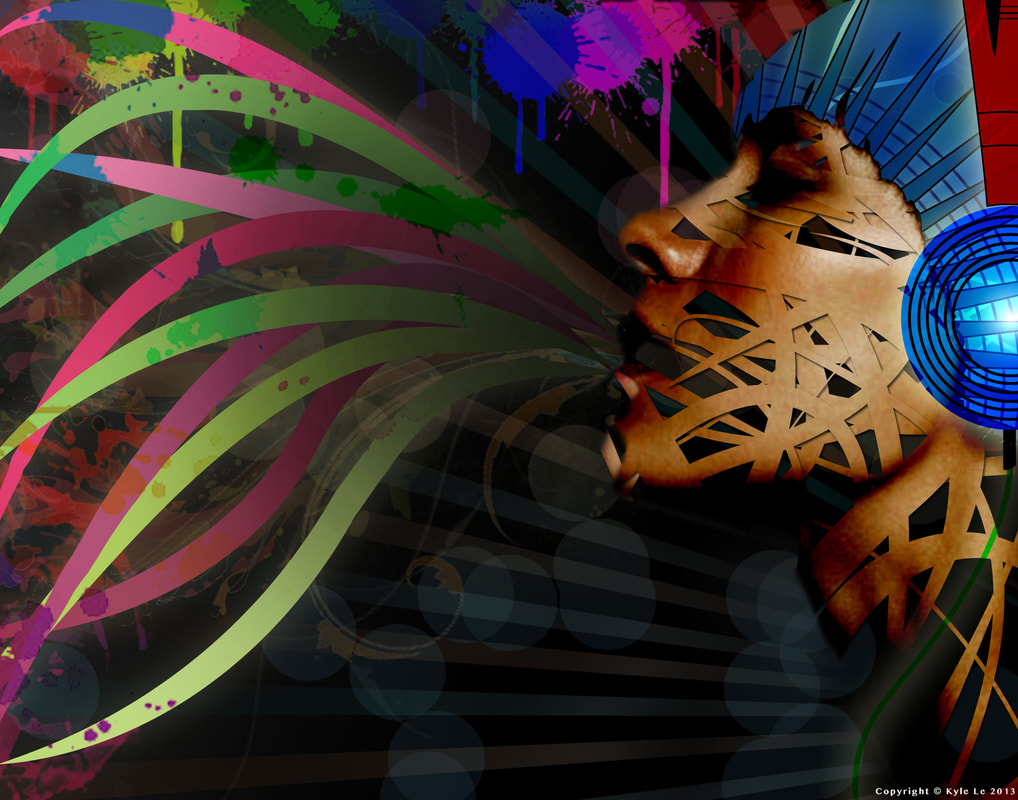
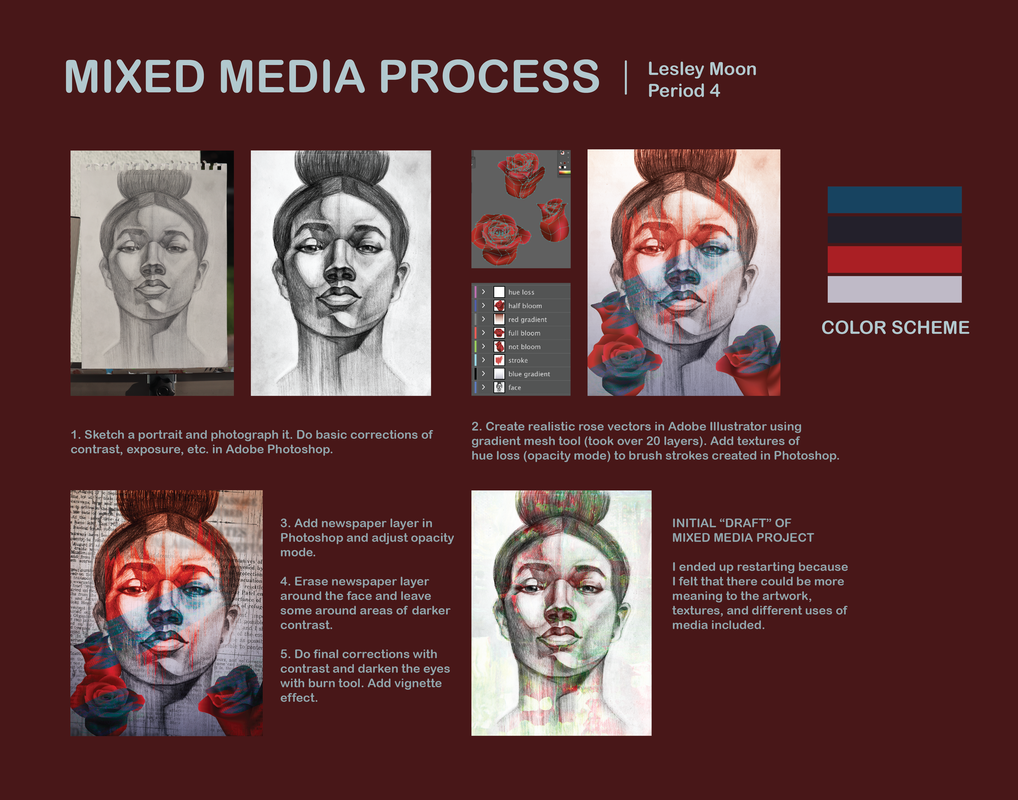
Digital Mixed Media Project
Video Instructions by Mrs, Doerrer here
For this project you will combine multiple techniques and styles you have learned throughout the year using both Photoshop and Illustrator - or a combination of other digital software like autodesk pro, photopea, digital painting programs, etc.
Assignment:
Create an artwork that combines multiple digital art techniques.
Combine a minimum of 3 different techniques and media.
Make sure to demonstrate a combination of photographs and illustrations.
Possible techniques and media to combine. Choose a minimum of 3:
Requirements:
For this project you will combine multiple techniques and styles you have learned throughout the year using both Photoshop and Illustrator - or a combination of other digital software like autodesk pro, photopea, digital painting programs, etc.
Assignment:
Create an artwork that combines multiple digital art techniques.
Combine a minimum of 3 different techniques and media.
Make sure to demonstrate a combination of photographs and illustrations.
Possible techniques and media to combine. Choose a minimum of 3:
- Photographs (stock photos or photos taken by you).
- Hand drawings or paintings created by you, scanned and layered in.
- Brushes, textures, and/or patterns hand drawn or hand painted by you and scanned or photographed.
- Brushes, textures, and/or patterns created in Photoshop.
- Vector shapes and illustrations made in Illustrator.
- 3D shapes or text made in Illustrator.
- Line Art made in Photoshop or Illustrator.
- Digital paintings or drawings created in Photoshop.
- Text effects in Photoshop.
- Manipulated text using Illustrator. (Outlines, warp, envelope distort)
Requirements:
- Document Size: 11 X 14” or 14 X 11” - RGB color mode
- Combination of a minimum of 3 different media and techniques.
- Advanced use of Illustrator and Photoshop.
- Demonstration of unique artistic personal voice.
- Thoughtful composition.
Resources:
Digital Mixed Media Project
-Digital Mixed Media Examples
Digital Mixed Media Self Evaluation
-15 Digital Mixed Media Tutorials
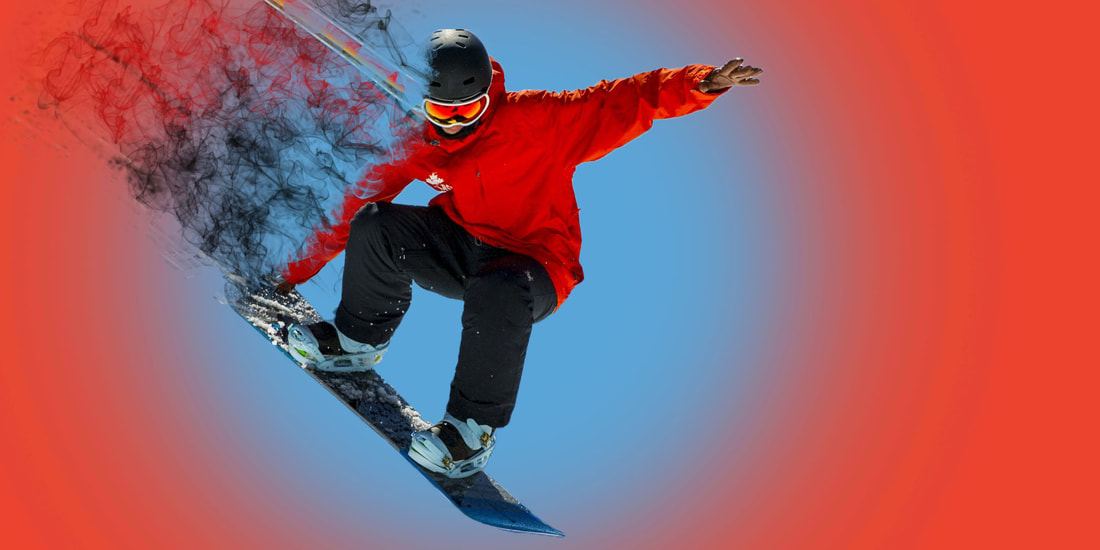
- Alberto Seveso Style Tutorial
-Digital Mixed Media Examples
Digital Mixed Media Self Evaluation
-15 Digital Mixed Media Tutorials
- Alberto Seveso Style Tutorial
Professional Digital Mixed Media Examples:


Student Digital Mixed Media Examples:


Document your Process for Digital Mixed Media
Document your Process and source file:
As you create your Digital Mixed Media artwork, document your process from beginning to middle to end.
What to include:
Create a new document 8x10" 150ppi
1) source photos
2) screen shots or images of your work at different stages throughout your process. Include a minimum of 3 photos of your work in progress from beginning to middle to end.
3) Briefly explain what skills you demonstrated or techniques you used in each photo.
4) a screen shot of your color palette/color scheme
Here is a student example of a Digital mixed media work and process document. The student saved multiple versions while in progress and added the photos to a new document. She then briefly explained what skills she demonstrated or techniques she used in each photo. She also included her color palette and filled the background of the process document a color from her color palette in the artwork.
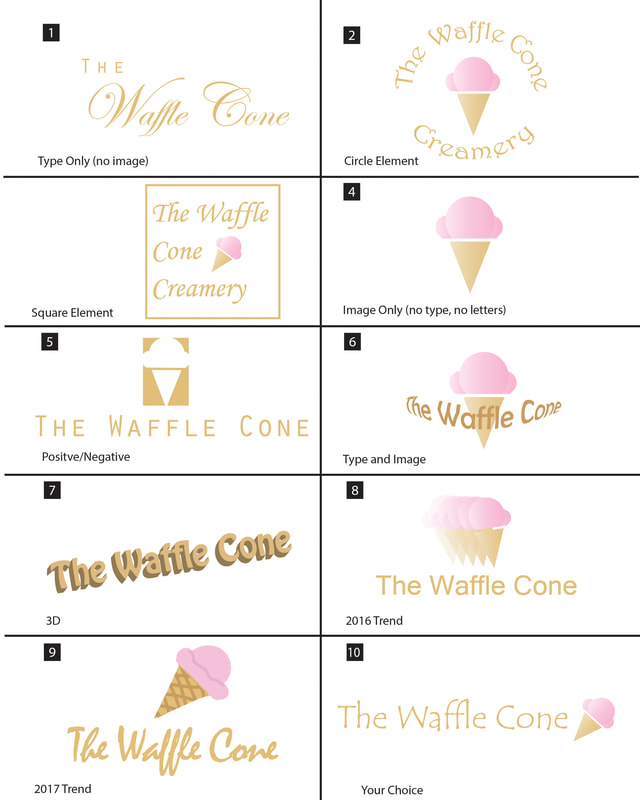
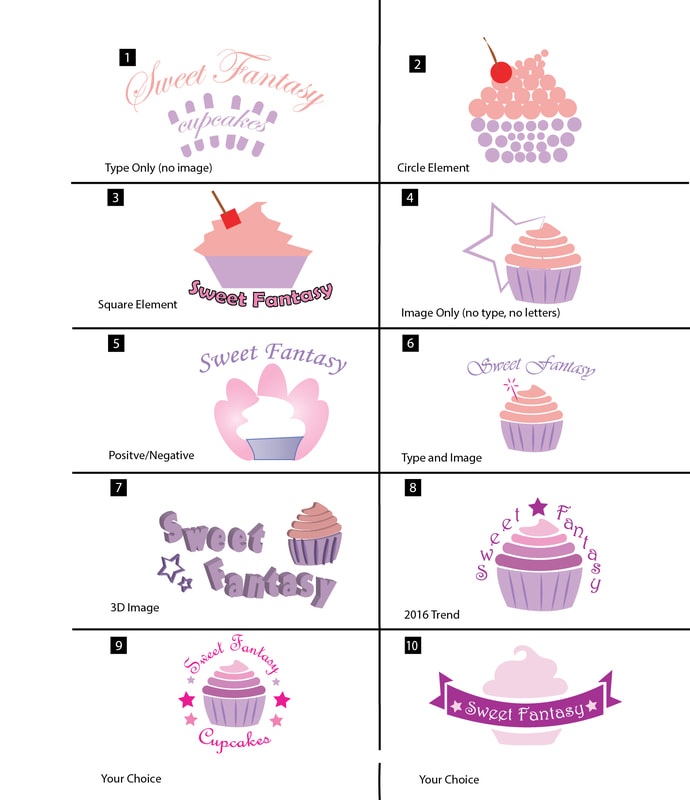
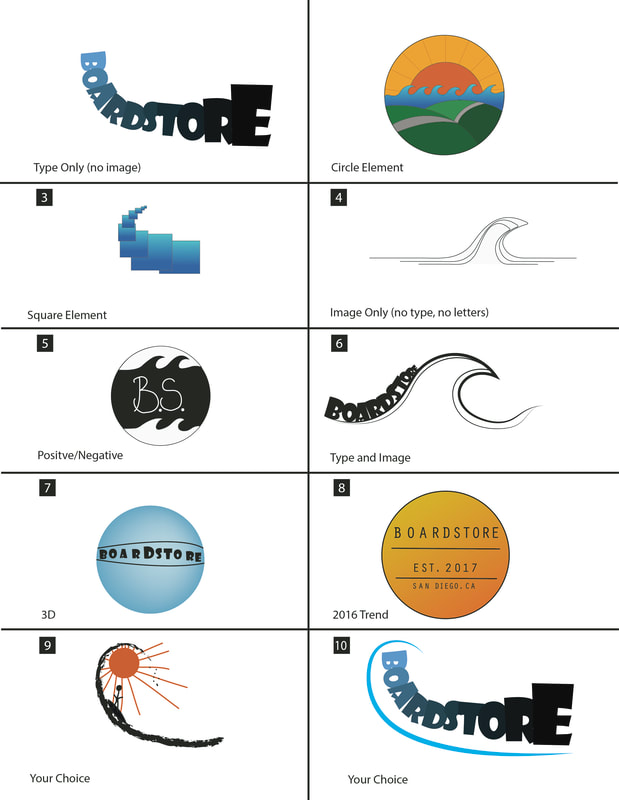
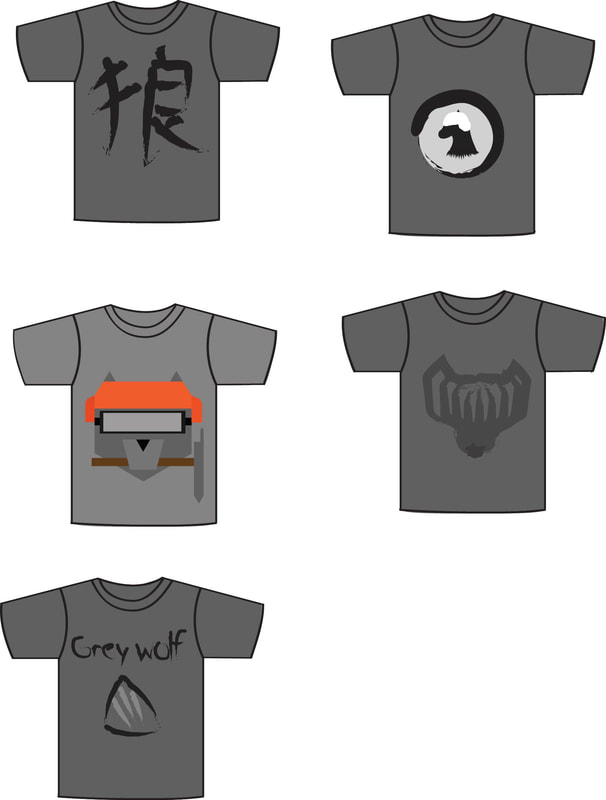
Company Branding Project
Create your own company and the designs you sell. You may work as an individual or with a partner.
Possible products:
Requirements – What you will create and turn in:
PROCESS:
What is Branding?
How to Build a Consistent Brand.
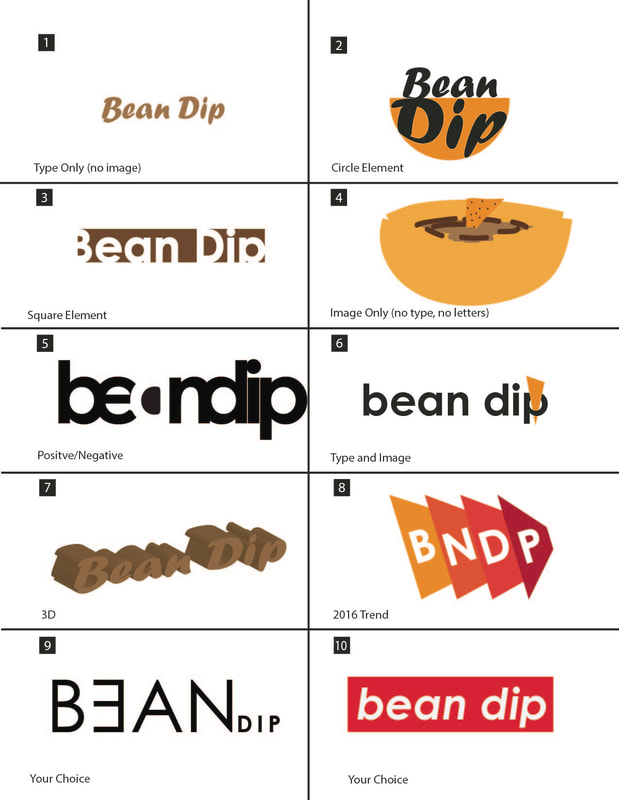
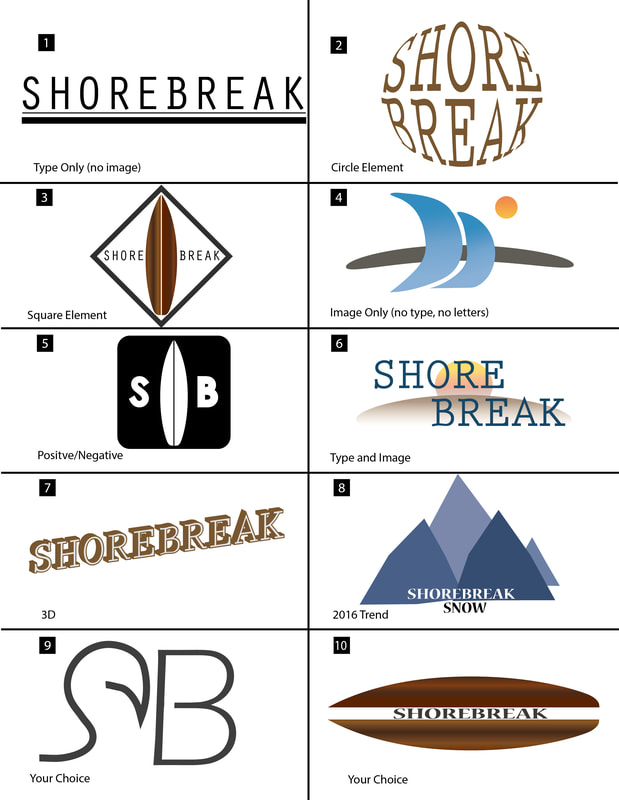
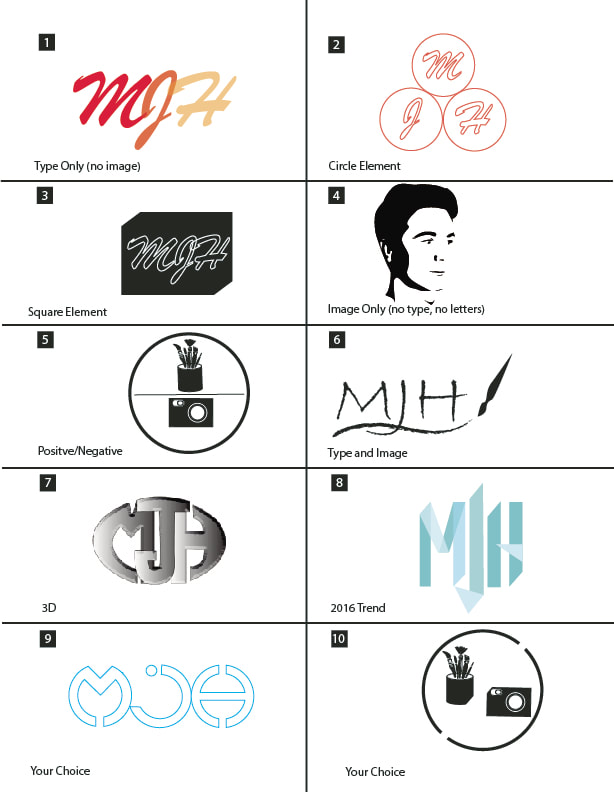
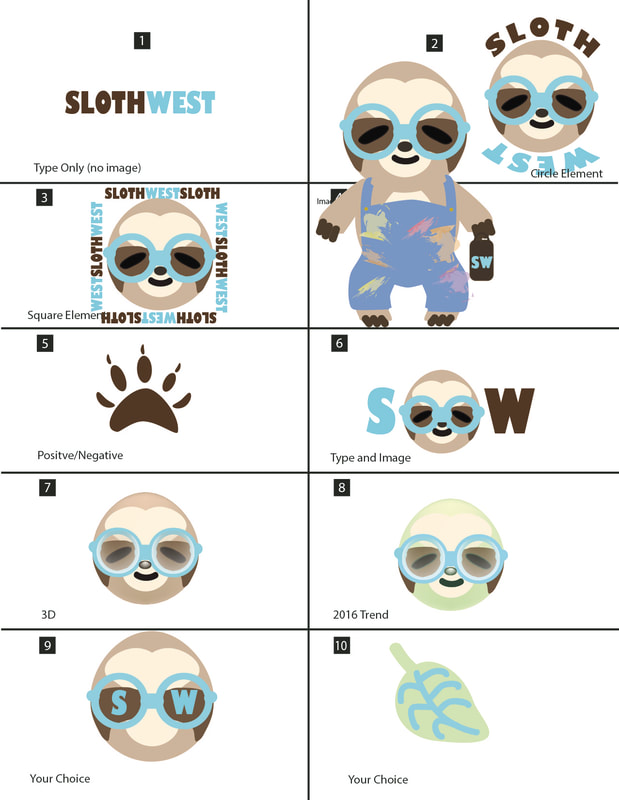
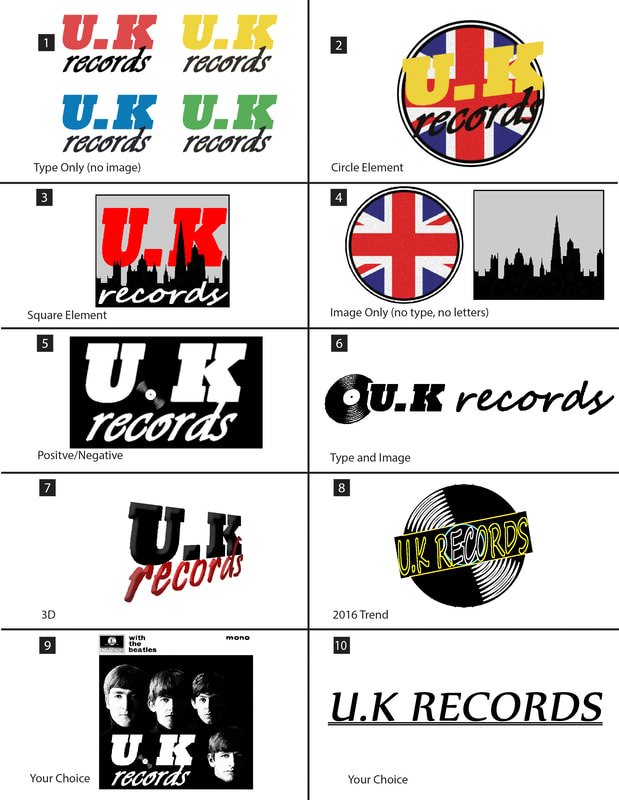
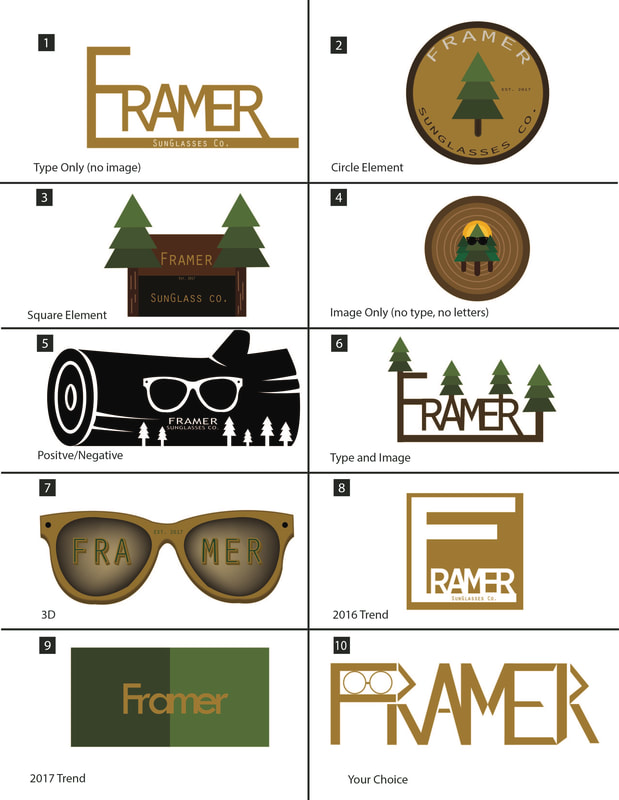
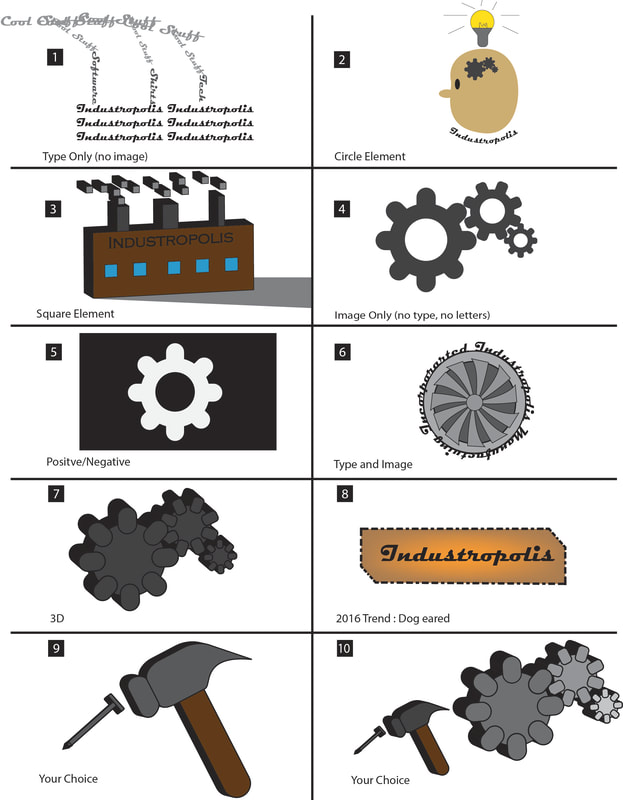
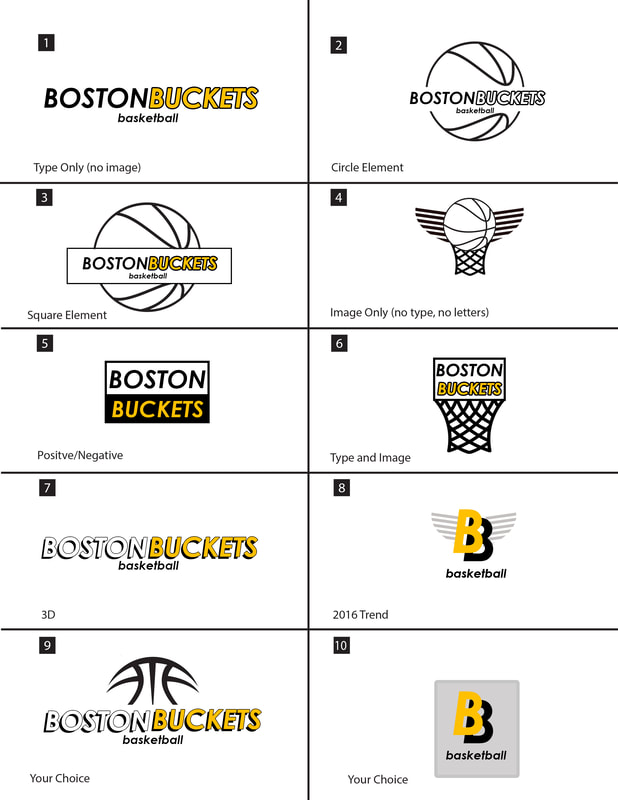
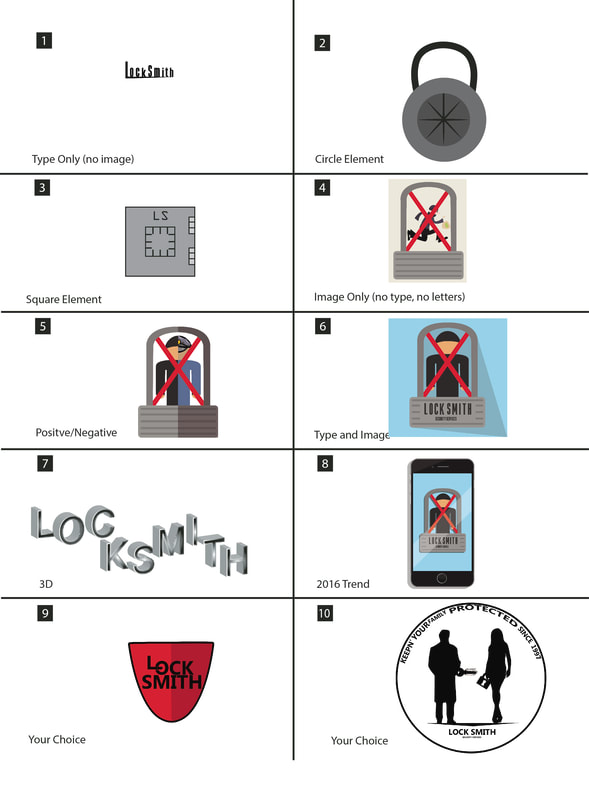
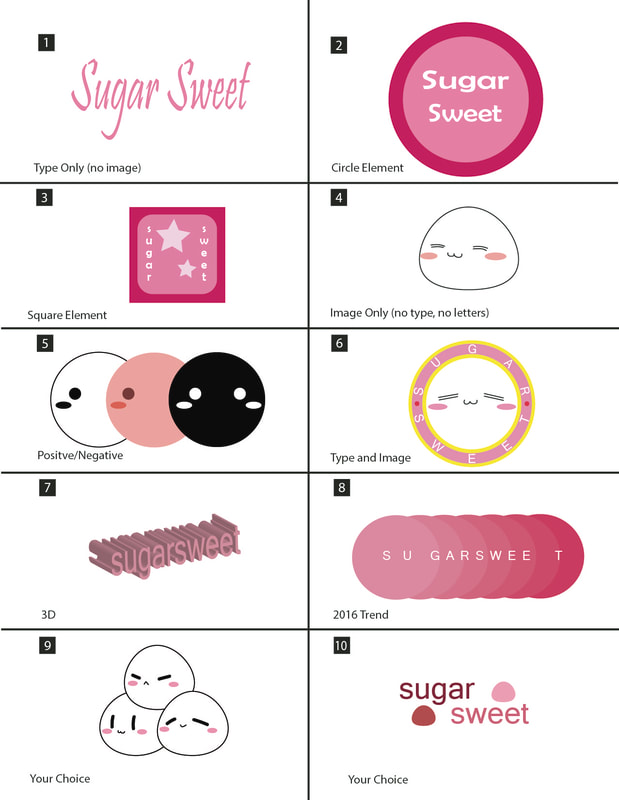
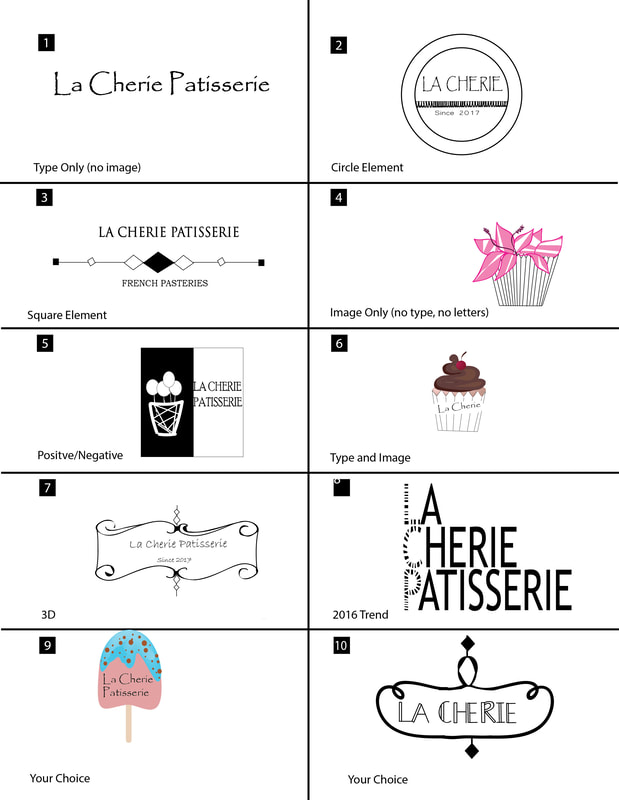
STEP 1: LOGO DESIGN
Logo Template-Illustrator File
Logo Template - jpeg for Gravit
Logo trends 2019
A history of logo trends up to 2019
Logo Design Trends 2020
Logo Design Trends 2021
Class demos to review:
Using the Character Palette
-Create Outlines - Turn text into editable shapes
-Create Outlines Part 2
-Type on a path
-Type ON an object
-Type INSIDE an Object
Pathfinder Panels Tutorial in Illustrator - Watch this and learn how to make fast and easy new shapes!
Gravit tutorial: making compound shapes
Gravit Tutorial: Smart Shapes
- Create your own company and the products you will design and sell.
- Create a logo for your company
- Create an image or brand for your company and products
- Decide on at least 3 products you will create, design, and sell.
Possible products:
- T-shirt designs
- Textile designs: fabric for clothing, curtains, etc.
- Home décor: pillows, curtains, rugs, duvet covers, shower curtains
- Technology Accessory design: Phone case, laptop cover
- Paper Toys, vinyl toys, other toys
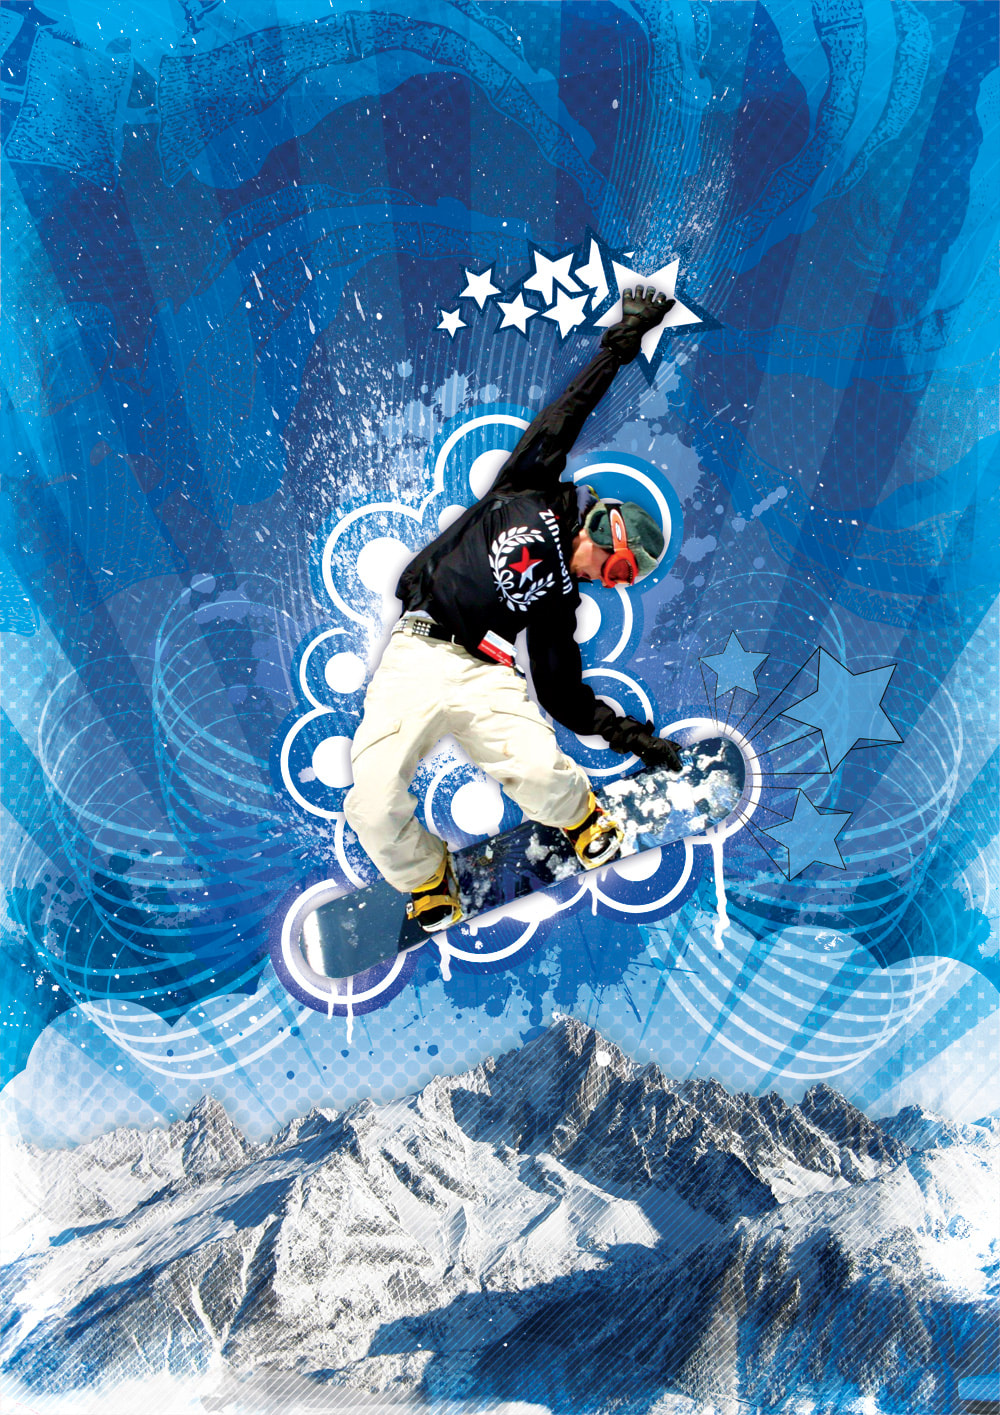
- Surf, snow, and skateboard designs
- Fashion design
Requirements – What you will create and turn in:
- Logo design that represents and brands your company
- T-shirt design: a design that represents your company or is a design you sell
- One product you create with an original design consistent with your company image and brand
- A second product you create with an original design consistent with your company image and brand
PROCESS:
What is Branding?
How to Build a Consistent Brand.
STEP 1: LOGO DESIGN
Logo Template-Illustrator File
Logo Template - jpeg for Gravit
Logo trends 2019
A history of logo trends up to 2019
Logo Design Trends 2020
Logo Design Trends 2021
Class demos to review:
Using the Character Palette
-Create Outlines - Turn text into editable shapes
-Create Outlines Part 2
-Type on a path
-Type ON an object
-Type INSIDE an Object
Pathfinder Panels Tutorial in Illustrator - Watch this and learn how to make fast and easy new shapes!
Gravit tutorial: making compound shapes
Gravit Tutorial: Smart Shapes
Student Logo Examples:
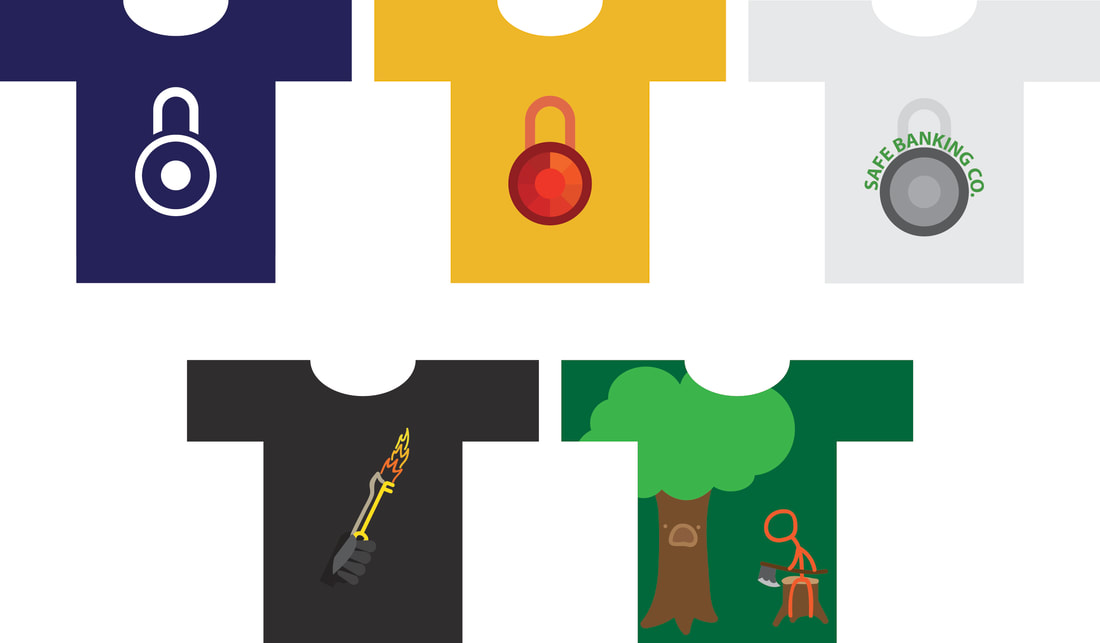
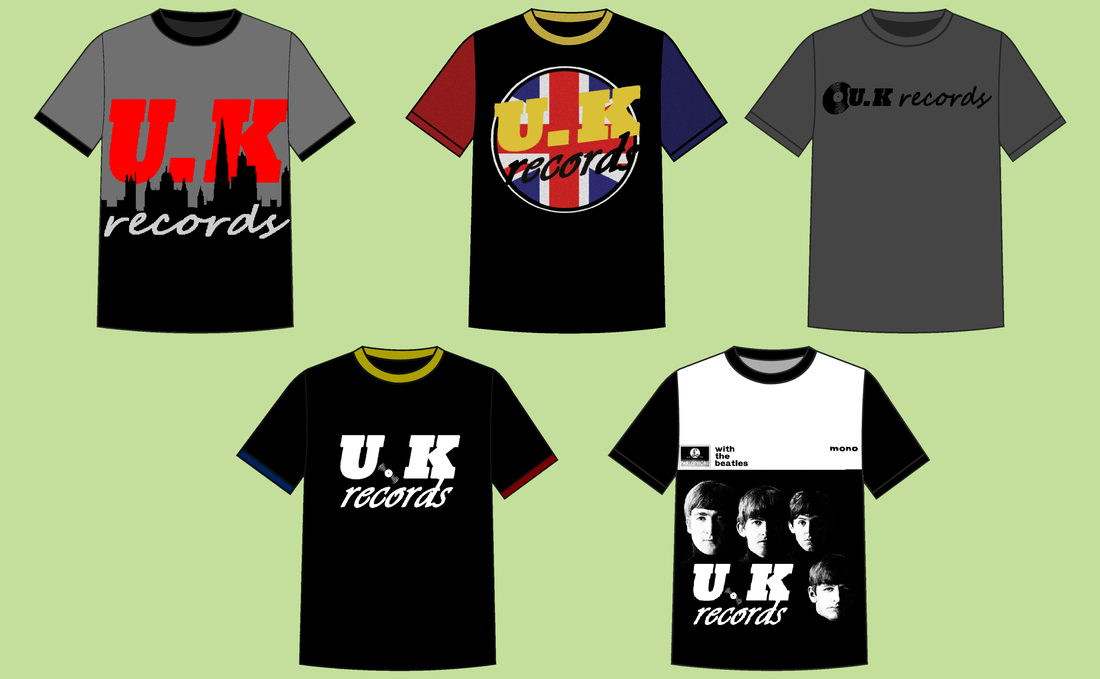
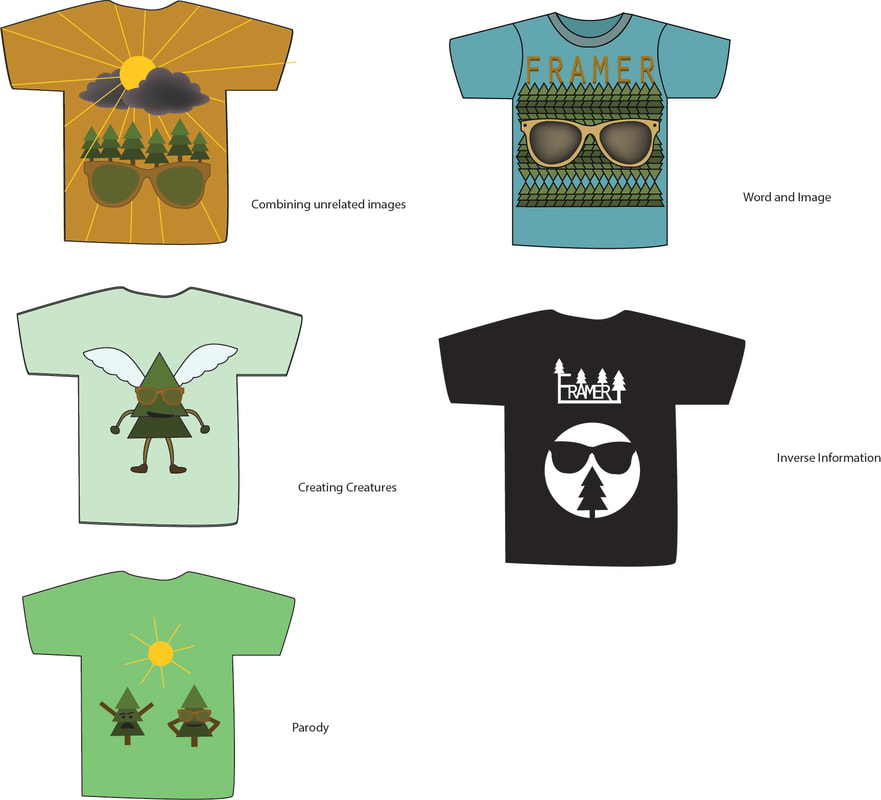
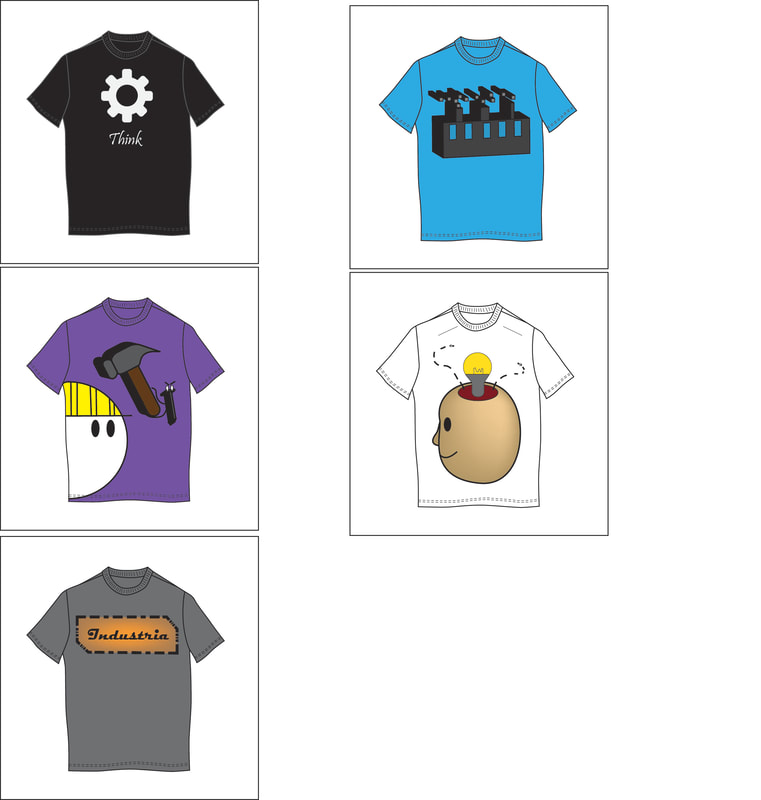
STEP 2: T-Shirt Design
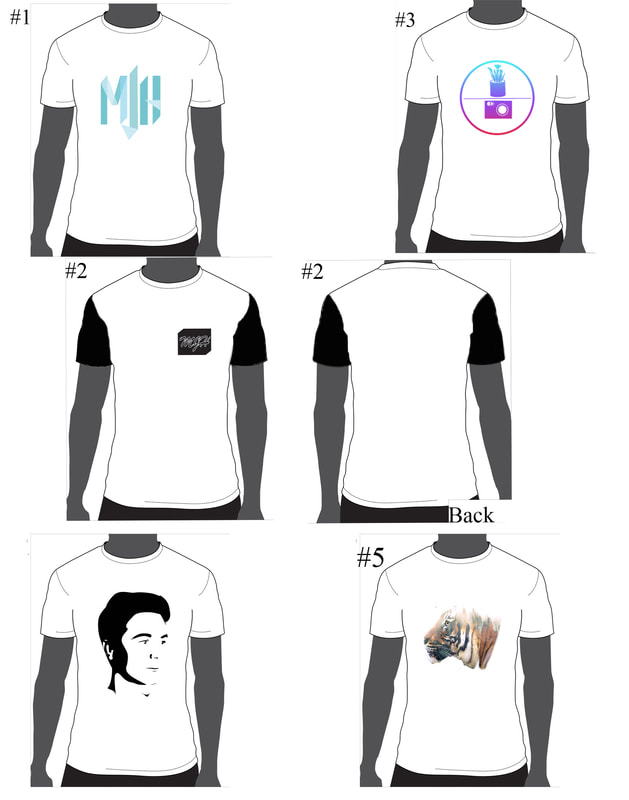
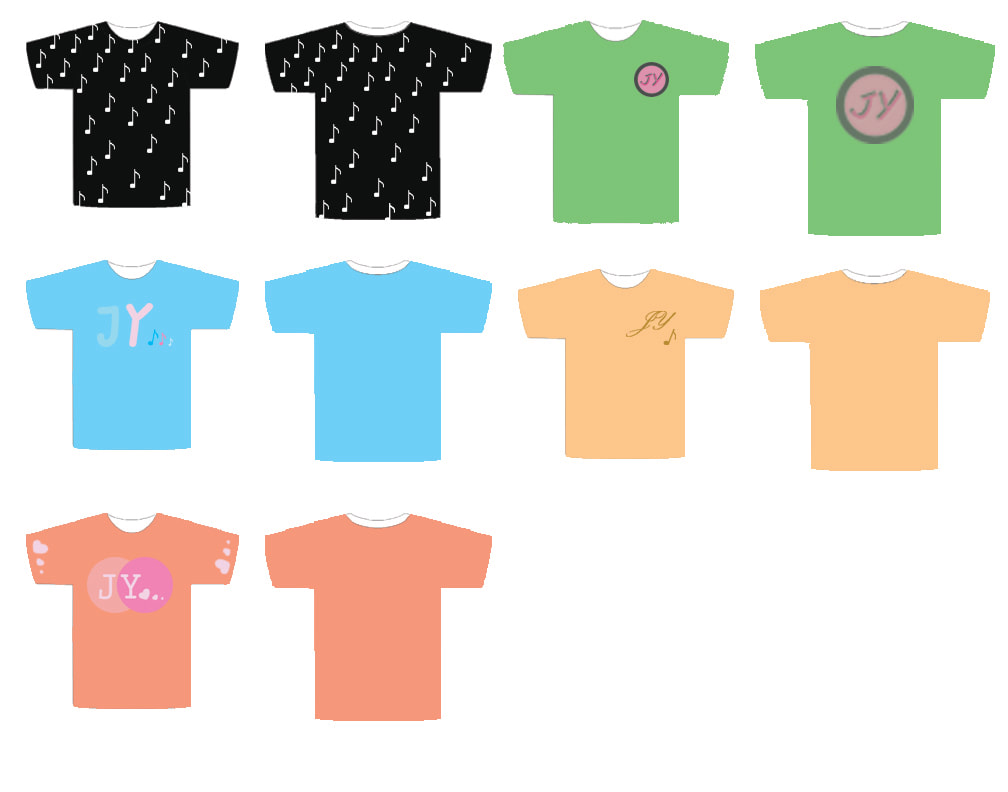
Design an original T-Shirt for your Company. This is not copying and pasting your company logo on a t-shirt.
Create a NEW design that is consistent with your brand.
Create the design in Illustrator. Open a mockup in Photoshop. Copy and paste your Illustrator t-shirt design in to the Photoshop Mockup. Edit the size, color, and background. Save as a jpeg.
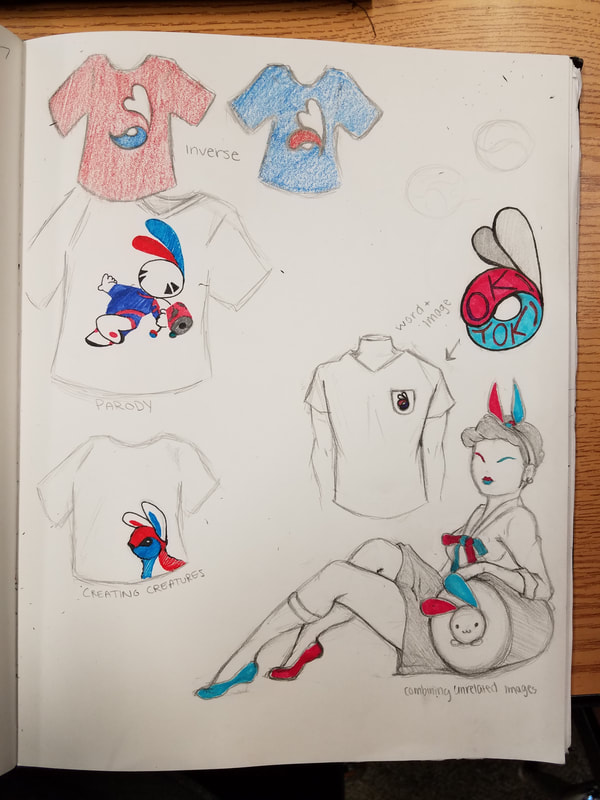
T-shirt/Apparel Brainstorm Assignment
T-Shirt Brainstorm Examples
15 Free T-shirt Templates
T-shirt examples:
Threadless.com
DesignsbyHumans.com
Create a NEW design that is consistent with your brand.
Create the design in Illustrator. Open a mockup in Photoshop. Copy and paste your Illustrator t-shirt design in to the Photoshop Mockup. Edit the size, color, and background. Save as a jpeg.
T-shirt/Apparel Brainstorm Assignment
T-Shirt Brainstorm Examples
15 Free T-shirt Templates
T-shirt examples:
Threadless.com
DesignsbyHumans.com
Student T-Shirt Designs - 5 Design Brainstorm:

STEP 3: Create One to TWO more original PRODUCTS and their original designs.
Designs will be consistent with your brand image.
Possible products:
Product Design Inspiration
STEP 4: Magazine Advertisement or Billboard Advertisement:
Create a Magazine Advertisement or Billboard Advertisement for your company service or product.
File size 8x10" or 11x14"
You may use Photoshop and/or Illustrator.
Magazine Ad Process
"Advertisement Design Tips"
STEP 5: FINAL MOCKUPS
Place all your designs on a final mockup.
File size 8x10" or 11x14"
You may use Photoshop and Illustrator.
You may use free mockup templates or take your own mockup photos.
Must include:
-logo design
-T-shirt design on a t-shirt mockup or model
-First original product design on a mockup of the product
-Second original product design on a mockup of the product
-1 extra: store signage, business card, interior photo of store/restaurant with your logo, etc.
Free Branding Mockups
-packaging design mock-ups
- Free Branding Mockups with Items/objects
Photoshop Templates for your Final Mockups:
-template 1
-template 2
-template 3
-template 4
-template 5
-template 6
Designs will be consistent with your brand image.
Possible products:
- Textile designs: fabric for clothing, curtains, etc.
- Home décor: pillows, curtains, rugs, duvet covers, shower curtains
- Technology Accessory design: Phone case, laptop cover
- Paper Toys, vinyl toys, other toys
- Surf, snow, and skateboard designs
- Fashion design
Product Design Inspiration
STEP 4: Magazine Advertisement or Billboard Advertisement:
Create a Magazine Advertisement or Billboard Advertisement for your company service or product.
File size 8x10" or 11x14"
You may use Photoshop and/or Illustrator.
Magazine Ad Process
"Advertisement Design Tips"
STEP 5: FINAL MOCKUPS
Place all your designs on a final mockup.
File size 8x10" or 11x14"
You may use Photoshop and Illustrator.
You may use free mockup templates or take your own mockup photos.
Must include:
-logo design
-T-shirt design on a t-shirt mockup or model
-First original product design on a mockup of the product
-Second original product design on a mockup of the product
-1 extra: store signage, business card, interior photo of store/restaurant with your logo, etc.
Free Branding Mockups
-packaging design mock-ups
- Free Branding Mockups with Items/objects
Photoshop Templates for your Final Mockups:
-template 1
-template 2
-template 3
-template 4
-template 5
-template 6
Student Company Branding Final Mockups:
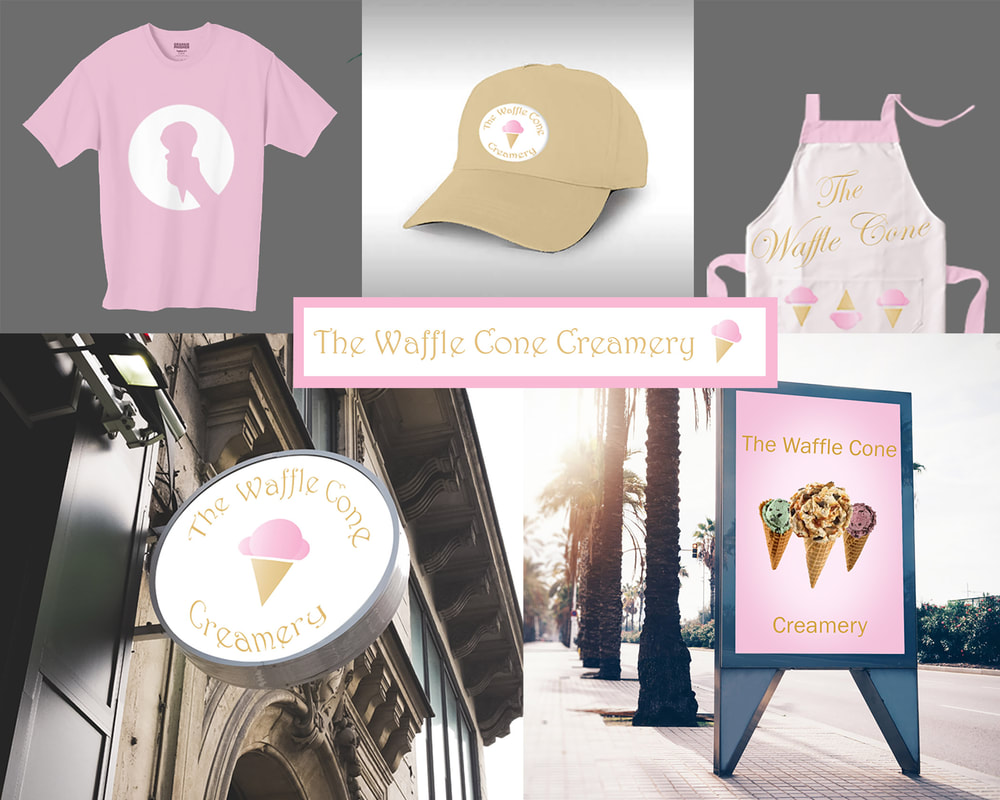
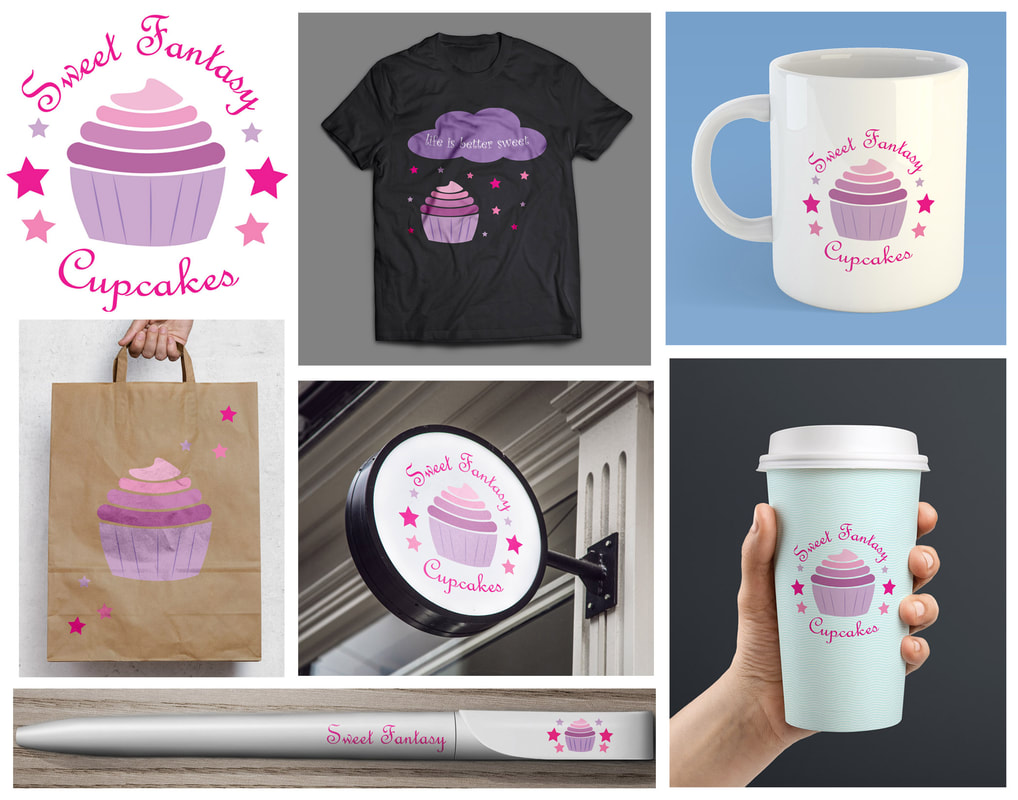
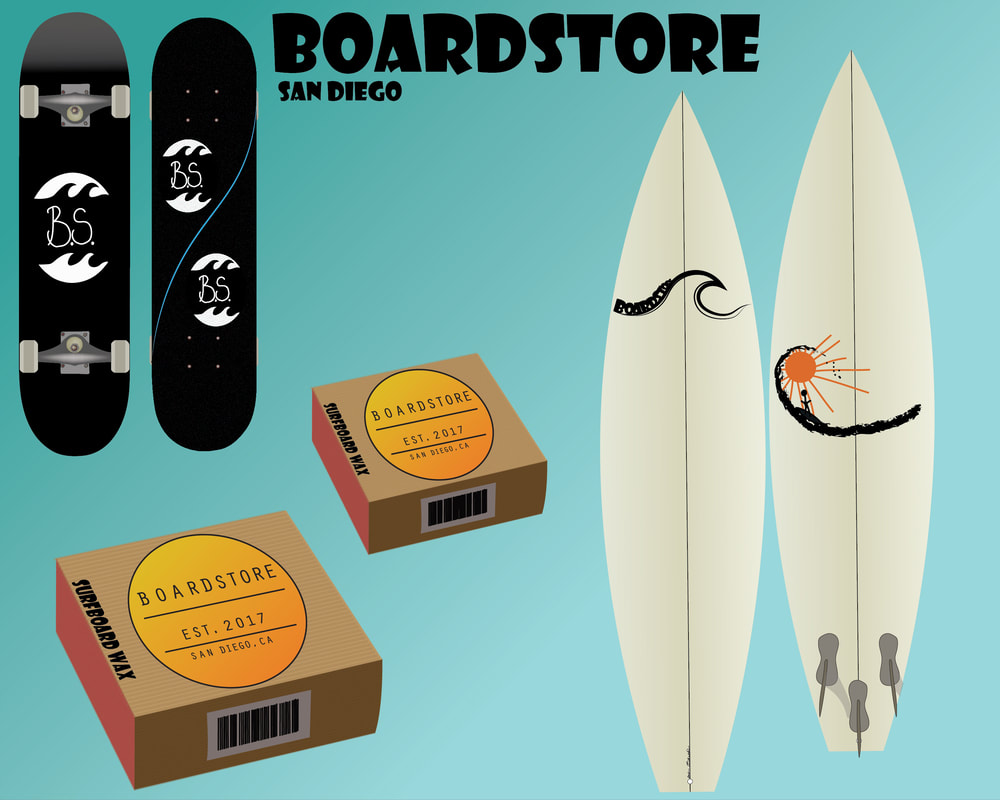
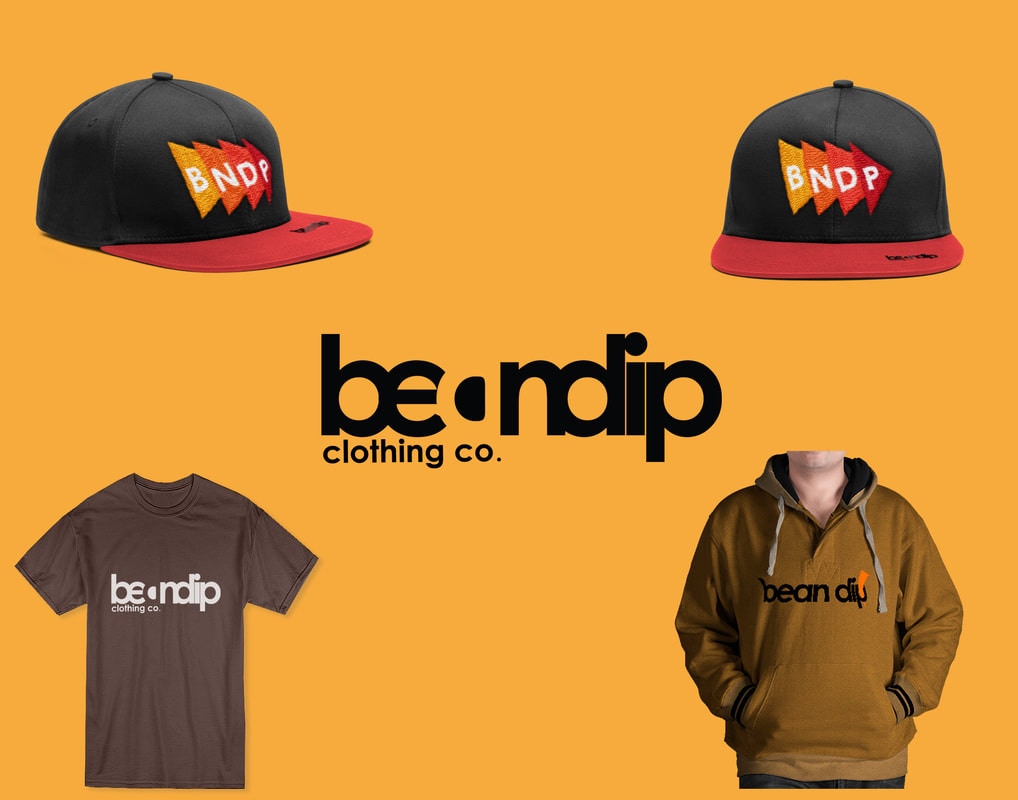

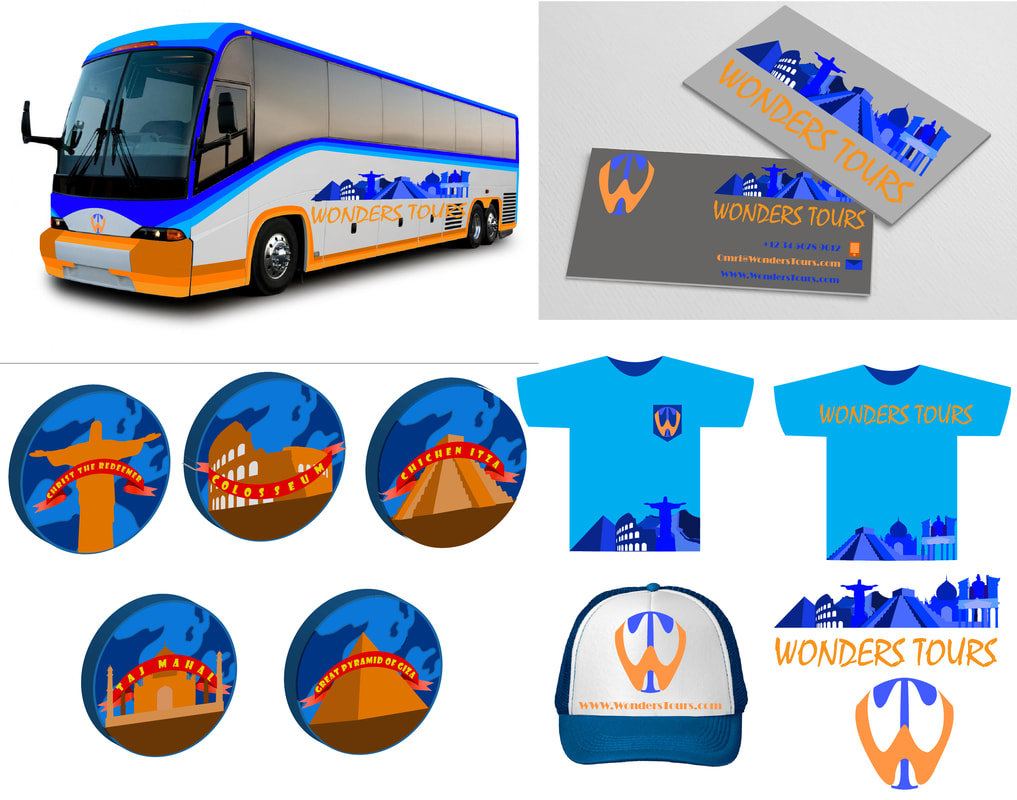
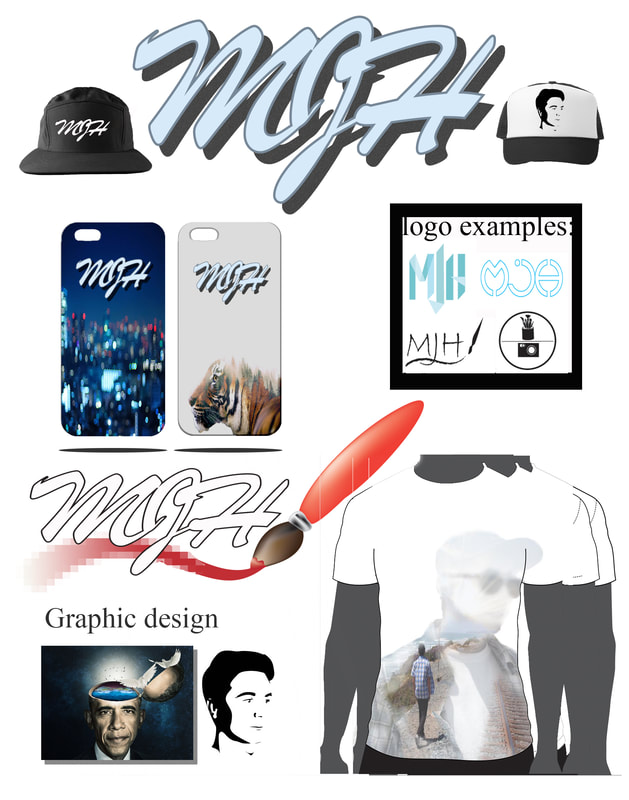
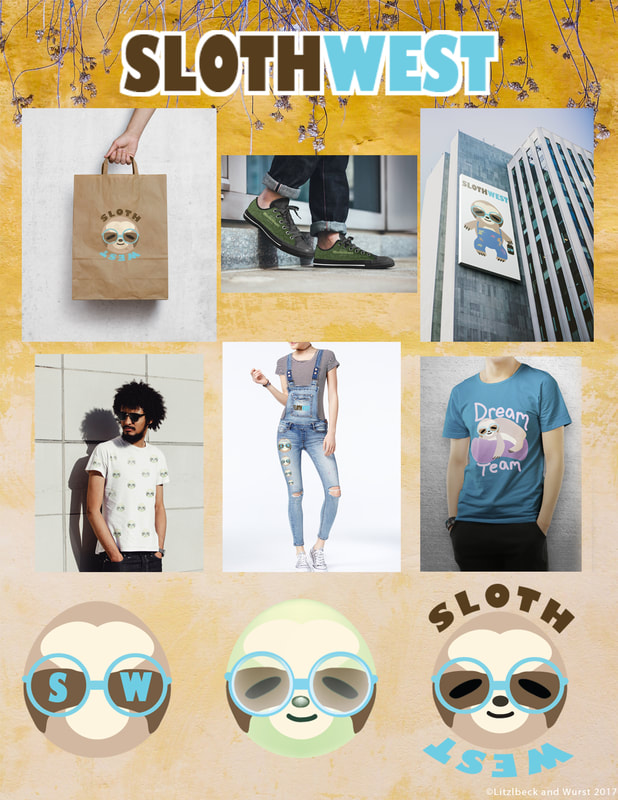
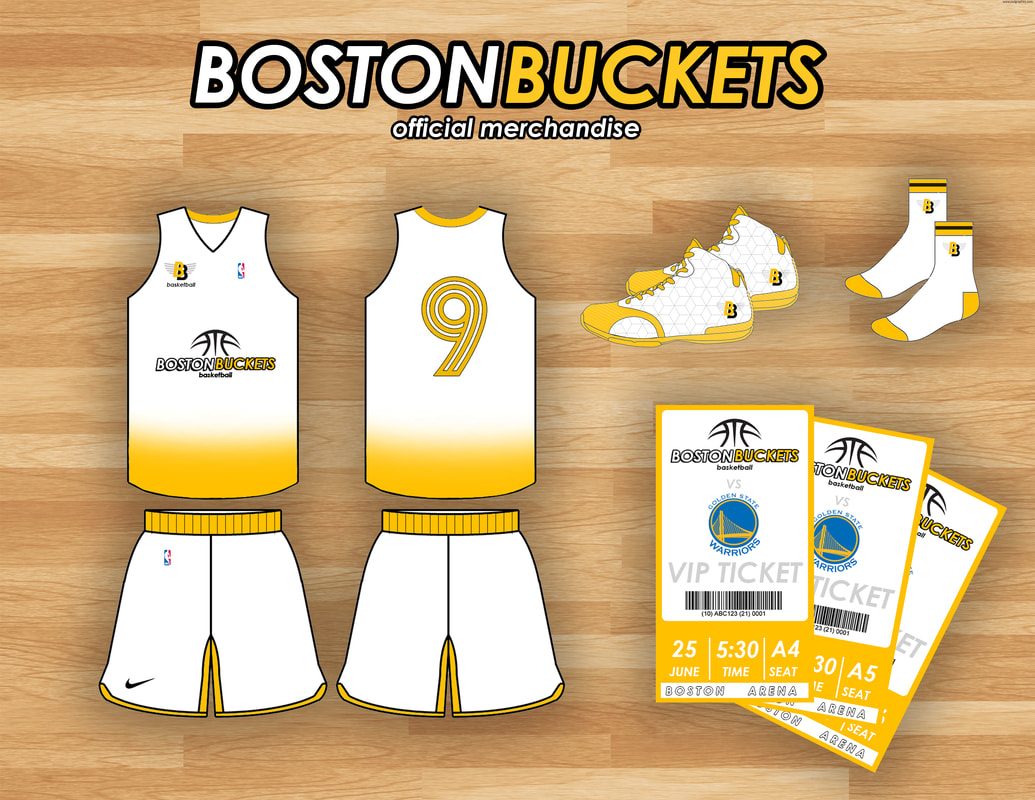
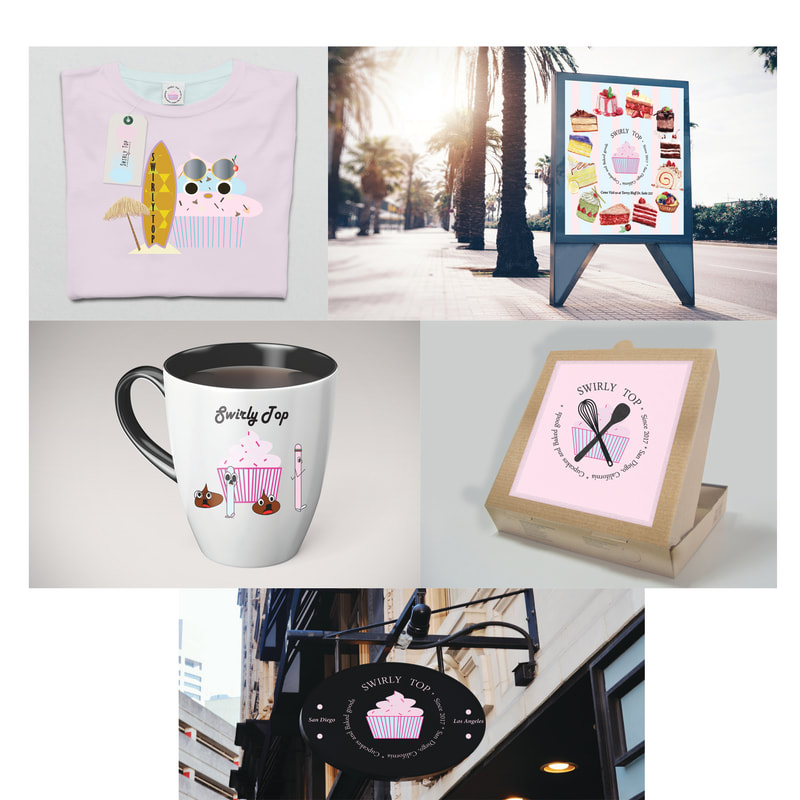
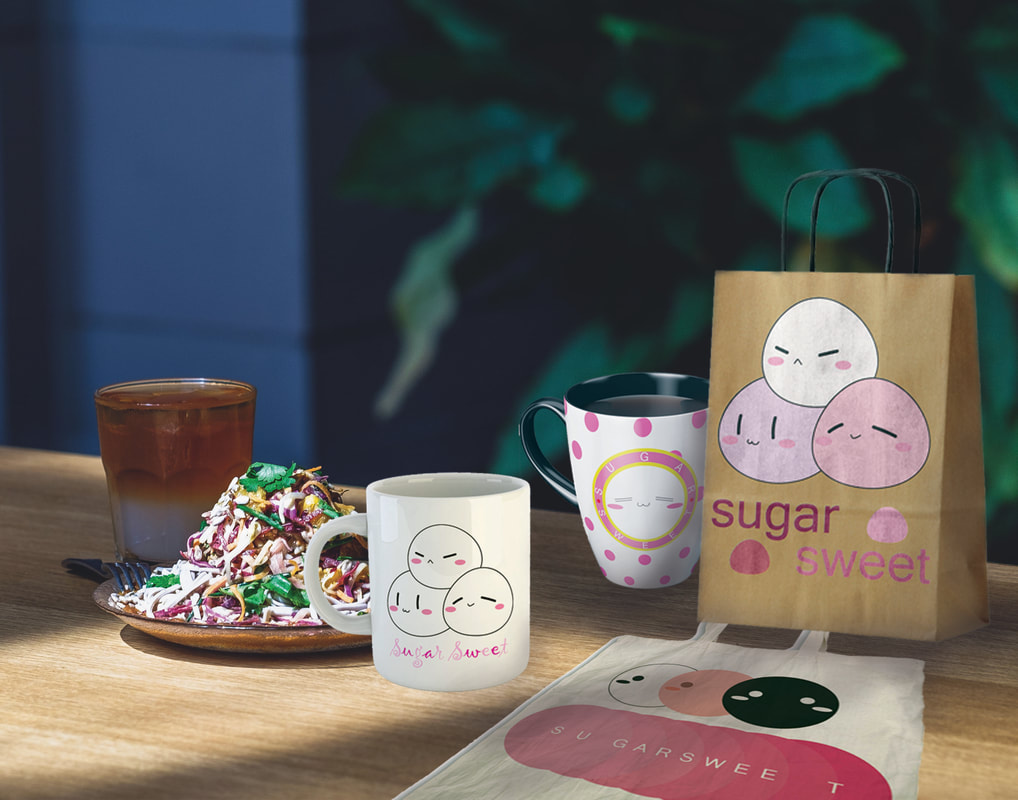
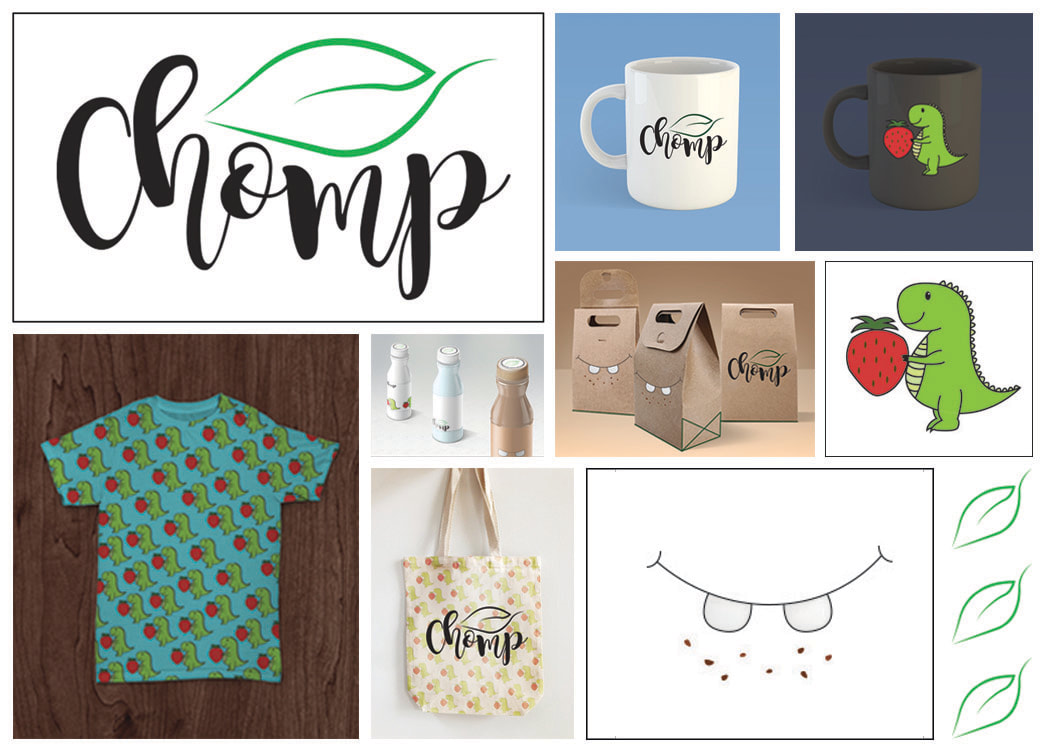
Independent Projects:
INDEPENDENT CHOICE PROJECT:
Create an artwork in Photoshop or Illustrator of anything you would like.
Topics to consider. Click on the link for instructions:
At some point during the semester you will have some free time during class or you may wish to take a break from the current class project. Use this time to complete your Independent Project.
Requirements specific to certain projects. Minimum requirements:
-11x14” or 14x11”
-150 ppi
-Must reflect 10 hours of work
-Use Photoshop or Illustrator or Photopea
-Display sophisticated use of the Elements of Art & Principles of Design
-Sophisticated use of Composition
-Display originality and creativity – personal voice
-Advanced Photoshop or Illustrator skills
Create an artwork in Photoshop or Illustrator of anything you would like.
Topics to consider. Click on the link for instructions:
- A layered vector portrait
- Layered circle portrait
- Social Issue Poster
- Book Cover design
- Digital Painting
- Currency design
- Comic book or comic strip
- Snow/surf/skate board design
At some point during the semester you will have some free time during class or you may wish to take a break from the current class project. Use this time to complete your Independent Project.
Requirements specific to certain projects. Minimum requirements:
-11x14” or 14x11”
-150 ppi
-Must reflect 10 hours of work
-Use Photoshop or Illustrator or Photopea
-Display sophisticated use of the Elements of Art & Principles of Design
-Sophisticated use of Composition
-Display originality and creativity – personal voice
-Advanced Photoshop or Illustrator skills

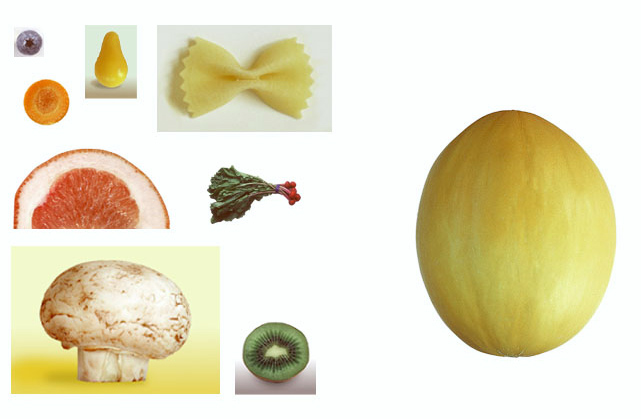
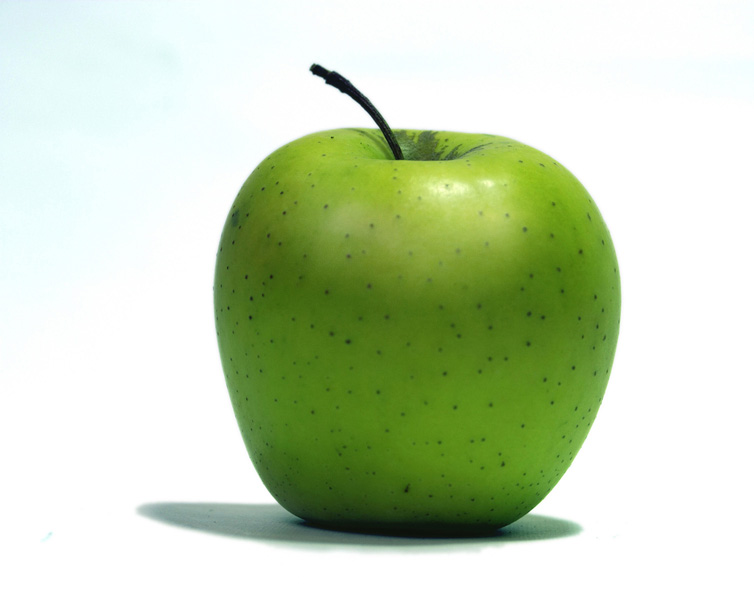
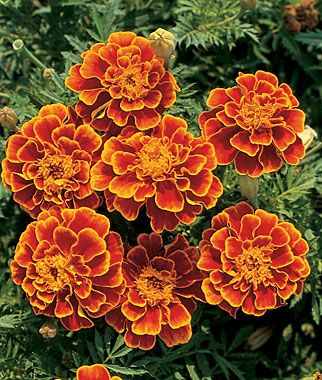
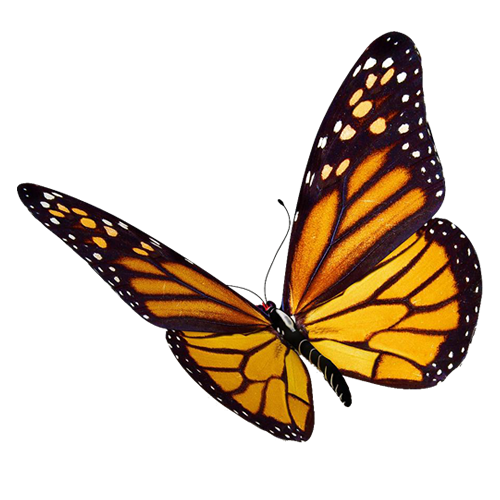
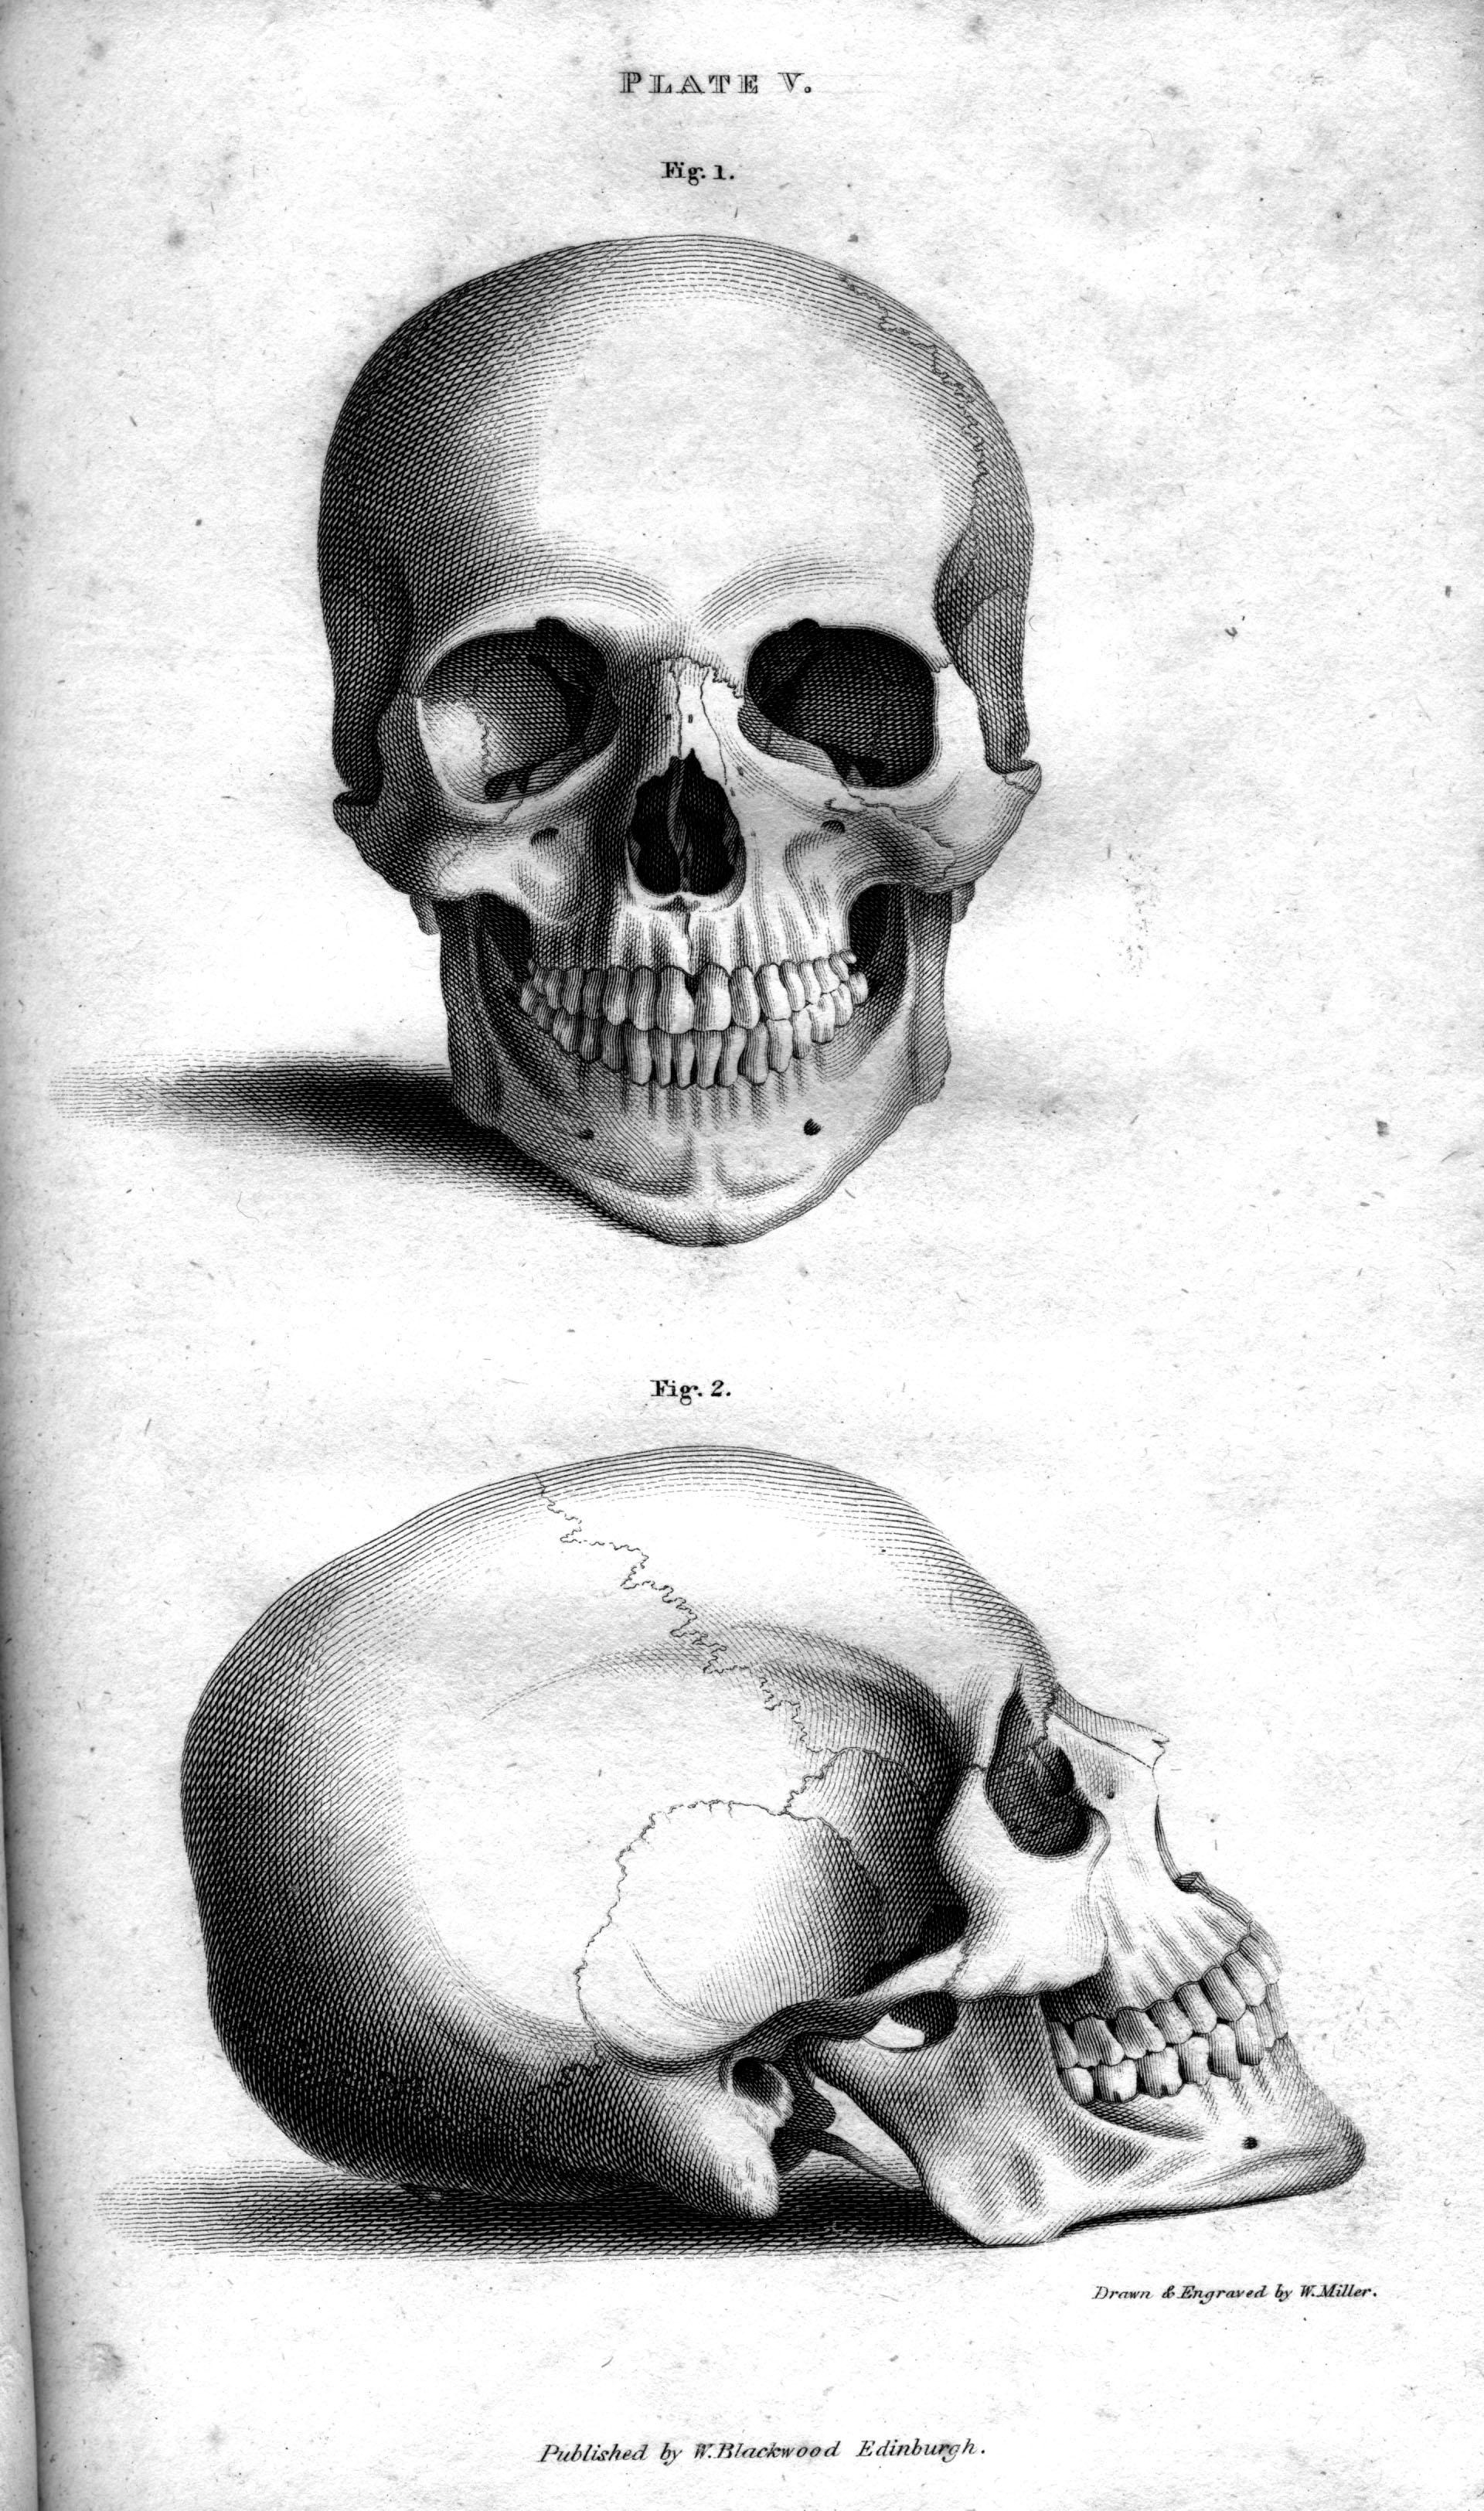
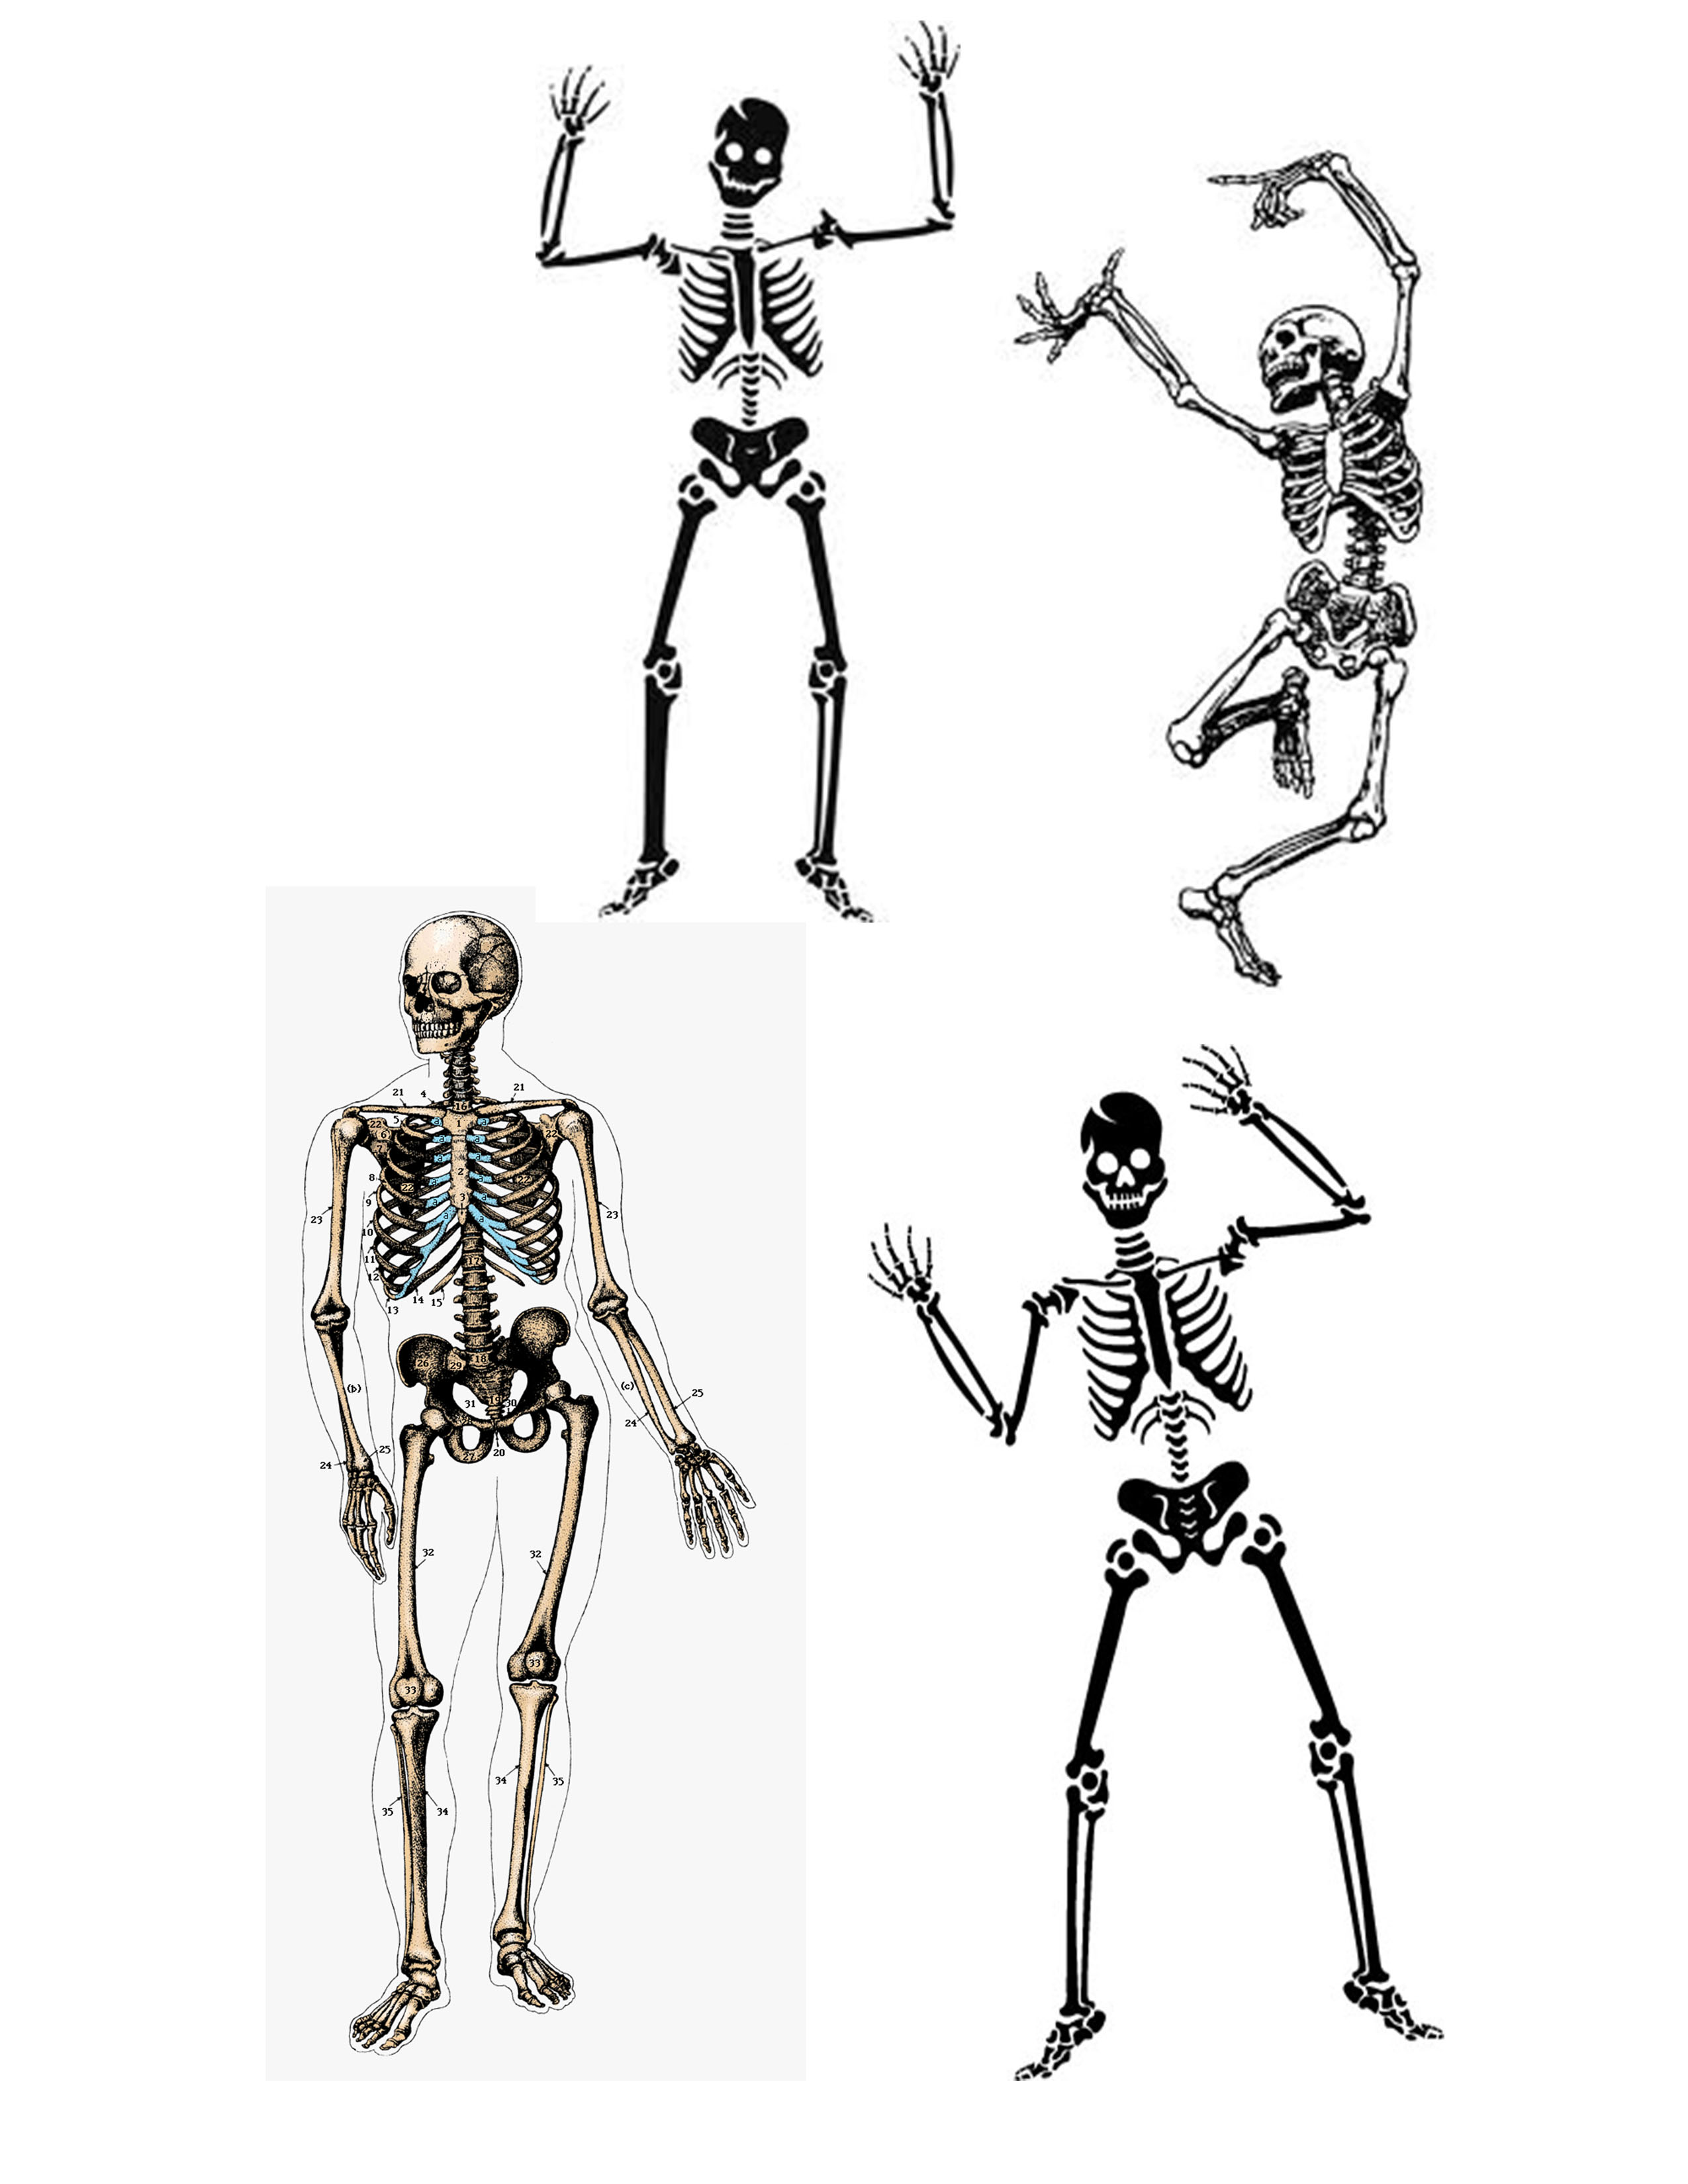
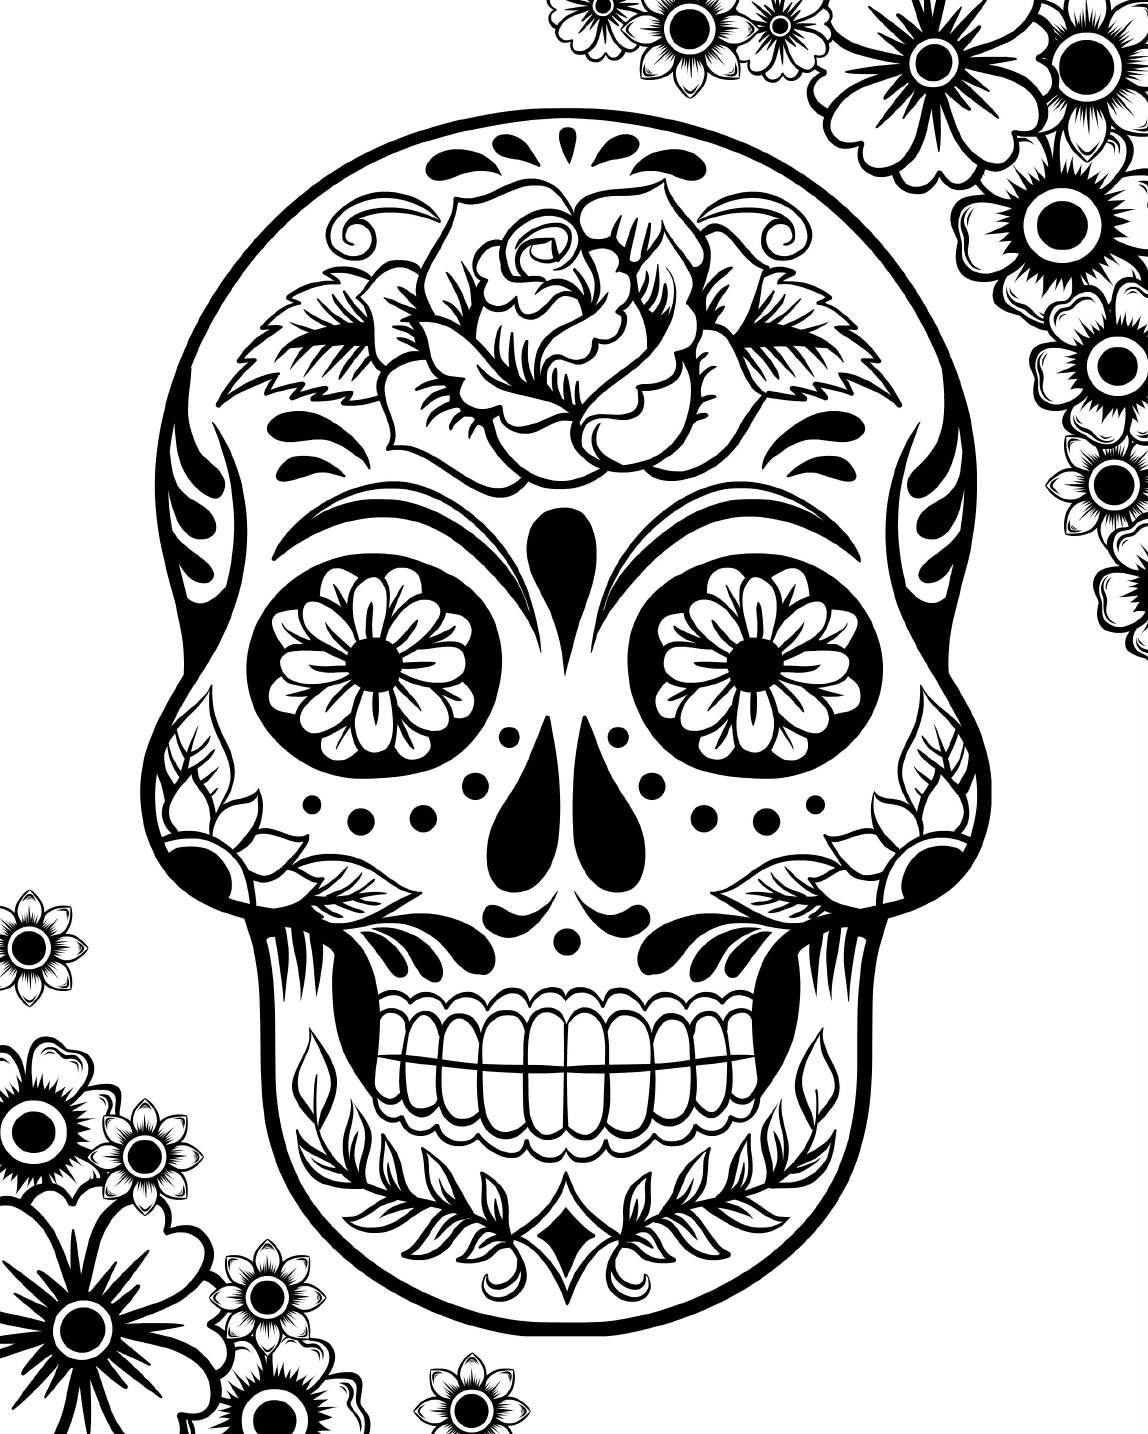
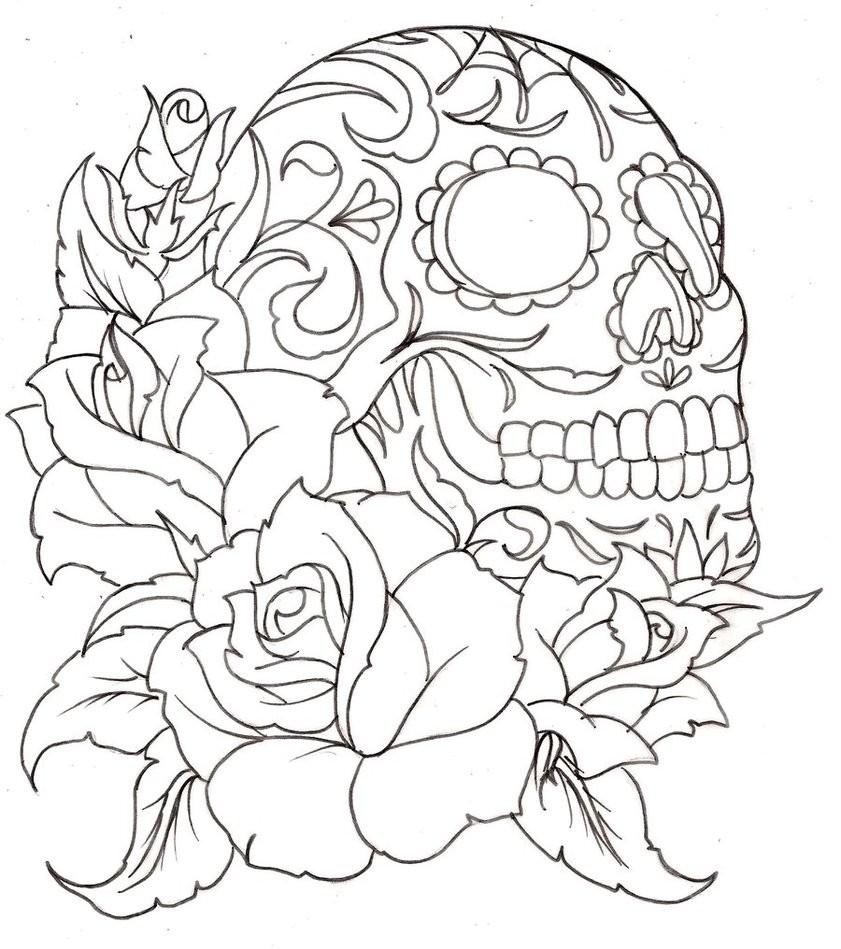
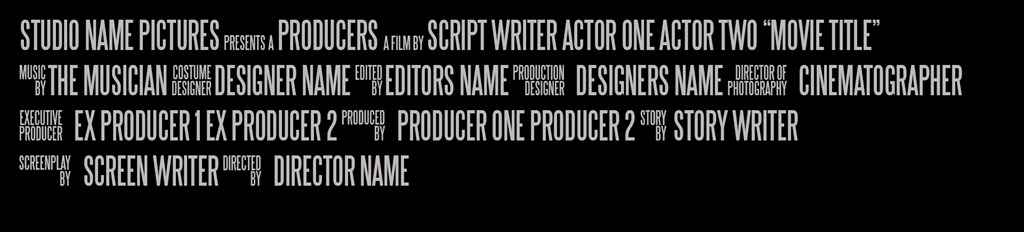