Painting Projects
scroll down to see more Projects
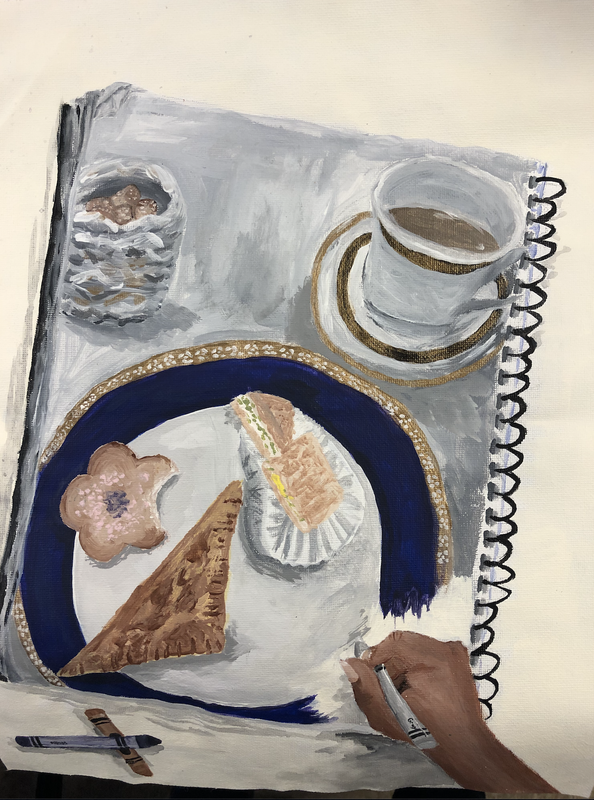
Object Self-Portrait Artwork
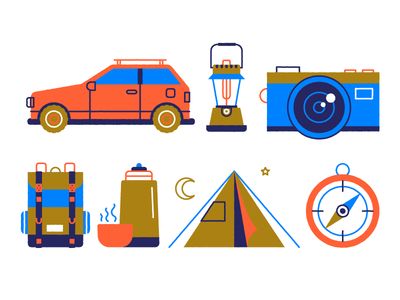
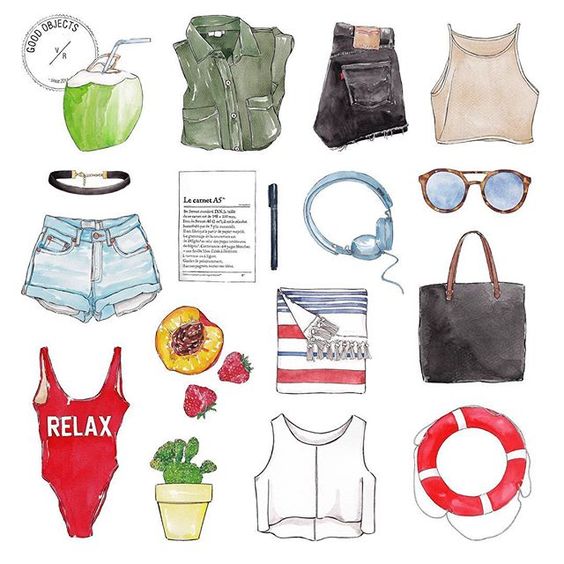
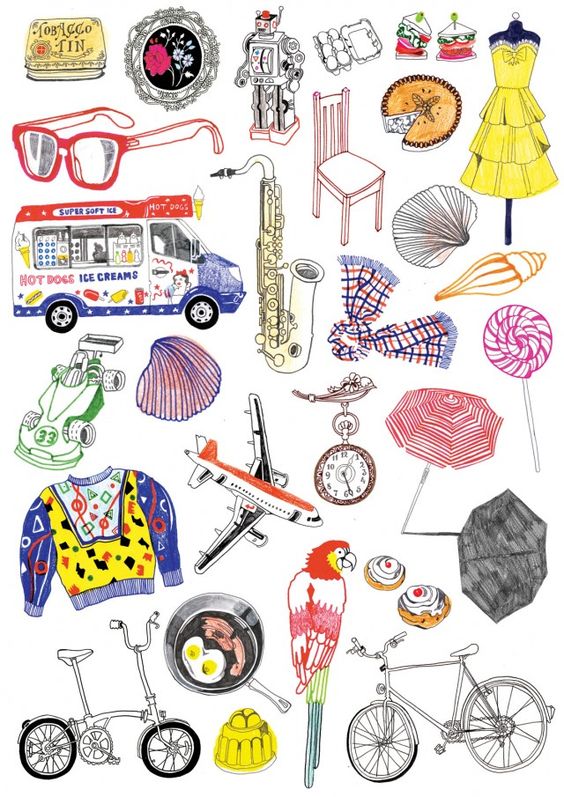
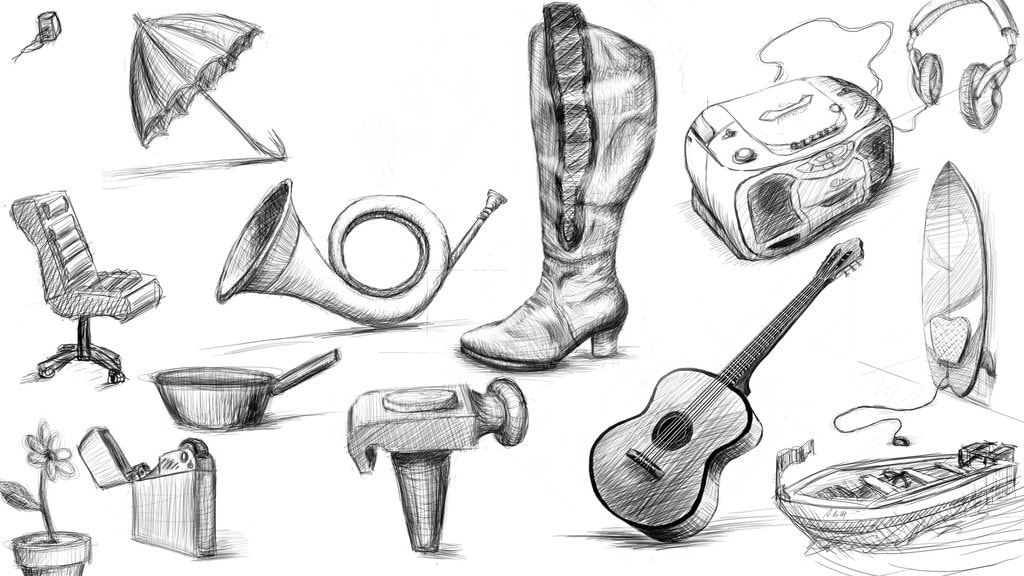
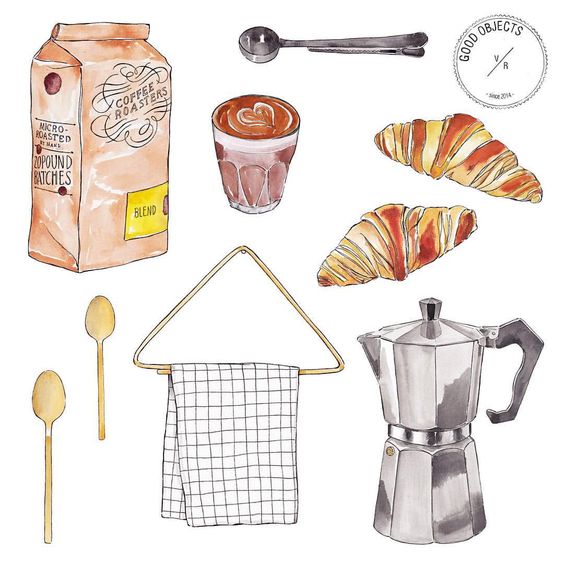
For this assignment you will create a self-portrait by collecting objects around your home that represent different aspects of your personality, or you may focus on one thing like a hobby you enjoy.. Then you will create a visually interesting artwork. You must include at least 5 objects.
Instructions:
1) Complete the class scavenger hunt.
2) Photograph your scavenger hunt items
3) Look around your room, house, backyard and collect more items that will help tell a story about you.
4) Add these items to your scavenger hunt items (or subtract items - your choice) arrange them in an interesting composition:
6) Create your final artwork in the medium of your choice: pencil, colored pencil, marker, watercolor paint, acrylic paint, charcoal...whatever you have at home.
7) Turn into to Google classroom:
Instructions:
1) Complete the class scavenger hunt.
2) Photograph your scavenger hunt items
3) Look around your room, house, backyard and collect more items that will help tell a story about you.
4) Add these items to your scavenger hunt items (or subtract items - your choice) arrange them in an interesting composition:
- consider viewpoint: bug's eye view, bird's eye view, foreground and background, layering and overlapping objects to create levels and depth
- consider lighting: natural lighting outside, from a window or artificial lighting: lamps, ...
- consider collecting items with a color scheme or alter your items to fit a color scheme.
6) Create your final artwork in the medium of your choice: pencil, colored pencil, marker, watercolor paint, acrylic paint, charcoal...whatever you have at home.
7) Turn into to Google classroom:
- photo of your scavenger hunt items
- sketchbook brainstorming page
- Final artwork

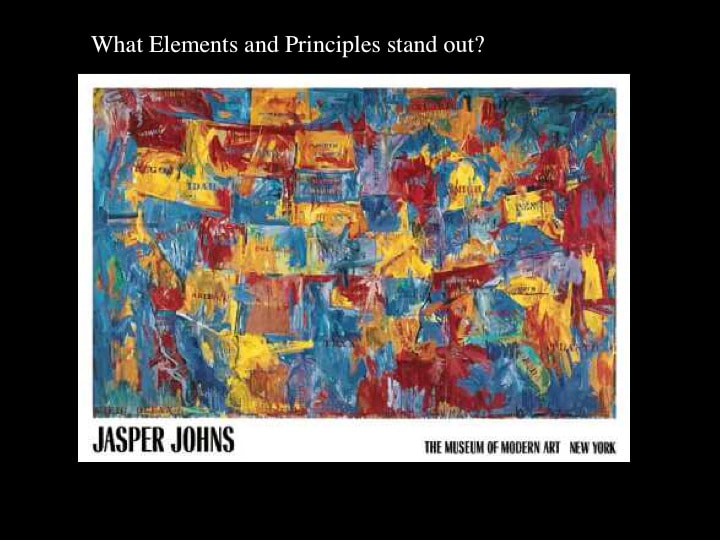
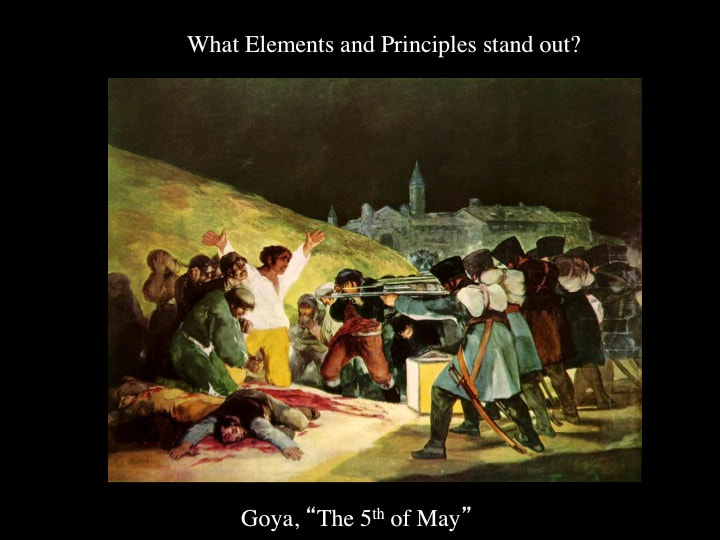
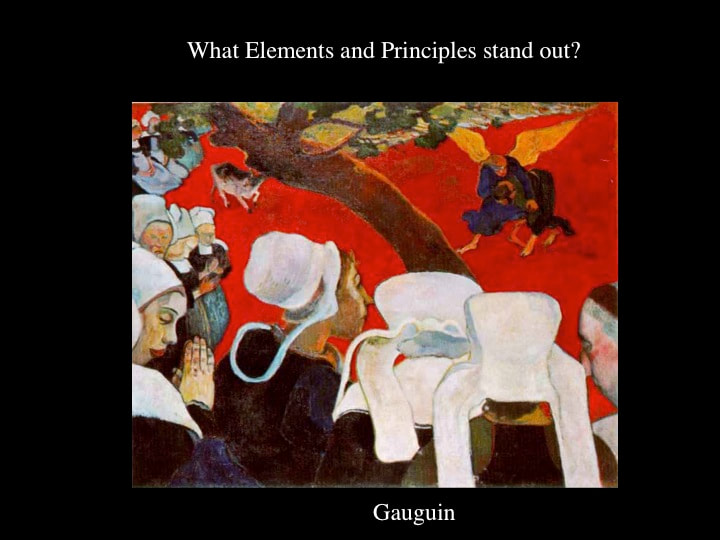
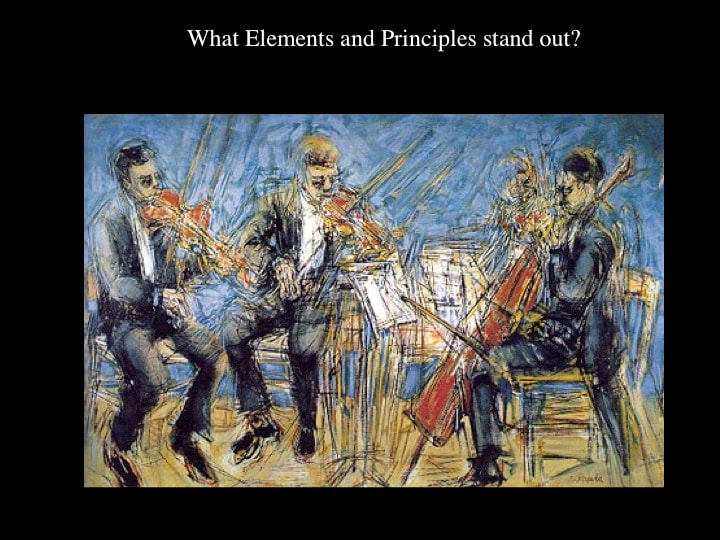
The Elements of Art & Principles of Design
ASSIGNMENT:
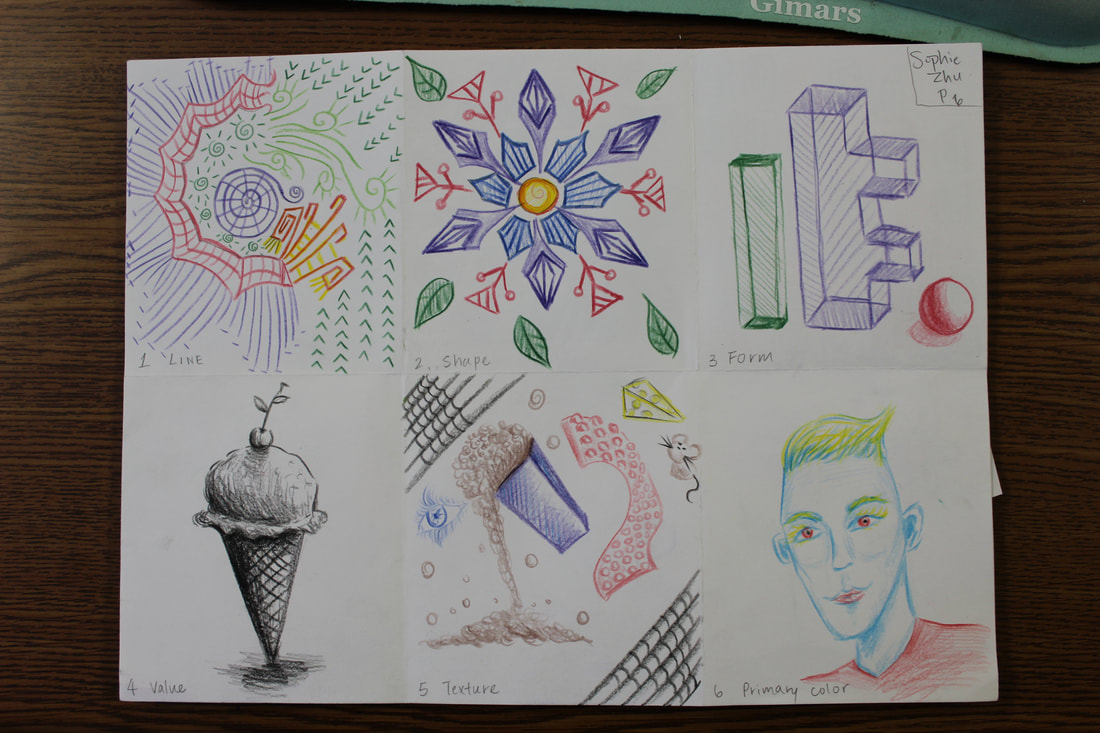
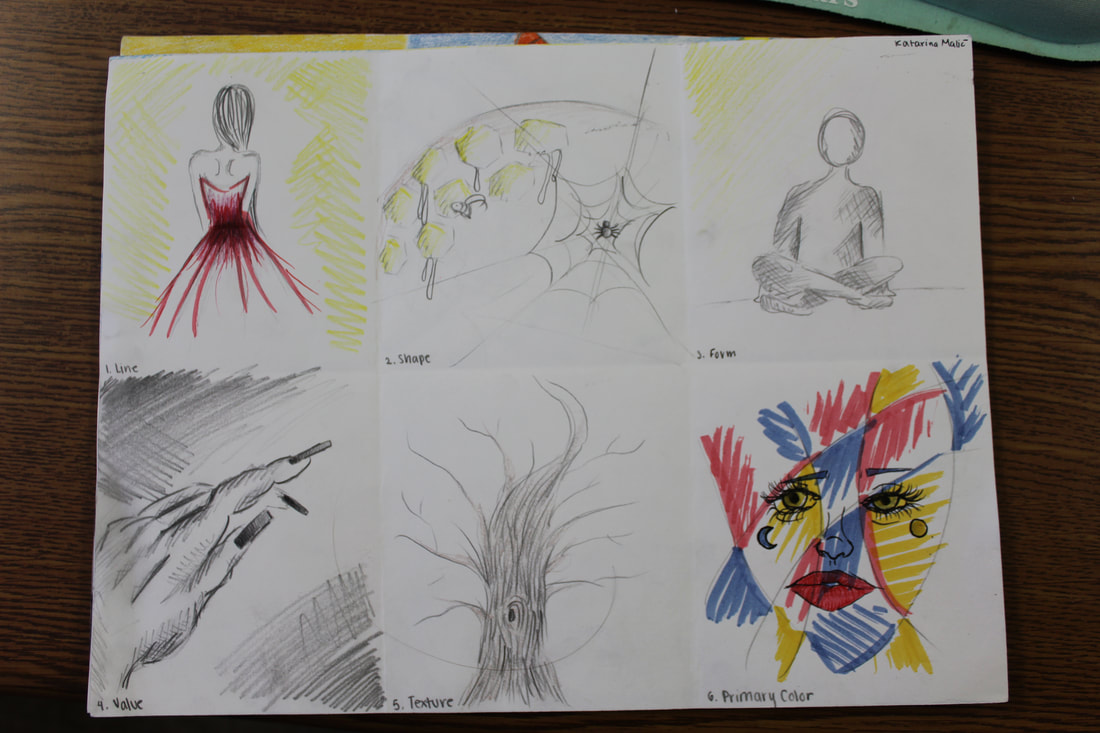
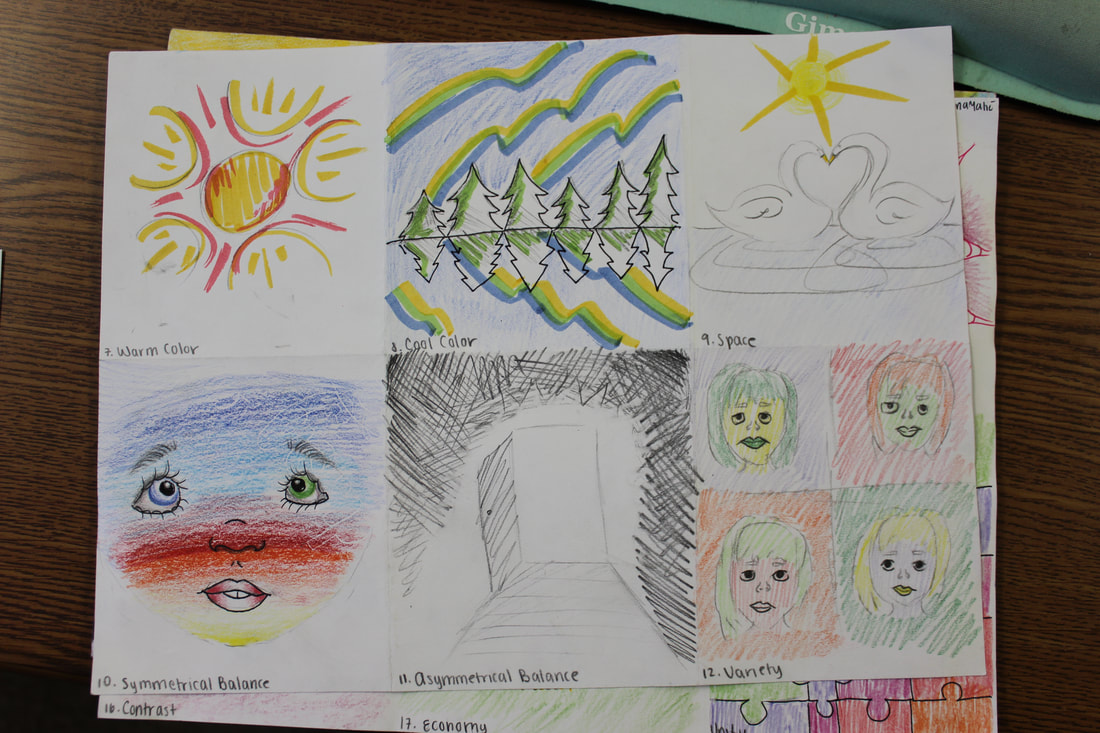
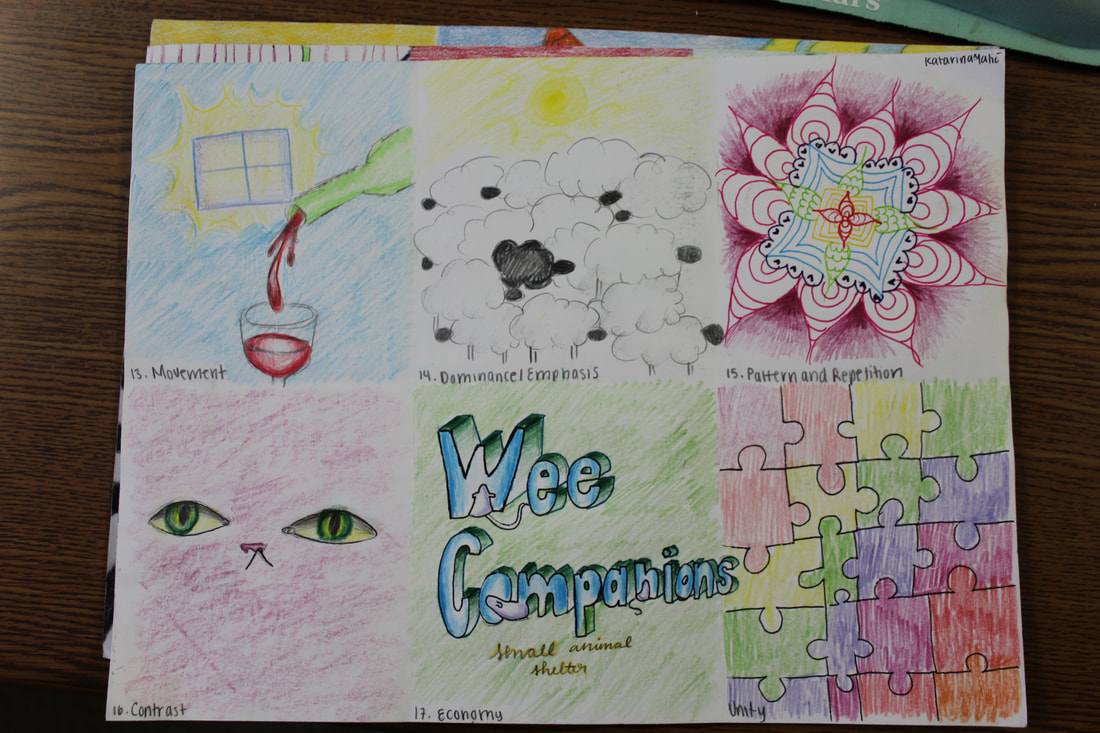
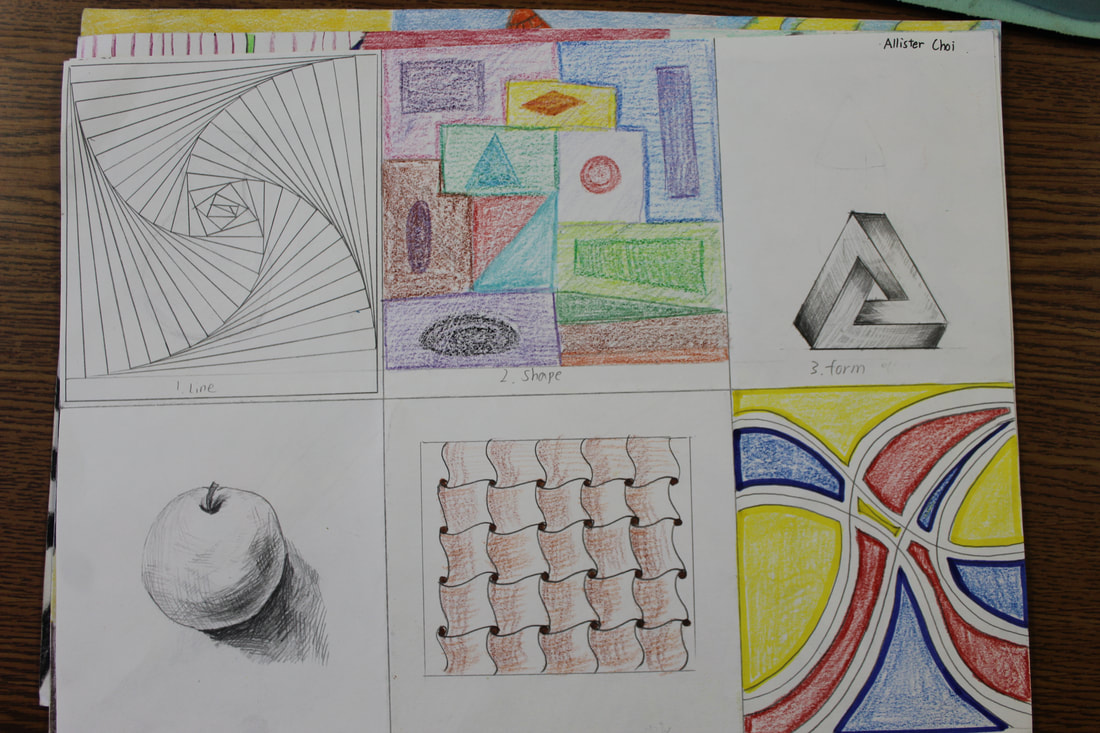
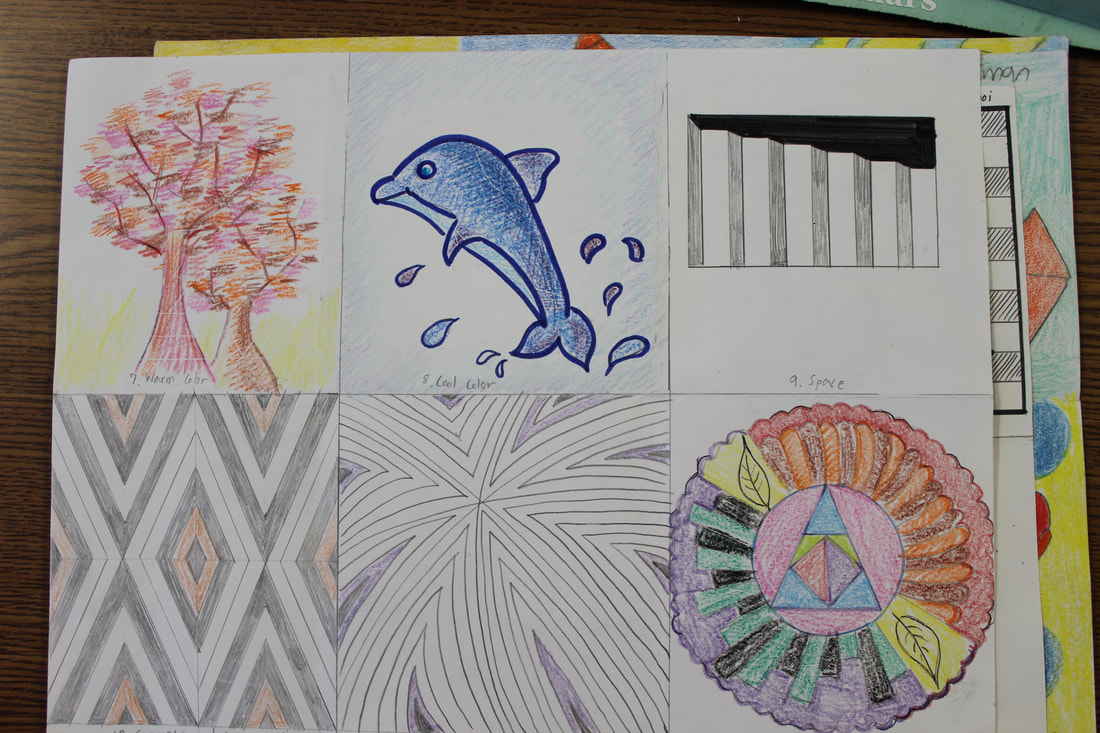
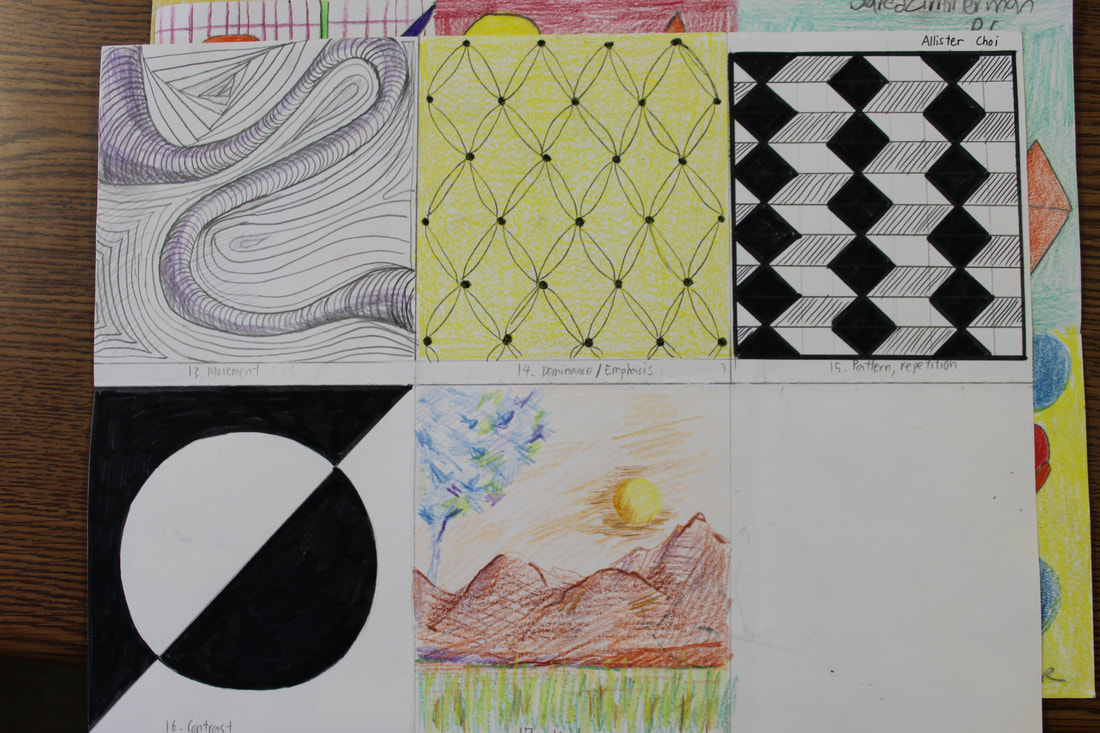
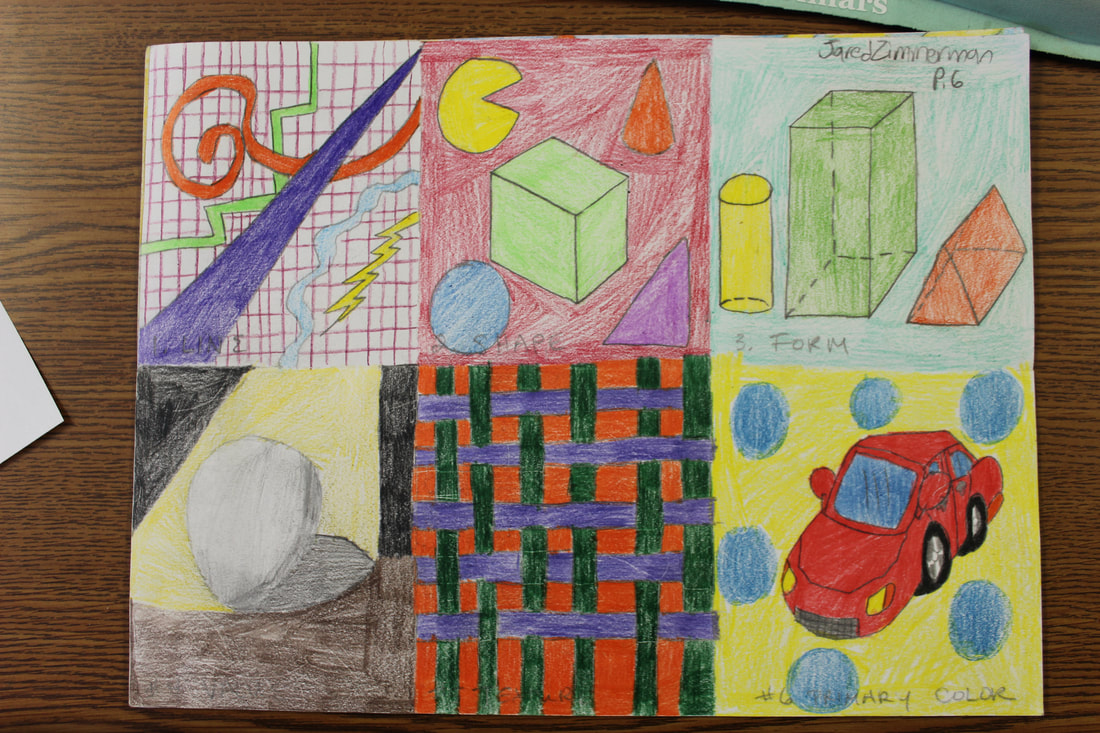
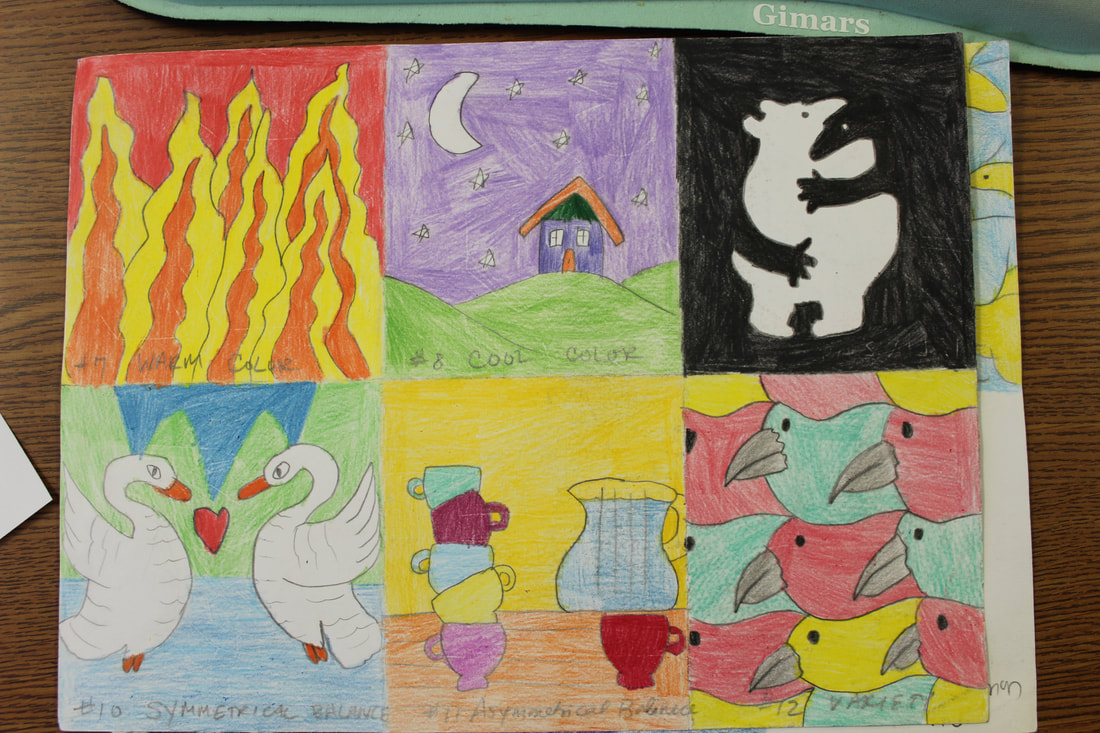
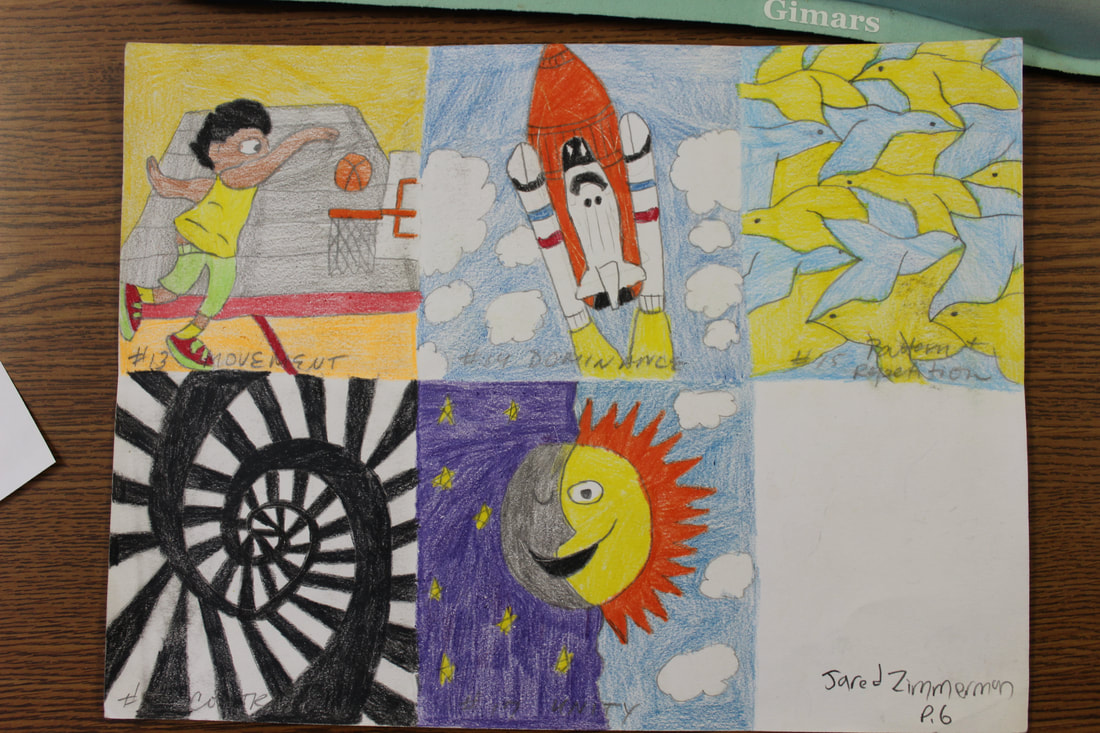
Illustrate the Elements of Art & Principles of Design in 17 mini artworks.
Materials: colored pencil, pencil, marker, and/or what you have available at home.
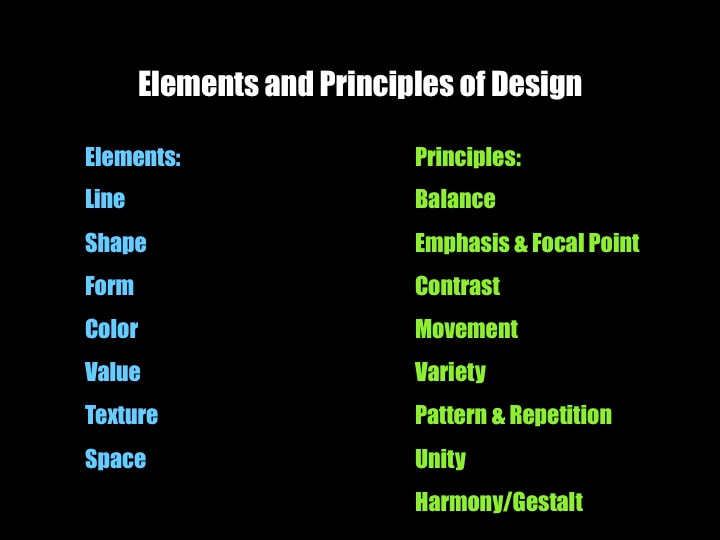
THE ELEMENTS:
The basic “ingredients” an artist uses –separately or in combination-to produce artistic imagery.
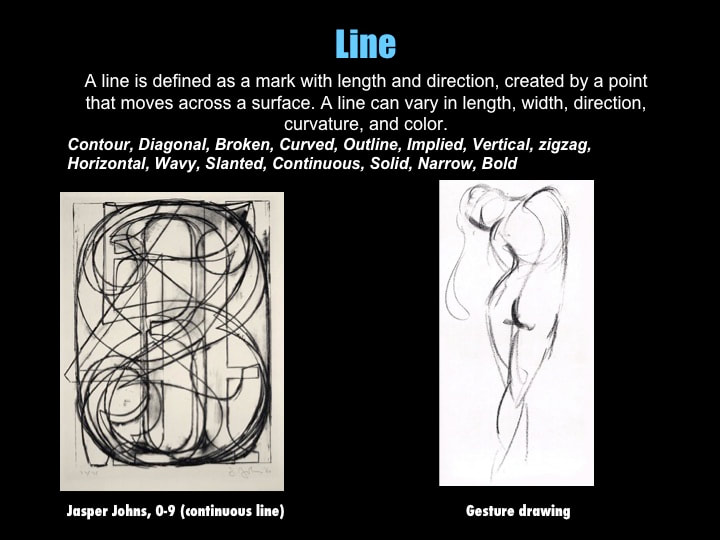
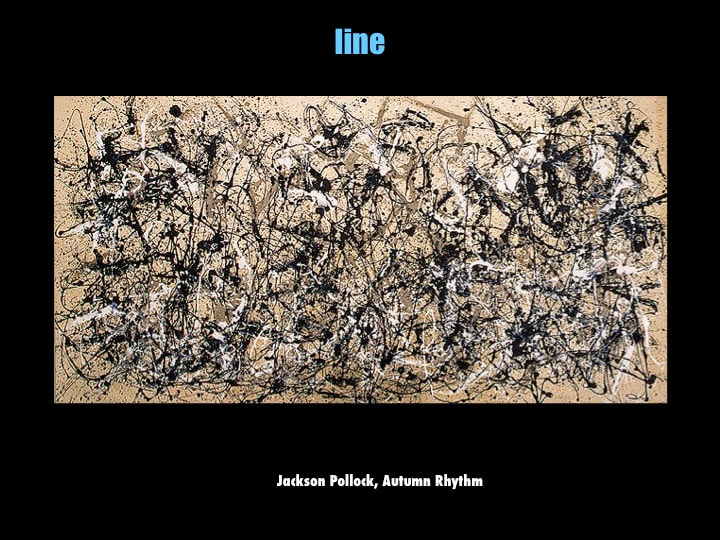
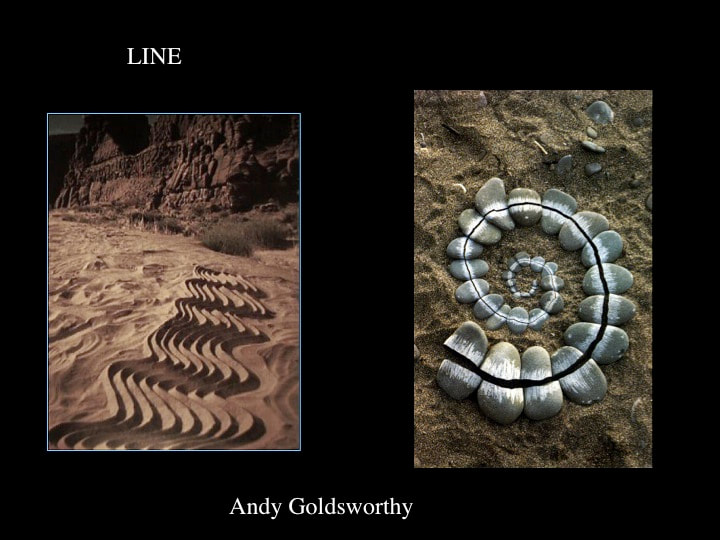
#1 LINE
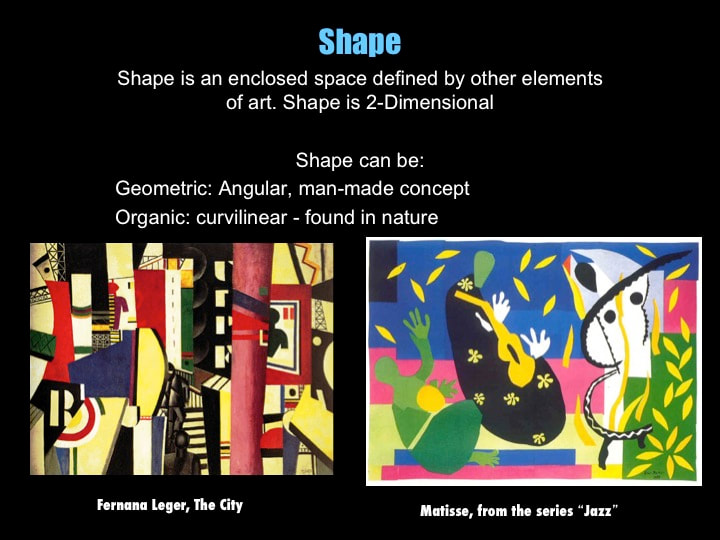
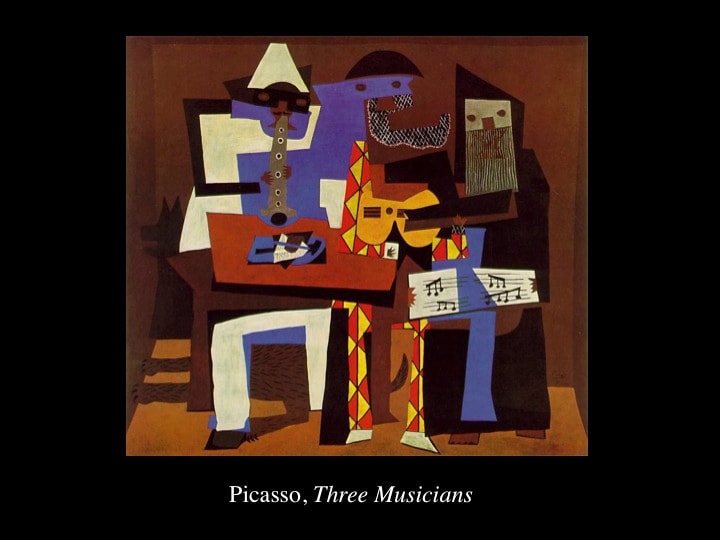
#2 SHAPE
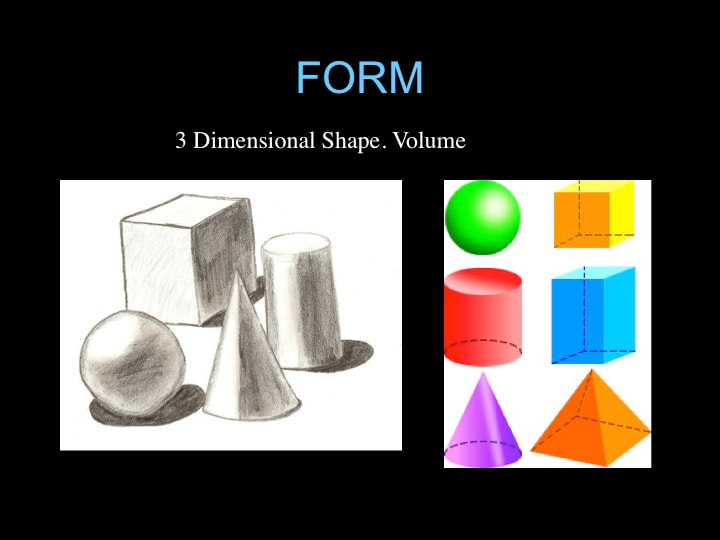
#3 FORM (3-dimensional shape, aka “volume”)
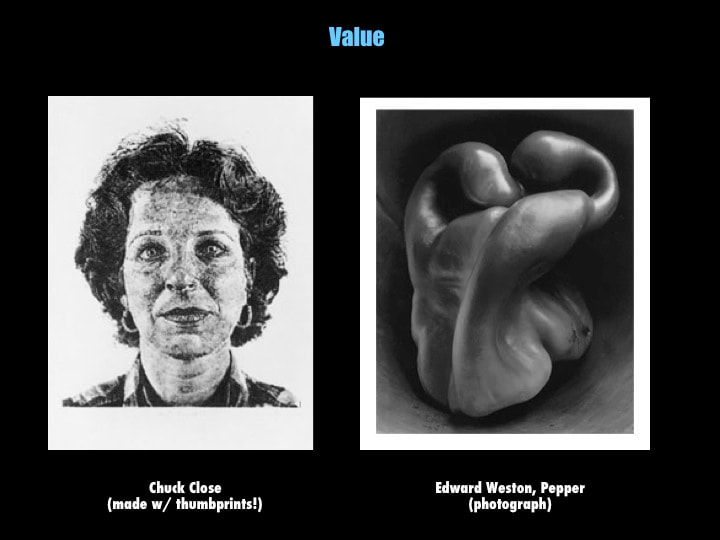
#4 VALUE
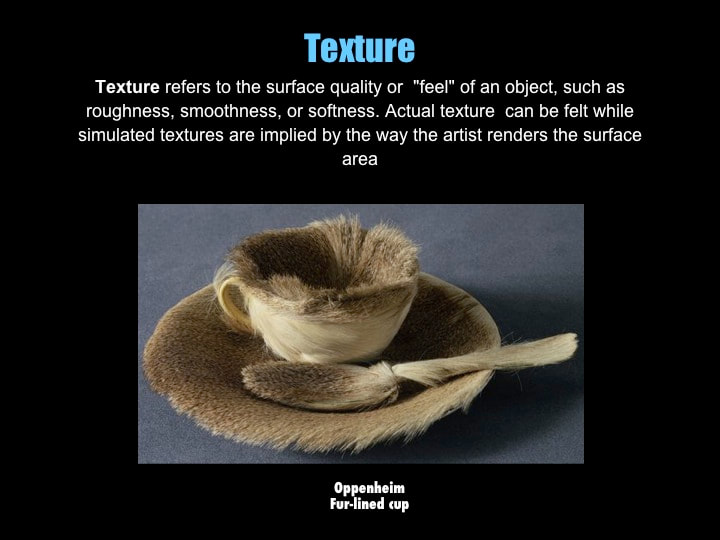
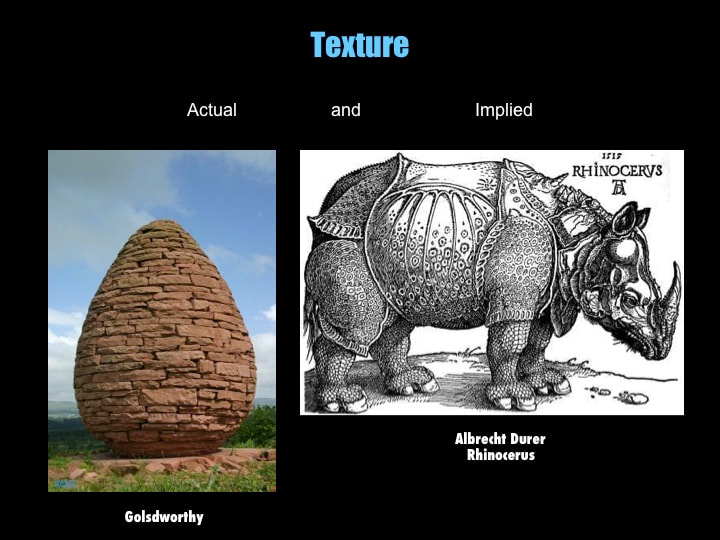
#5 TEXTURE
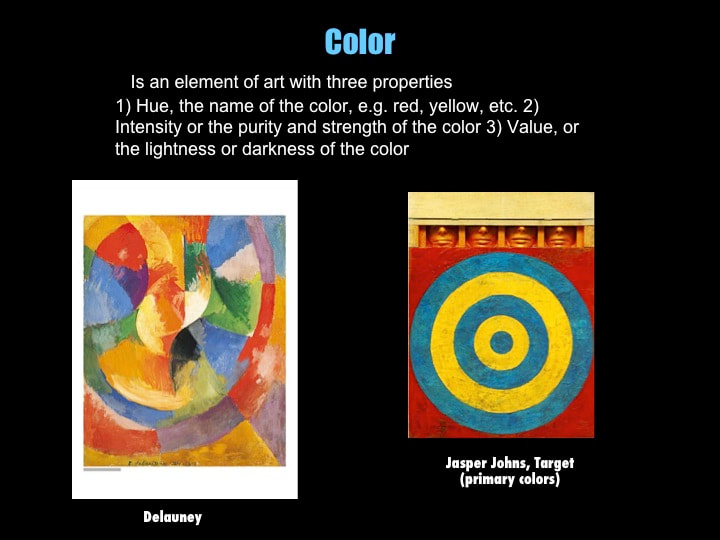
#6 PRIMARY COLOR
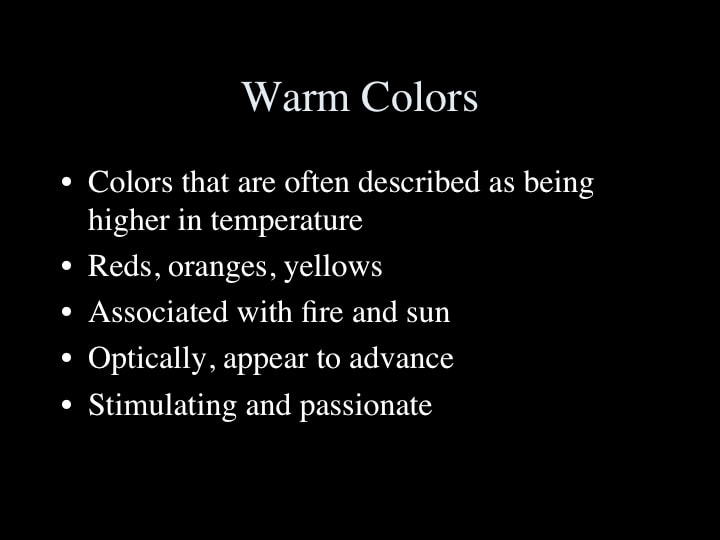
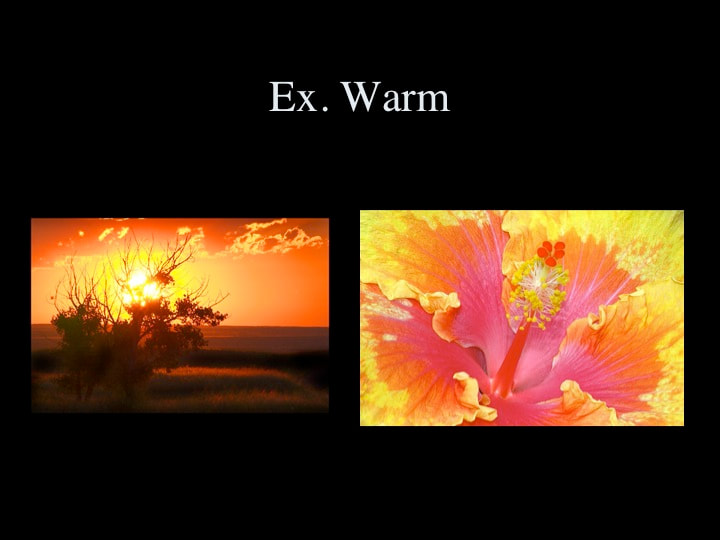
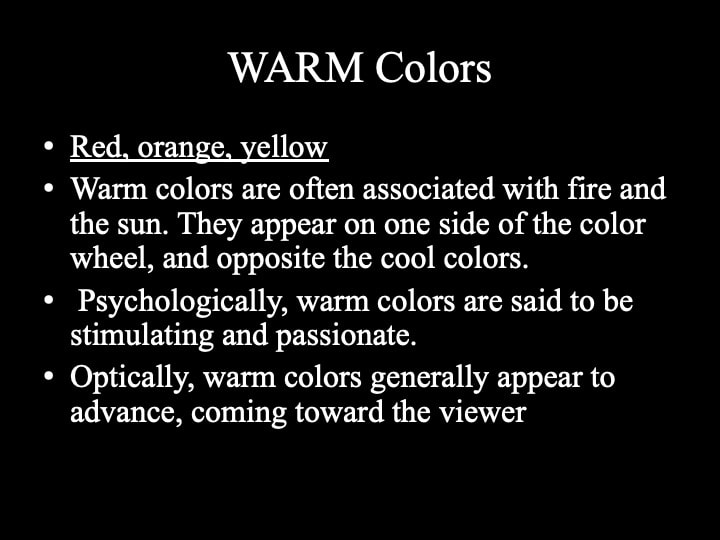
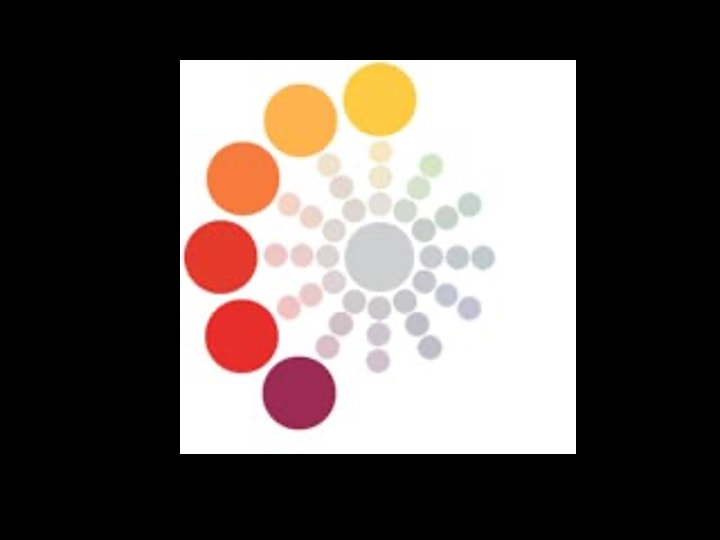
#7 WARM COLOR
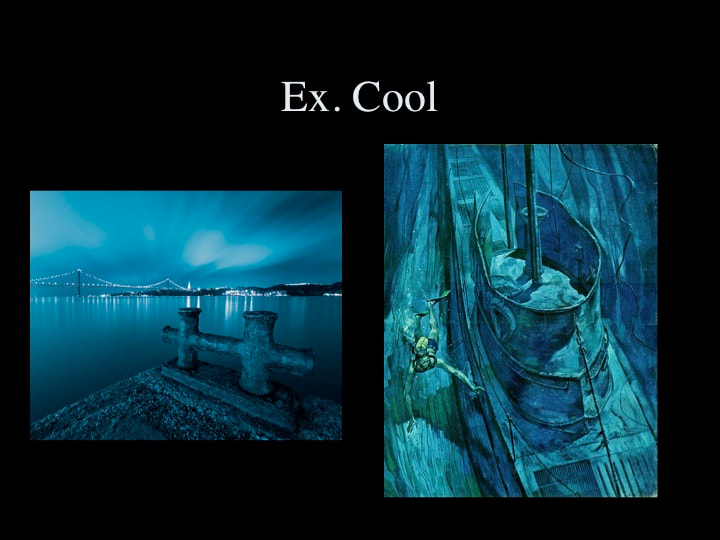
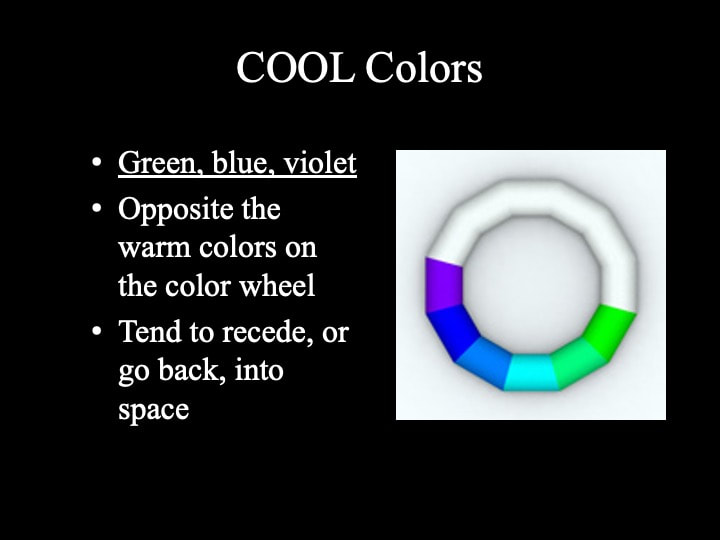
#8 COOL COLOR
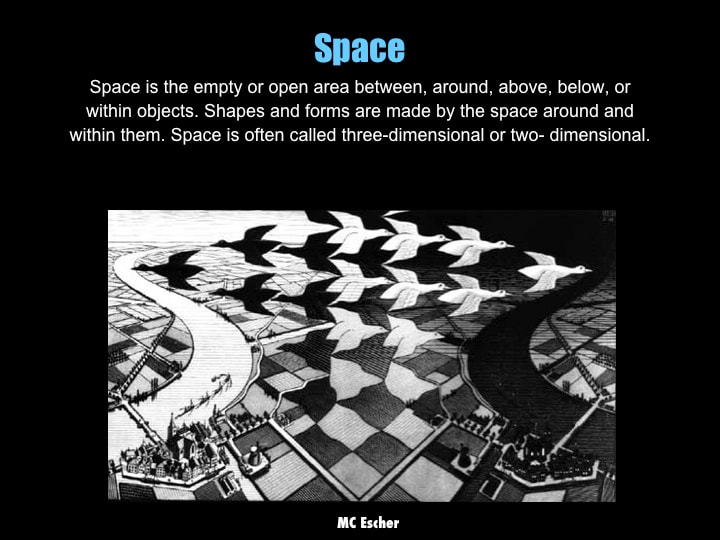
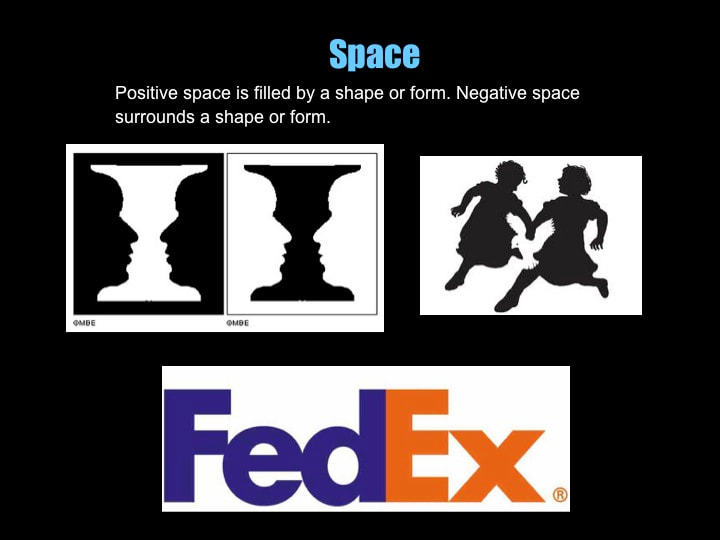
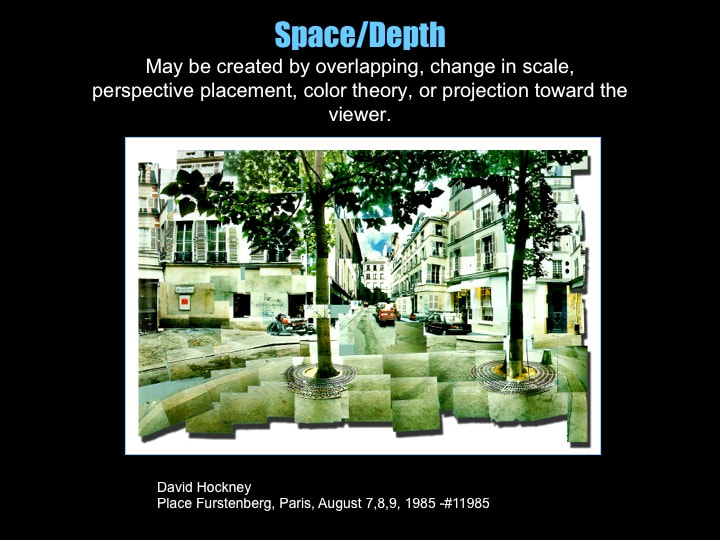
#9 SPACE –Perspective to show the illusion of depth and 3D space
THE PRINCIPLES
Rules that guide an artist in how to use and combine the elements of art.
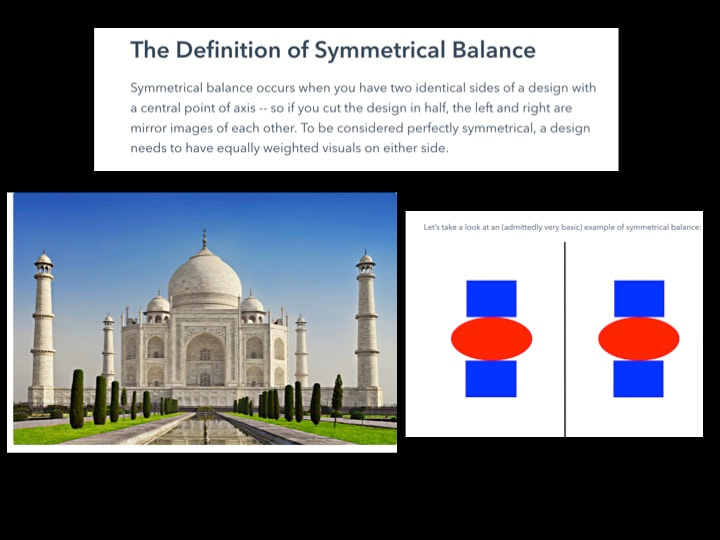
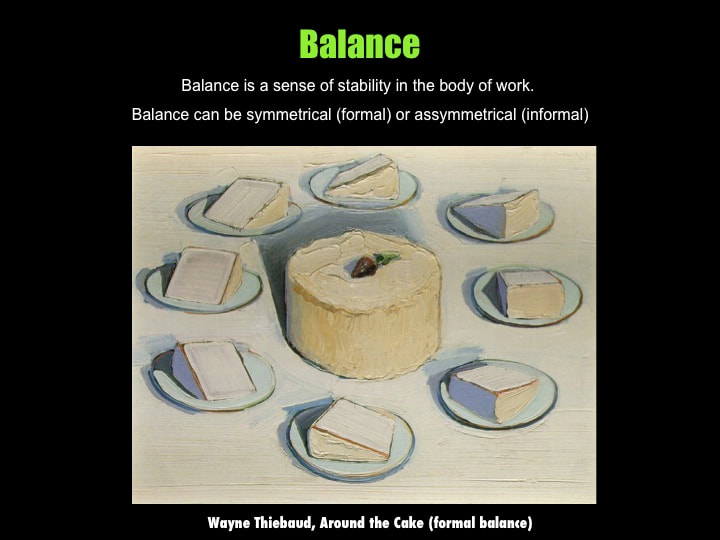
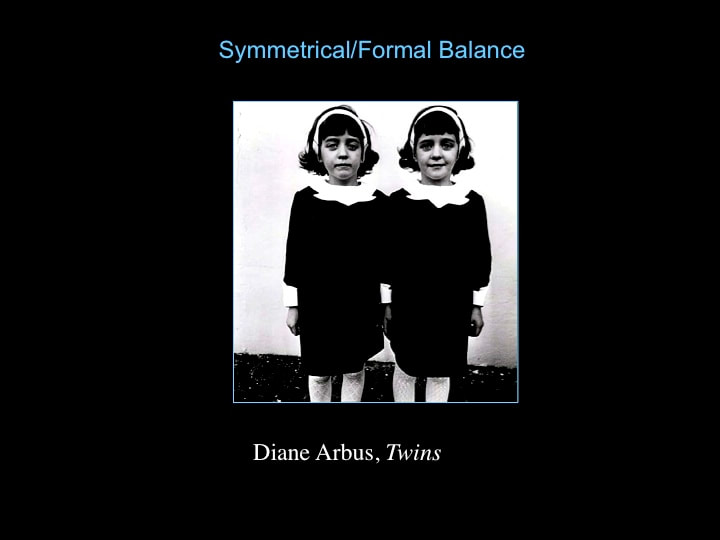
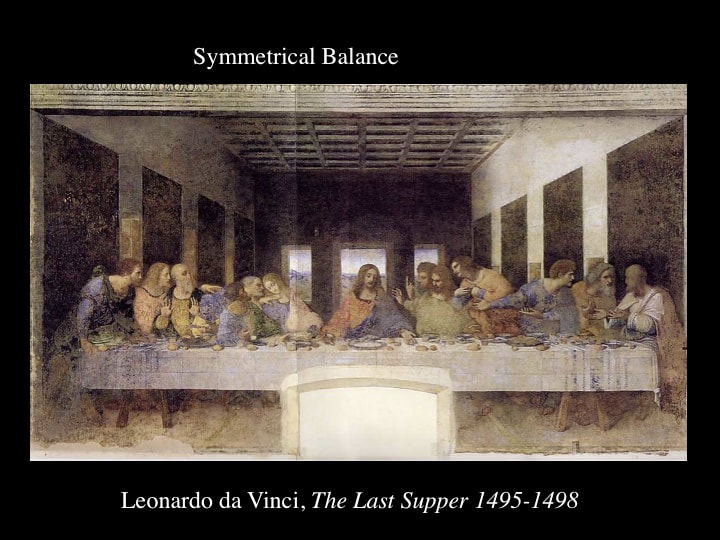
#10 SYMMETRICAL BALANCE
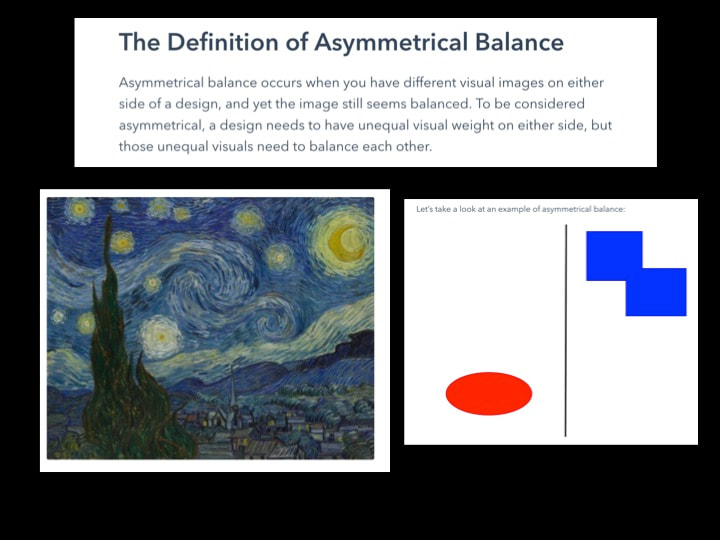
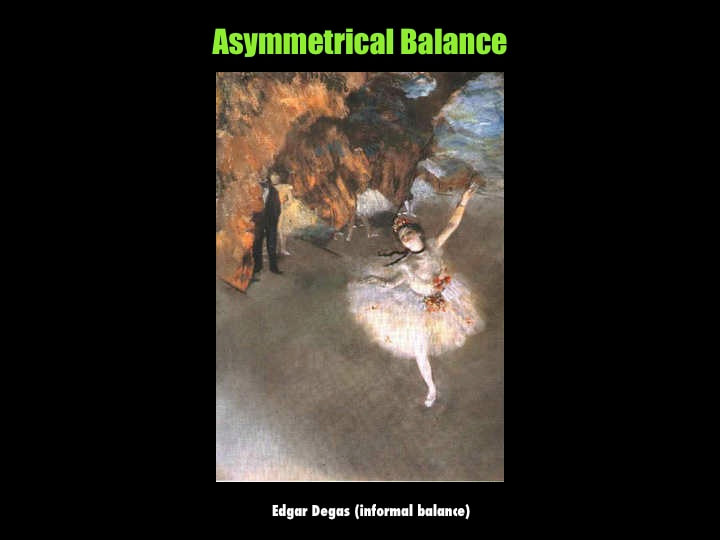
#11 ASYMMETRICAL BALANCE
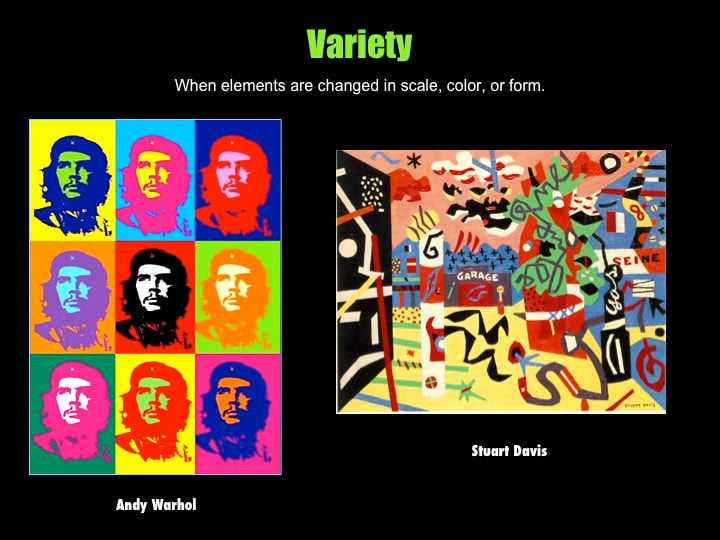
#12 VARIETY
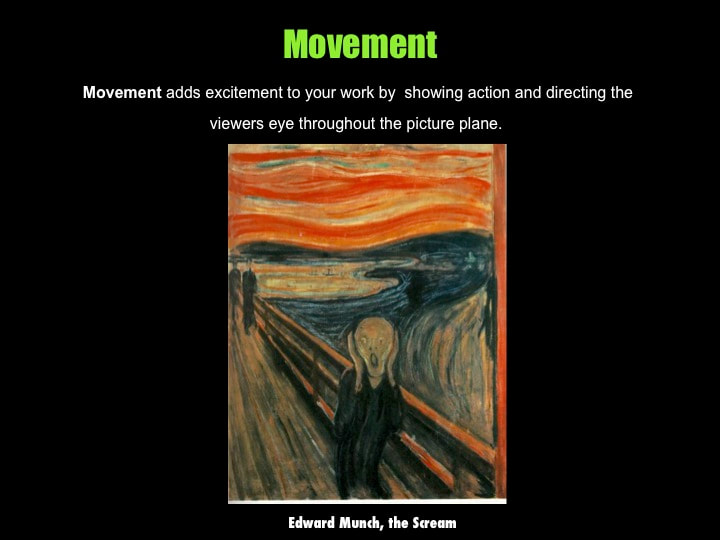
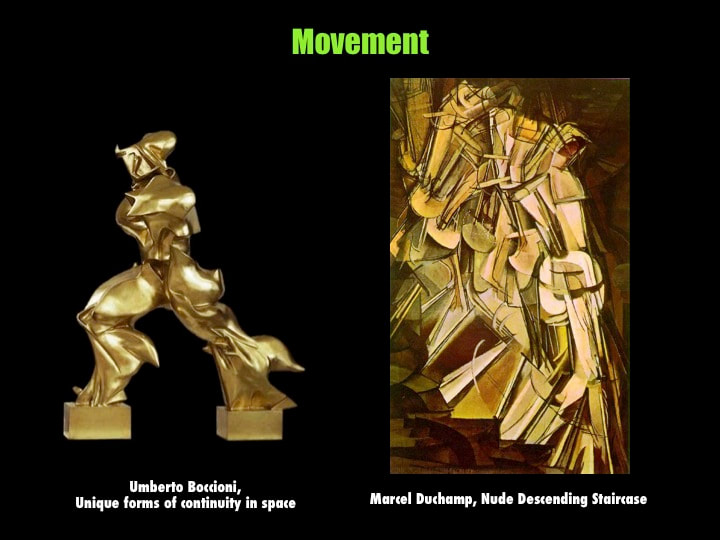
#13 MOVEMENT
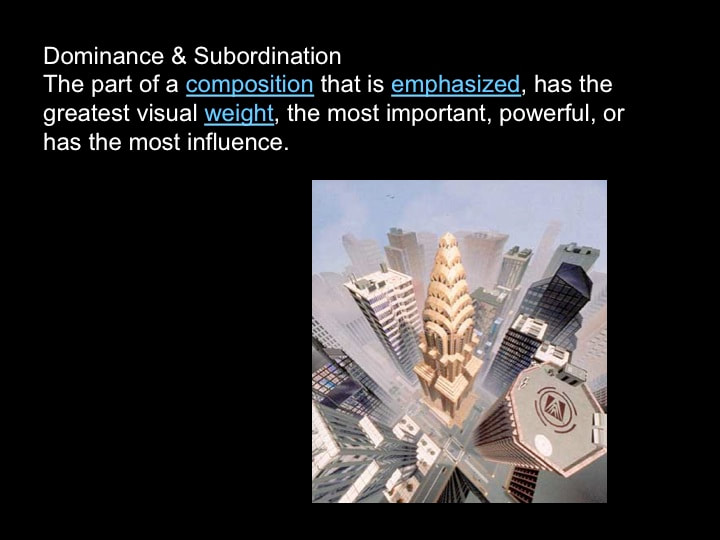
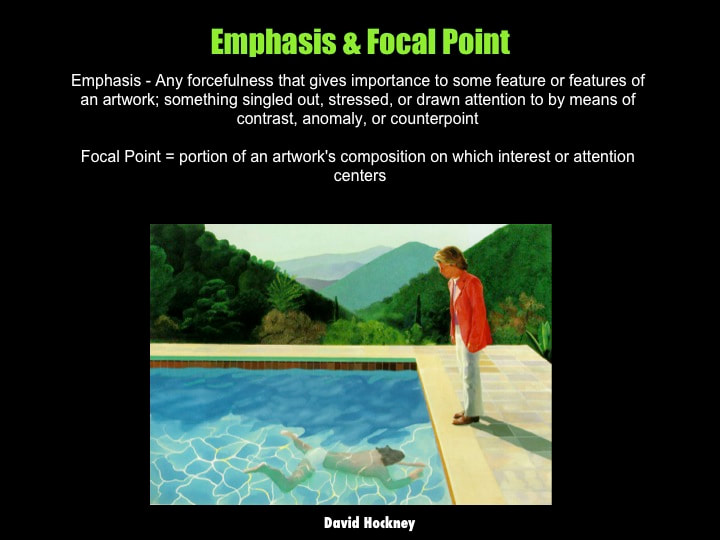
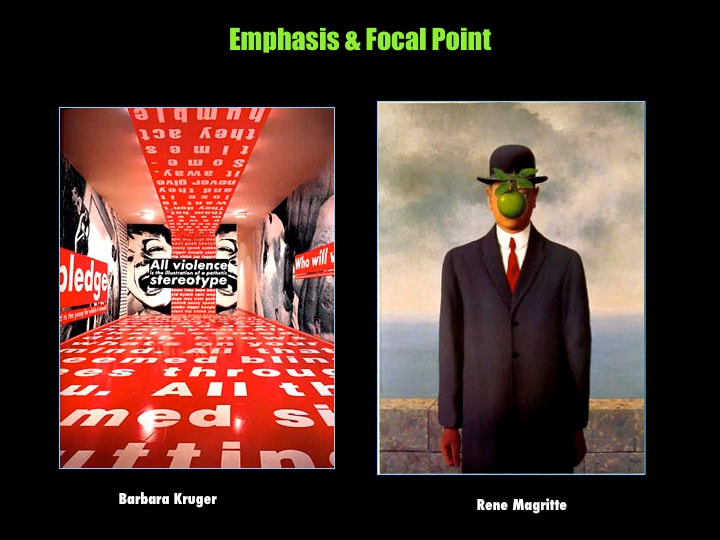
#14 DOMINANCE /EMPHASIS
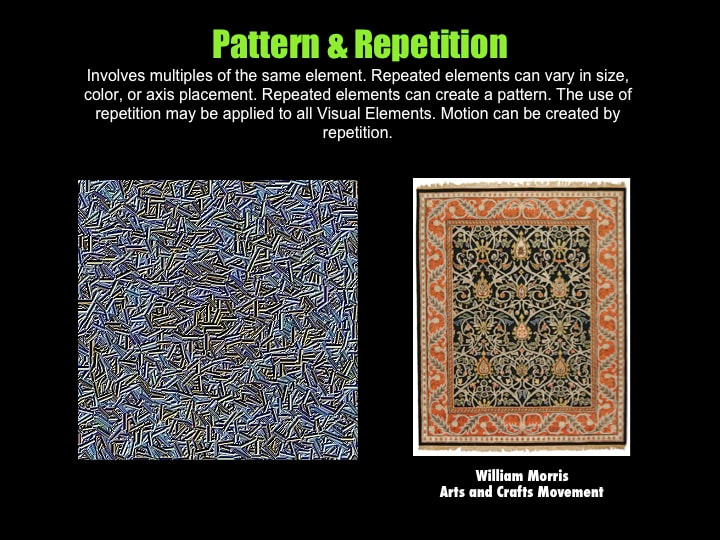
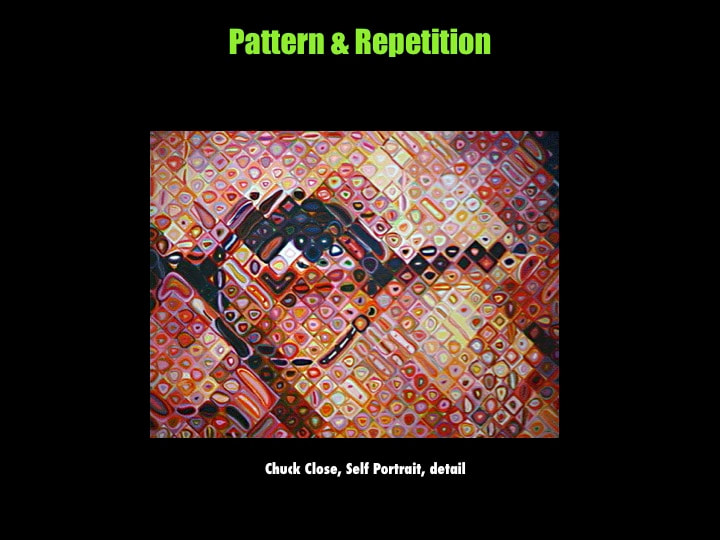
#15 PATTERN & REPETITION
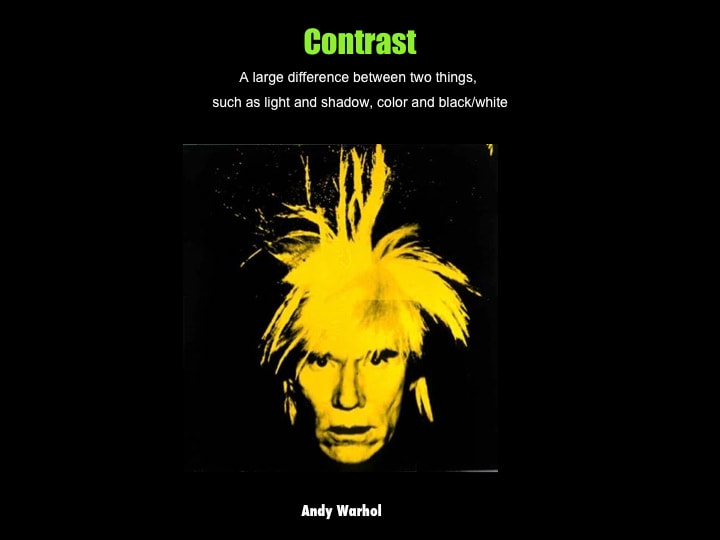
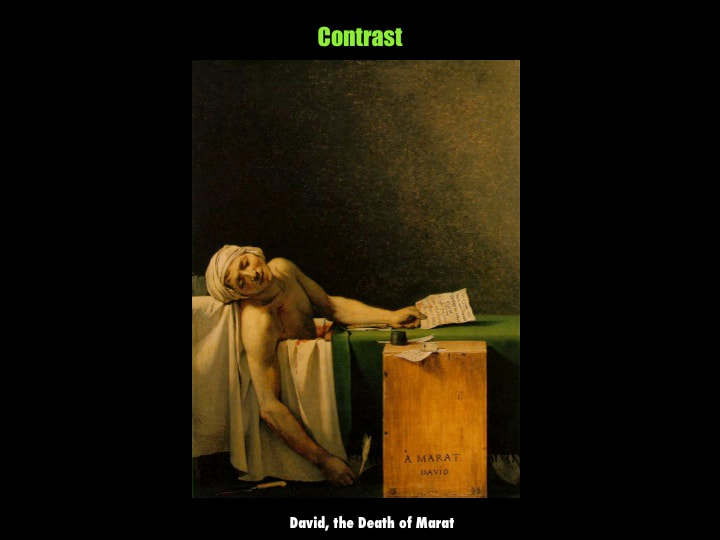
#16 CONTRAST
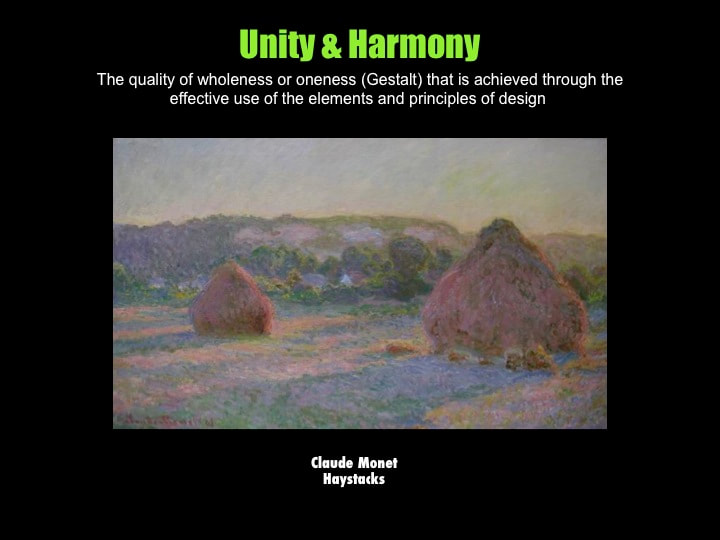
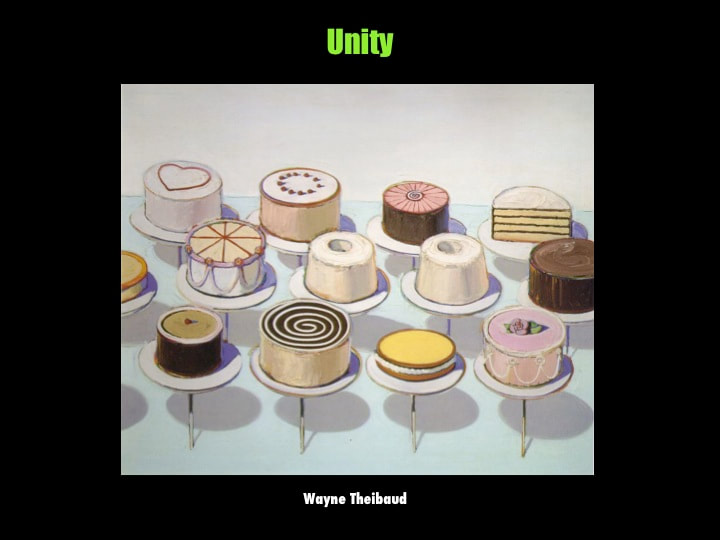
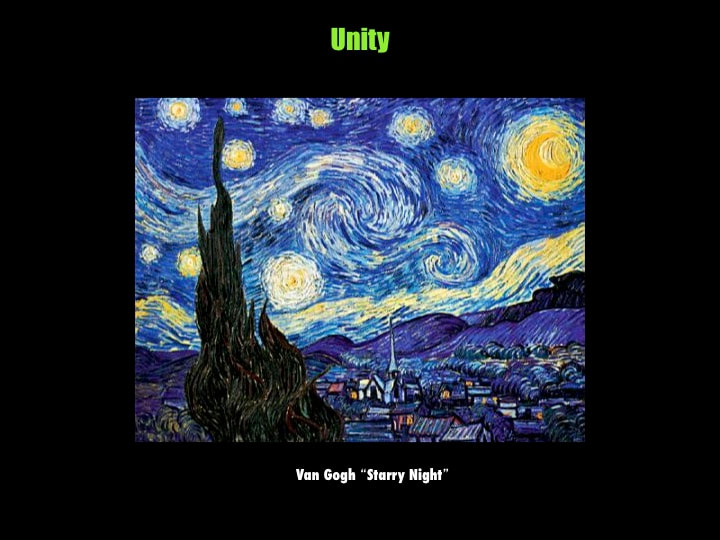
#17 UNITY
RESOURCES:
-Definitions of the Elements of Art & Principles of Design
-Elements of Art research link: artlex.com
-Elements of Art Video
-Principles of Design Video
Illustrate the Elements of Art & Principles of Design in 17 mini artworks.
- Number each element and principle.
- Create a small-scale artwork that illustrates each corresponding element and principle.
- Draw each artwork in a 3X3 inch square minimum. Make sure to fill in each square completely and color each square completely with colored pencils.
- You will be graded on completing each element and principle correctly, meeting format requirements, creativity, effort and craftsmanship.
Materials: colored pencil, pencil, marker, and/or what you have available at home.
THE ELEMENTS:
The basic “ingredients” an artist uses –separately or in combination-to produce artistic imagery.
#1 LINE
#2 SHAPE
#3 FORM (3-dimensional shape, aka “volume”)
#4 VALUE
#5 TEXTURE
#6 PRIMARY COLOR
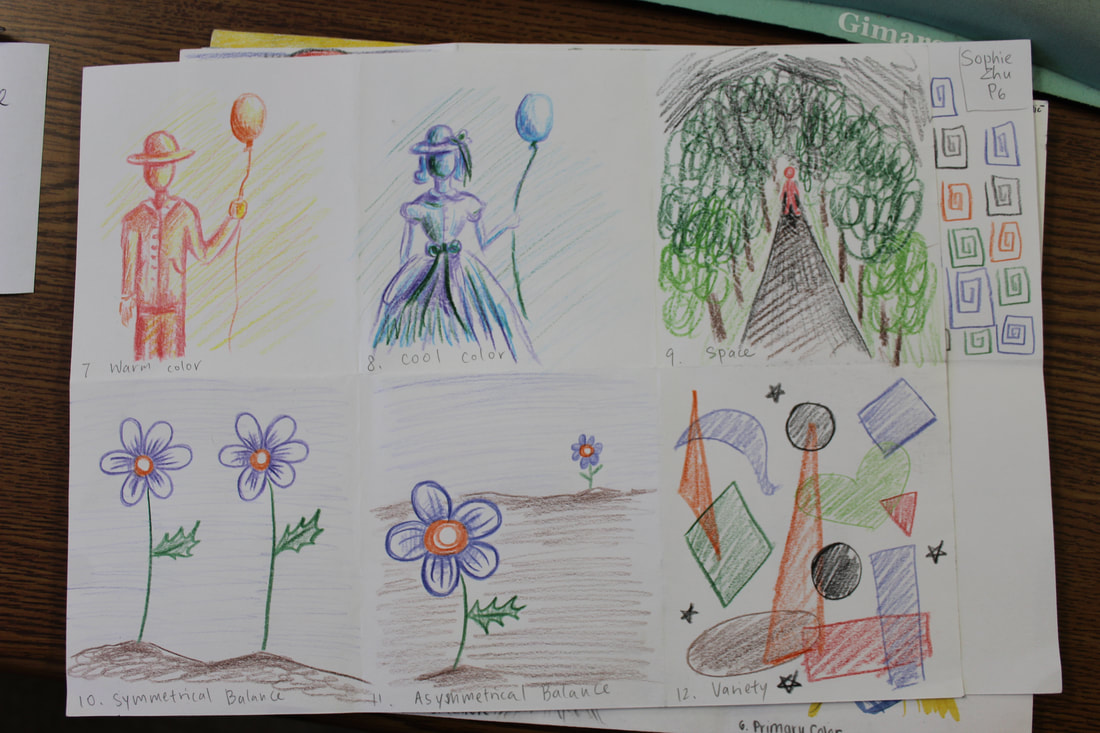
#7 WARM COLOR
#8 COOL COLOR
#9 SPACE –Perspective to show the illusion of depth and 3D space
THE PRINCIPLES
Rules that guide an artist in how to use and combine the elements of art.
#10 SYMMETRICAL BALANCE
#11 ASYMMETRICAL BALANCE
#12 VARIETY
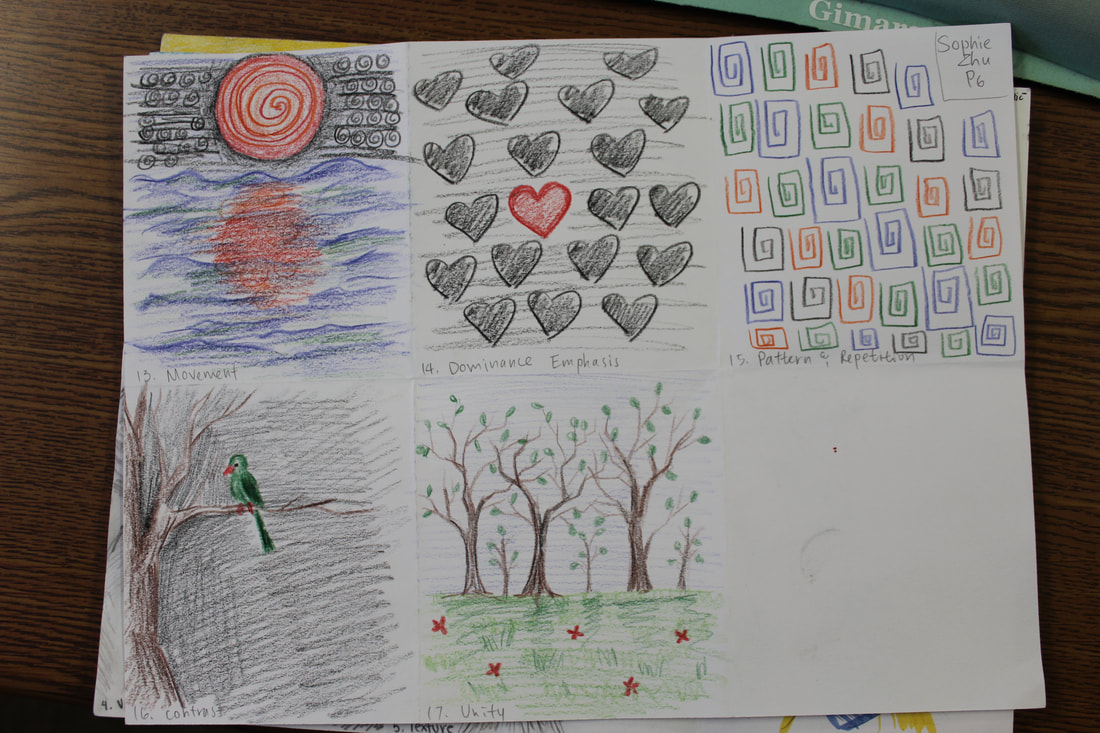
#13 MOVEMENT
#14 DOMINANCE /EMPHASIS
#15 PATTERN & REPETITION
#16 CONTRAST
#17 UNITY
RESOURCES:
-Definitions of the Elements of Art & Principles of Design
-Elements of Art research link: artlex.com
-Elements of Art Video
-Principles of Design Video


Student Elements of Art & Principles of Design Examples
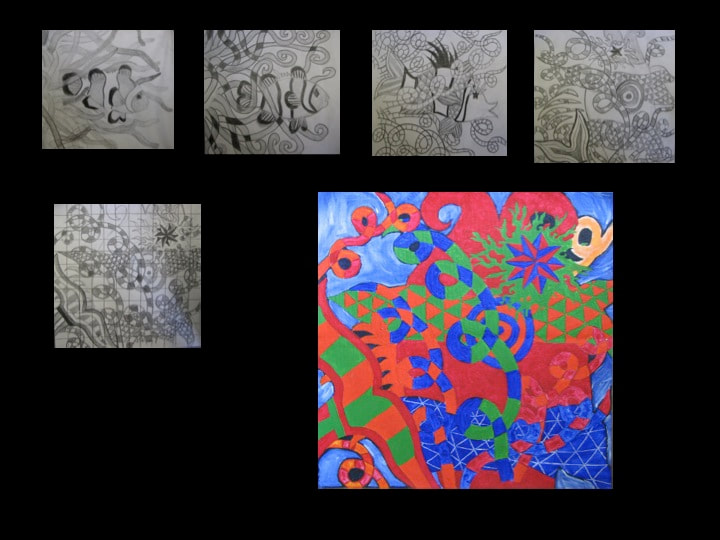
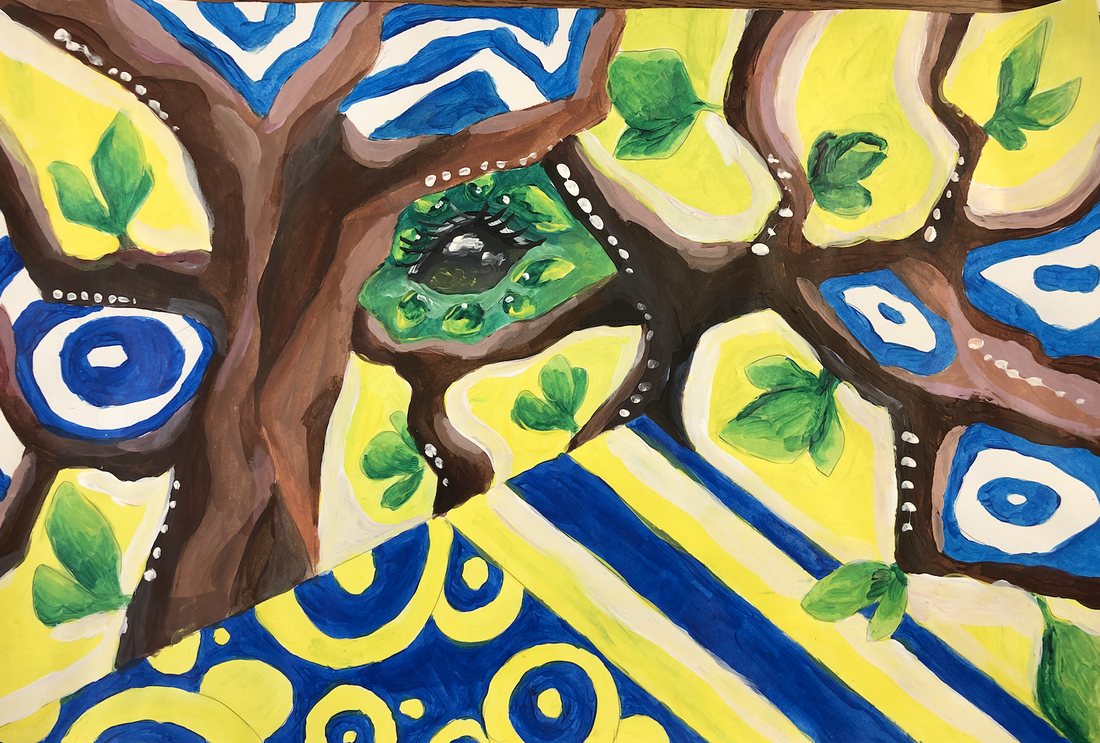
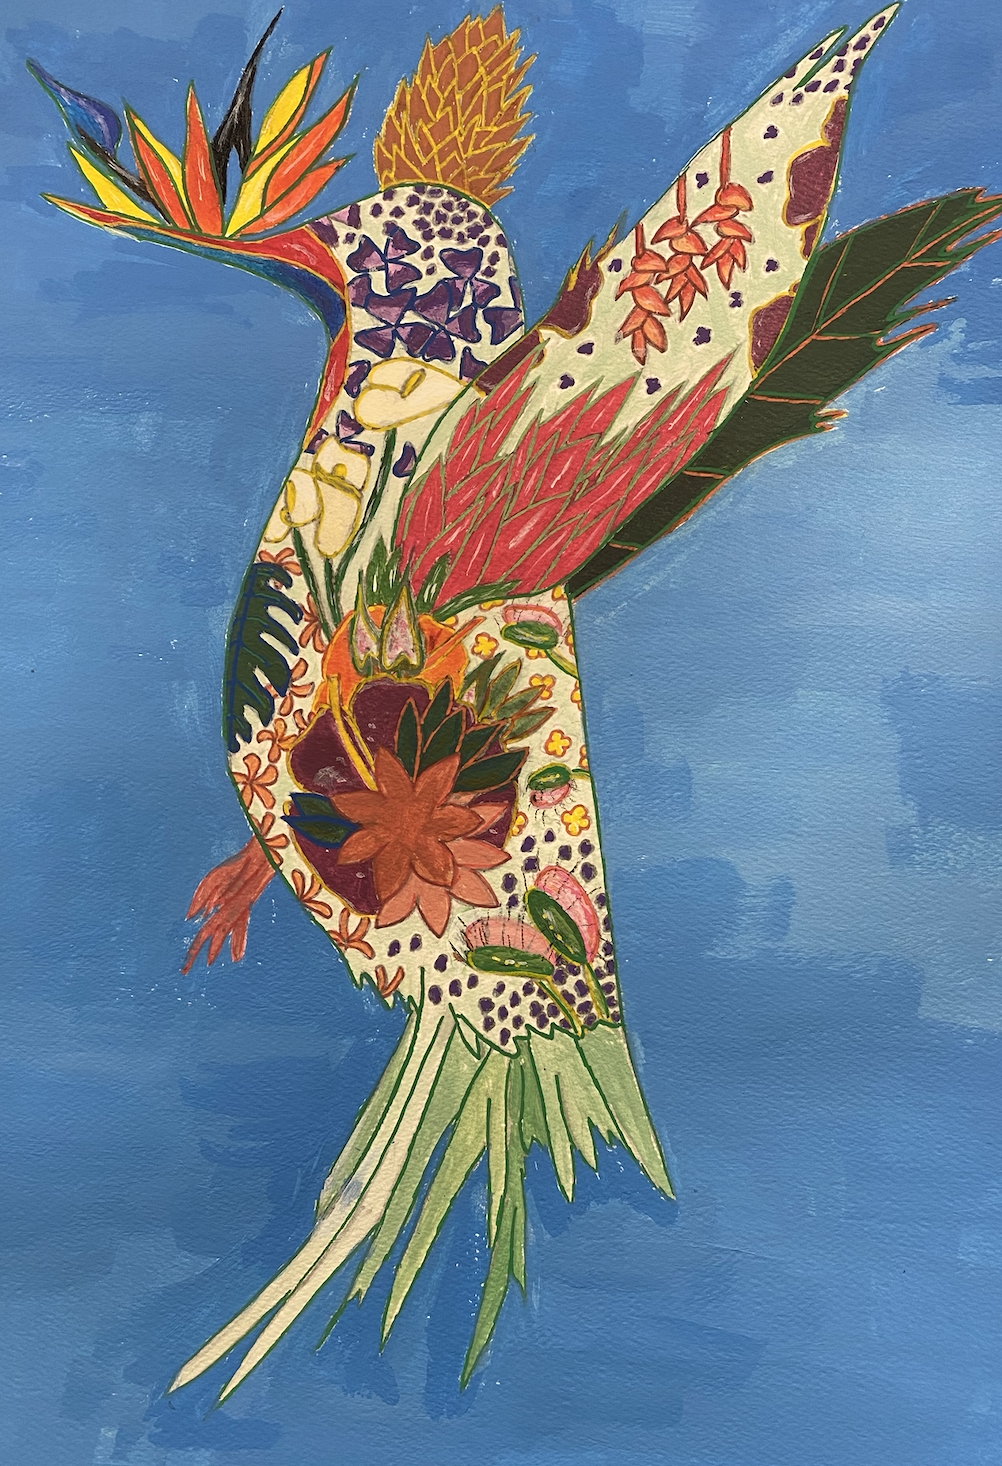
Zentangles Project
Class Video Presentation here: Watch Mrs. Doerrer's class presentation
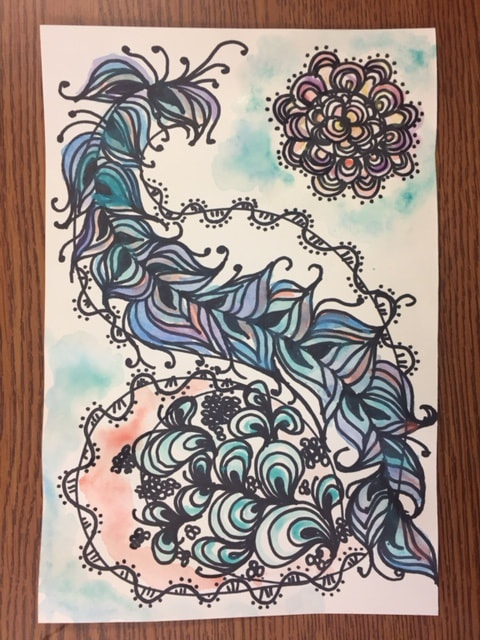
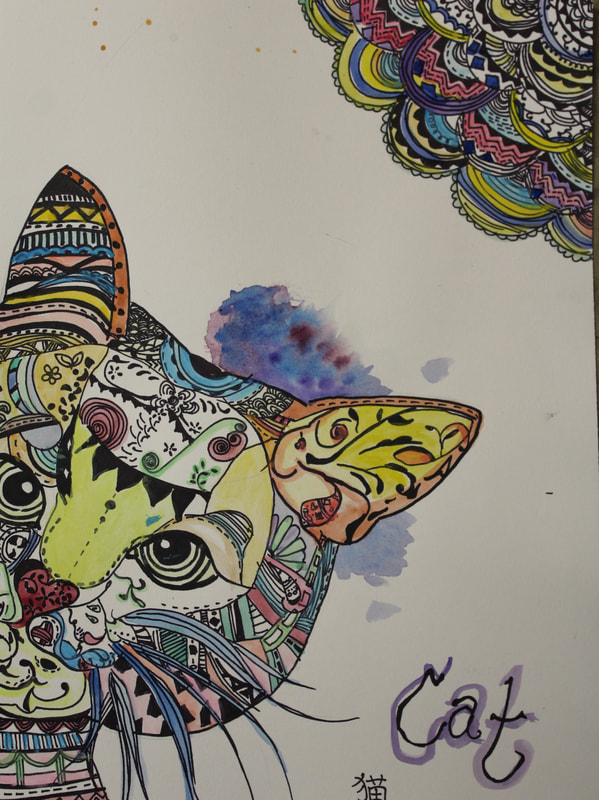
Create TWO different Zentangle artworks. Use any materials you have at home. Any pen or pencil. Any paper.
Practice ABSTRACT Zentangle
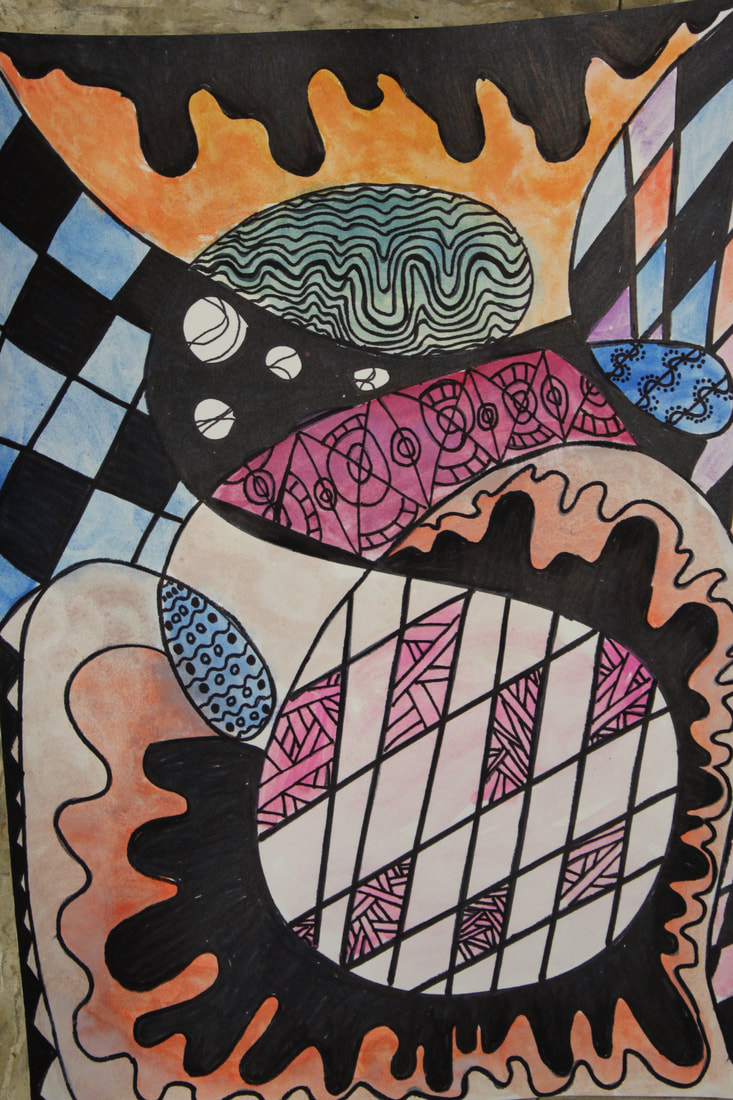
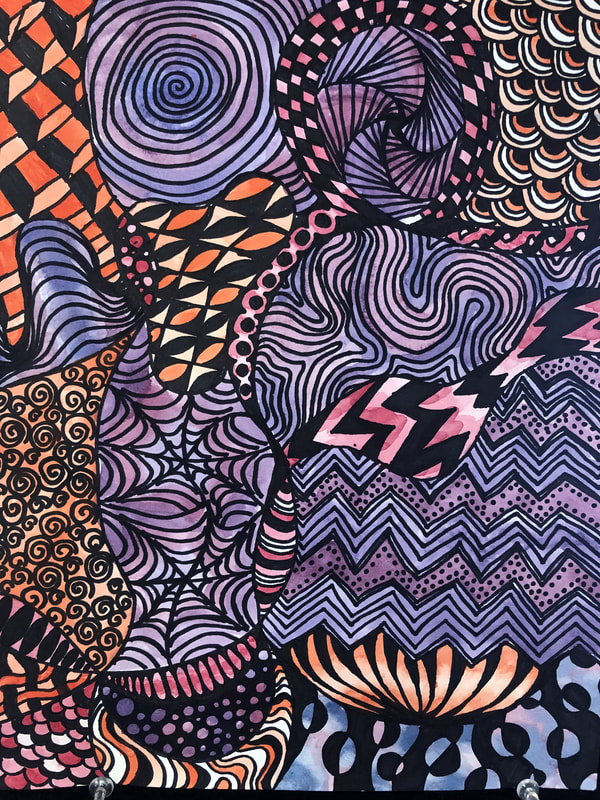
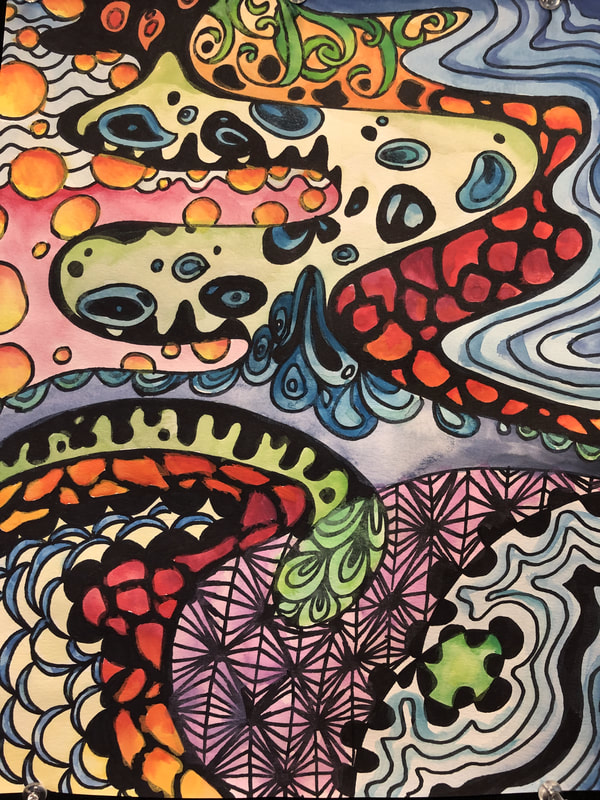
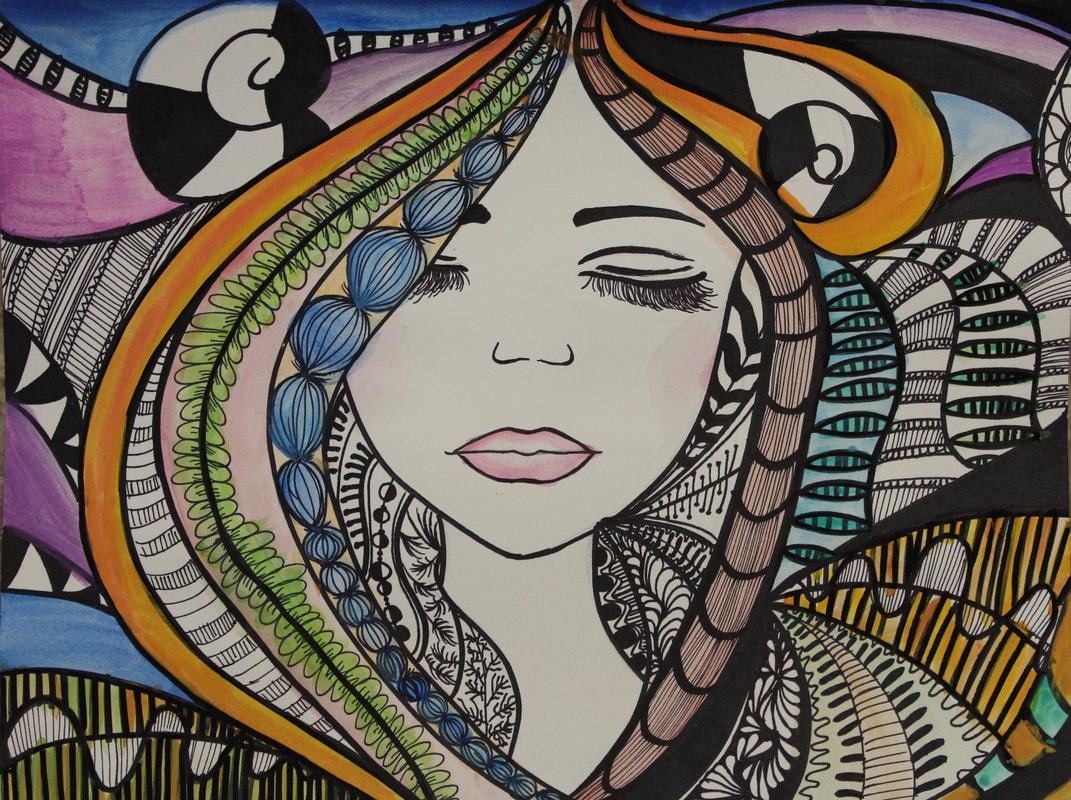
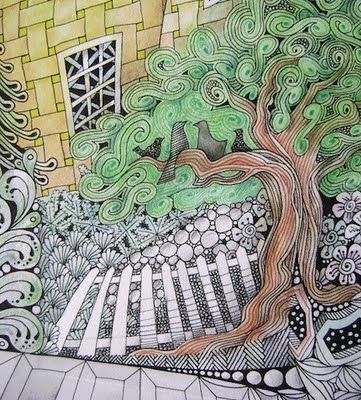
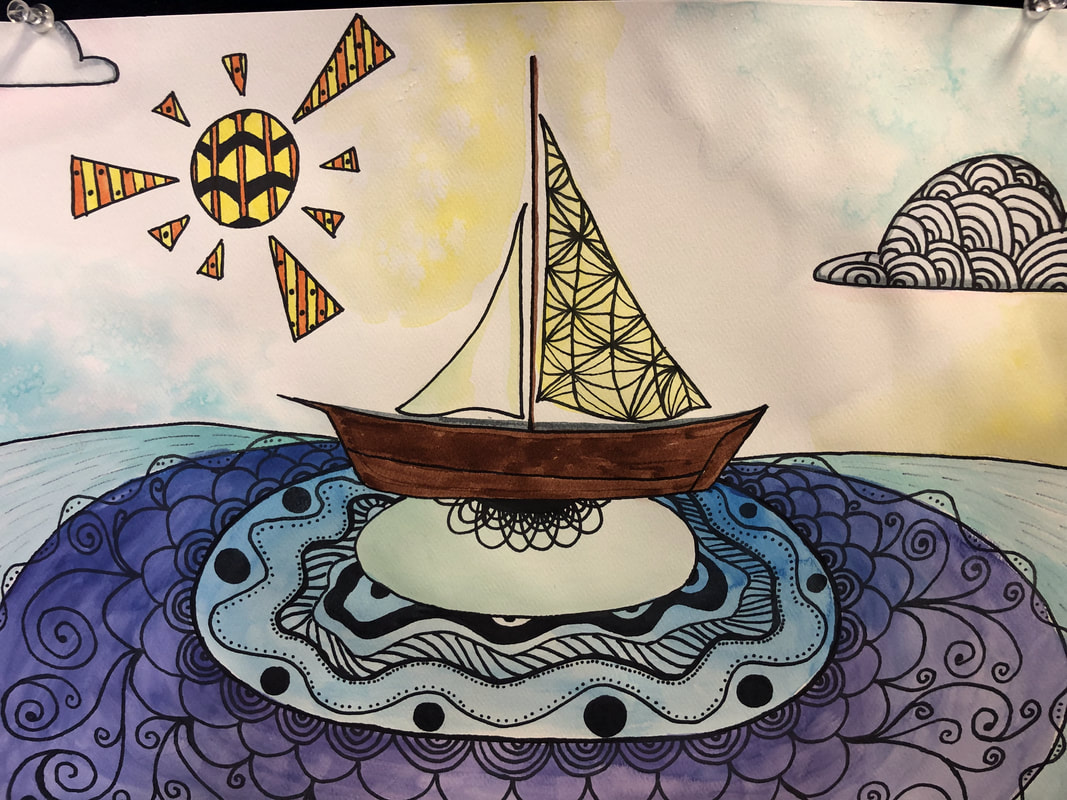
Create an ABSTRACT Zentangle. This Zentangle artwork will rely only on your combination of zentangle patterns to fill the entire page in a visually interesting way.
Final Zentangle Artwork:
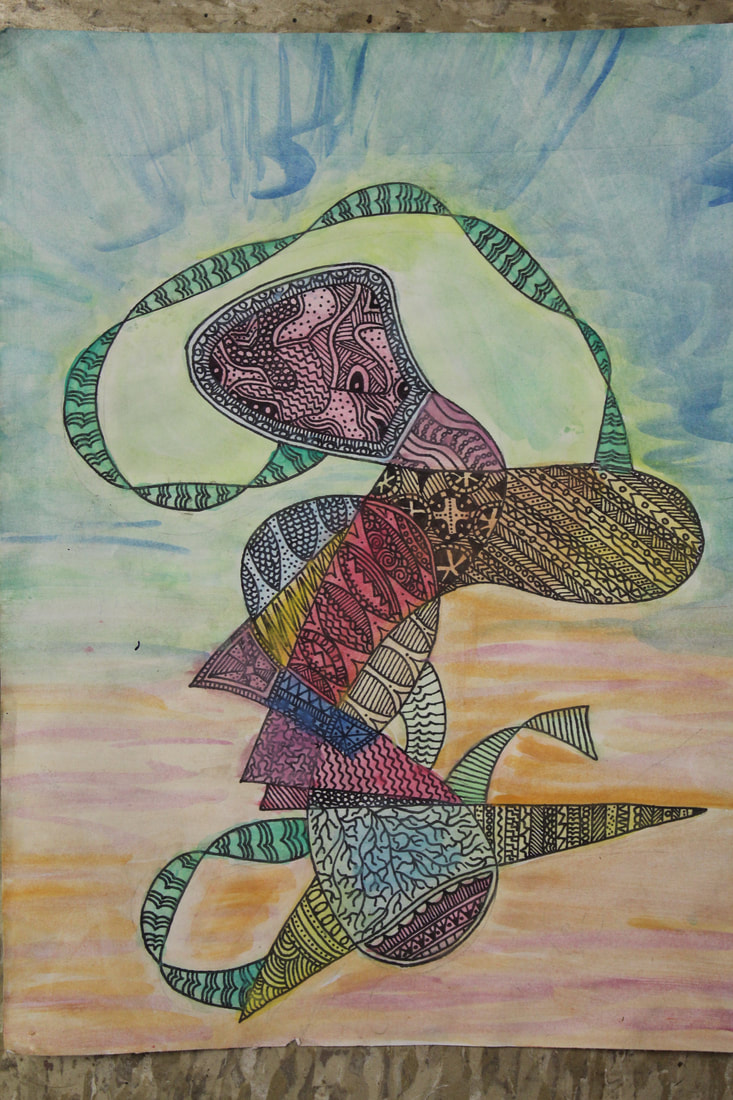
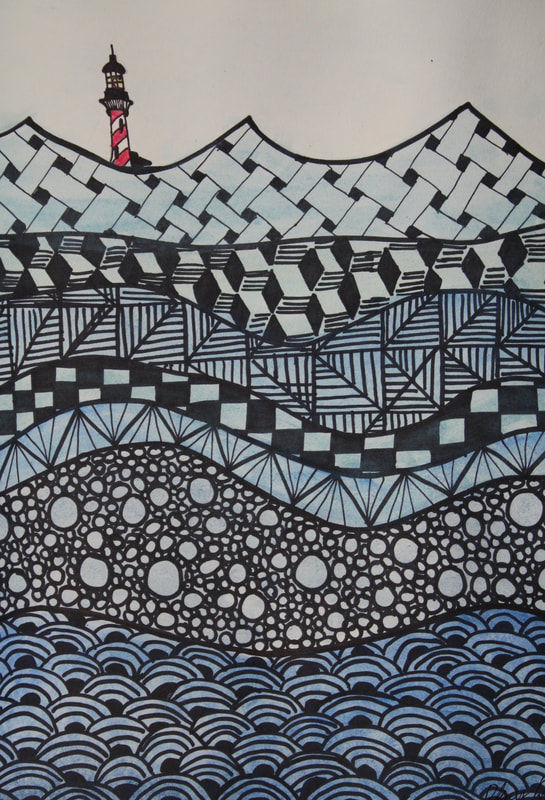
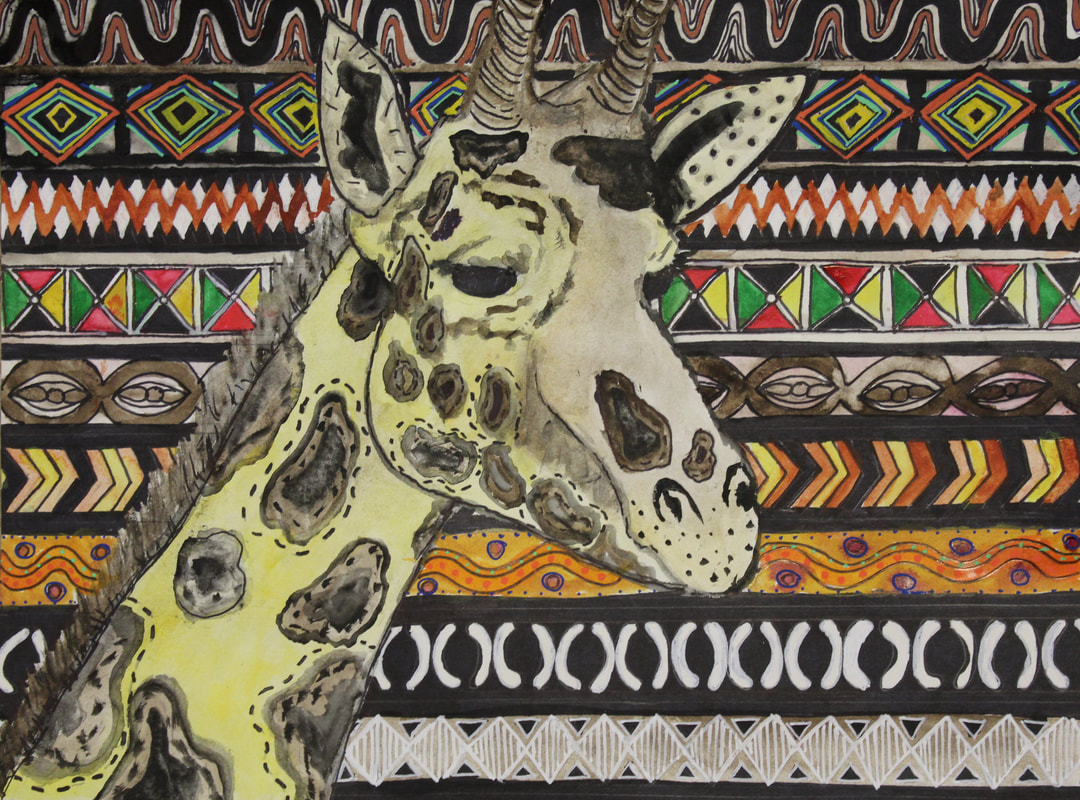
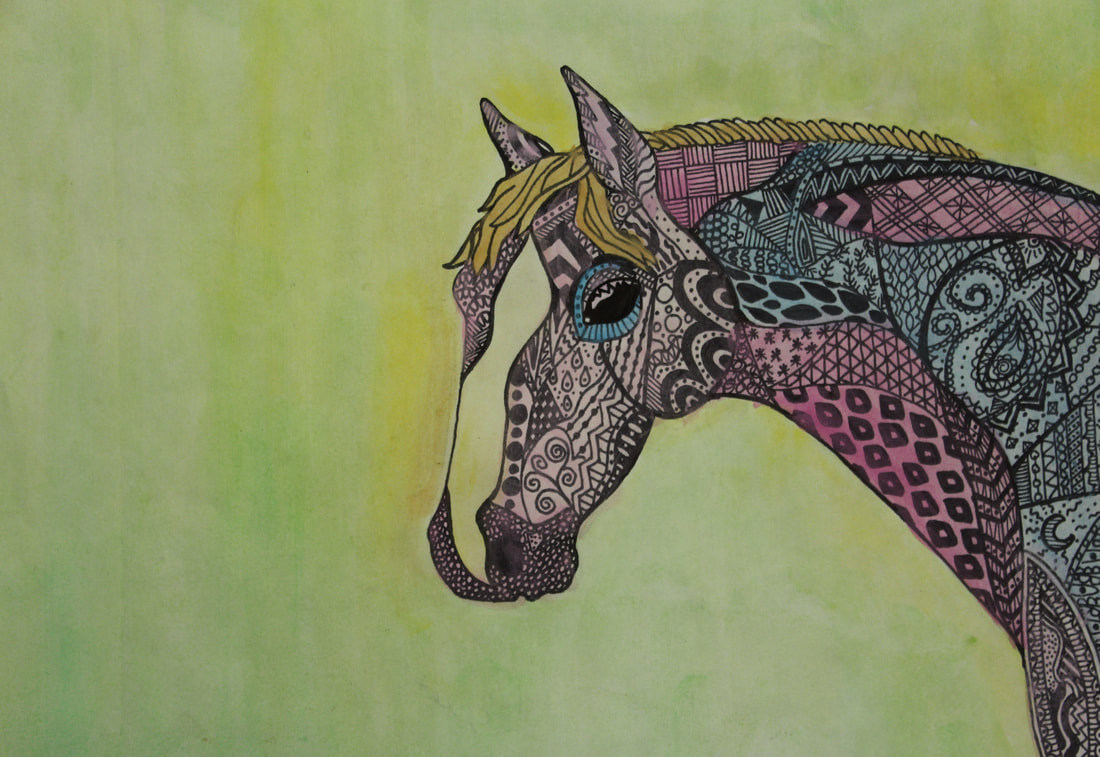
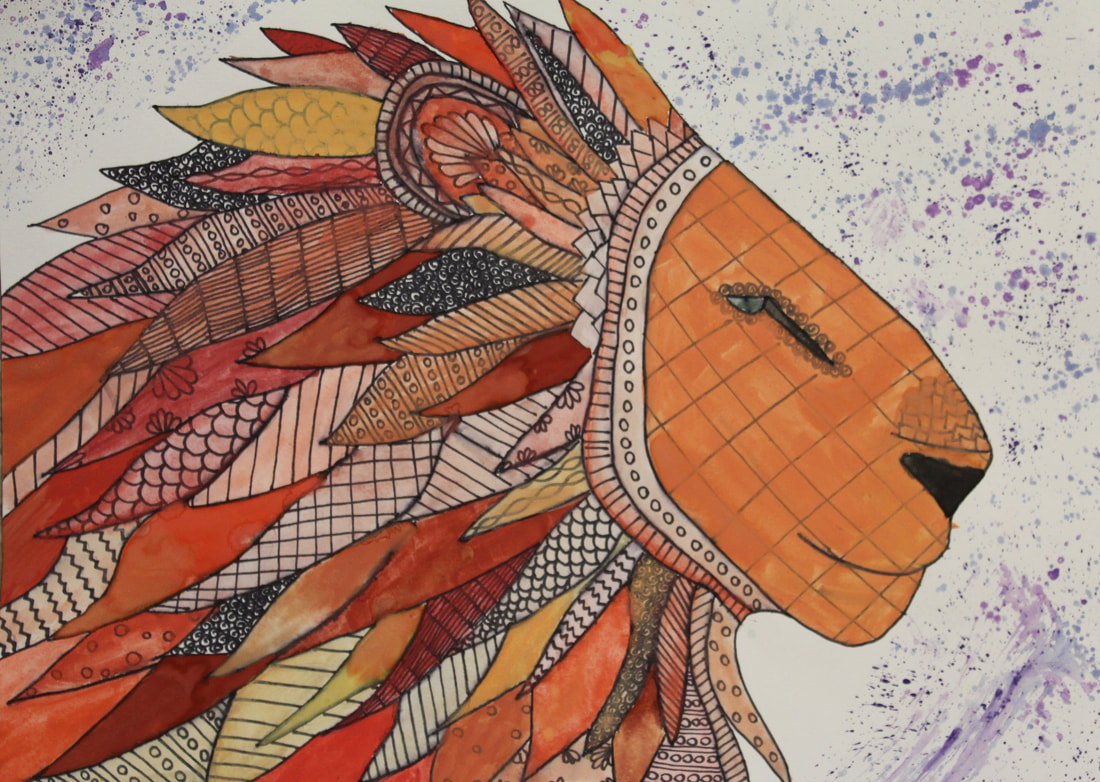
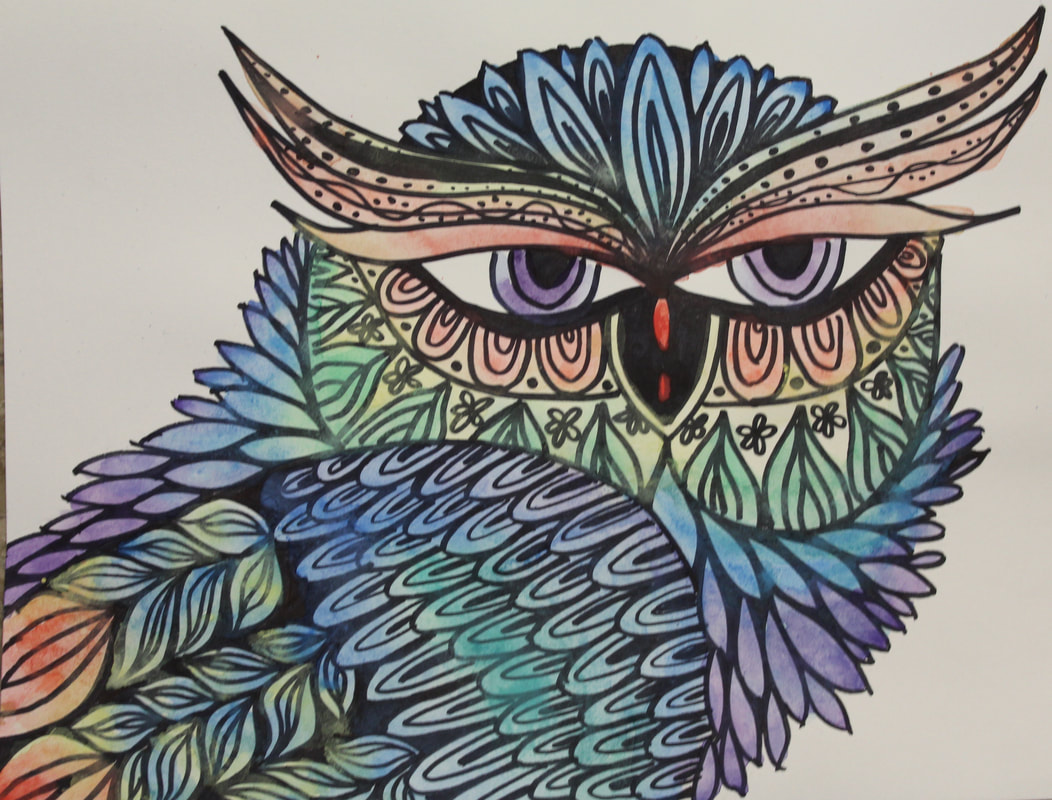
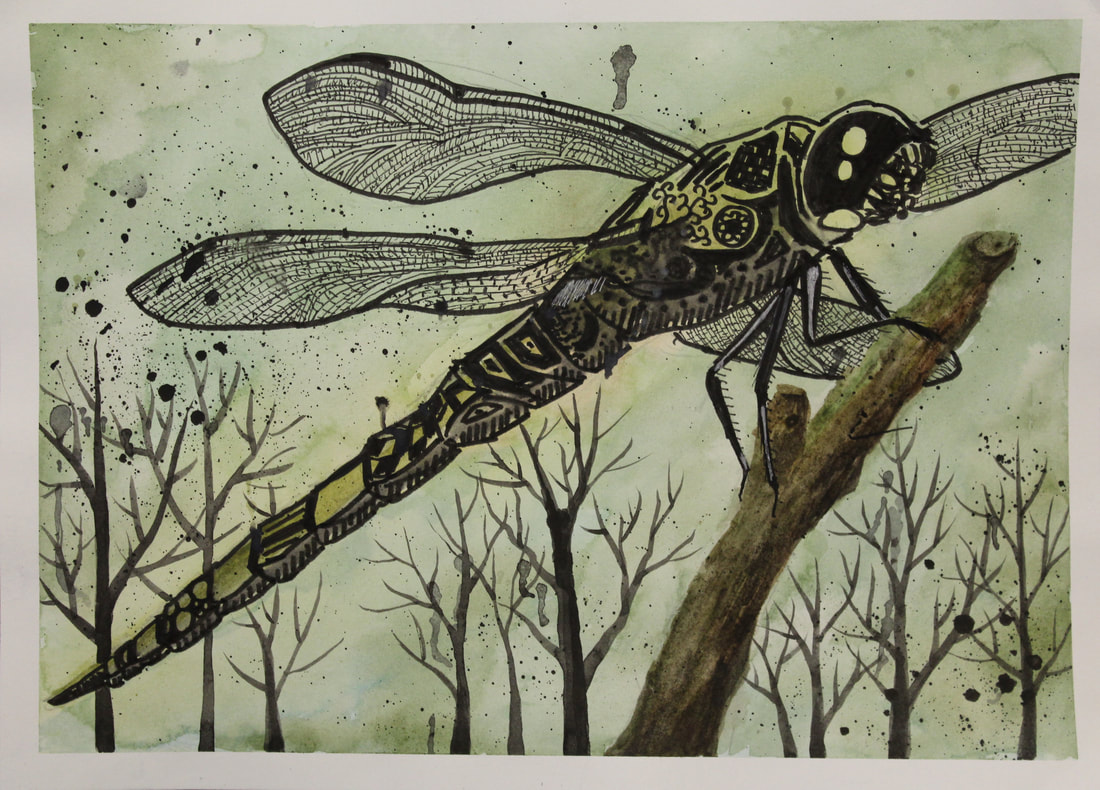
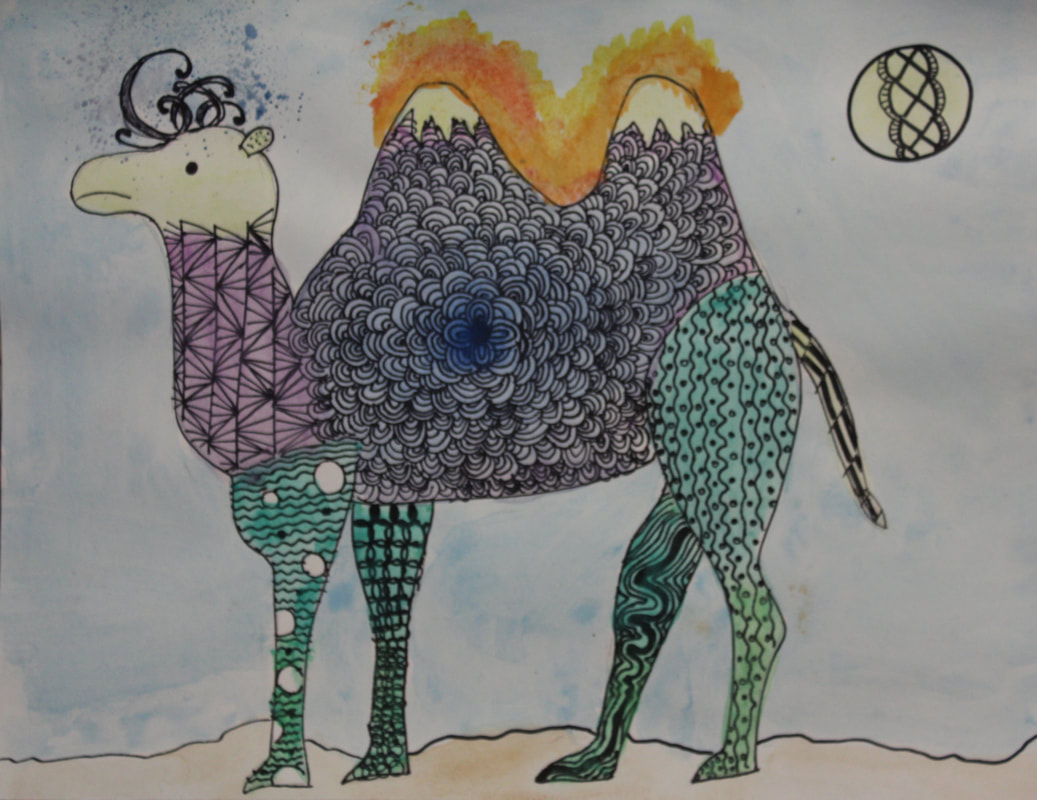
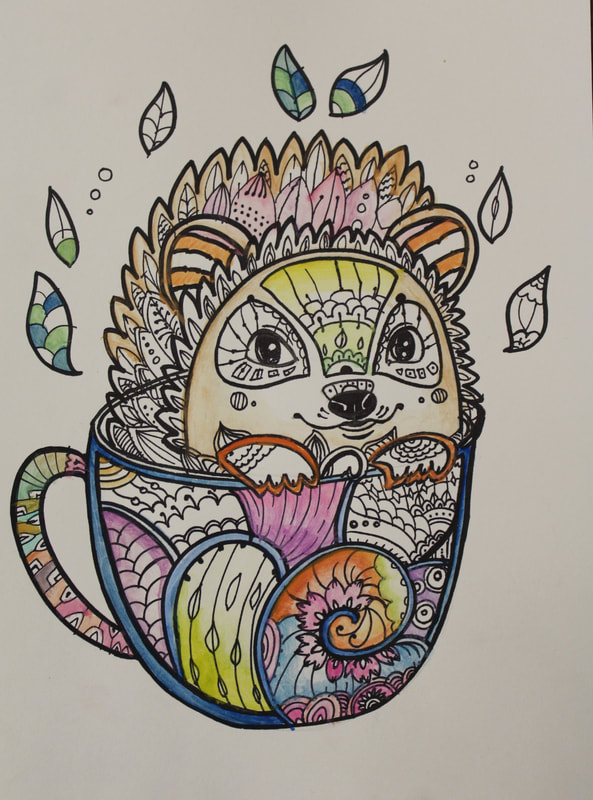
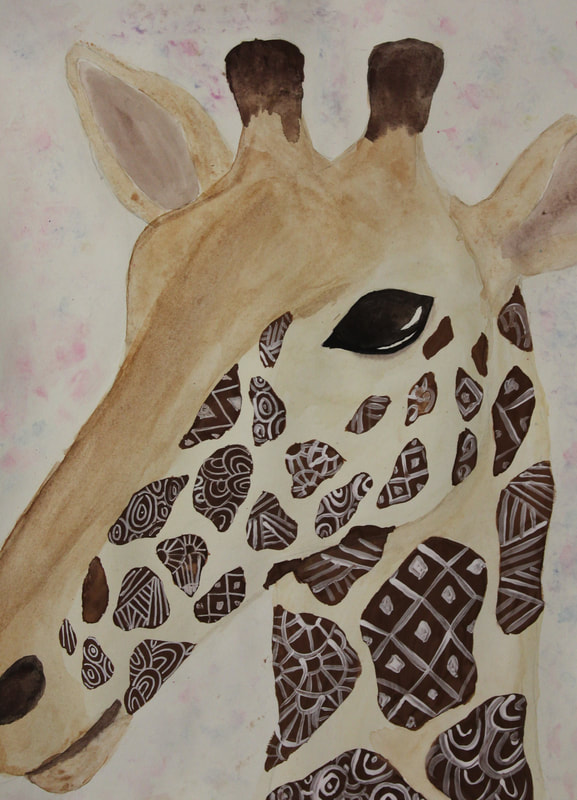
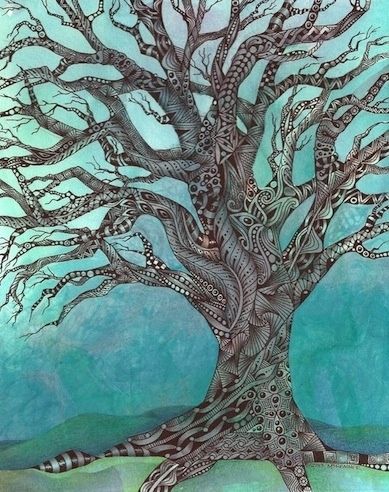
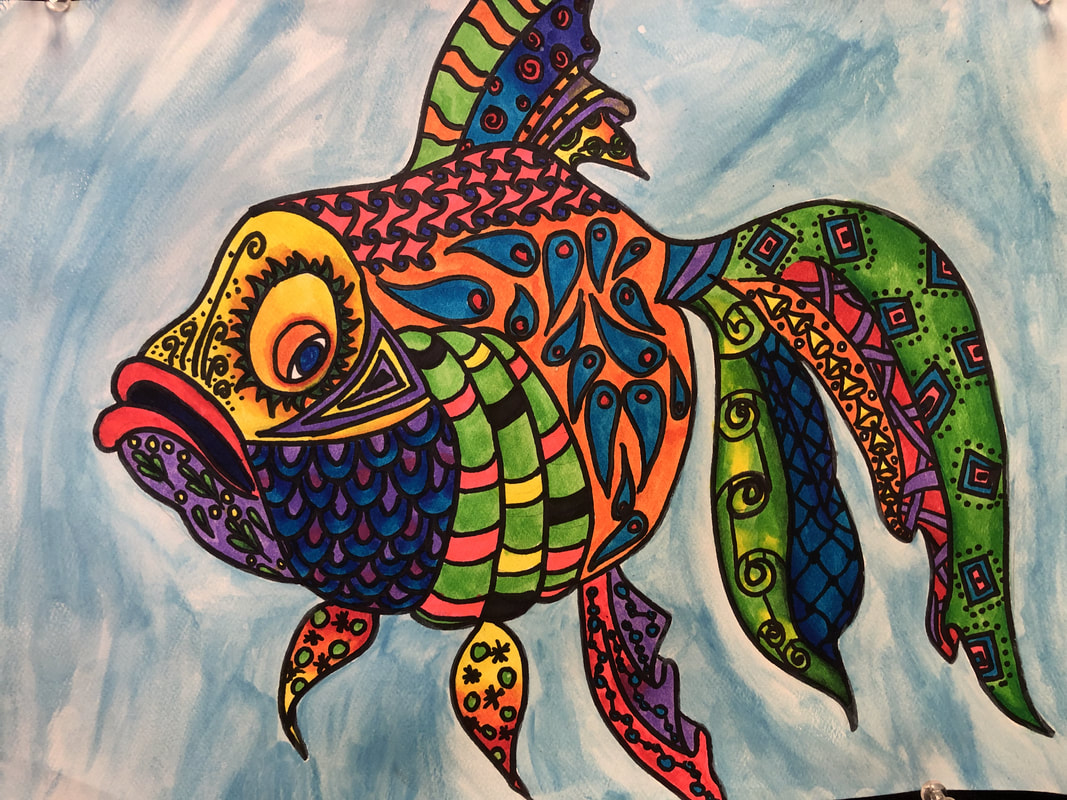
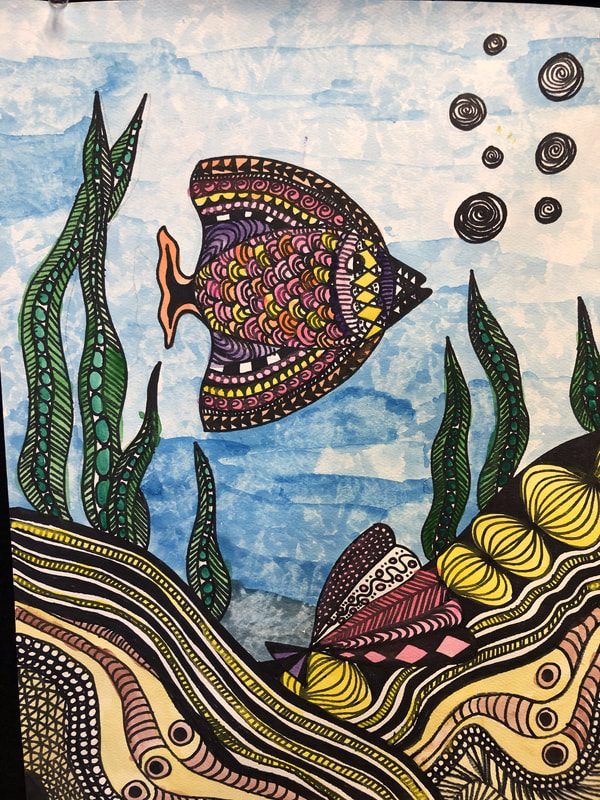
Your Zentangle will have a recognizable subject as the focus and be filled with abstract patterns.: For example fill the shape of an elephant with zentangle patterns. Other subject matter you could use: animals, birds, fish, trees, flowers.
Media: You may use any media you have at home.
Possibilities: pencil, pen, marker, sharpie pen, colored pencil.
Paper: any paper – printer paper, drawing paper, watercolor paper, mixed media paper.
Optional: Add color if you have any of these: markers, crayons, colored pencil, watercolor paint, acrylic paint, poster paint.
Process:
Requirements:
Create TWO different Zentangle artworks. Use any materials you have at home. Any pen or pencil. Any paper.
Practice ABSTRACT Zentangle
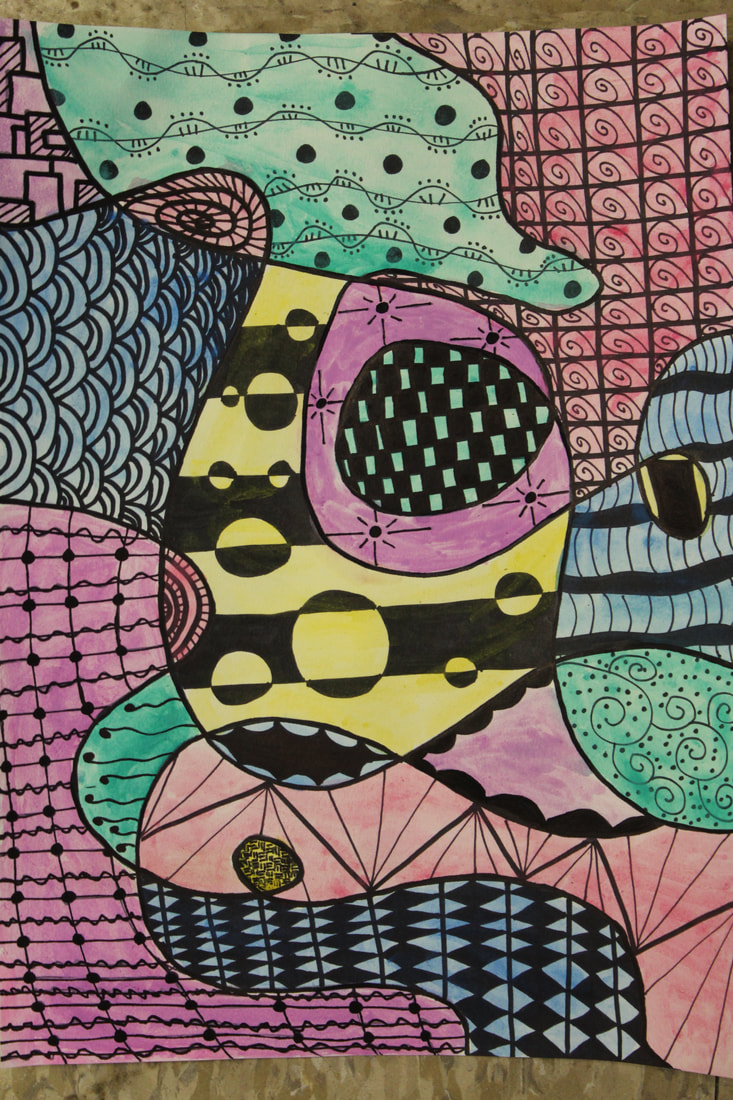
Create an ABSTRACT Zentangle. This Zentangle artwork will rely only on your combination of zentangle patterns to fill the entire page in a visually interesting way.
Final Zentangle Artwork:
Your Zentangle will have a recognizable subject as the focus and be filled with abstract patterns.: For example fill the shape of an elephant with zentangle patterns. Other subject matter you could use: animals, birds, fish, trees, flowers.
Media: You may use any media you have at home.
Possibilities: pencil, pen, marker, sharpie pen, colored pencil.
Paper: any paper – printer paper, drawing paper, watercolor paper, mixed media paper.
Optional: Add color if you have any of these: markers, crayons, colored pencil, watercolor paint, acrylic paint, poster paint.
Process:
- Lightly draw a simple outline of your chosen subject with pencil.
- Optional: Paint in with watercolor or colored pencils. Use washes for the background and paint in key areas of your subject. Use at least 3 specific watercolor techniques from your watercolor chart: variegated wash, salt, dripping, wet on dry, etc.
- Draw 2 to 3 loose lines (strings) that separate your paper in specific areas.
- Fill in each area with different Zentangle patterns and your own unique patterns using pen, ink pen, sharpie, paint pens. See pattern handouts
- Add shadows and value in strategic areas. Remember to choose one light source or direction.
- Add more details and shadows with watercolor or colored pencil or regular pencil.
- Have fun! Zentangles are meant to be meditative and calming. Enjoy the process!
Requirements:
- For the first artwork: A recognizable subject: animal, tree, birds, fish, flower…
- For the second artwork: an abstract design
- A minimum of 4 separate areas created by “strings.”
- All areas filled with unique patterns.
- A minimum of 5 different patterns used.
- Vary line weight: thin line, thick/bold line, tapered line: thin to thick and thin to thick to thin.
- Add shading and value for interest.
Procedure - How to do it:
1) Watch this video on an introduction to drawing zentangles.
2) Watch this additional video on making zentangle patterns.
3) Use these examples of patterns:
-Patterns #1
-Patterns #2
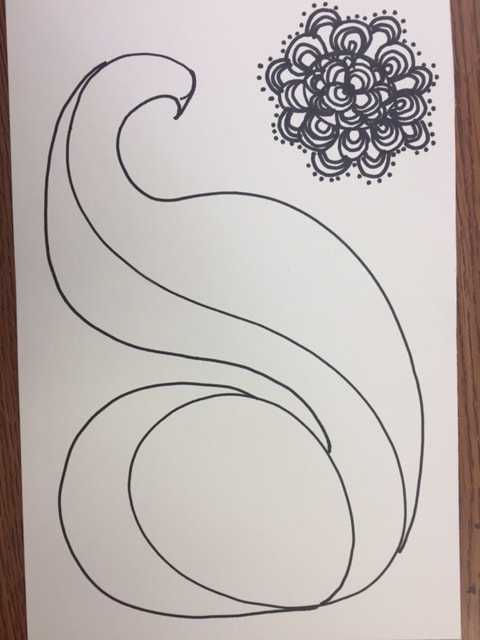
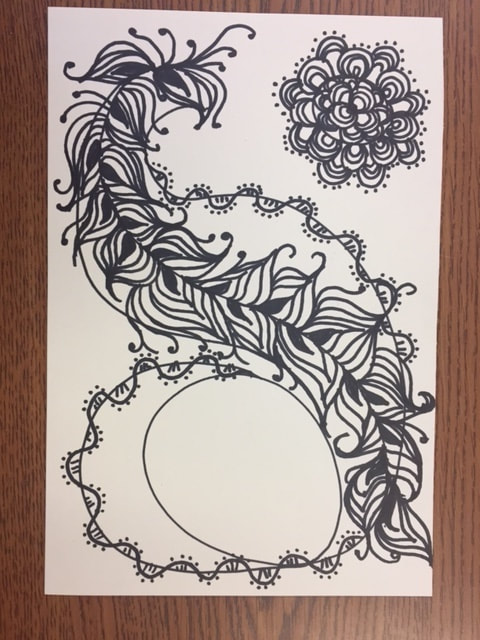
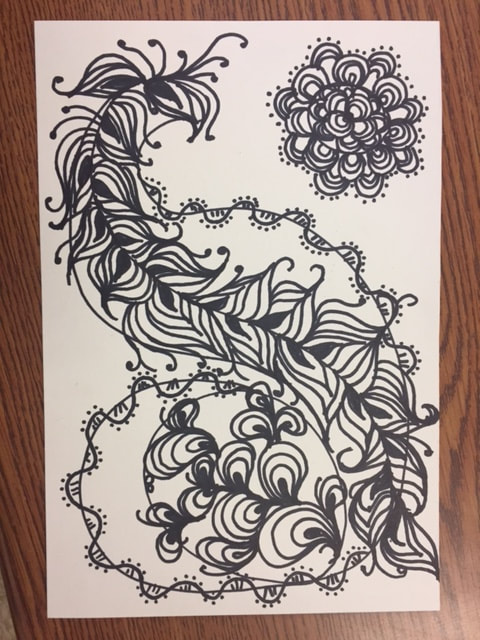
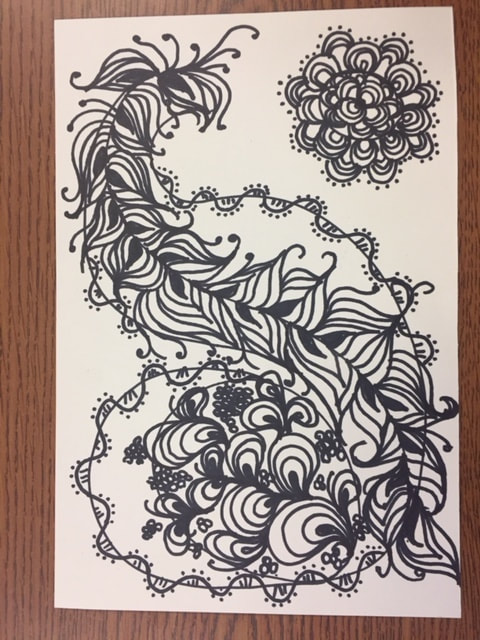
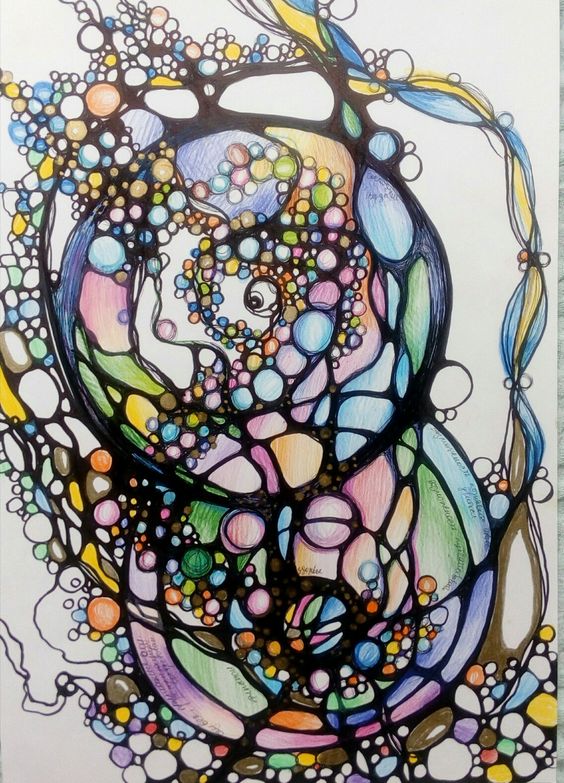
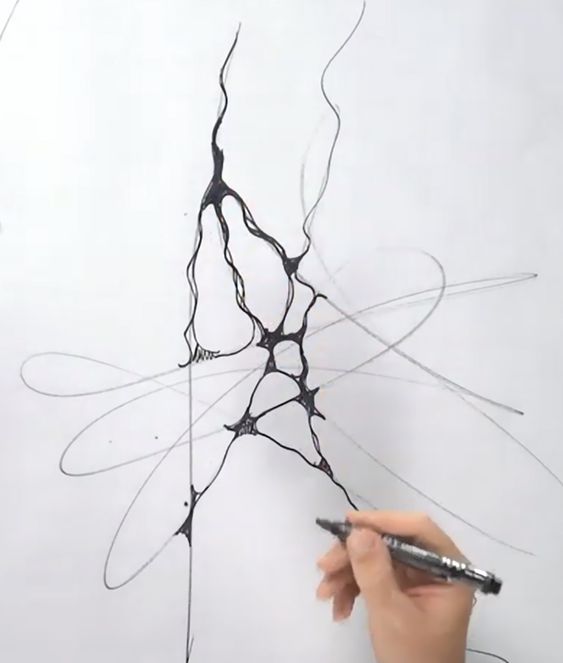
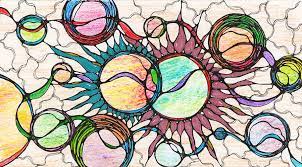
Here is a step by step Abstract Zentangle I created:
1) Draw 'strings"
2) Begin adding patterns inside closed shapes
3) Add patterns along the sting lines
4) Add details or fill in areas
5) Add shadows
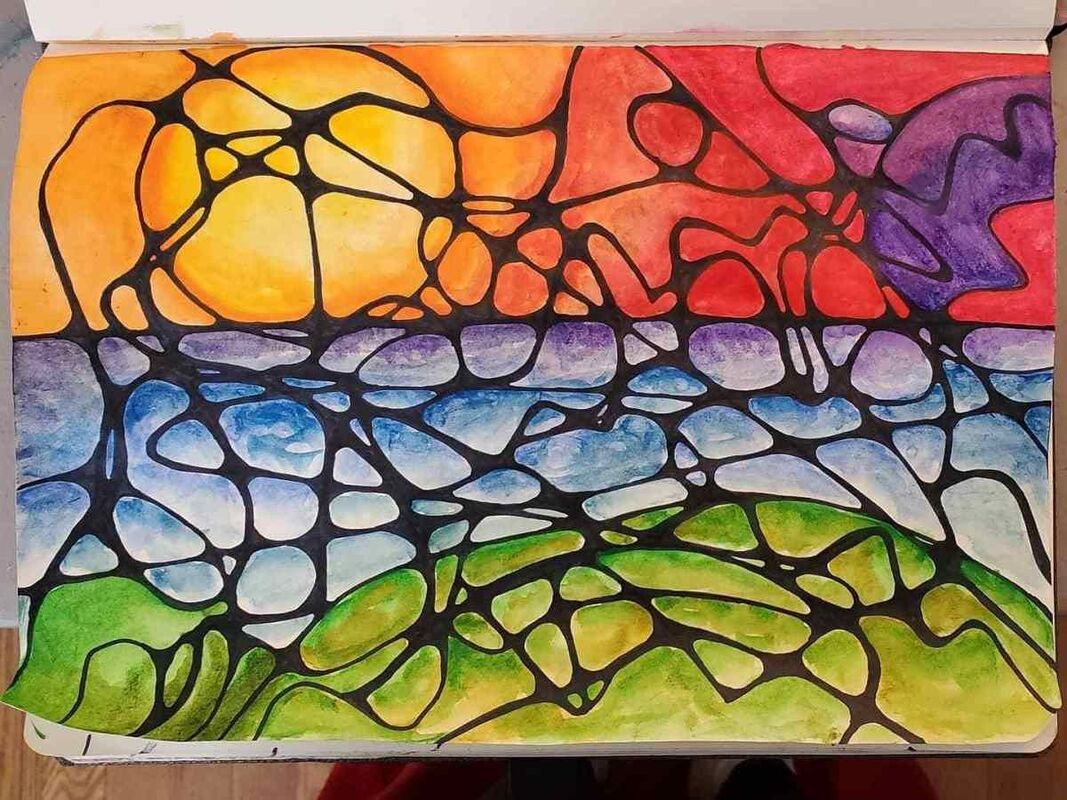
6) Add color
2) Watch this additional video on making zentangle patterns.
3) Use these examples of patterns:
-Patterns #1
-Patterns #2
Here is a step by step Abstract Zentangle I created:
1) Draw 'strings"
2) Begin adding patterns inside closed shapes
3) Add patterns along the sting lines
4) Add details or fill in areas
5) Add shadows
6) Add color
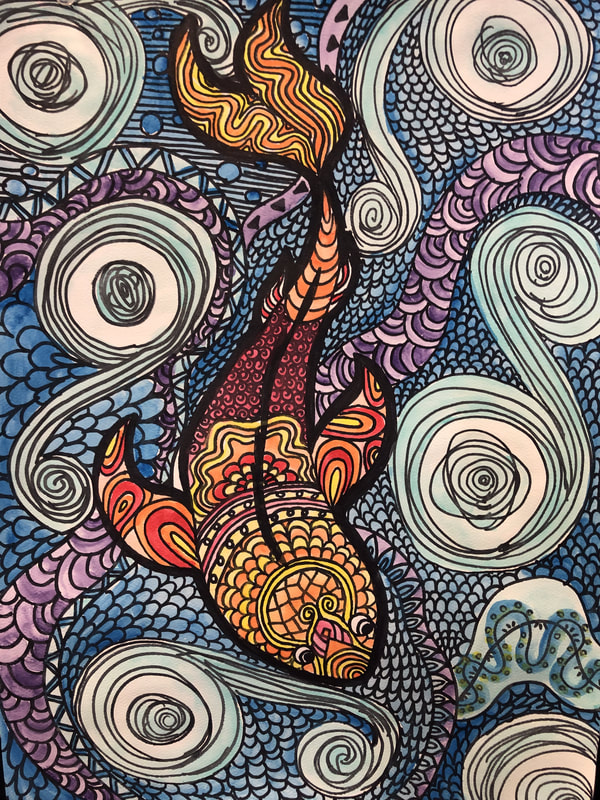
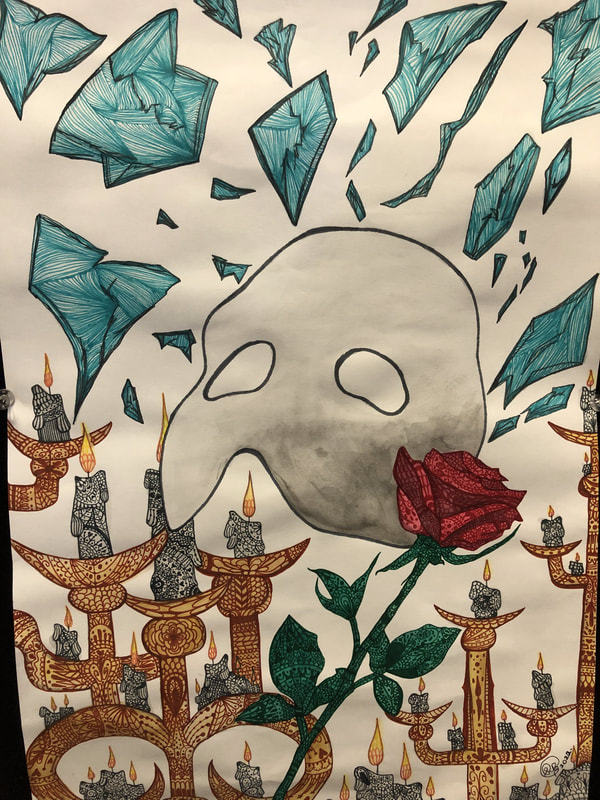
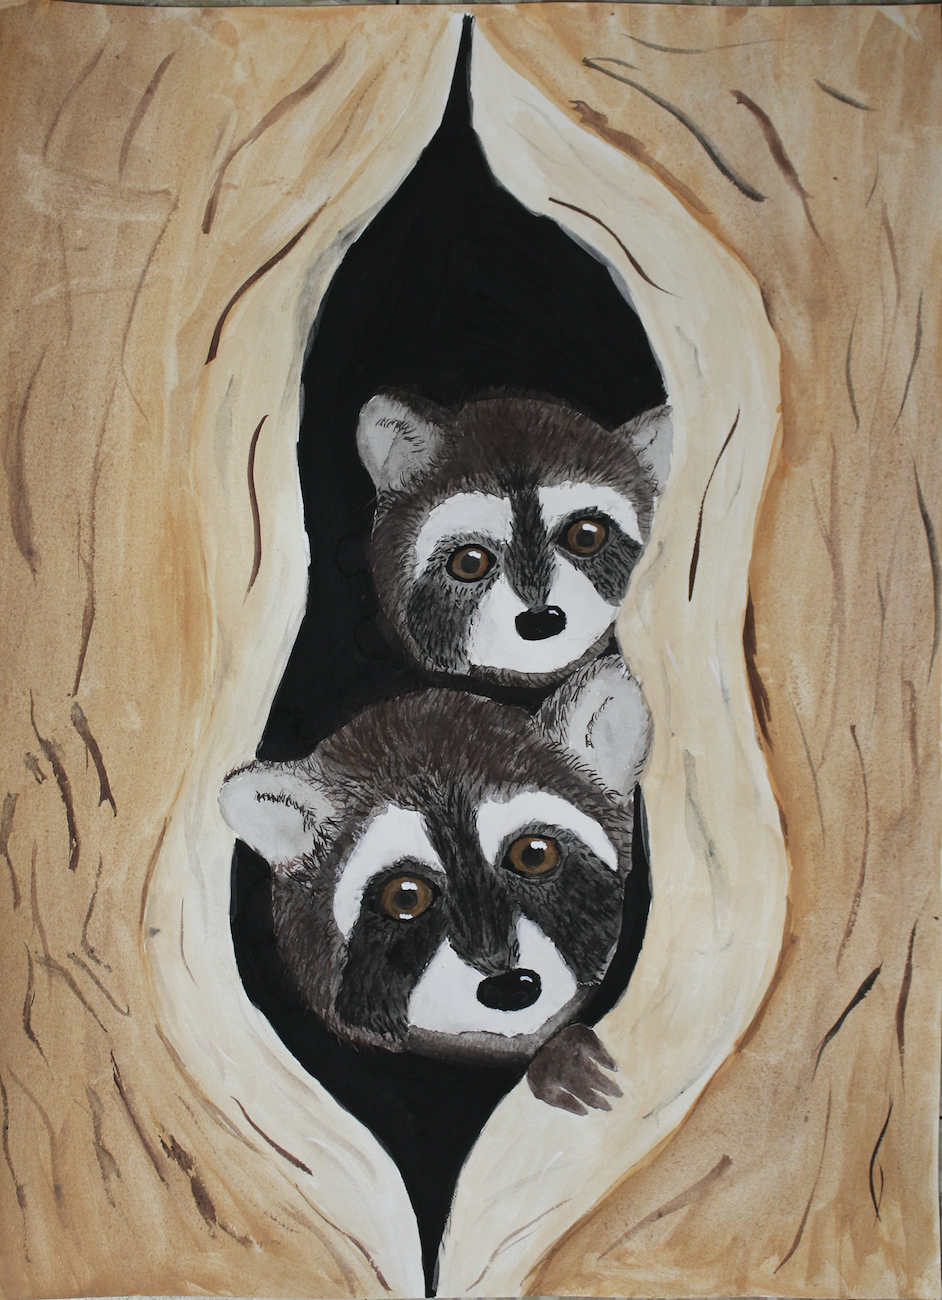
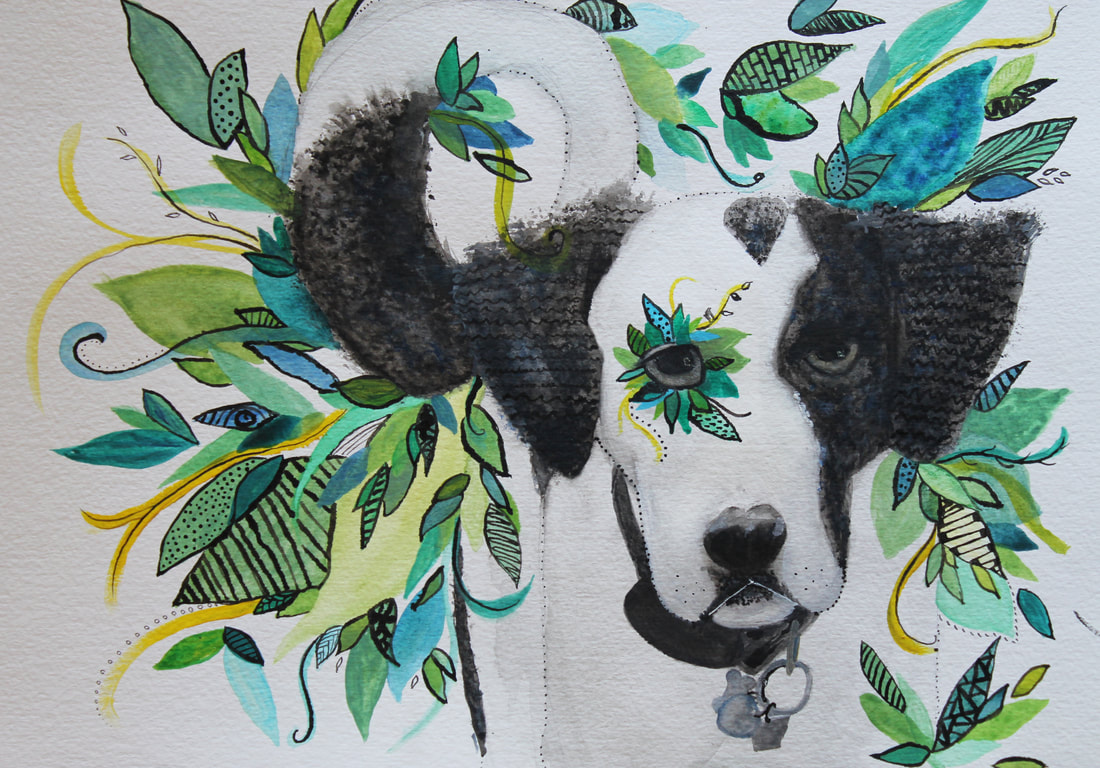
Student Zentangles: Abstract


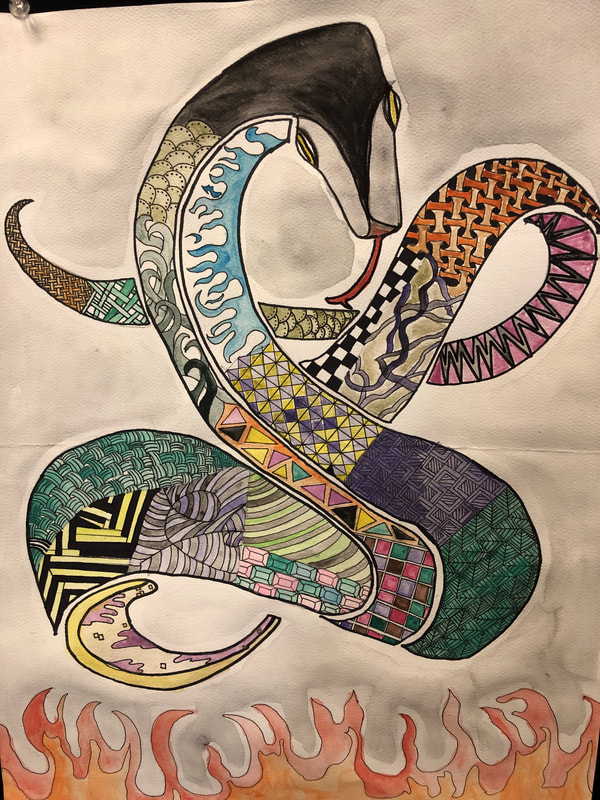
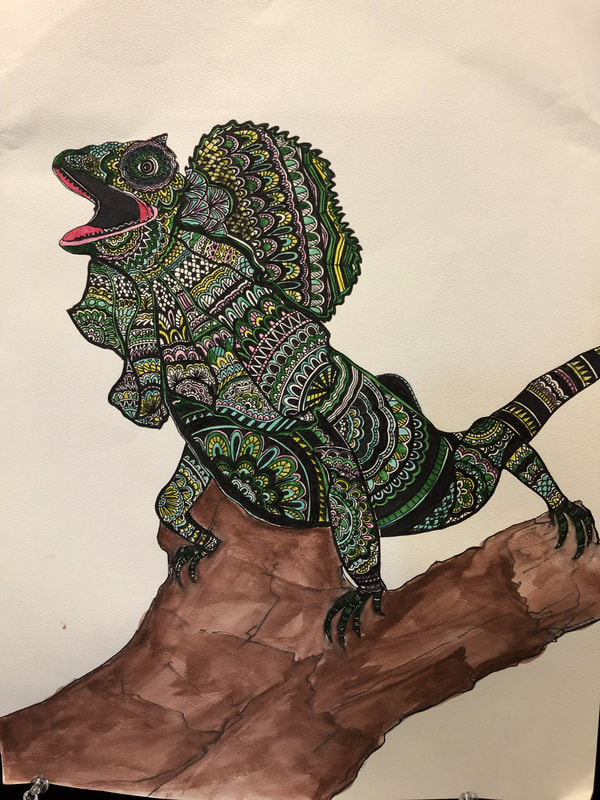
Student Zentangle Examples: Animal, Insect, Reptile, or Nature


Color Theory Unit:
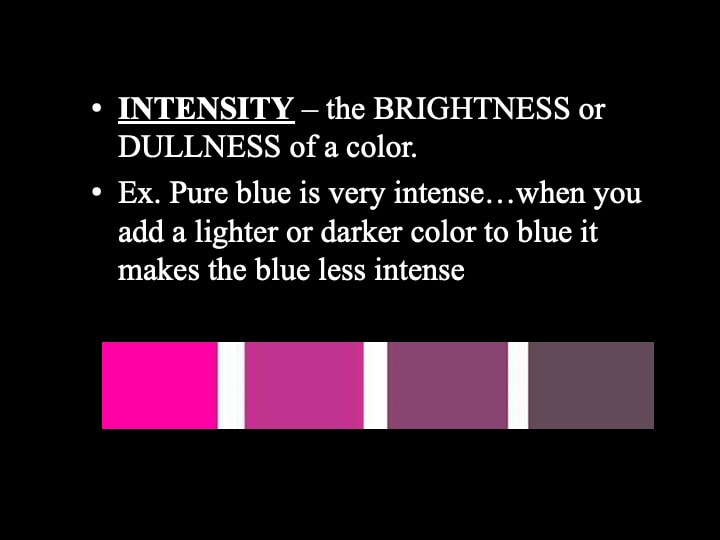
Color Theory Presentation Notes


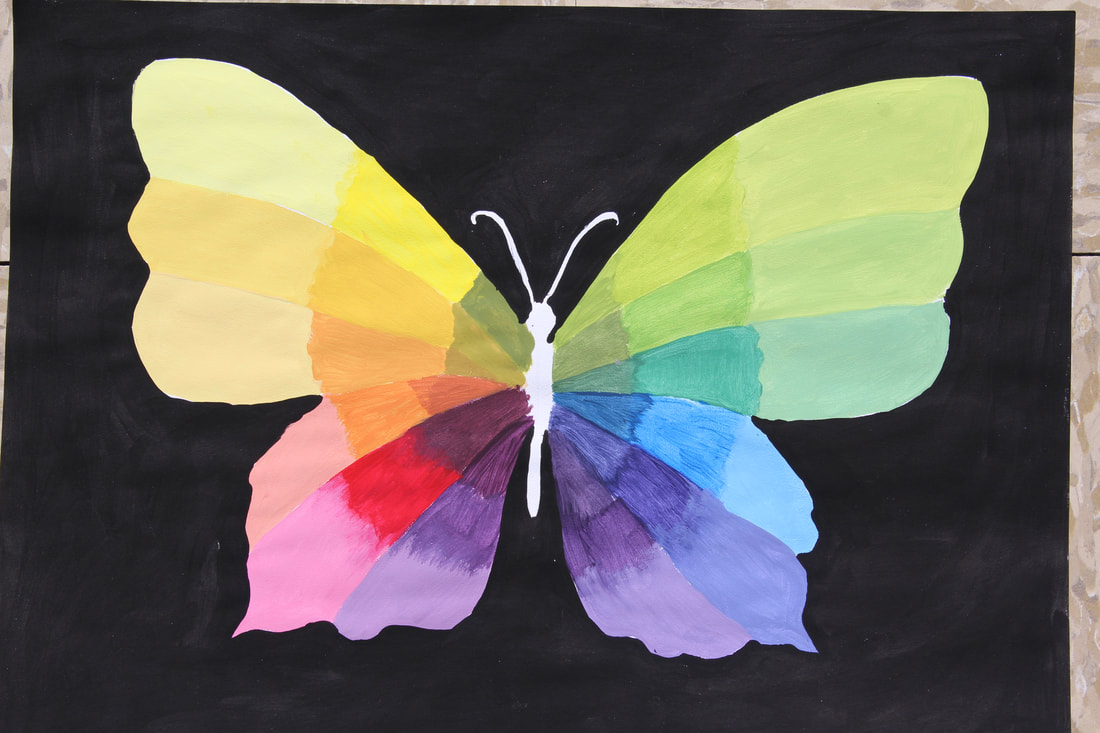
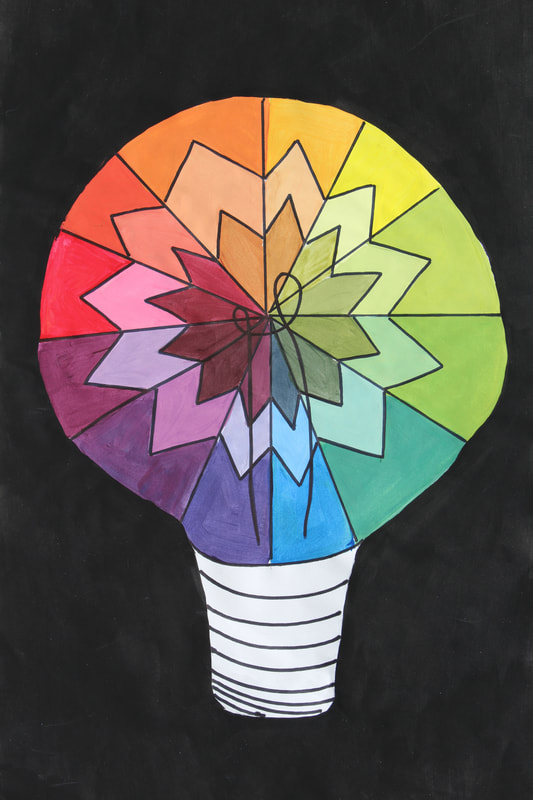
Creative Color Wheel with Watercolor Paint
Assignment:
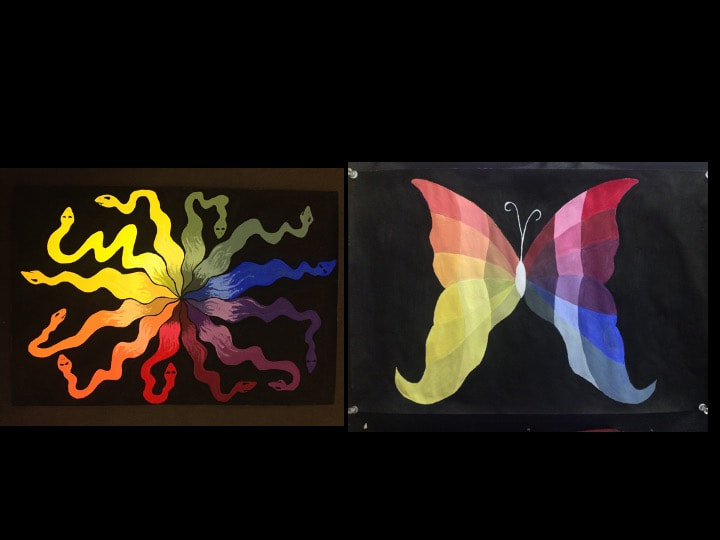
Create a 12 step color wheel using watercolor paint:
Requirements:
-Make your project looks different and unique!
Use a 1/2 sheet of one of your mixed media papers given to you.
Choose ONE option for your Color Wheel:
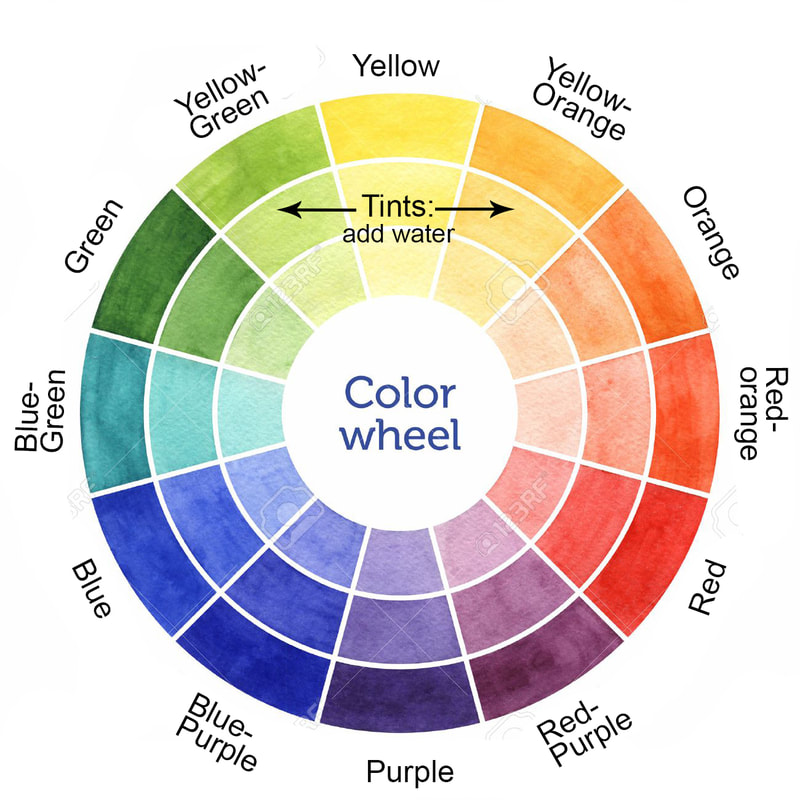
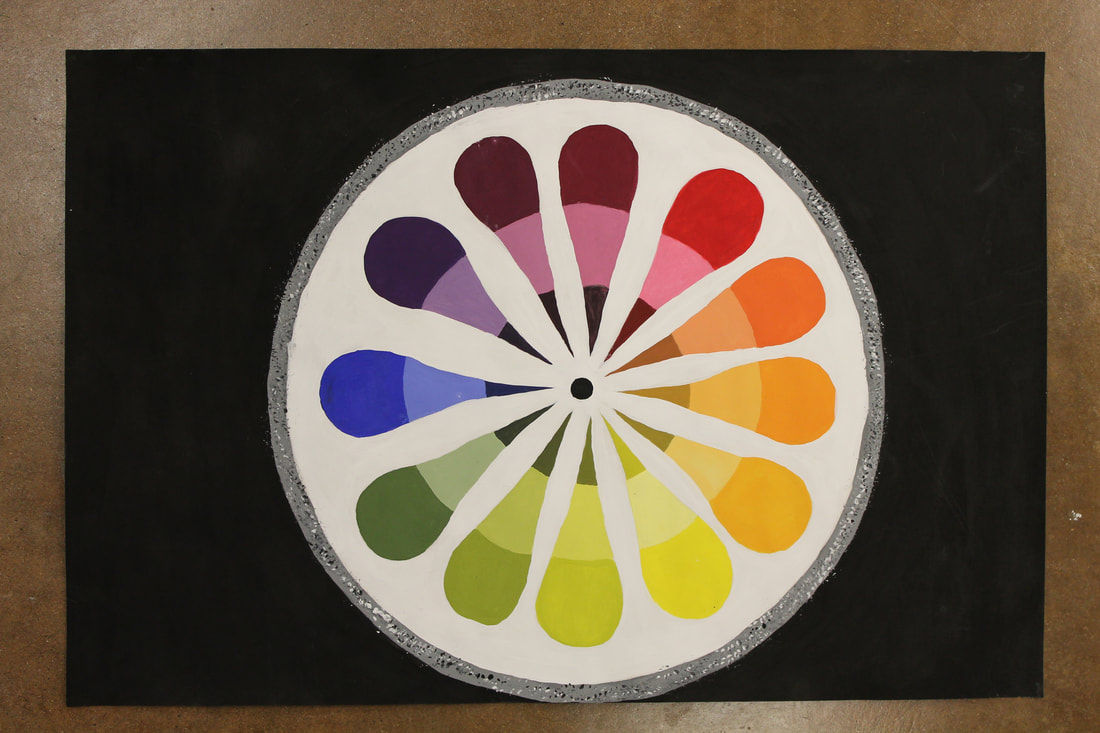
1) Make a Circle Color Wheel - Include 12 hues and a tint of each hue by adding water.
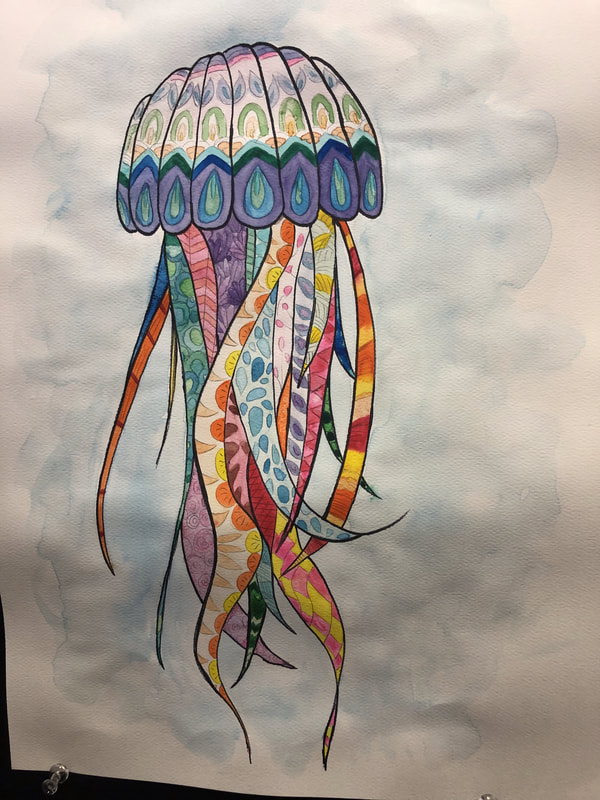
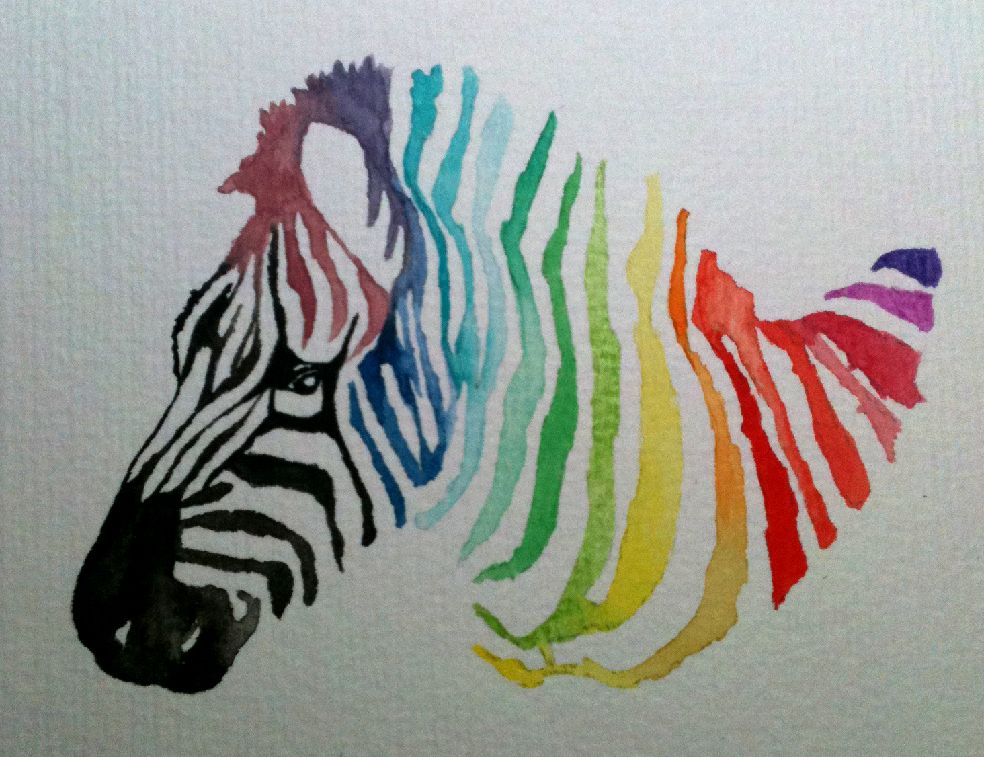
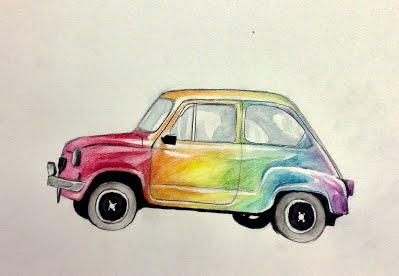
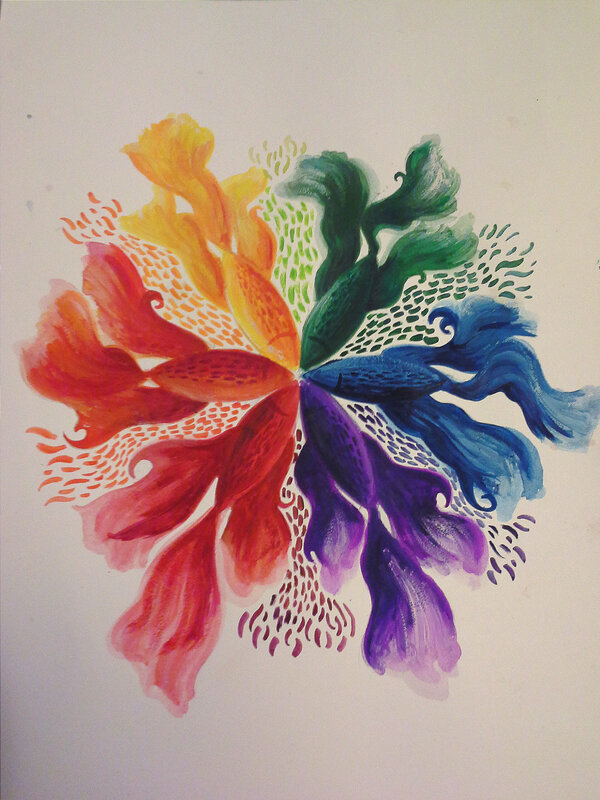
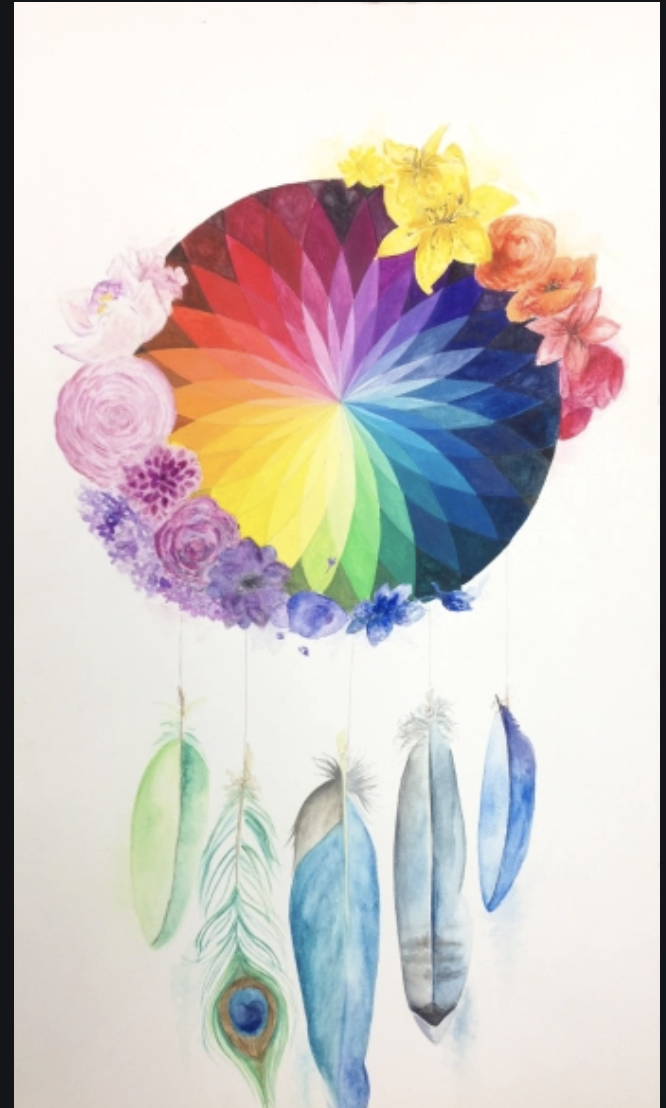
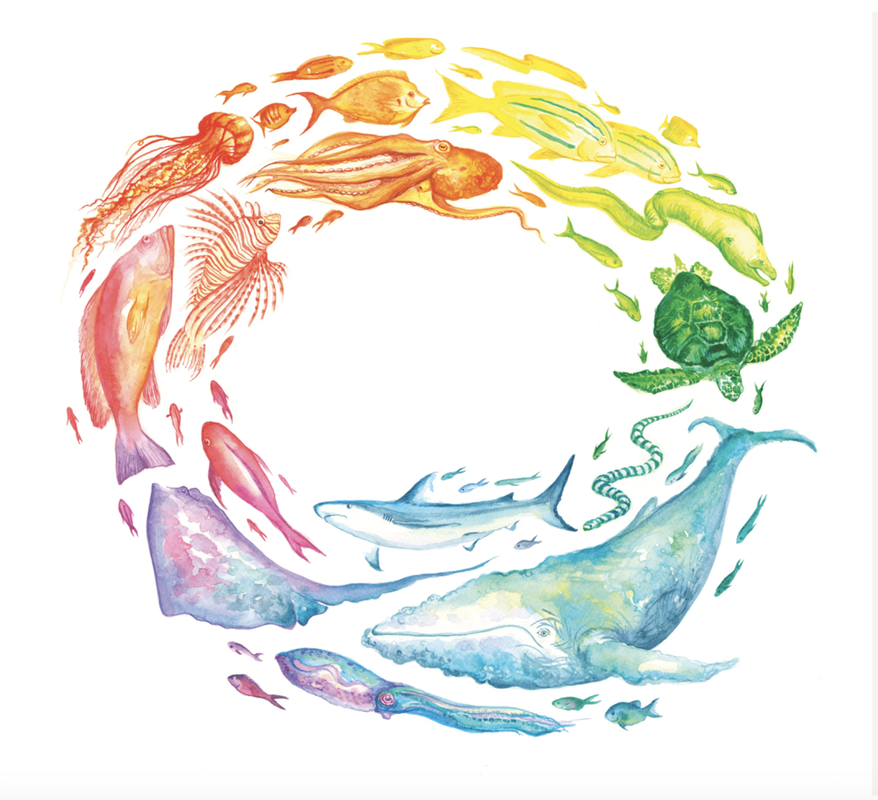
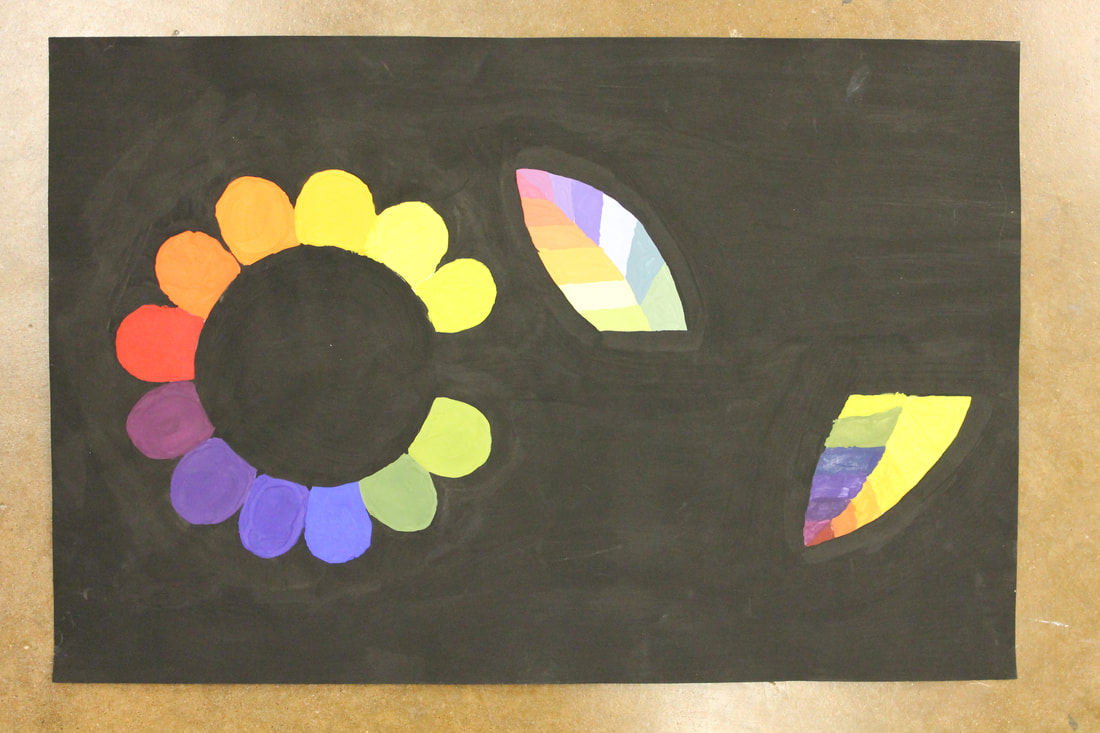
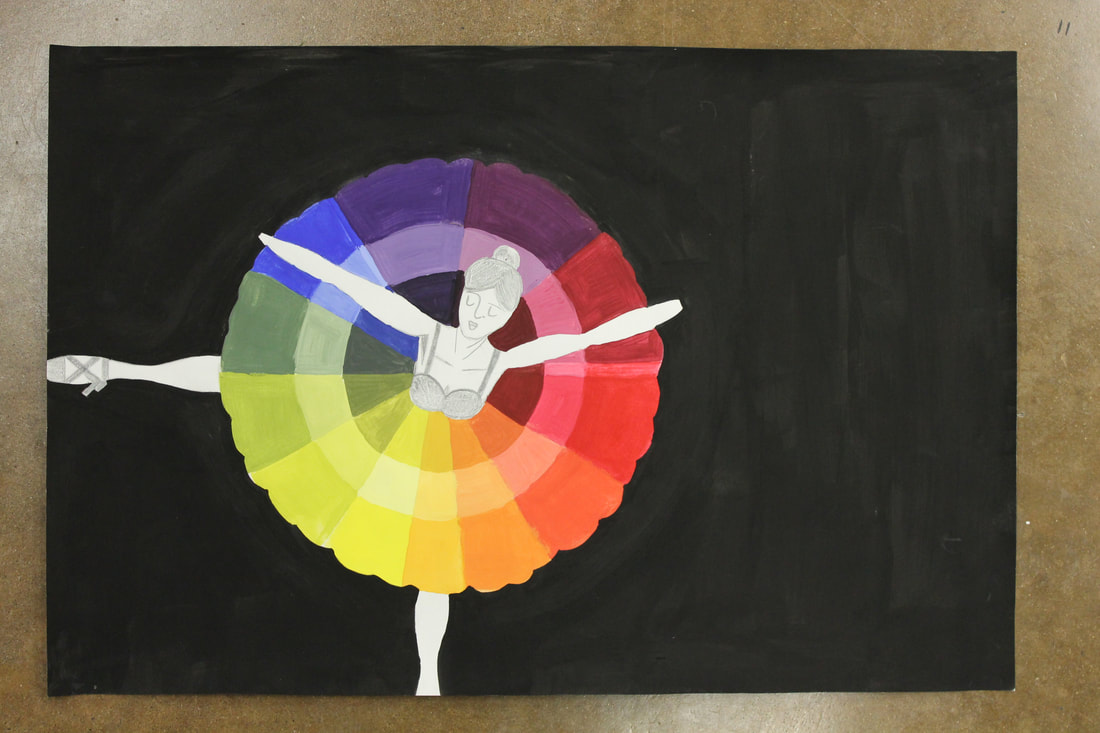
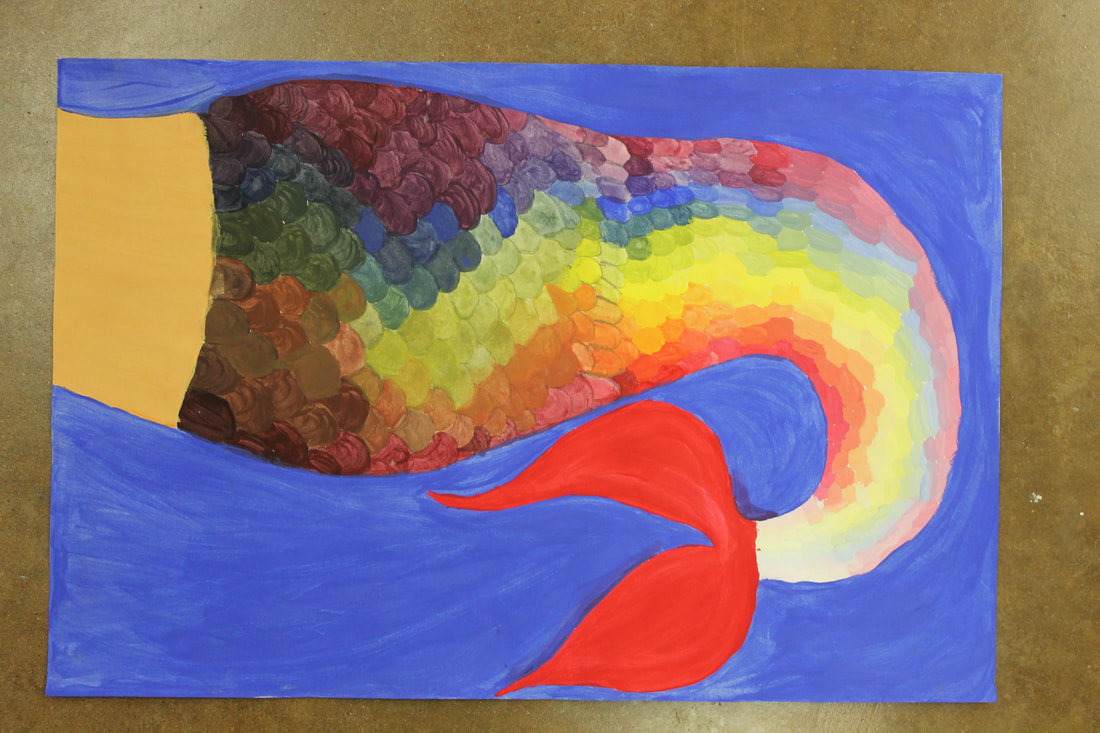
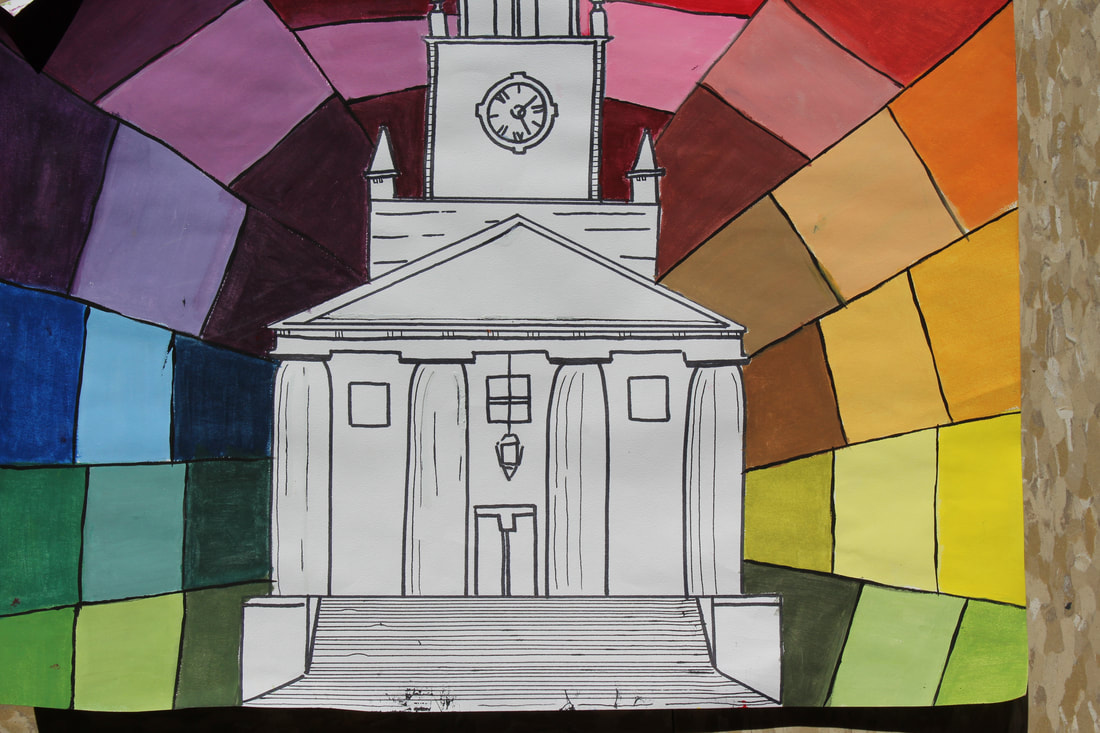
2) Create your own creative shape or object and fill with the color wheel. For example an eye, car, tree, fish, bird...
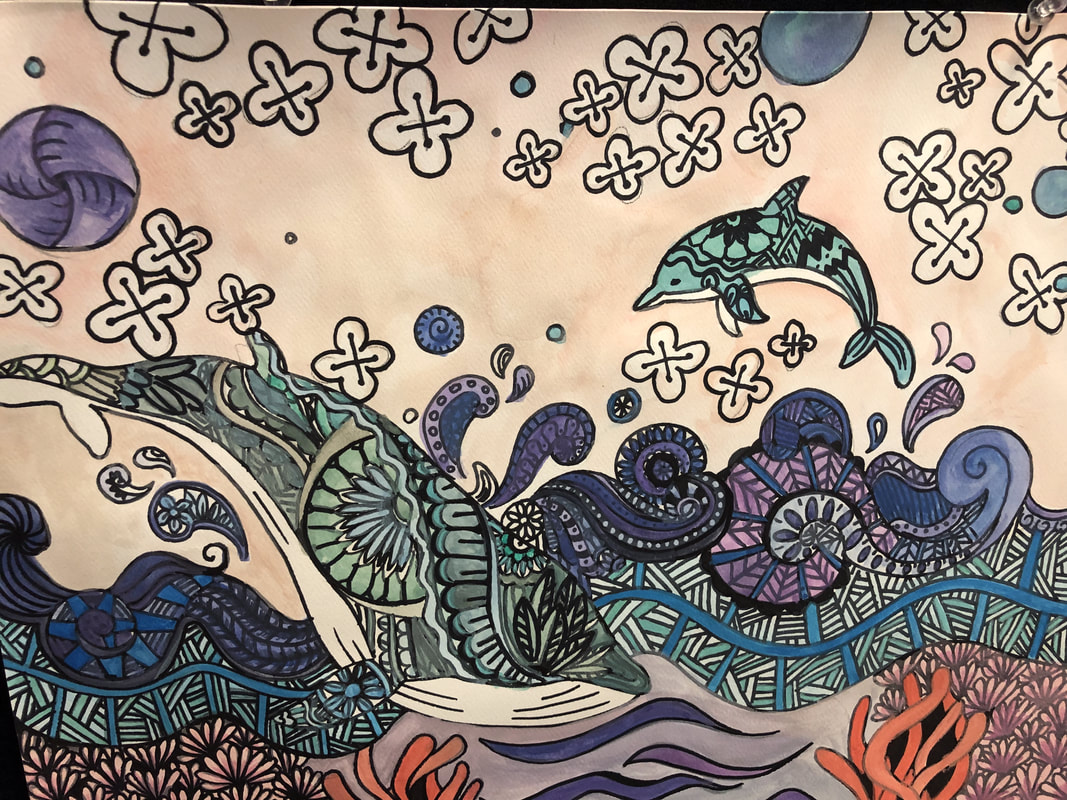
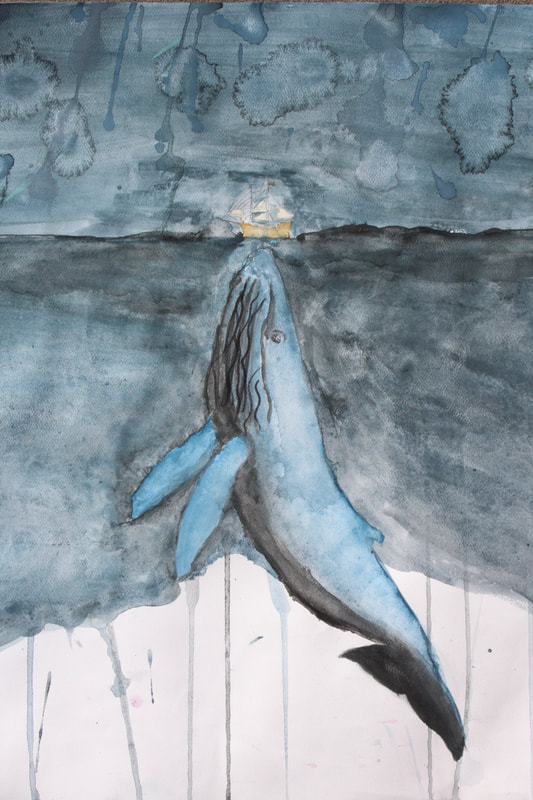
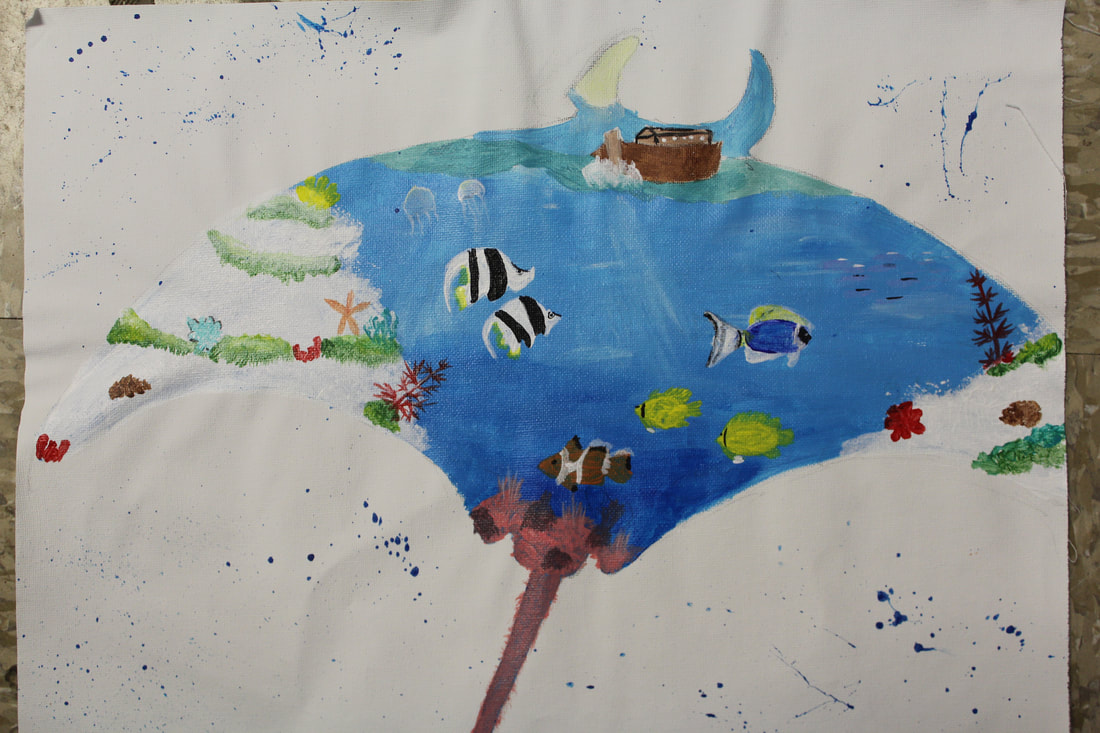
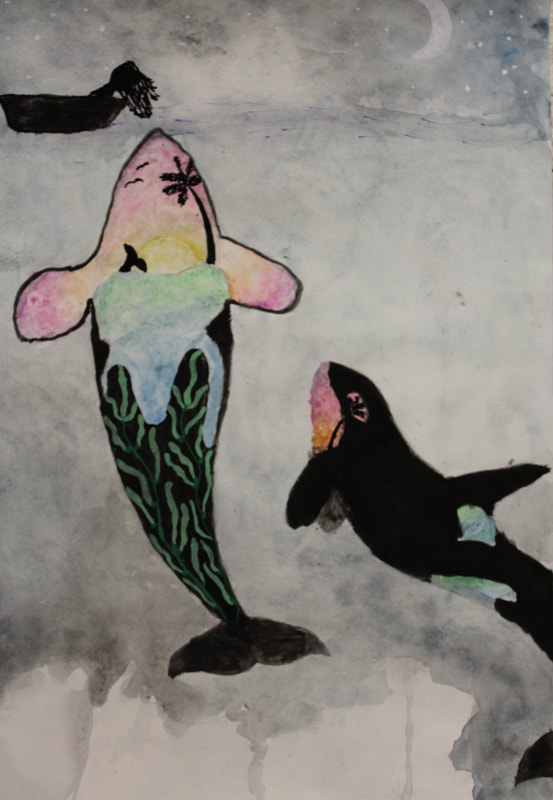
3) More advanced/creative: Create a color wheel based on a theme. Then add small objects or things that illustrate that theme. Arrange all the objects in a circle. For example an ocean theme. Add fish, whales, dolphins, crabs, seaweed, coral and arrange them in a circle like the example below.
Directions for a Circle:
1) Draw a vertical line to divide the color wheel in half (12 o’clock to 6 o’clock)
2) Draw a horizontal line to divide the paper into 4 quadrants (9 o’clock to 3 o’clock)
3) Divide each of the 4 quadrants into equal thirds. (1 o’clock to 7 o’clock, 2 o’clock to 8 o’clock, 4 o’clock to 10 o’clock, 5 o’clock to 11 o’clock)
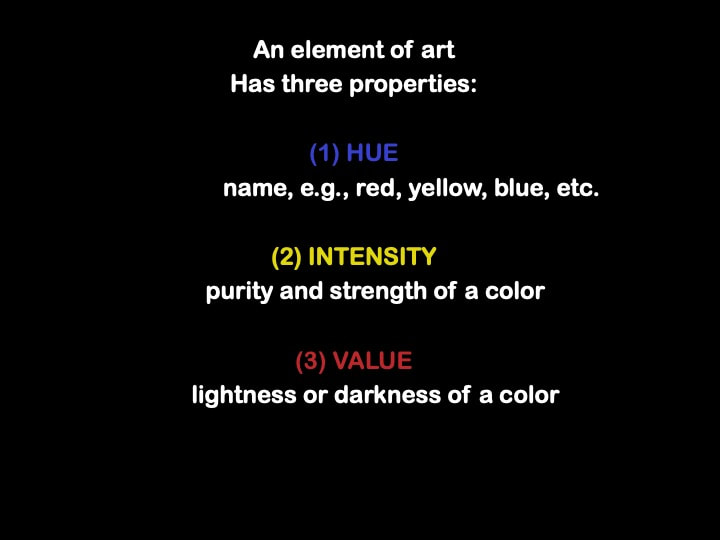
Color Terms:
*Hue: the generic name of a color-pure color
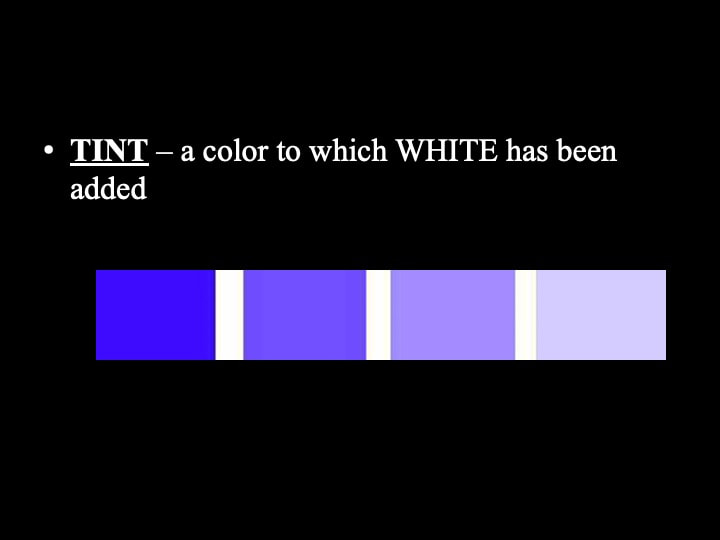
*Tint: hue plus water (gradated wash effect)
Color Theory Presentation
Create a 12 step color wheel using watercolor paint:
Requirements:
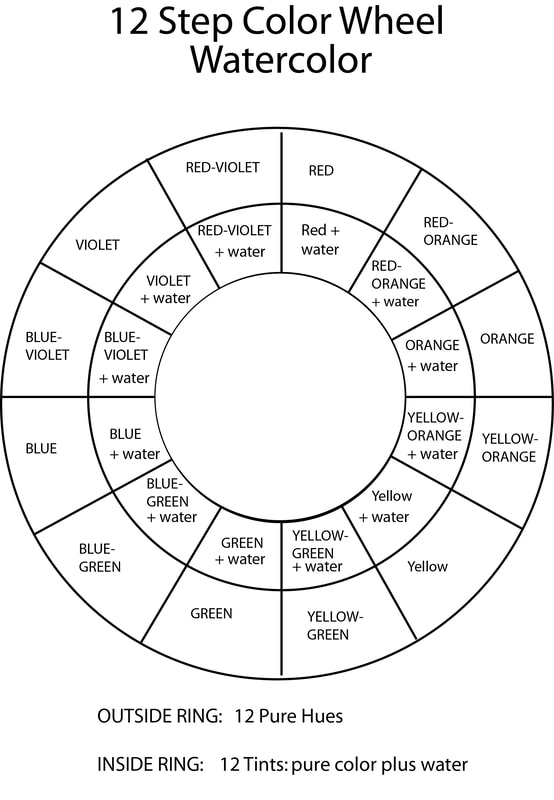
- include 12 pure hues
- include 12 tints by adding water. 1 tint for each hue/color.
- Include a minimum of 3 watercolor techniques from your Watercolor Chart
- Show you put time and effort into your artwork.
- Show excellent craftsmanship: attention to detail, all 12 pure colors are visible, 12 washes/tints of each color are visible, have an organized format, clean lines, purposeful brush strokes...
-Make your project looks different and unique!
Use a 1/2 sheet of one of your mixed media papers given to you.
Choose ONE option for your Color Wheel:
1) Make a Circle Color Wheel - Include 12 hues and a tint of each hue by adding water.
2) Create your own creative shape or object and fill with the color wheel. For example an eye, car, tree, fish, bird...
3) More advanced/creative: Create a color wheel based on a theme. Then add small objects or things that illustrate that theme. Arrange all the objects in a circle. For example an ocean theme. Add fish, whales, dolphins, crabs, seaweed, coral and arrange them in a circle like the example below.
Directions for a Circle:
1) Draw a vertical line to divide the color wheel in half (12 o’clock to 6 o’clock)
2) Draw a horizontal line to divide the paper into 4 quadrants (9 o’clock to 3 o’clock)
3) Divide each of the 4 quadrants into equal thirds. (1 o’clock to 7 o’clock, 2 o’clock to 8 o’clock, 4 o’clock to 10 o’clock, 5 o’clock to 11 o’clock)
Color Terms:
*Hue: the generic name of a color-pure color
*Tint: hue plus water (gradated wash effect)
Color Theory Presentation
You may use this template to create a circle color wheel:
Color Wheel Circle Template here
-Video Demonstration of how to paint a watercolor color wheel
-Video Demo of Color wheel using triangle and circle shape
-Video Demonstration of how to paint a watercolor color wheel
-Video Demo of Color wheel using triangle and circle shape
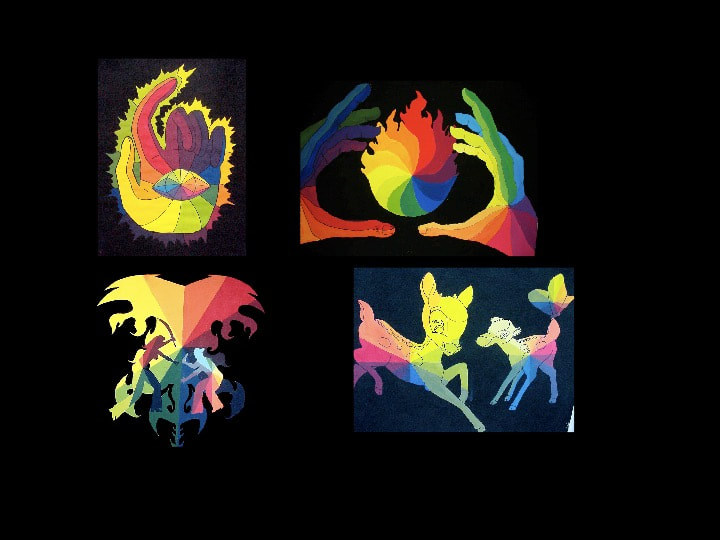
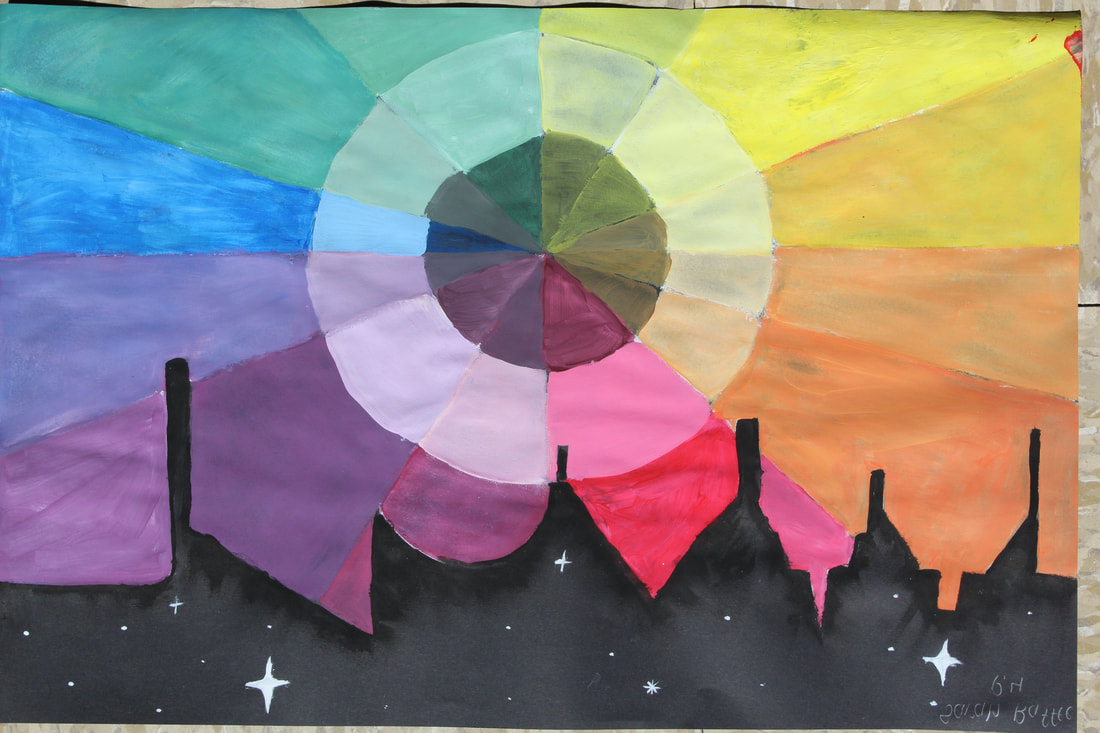
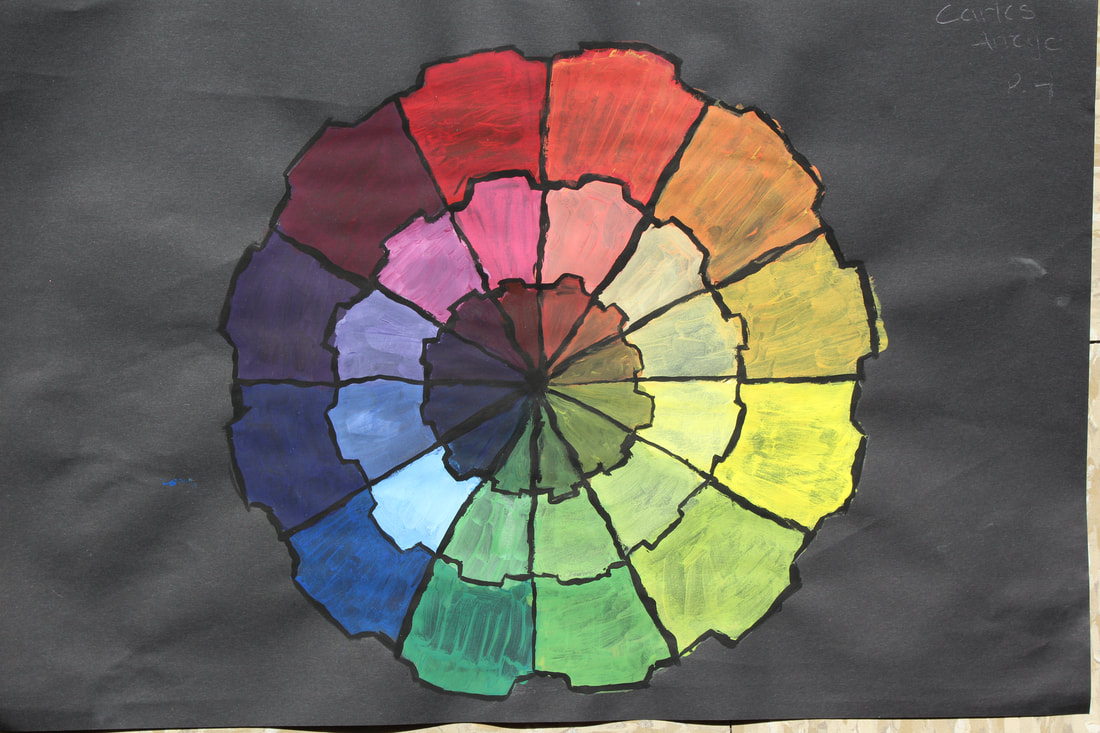
Creative Watercolor Color Wheels:
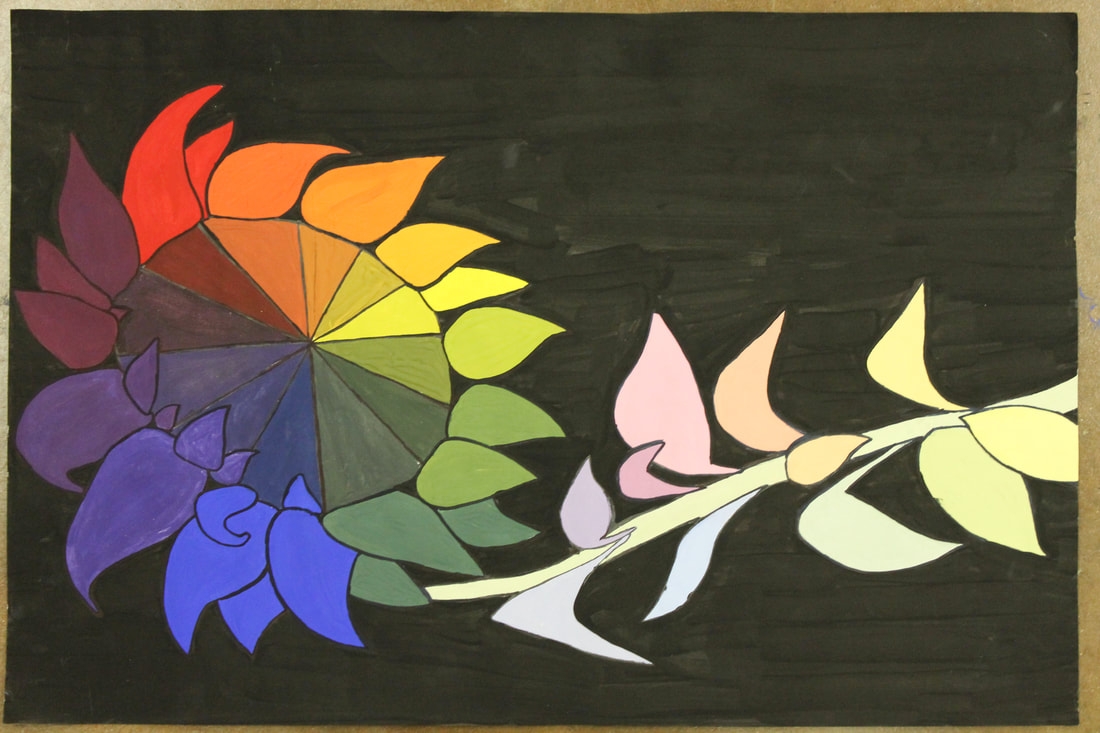
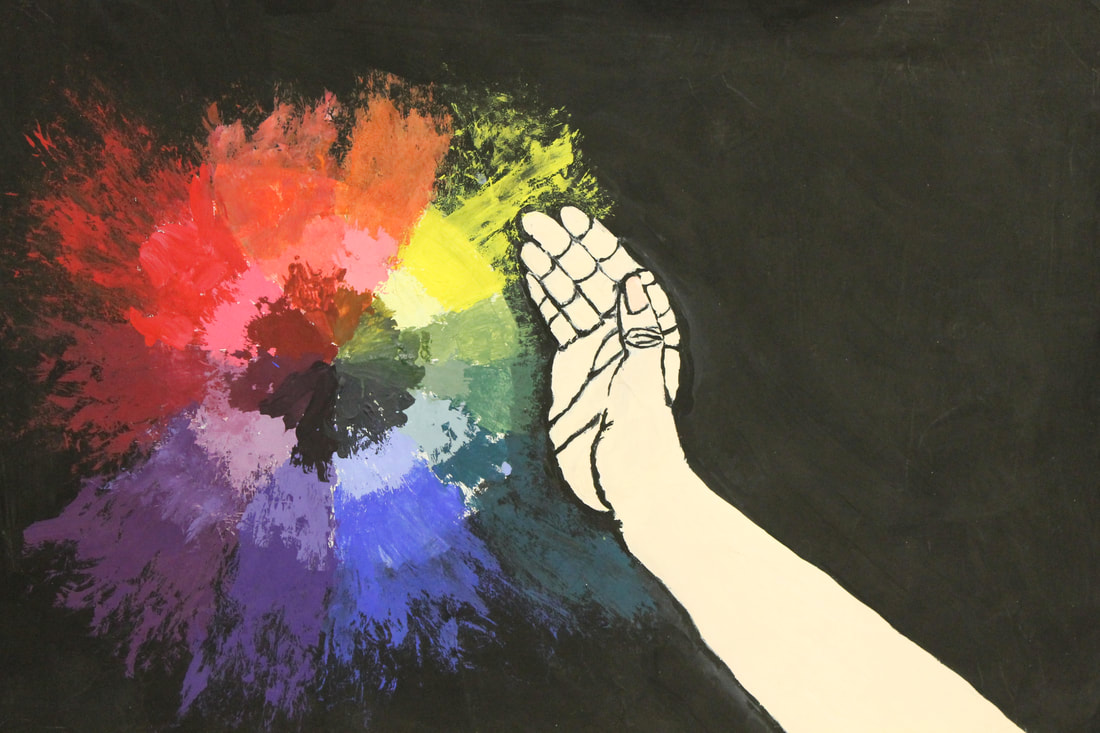
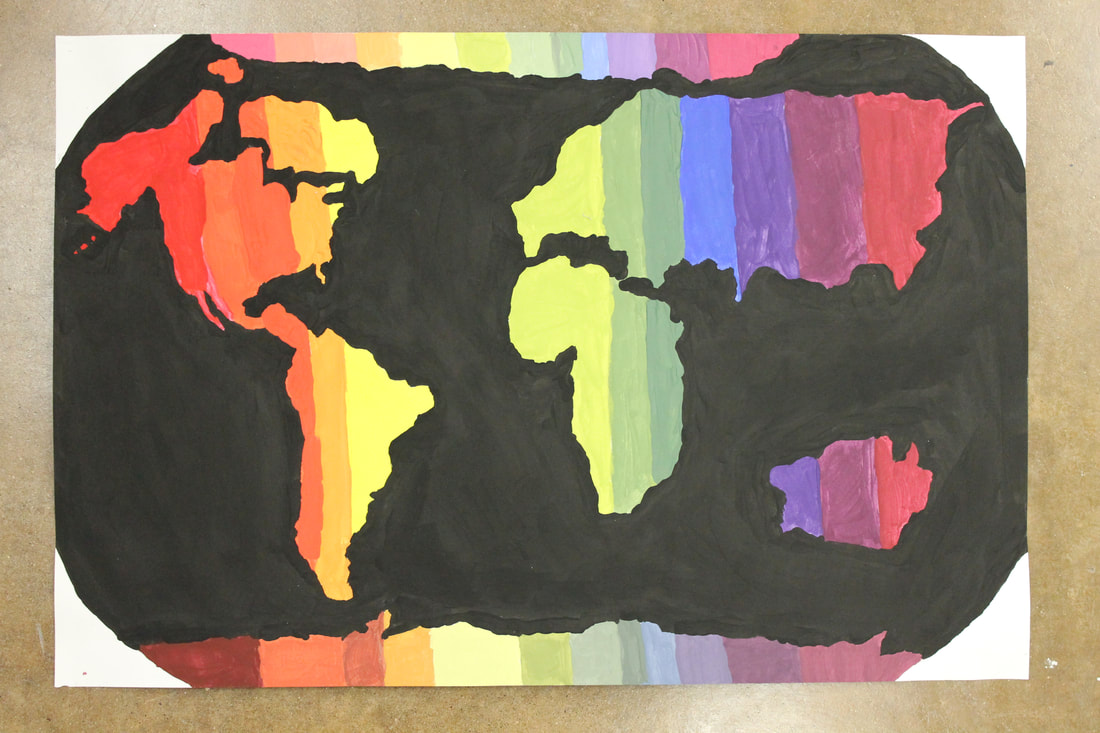
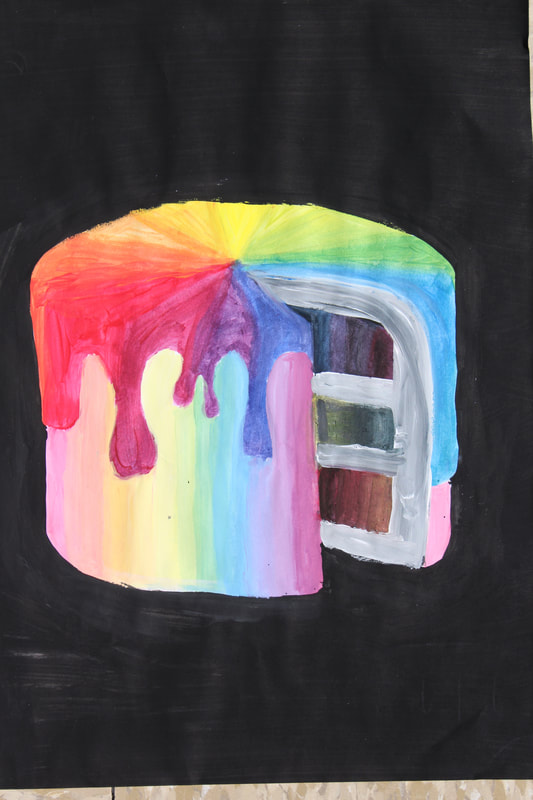
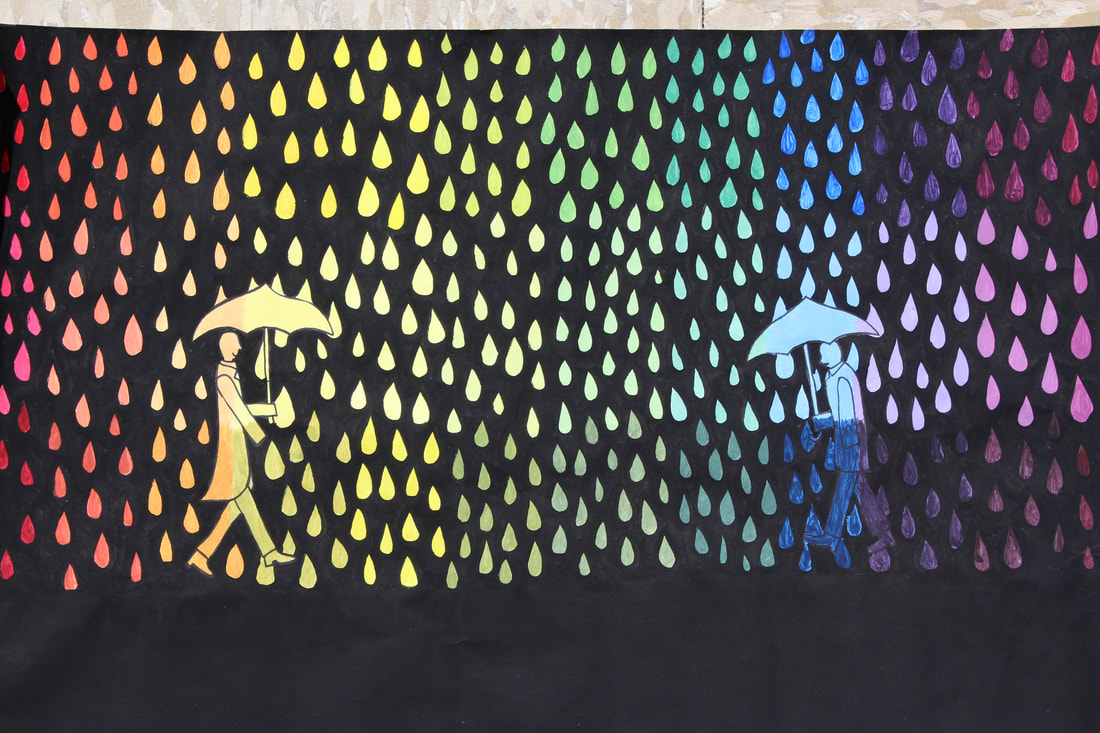
Creative Color Wheel Project - Tempera or Acrylic Paint
12 Step Color Wheel
Objectives:
· To demonstrate comprehension of primary, secondary, and tertiary colors by creating a 12 step color wheel using only primary colors plus black & white.
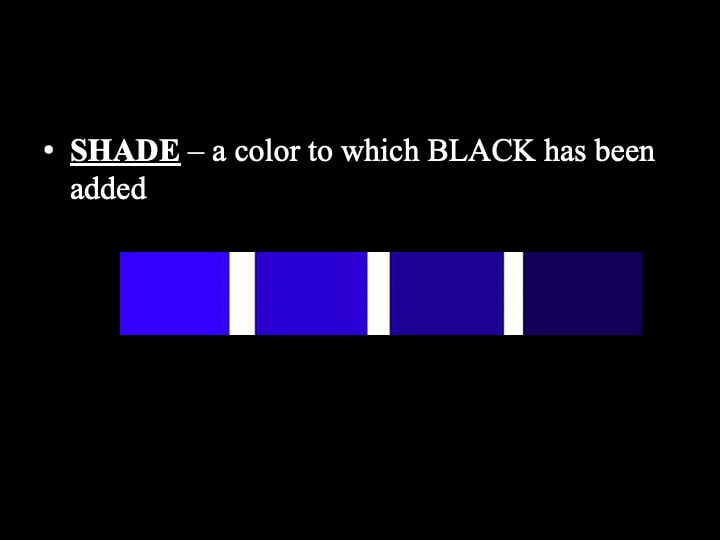
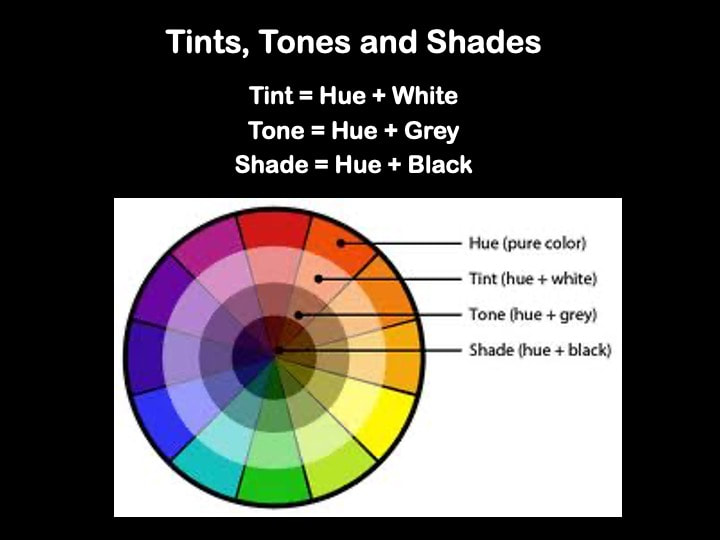
· To demonstrate comprehension of tints and shades.
· Focus on craftsmanship and paint blending.
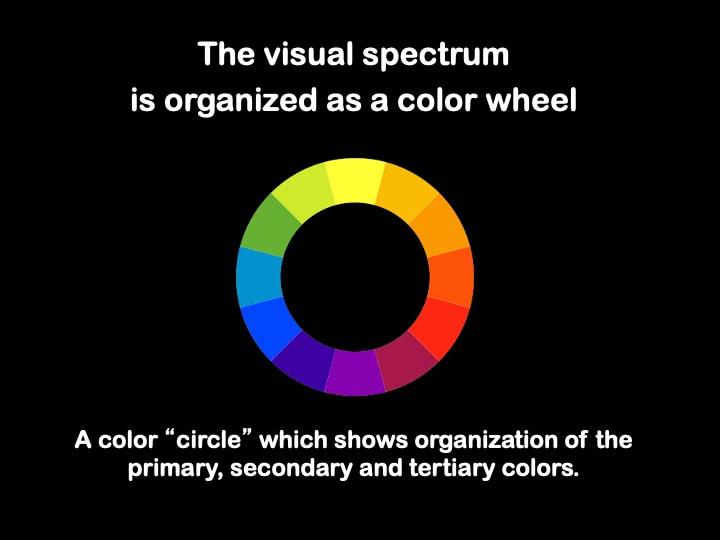
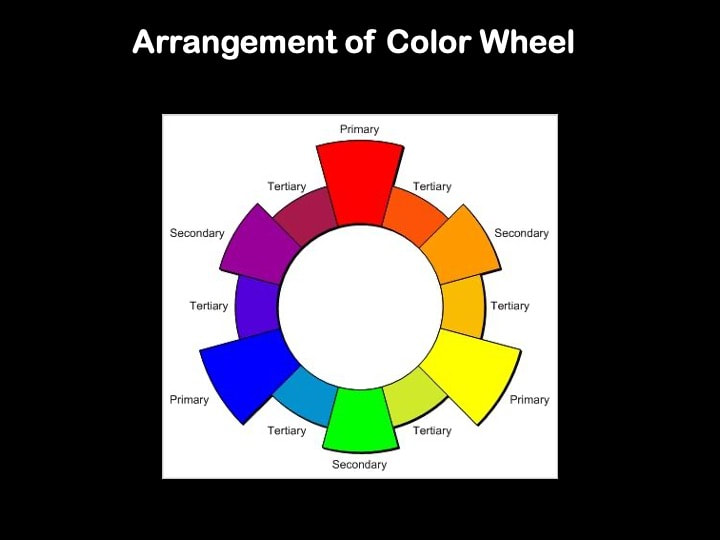
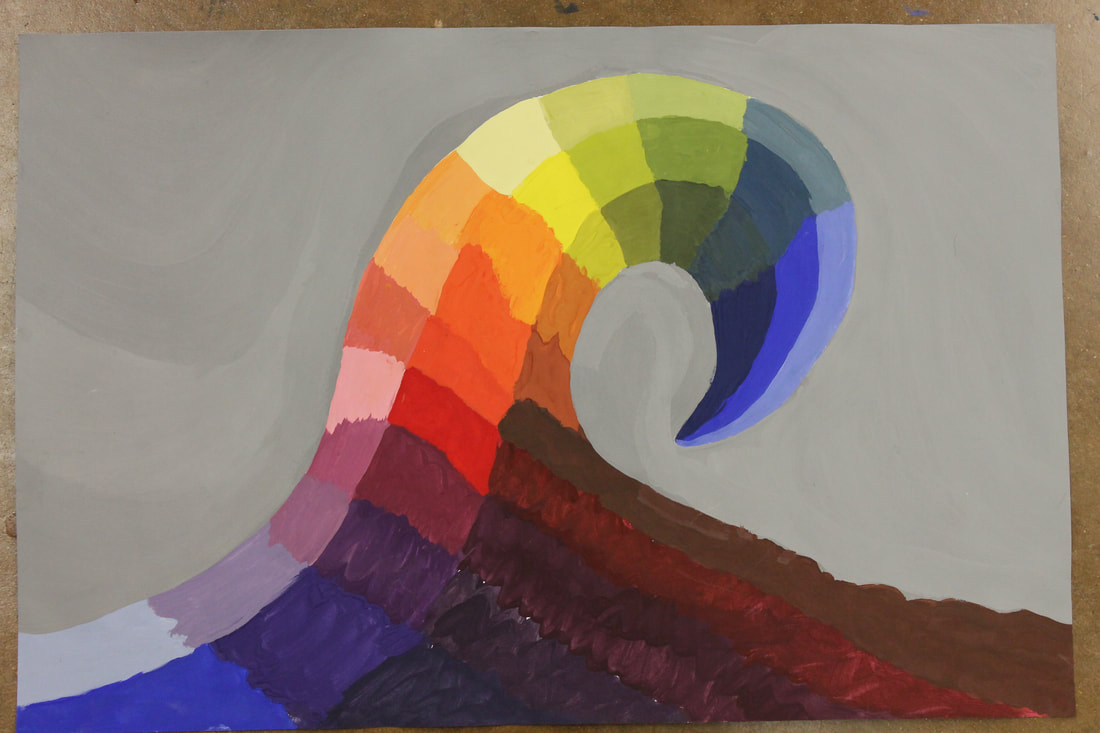
Colors can be organized into an arrangement forming a circle, or wheel of 12 colors. Nine of these can be produced from three colors mixed in a variety of combinations. The colors are divided into three groups: primary, secondary, and tertiary.
Assignment:
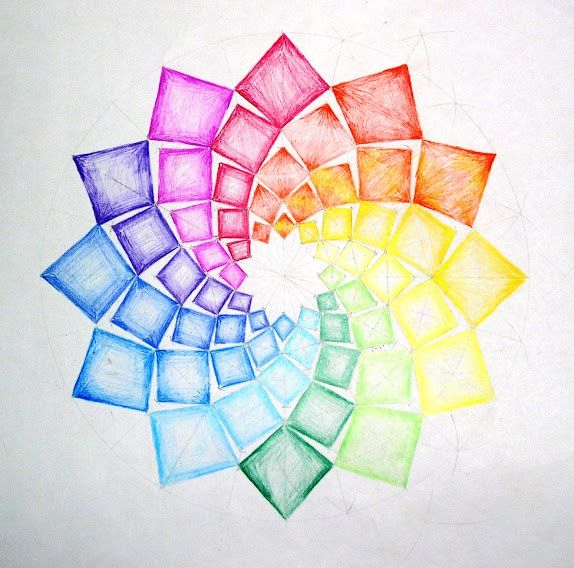
Create a 12 step color wheel including 12 pure hues, 12 tints, and 12 shades. You may create a wheel with creative additions, or any other shape that contains all 12 hues, tints, and shades. Make your project look different and unique!
Directions:
1) Draw a vertical line to divide the color wheel in half (12 o’clock to 6 o’clock)
2) Draw a horizontal line to divide the paper into 4 quadrants (9 o’clock to 3 o’clock)
3) Divide each of the 4 quadrants into equal thirds. (1 o’clock to 7 o’clock, 2 o’clock to 8 o’clock, 4 o’clock to 10 o’clock, 5 o’clock to 11 o’clock)
Color Wheel Template with pure hues, tints, and shades
Color Terms:
*Hue: the generic name of a color-pure color
*Tint: hue plus white
*Shade: hue plus black
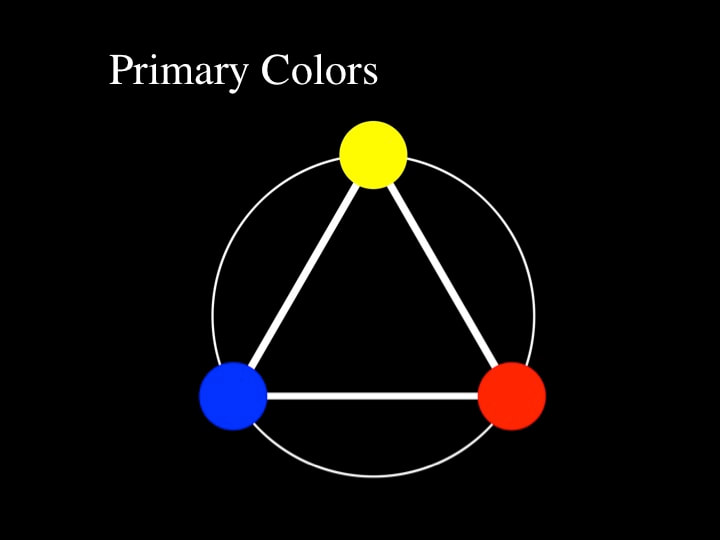
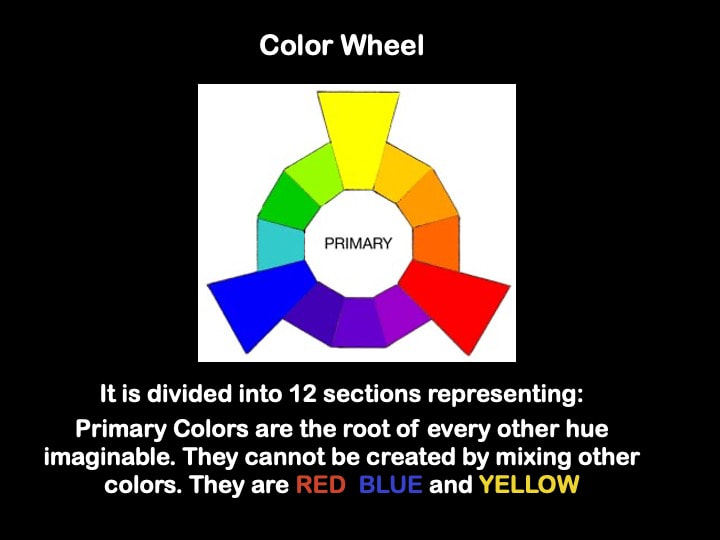
1) Primary Colors: All other colors are mixed from these:
Red, Yellow, and Blue
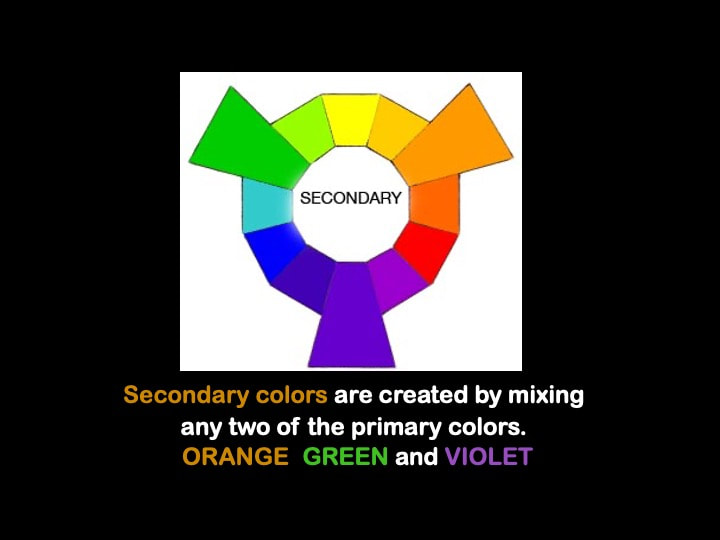
2) Secondary Colors: These are made by mixing two primary colors.
· Green (Blue plus Yellow)
· Violet (Red plus Blue)
· Orange (Red plus Yellow)
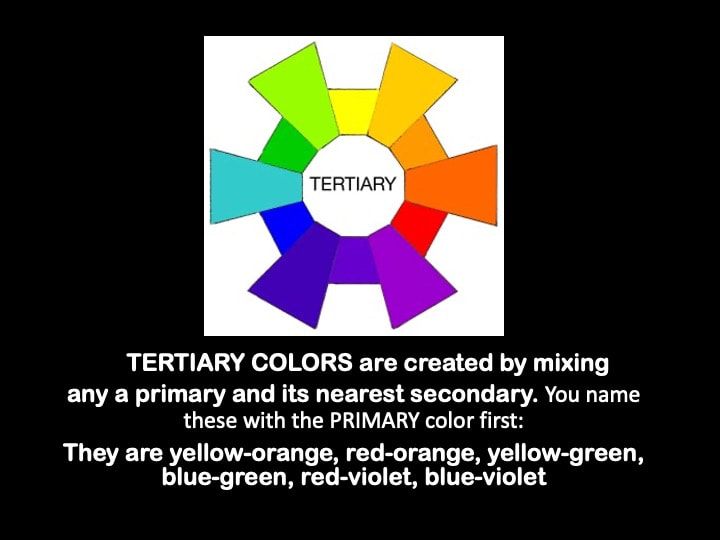
3) Tertiary Colors: These are made by mixing one primary color with one secondary color next to it on the color wheel.
· Red-Orange (Red plus Orange)
· Red-Violet (Red plus Violet)
· Yellow-Orange (Yellow plus Orange)
· Yellow-Green (Yellow plus Green)
· Blue-Green (Blue plus Green)
· Blue-Violet (Blue plus Violet)
Objectives:
· To demonstrate comprehension of primary, secondary, and tertiary colors by creating a 12 step color wheel using only primary colors plus black & white.
· To demonstrate comprehension of tints and shades.
· Focus on craftsmanship and paint blending.
Colors can be organized into an arrangement forming a circle, or wheel of 12 colors. Nine of these can be produced from three colors mixed in a variety of combinations. The colors are divided into three groups: primary, secondary, and tertiary.
Assignment:
Create a 12 step color wheel including 12 pure hues, 12 tints, and 12 shades. You may create a wheel with creative additions, or any other shape that contains all 12 hues, tints, and shades. Make your project look different and unique!
Directions:
1) Draw a vertical line to divide the color wheel in half (12 o’clock to 6 o’clock)
2) Draw a horizontal line to divide the paper into 4 quadrants (9 o’clock to 3 o’clock)
3) Divide each of the 4 quadrants into equal thirds. (1 o’clock to 7 o’clock, 2 o’clock to 8 o’clock, 4 o’clock to 10 o’clock, 5 o’clock to 11 o’clock)
Color Wheel Template with pure hues, tints, and shades
Color Terms:
*Hue: the generic name of a color-pure color
*Tint: hue plus white
*Shade: hue plus black
1) Primary Colors: All other colors are mixed from these:
Red, Yellow, and Blue
2) Secondary Colors: These are made by mixing two primary colors.
· Green (Blue plus Yellow)
· Violet (Red plus Blue)
· Orange (Red plus Yellow)
3) Tertiary Colors: These are made by mixing one primary color with one secondary color next to it on the color wheel.
· Red-Orange (Red plus Orange)
· Red-Violet (Red plus Violet)
· Yellow-Orange (Yellow plus Orange)
· Yellow-Green (Yellow plus Green)
· Blue-Green (Blue plus Green)
· Blue-Violet (Blue plus Violet)
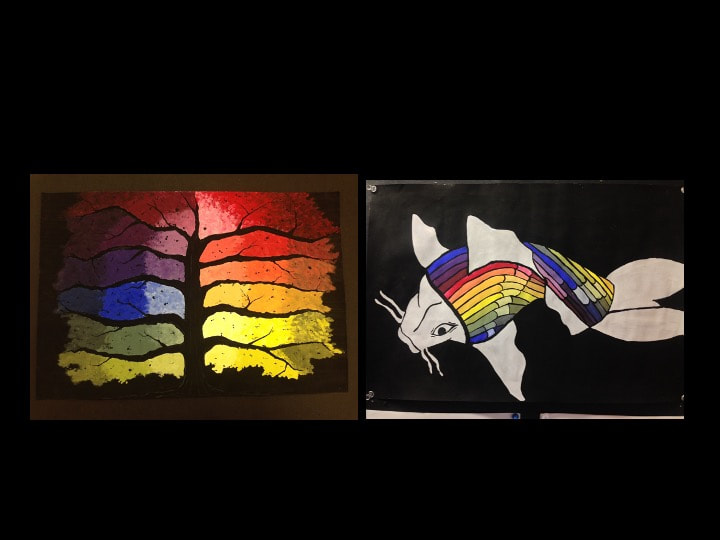
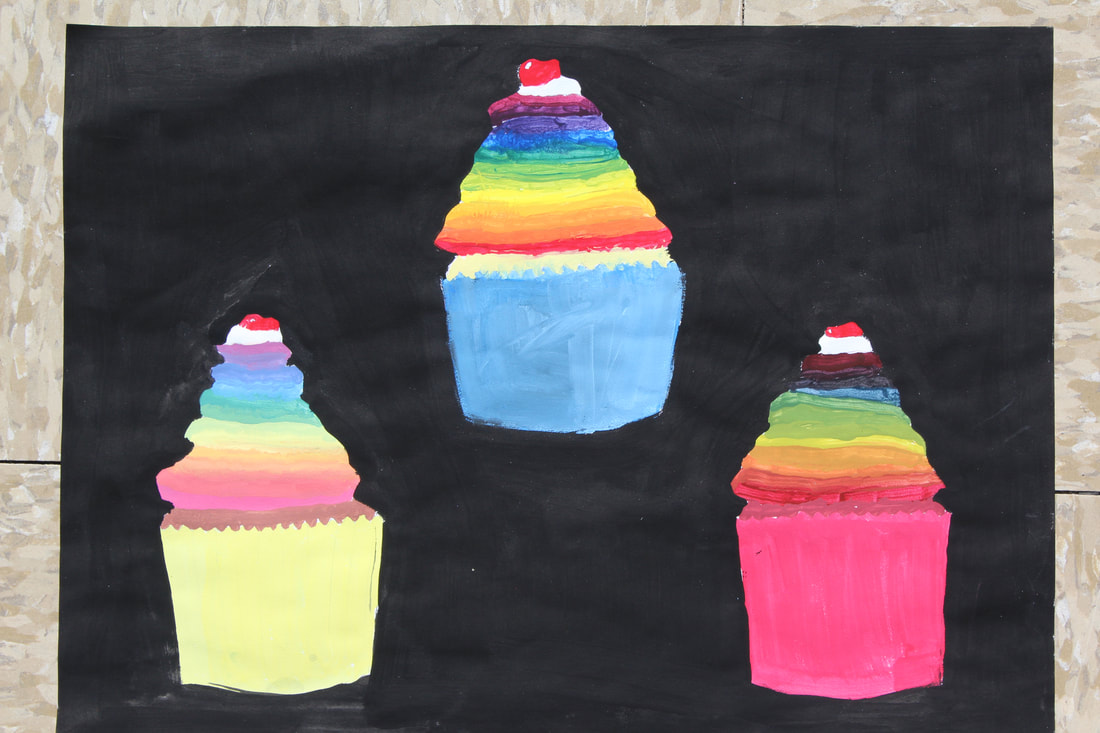
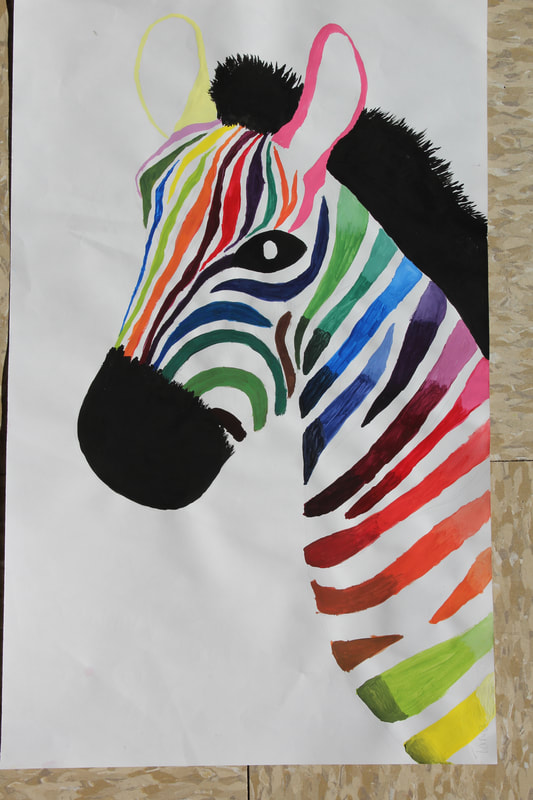
Color Wheel Examples - Tempera Paint


Independent Painting - Complete 1 per quarter for a total of 4 this year
Create a PAINTING of anything you would like! Create your own assignment or choose one of the assignments listed below.
At some point during the semester you will have some free time during class or you may wish to take a break from the current class project. Use this time to complete your Independent Project.
Possible Grounds:
Paper, loose canvas, canvas board, cardboard, a 3-D object
Possible Media:
Tempera, acrylic, watercolor, ink, oil pastel
Requirements:
- Minimum size 9 X 12”"
- Must reflect at least 10 hours of work (5 classes)
- Display use of the Elements of Art & Principles of Design
- Good use of Composition
- Originality & Creativity
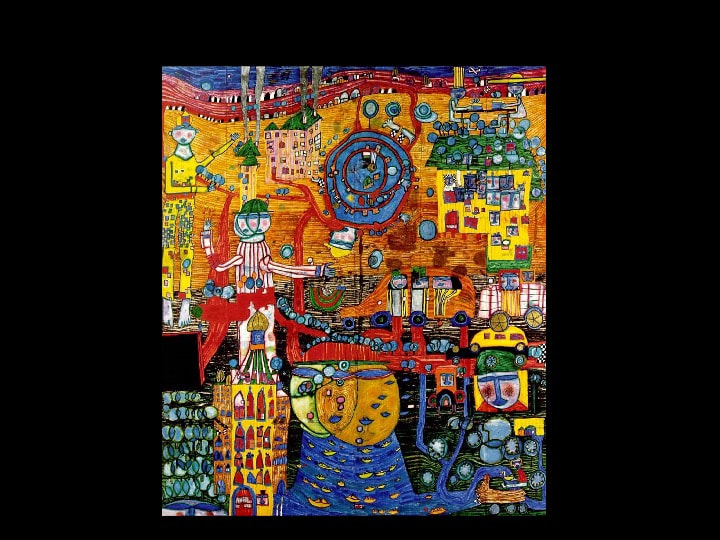
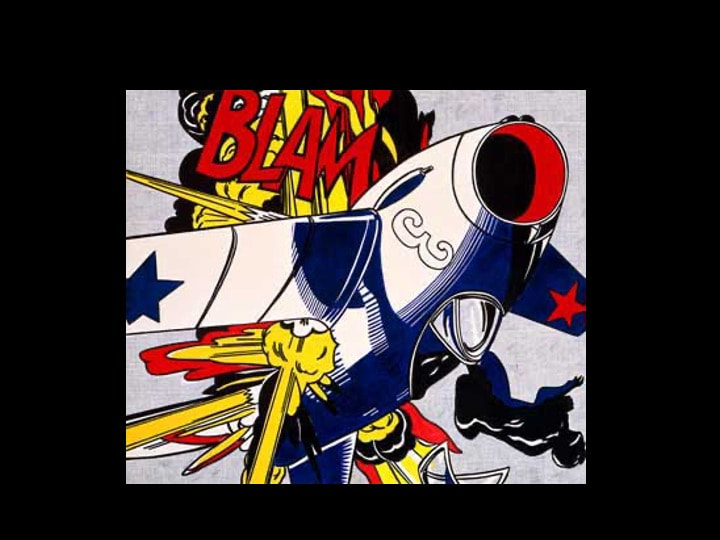
Possible Painting Ideas:
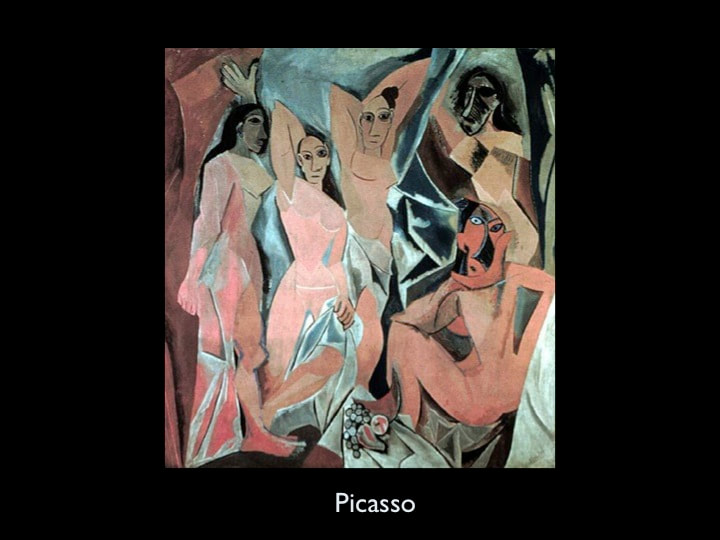
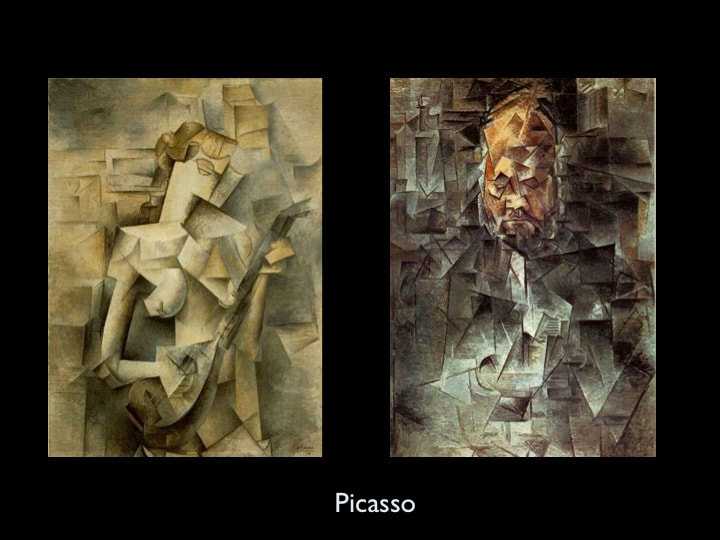
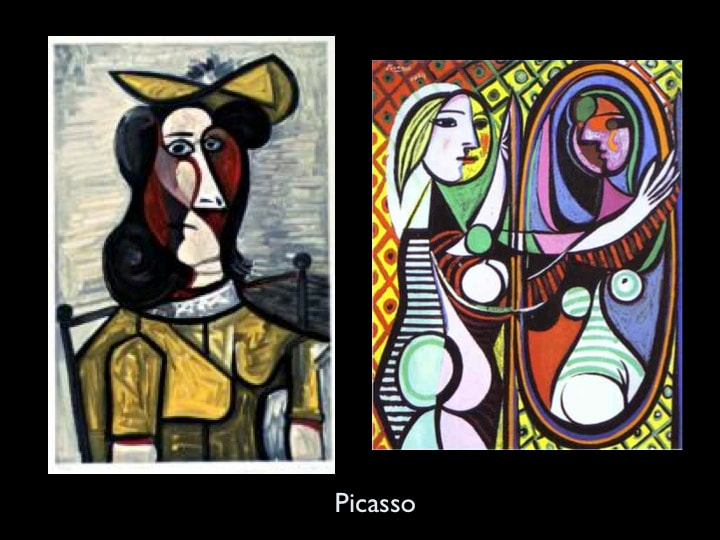
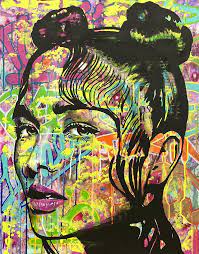
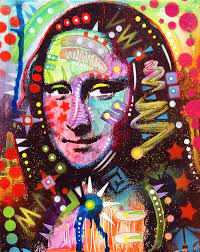
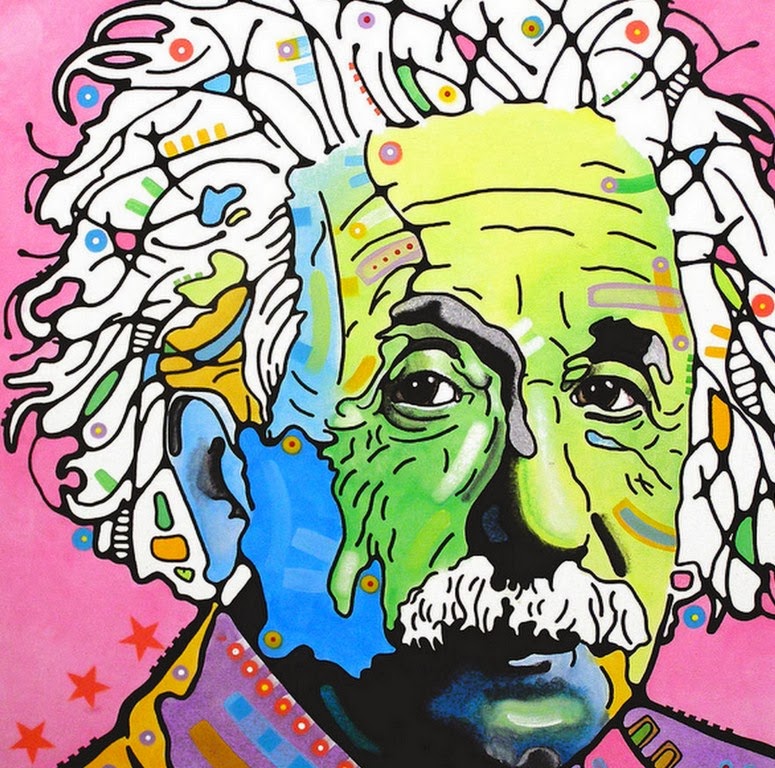
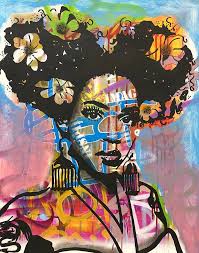
- Research an historical art movement and create a new painting using that style: Pop art, Art Nouveau, Fauvism, Expressionism, Dada, Futurism, Impressionism, etc.
- Illustrate a song, poem, story, fairytale, or myth/legend.
- Illustrate a dream you had.
- Paint a childhood memory.
- Set up a still-life and paint it using a range of values.
- Cut out a 1”X1” portion of a photograph and paste it onto your ground. Paint a painting that incorporates the photograph seamlessly.
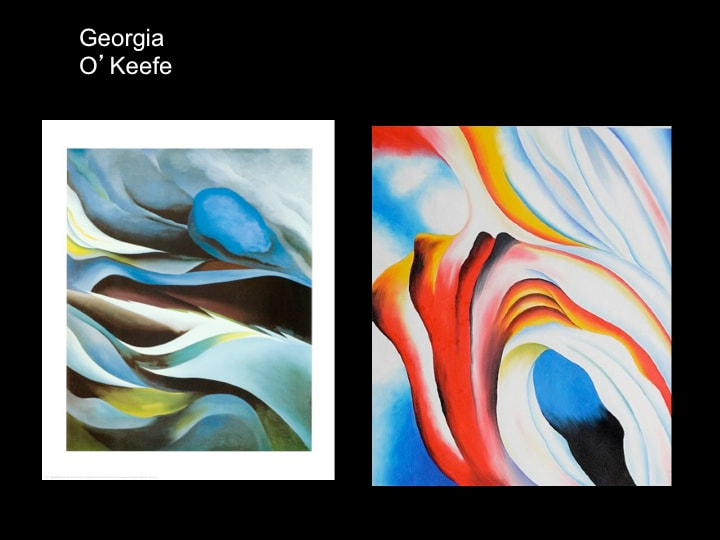
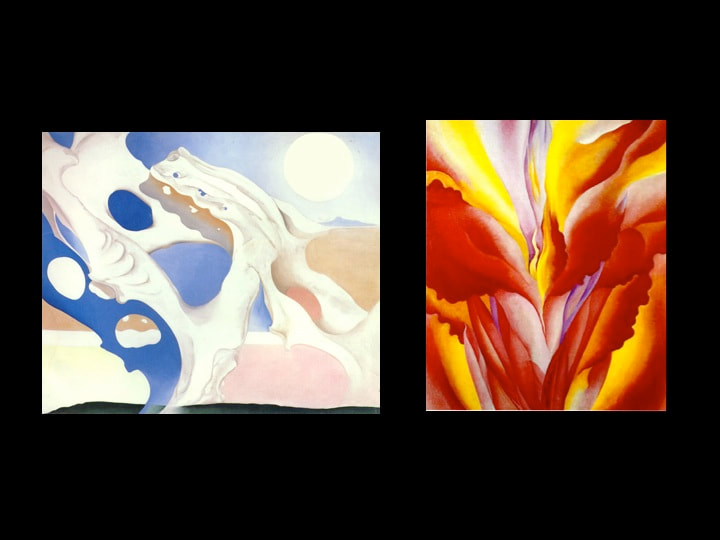
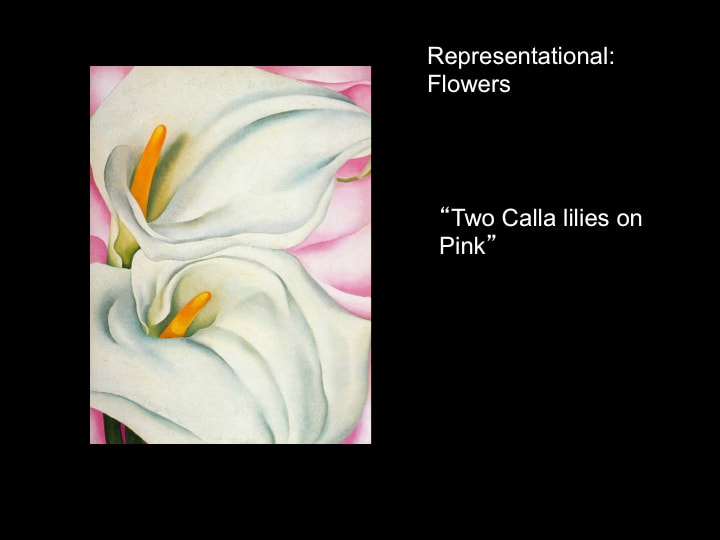
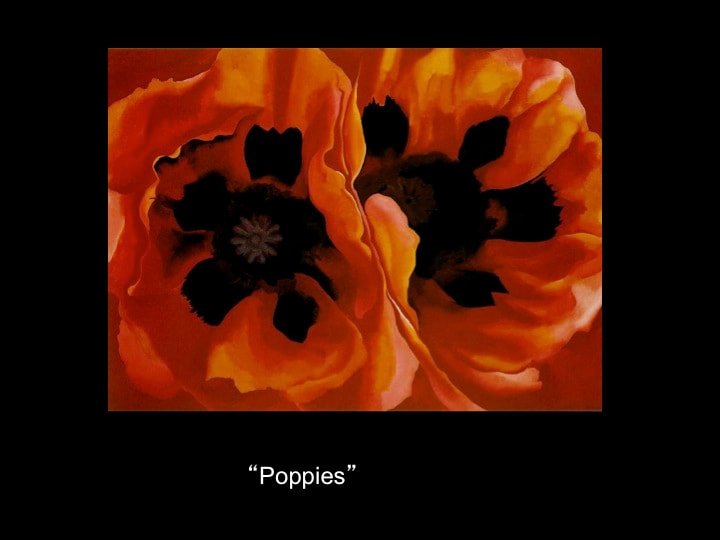
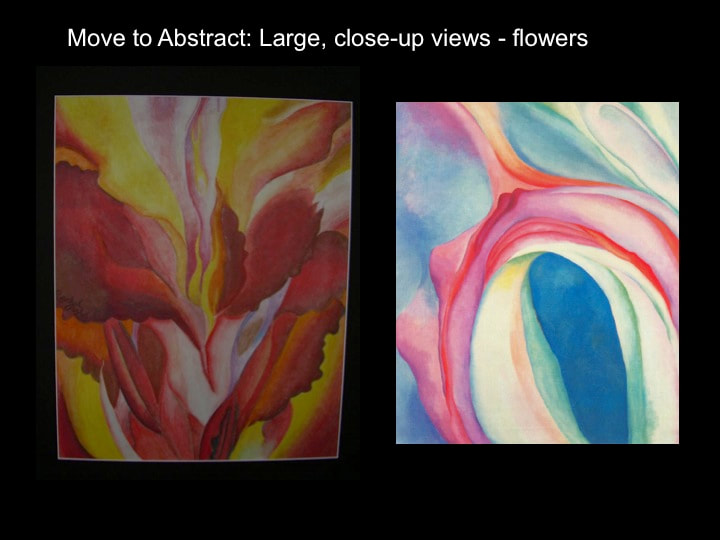
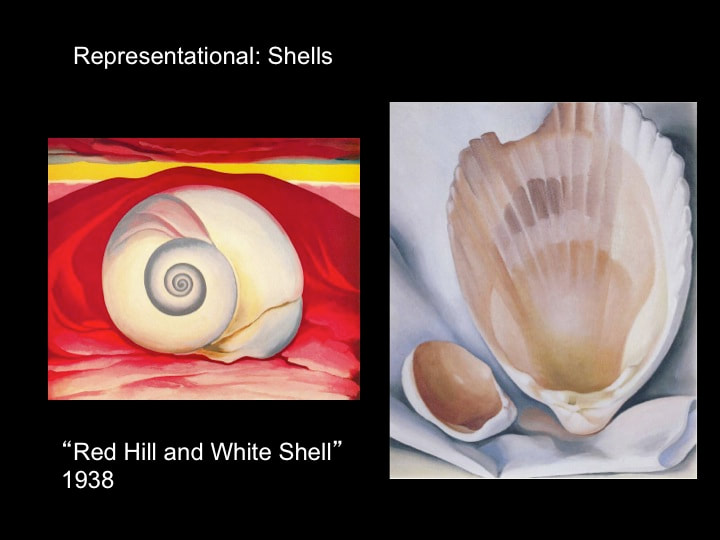
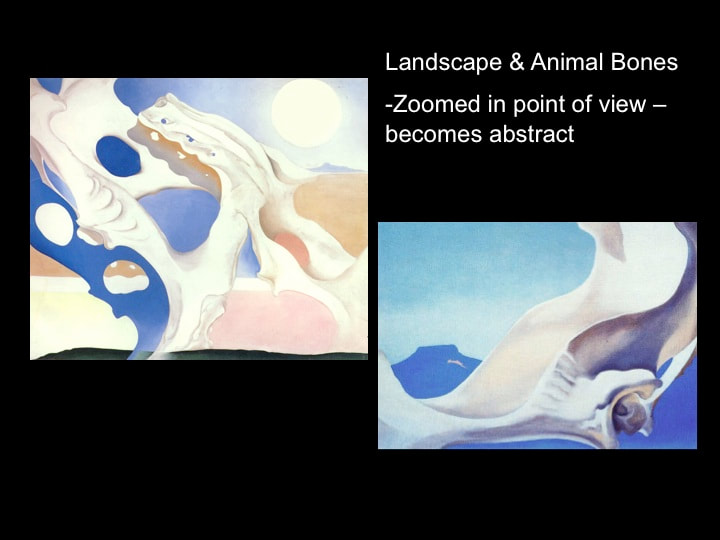
- Magnify and crop an object so a realistic object looks abstract (inspiration: Georgia O’Keefe)
- Start with an ordinary object and turn it into something extraordinary-include a background.
- Hand Landscape: Make a landscape including studies of hands in it.
- Invent a new machine and paint it (cars, planes, trains, spaceships, etc.) Include a
background environment. - Design a clothing line and paint a minimum of 3 outfits with color and texture swatches (fabric swatches)
- Inversion or Role Reversal: Flip the switch on our everyday concepts. Make something soft appear hard (ie a bunny made out of spikes) or something natural look unnatural (ie a landscape of trees, leaves, clouds made out geometric lines and shapes).
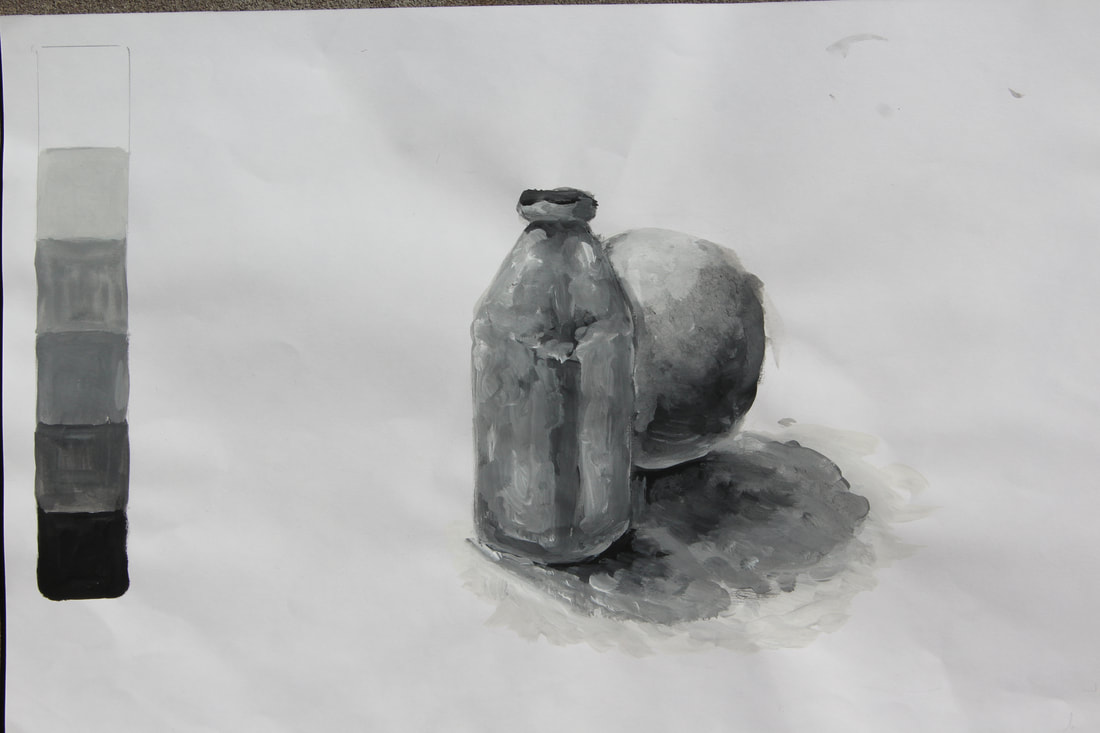
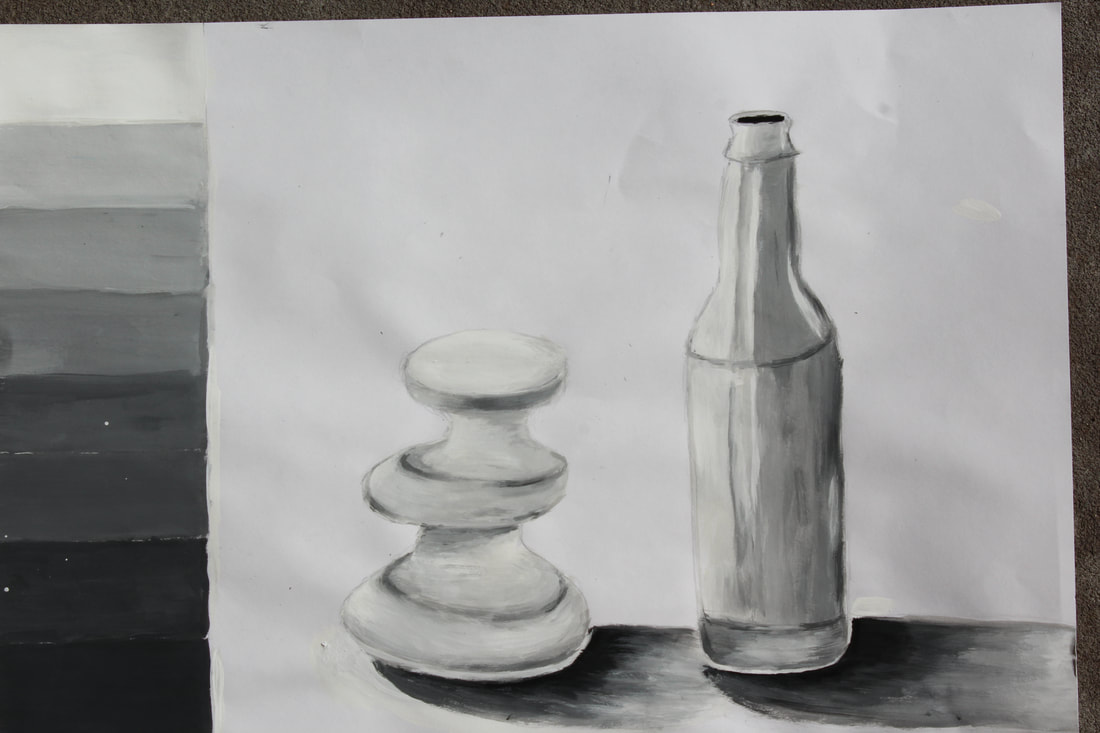
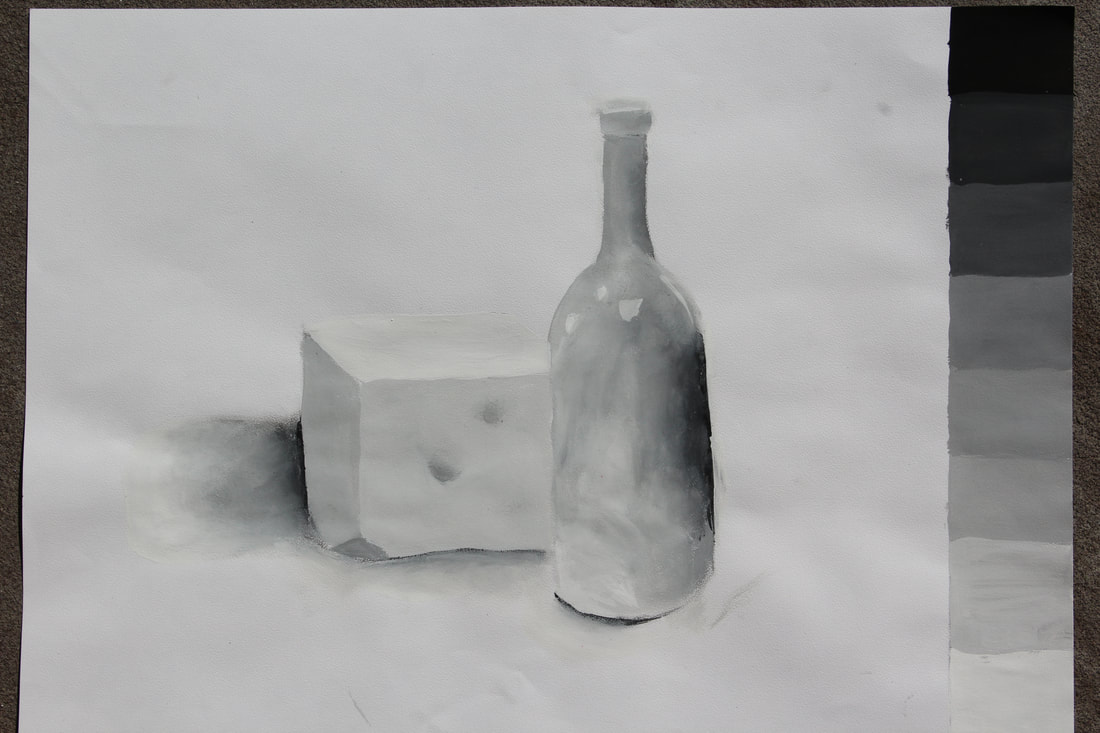
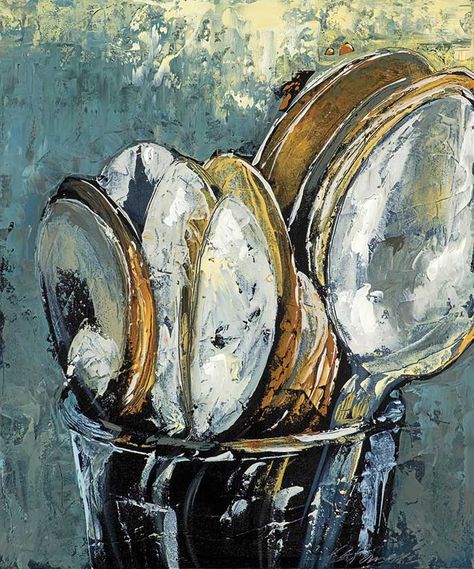
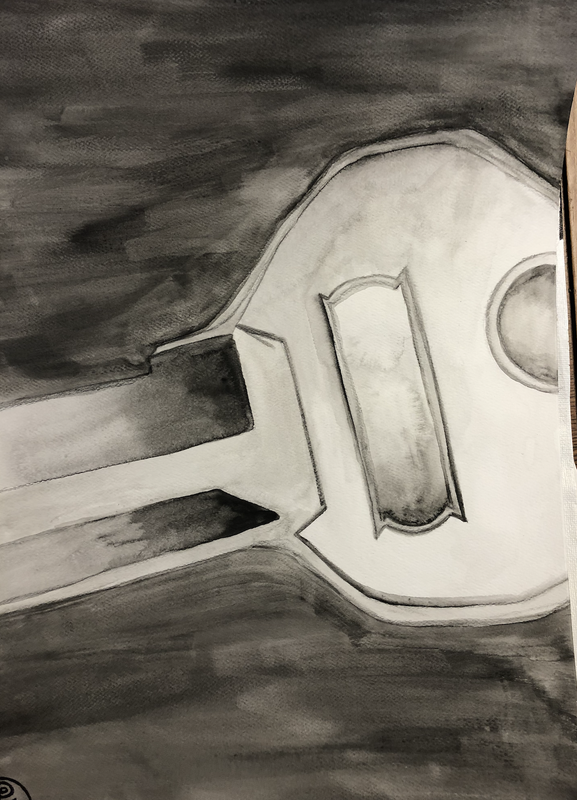
Still Life Value Painting
ASSIGNMENT:
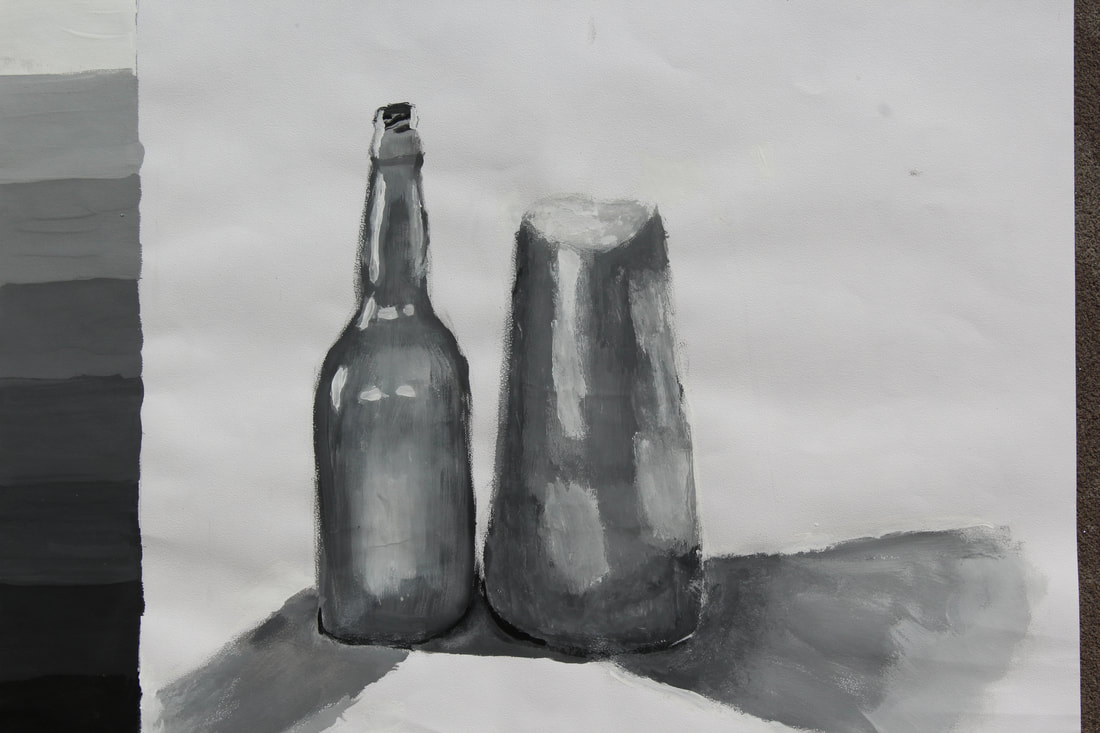
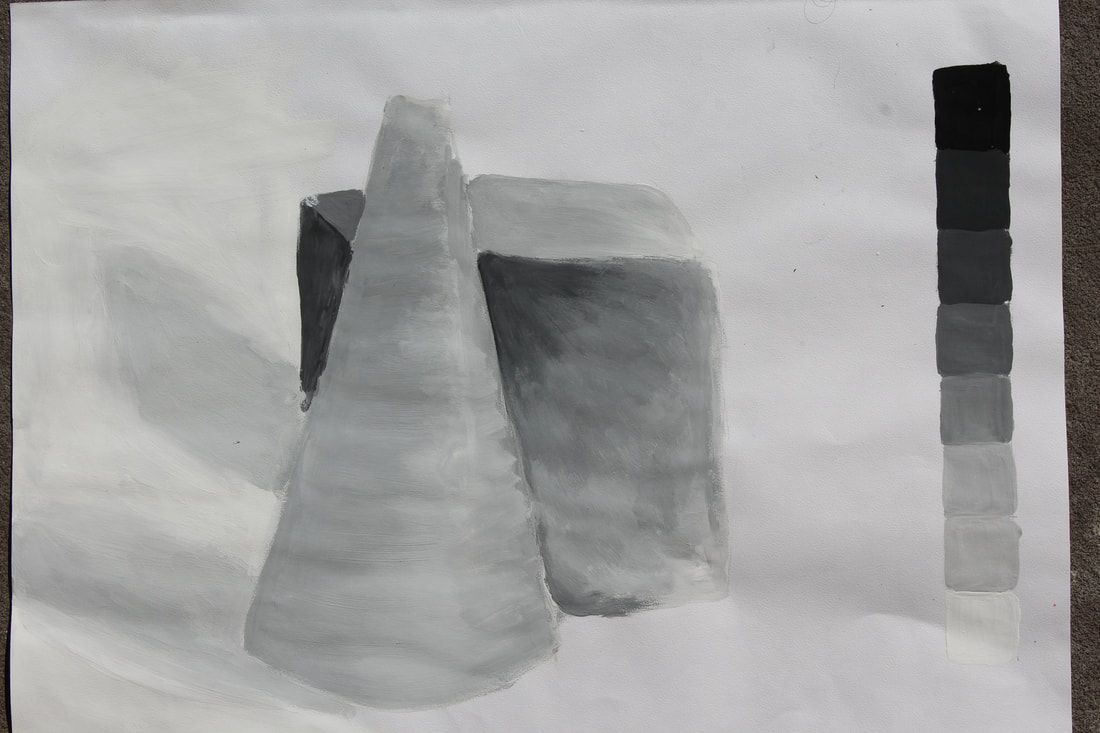
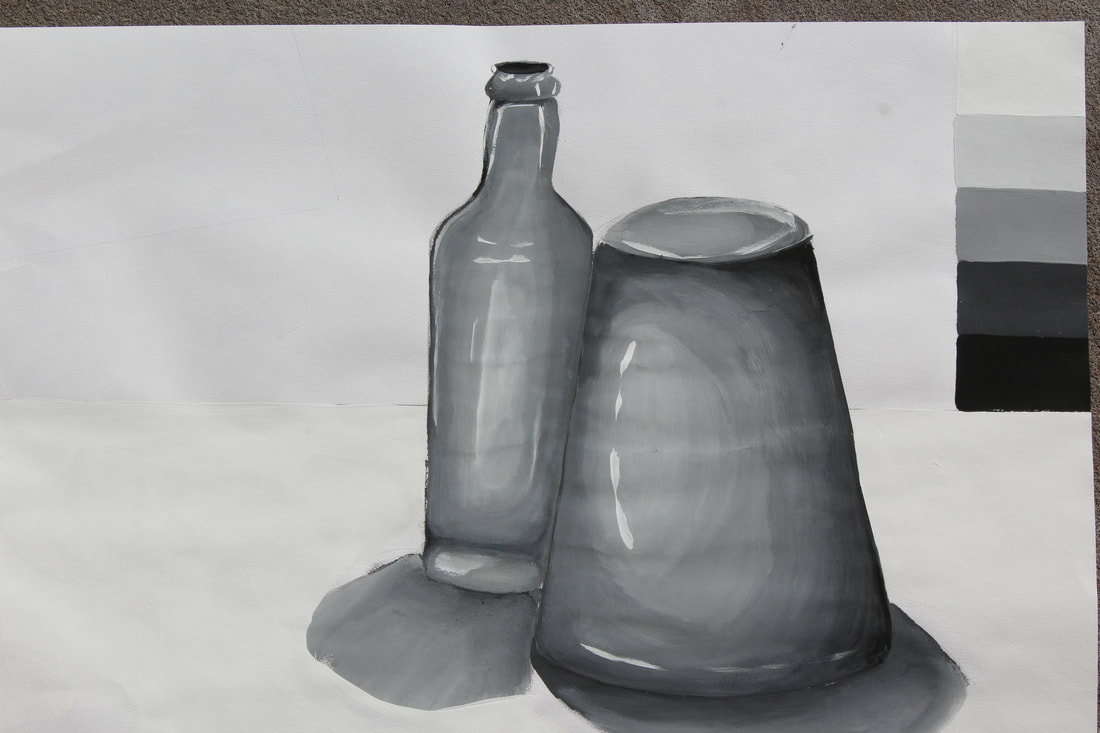
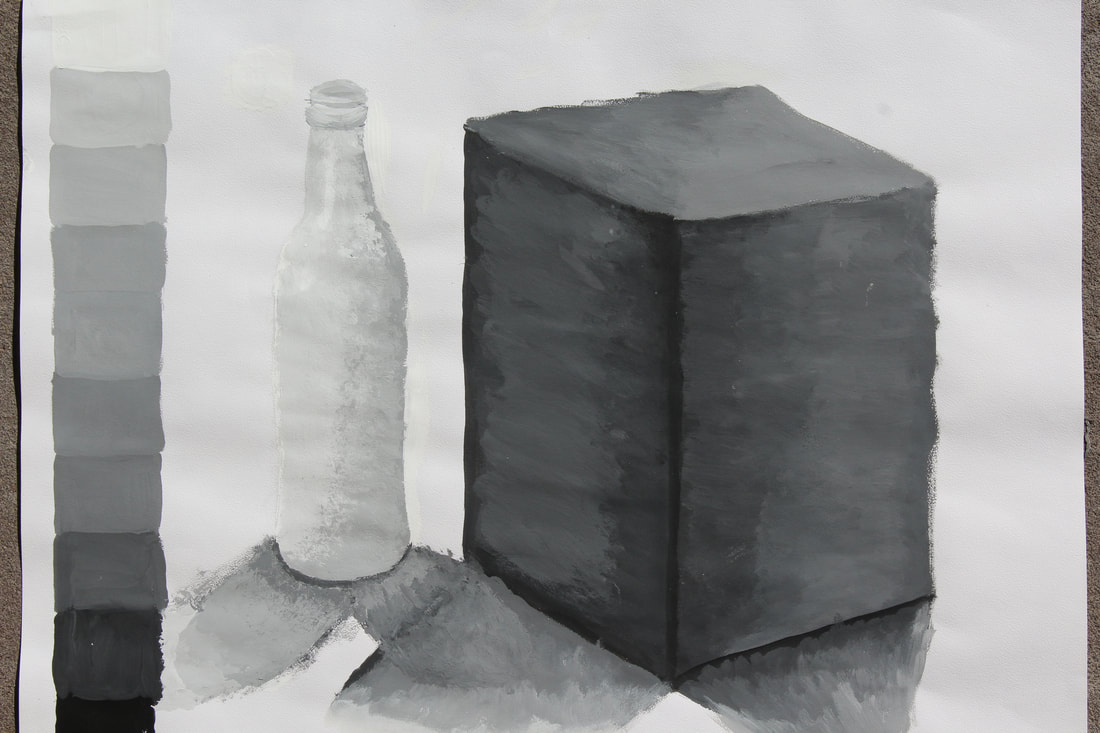
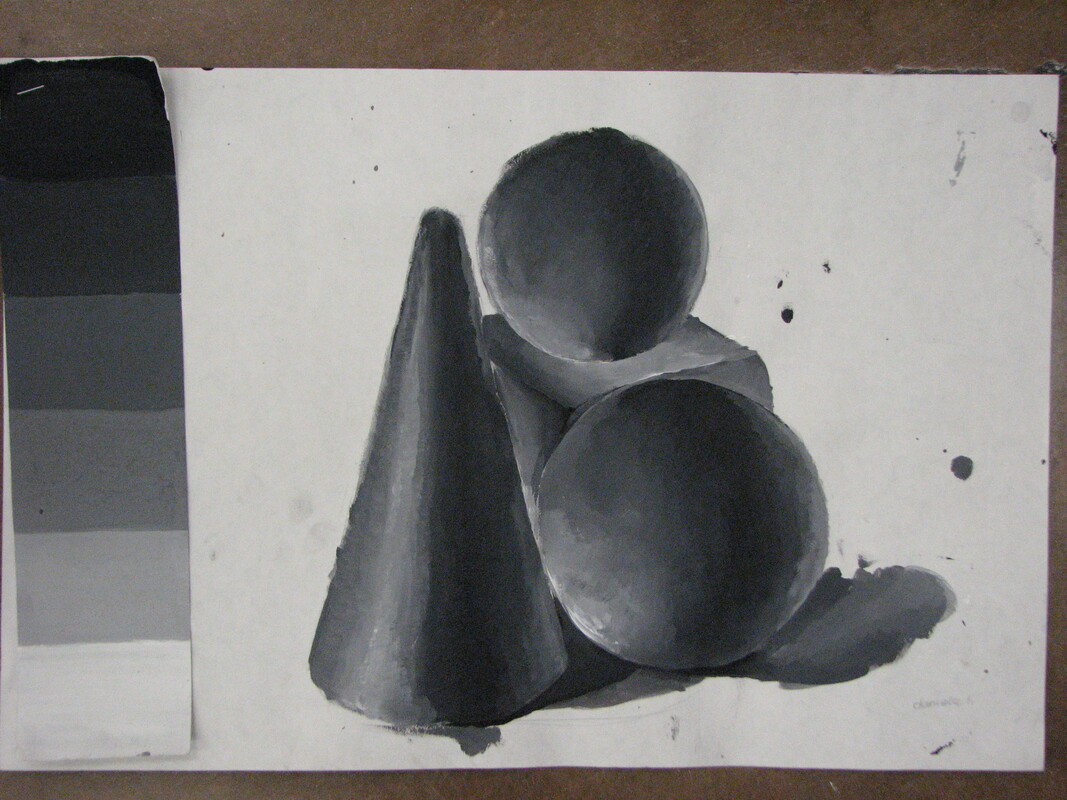
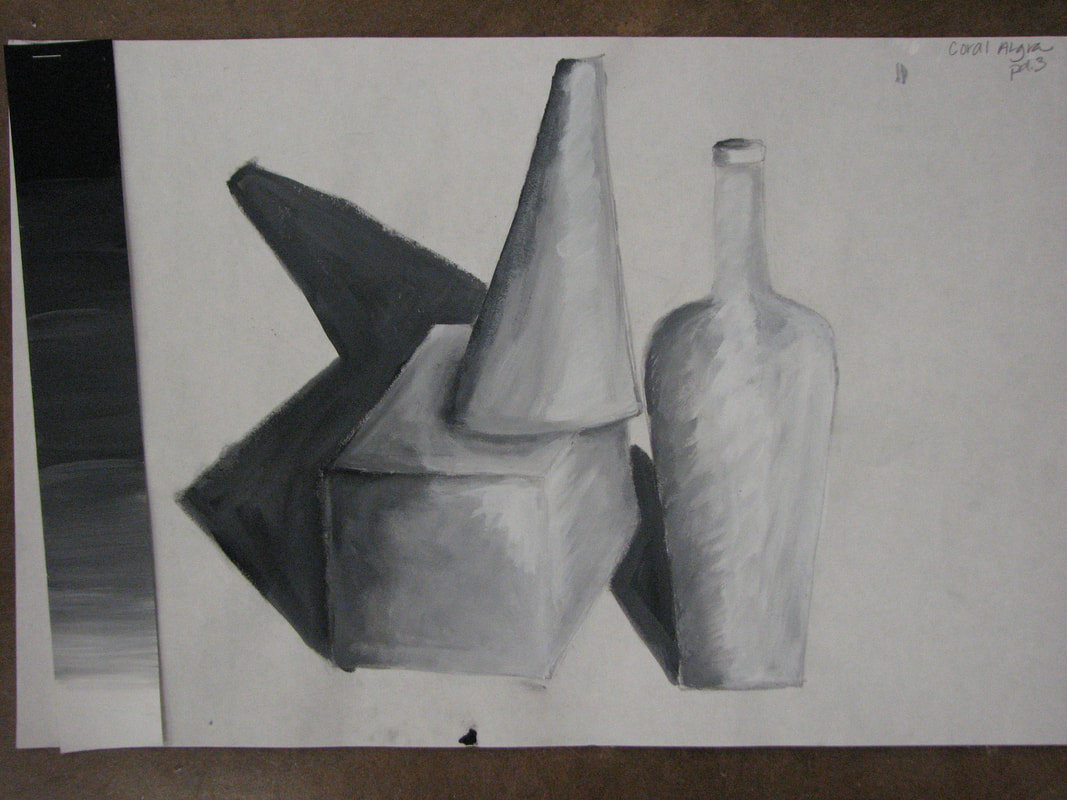
1) Create a value scale (minimum 8 steps/squares 1X1”) using black & white tempera paint
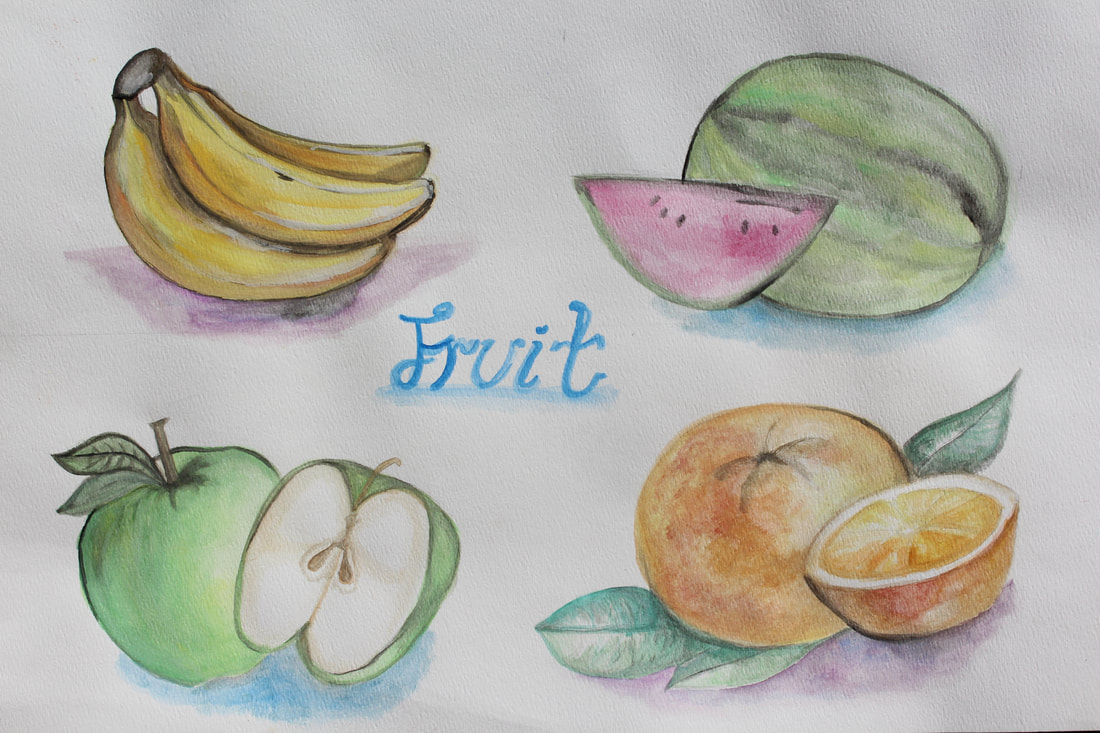
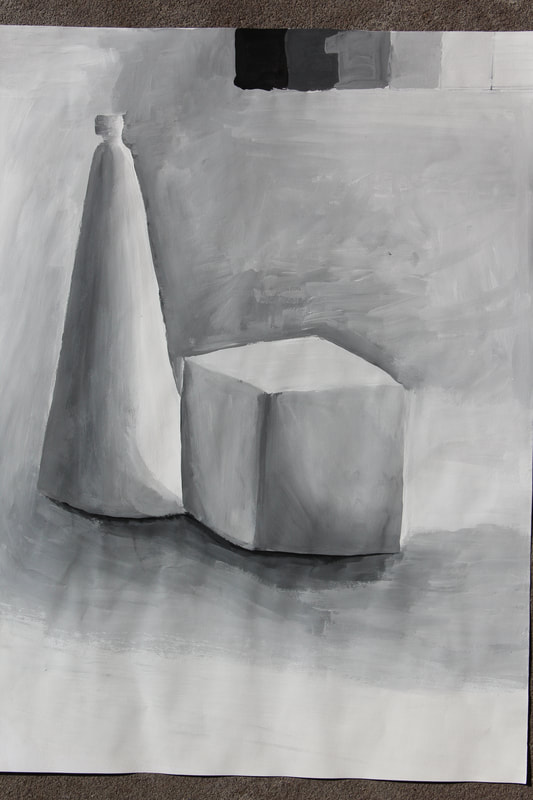
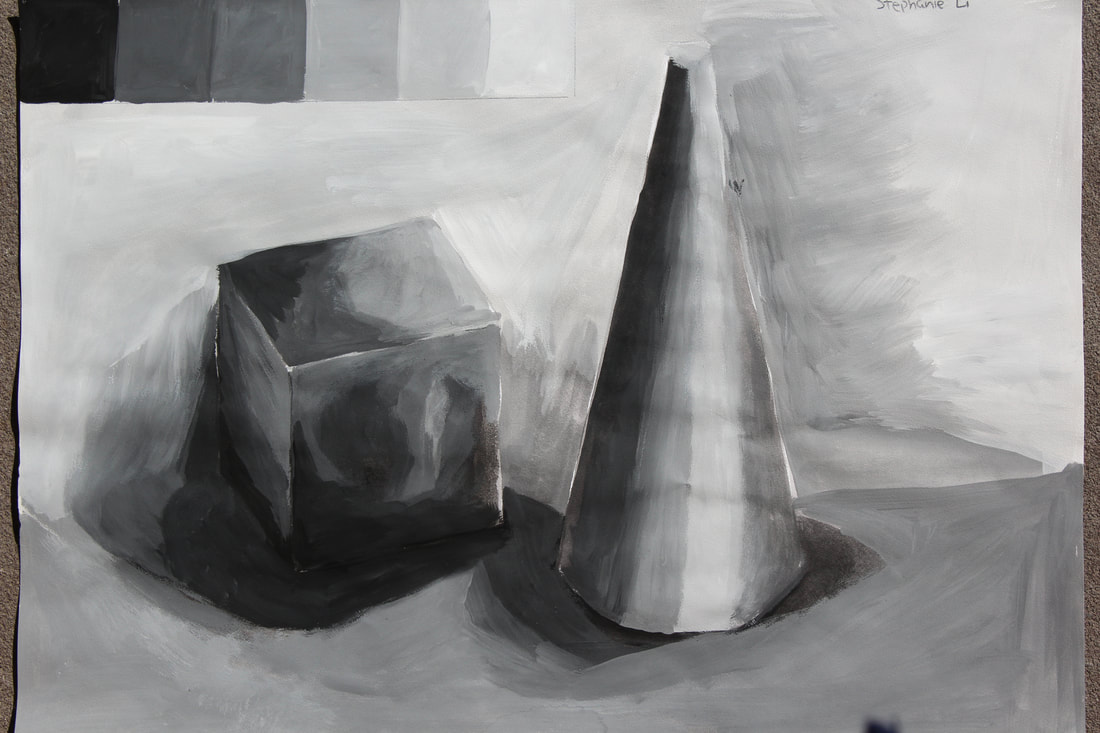
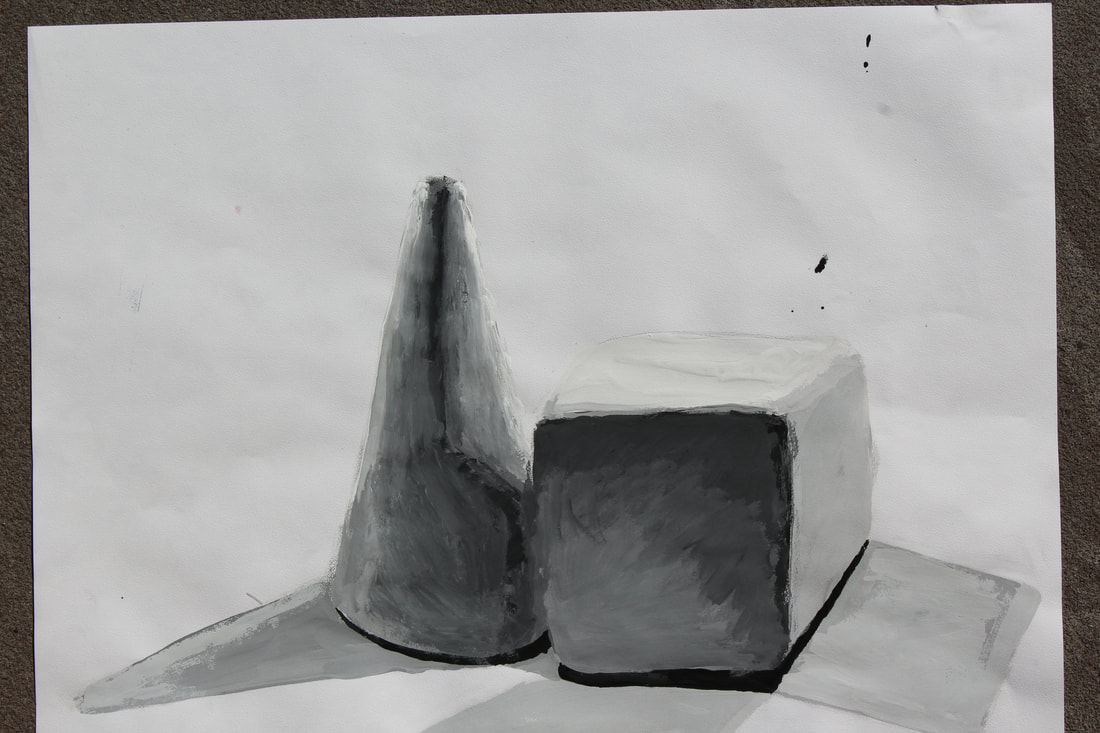
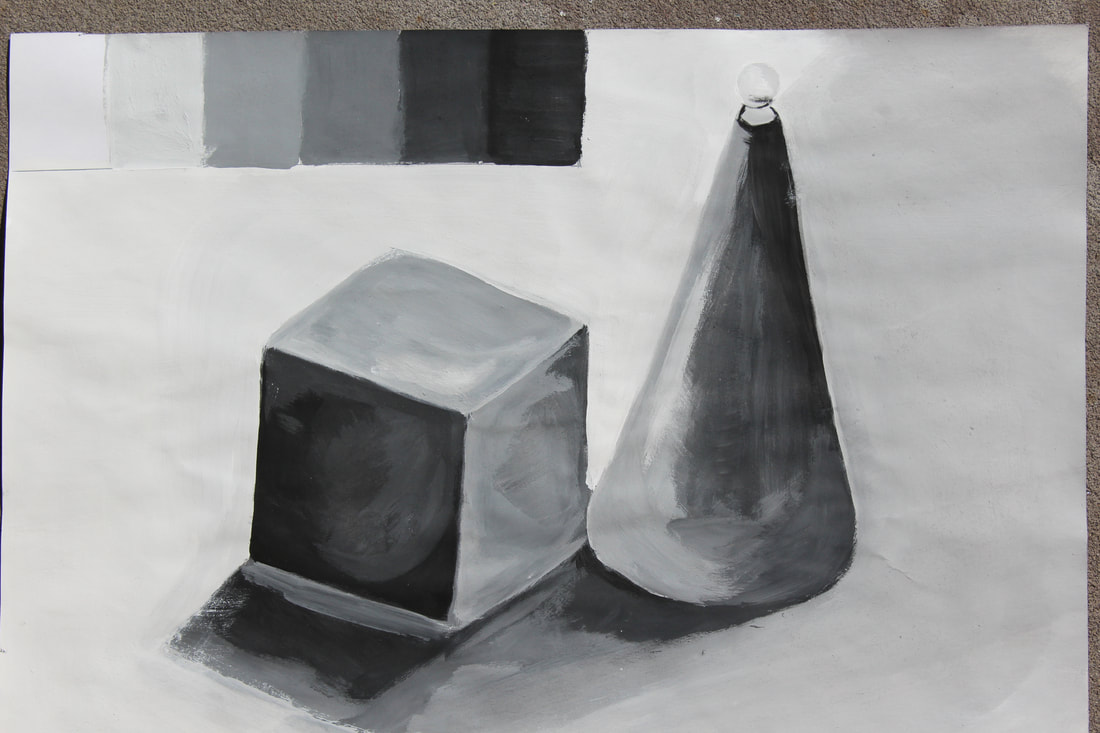
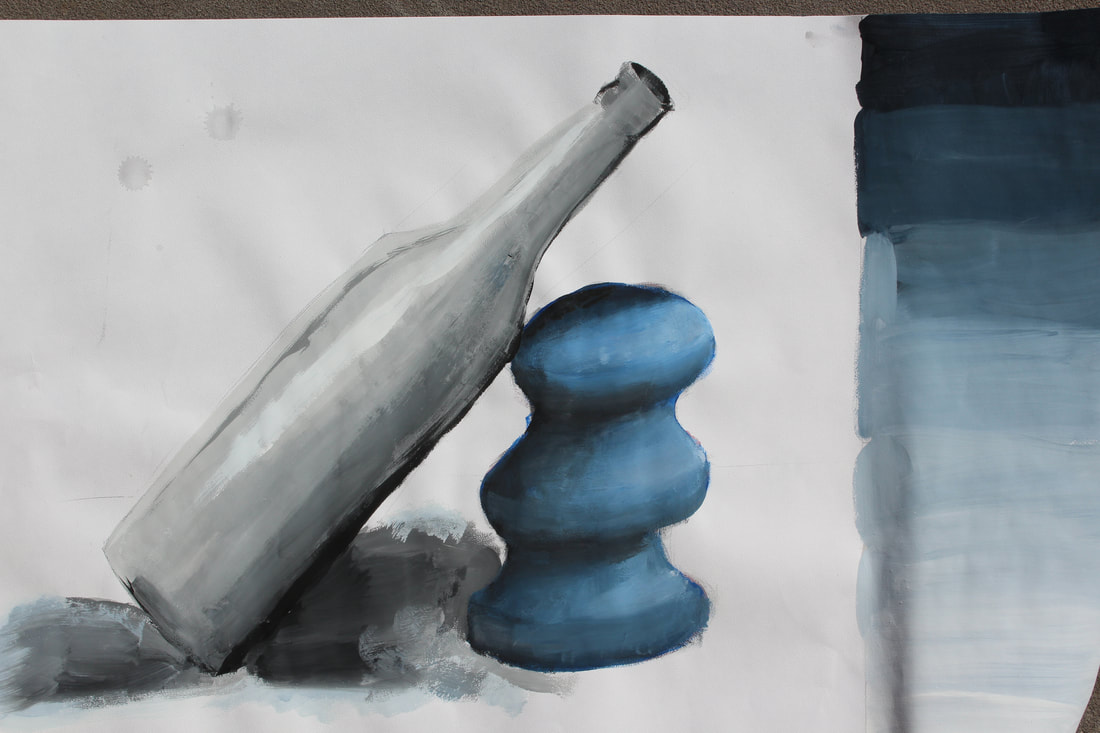
2) Create an observational still-life painting of the cones, cubes, spheres OR of the object still-life showing:
• The 8 values from your value scale
• correct proportion and scale
1) Create a value scale (minimum 8 steps/squares 1X1”) using black & white tempera paint
2) Create an observational still-life painting of the cones, cubes, spheres OR of the object still-life showing:
• The 8 values from your value scale
- developed value! Paint what you SEE in front of you. Do not copy this example.
• correct proportion and scale


Color Scheme Painting
Assignment:
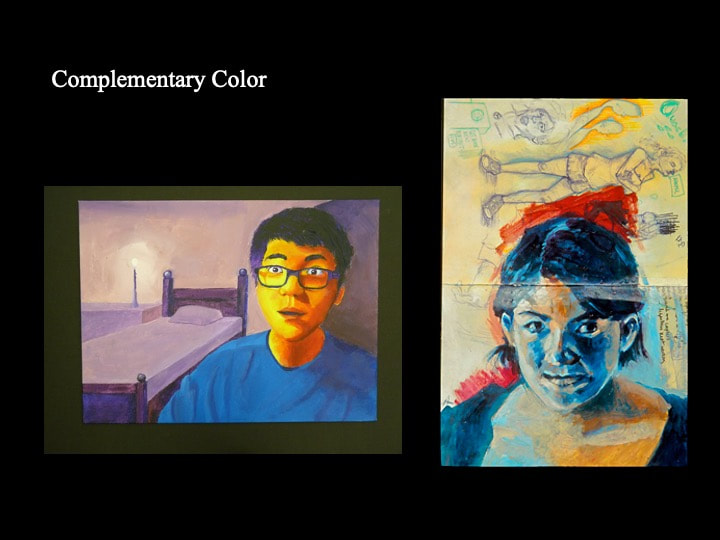
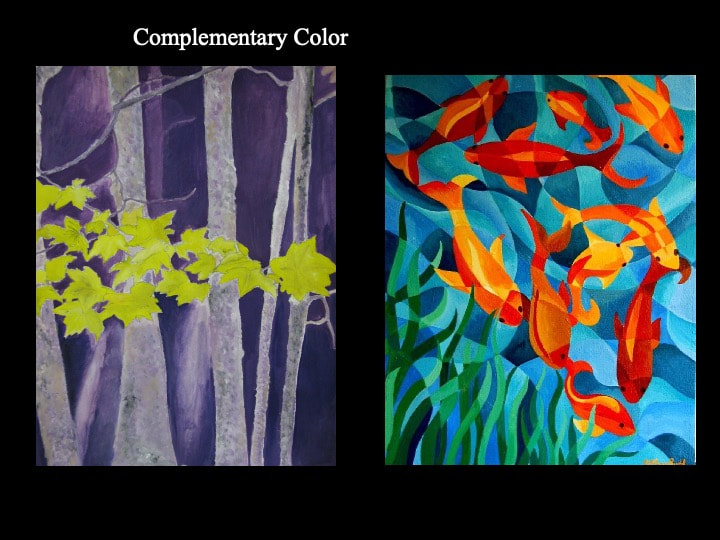
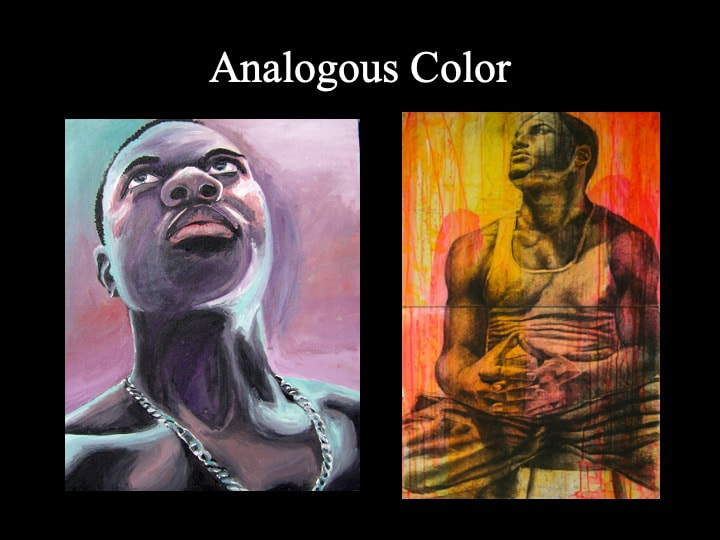
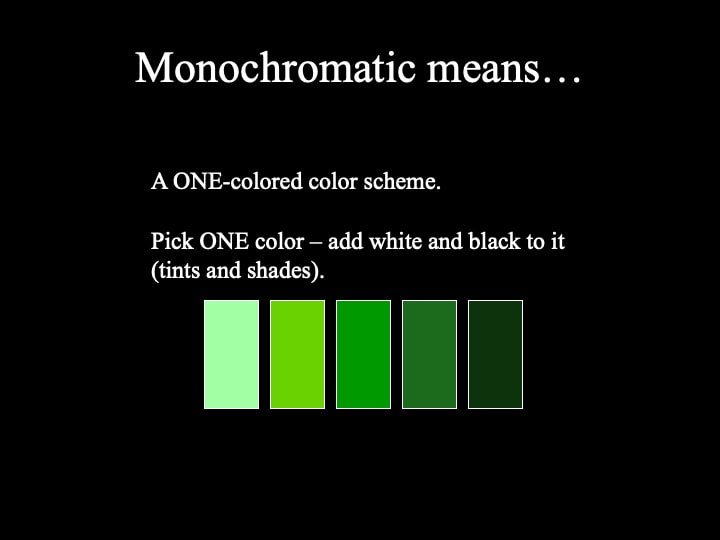
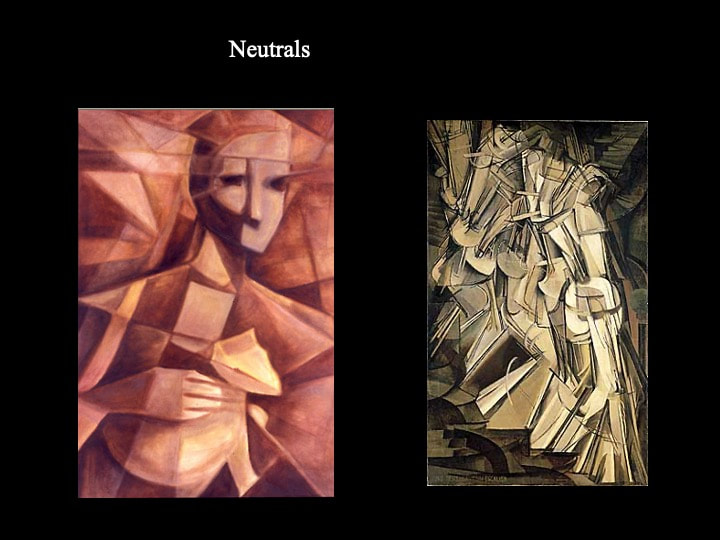
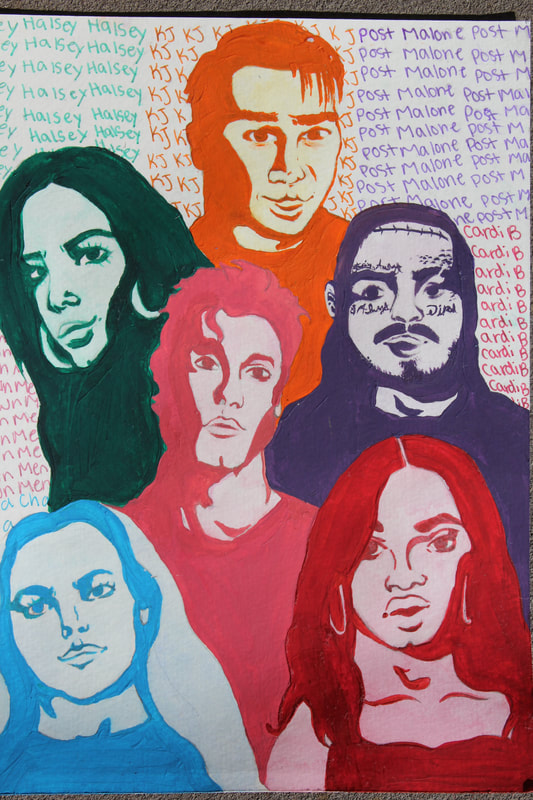
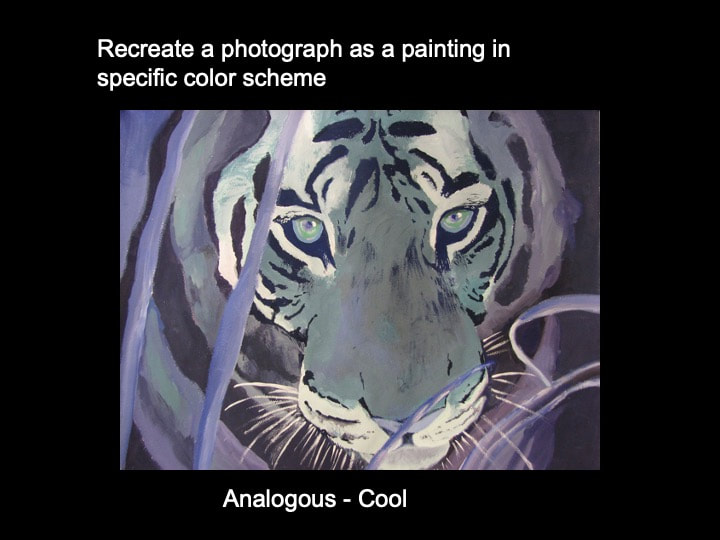
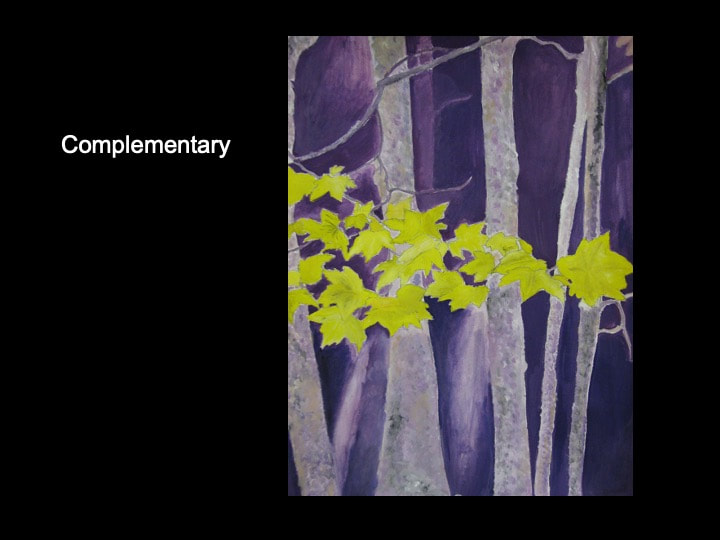
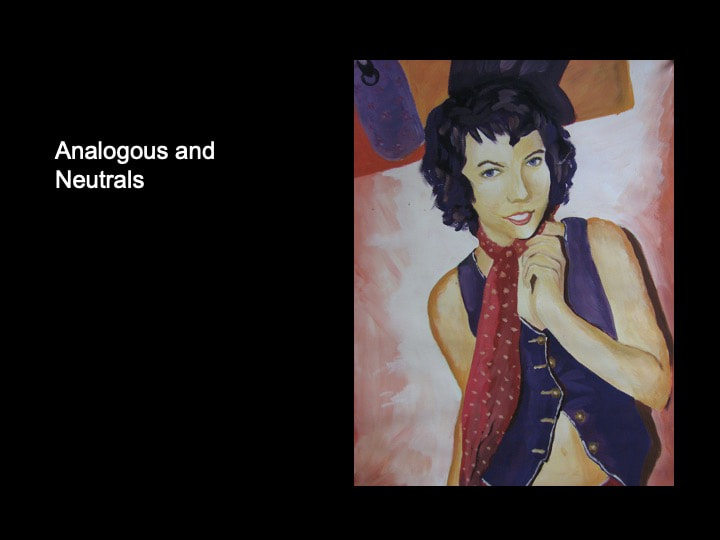
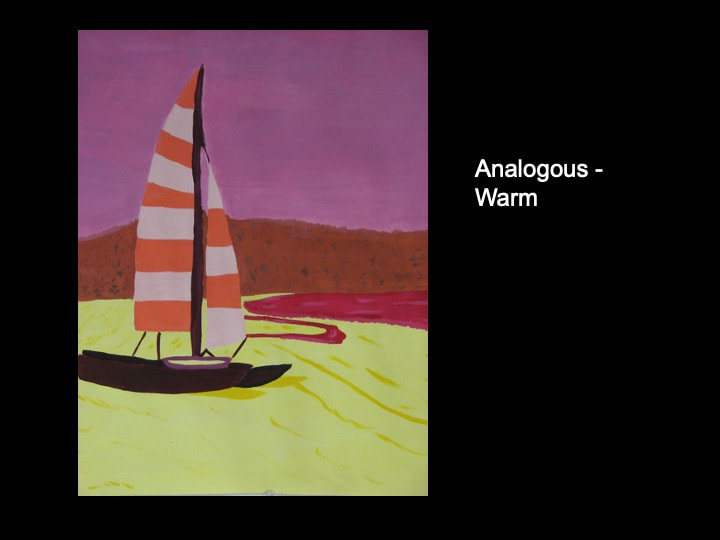
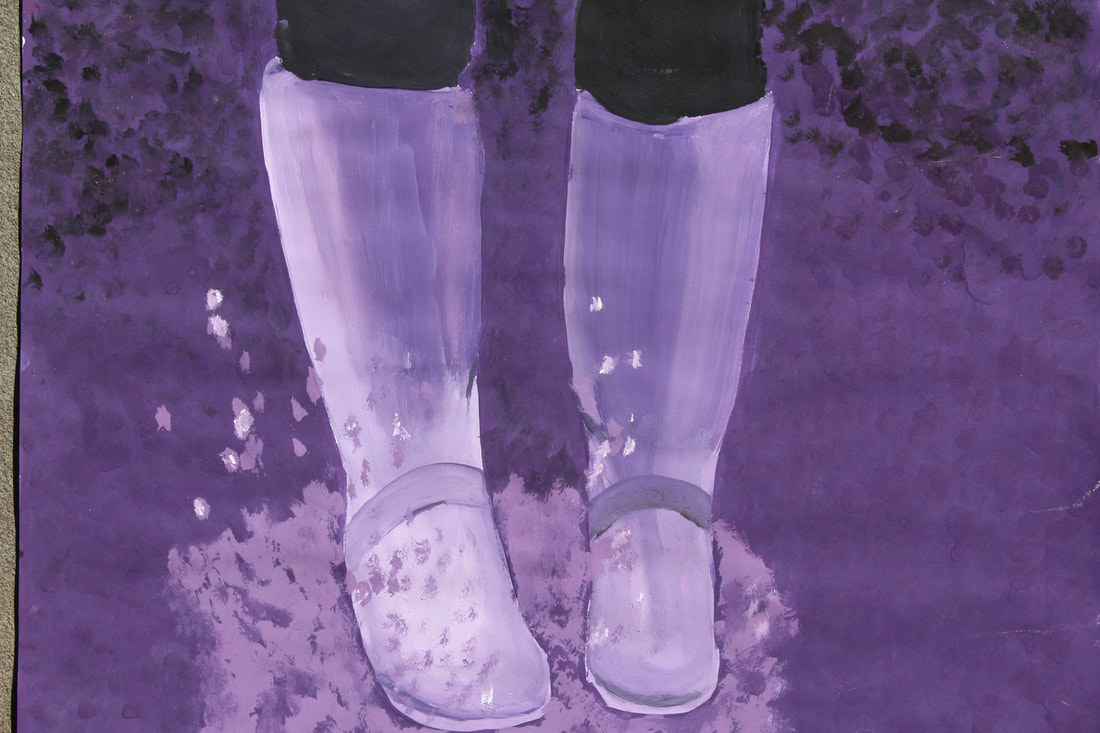
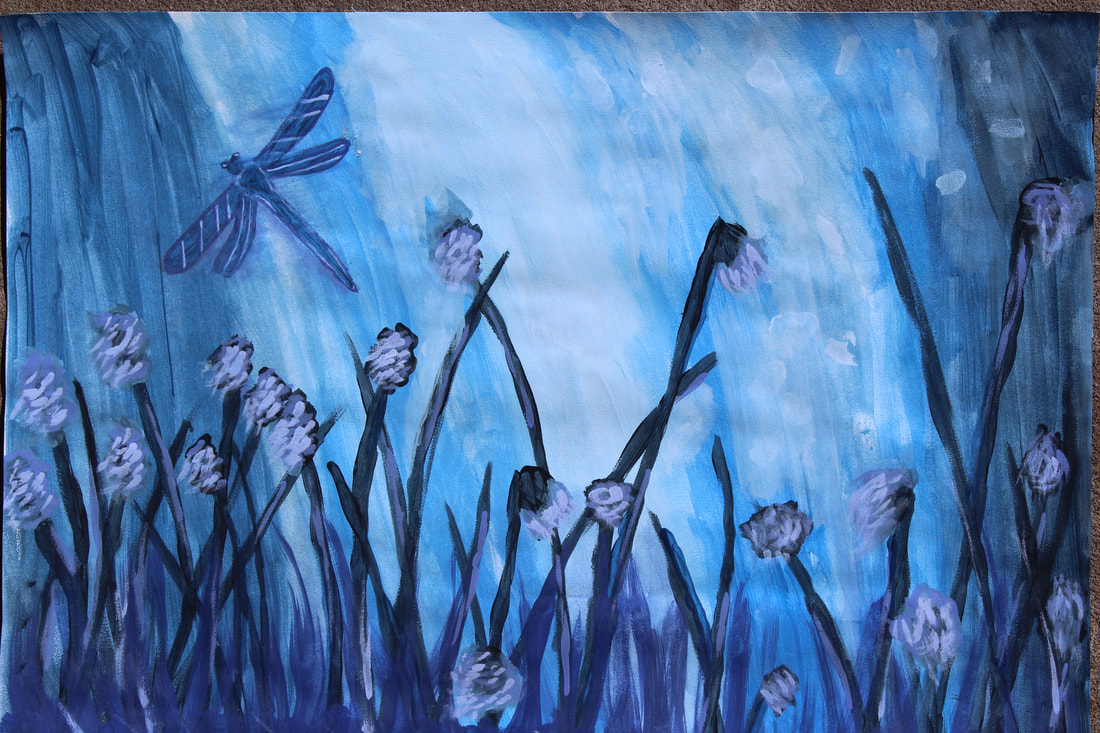
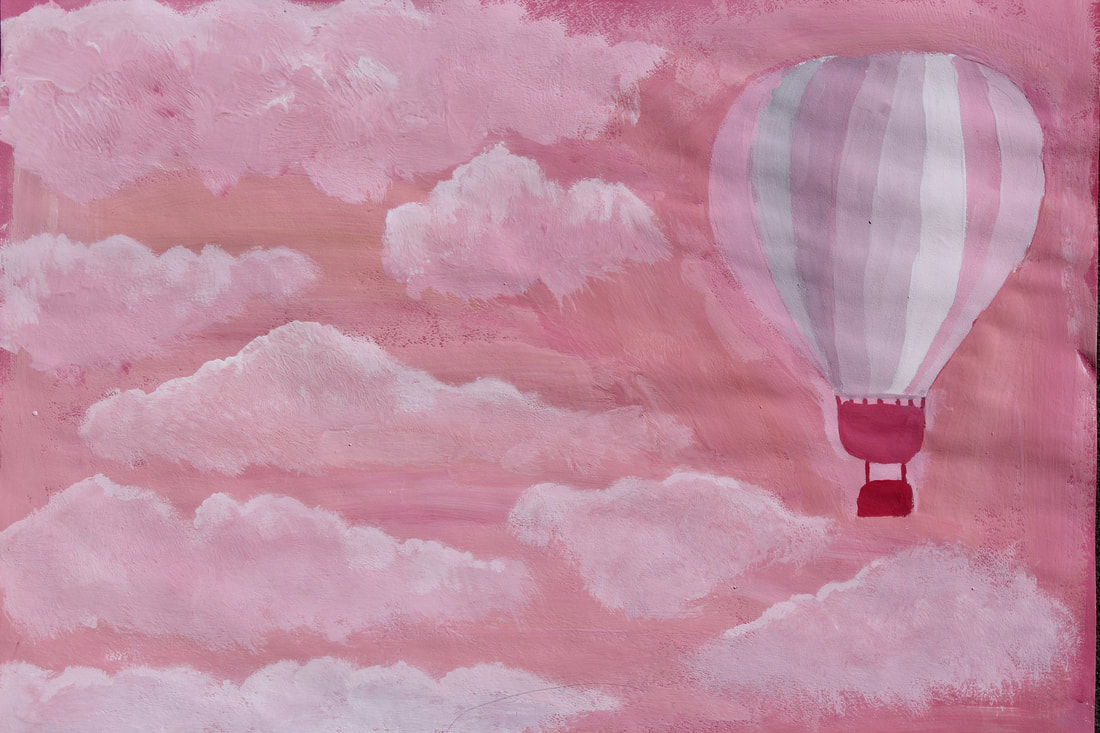
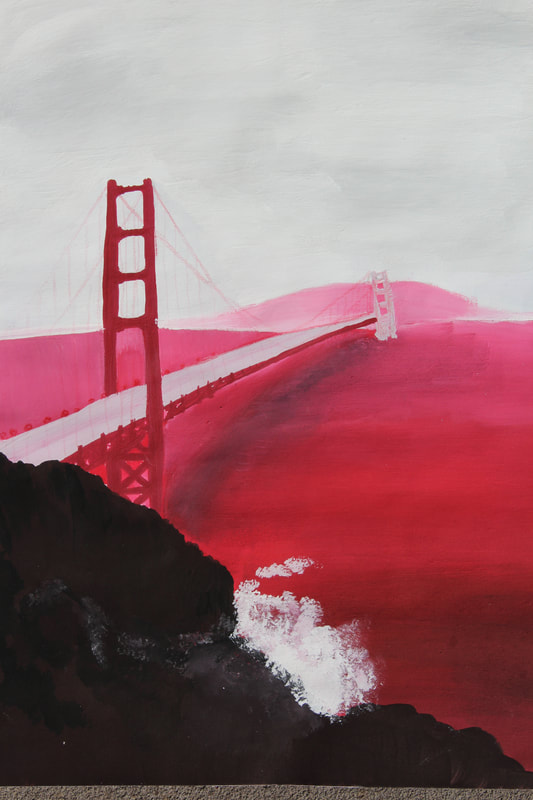
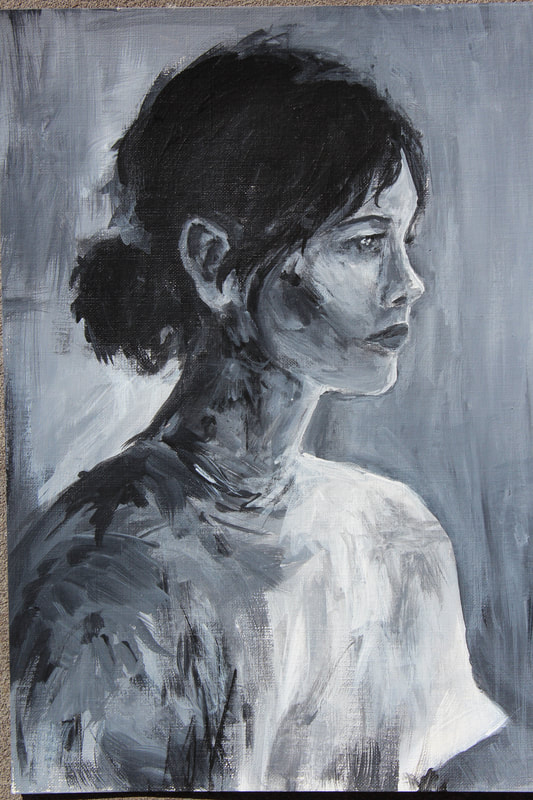
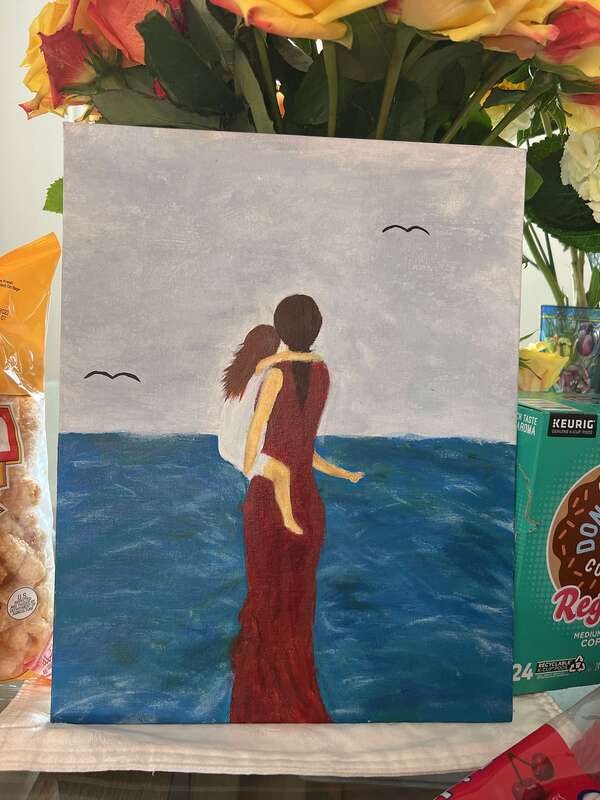
You will be creating a Color Scheme painting emphasizing color and value. Find 1 photograph of a subject you like and recreate the photograph as a painting using a color scheme: Monochromatic, complementary, triad, split complement, or neutral.
You must use your colors form your color scheme and Black & White paint to create a range of values, tints and shades.
Objectives:
• Understanding value: lightness to darkness of a color
• Continue practice in the elements of art and principles of design with
emphasis on value, form, and unity.
Requirements:
• 9 X 12” or larger
• Tempera or acrylic Paint
• Create a value scale with 5 tints, pure hue, and 5 shades • Exhibit a minimum of 11 values in your painting.
DIRECTIONS
- Choose any photograph that interests you and will keep your attention for several class periods. It must be a photograph, for example a landscape, beach scene, city scene, portrait, animal, etc. You may not paint celebrities or an artwork created by someone else including illustrations, cartoons, paintings, or logos.
- Choose your color scheme
- Paint a value scale
- Paint your replica using a range of values created by mixing black and
white paint


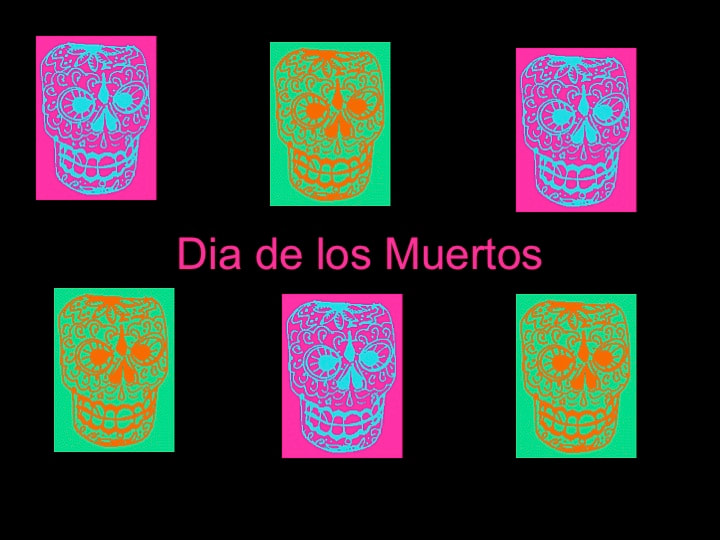
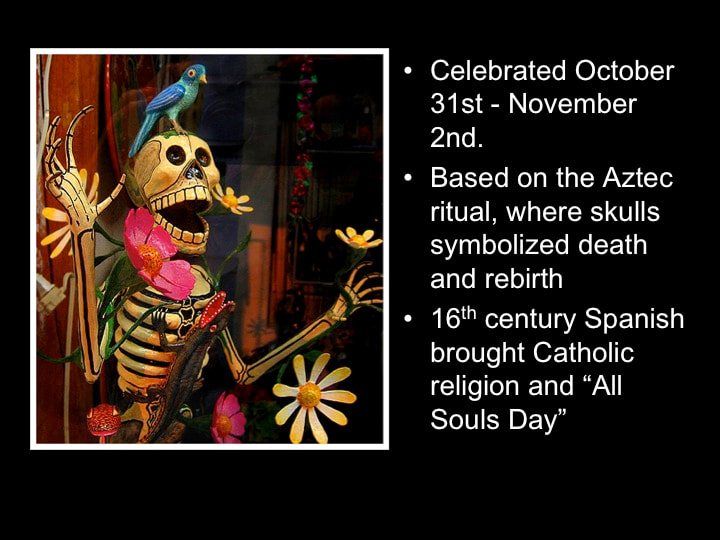
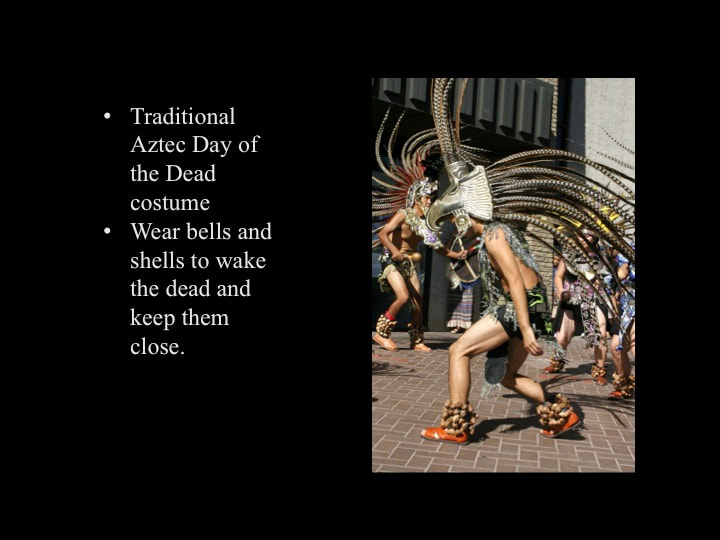
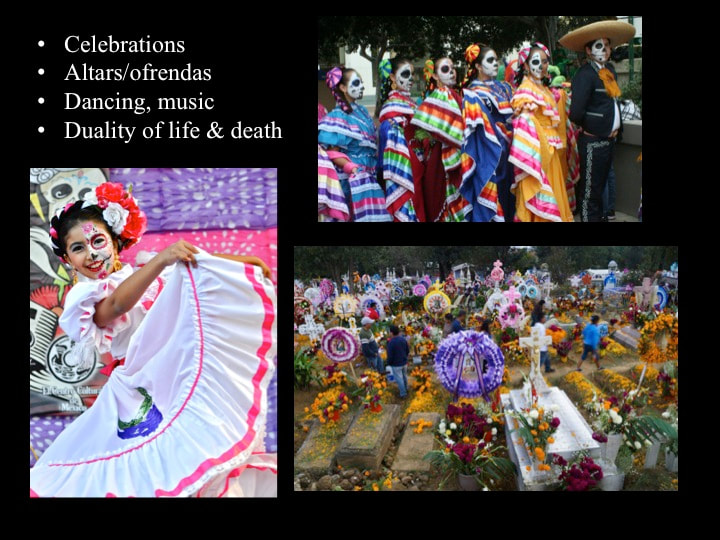
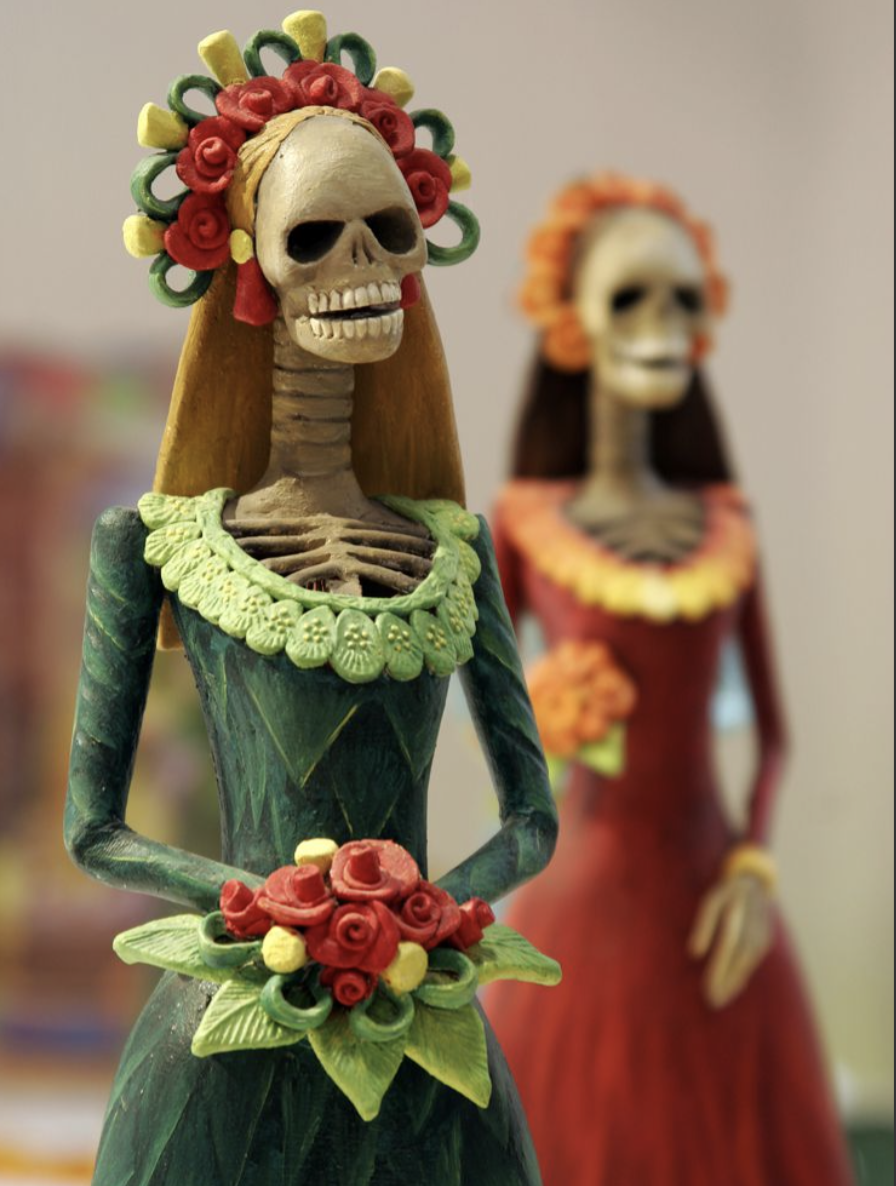
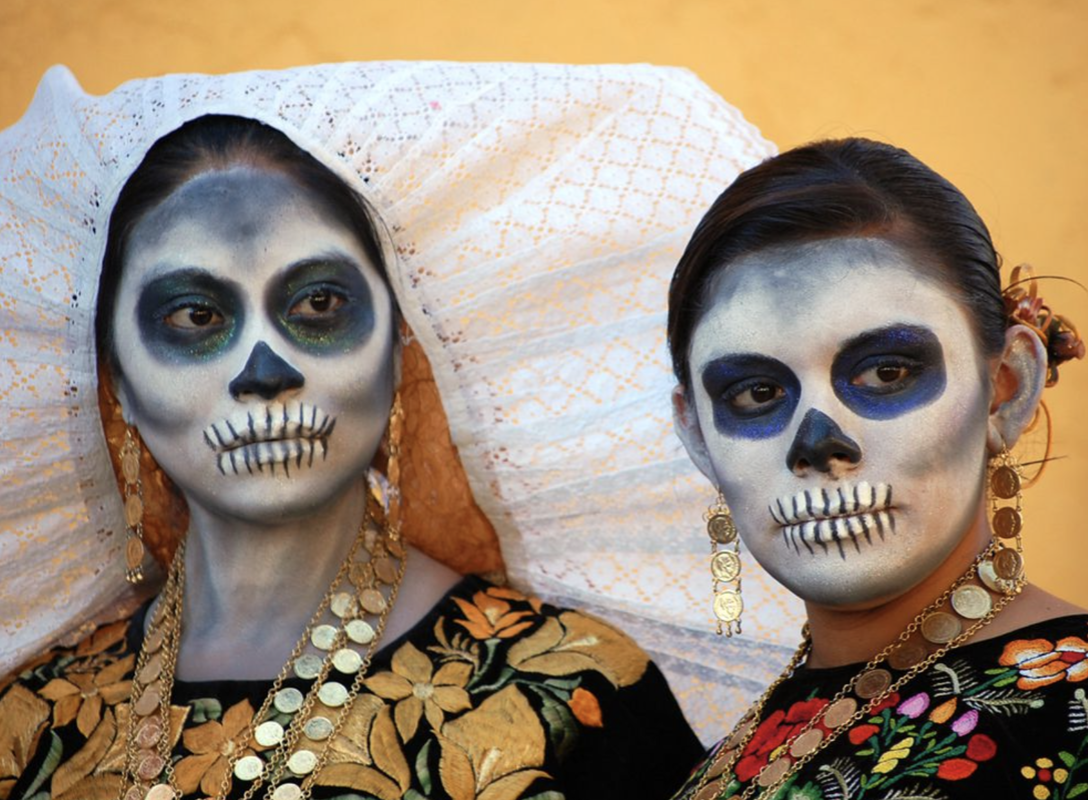
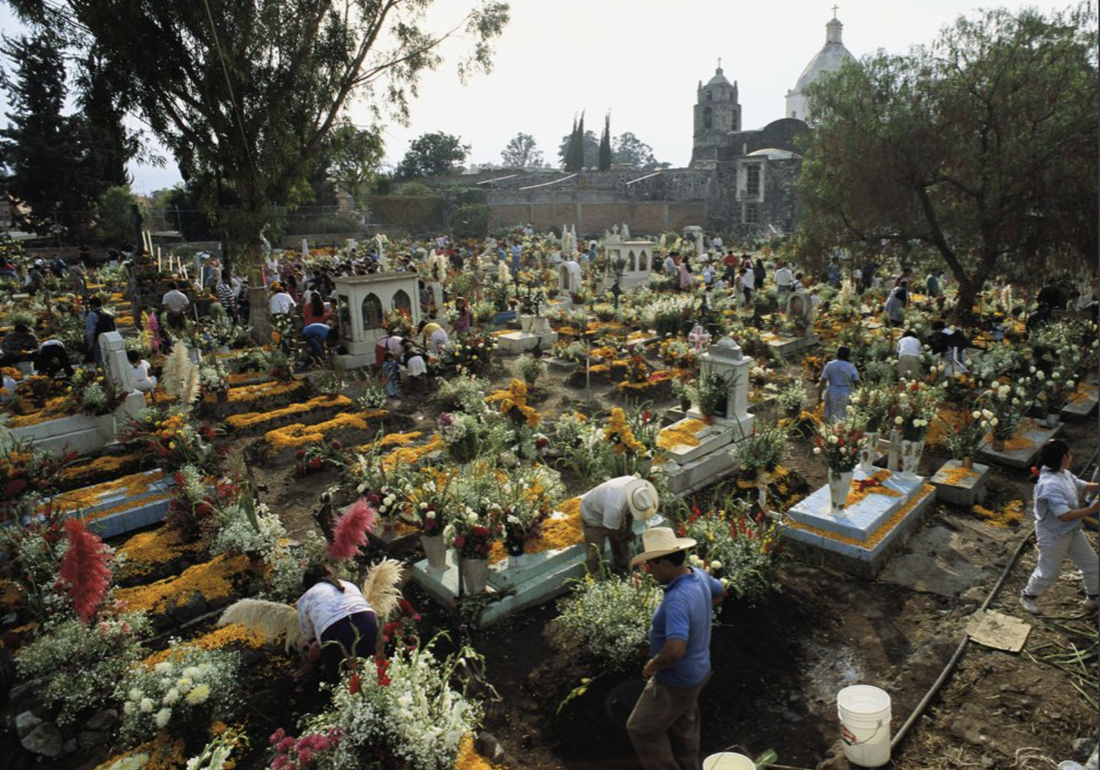
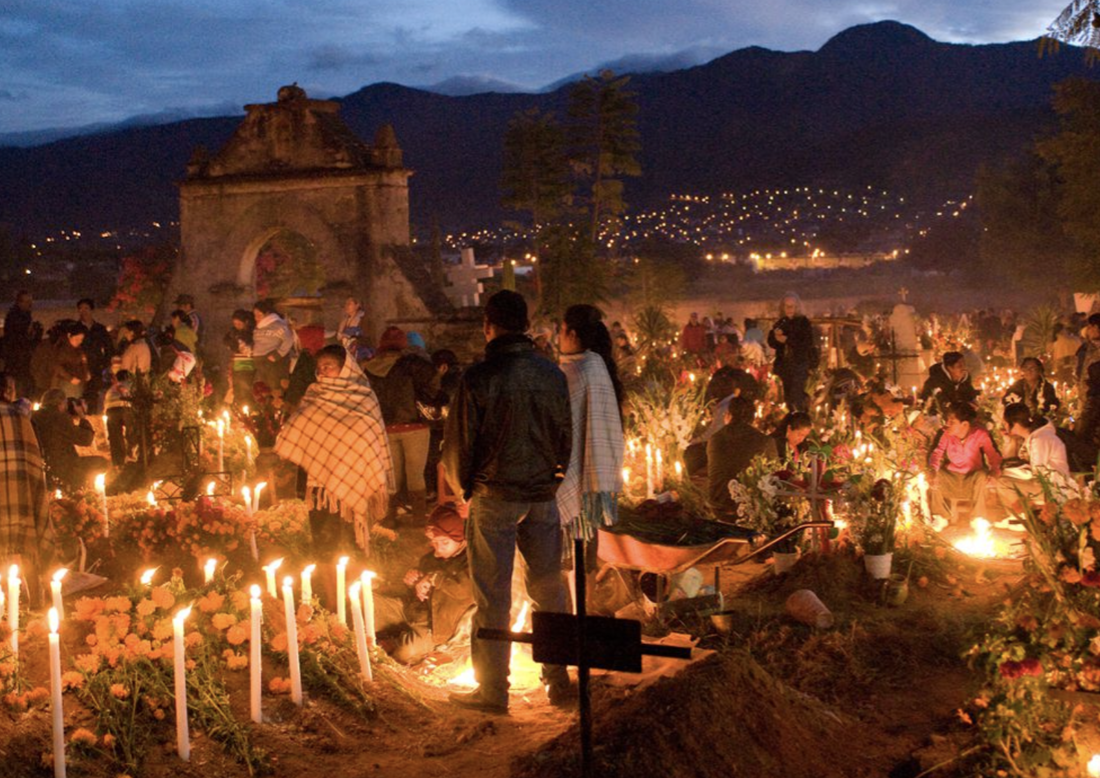
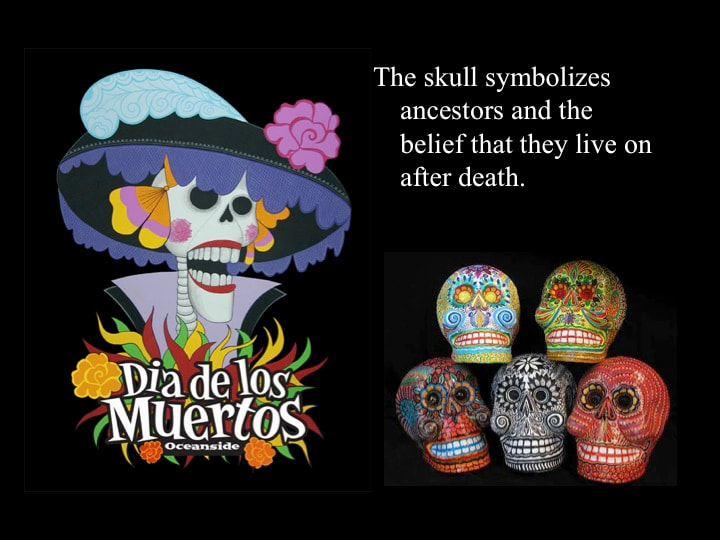
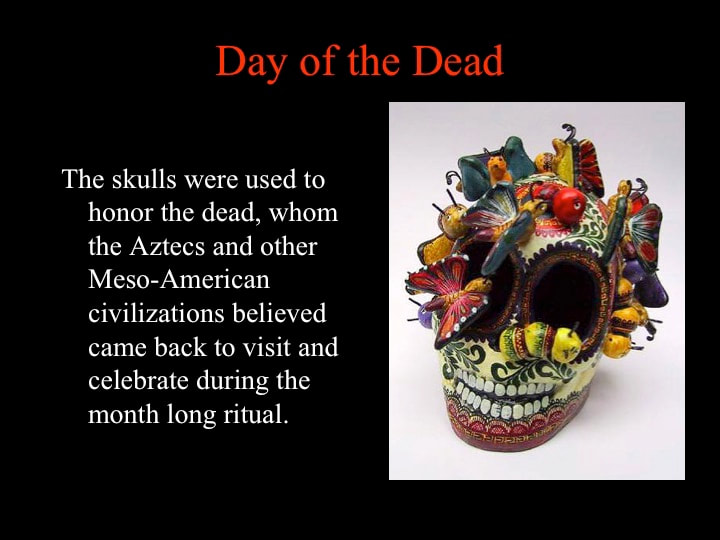
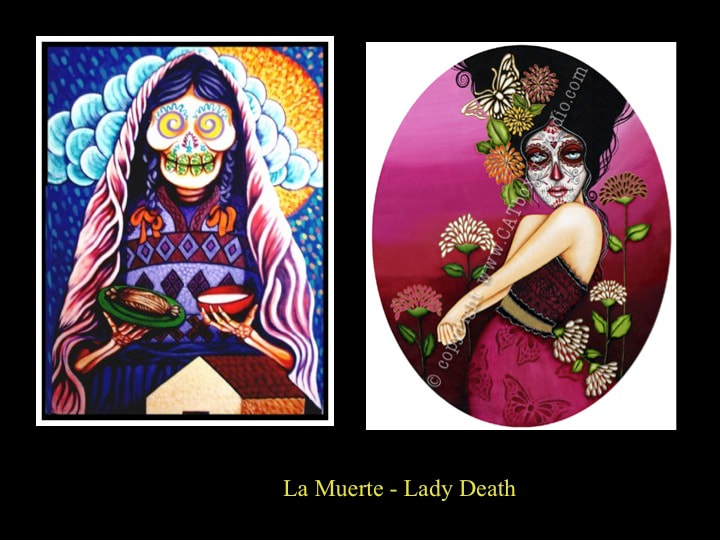
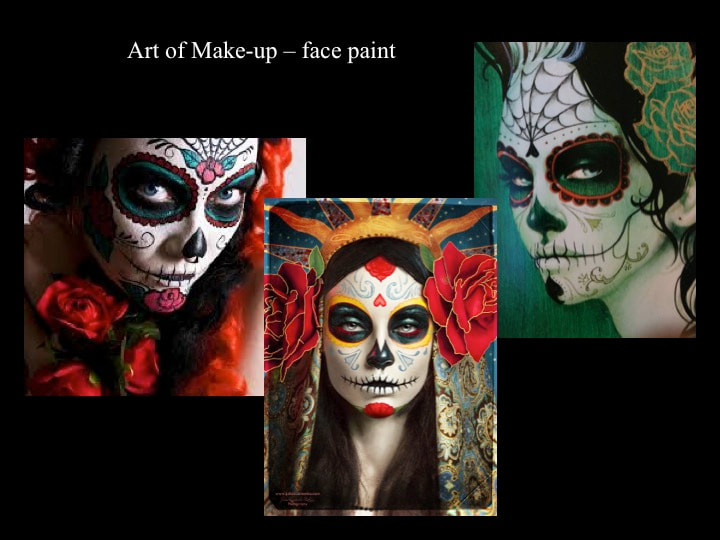
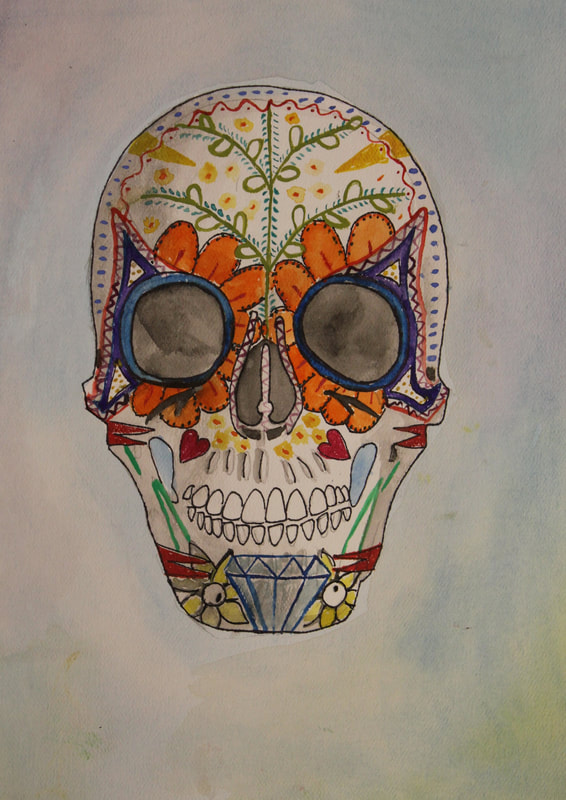
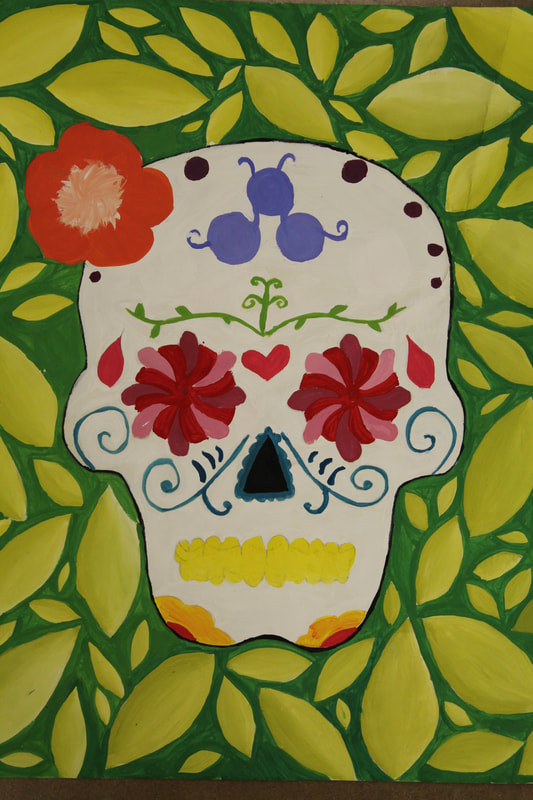
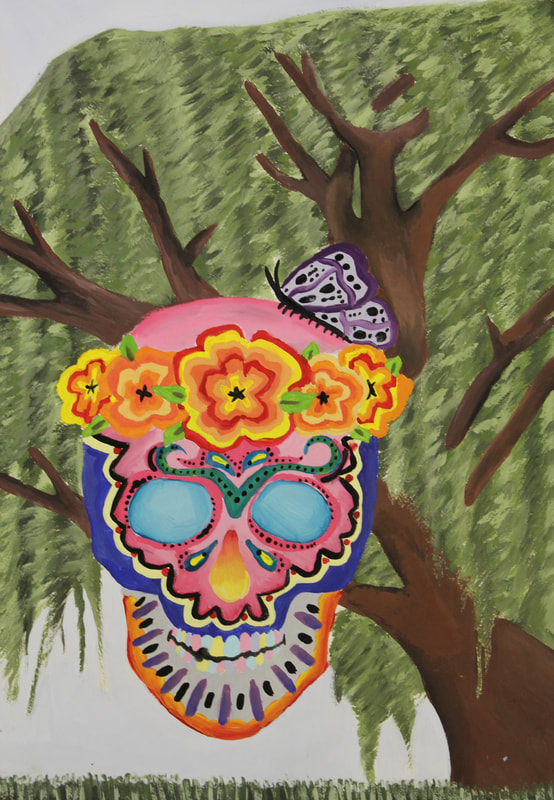
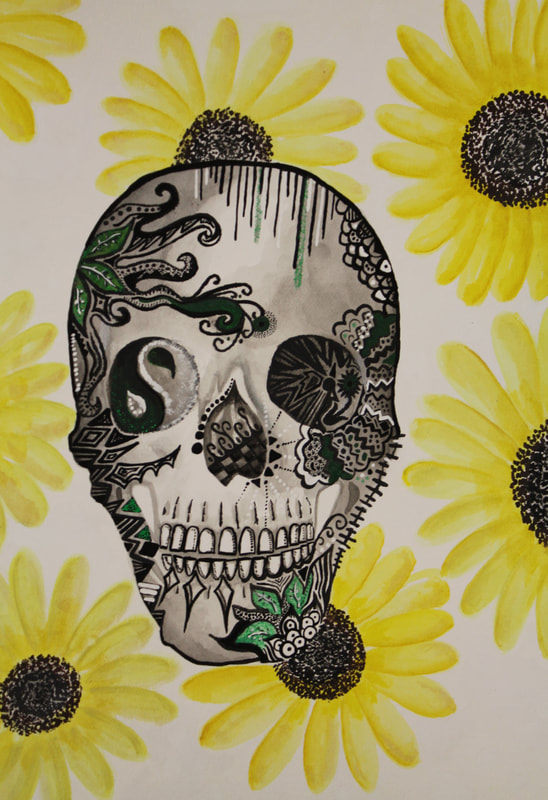
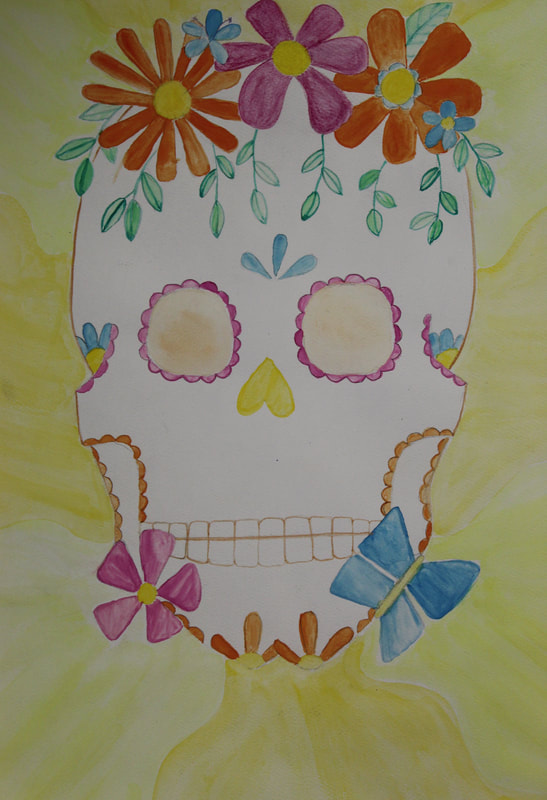
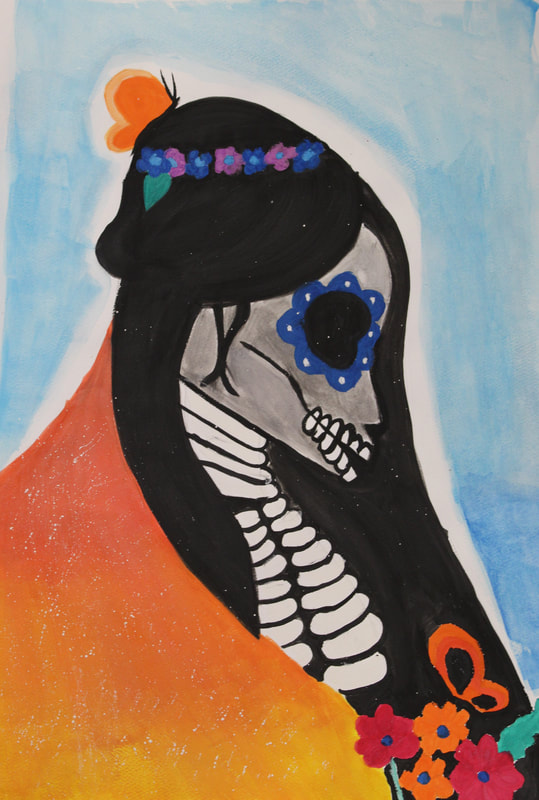
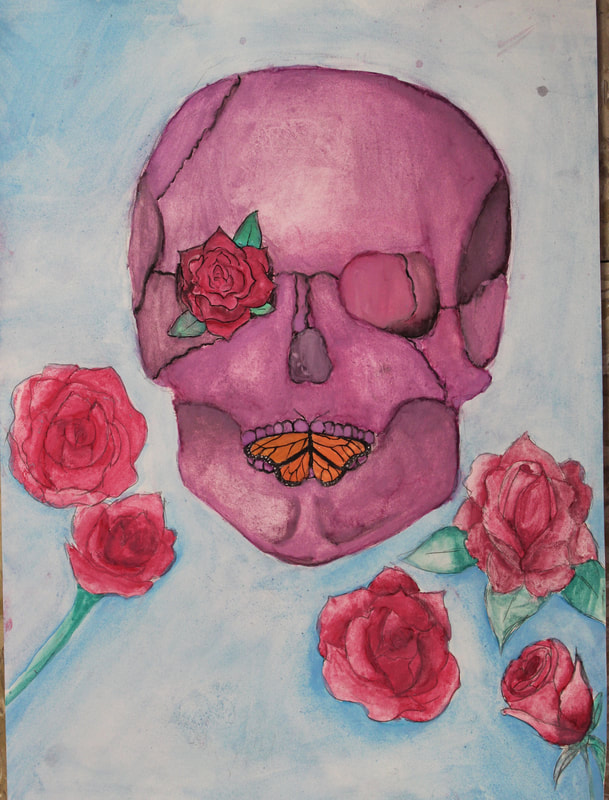
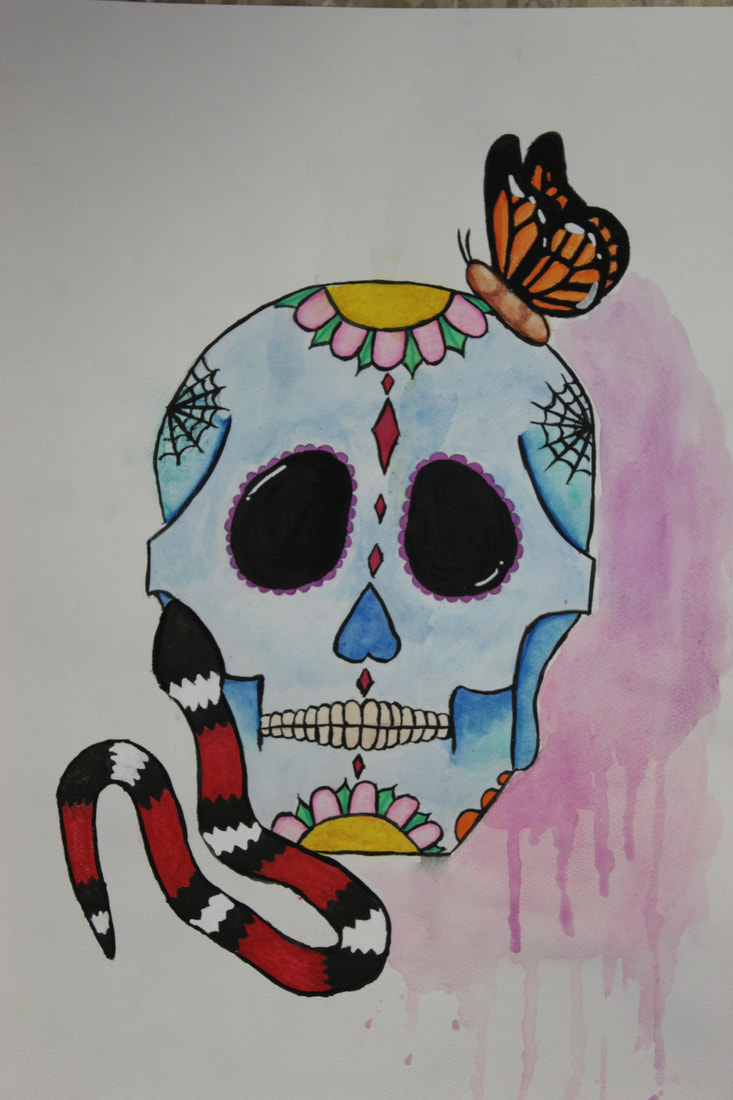
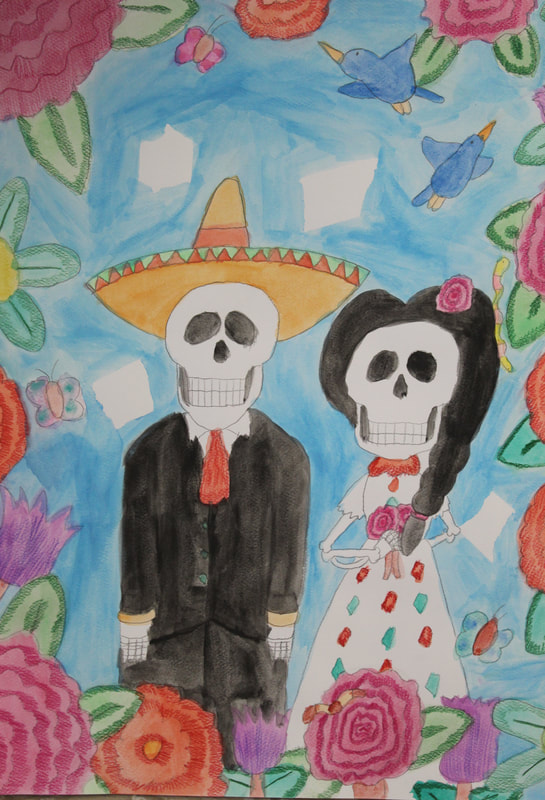
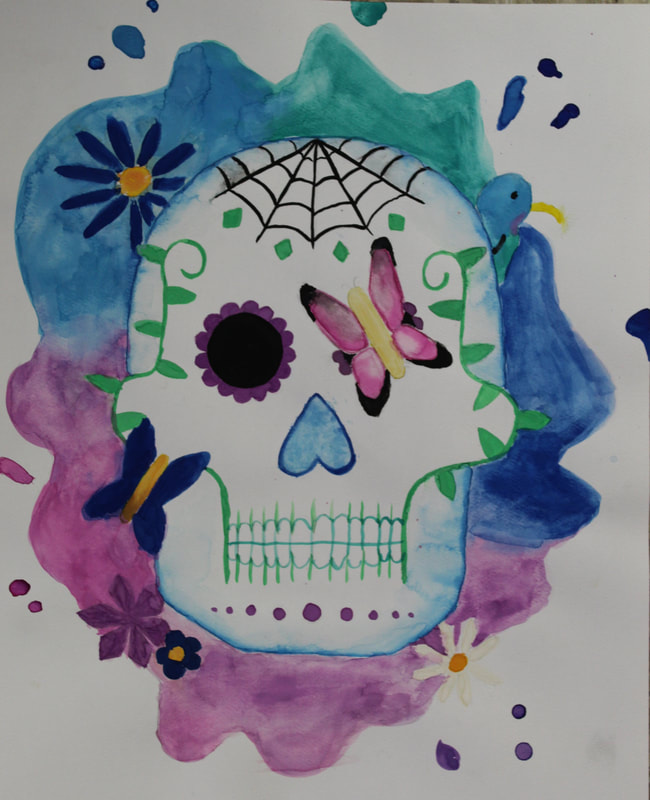
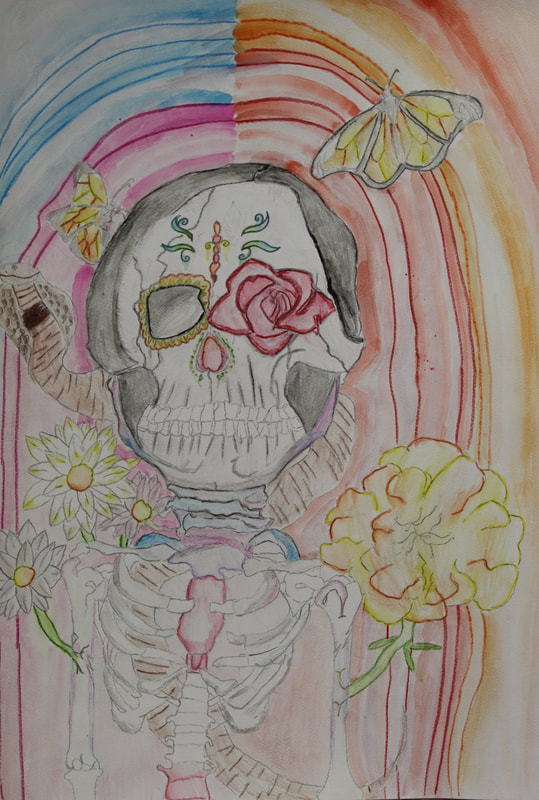
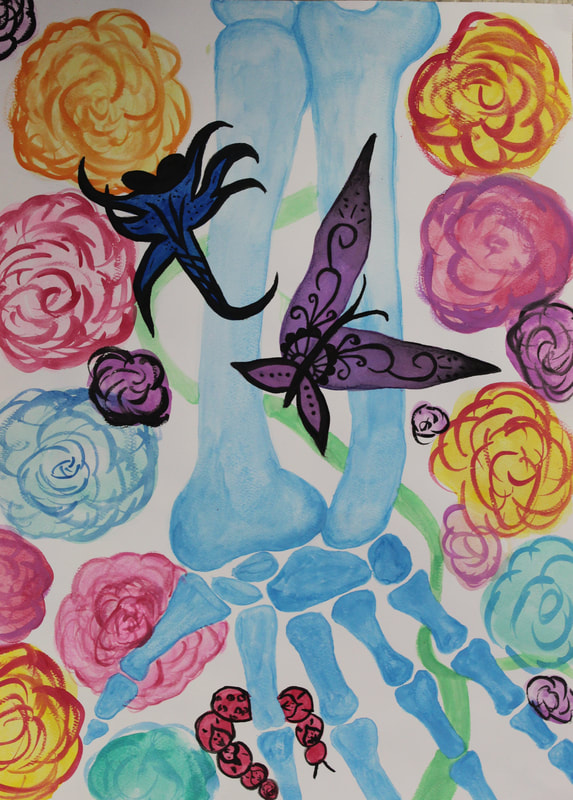
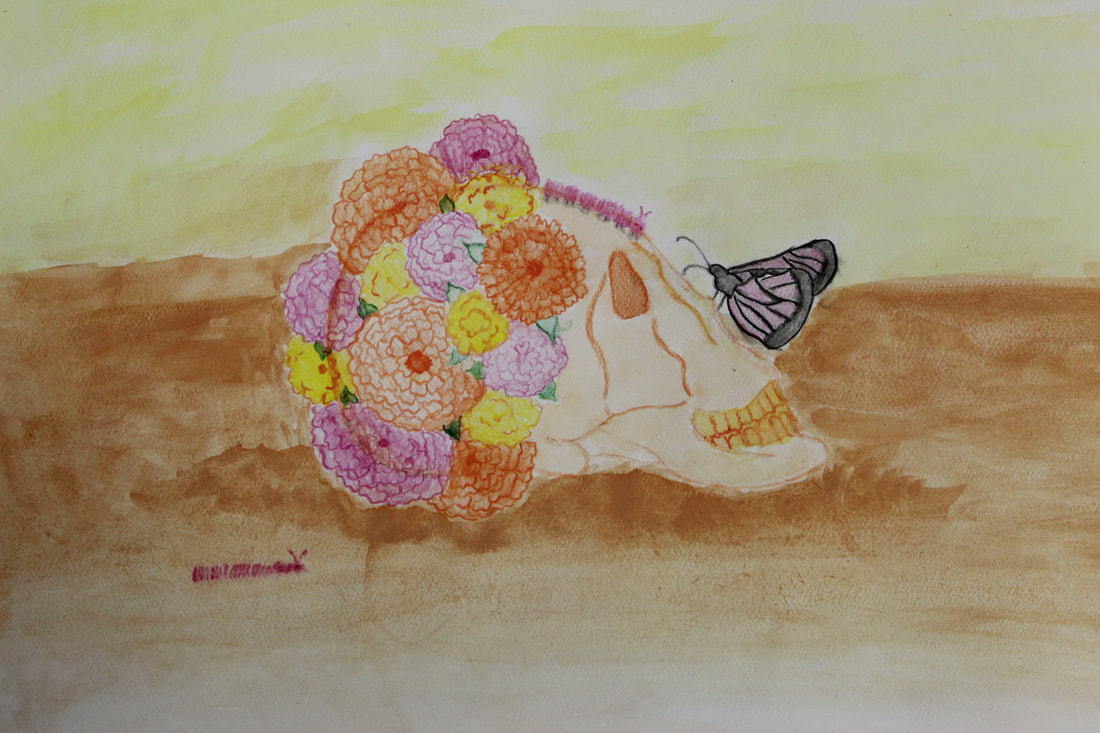
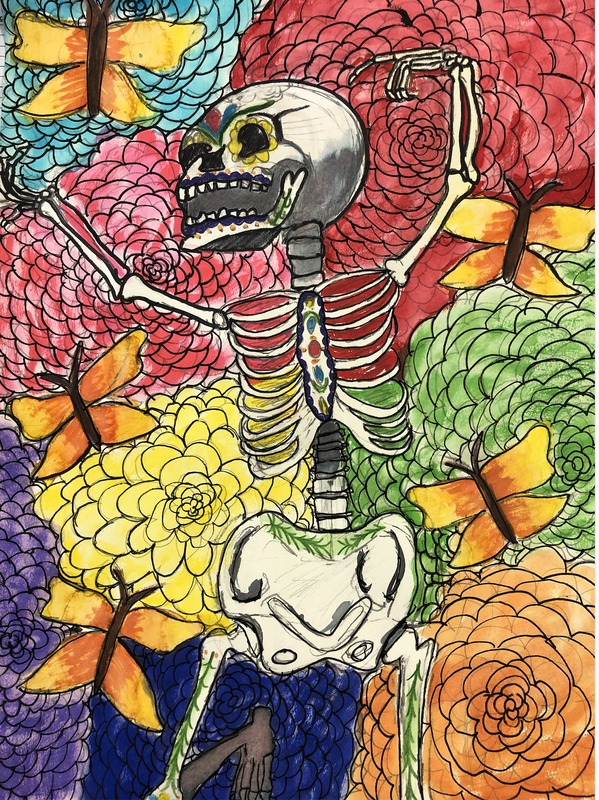
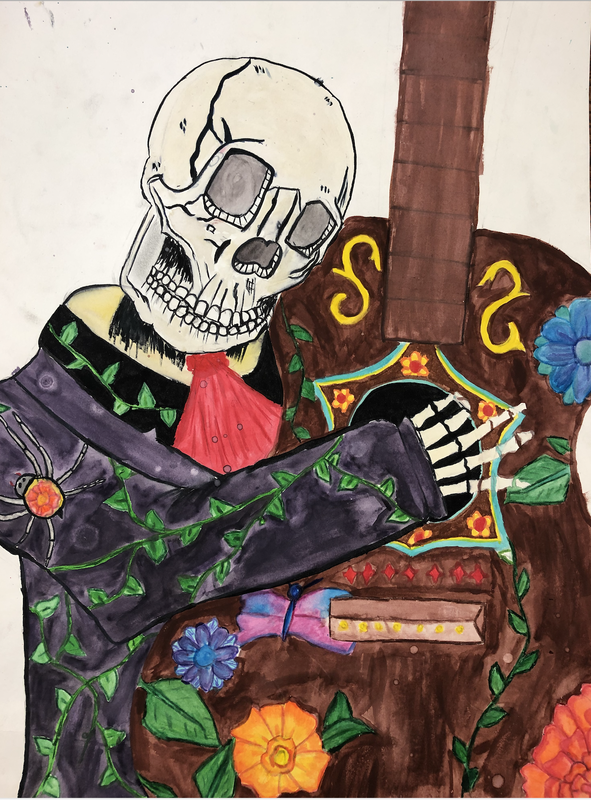
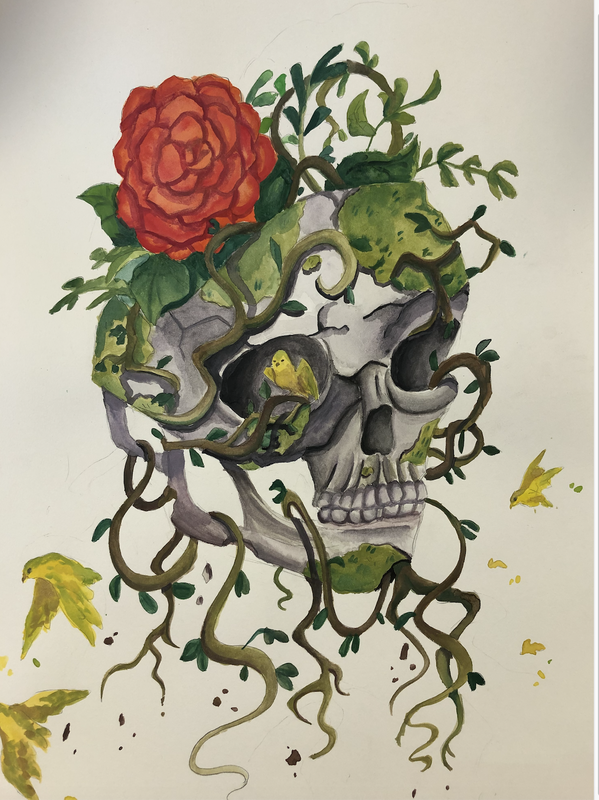
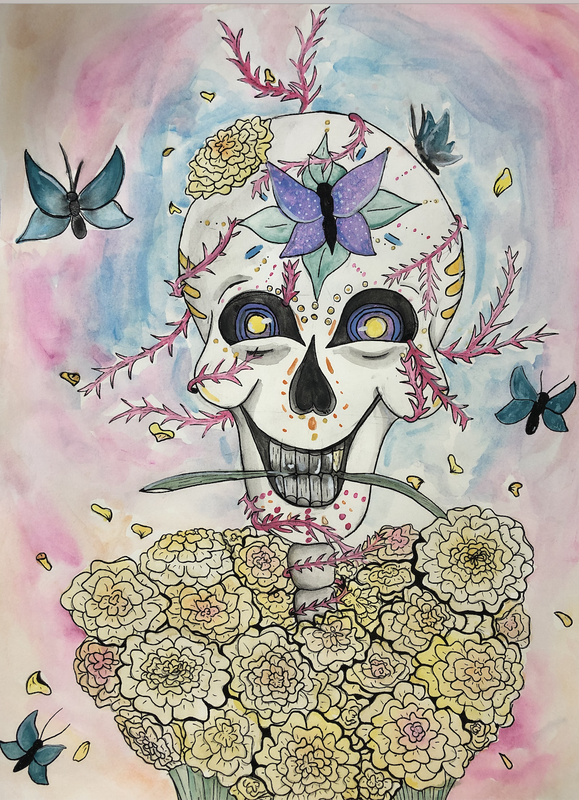
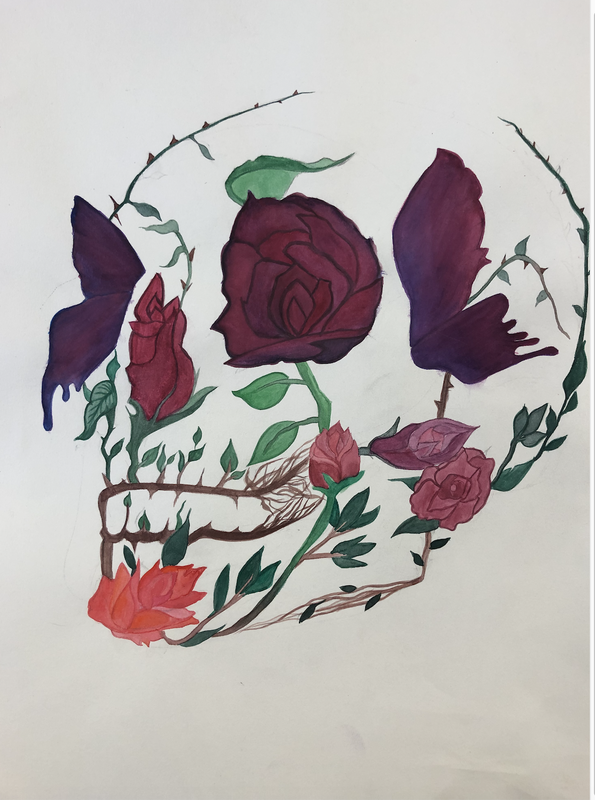
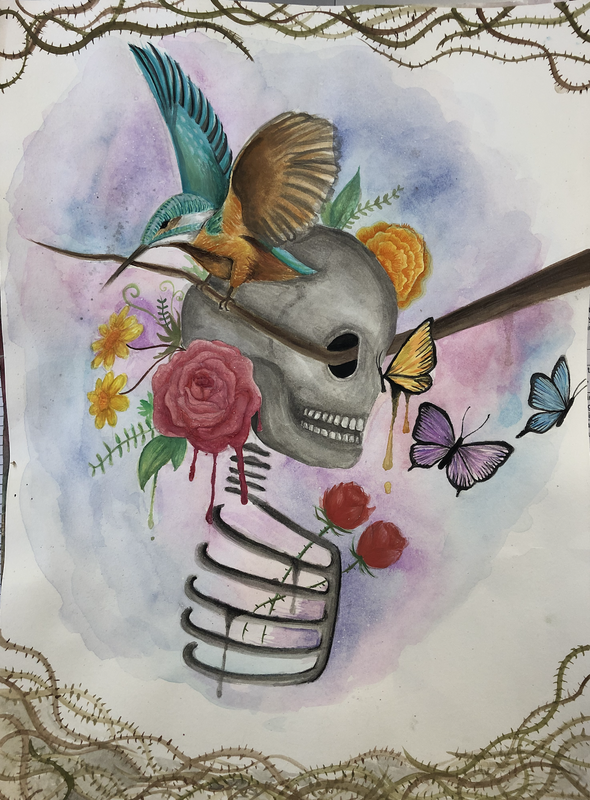
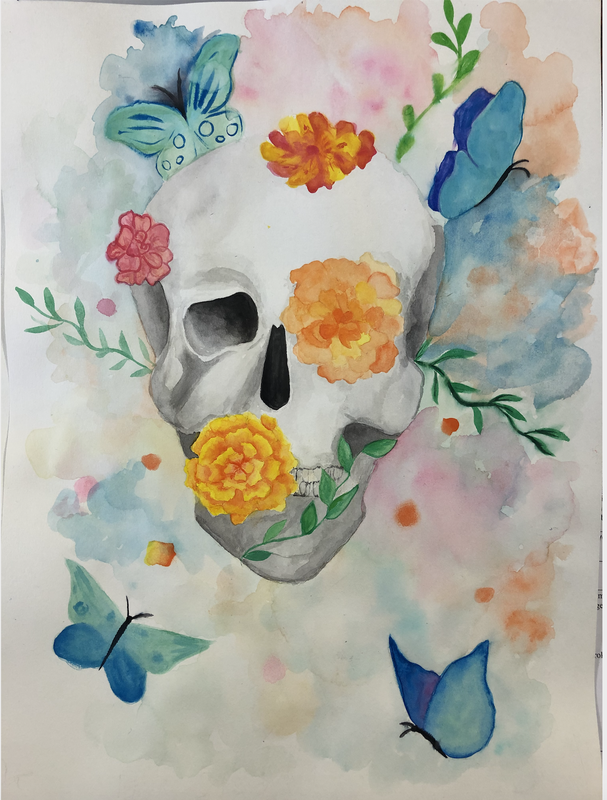
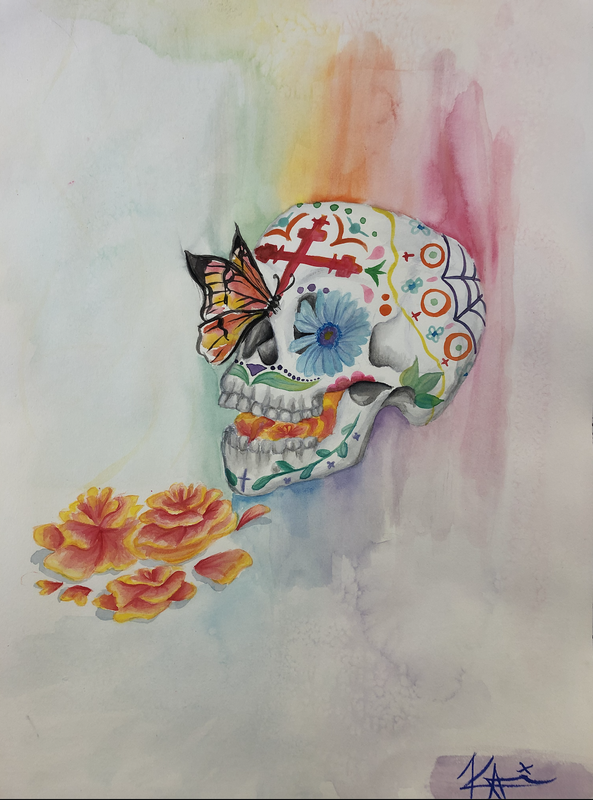
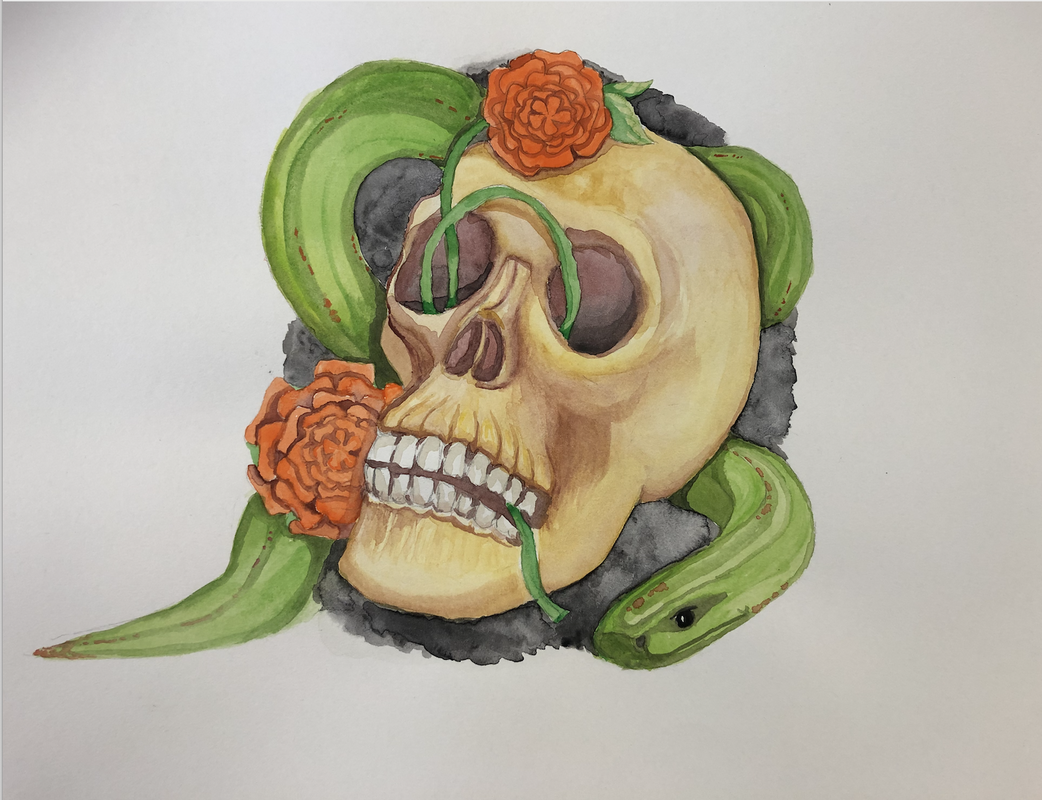
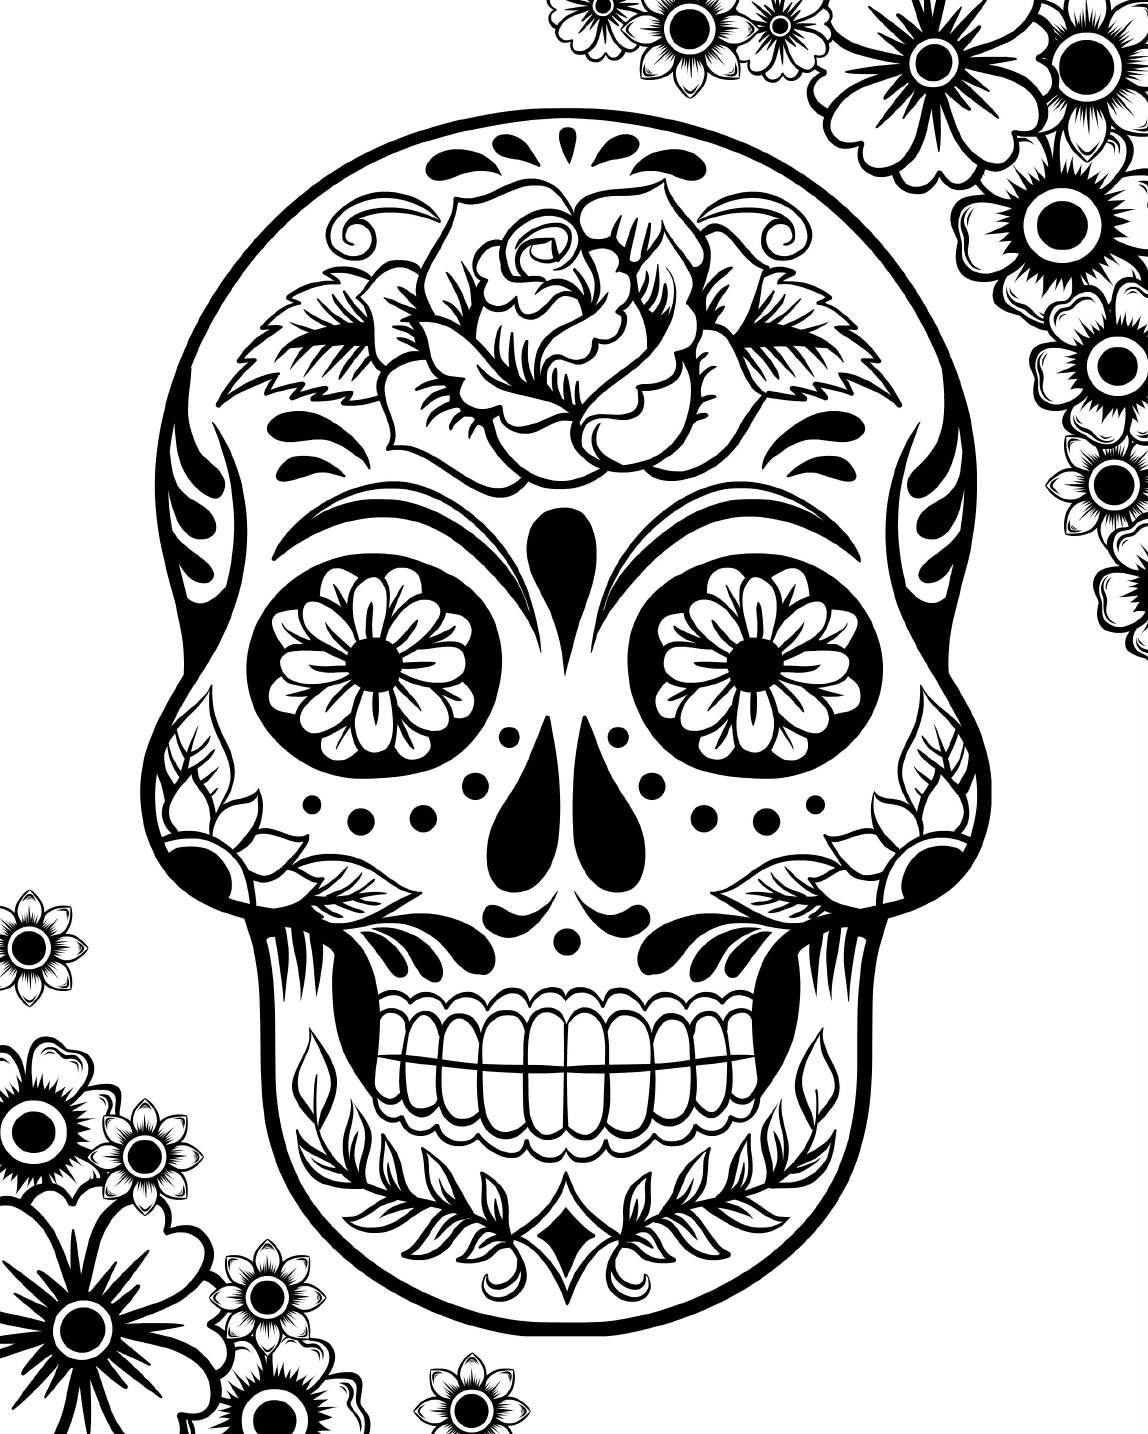
Dia de Los Muertos - Day of the Dead Painting
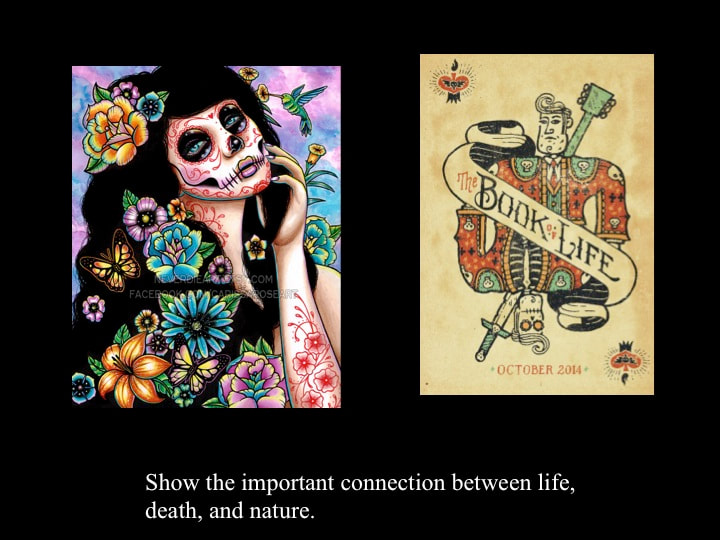
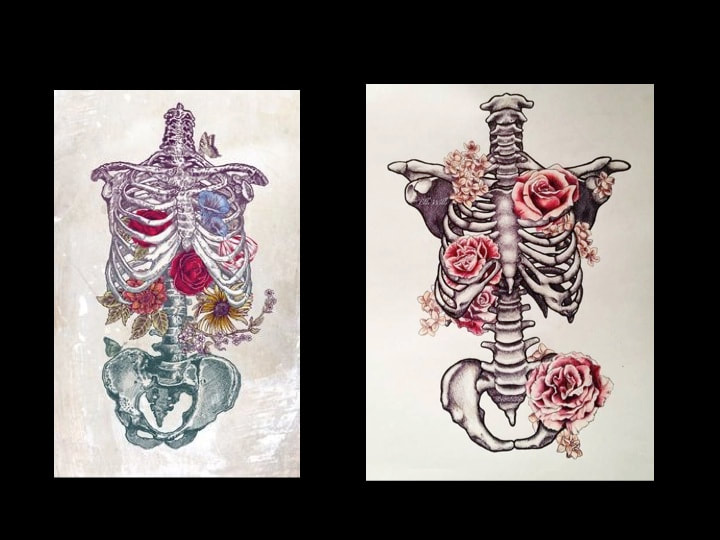
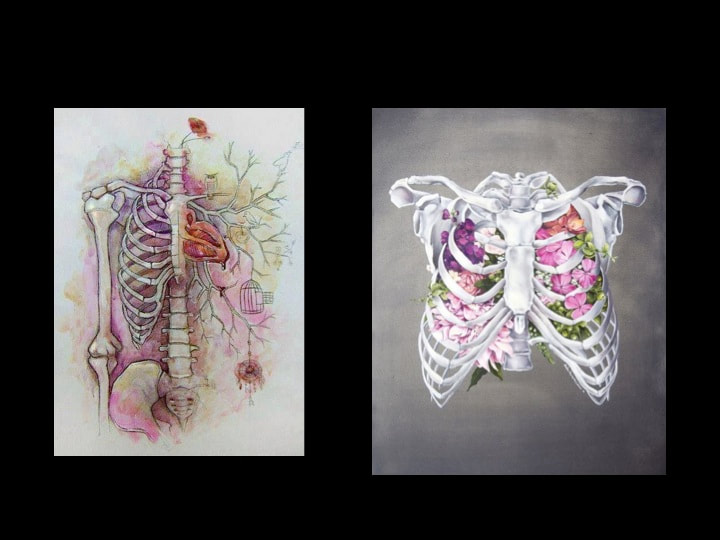
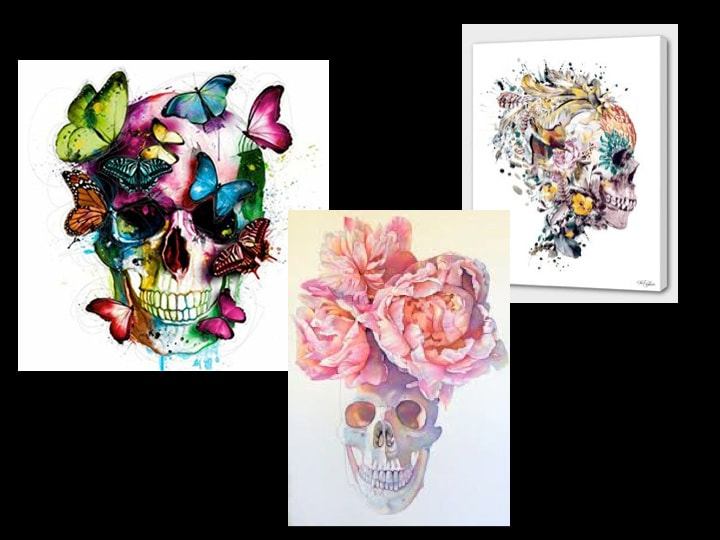
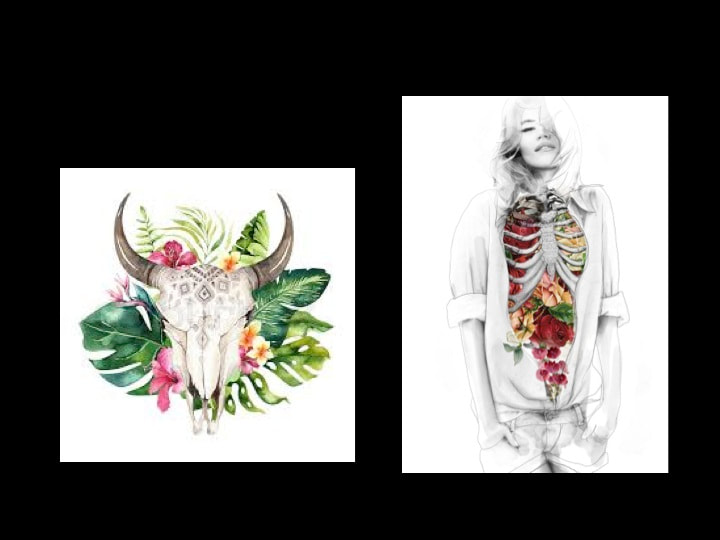
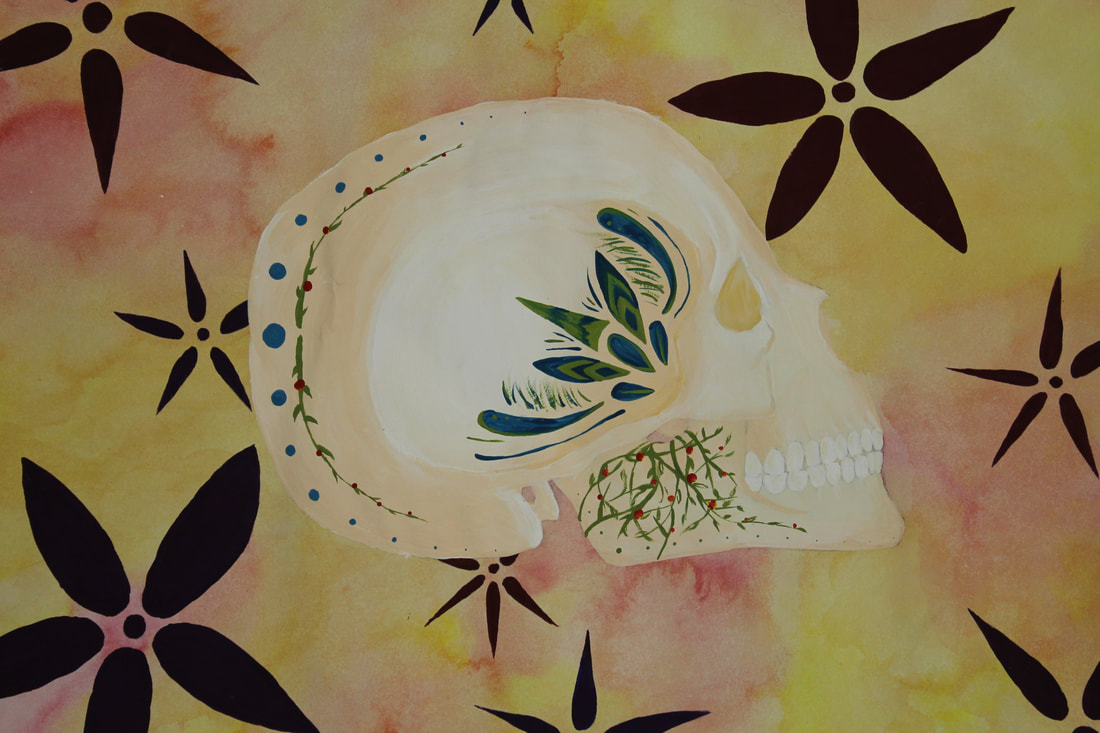
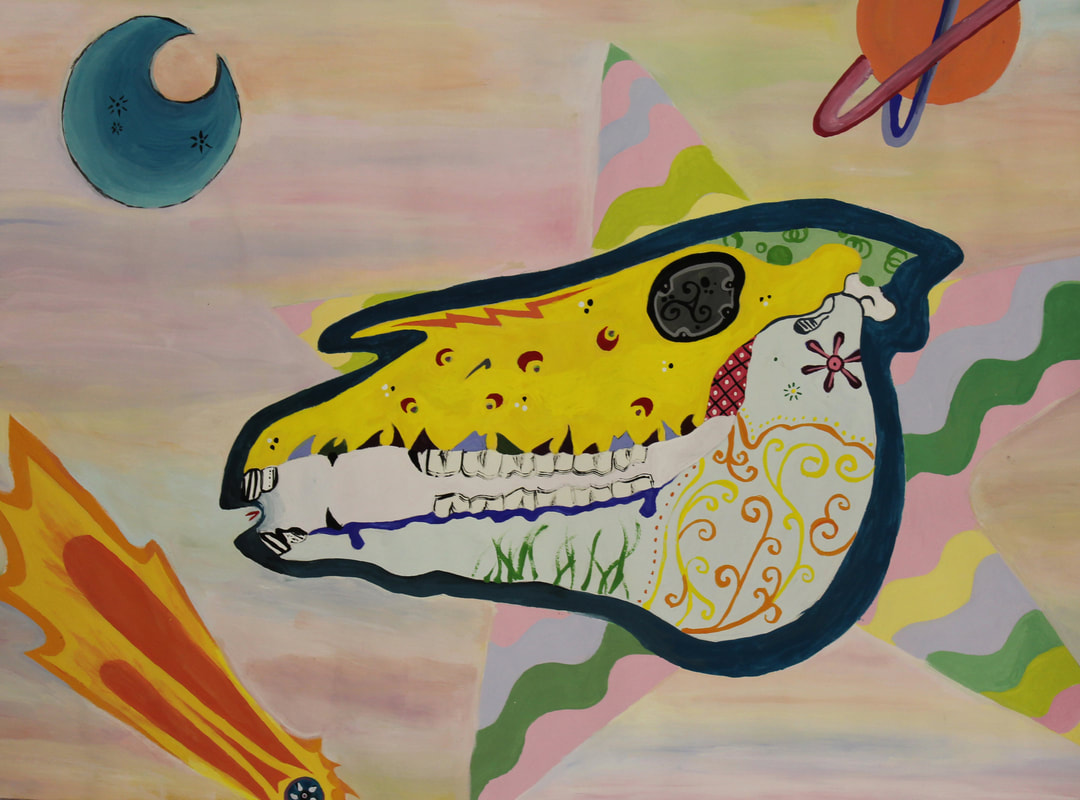
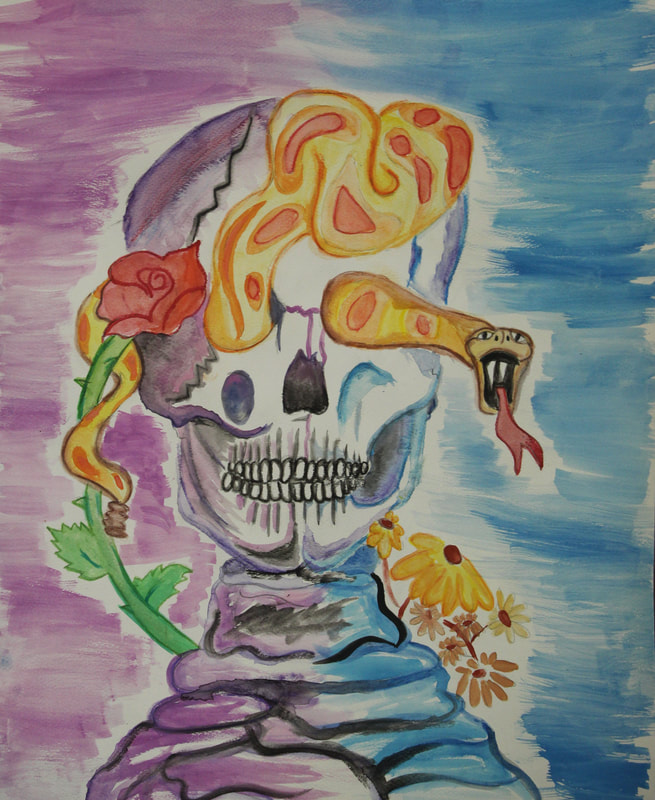
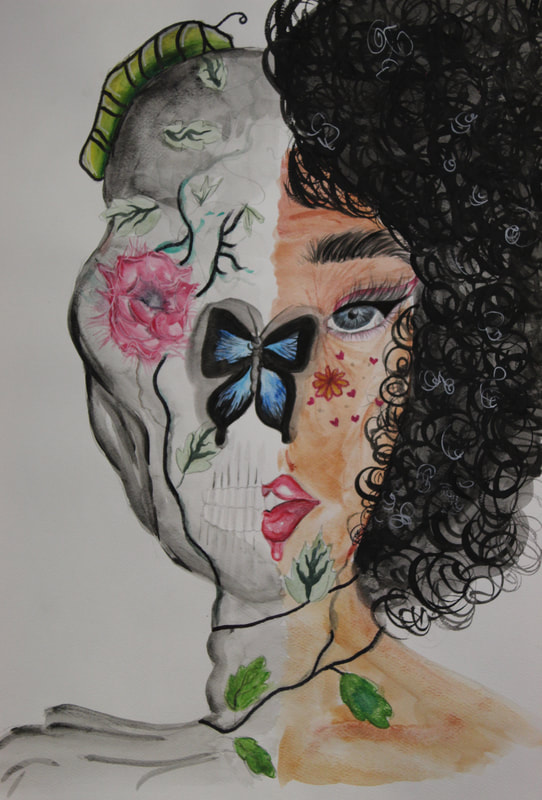
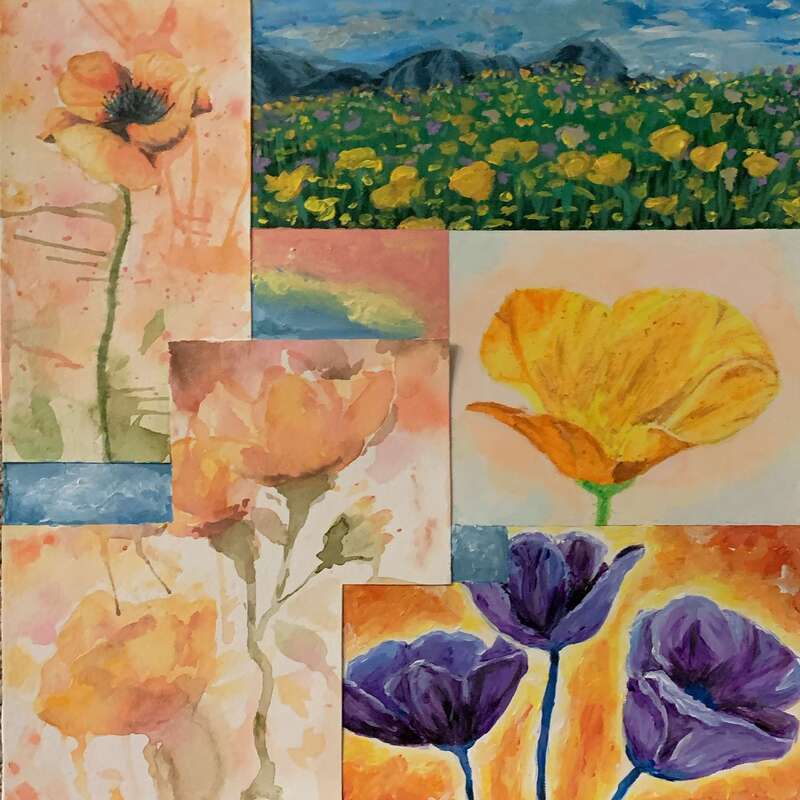
Create 1 original painting inspired by the Day of the Dead celebration. Make sure to show understanding of the symbolism and cultural practices.
Requirements:
1) Imagery to include:
2) Imagery to include:
3) Imagery to include:
4) Balance: demonstrate symmetrical or asymmetrical balance.
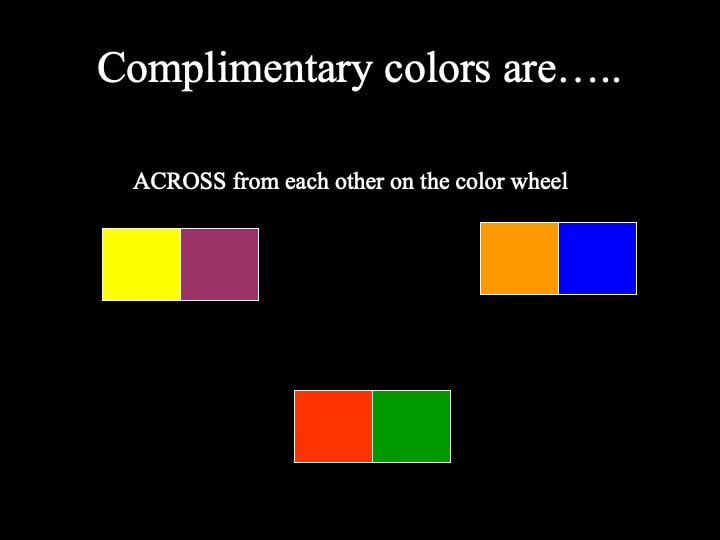
5) Color: Use a color scheme. Analagous, triad, complementary, double complement
Use 1/2 sheet if your Mixed Media paper from school
Size: 9 X 12” or larger
Choice of media:
Watercolor paint, watercolor pencil, paint pens, colored pencil, marker
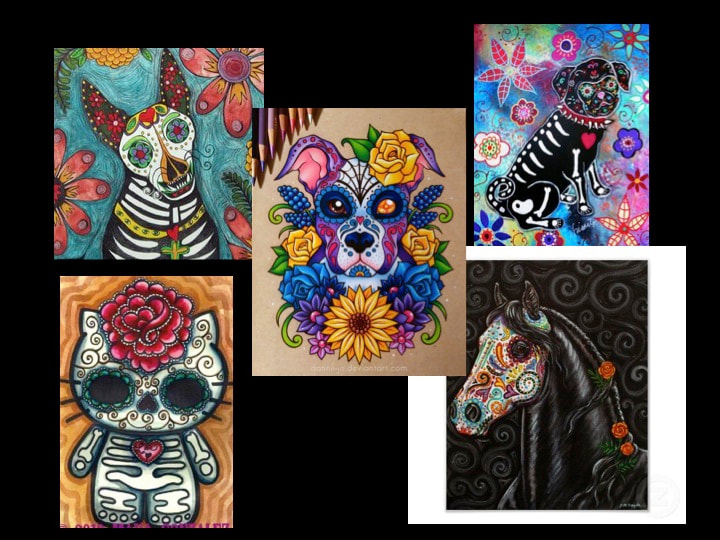
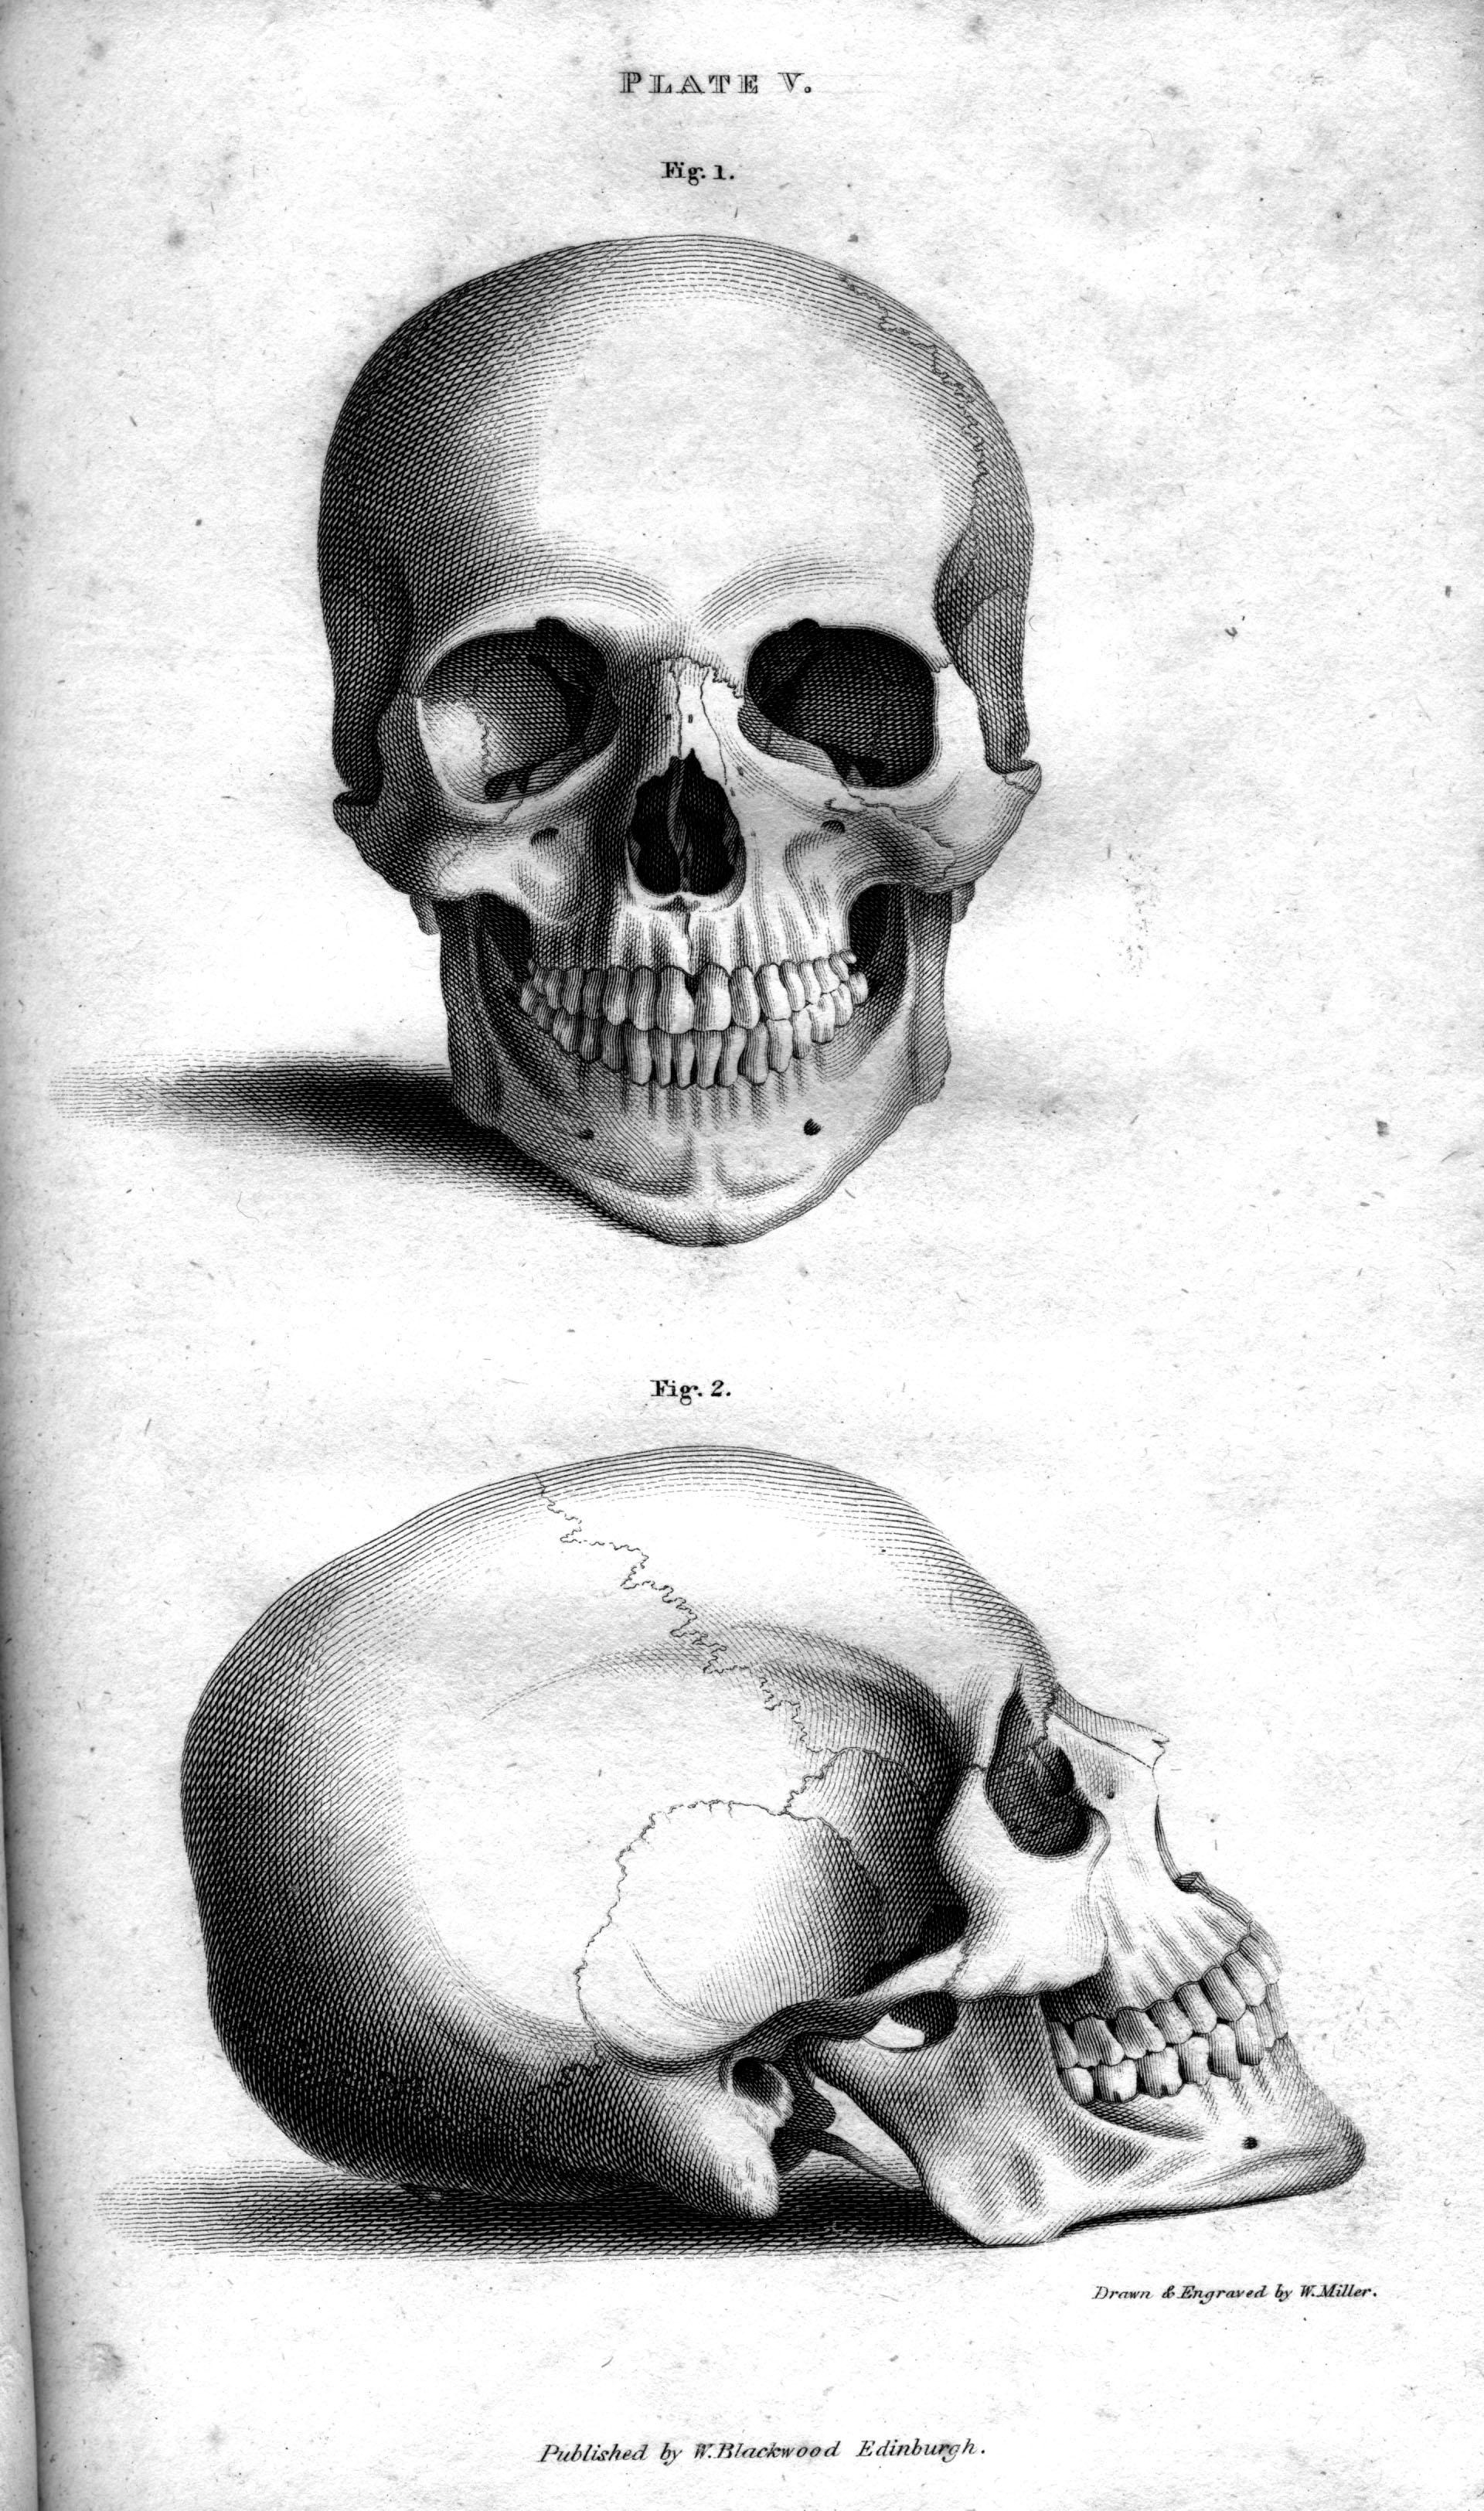
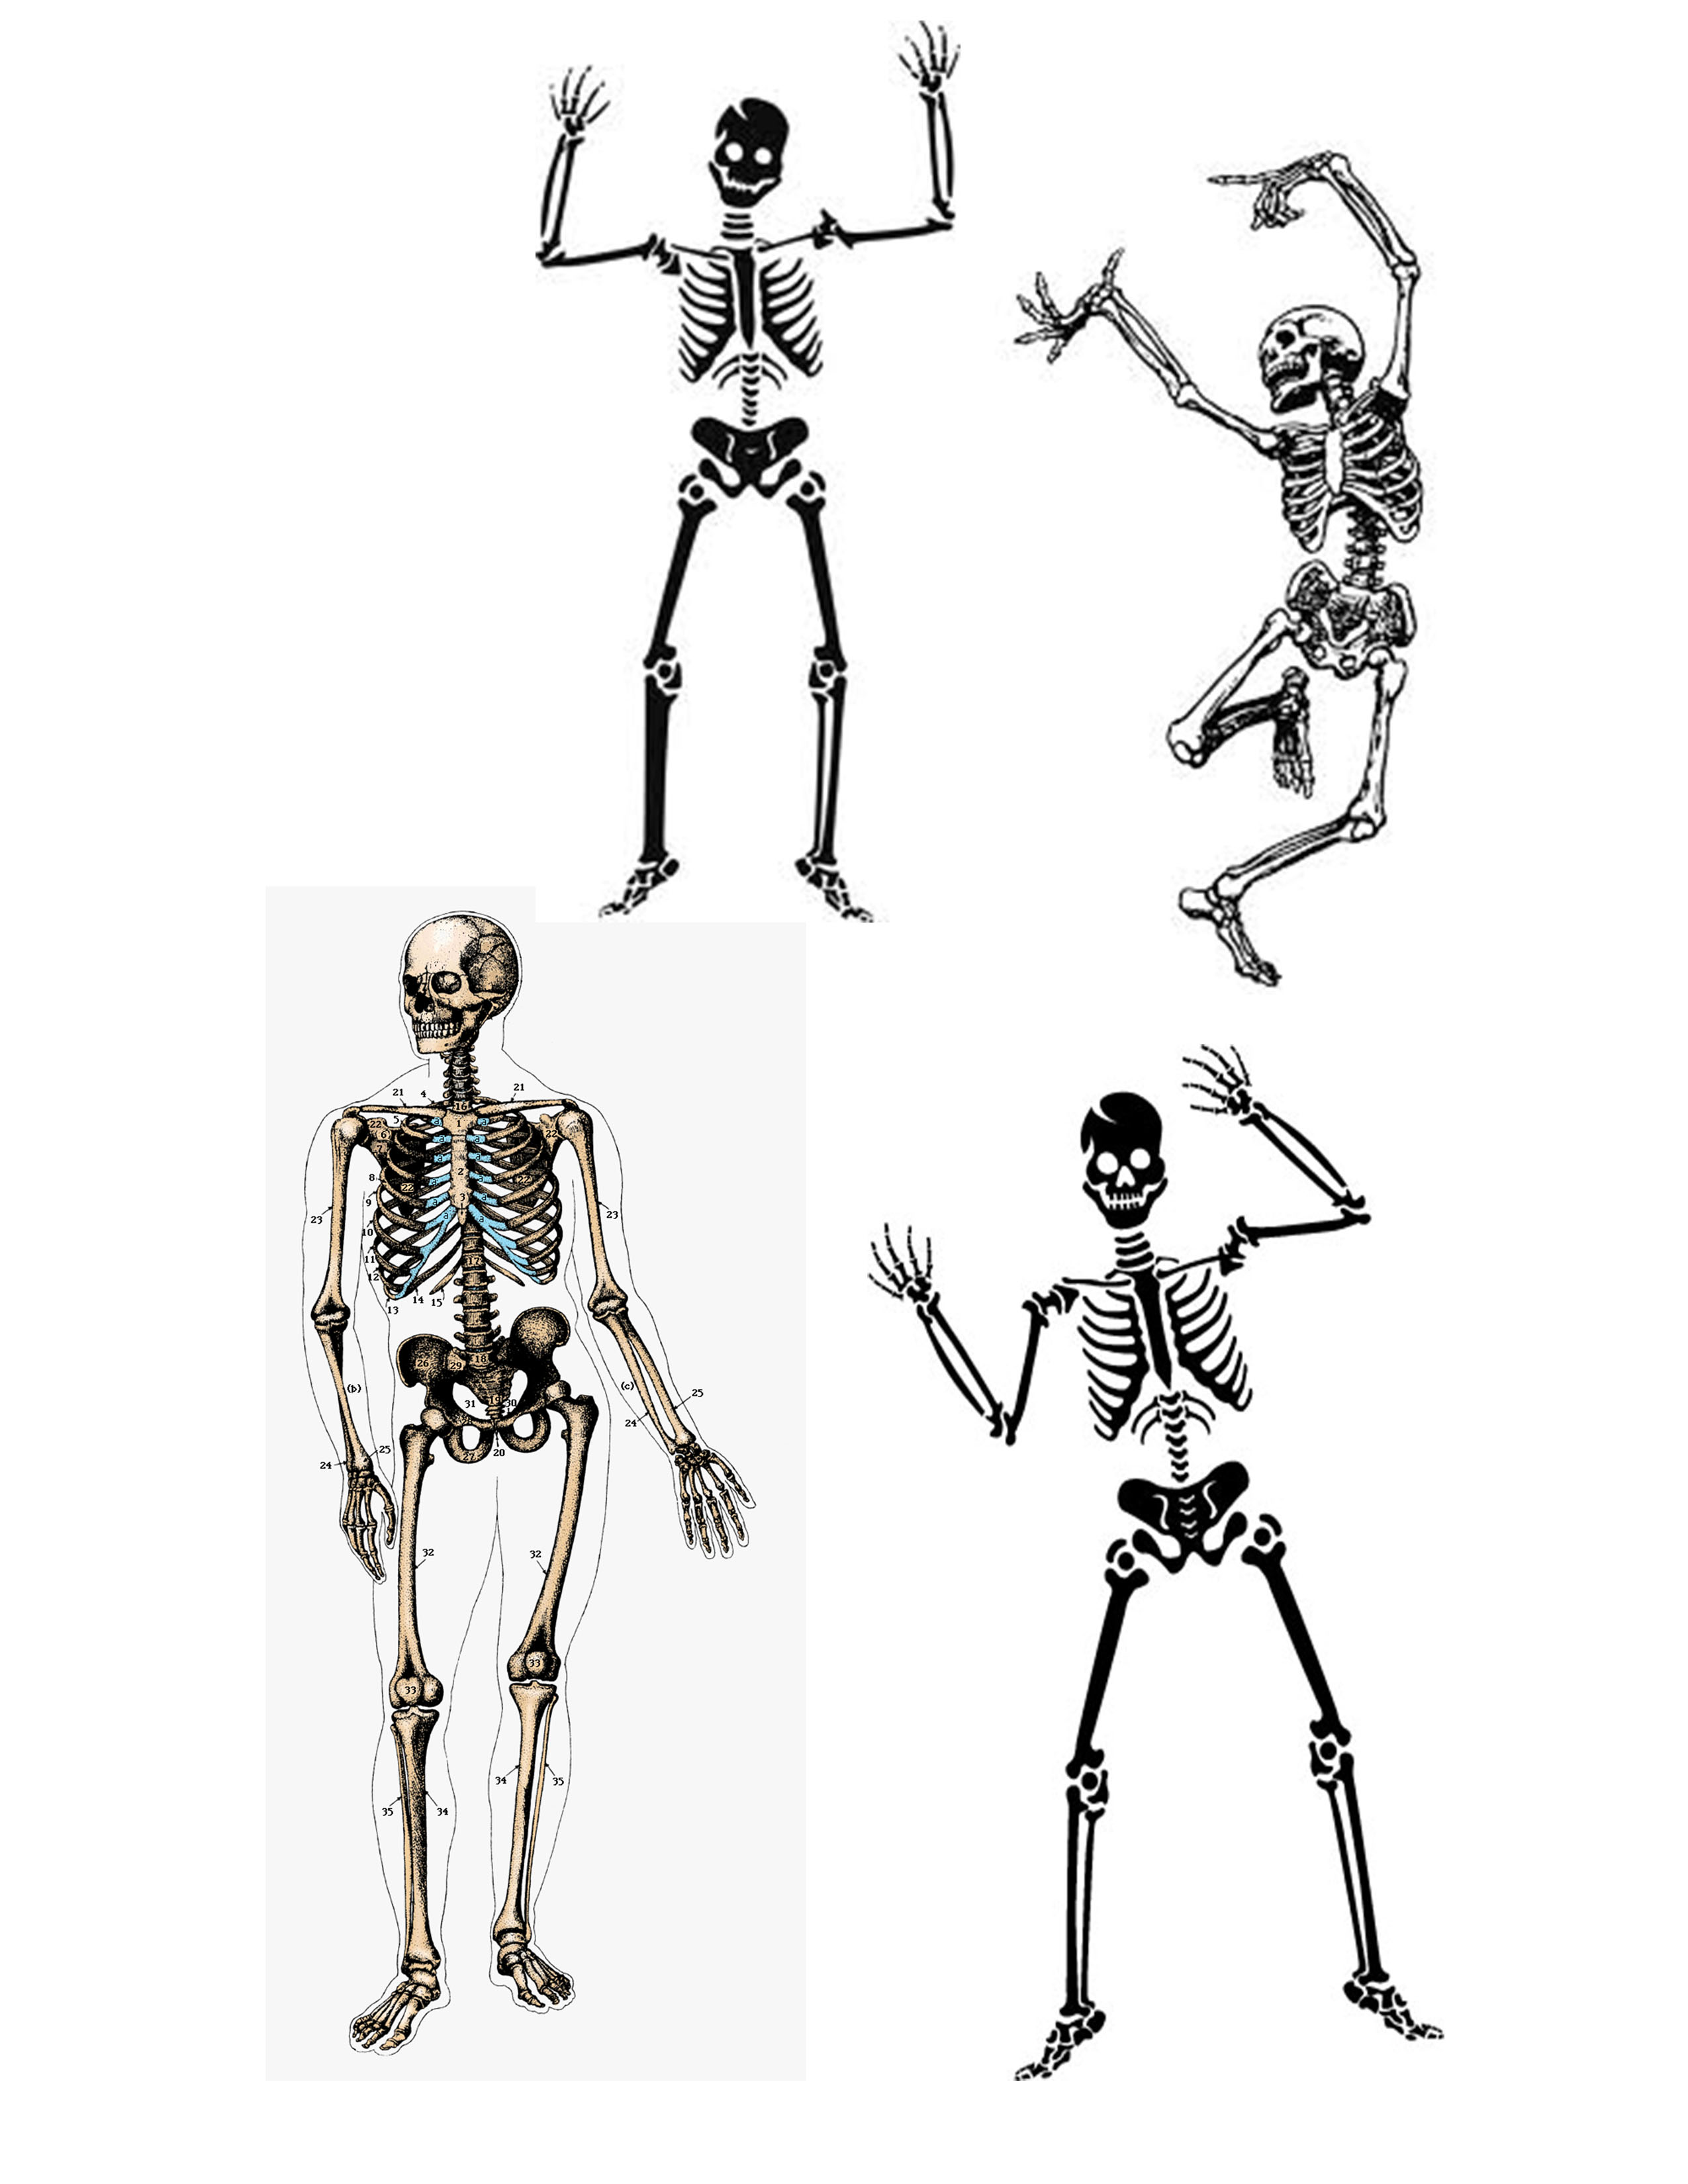
Use these skull and skeleton pics as a guide:
-Realistic Skull
-Realistic Skeletons
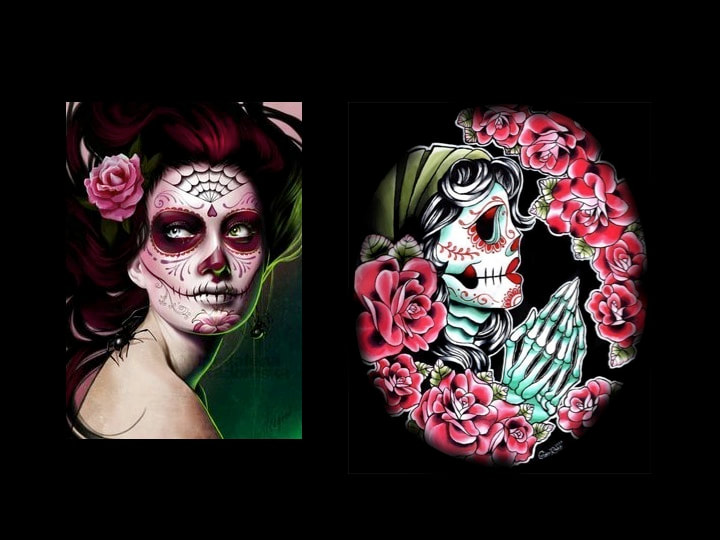
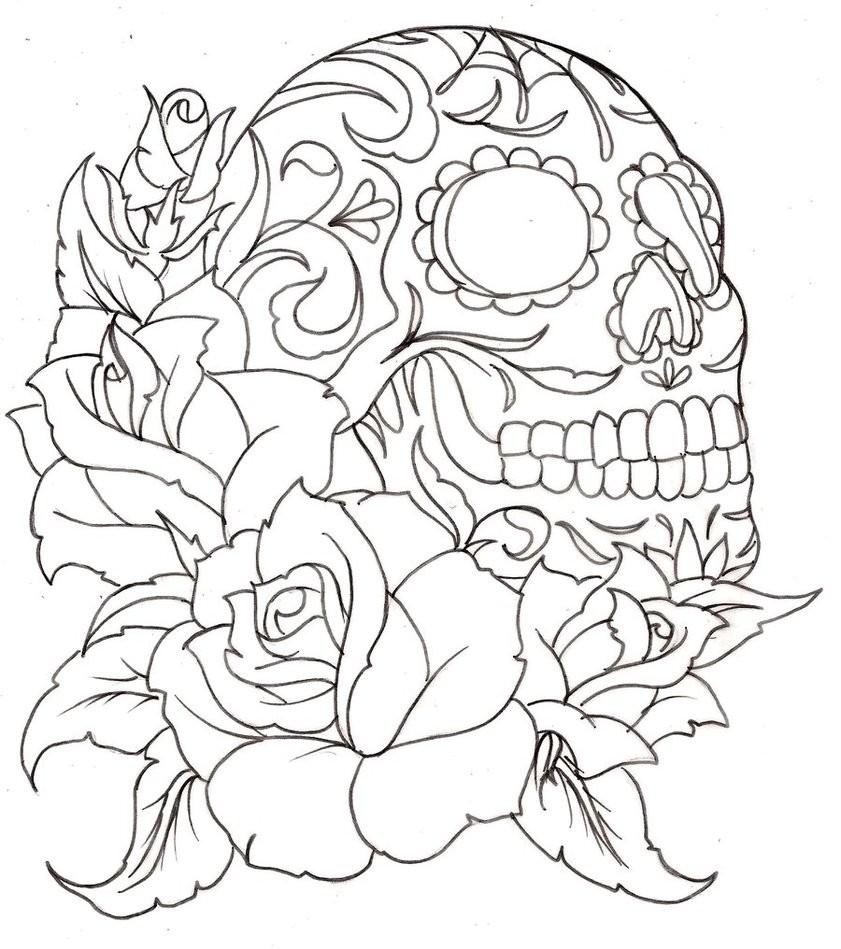
-Stylized Skull - front view
-Stylized Skull - profile
-Stylized skull with flowers
-What is the Day of the Dead? Intro Video
-Day of the Dead History - Video
Video Tutorials:
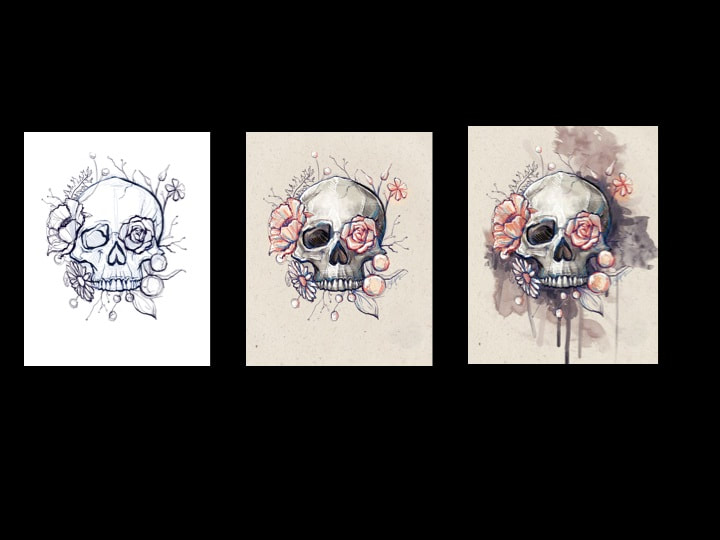
-Class Demonstration by Mrs. Doerrer: How to paint flowers, skull, leaves, butterfly, spider
Watercolor Realistic Portrait Painting Day of the Dead video
How to draw a day of the dead skull video
How to Draw a Stylized Skull Step by Step pictures
Requirements:
1) Imagery to include:
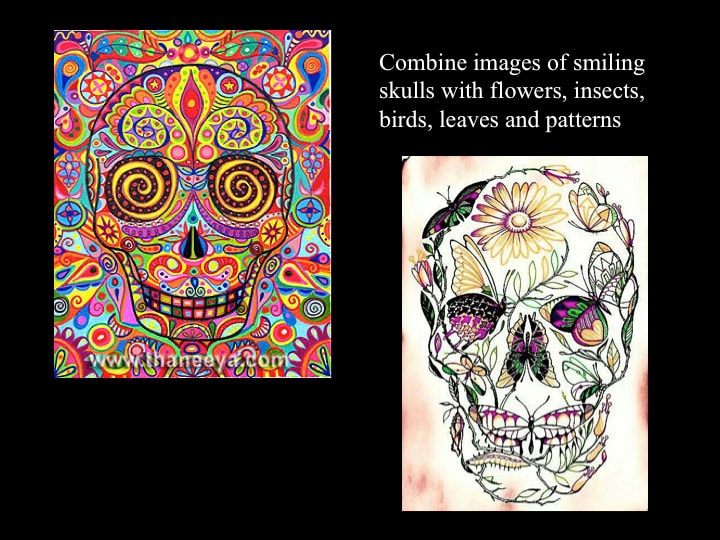
- Skeletons, skulls, bones (Calaveras)
2) Imagery to include:
- Nature: flowers (marigolds, roses, pansies, lilies, etc.), leaves, vines, trees, tree branches
3) Imagery to include:
- Insects, butterflies, lizards, birds, caterpillars, spiders, snakes
4) Balance: demonstrate symmetrical or asymmetrical balance.
5) Color: Use a color scheme. Analagous, triad, complementary, double complement
Use 1/2 sheet if your Mixed Media paper from school
Size: 9 X 12” or larger
Choice of media:
Watercolor paint, watercolor pencil, paint pens, colored pencil, marker
Use these skull and skeleton pics as a guide:
-Realistic Skull
-Realistic Skeletons
-Stylized Skull - front view
-Stylized Skull - profile
-Stylized skull with flowers
-What is the Day of the Dead? Intro Video
-Day of the Dead History - Video
Video Tutorials:
-Class Demonstration by Mrs. Doerrer: How to paint flowers, skull, leaves, butterfly, spider
Watercolor Realistic Portrait Painting Day of the Dead video
How to draw a day of the dead skull video
How to Draw a Stylized Skull Step by Step pictures


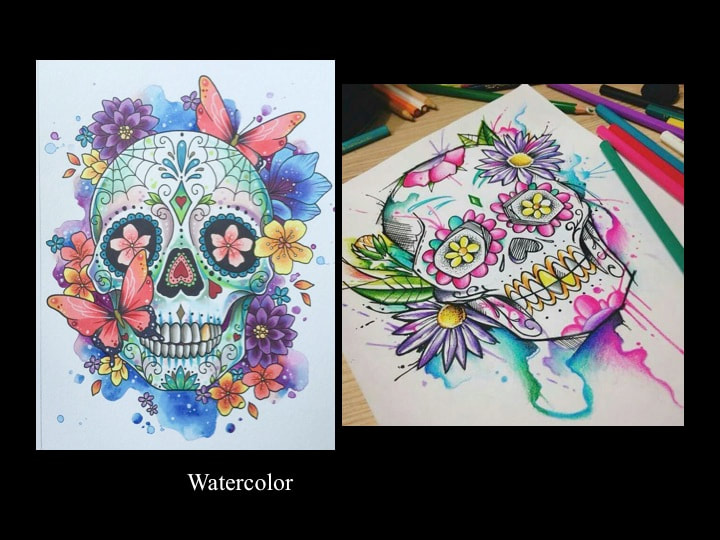
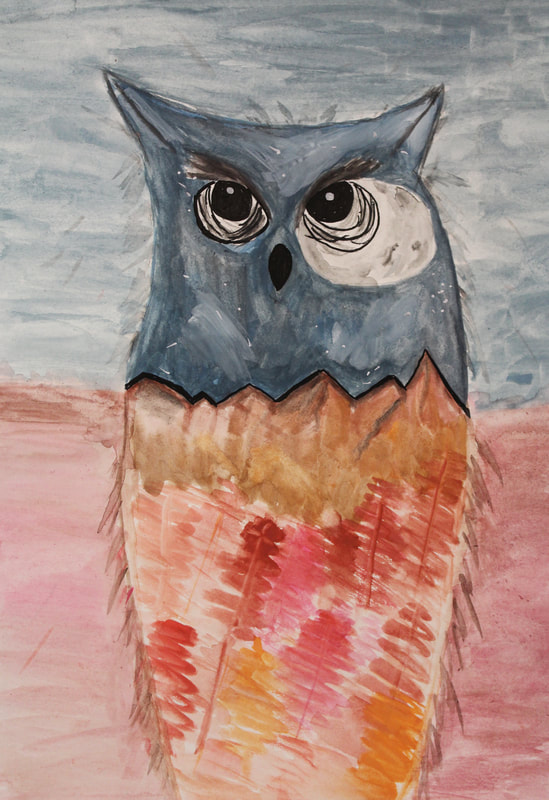
Student Examples - Day of the Dead Watercolor Paintings


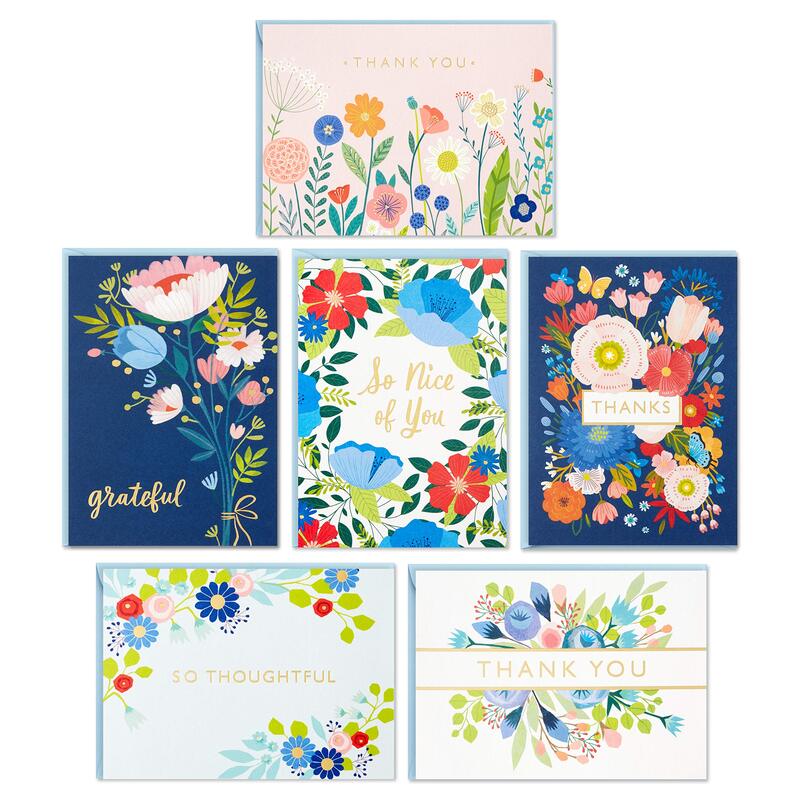
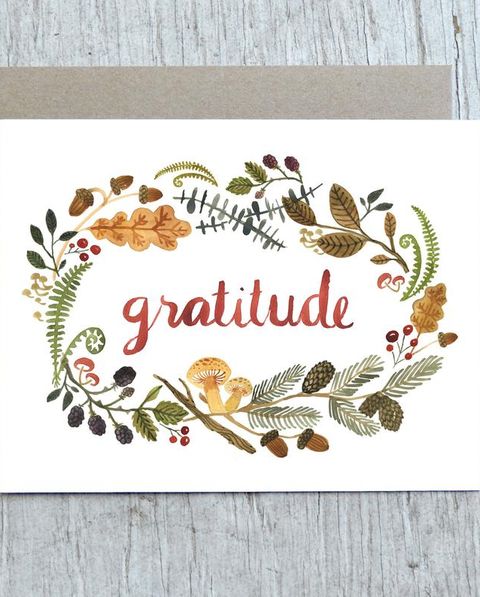
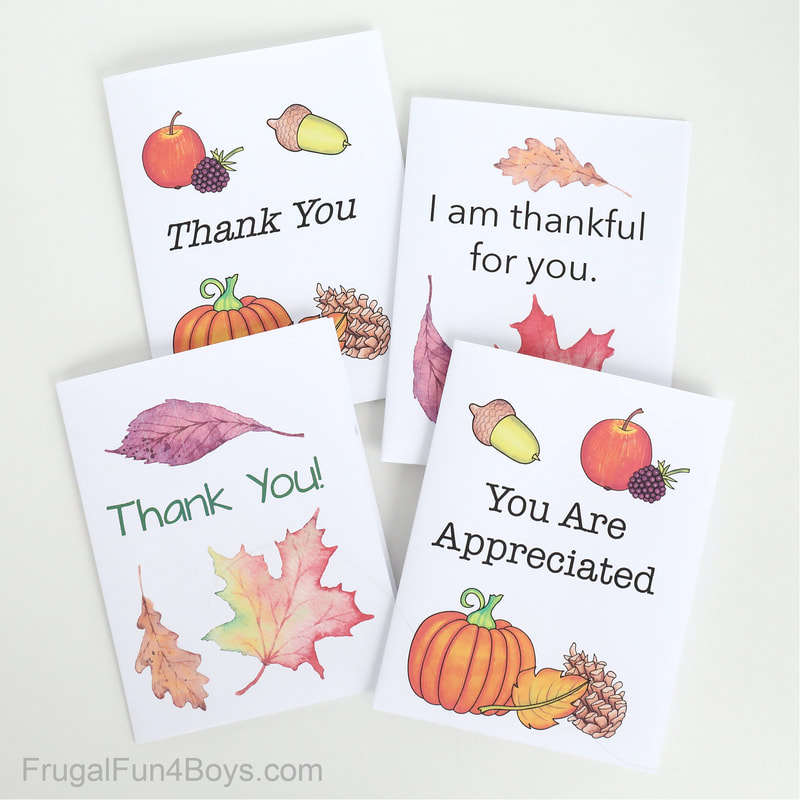
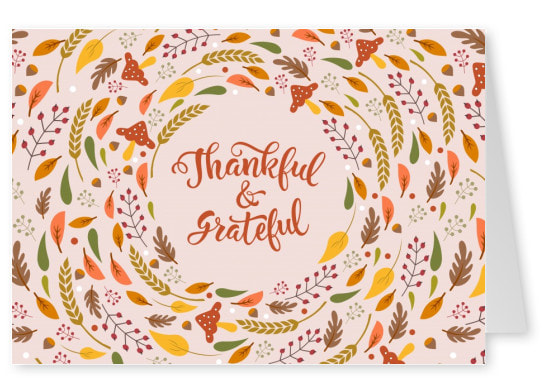
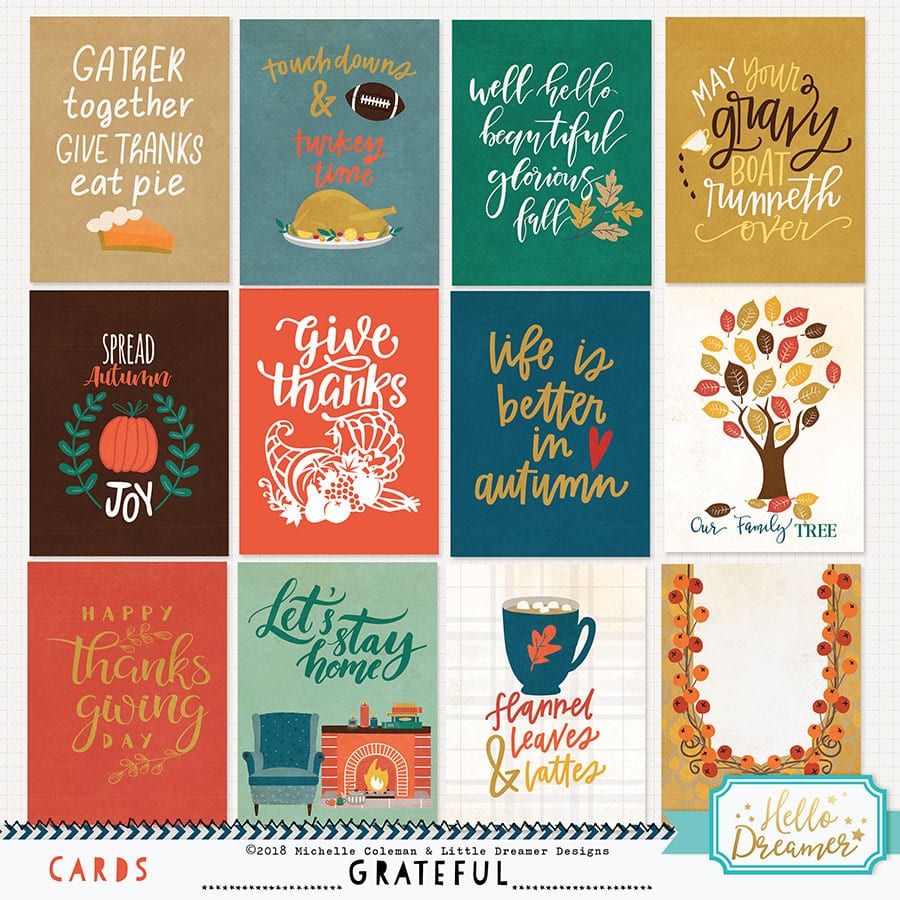
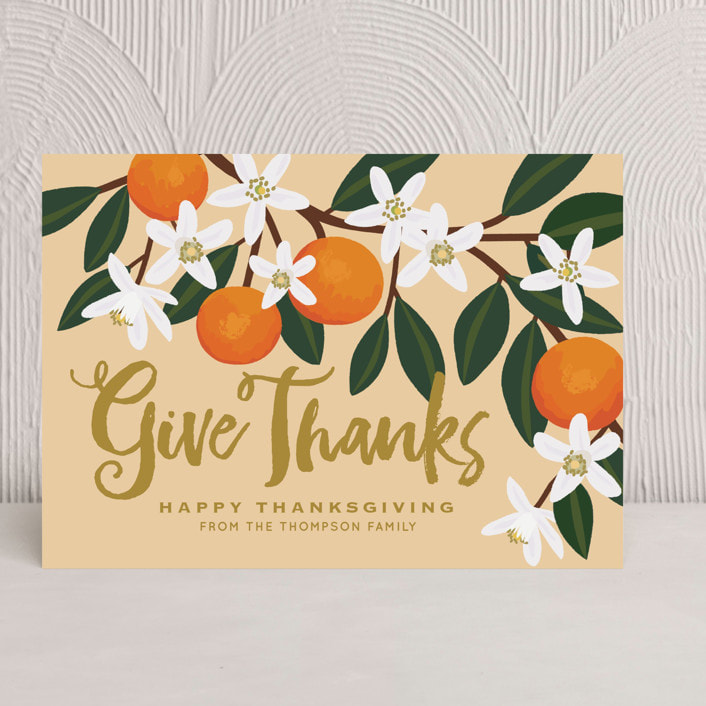
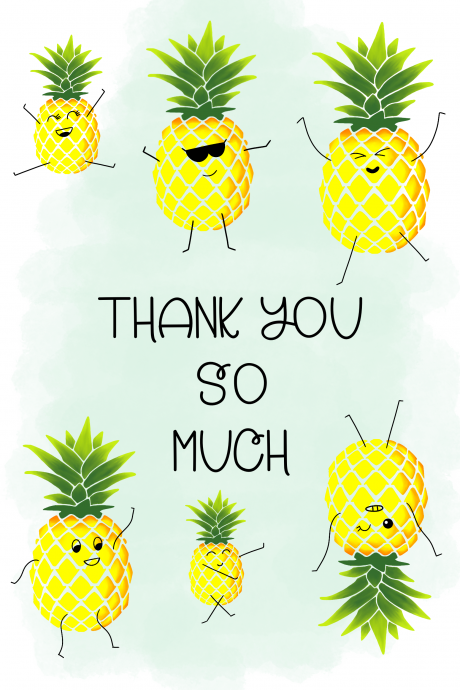
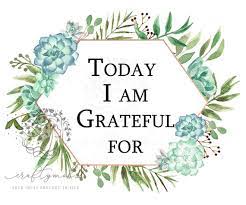
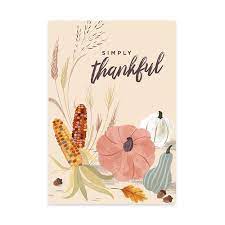
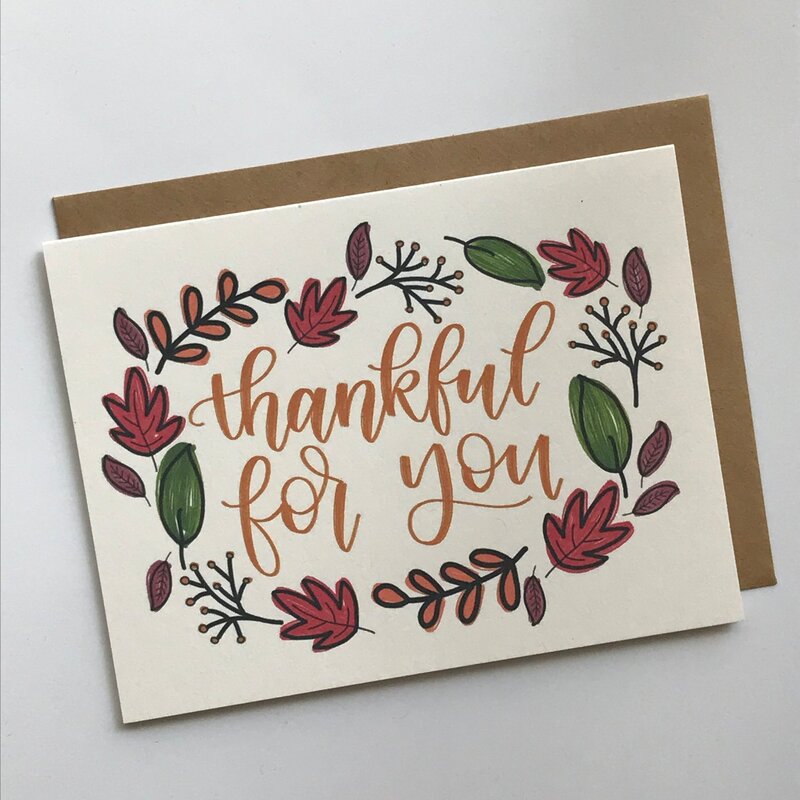
Thankful Greeting Card Assignment
Create a card or artwork to give to someone you are thankful and grateful for.
1) Include a painting that shows your appreciation and/or love for this person.
2) Include a handwritten message of thanks.
Your choice of watercolor, acrylics, or oil pastels
1) Include a painting that shows your appreciation and/or love for this person.
2) Include a handwritten message of thanks.
Your choice of watercolor, acrylics, or oil pastels

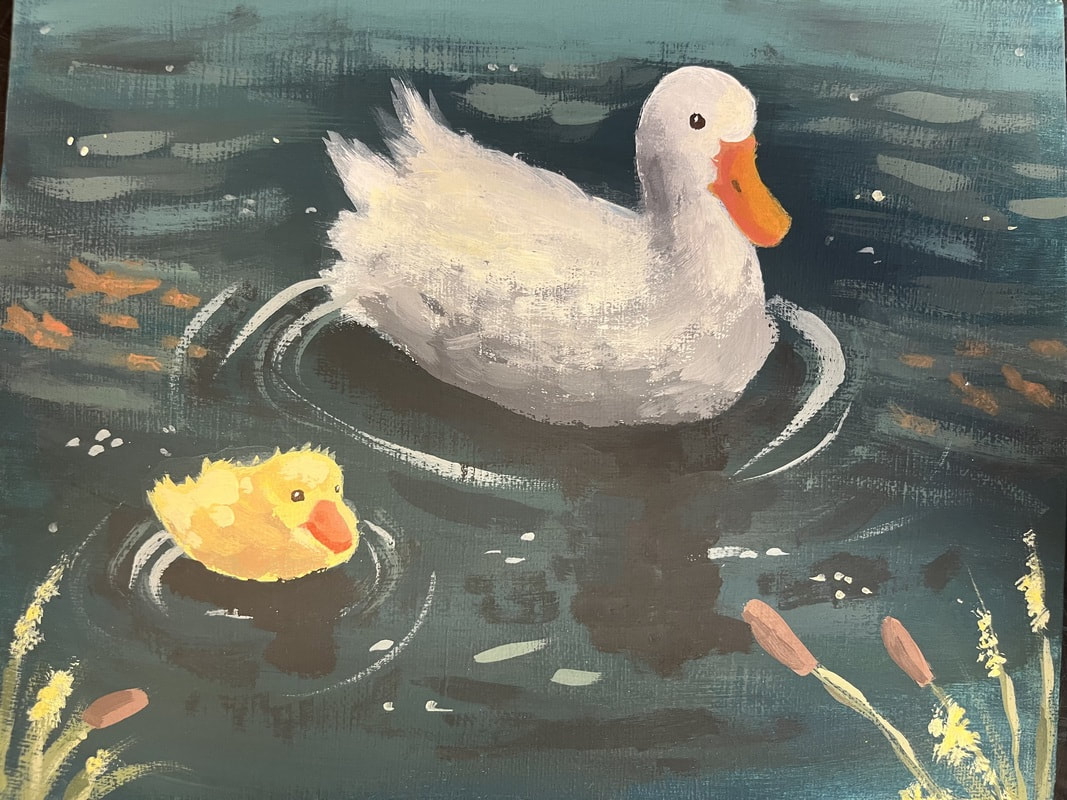
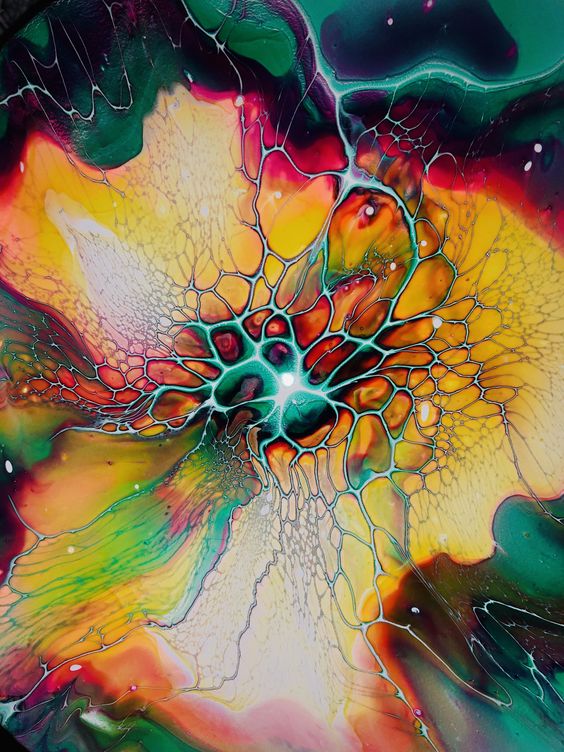
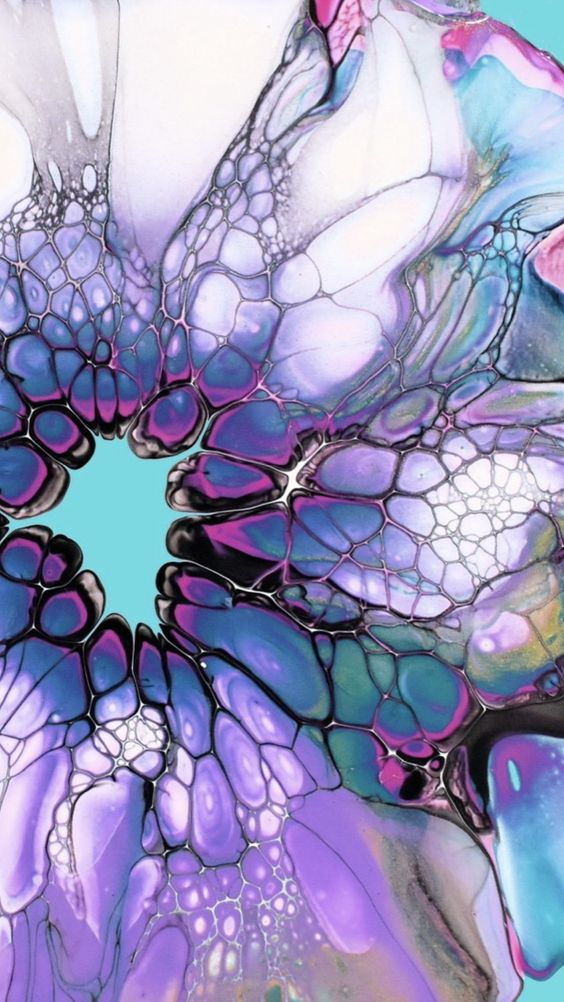
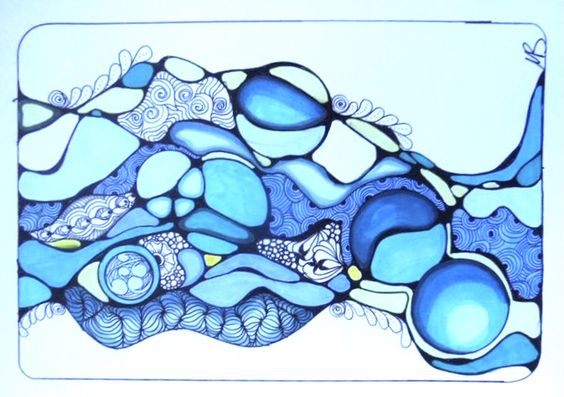
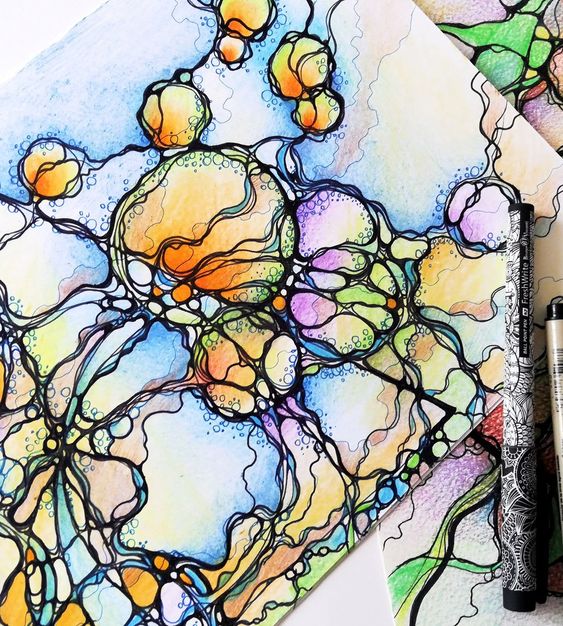
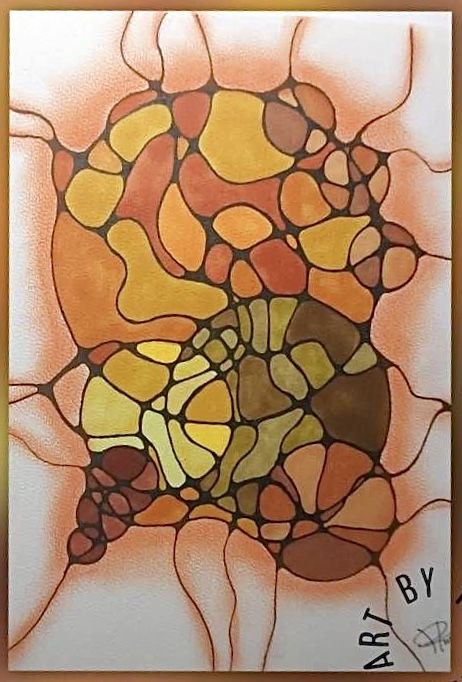
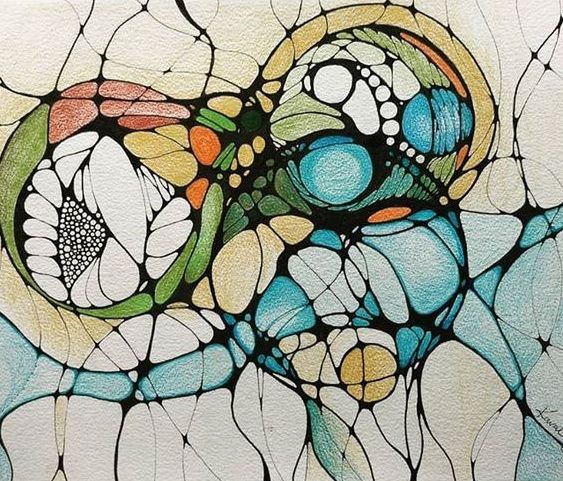
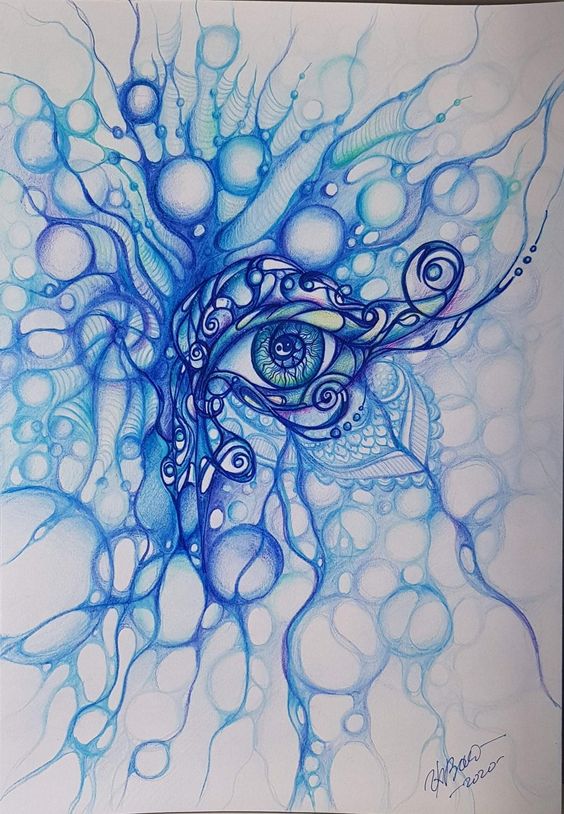
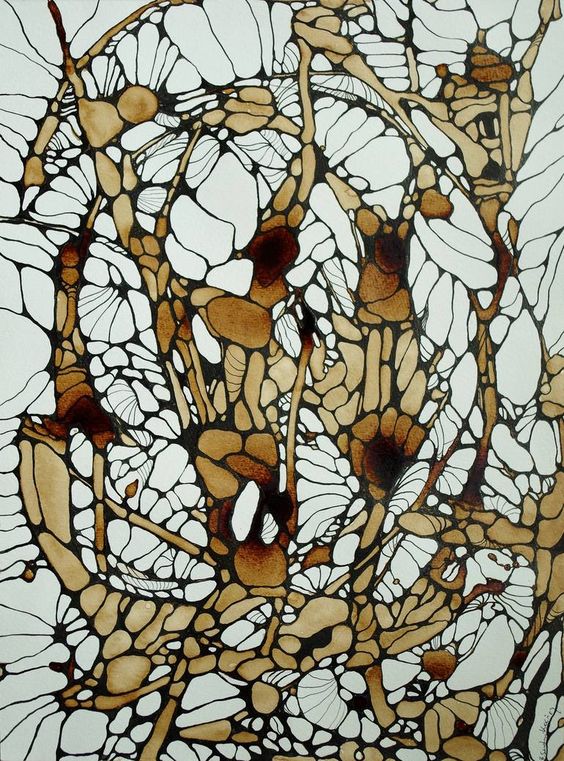
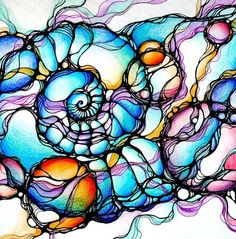
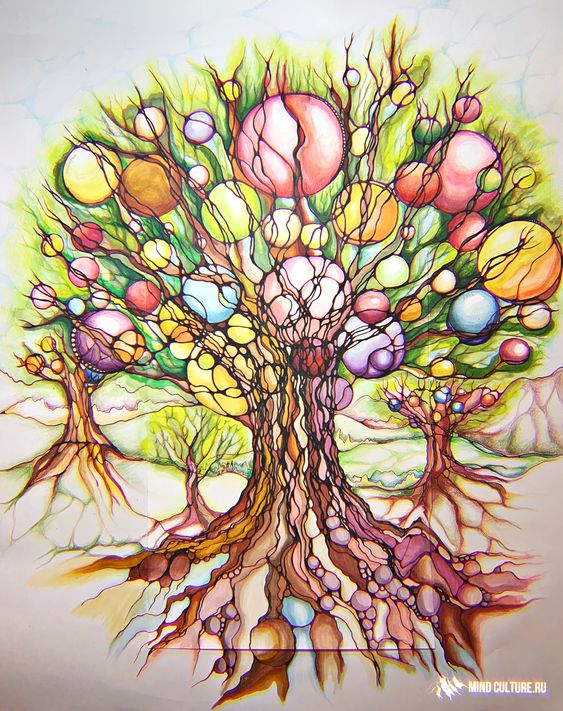
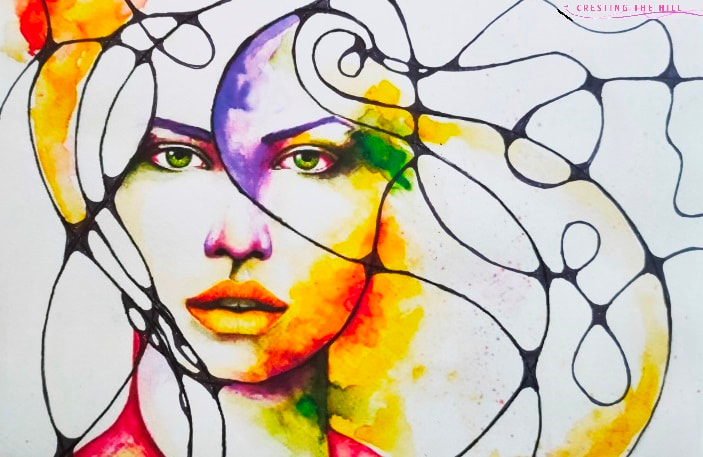
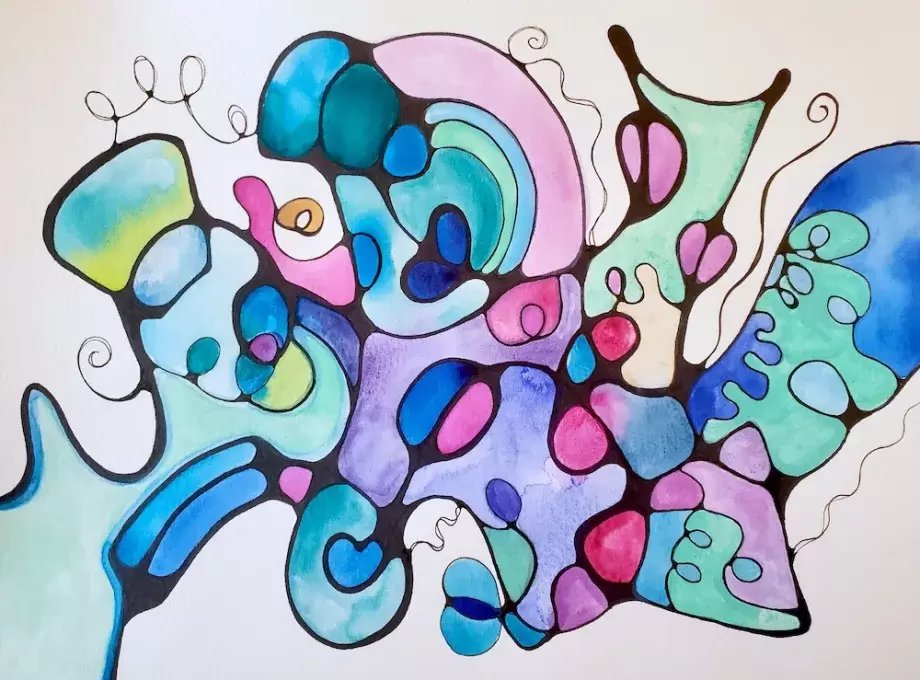
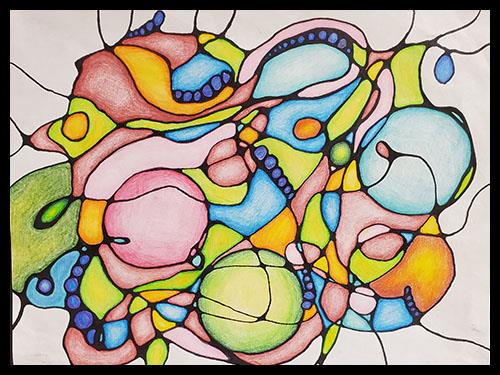
Neurographic Painting

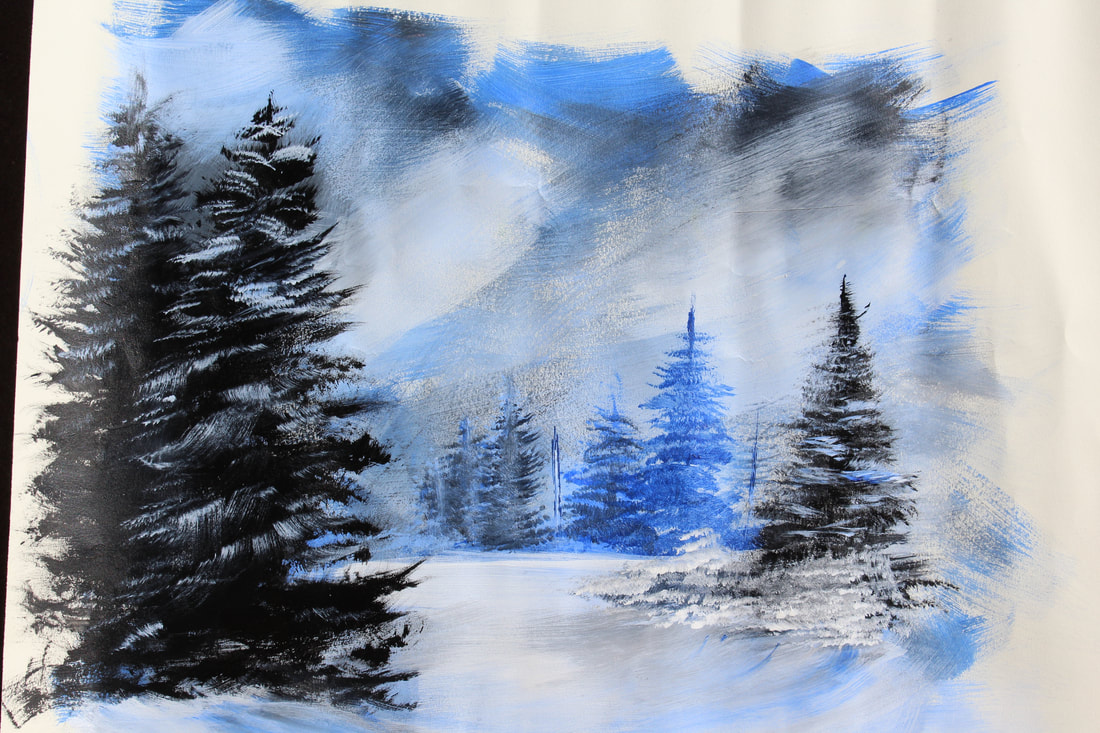
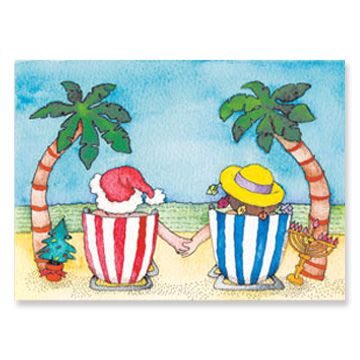
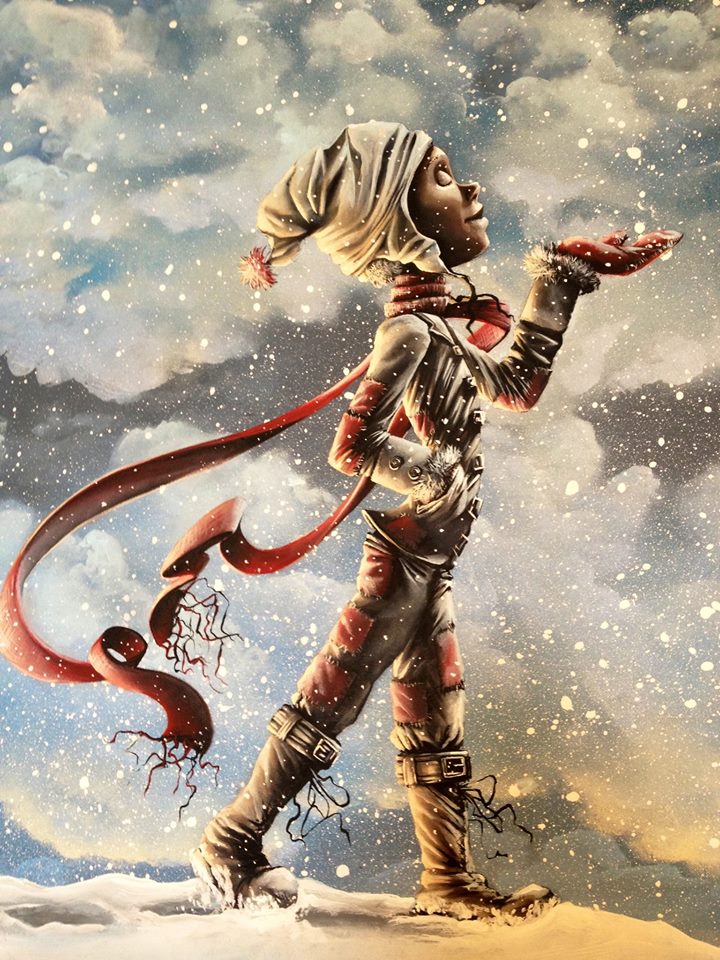
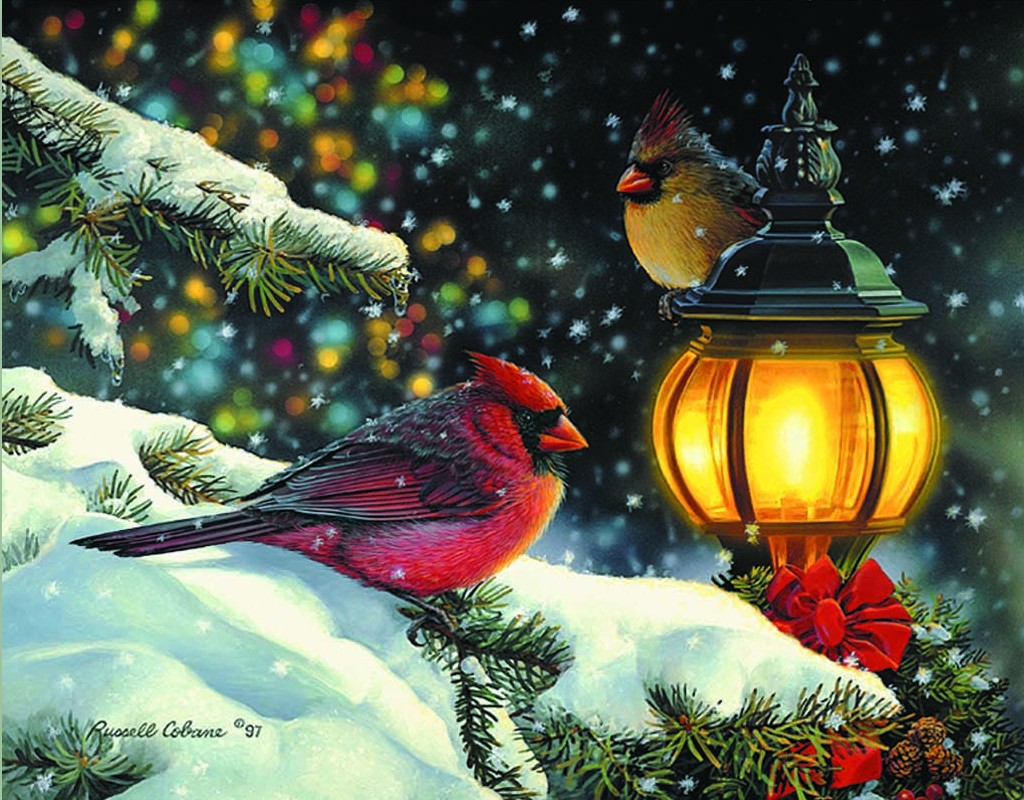
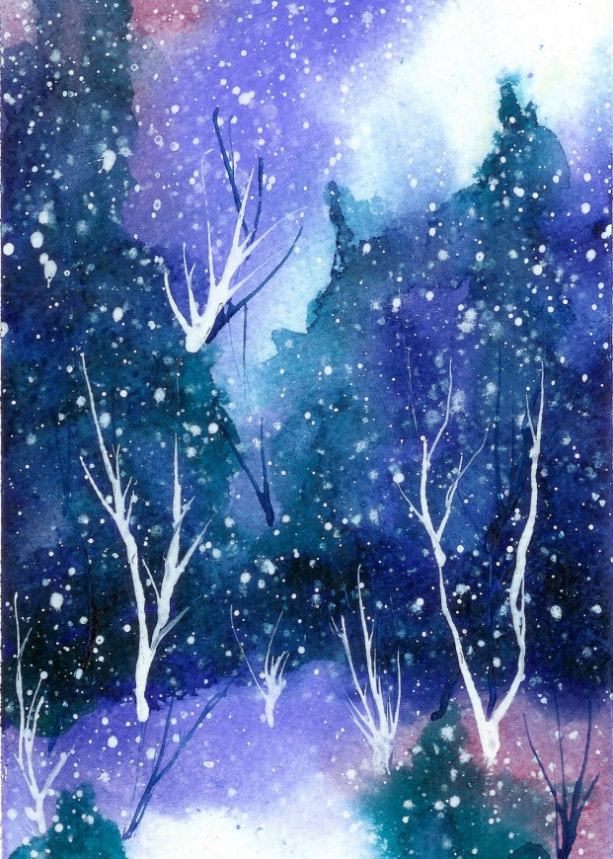
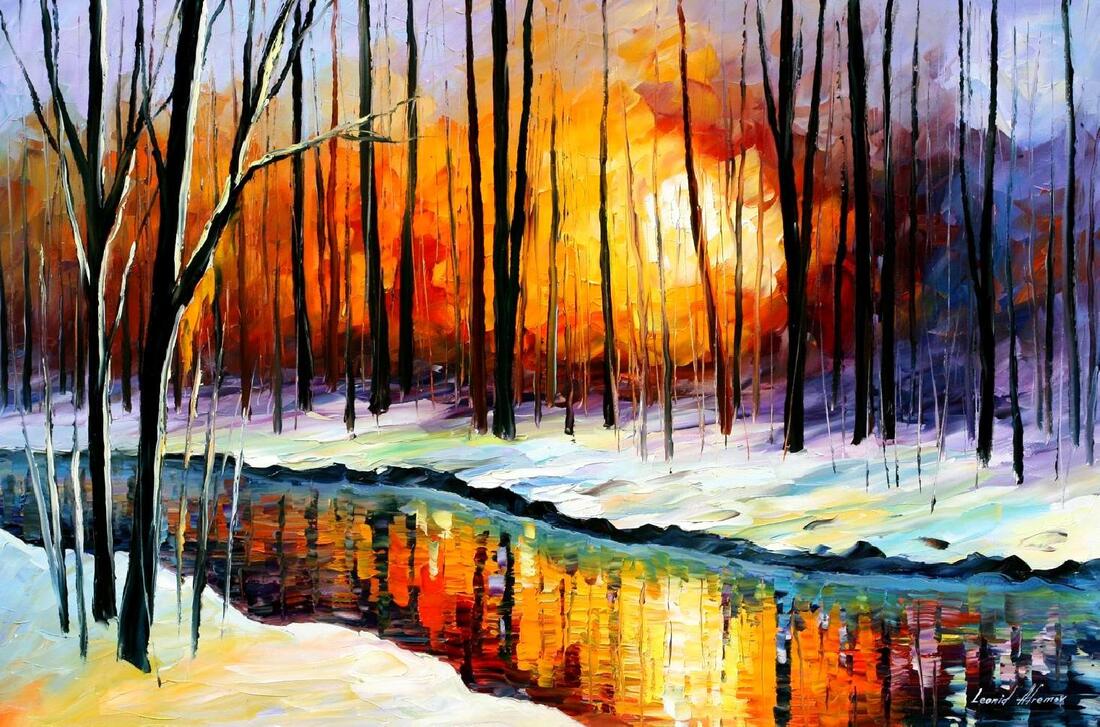
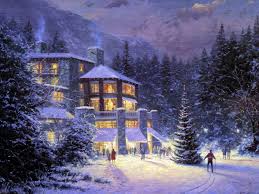
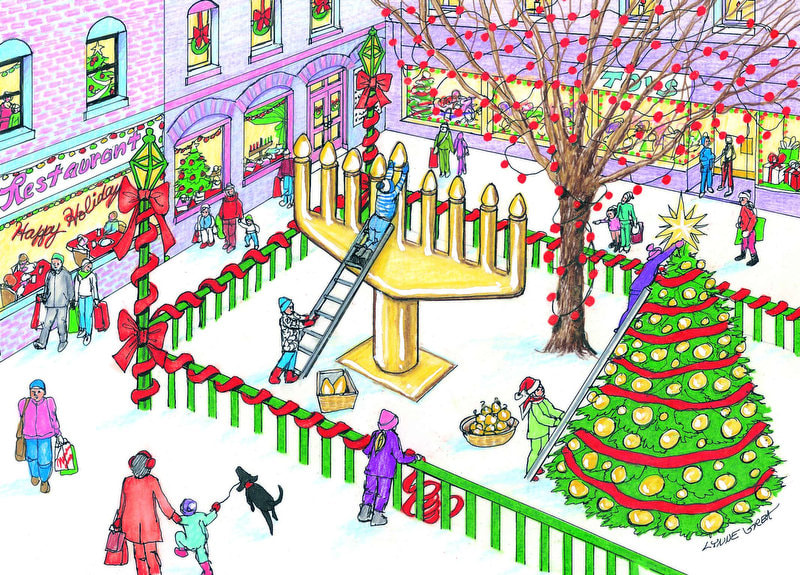
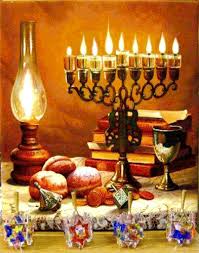
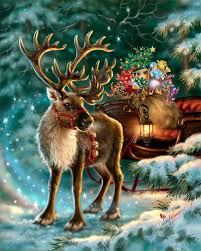
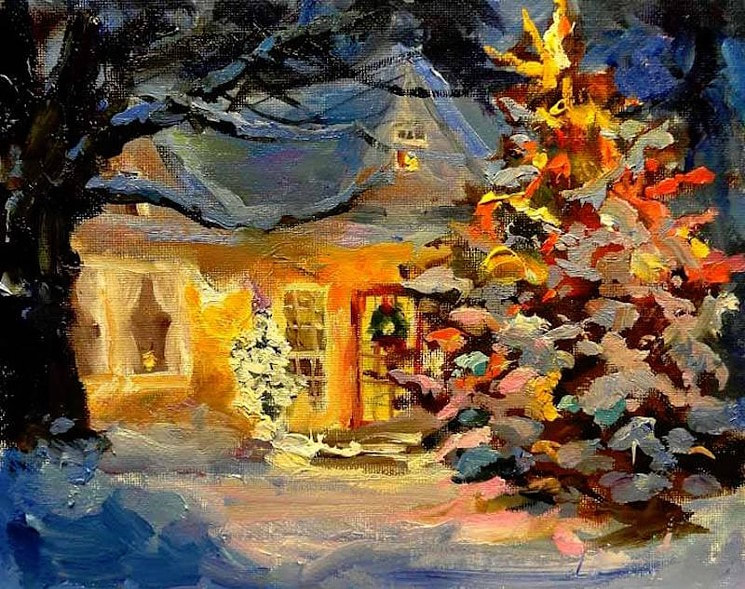
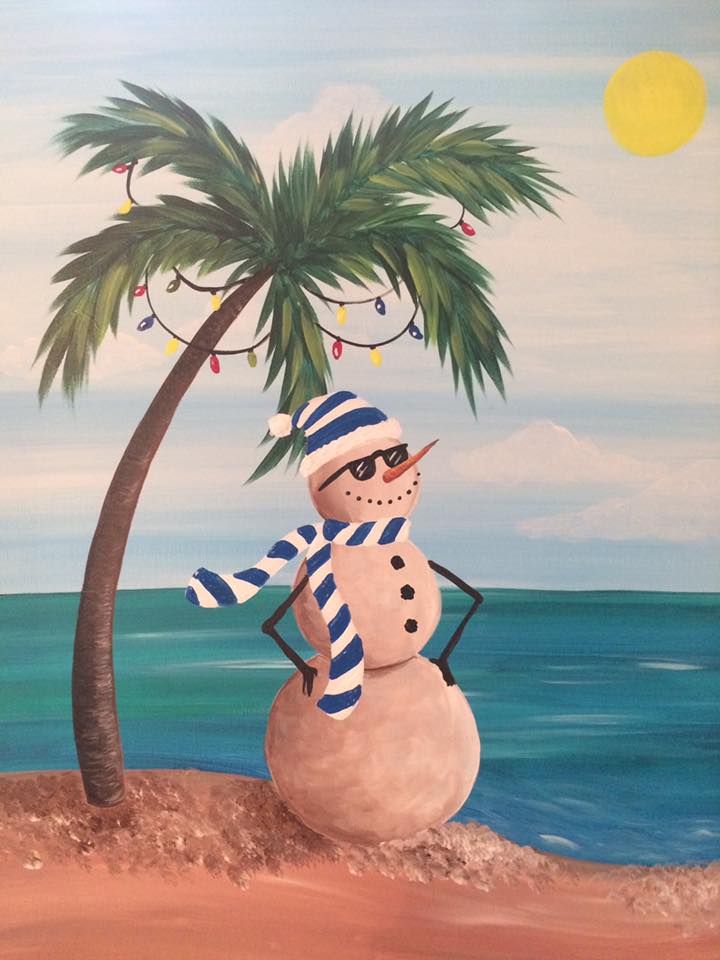
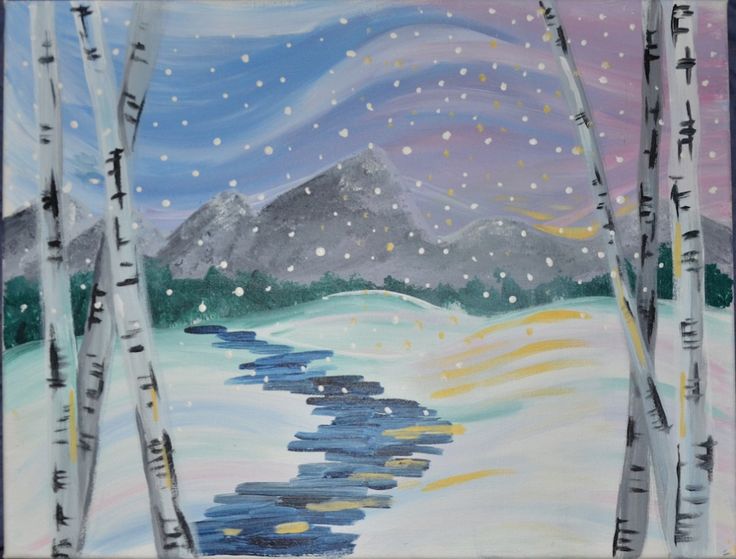
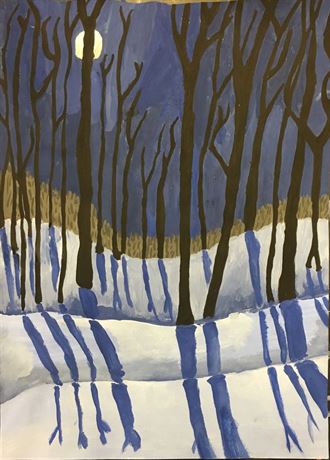
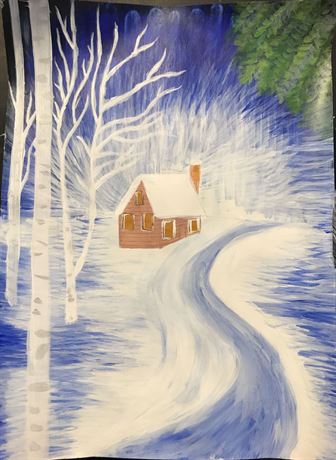
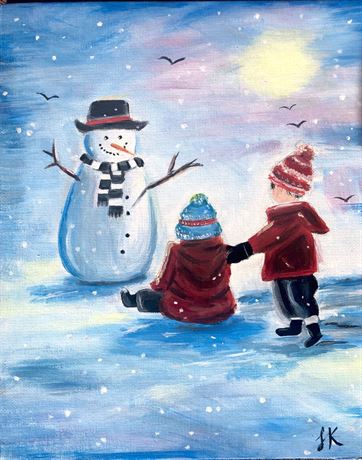
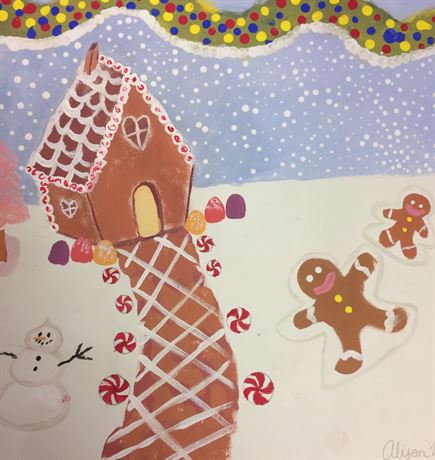
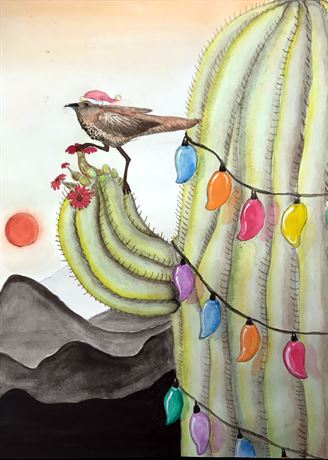
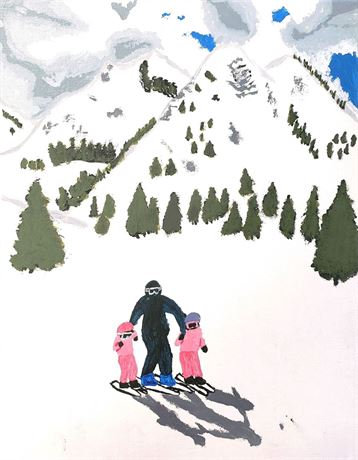
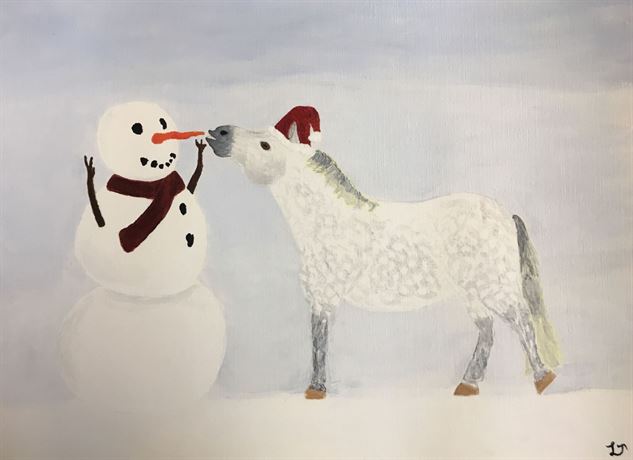
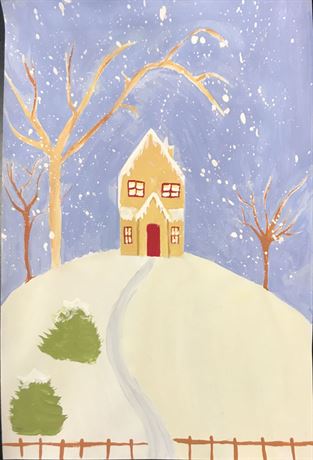
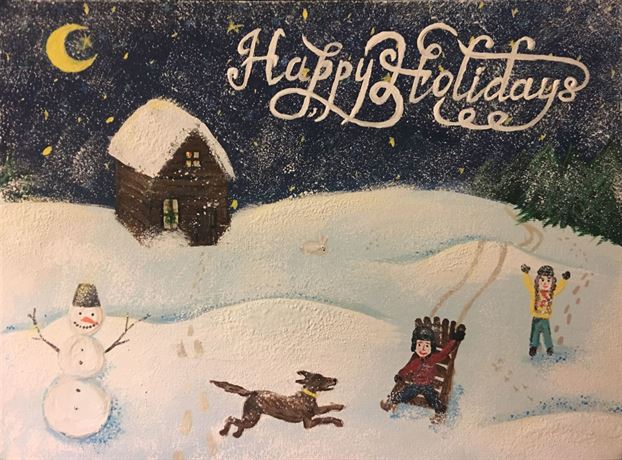
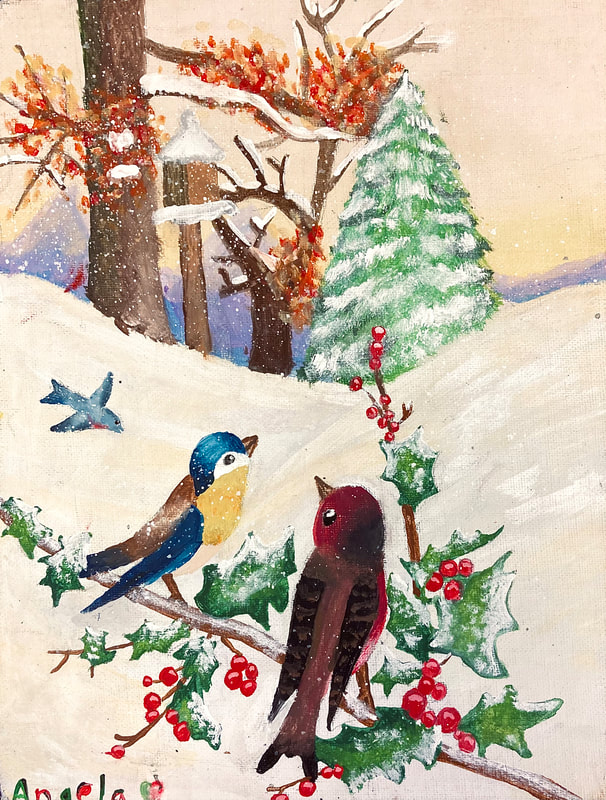
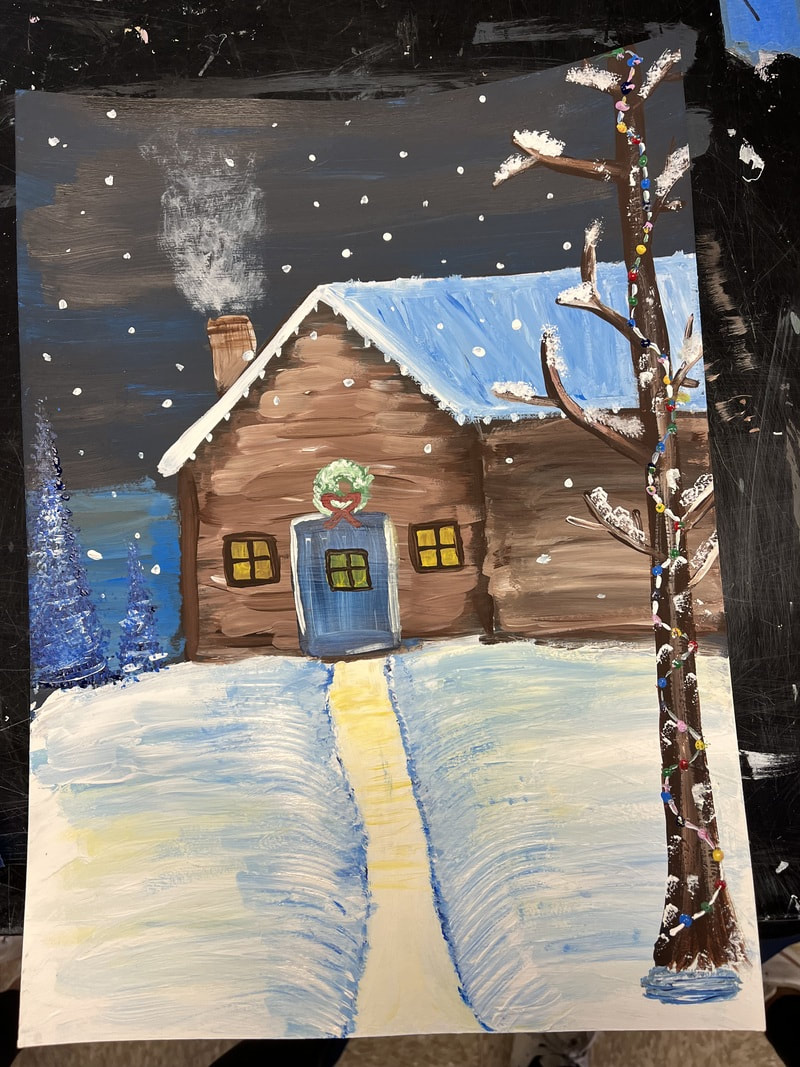
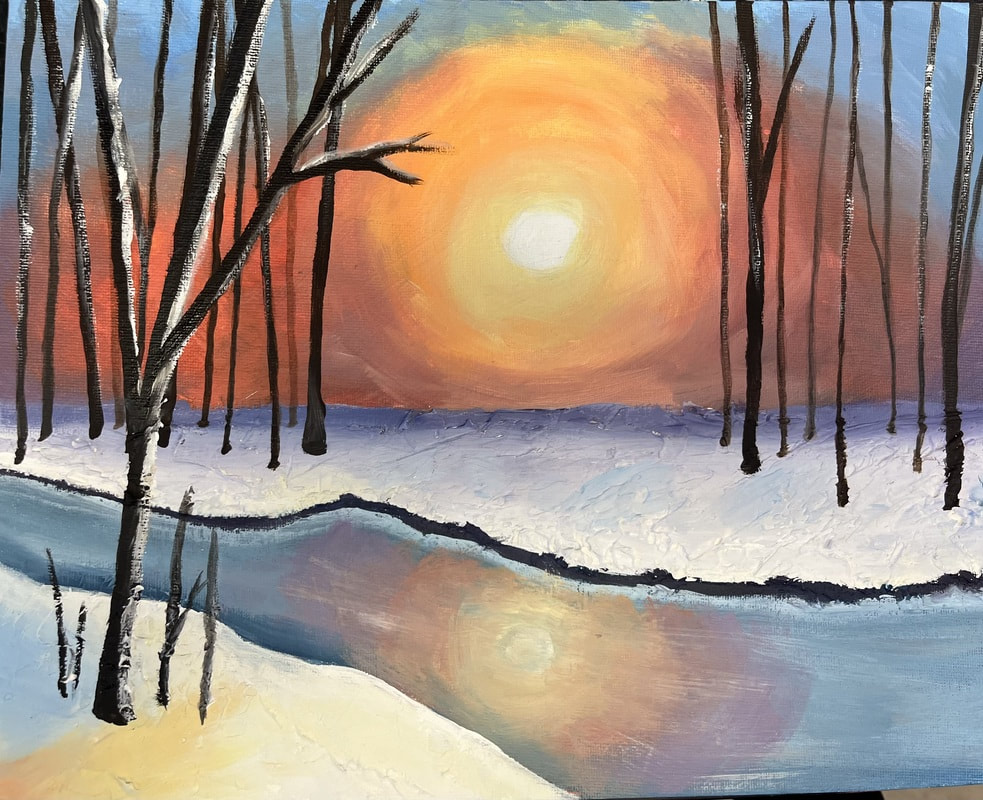
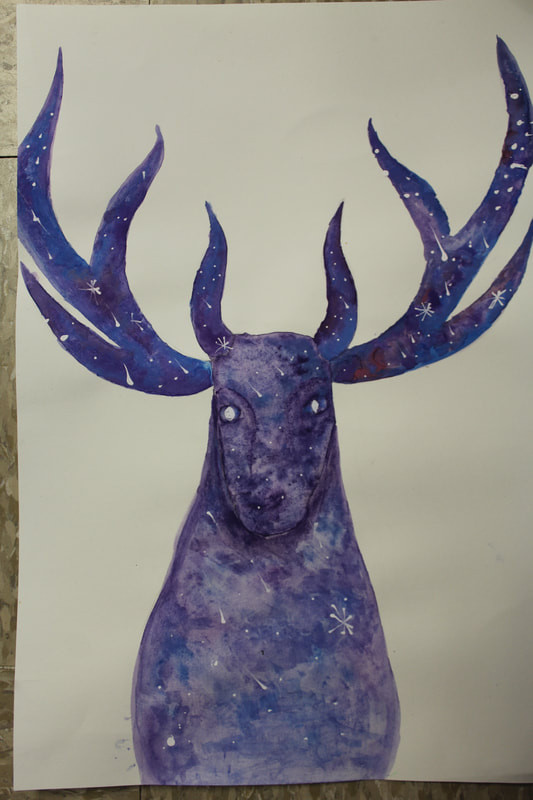
Winter Theme or Holiday Theme Painting
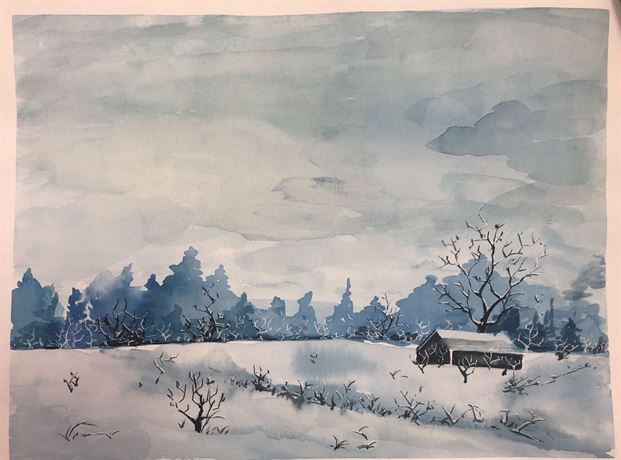
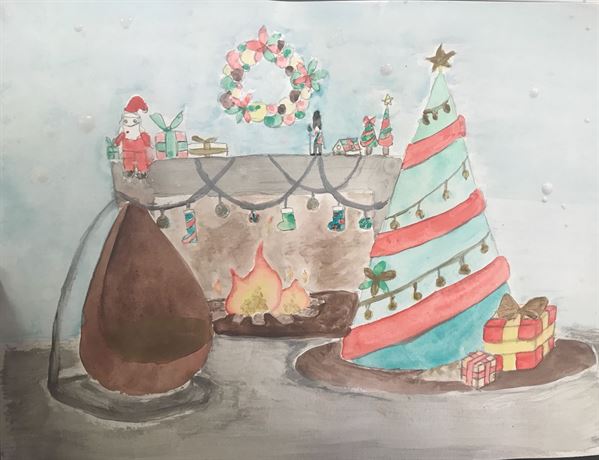
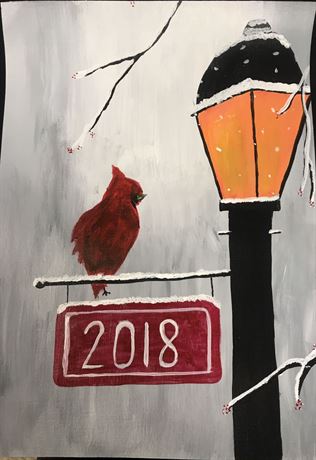
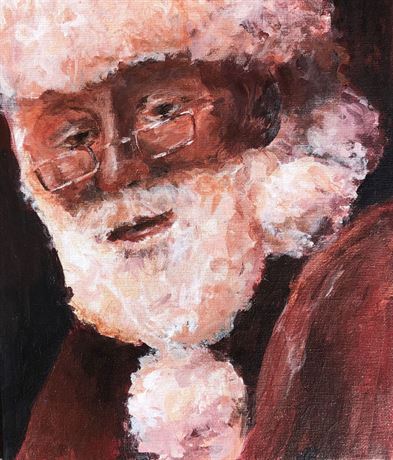
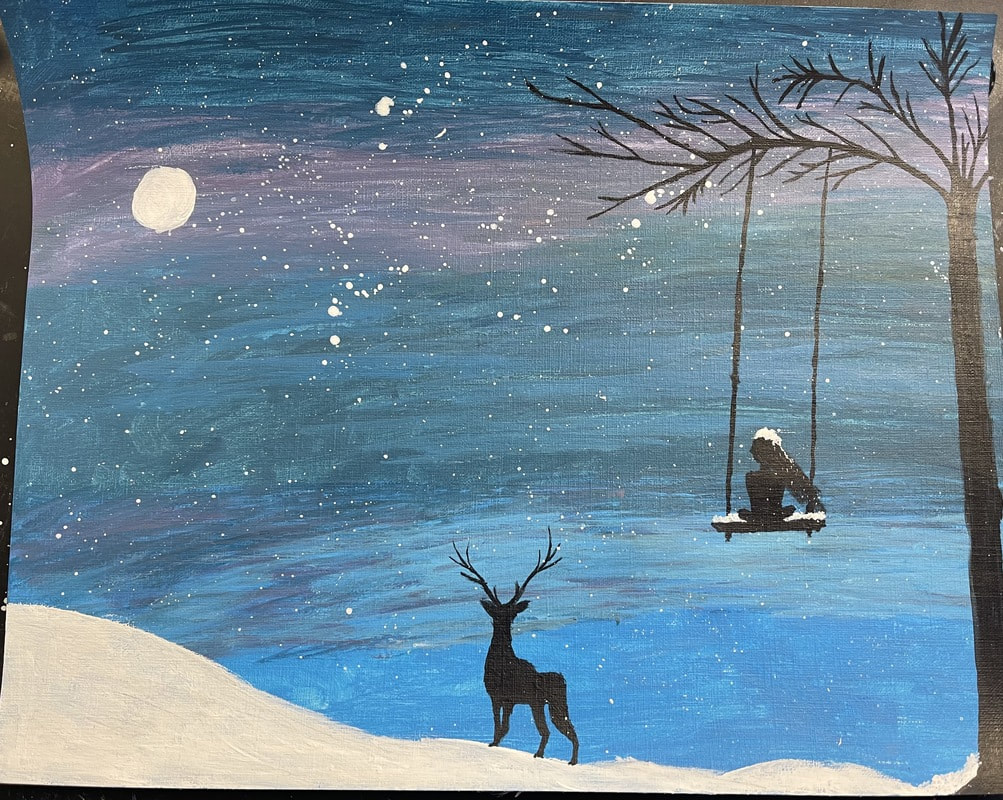
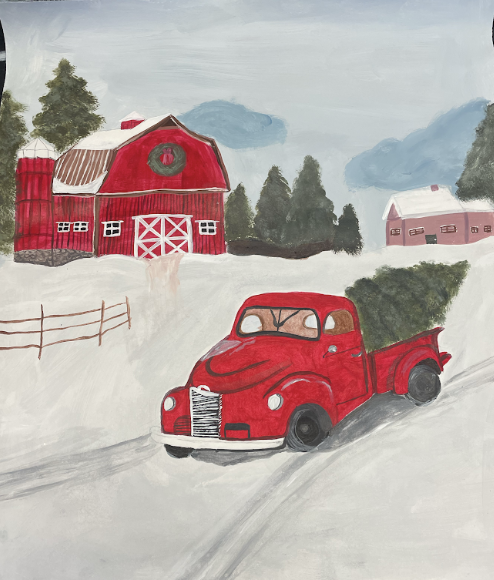
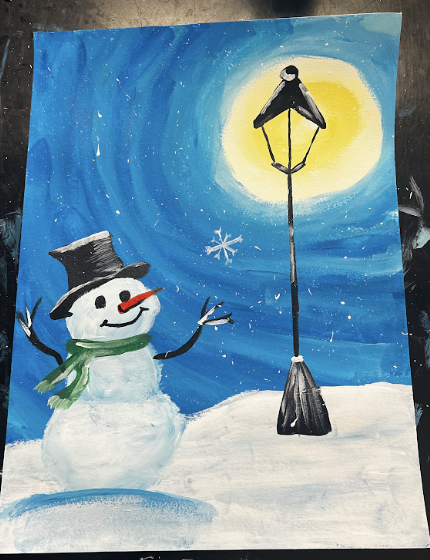
Create a painting celebrating winter or your holiday of choice.
Minimum size 9x12"
Media: Acrylic paint on acrylic paper
You may add detail with colored pencil and/or acrylic paint.
Minimum size 9x12"
Media: Acrylic paint on acrylic paper
You may add detail with colored pencil and/or acrylic paint.
- Include your choice of a winter theme or a holiday theme
- Include a foreground with a focal point.
- Include a background.
- Demonstrate at least 4 watercolor techniques from our 20 techniques
- Demonstrate use of the Elements of Art and Principles of Design. Use purposeful color, line, shape, value, form, texture, movement, and use of space.
- Use a color scheme: analagous, complementary, triad, double complement, split complement, neutrals
- Show time, effort, and craftsmanship!
- Include fine details.
- Show creativity!


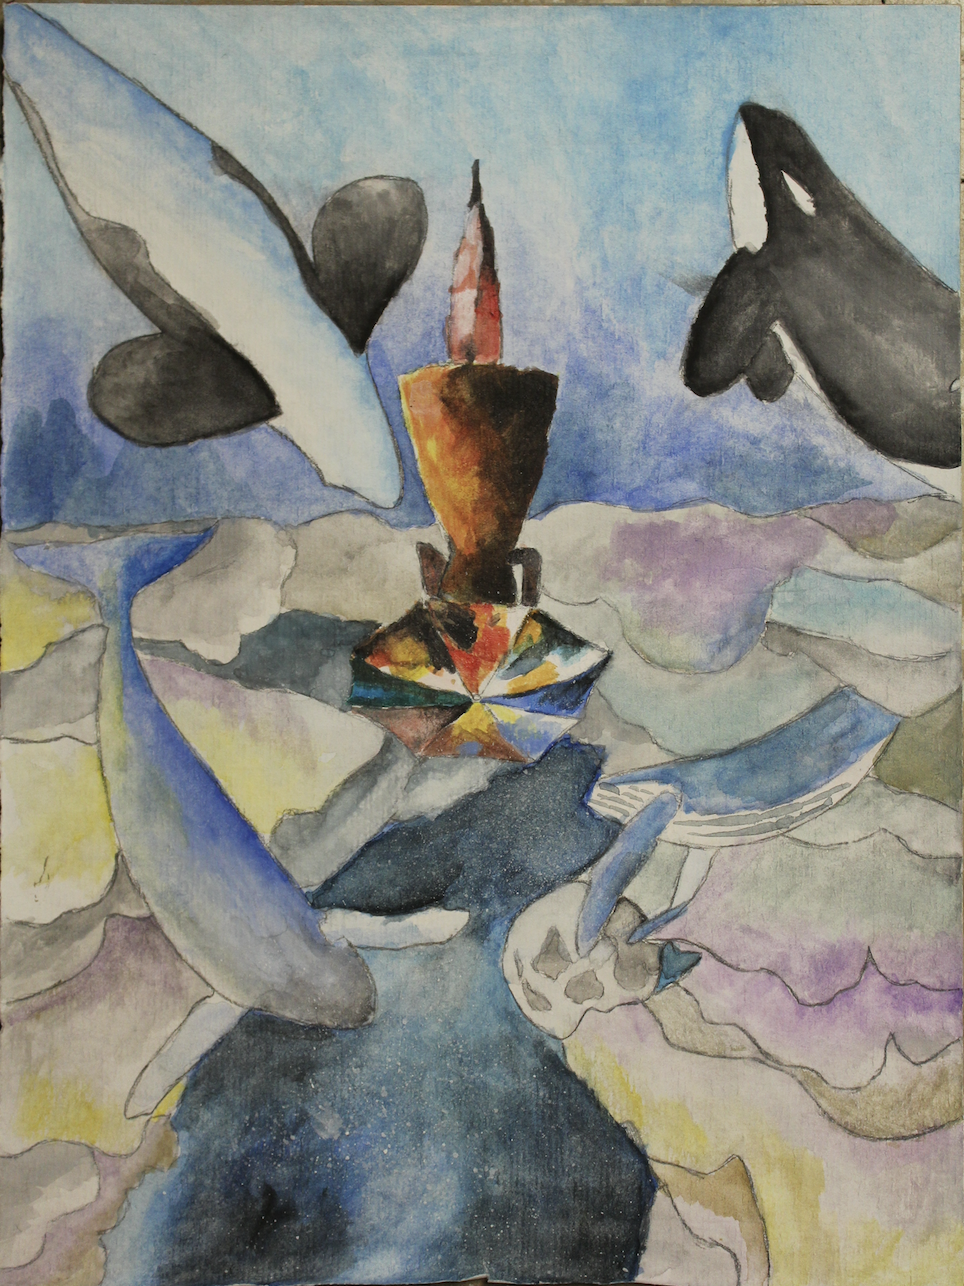
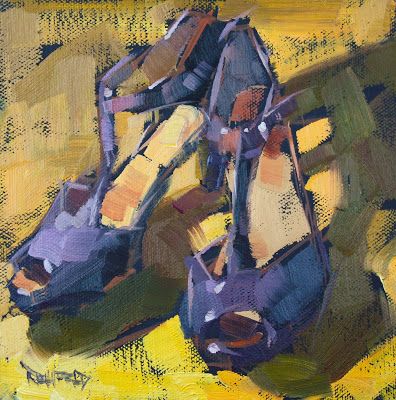
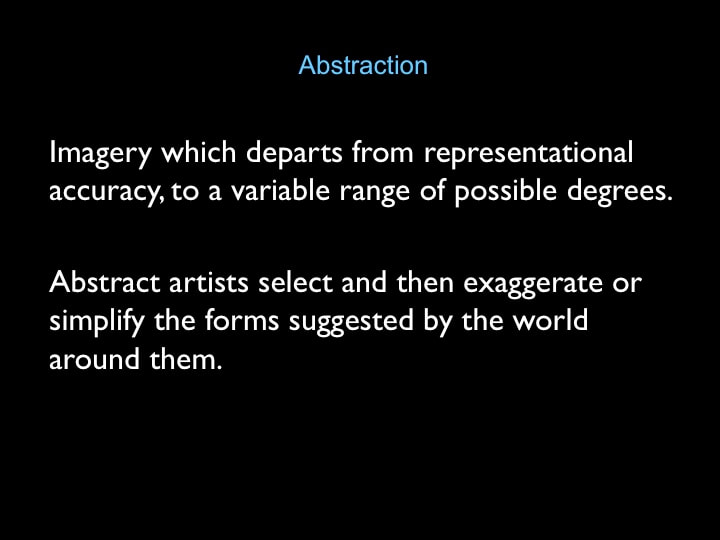
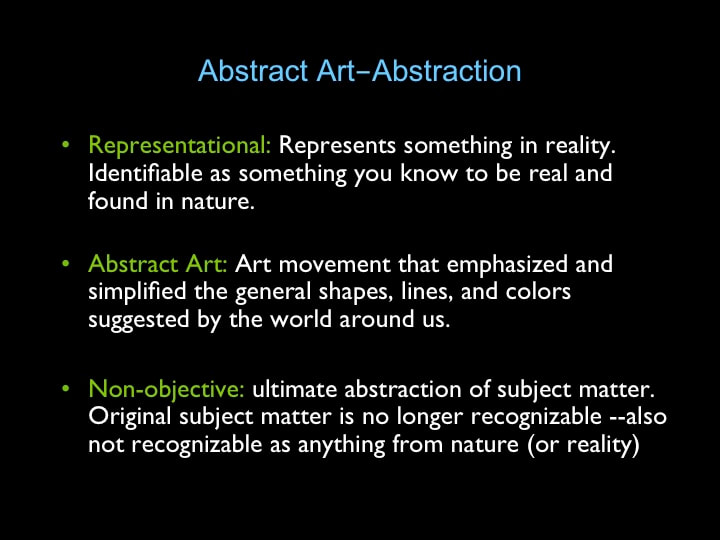
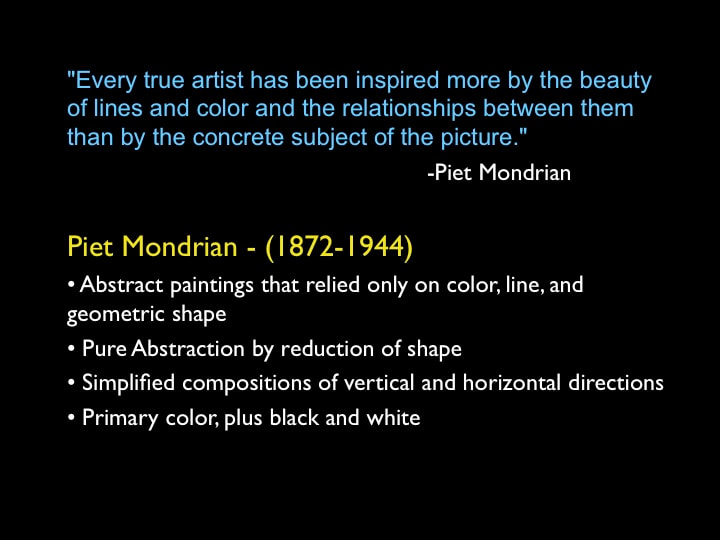
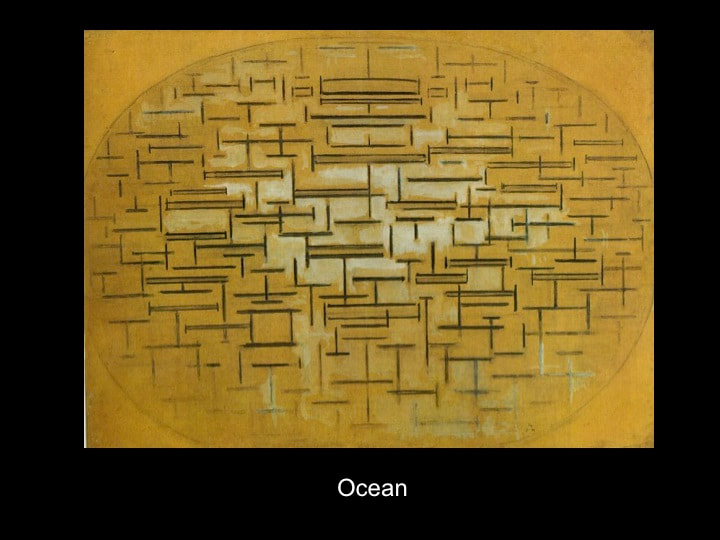
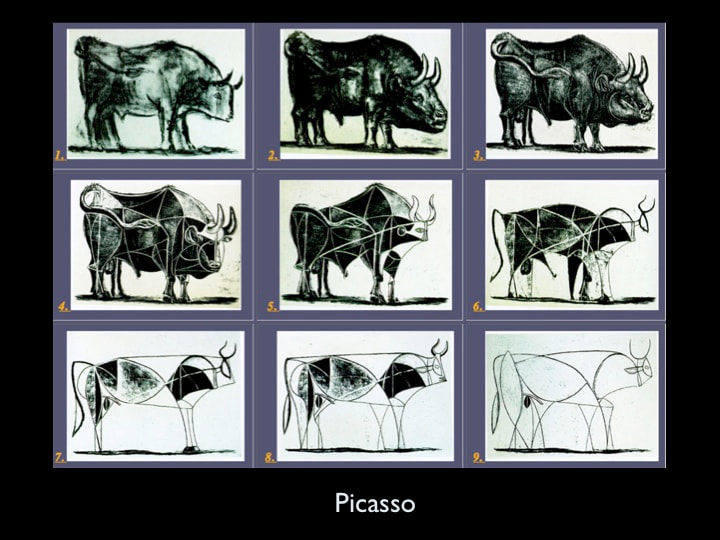
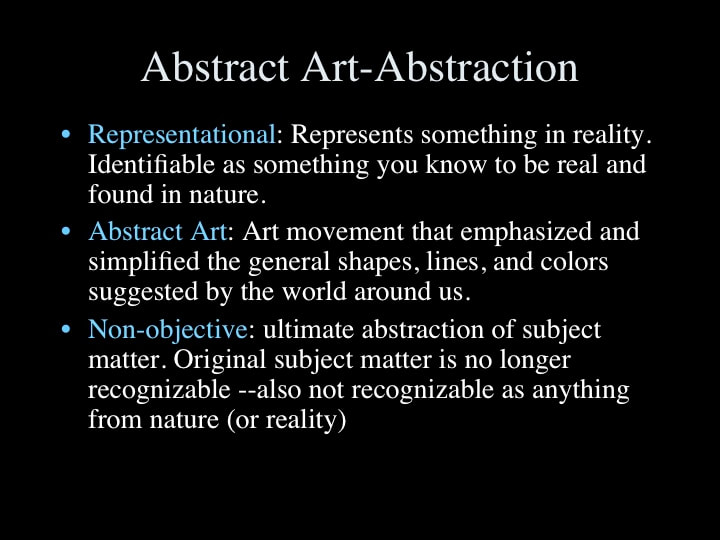
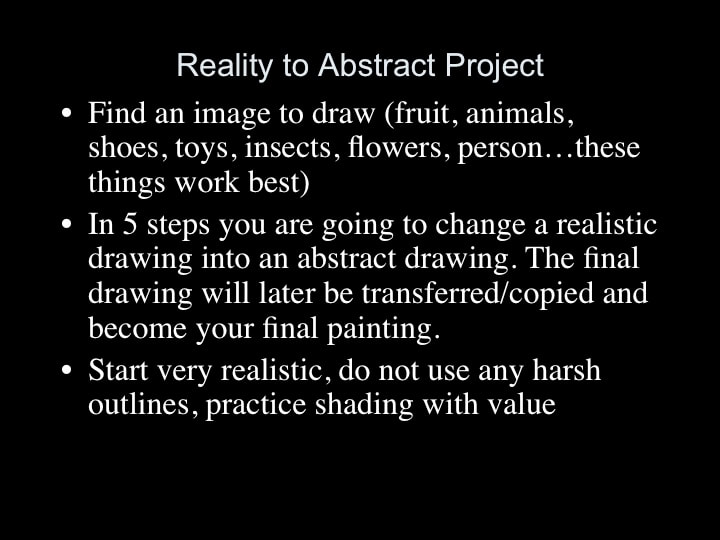
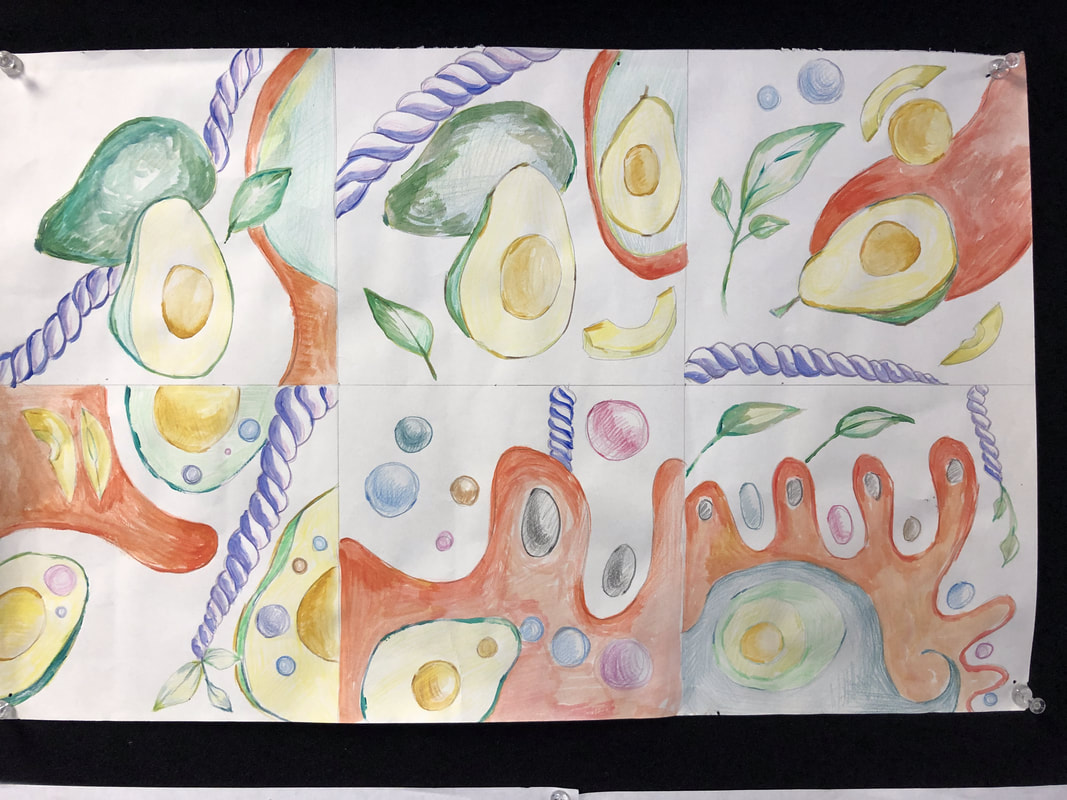
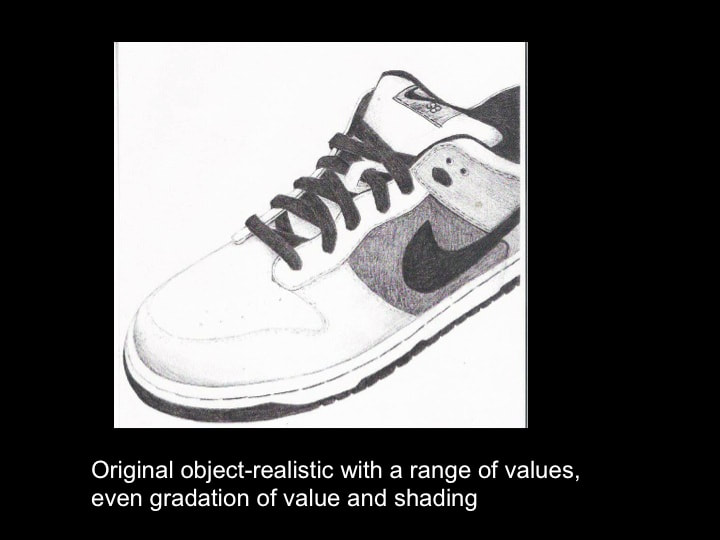
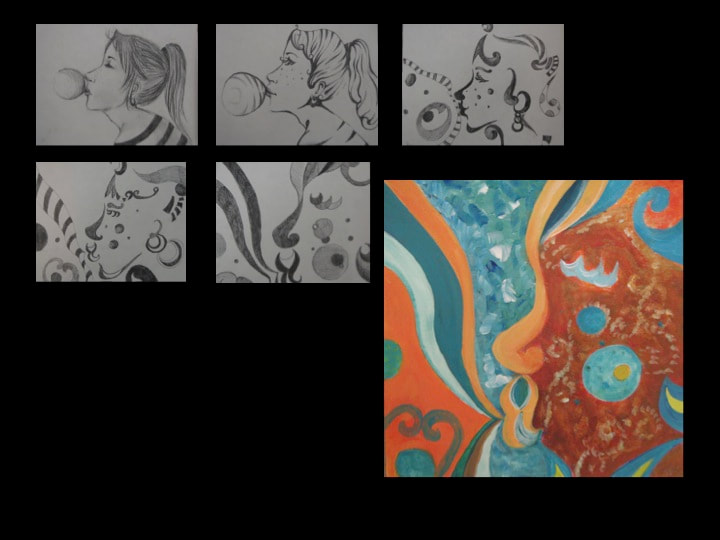
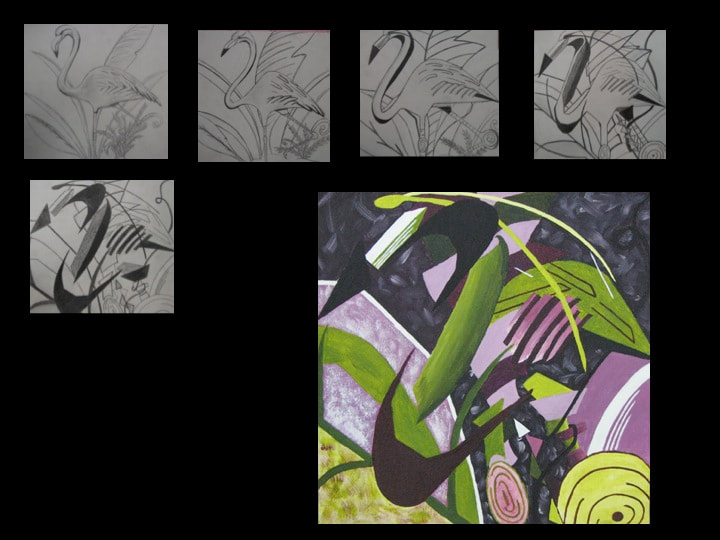
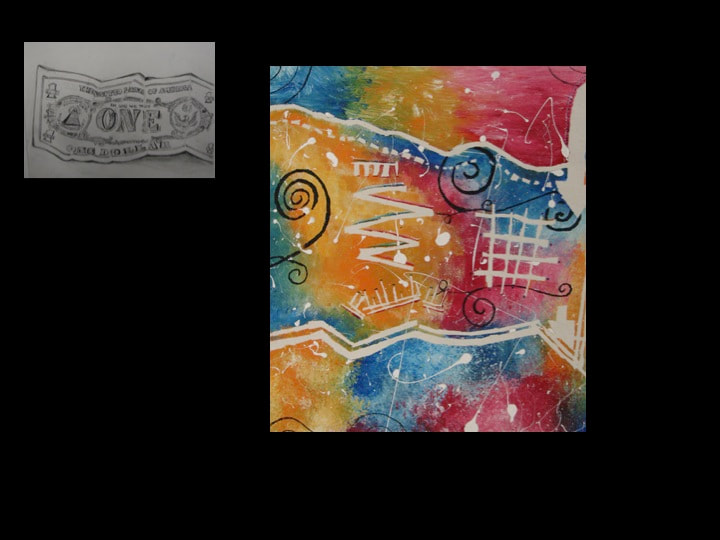
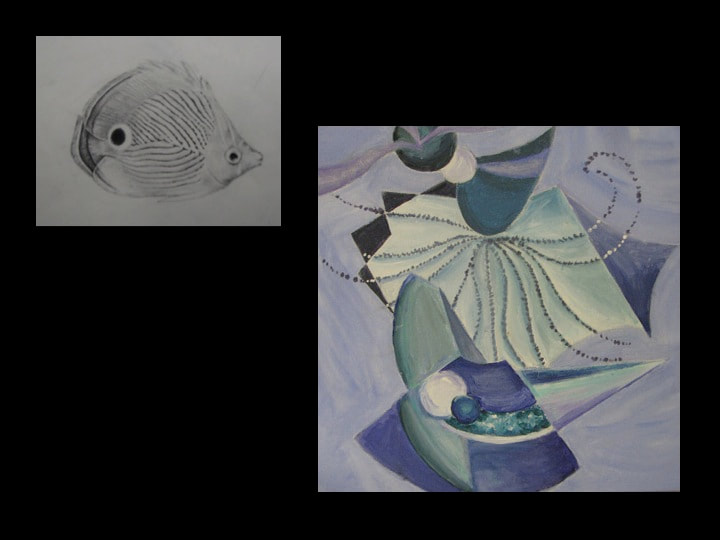
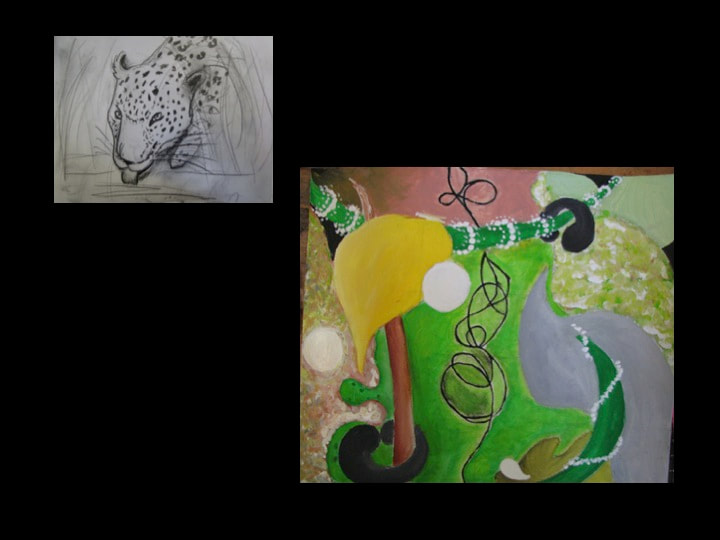
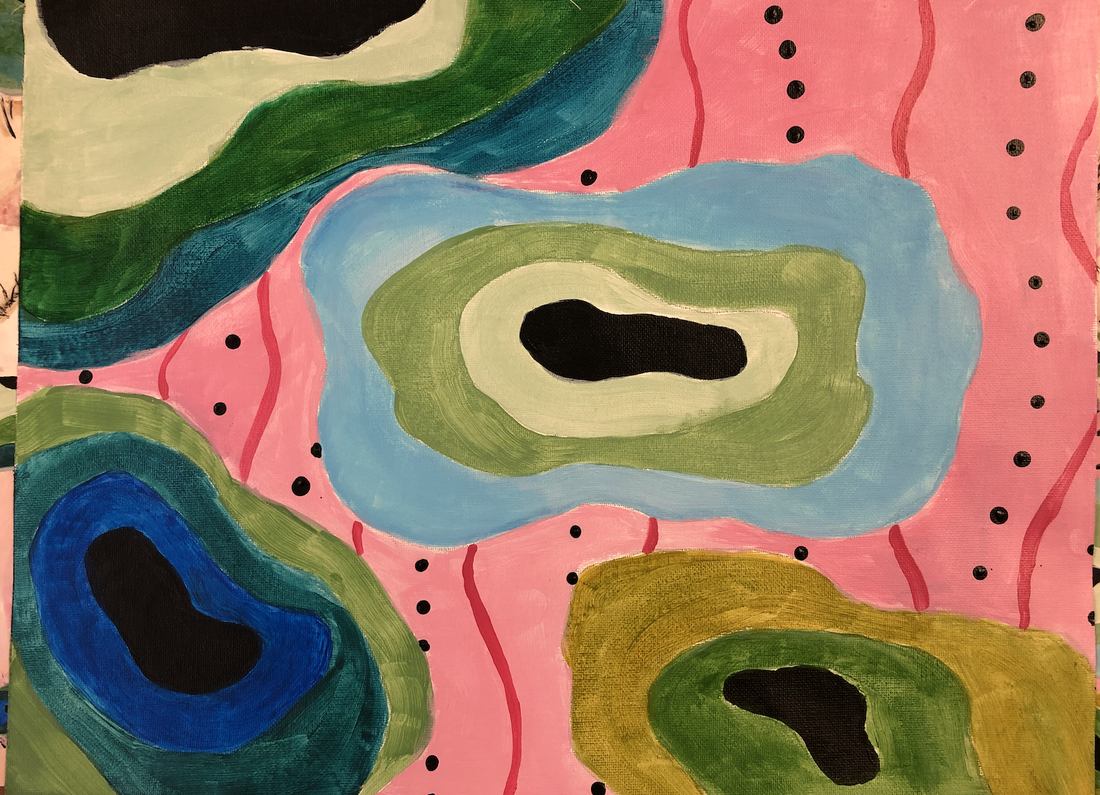
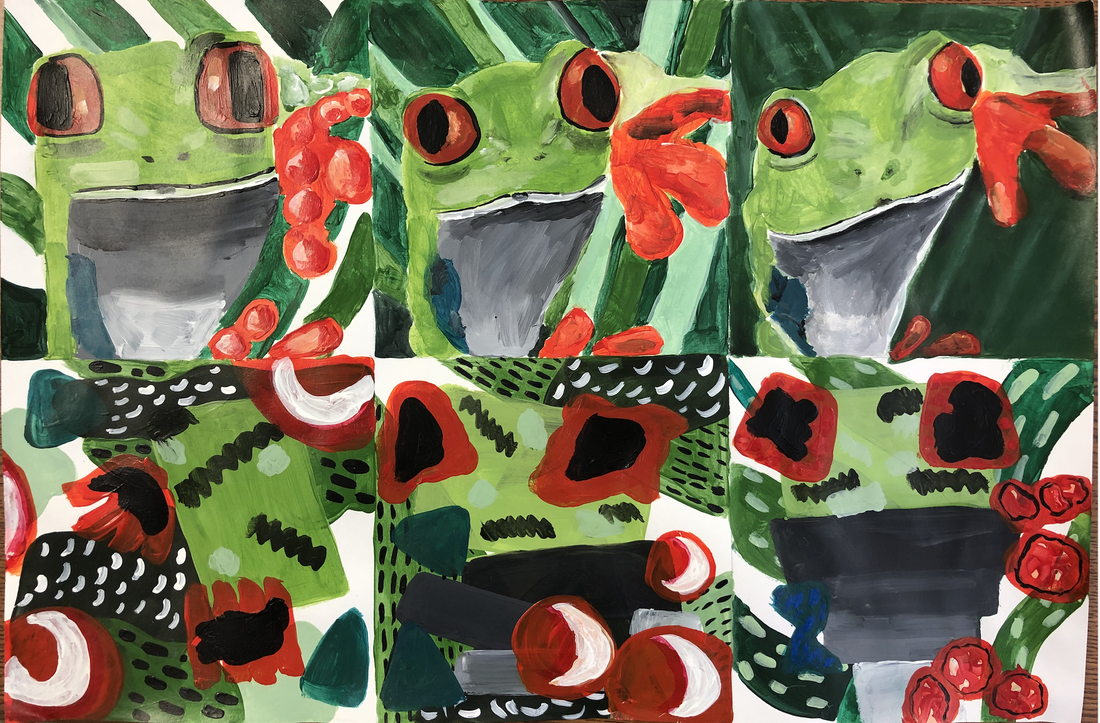
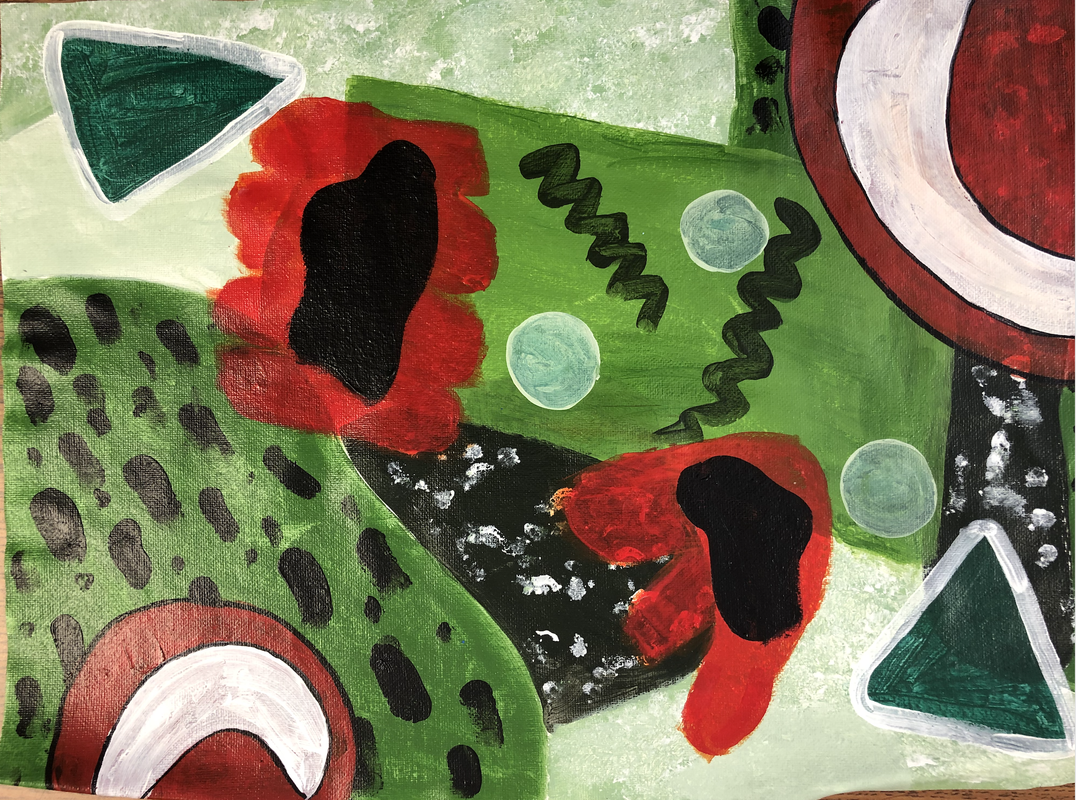
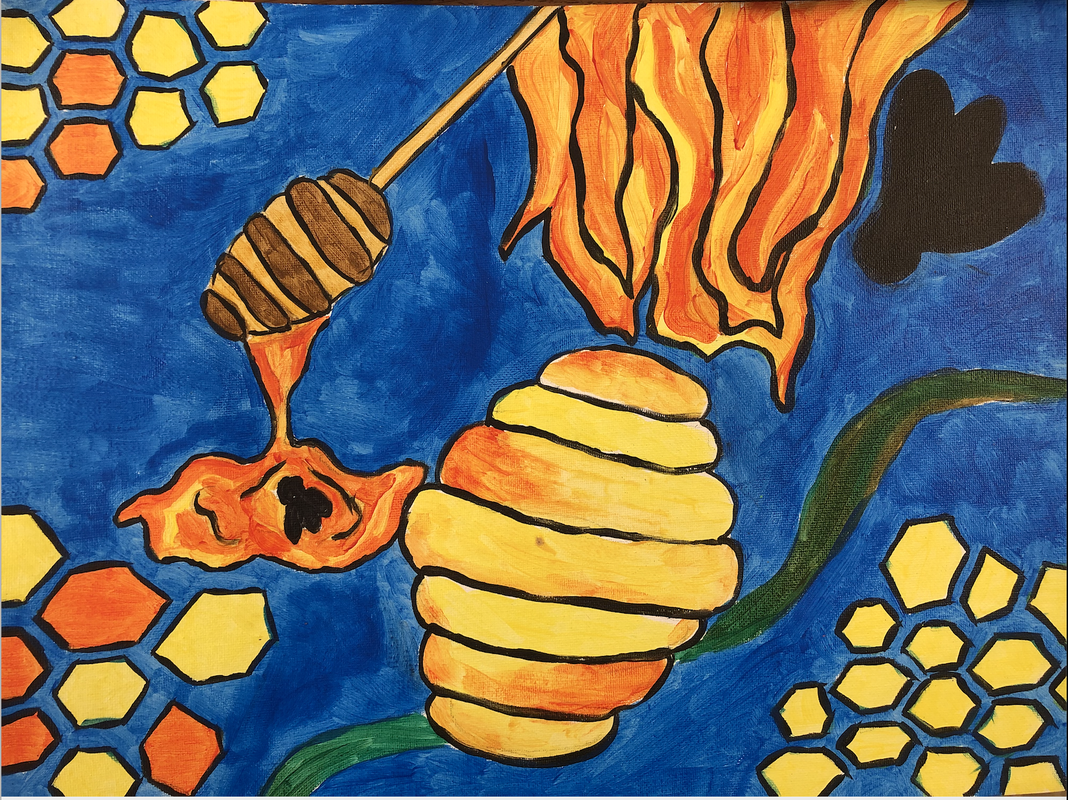
Reality to Abstract: Drawing and Painting
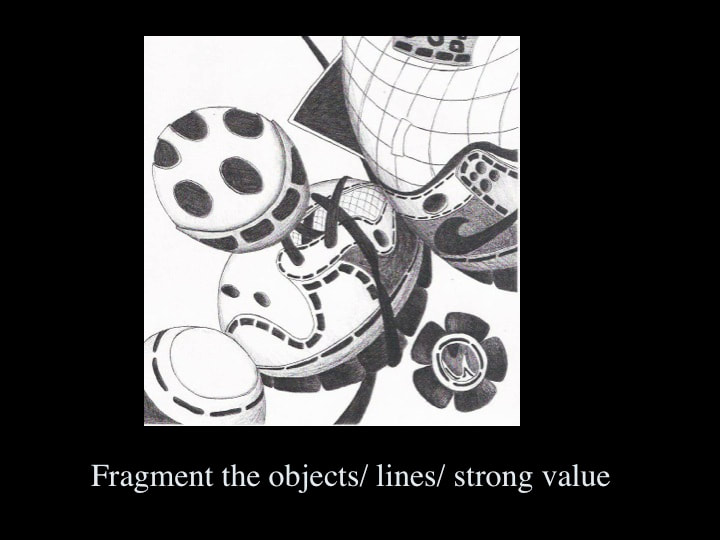
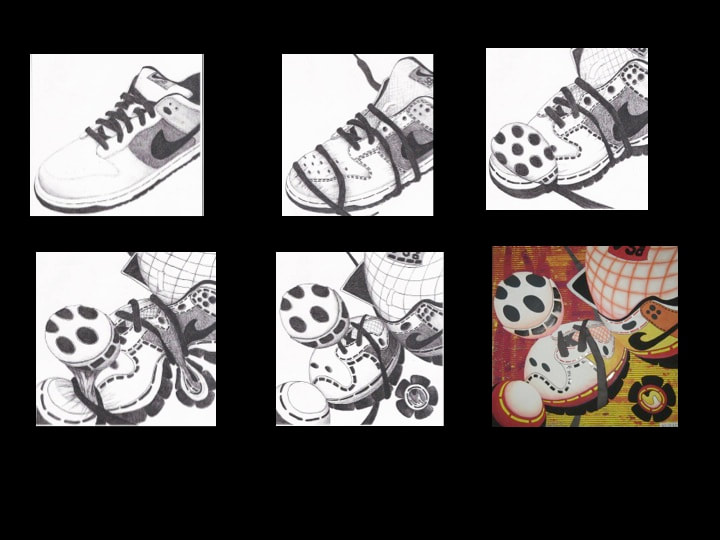
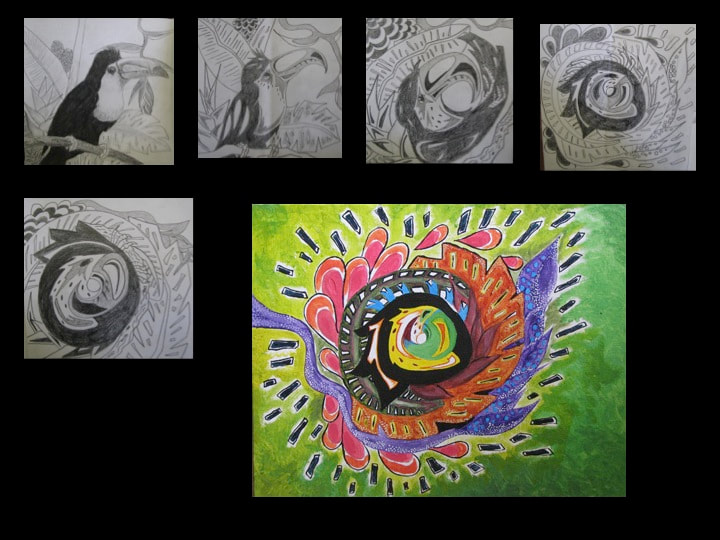
Reality to Abstract Paintings
You will paint 6 paintings of one subject of your choice: car, bird, fish, hand, shoe, tree, etc.
-show shading with a range of values from dark to light
-show 3D form in the first drawing and transition each drawing to be more and more abstract
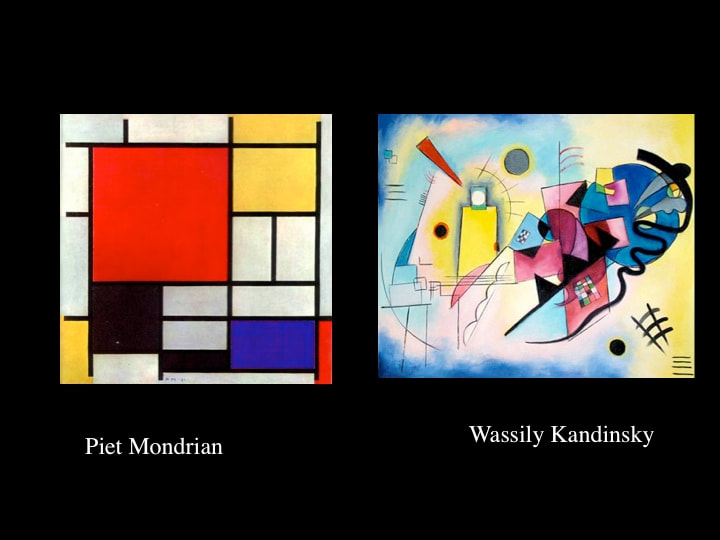
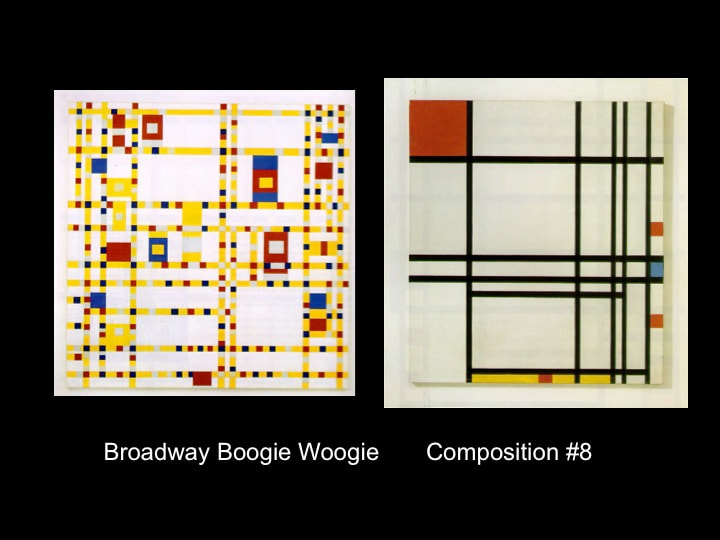
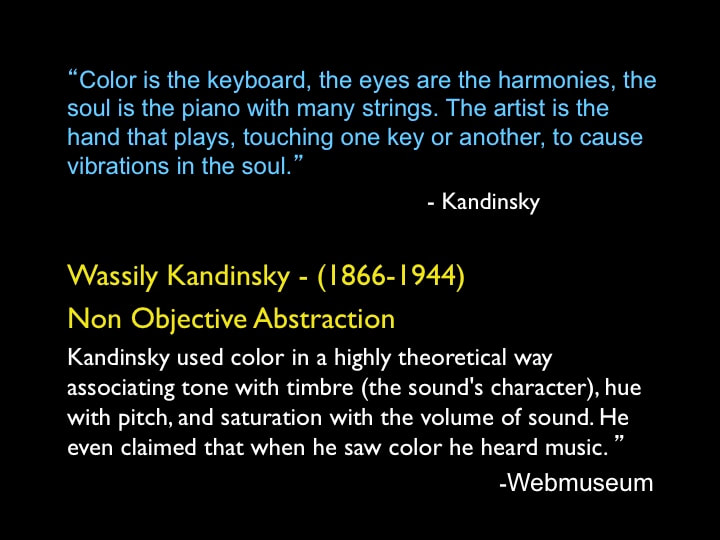
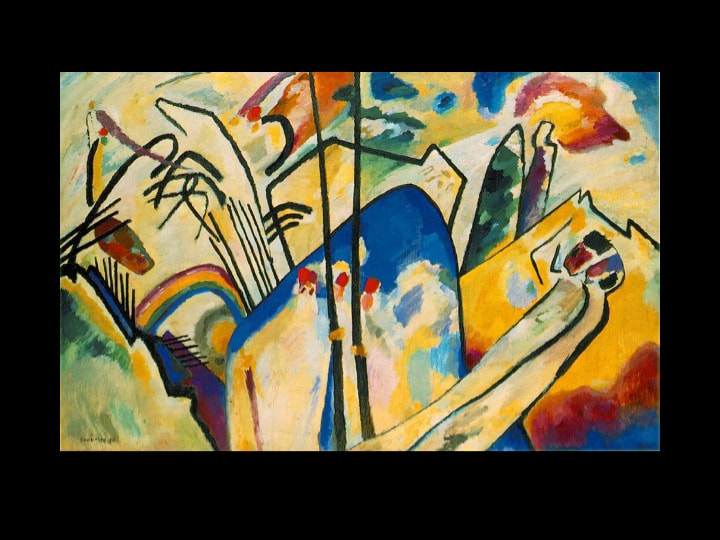
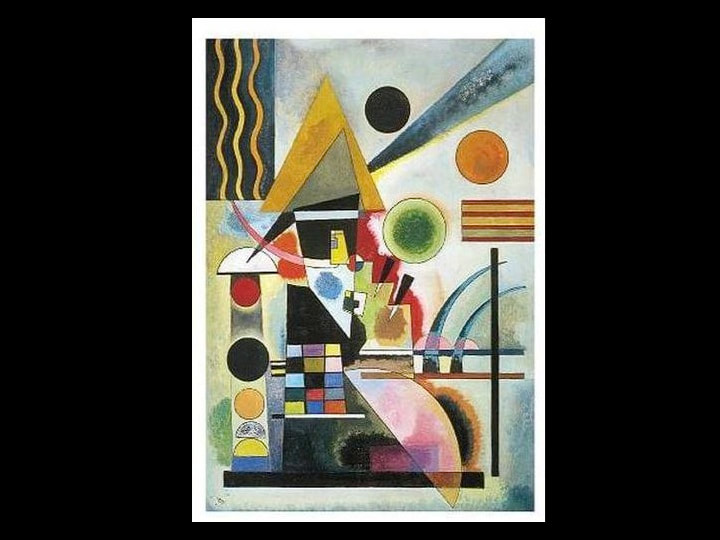
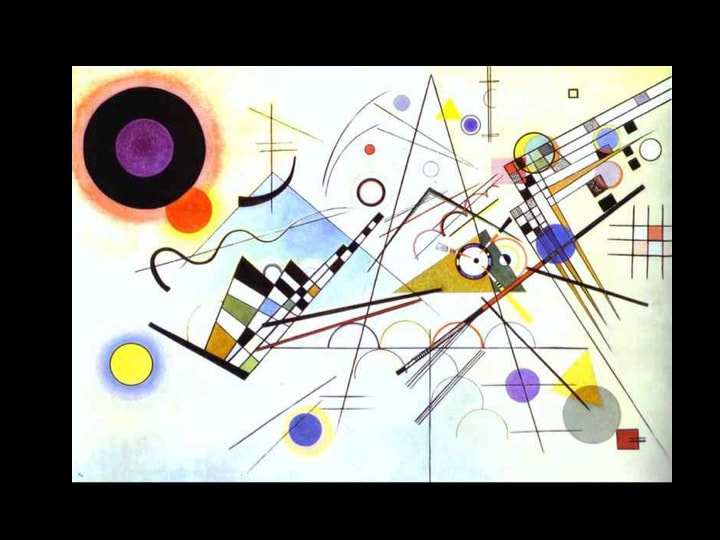
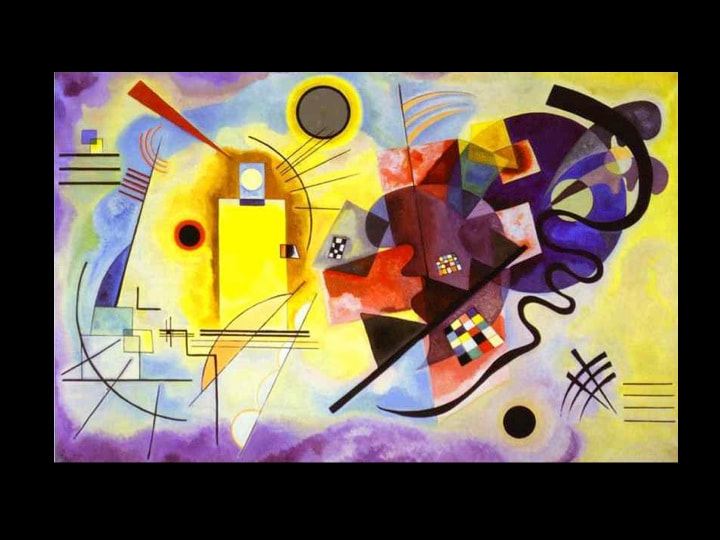
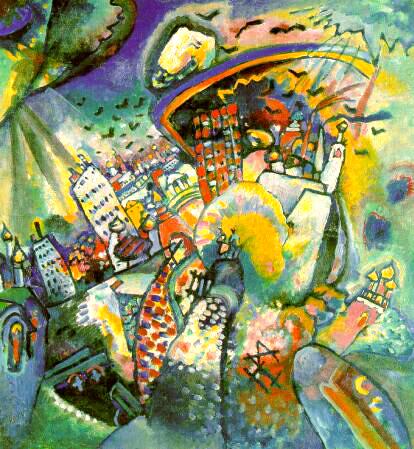
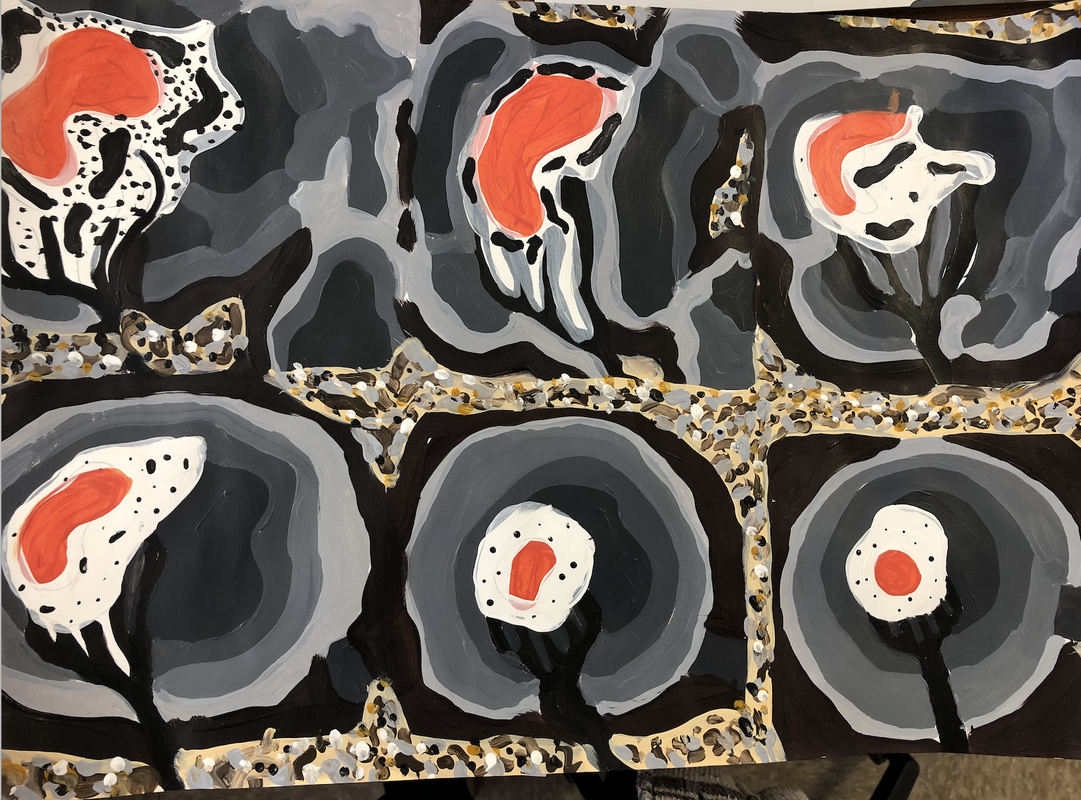
Wassily Kandinsky
You will paint 6 paintings of one subject of your choice: car, bird, fish, hand, shoe, tree, etc.
- Divide your picture plane into 5 small shapes and 1 large shape. See template in class for ideas.
- You will use acrylic paint or oil pastel.
- The first drawing will be drawn as realistically as possible.
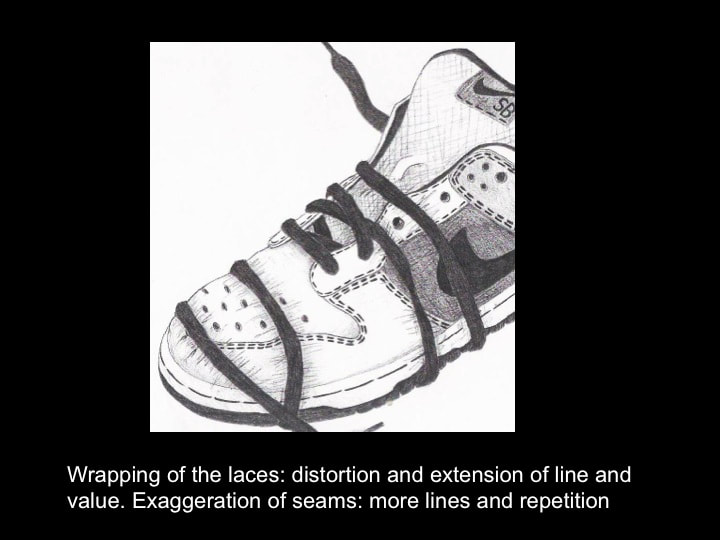
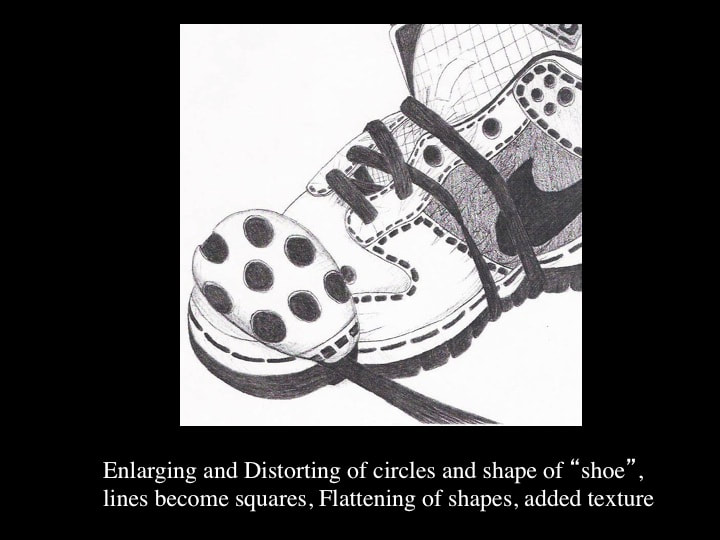
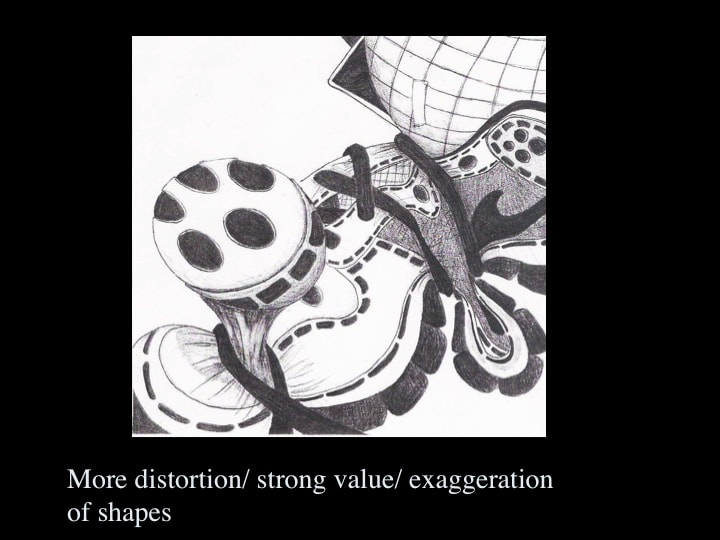
- Your next drawing will begin to abstract the object: Distorting, elongating, stretching, fragmenting, reducing to geometric shape, outlining, enlarging, shrinking...
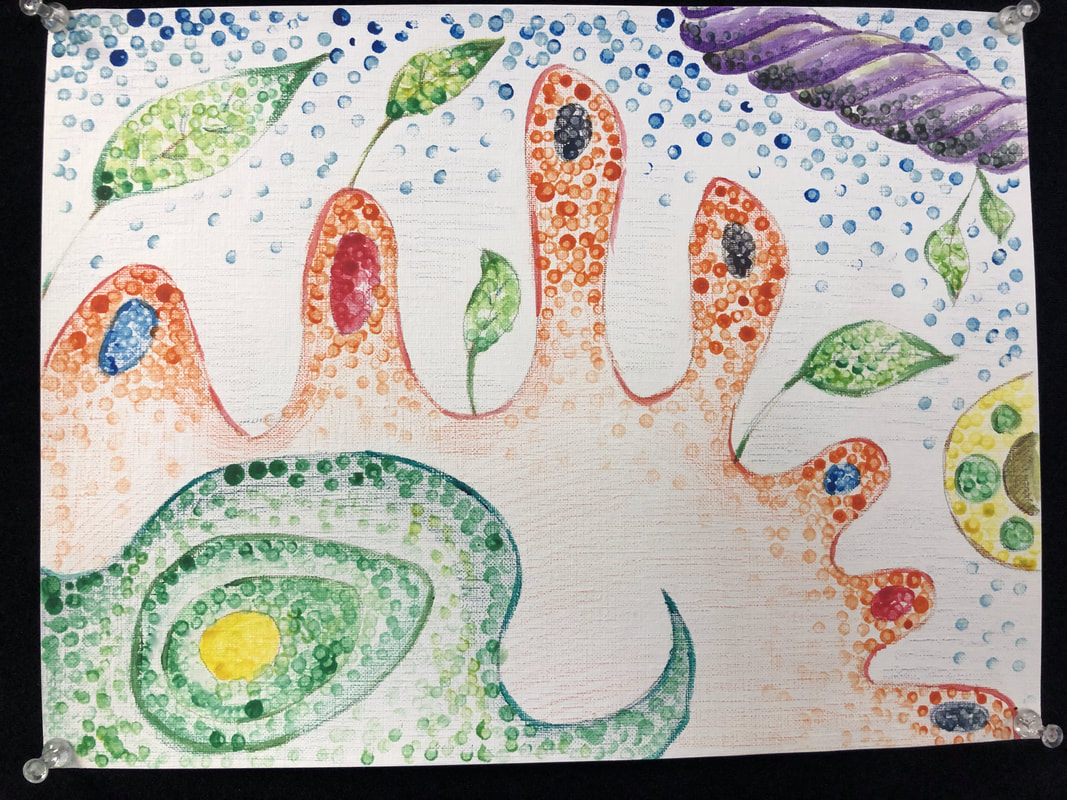
- Continue to abstract the object until your large 6th painting is completely abstract.
- Each painting must be a minimum 5x5 inches
- Each painting should be well developed:
- When you are done you will have SIX Complete paintings.
-show shading with a range of values from dark to light
-show 3D form in the first drawing and transition each drawing to be more and more abstract
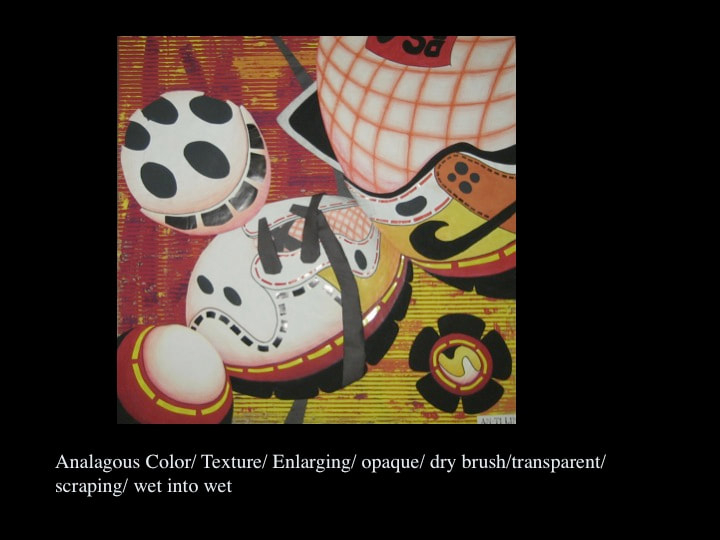
- Decide on A COLOR SCHEME: analogous, complementary, monochromatic, split complement, triadic, or neutrals for your abstract painting. This must consist of no more than 4 colors on the color wheel. After choosing your colors, write them down on the back of your canvas.
- Using only these 4 colors and their TINTS and SHADES (using black and white), paint your abstract composition with acrylics or Oil pastels.
- You must also use at least 4 of the painting techniques listed below.
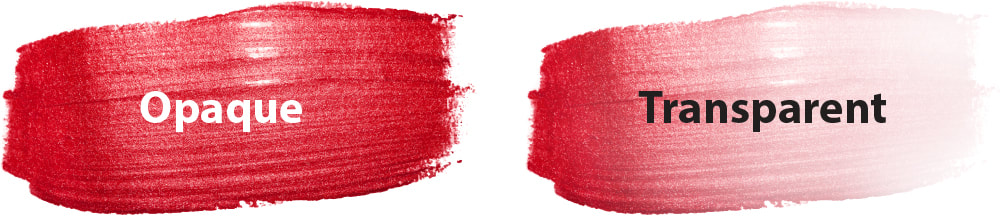
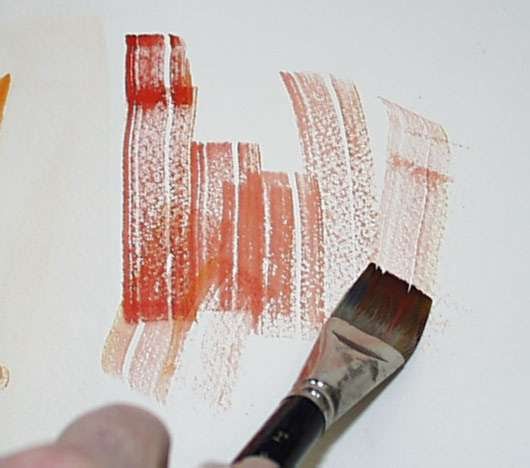
- Opaque
- Transparency
- Splatter
- Stipple
- Scumble
- Wet into Wet
- Scraping
- Scratching
- Abrading
- Dry Brush
- Dripping
- Hard Edge with Masking
- Stamp with Sponge
- Stamp with Brush
- Drag Sponge
- Marbelize
- Alcohol drip
- Try to vary the way you use these techniques. Think about how and where you use each technique. (Using these techniques everywhere will lead to a composition that looks too busy and cluttered).
- Keep in mind the overall balance of your composition when choosing colors and techniques to apply.
- Utilize a range of values of colors. Pure pigment and the tints and shades. Your color does not need to be “flat” or all 1 color.
- Use shading and blending techniques with the paint: blend from one color to another, or blend from pure color to a tint, or pure color to a shade.
- Experiment with new painting techniques and tools on scratch paper first. Try out making marks and blends with the palette knife, paper towels, sponges, feathers, etc.
Requirements:
- Use of a color scheme (maximum 4 colors) and the tints and shades
- Creative and thoughtful use of at least 4 painting techniques
- Composition: unique layout of shapes, lines, and subject matter. Utilization of
space and balance.
Wassily Kandinsky

Acrylic Painting Technique Examples

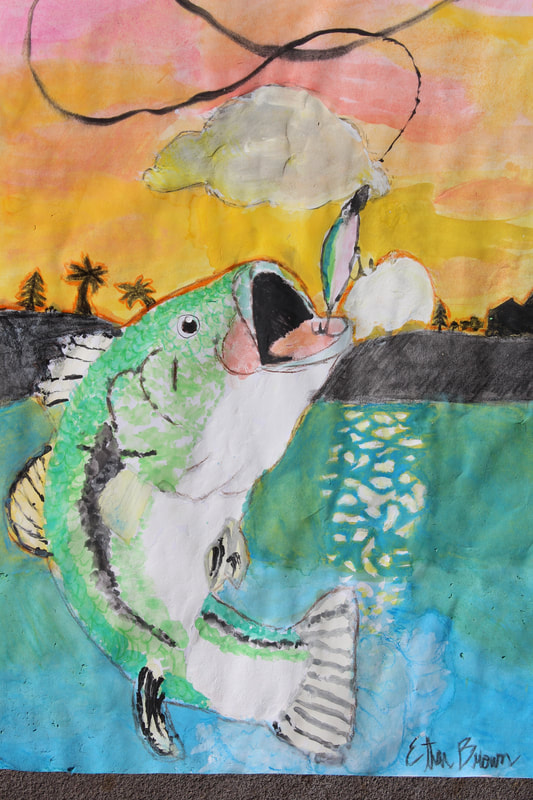
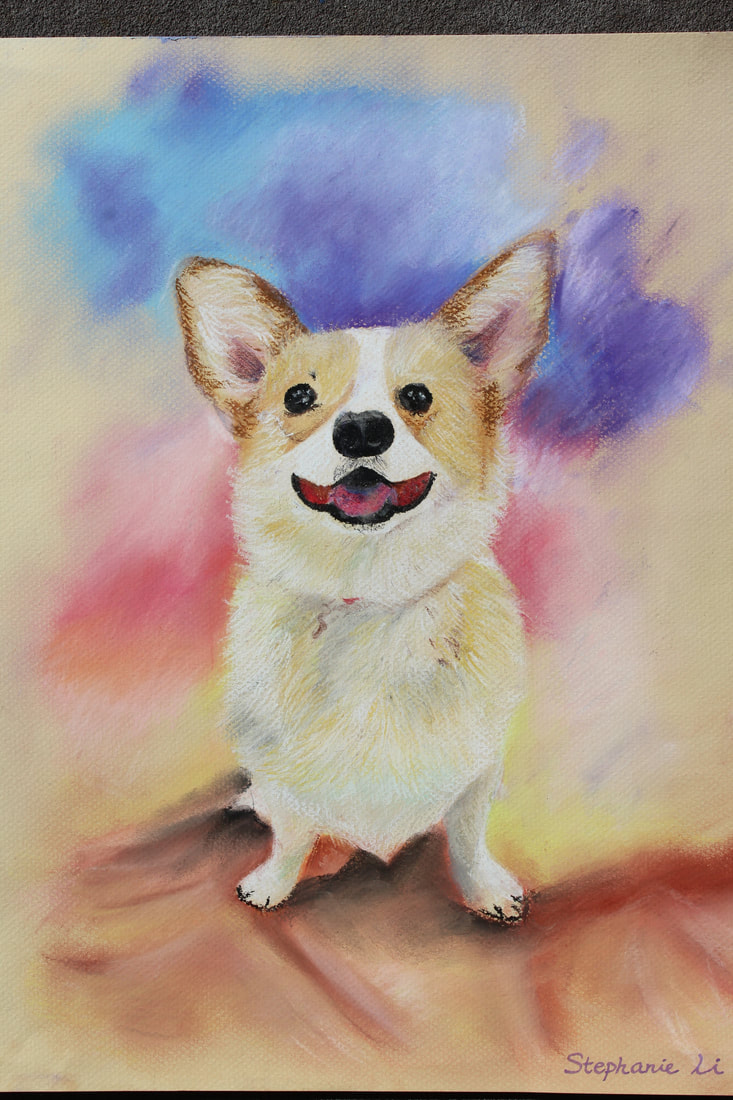
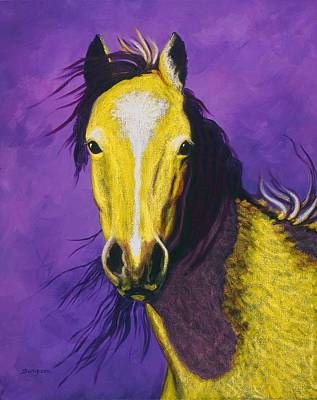
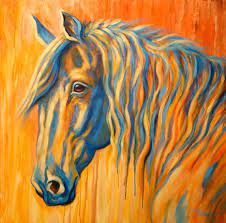
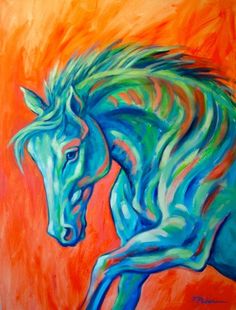
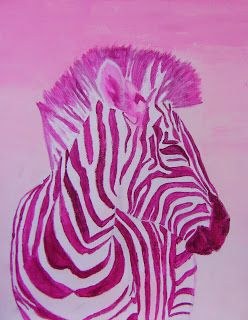
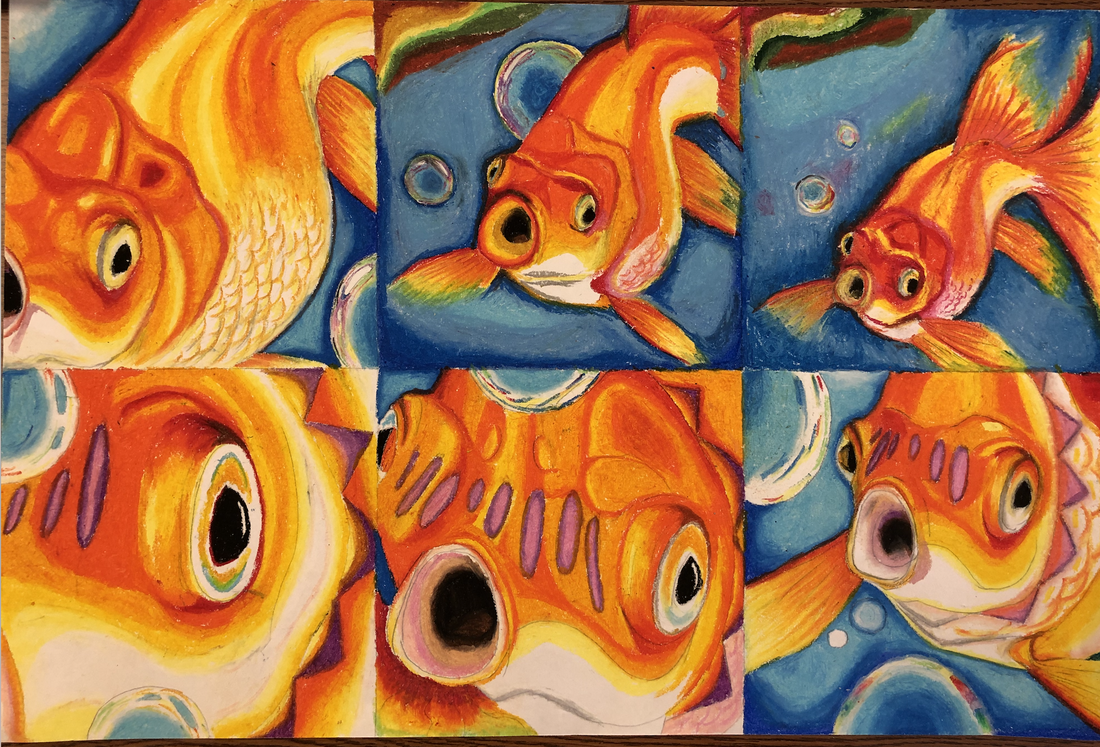
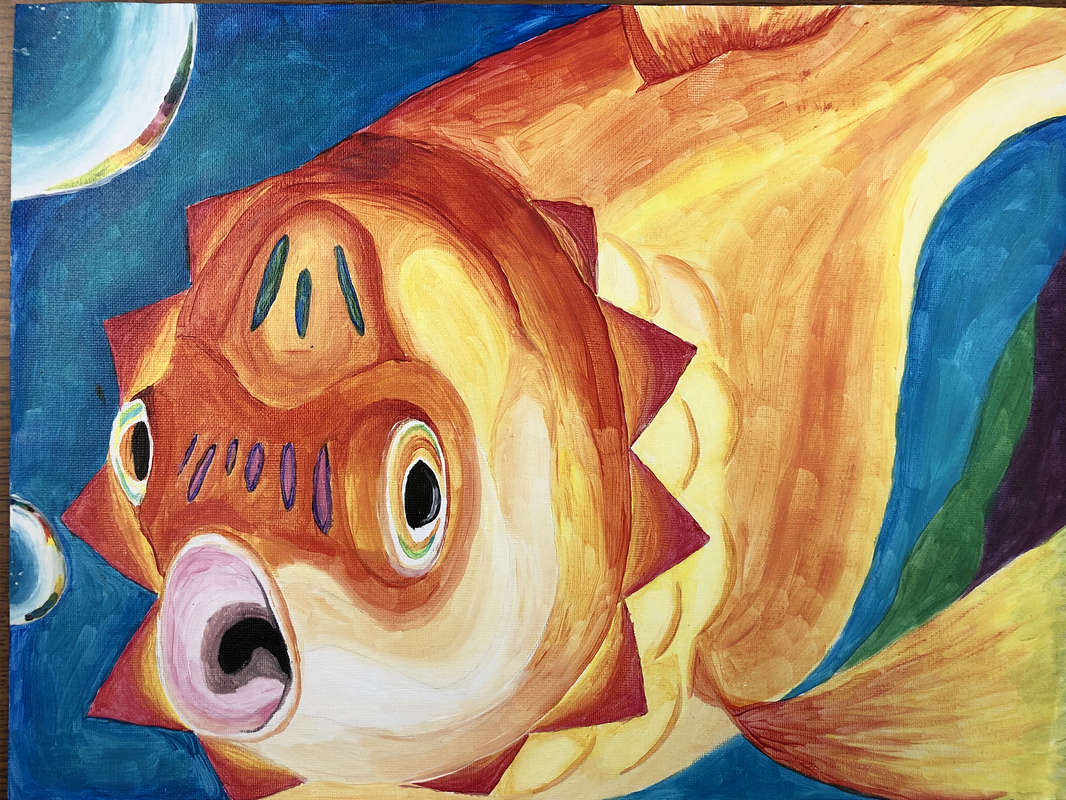
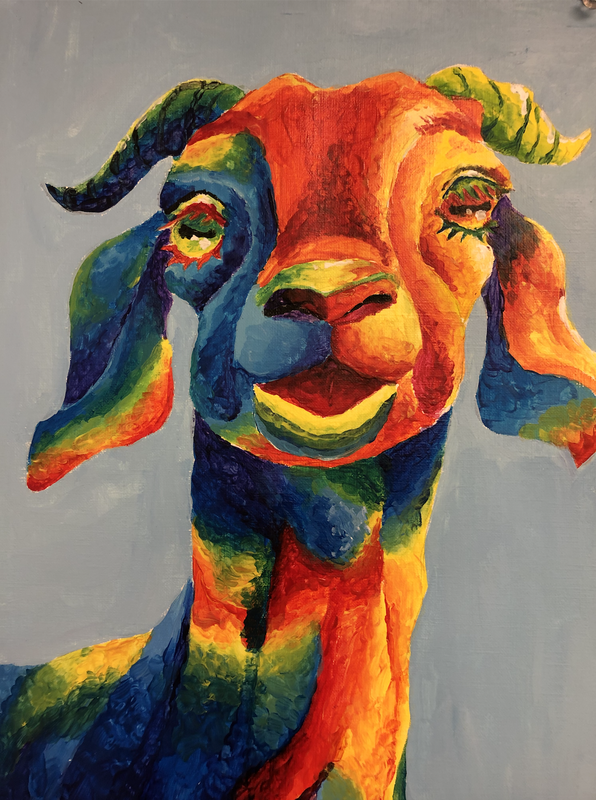
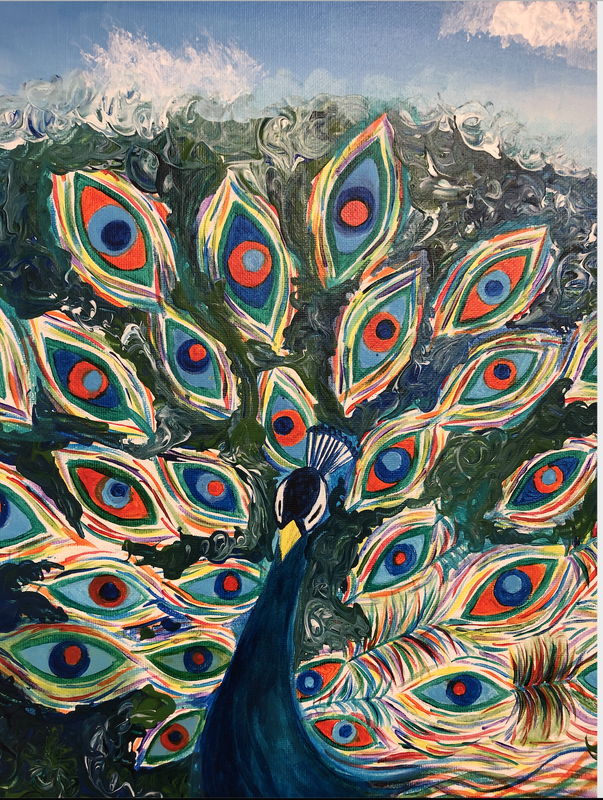
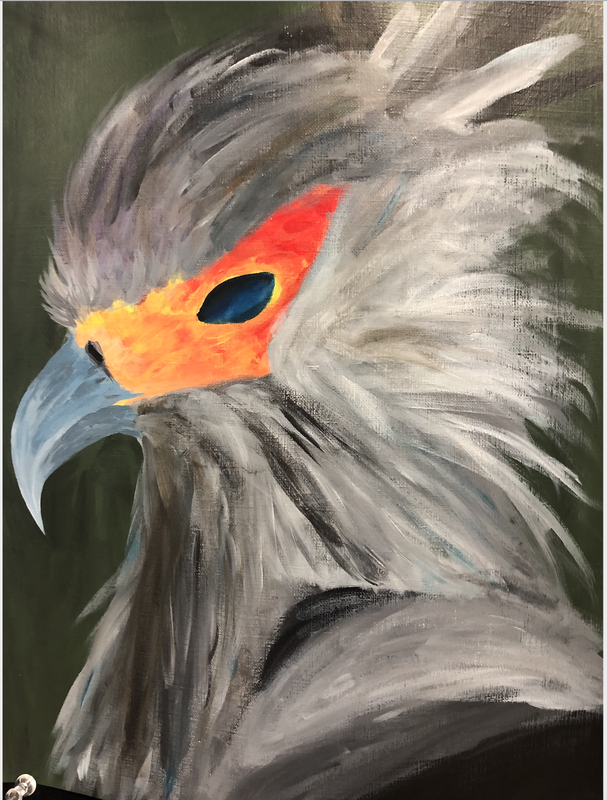
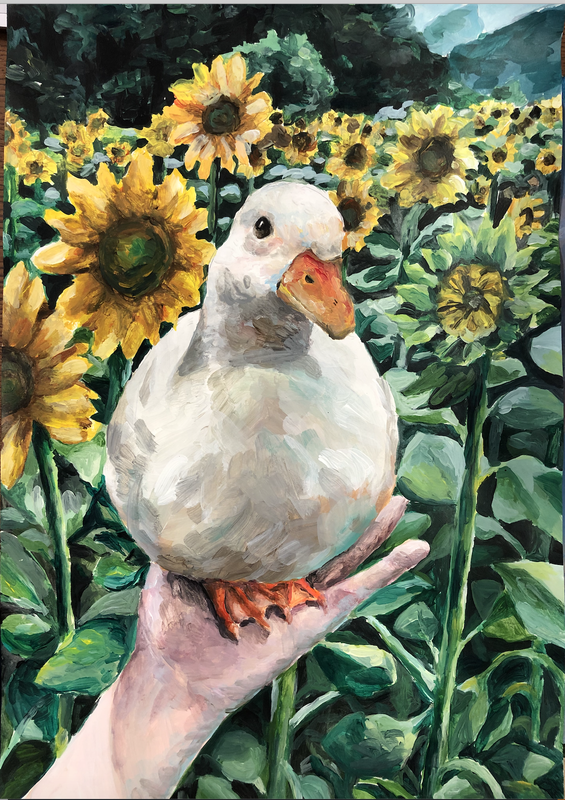
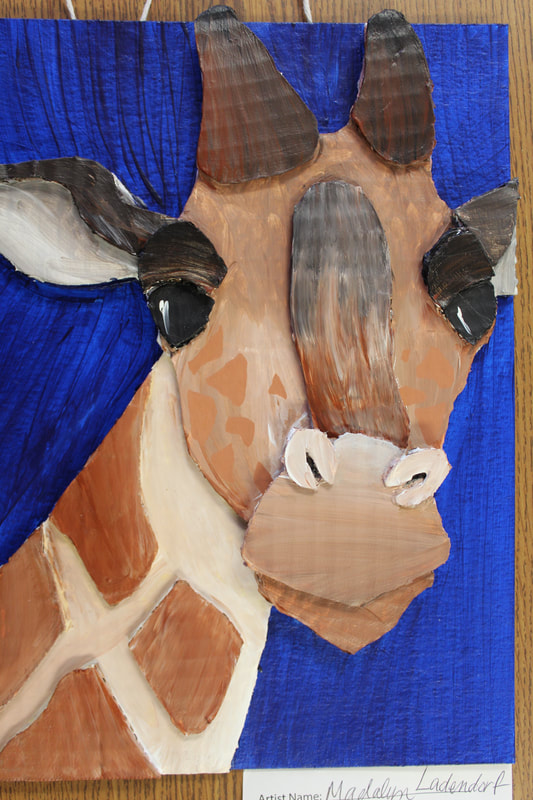
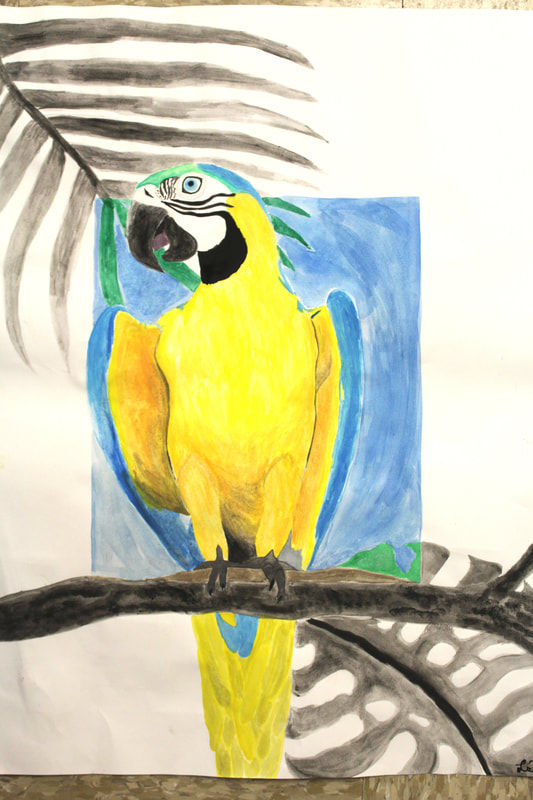
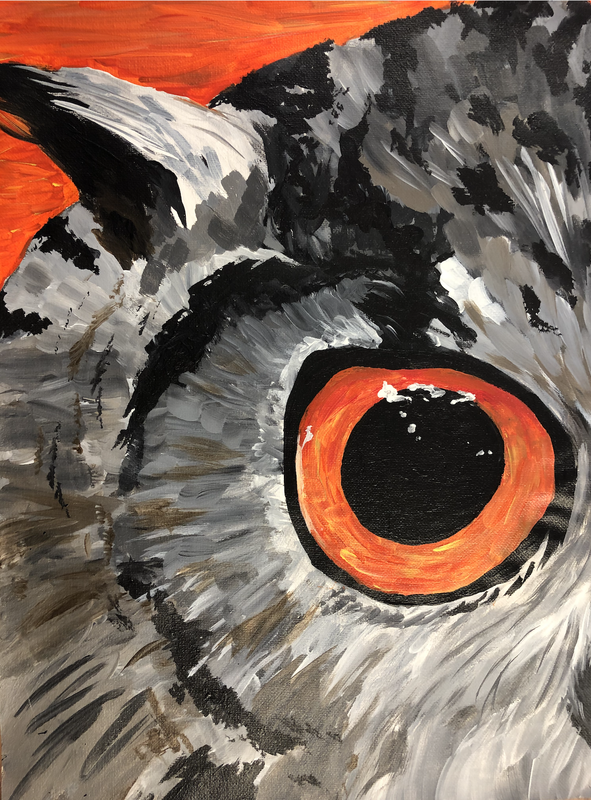
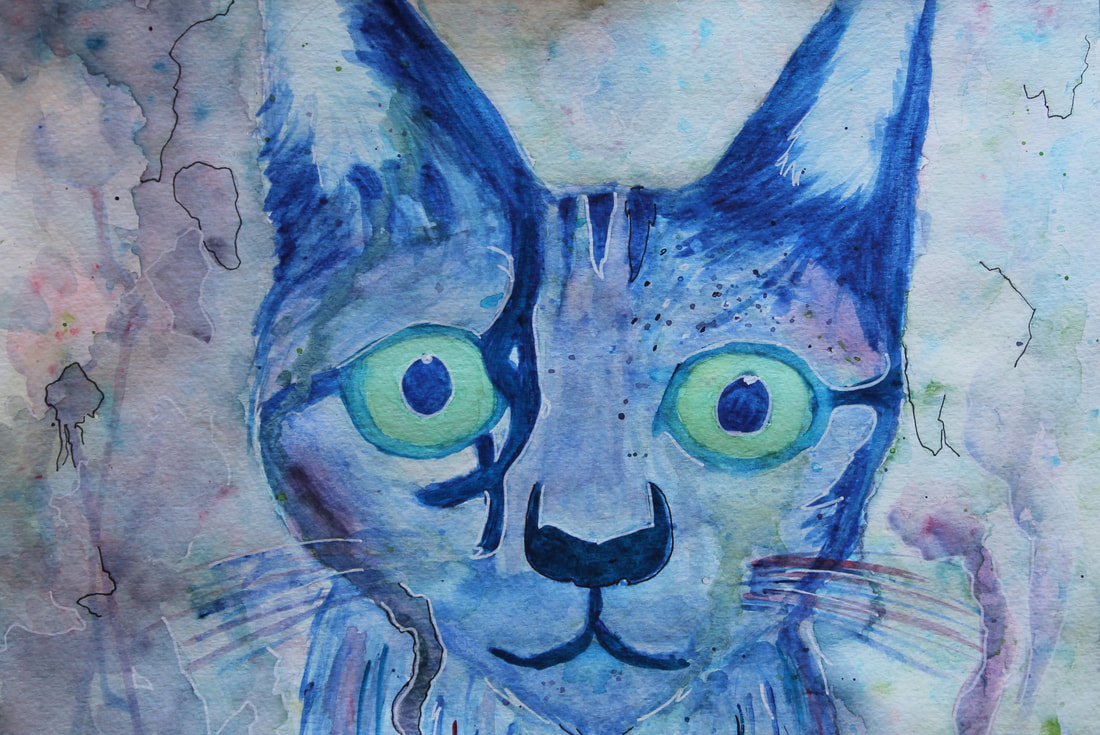
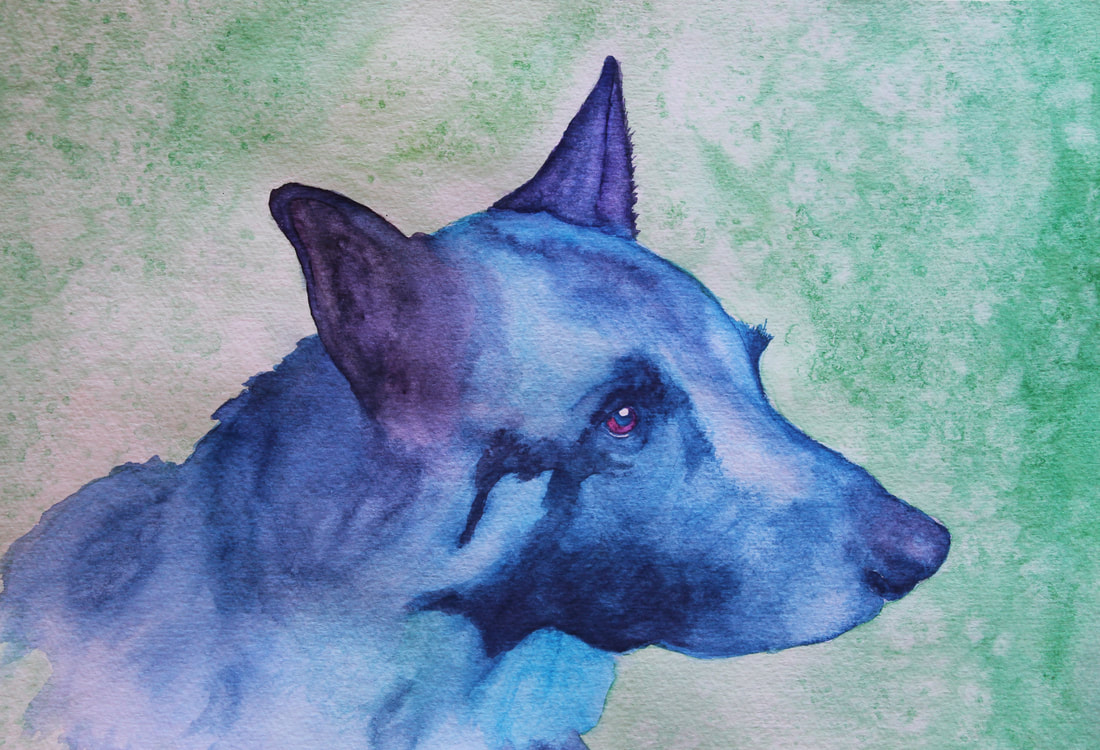
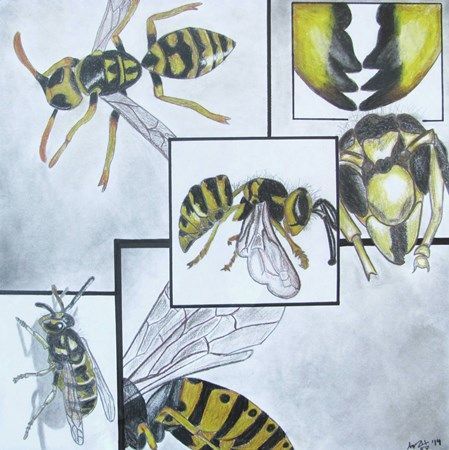
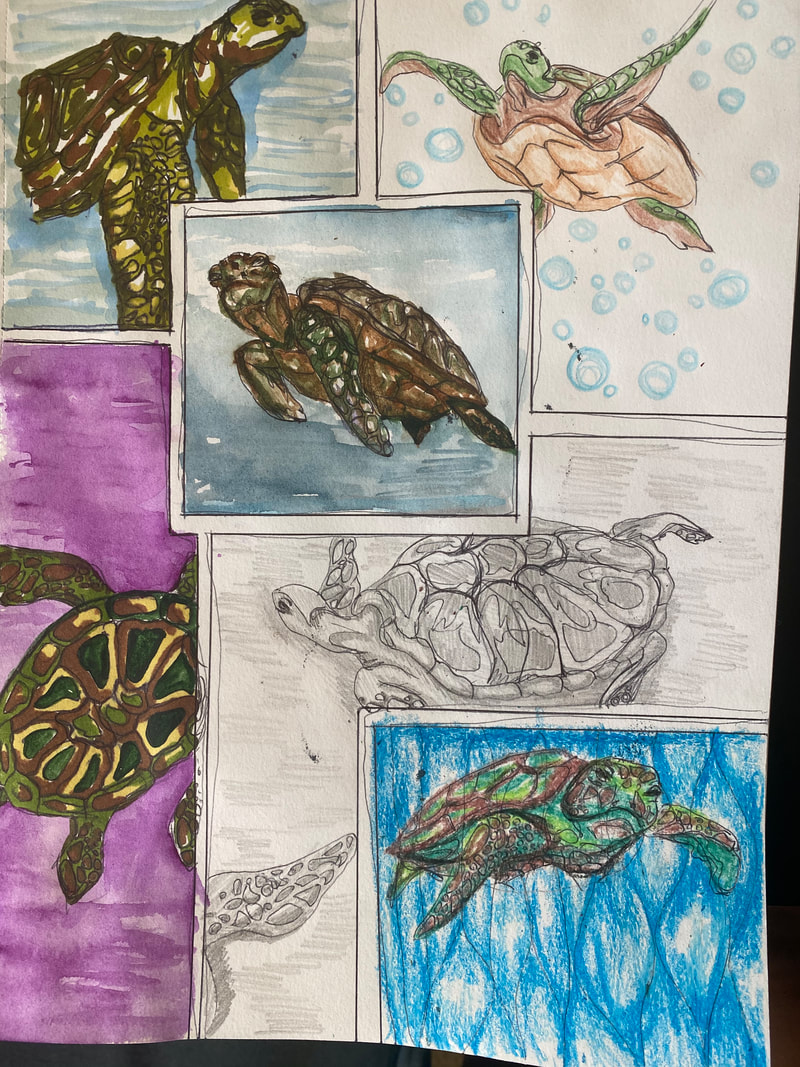
Fauvist Animal Portrait Project
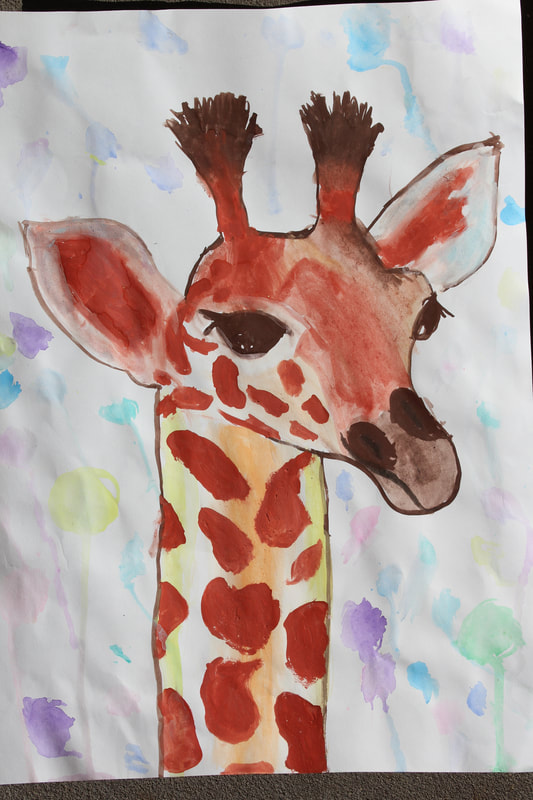
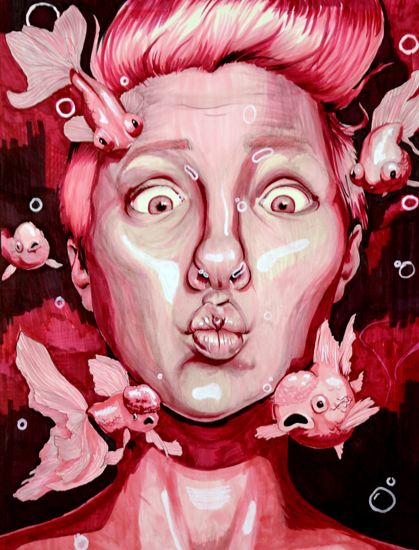
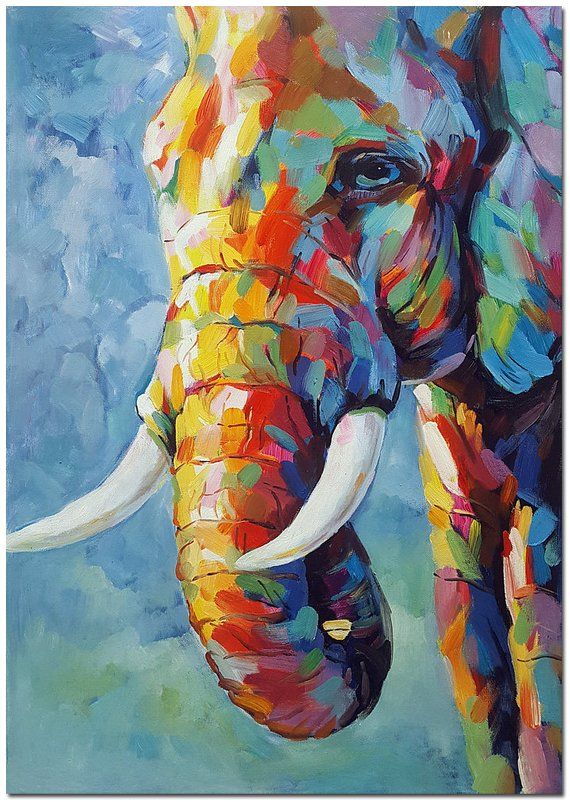
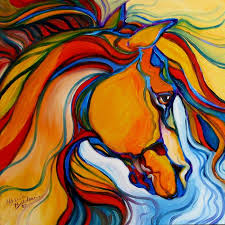
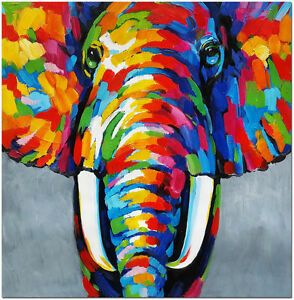
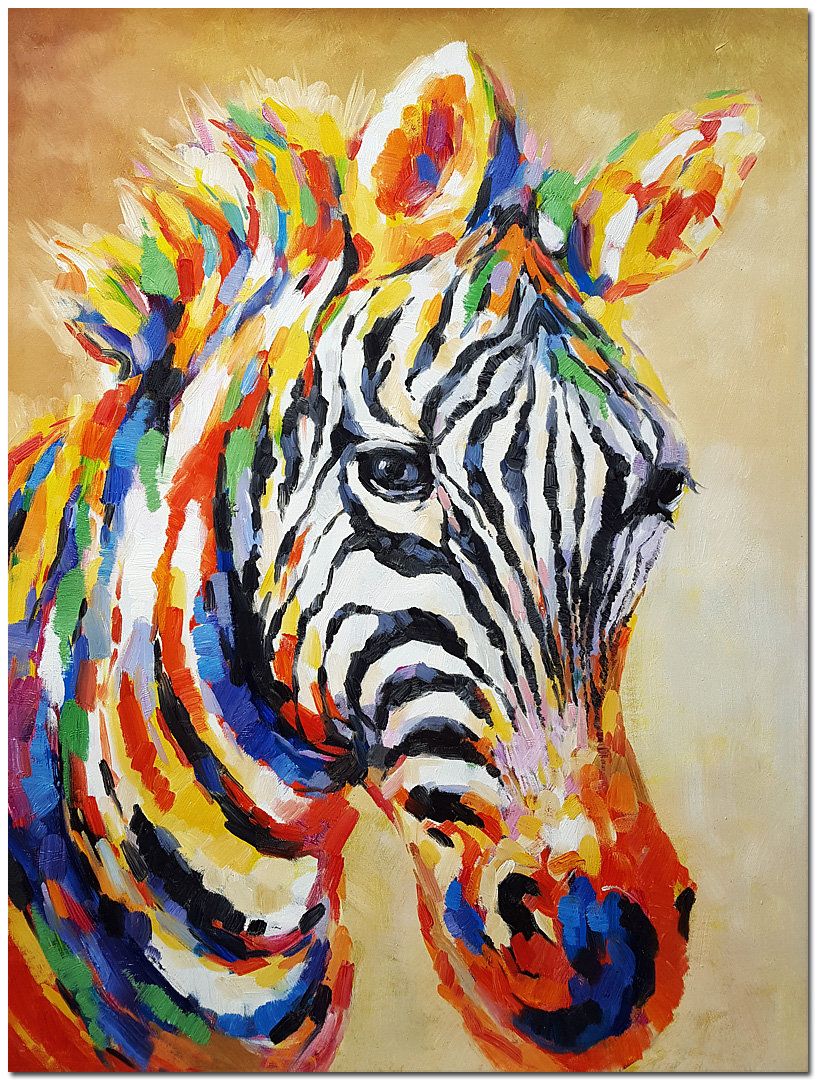
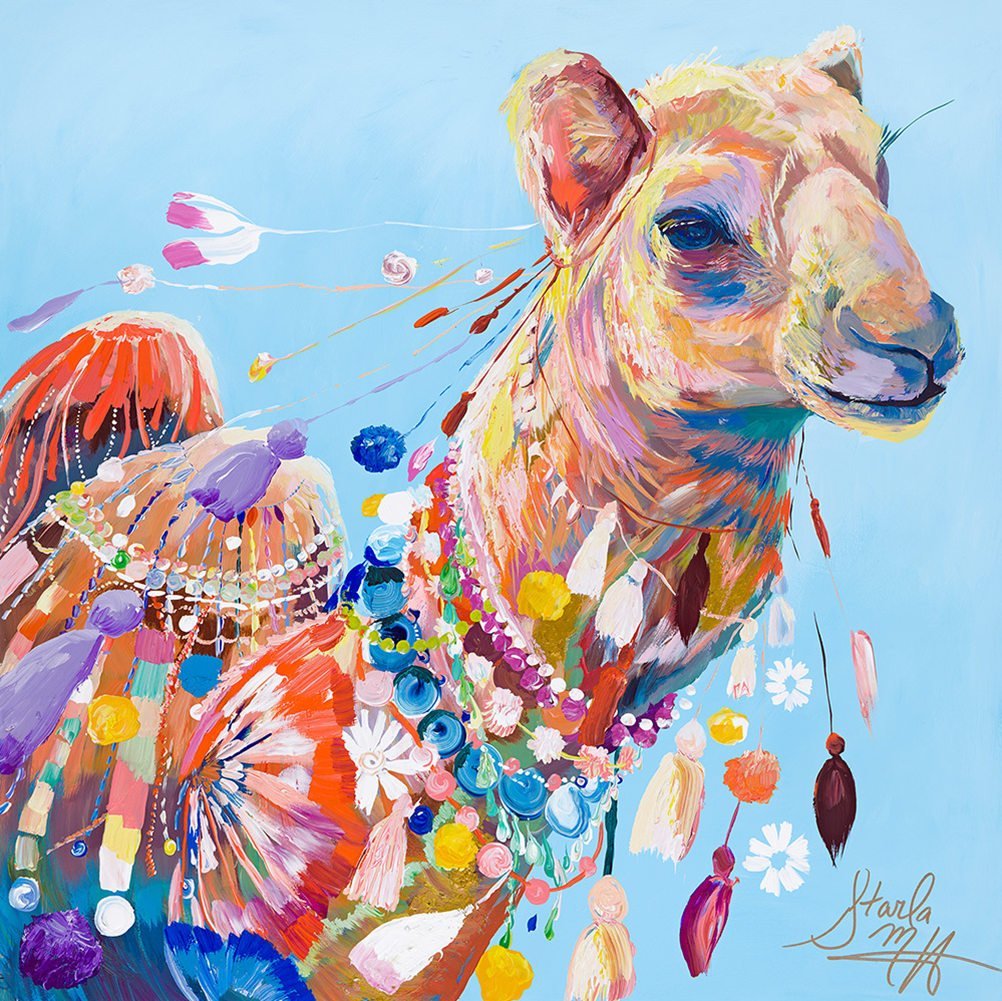
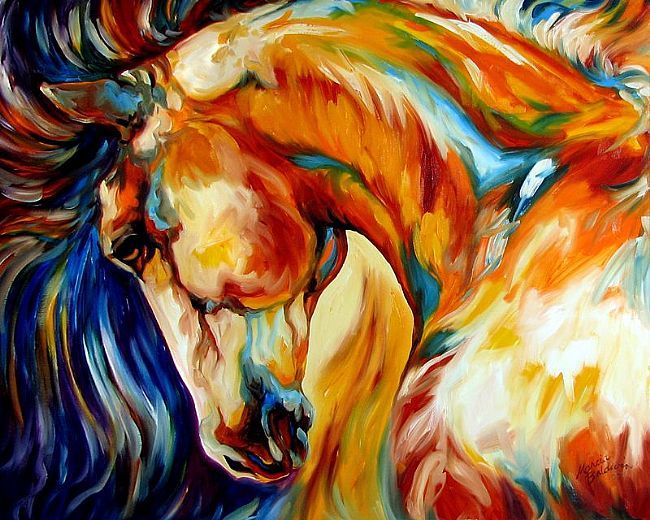
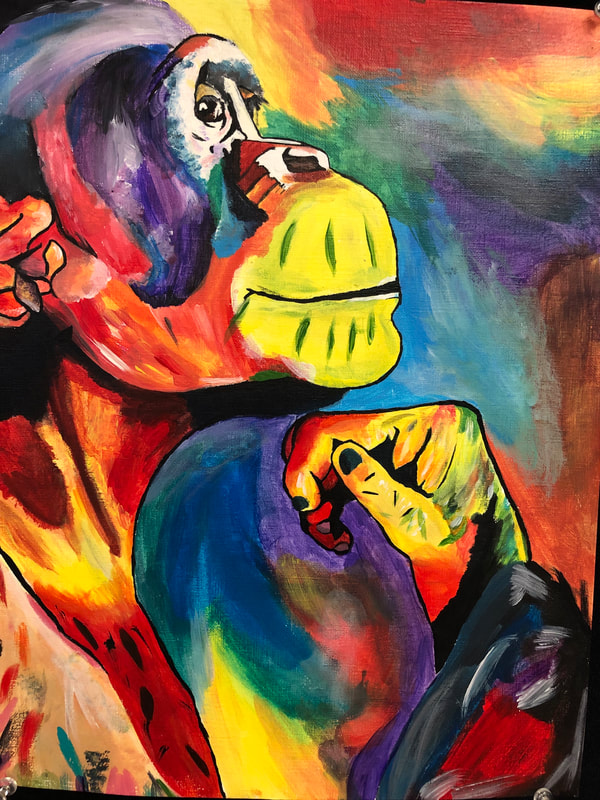
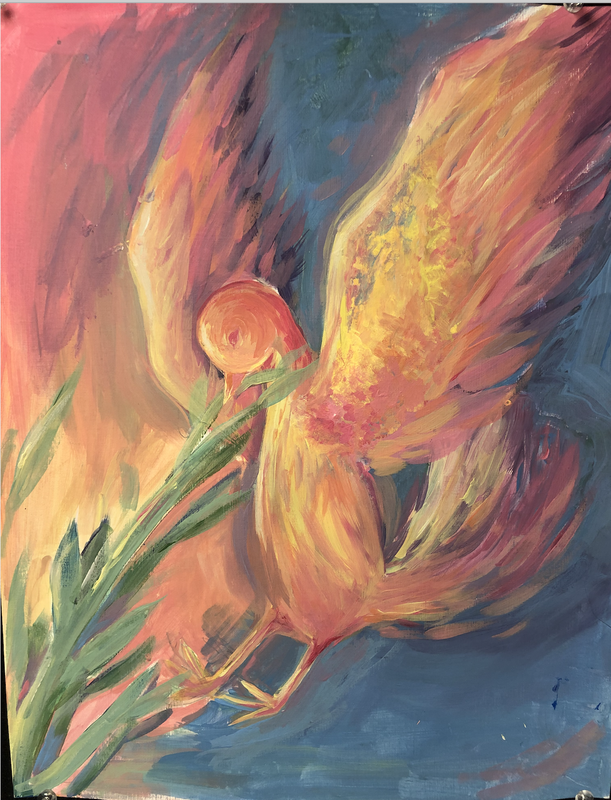
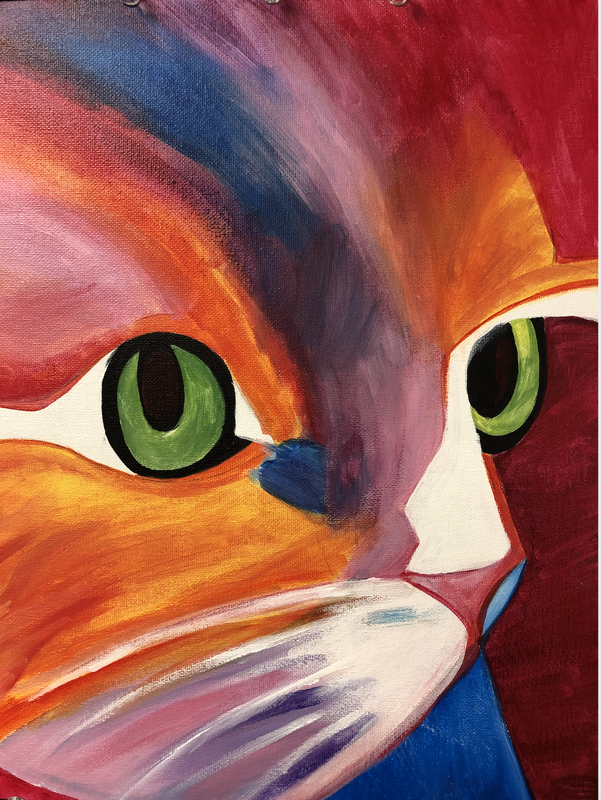
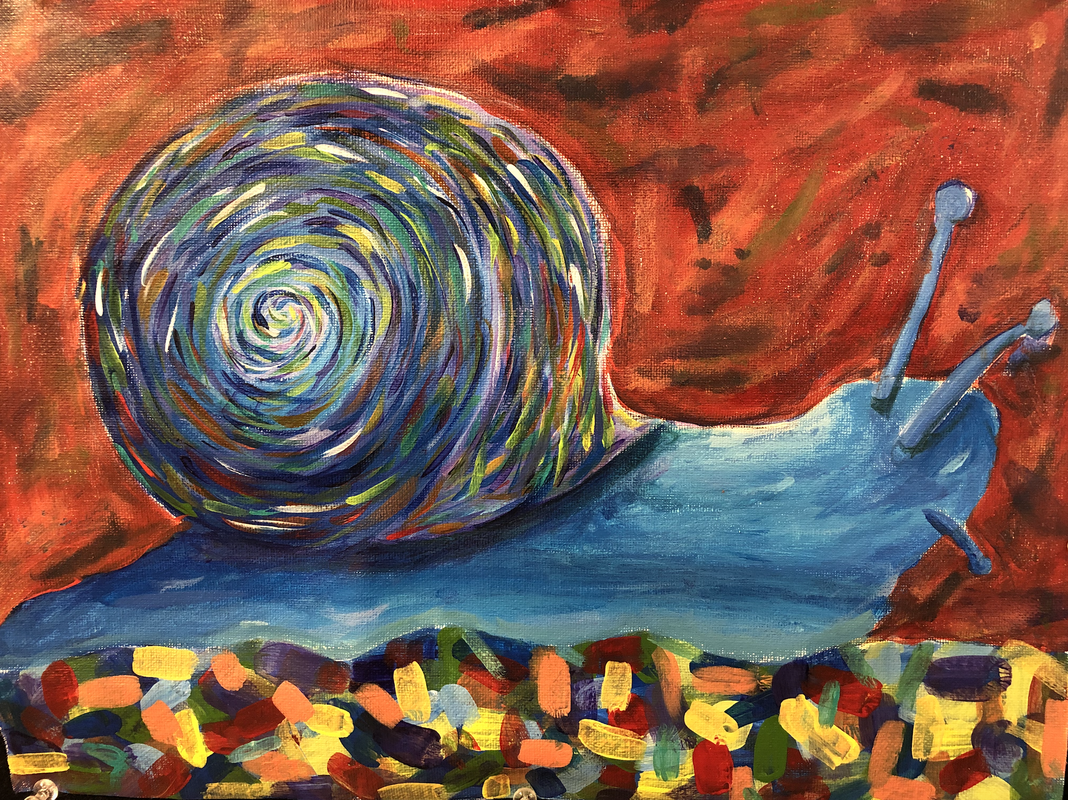
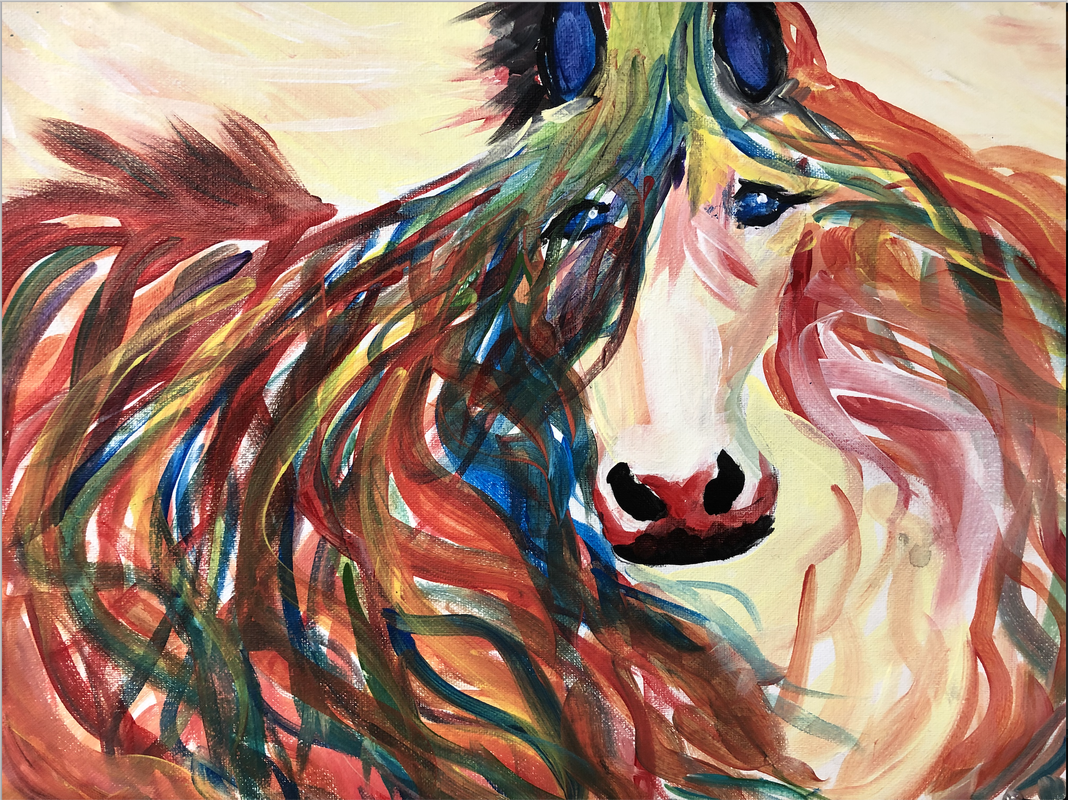
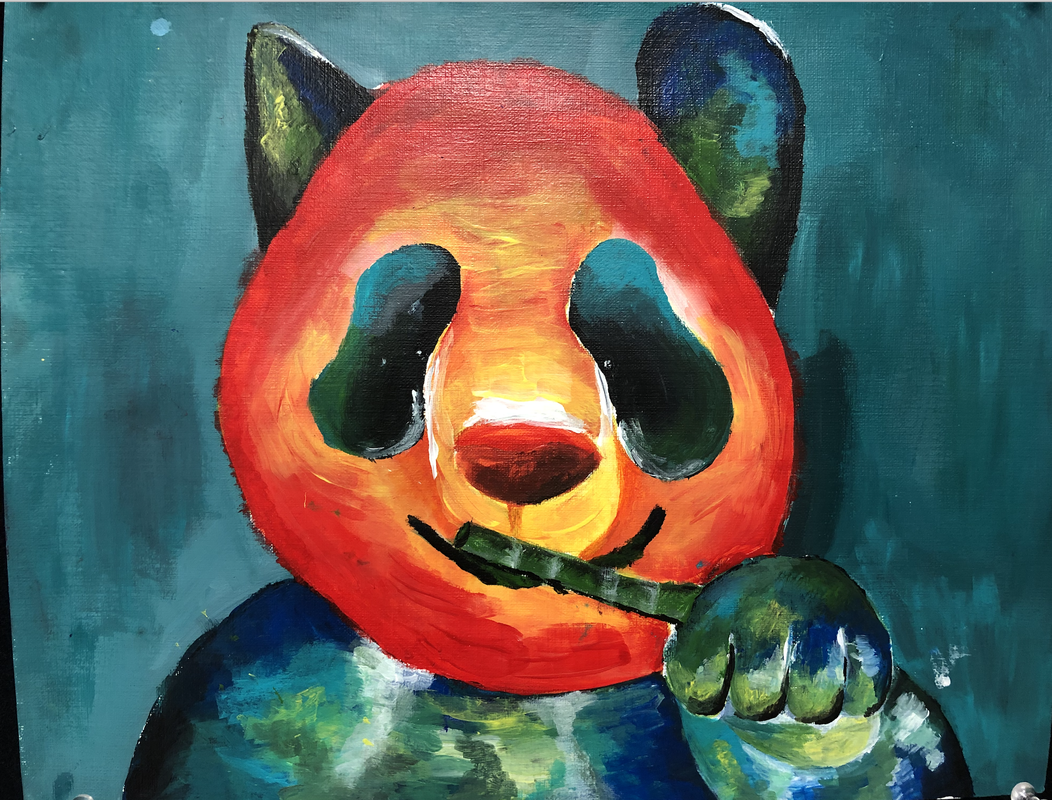
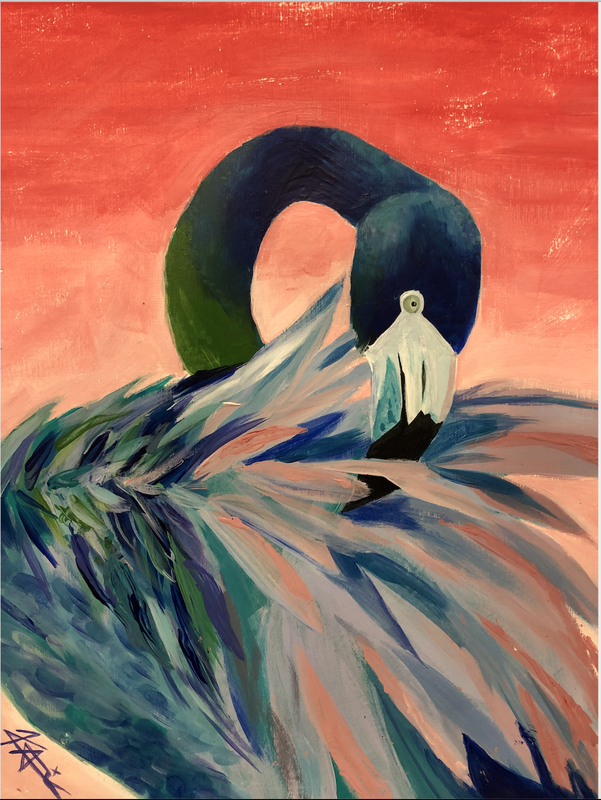
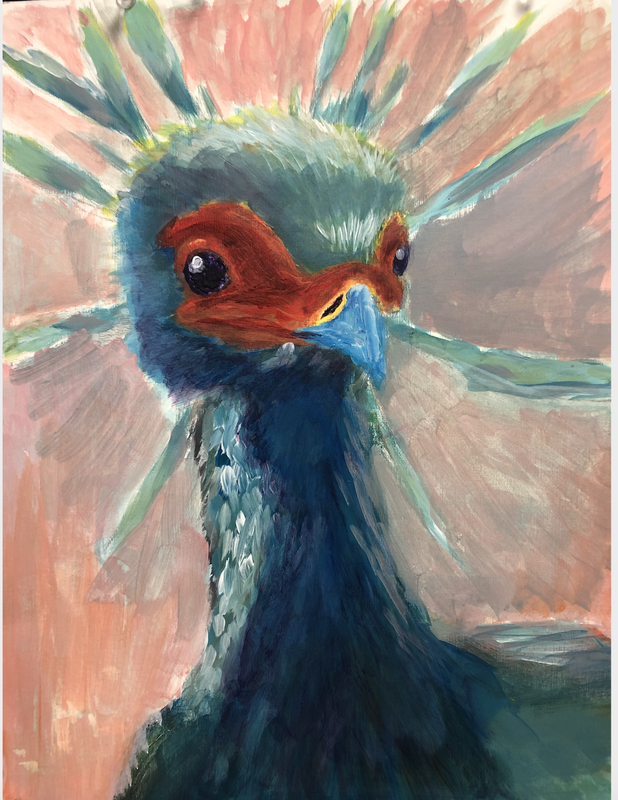
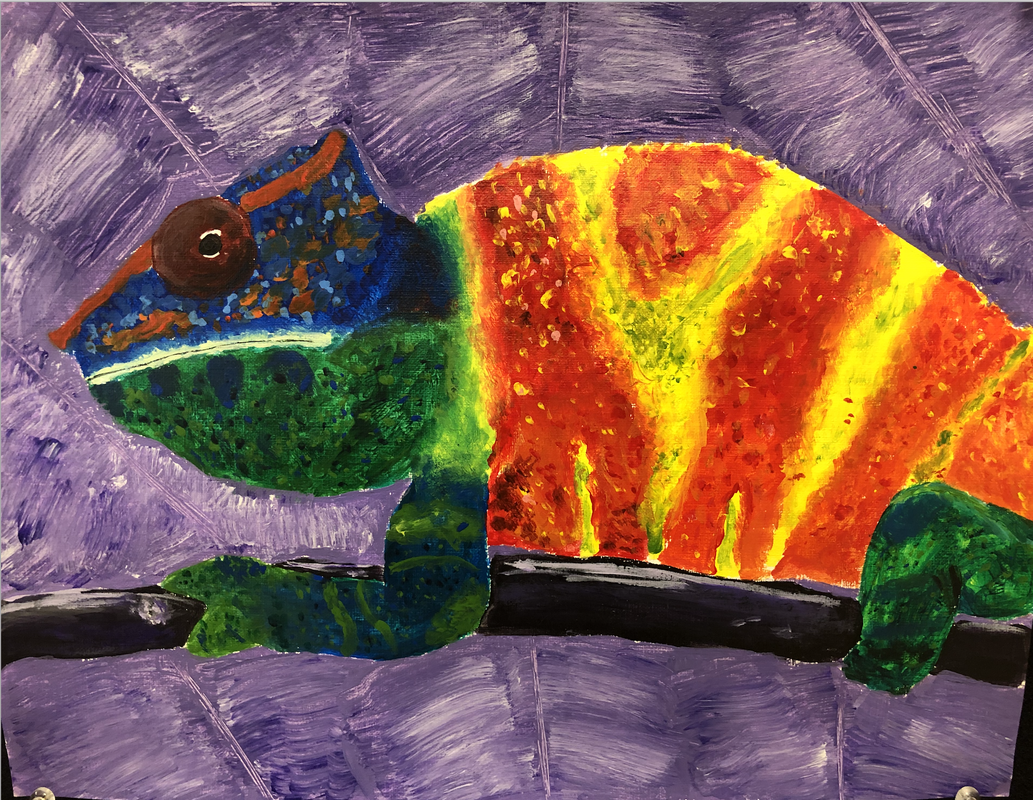
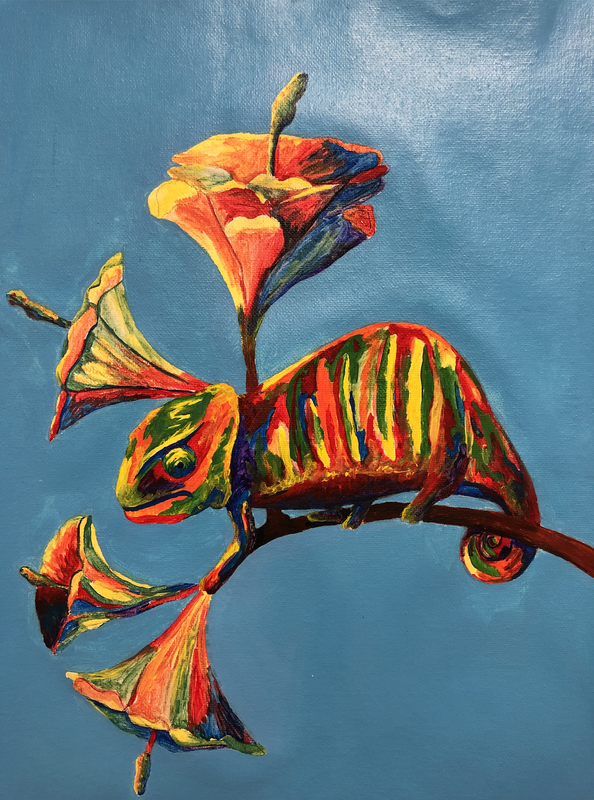
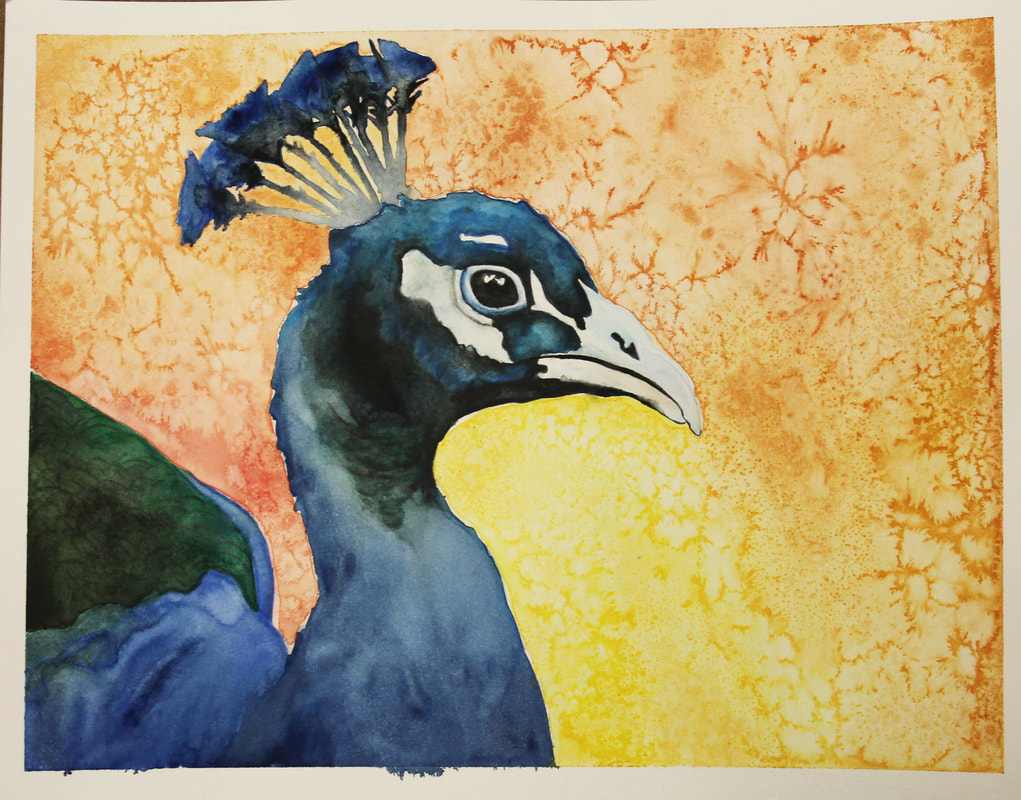
Fauvist Animal Portrait Painting
Assignment:
Choose a photograph of an animal, insect, sea or life. Create a painting that uses emphasized texture, brushstroke, and subjective color in the style of the Fauvist painting movement.
Objectives:
- Demonstrate understanding of color theory and color schemes.
- Demonstrate understanding of the Fauvist Art Movement.
- Experiment with brushstrokes and varying brush size to create movement and texture.
- Use subjective color chosen by the artist. Not natural color.
- Continue practice in the elements of art and principles of design with emphasis on color, value, texture, movement, and unity.
DIRECTIONS:
- Choose a photograph of an animal.
- Choose a new Color Scheme:
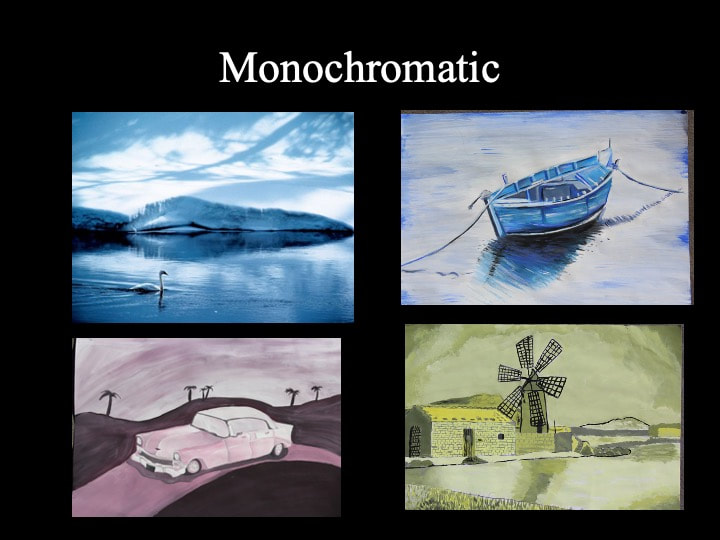
- Monochromatic
- Complementary
- Analogous
- Triad
- Split Complement
- Double Complement
4. Use visible and bold textural brushstrokes with an emphasis on TEXTURE and MOVEMENT.
5. Use CONTRAST: have areas of loose "wild" texture and then later go back and add areas of fine detail. Layer on crisp lines for fur, feathers, the eyes...
6. Must use at least 4 acrylic techniques from your technique chart
7. Must use the entire paper - picture plane. Have a foreground and a background.
8. The entire paper must be covered with paint and paint strokes!
Minimum Size: 11x14 inches Acrylic Paint
Video Demo: Elephant using oil pastel
Video Demo: Lion using oil pastels and bold color
Video Demo: Tiger eyes in oil pastel
Introduction to Fauvism Presentation click here

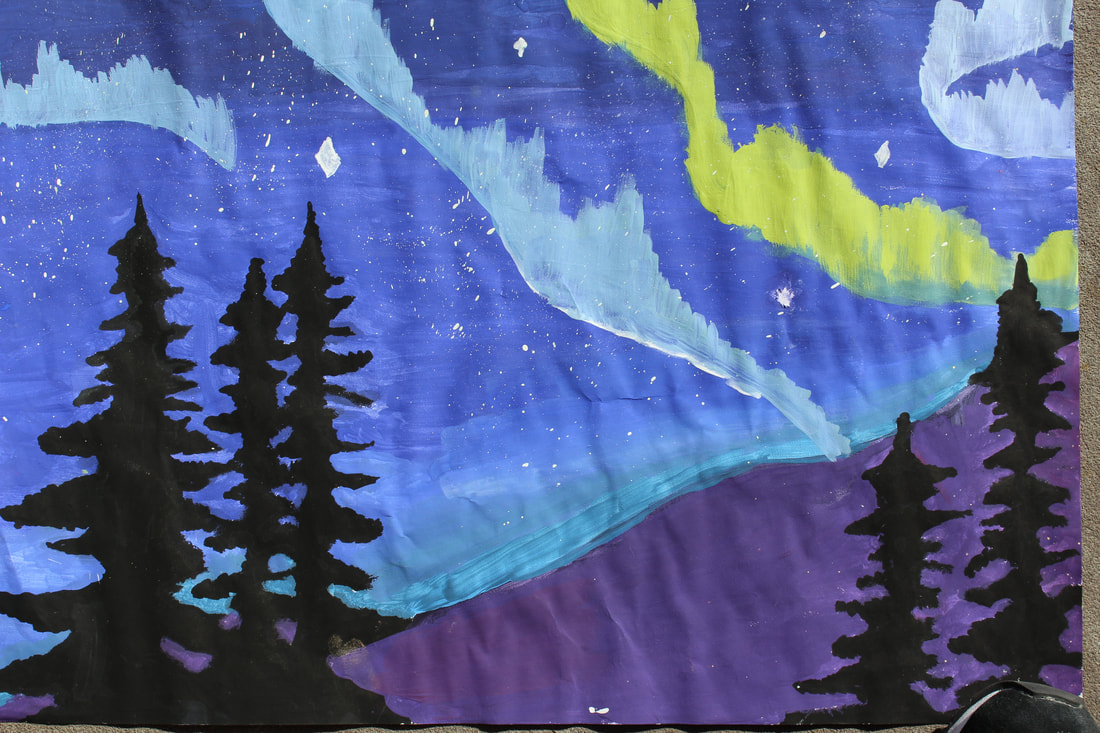
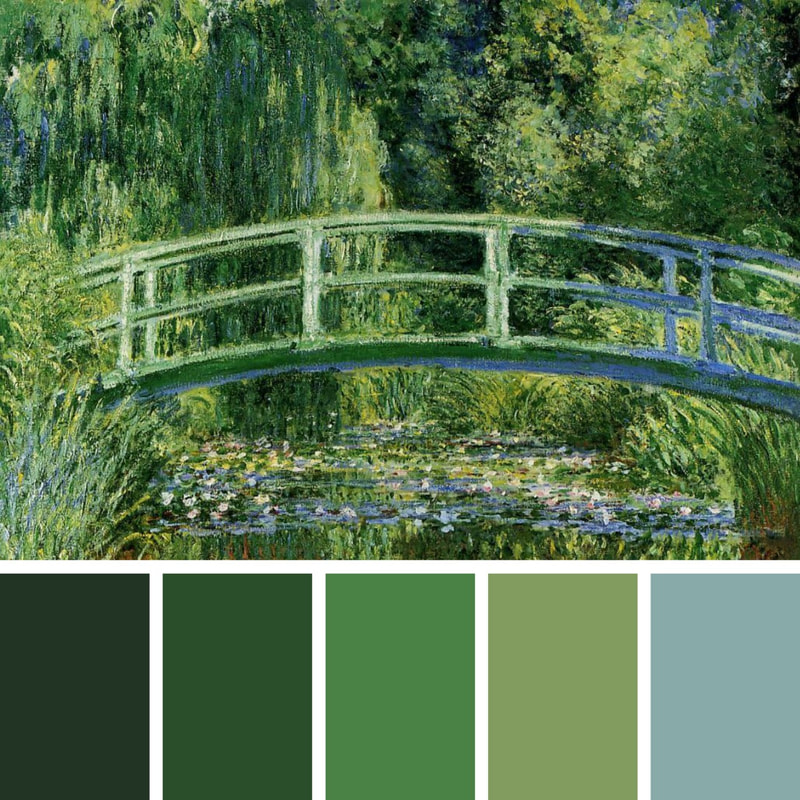
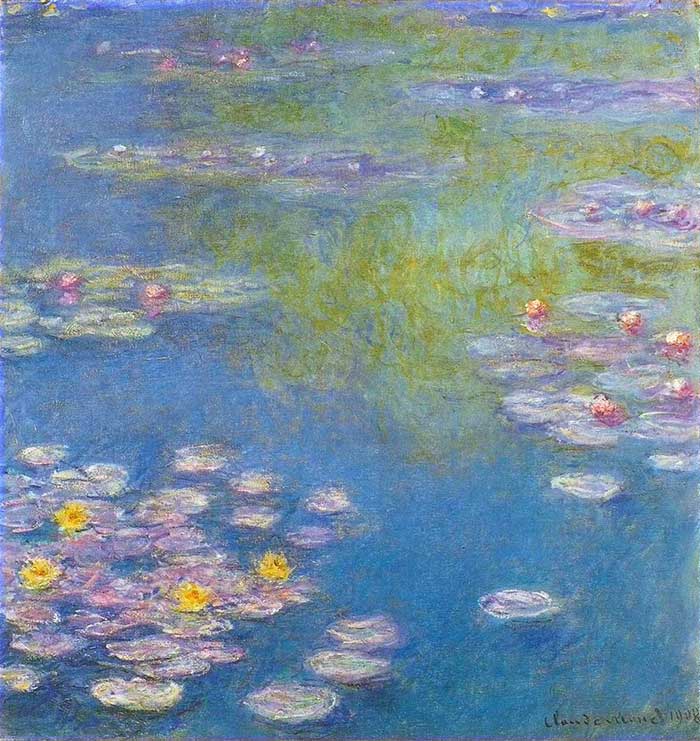
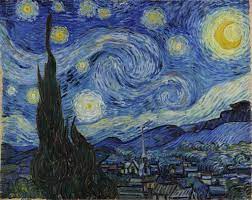
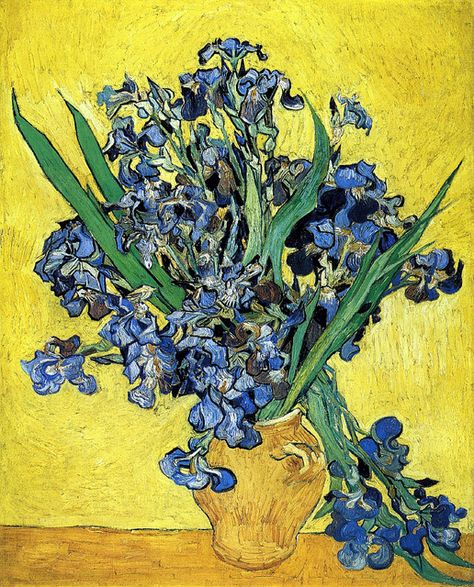
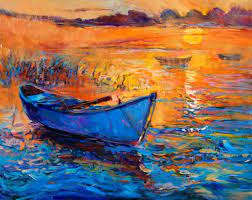
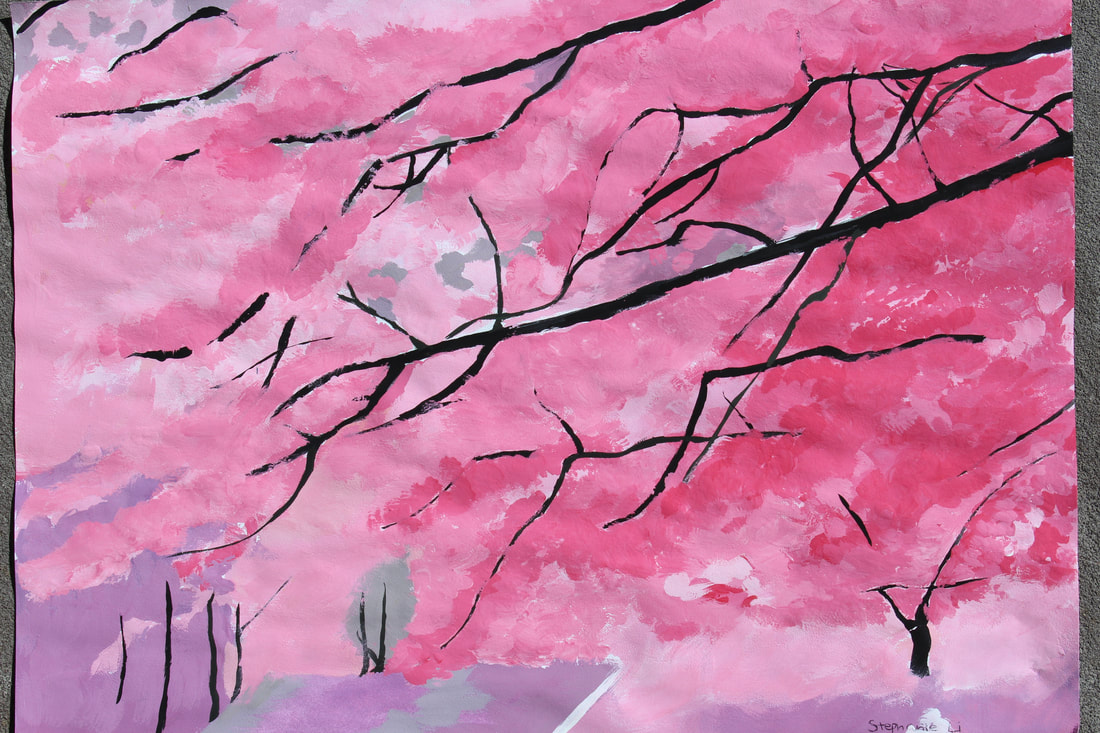
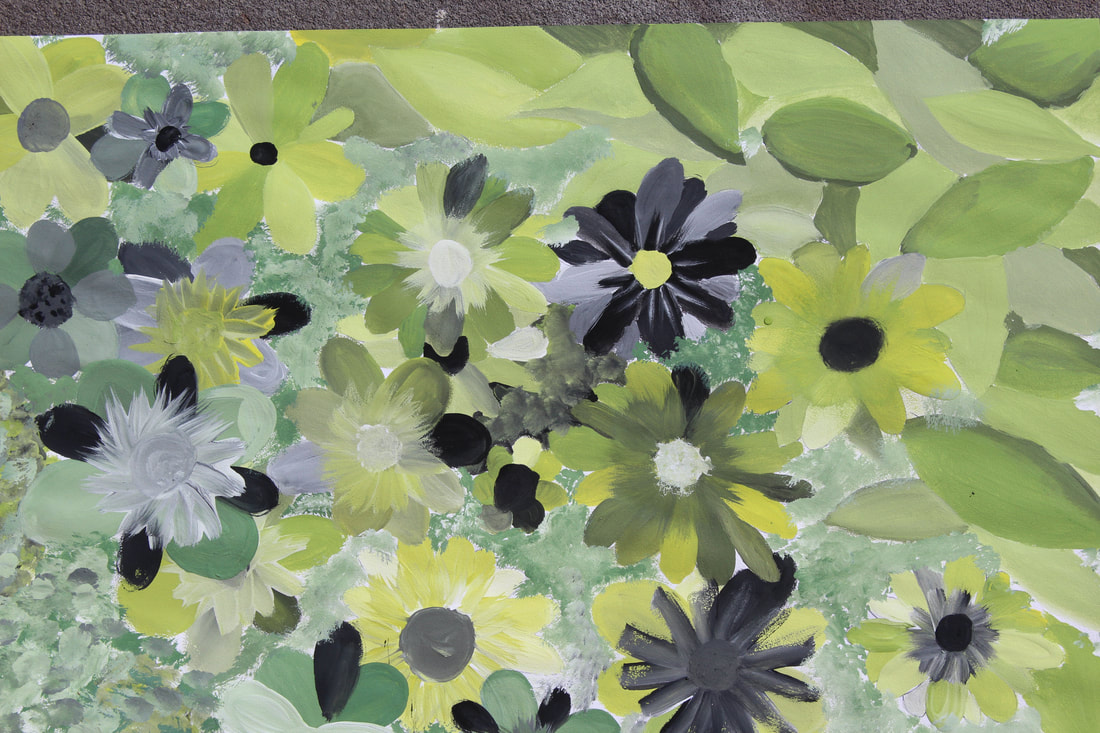
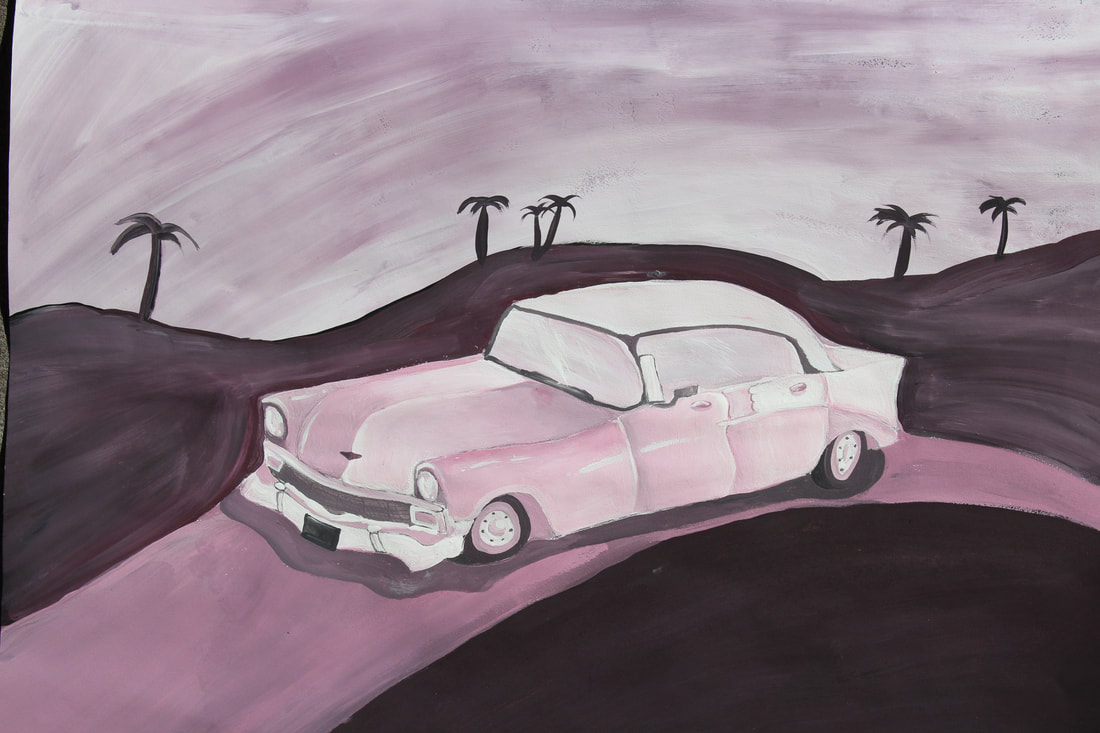
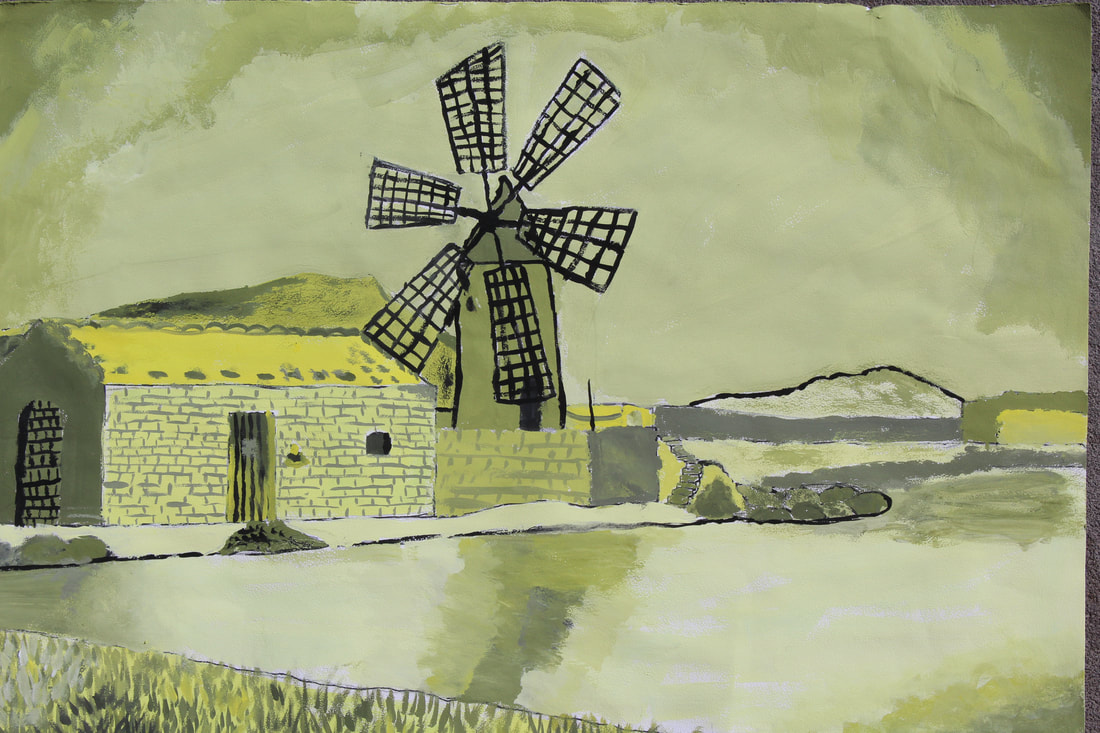
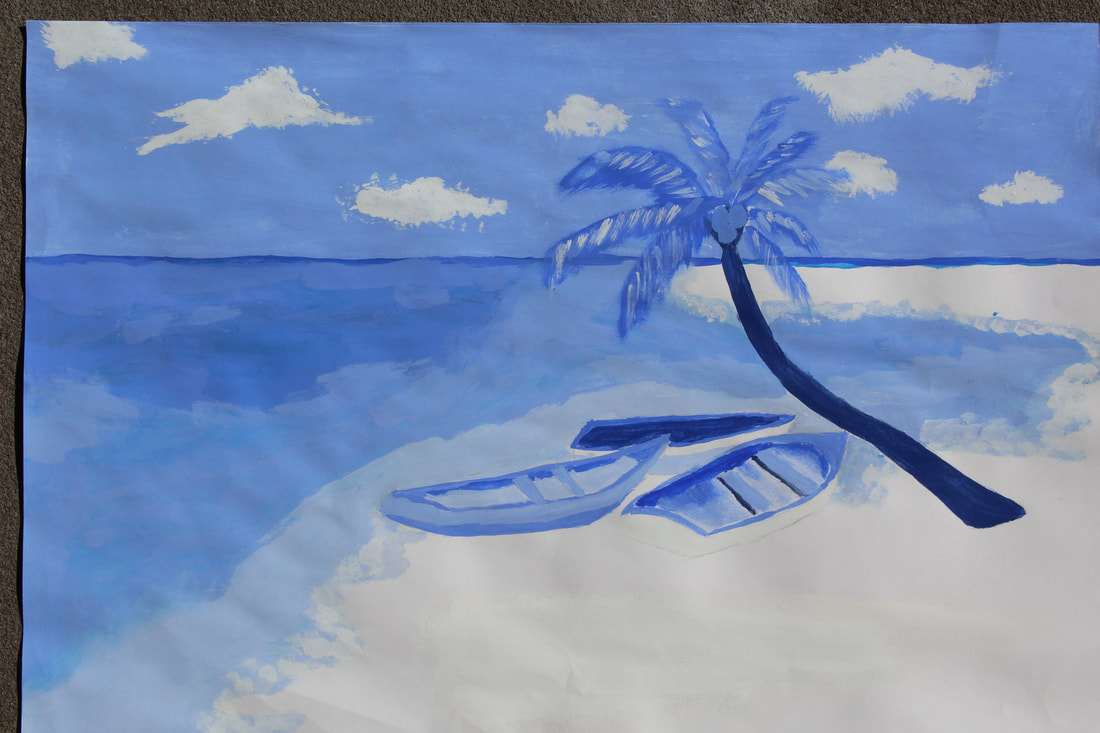
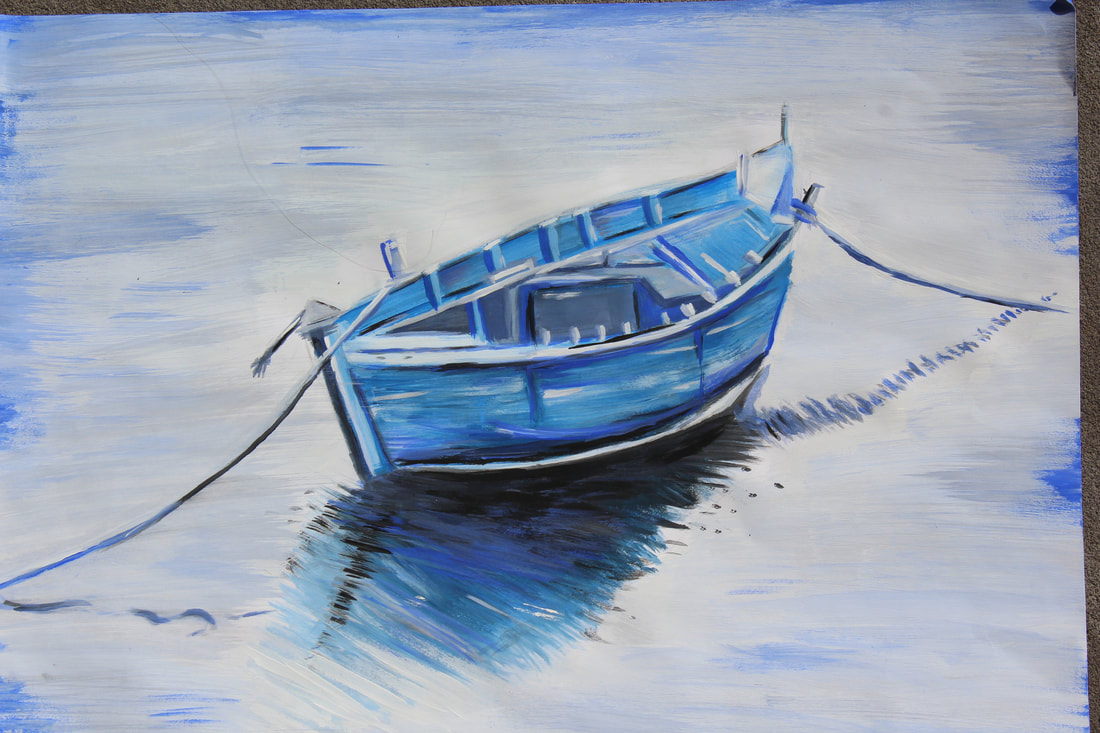
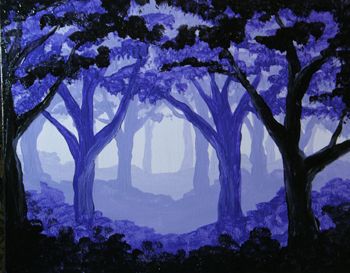
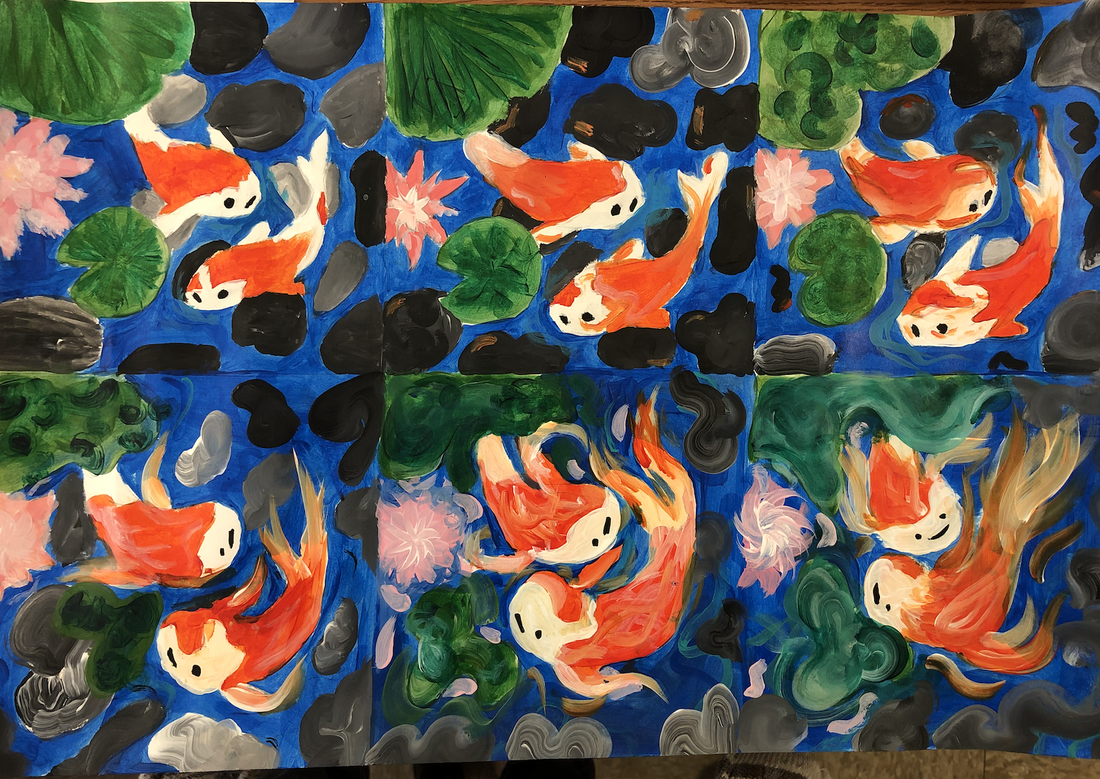
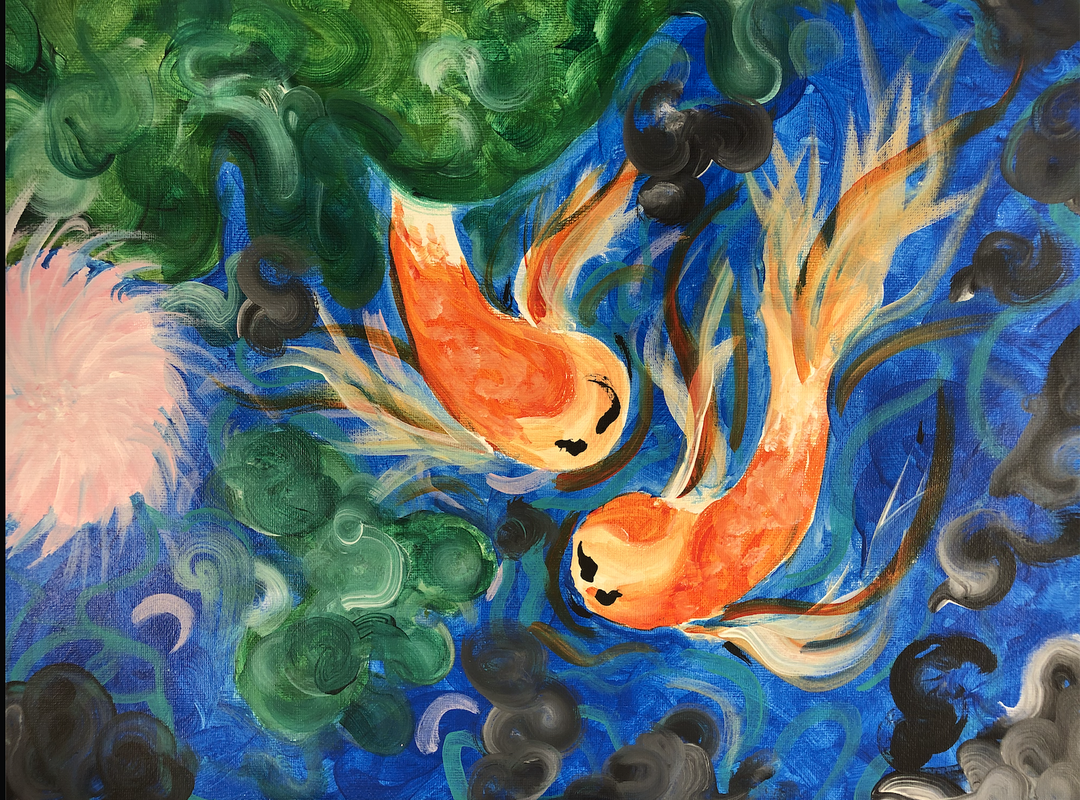
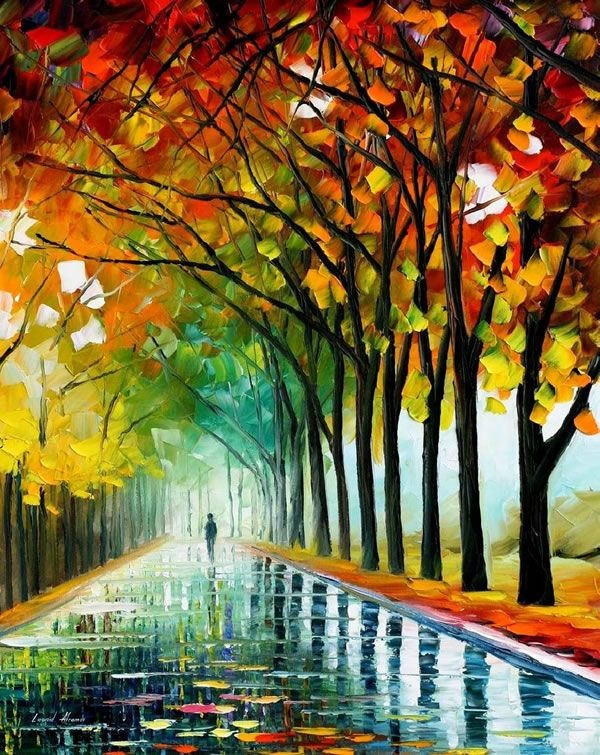
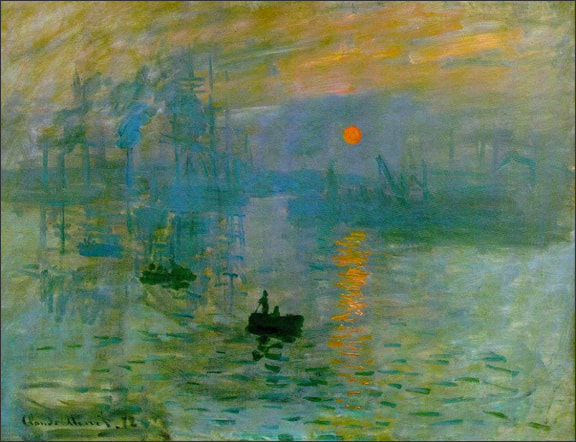
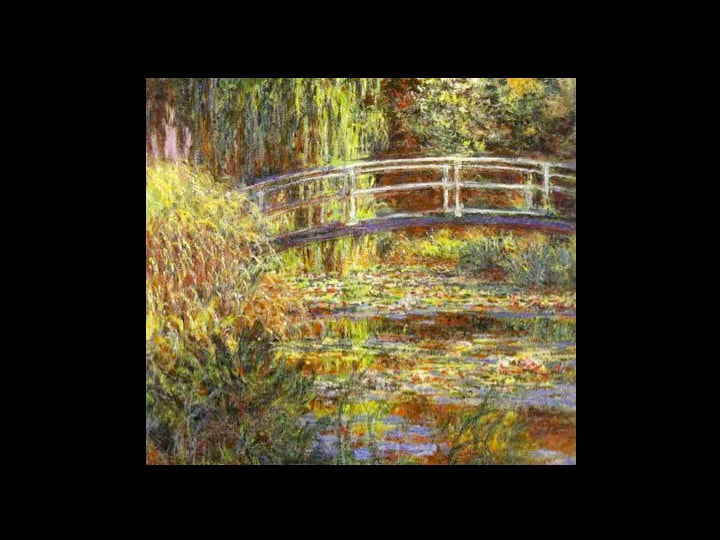
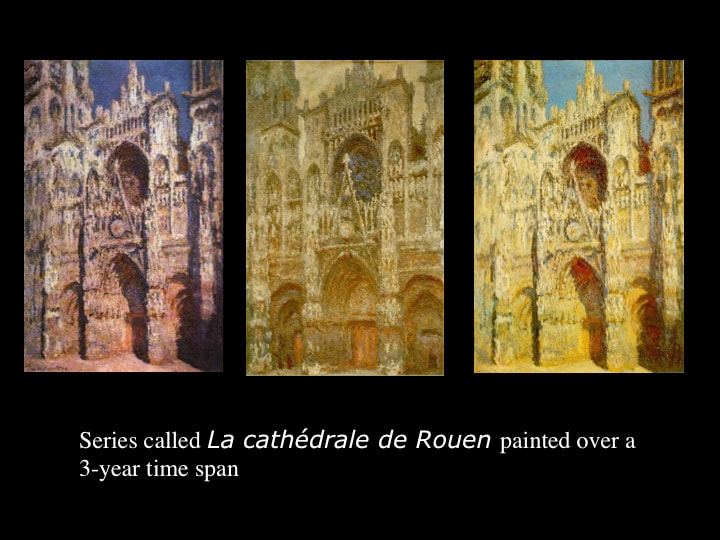
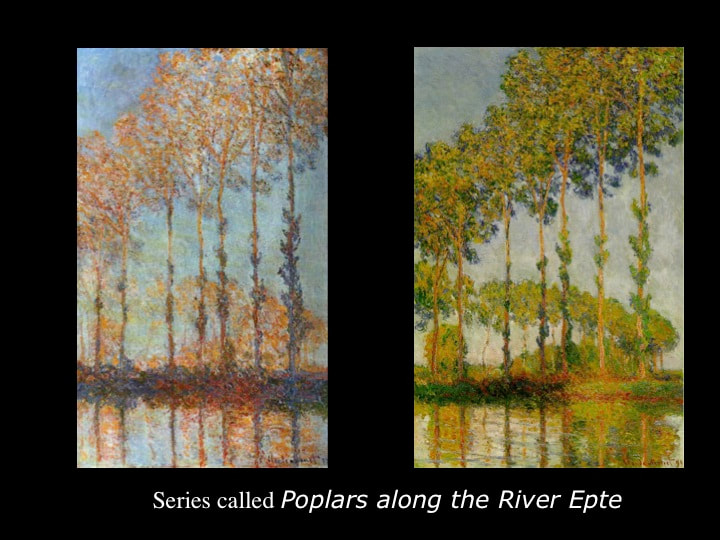
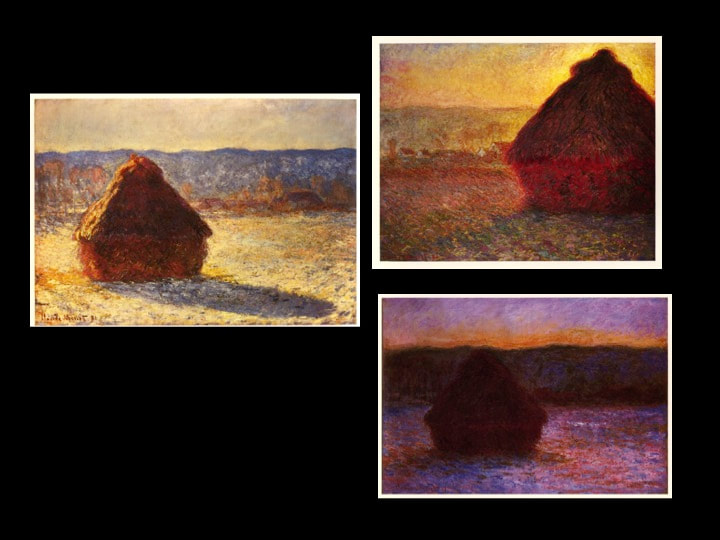
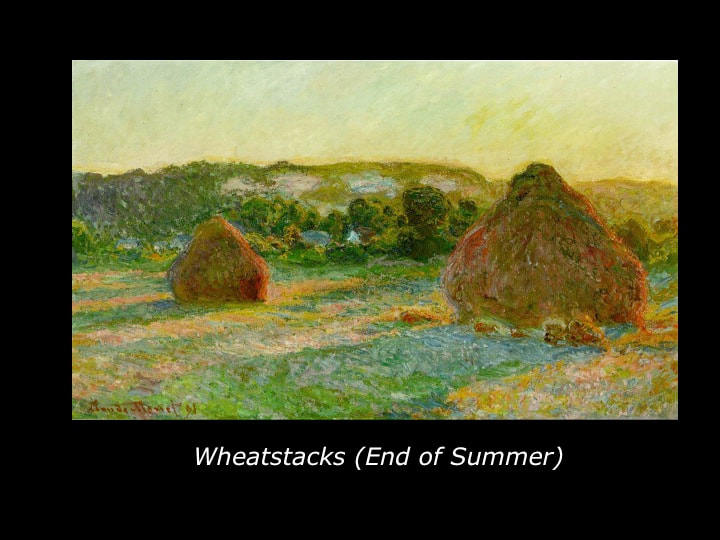
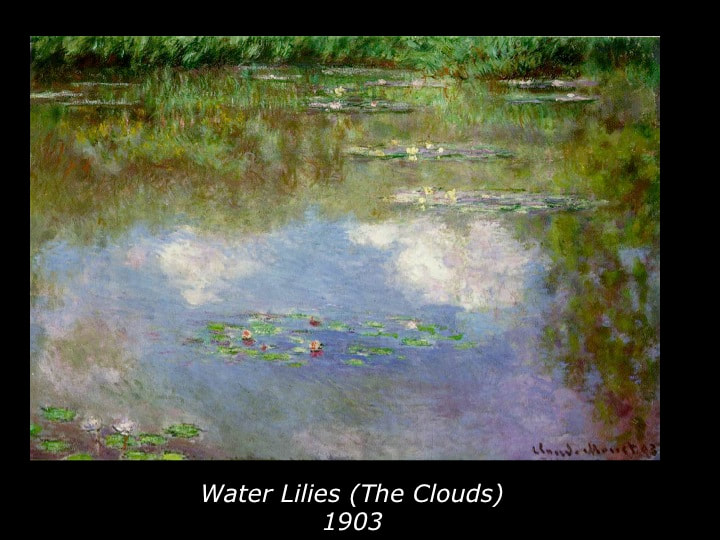
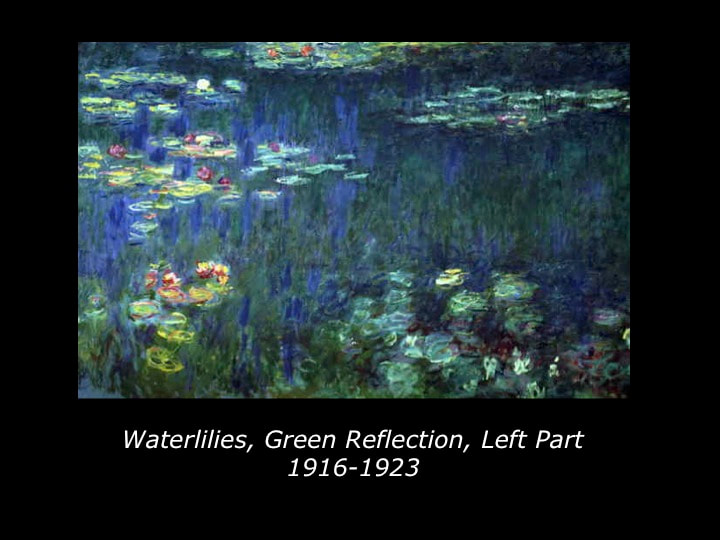
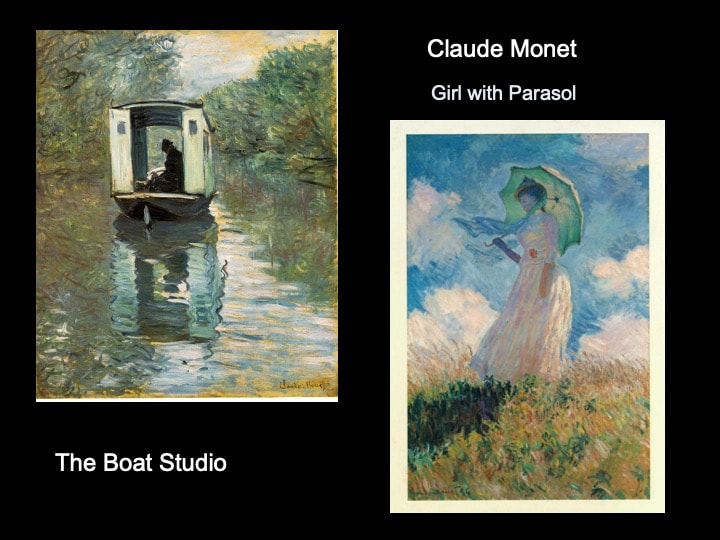
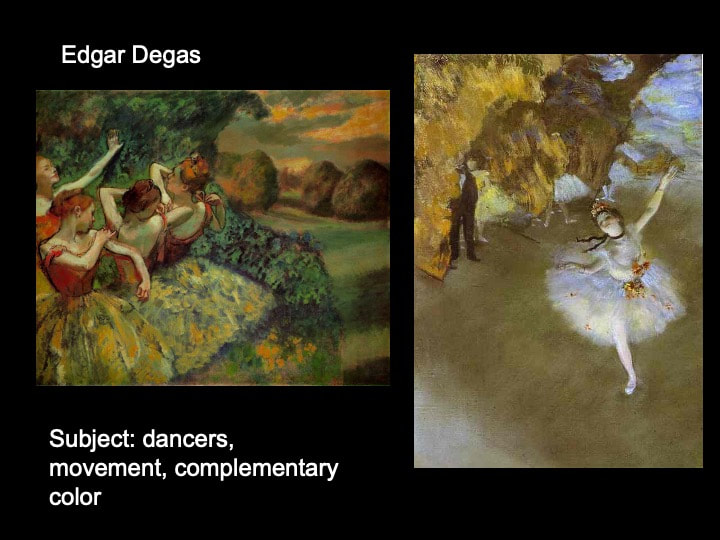
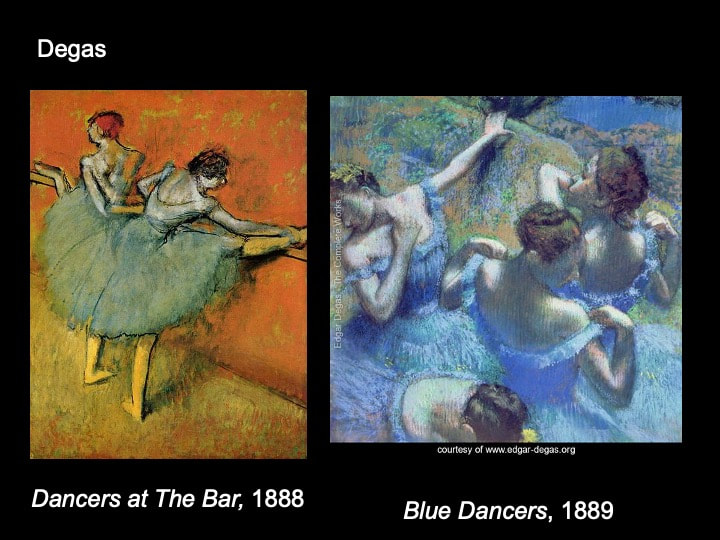
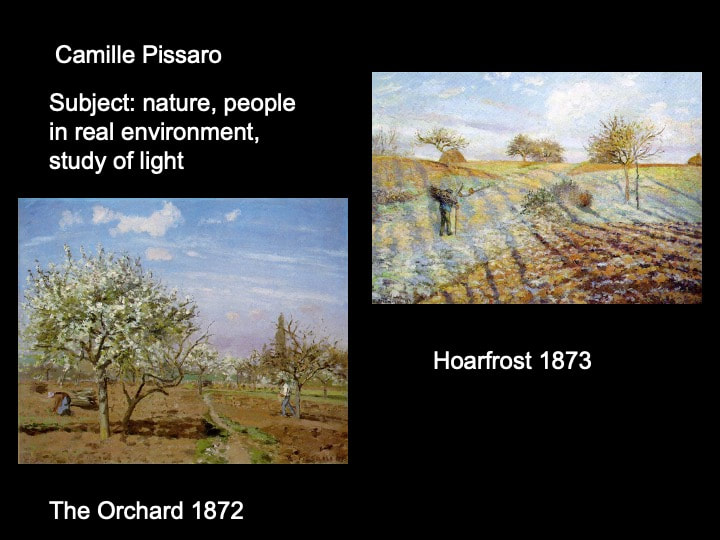
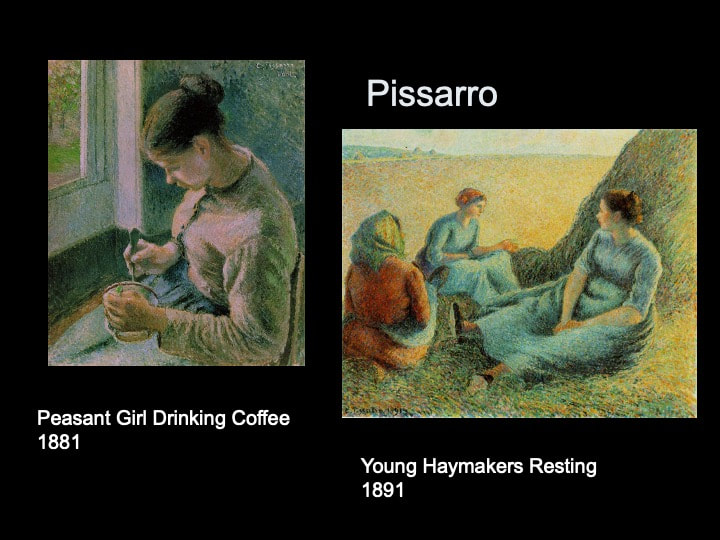
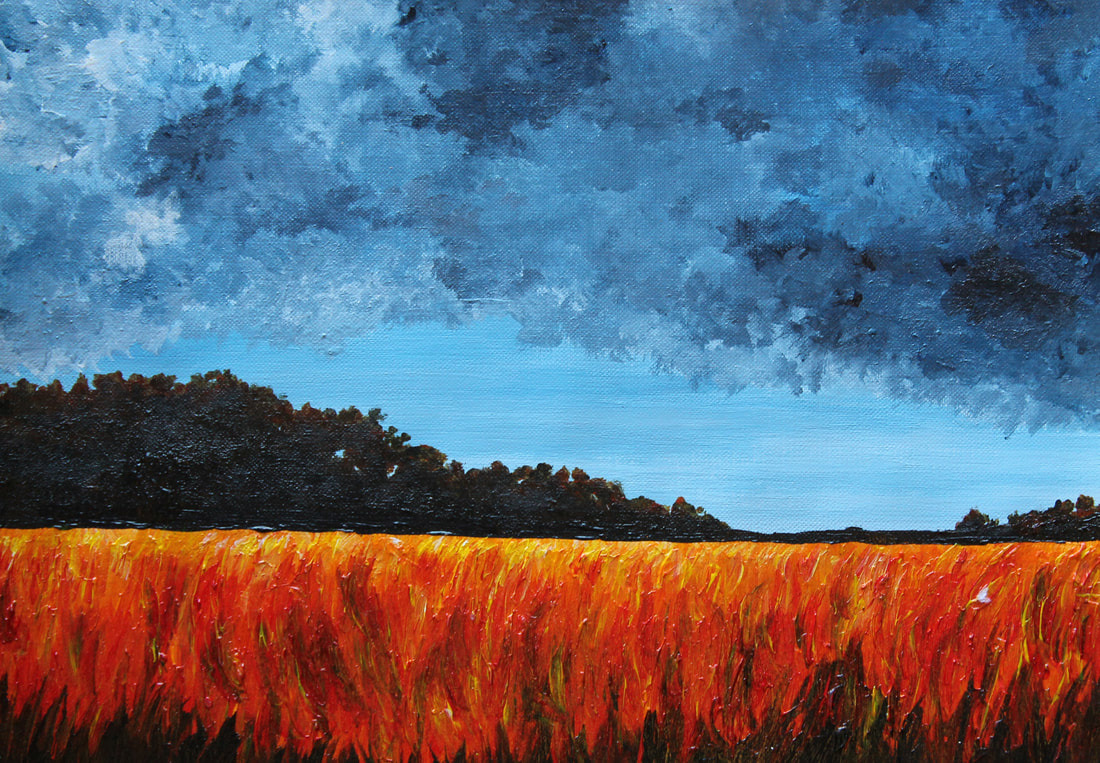
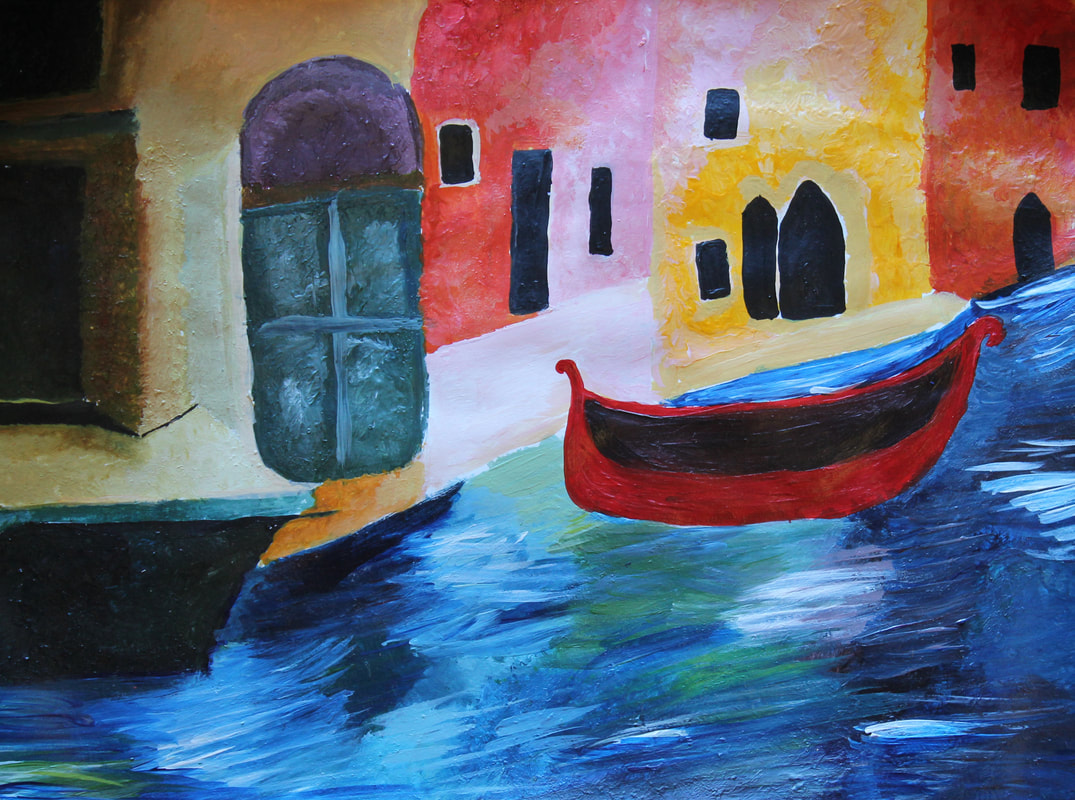
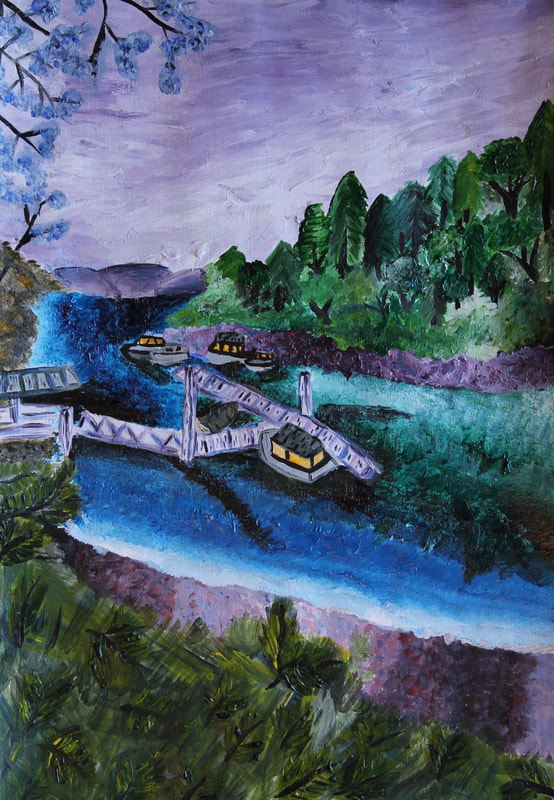
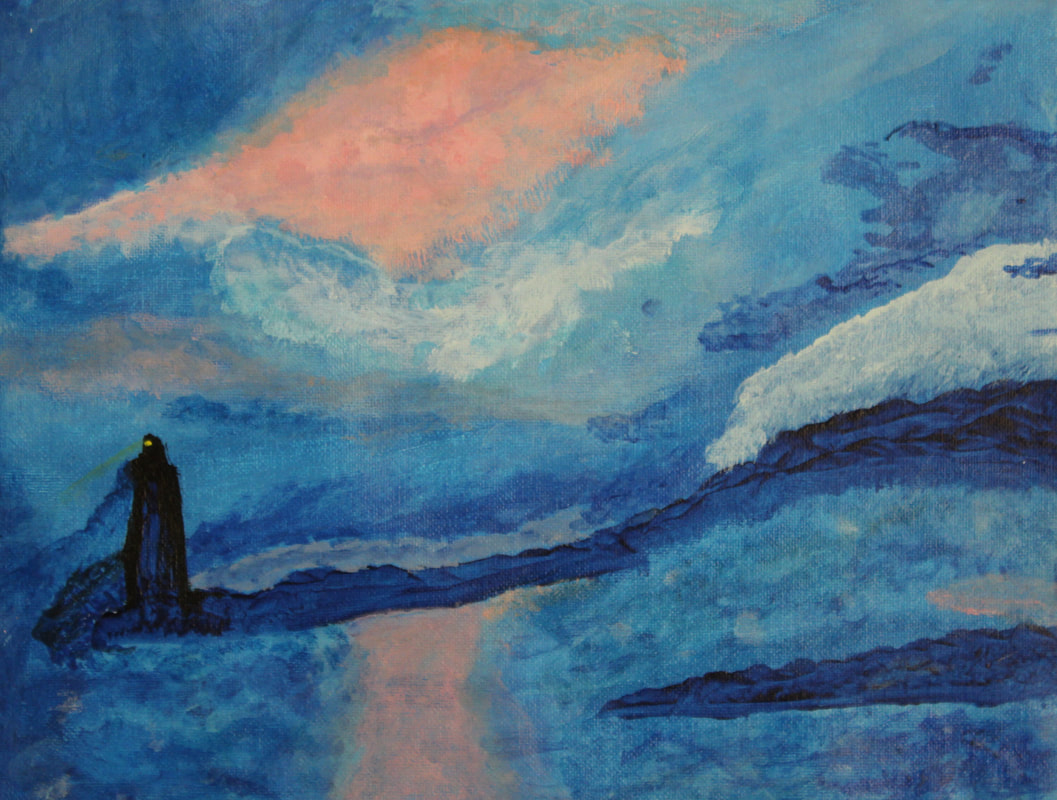
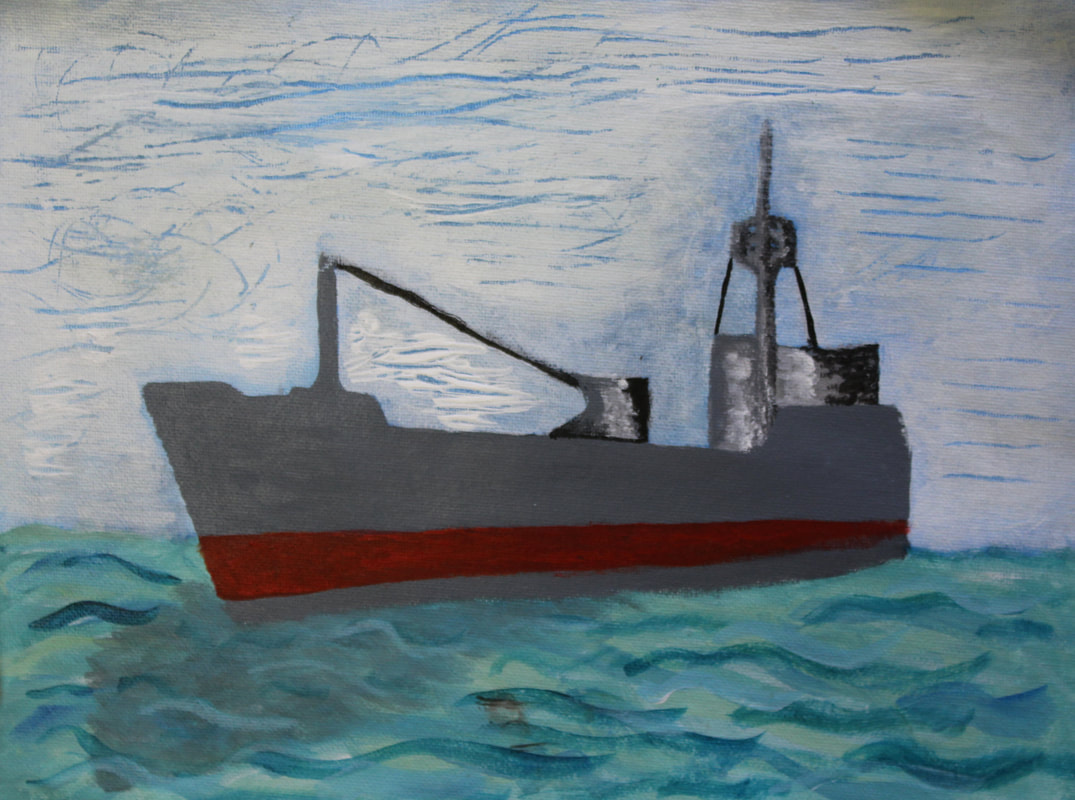
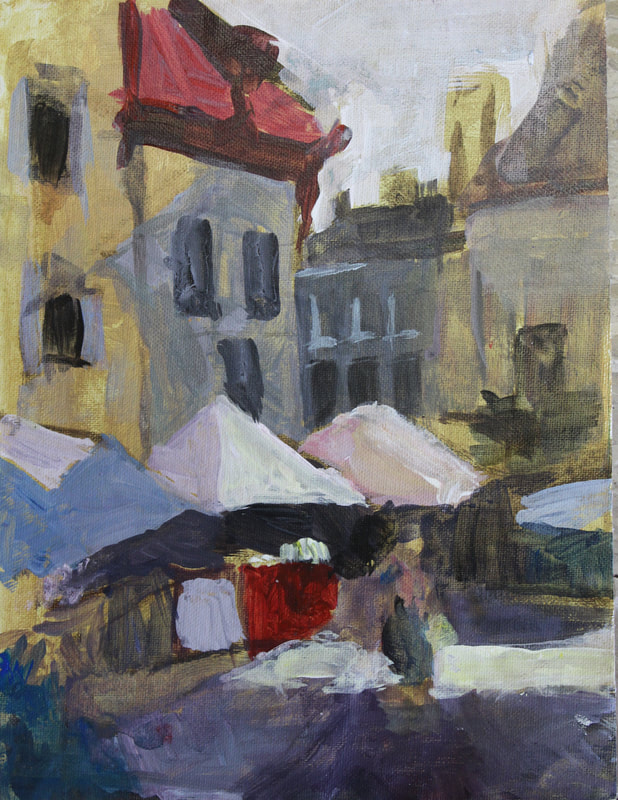
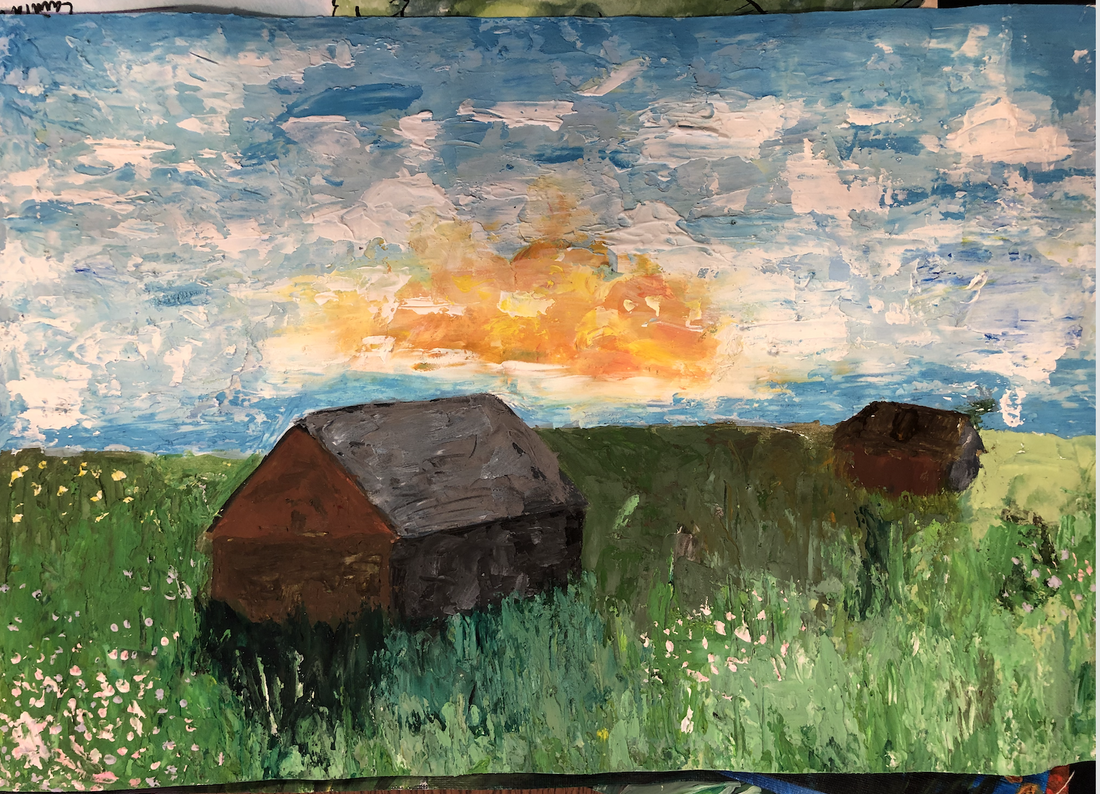
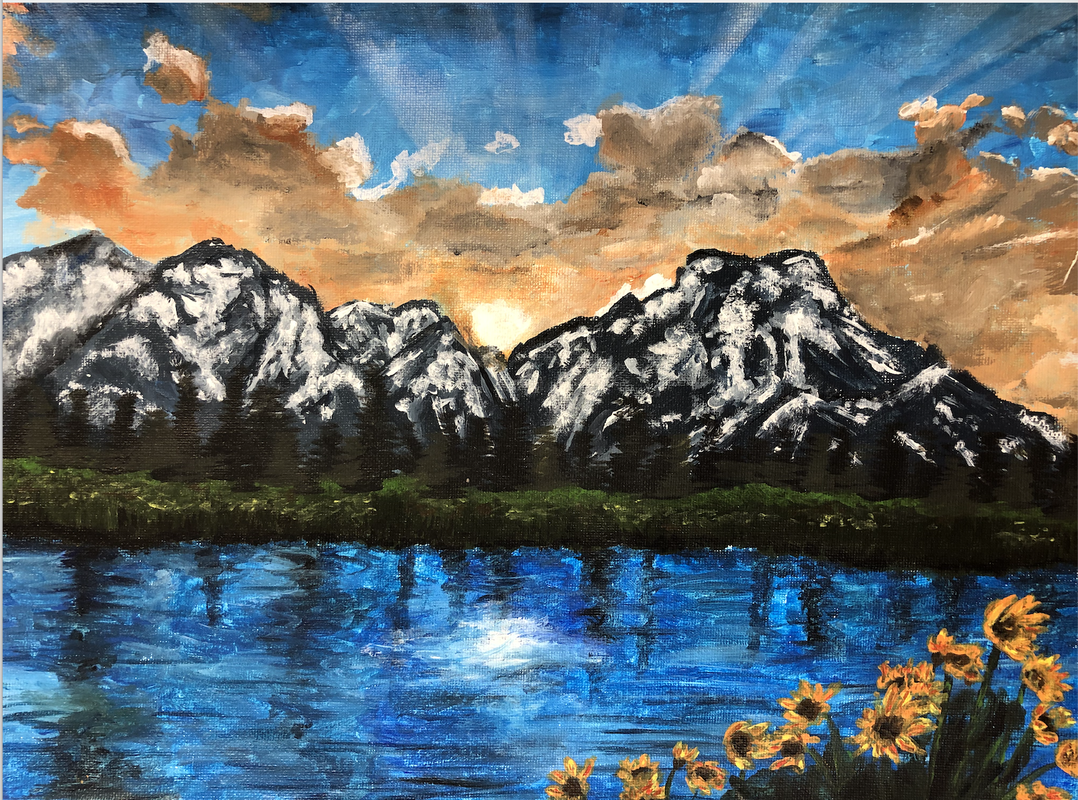
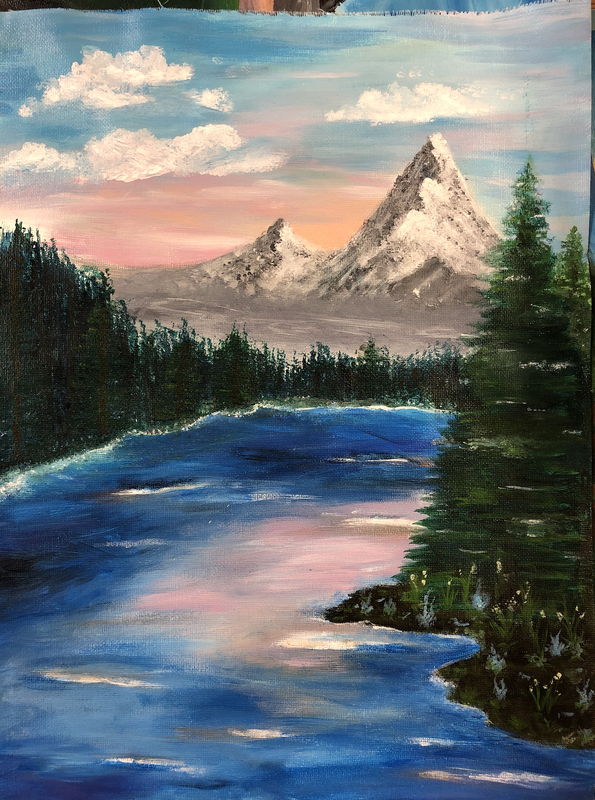
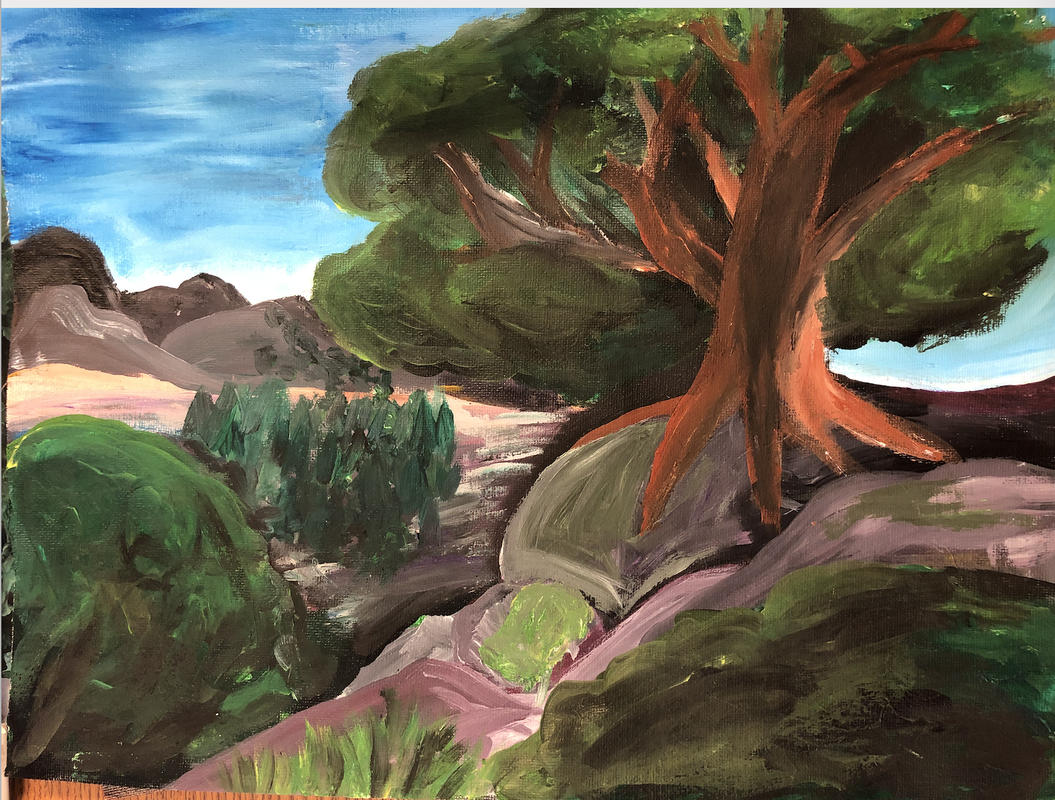
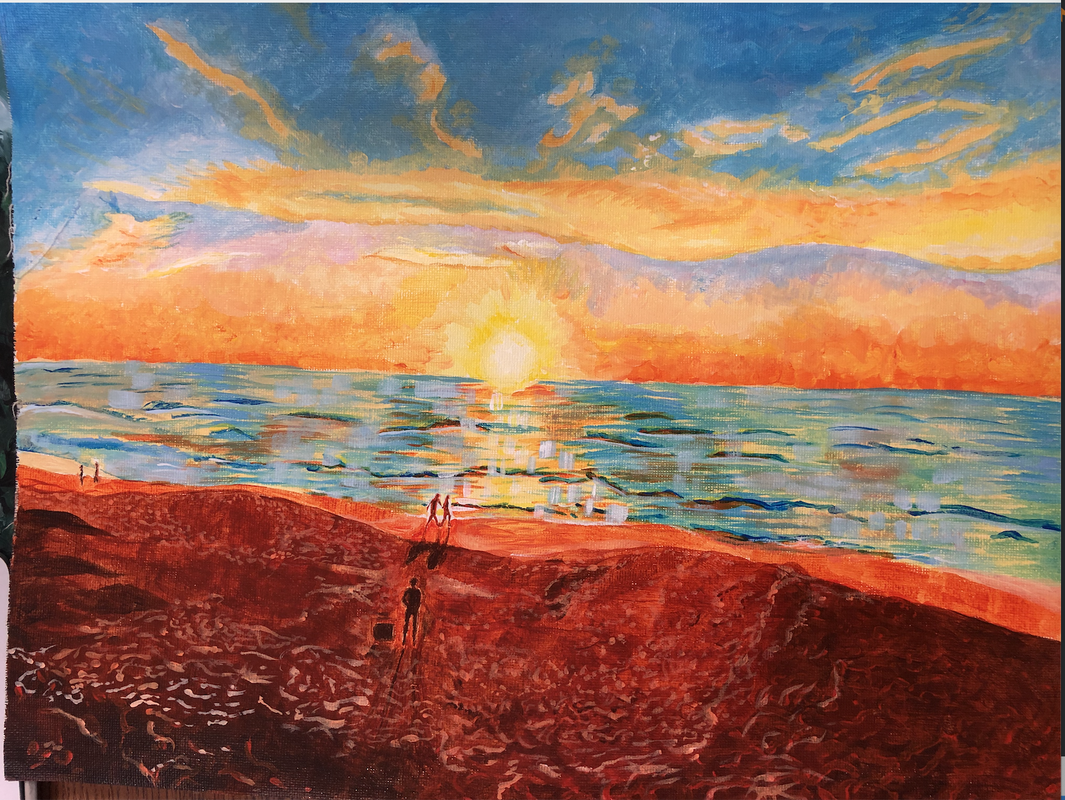
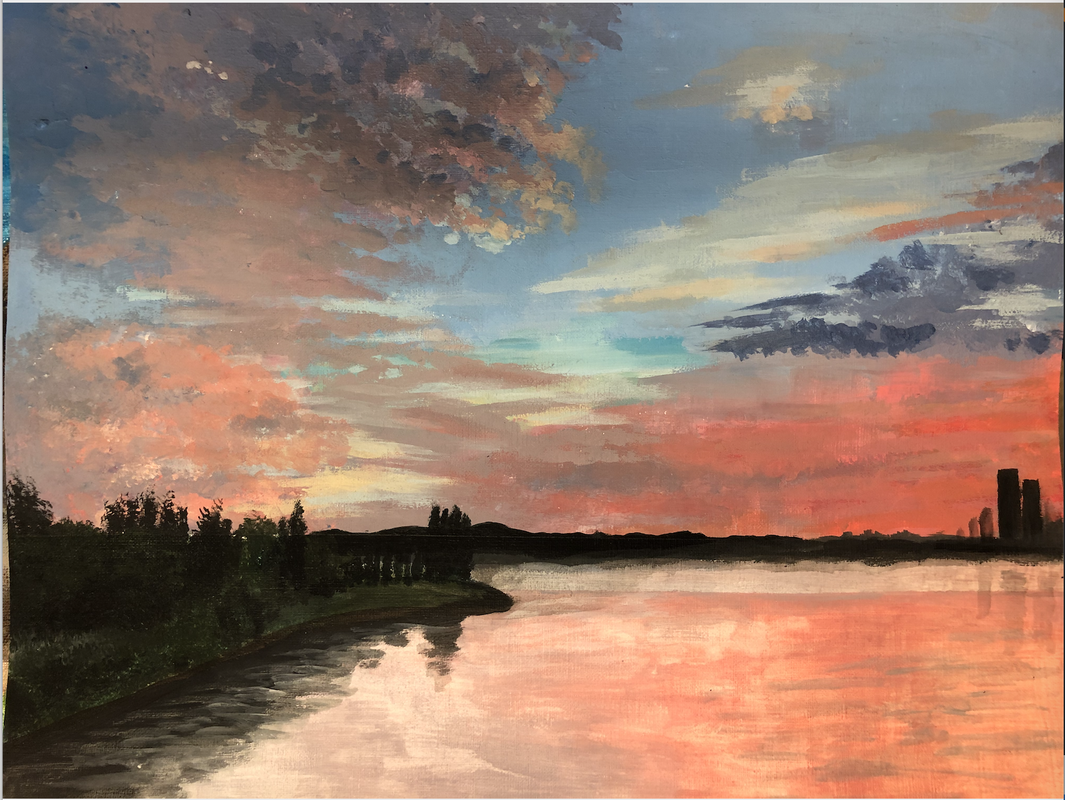
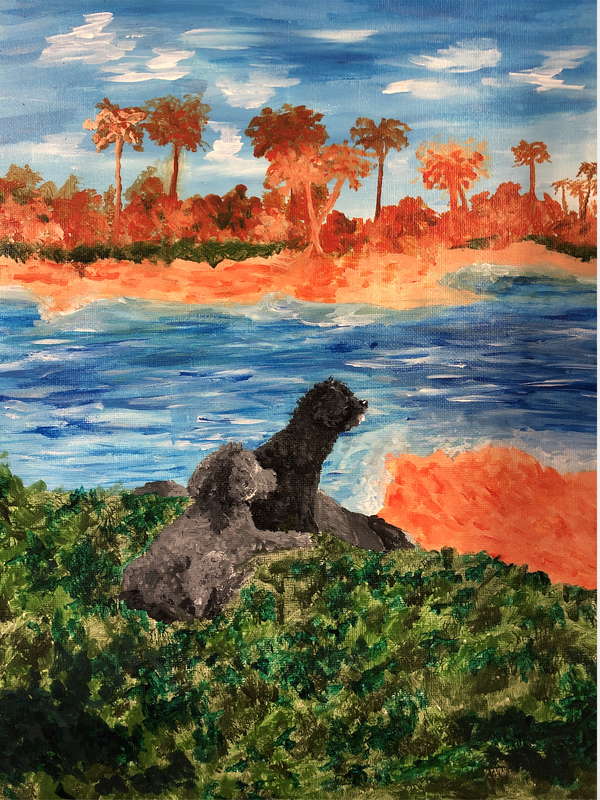
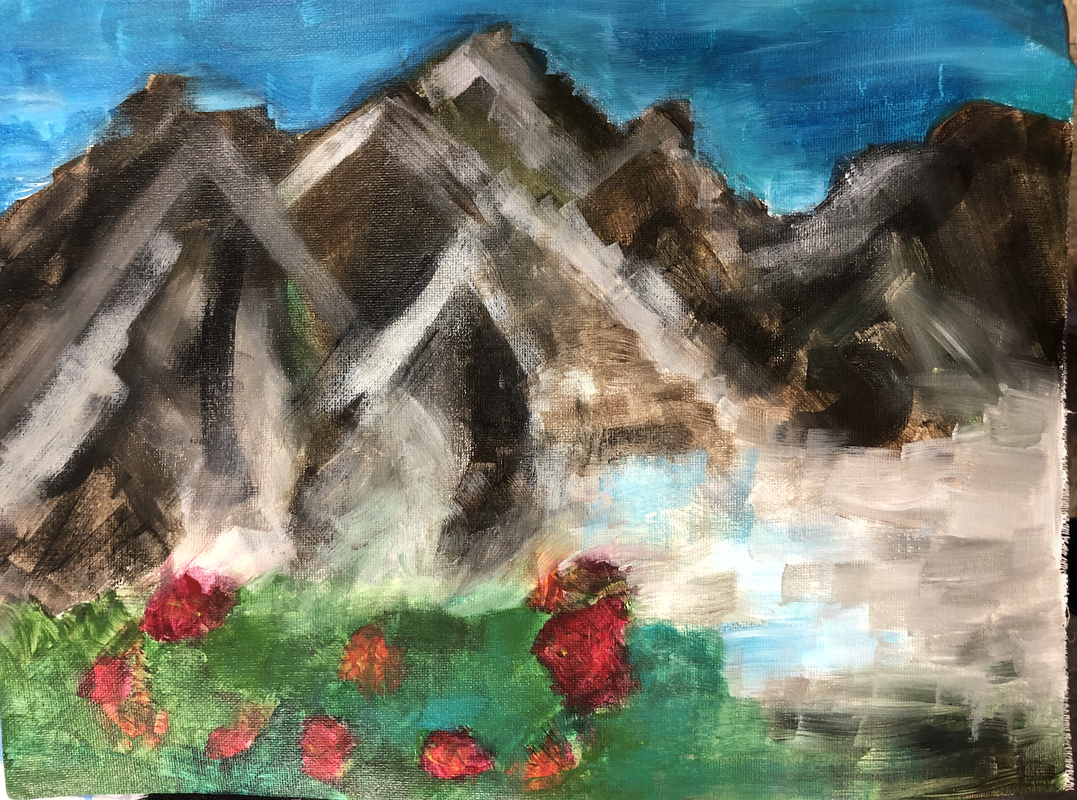
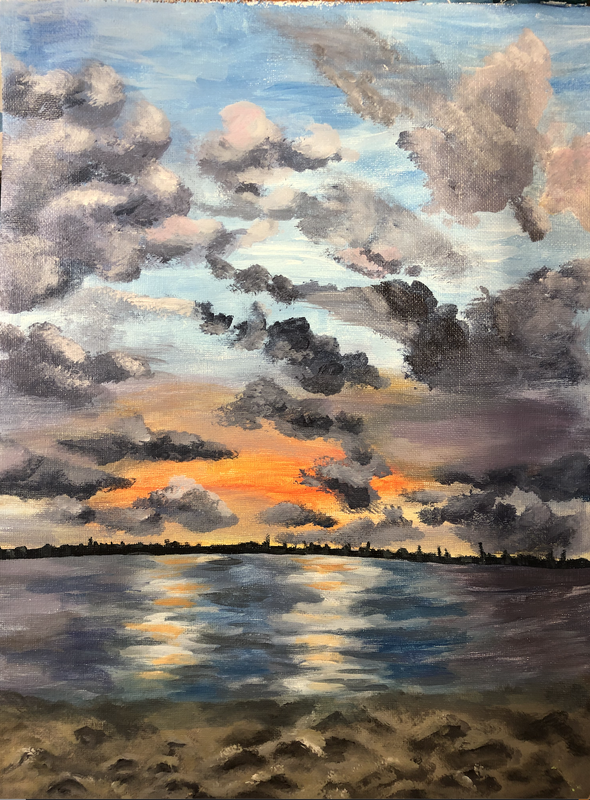
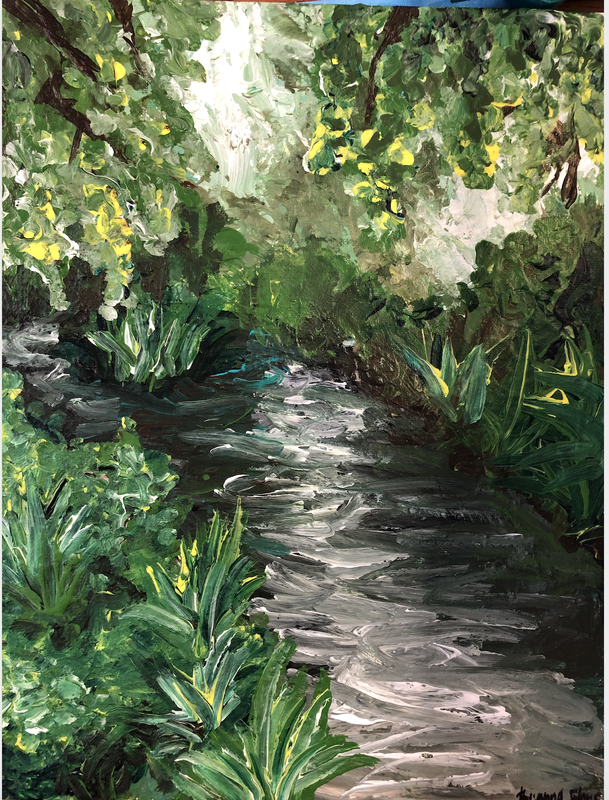
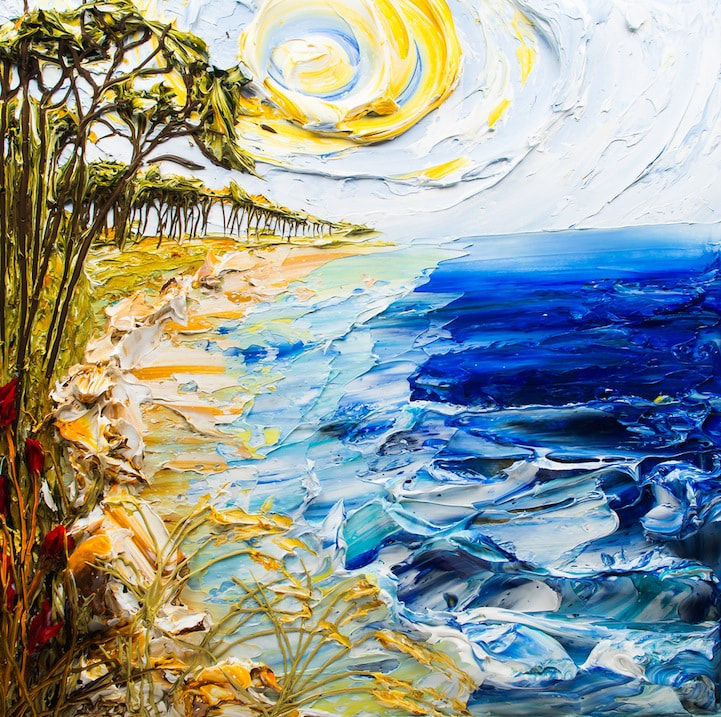
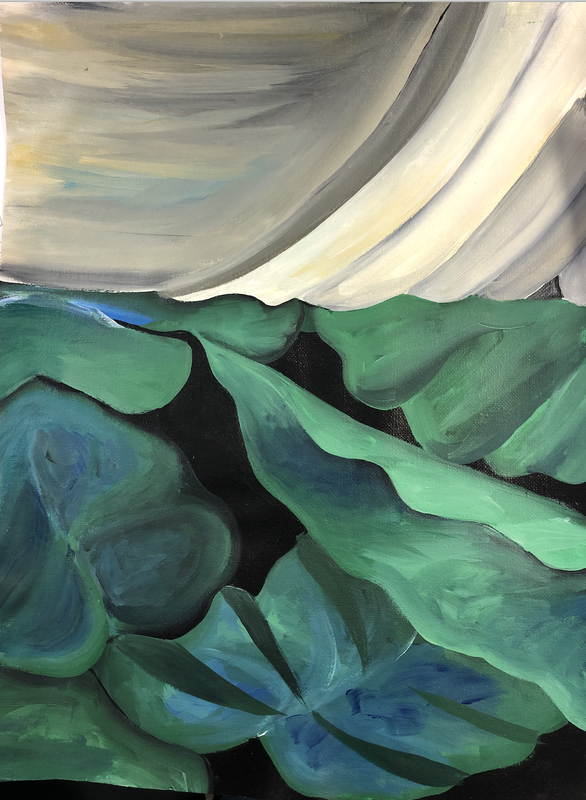
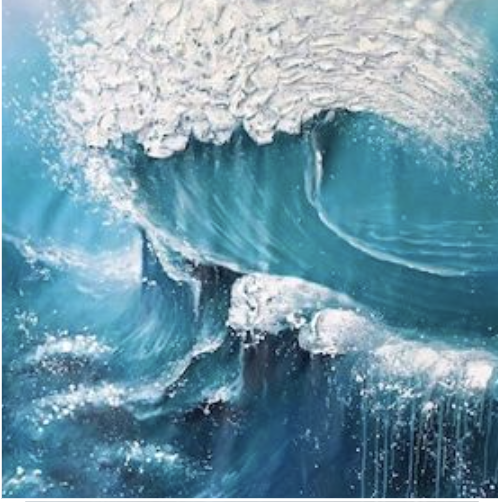
Impressionism Landscape Painting
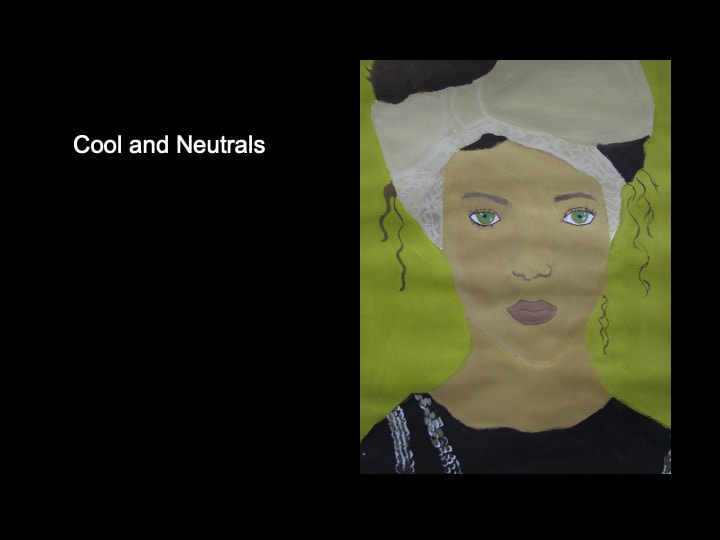
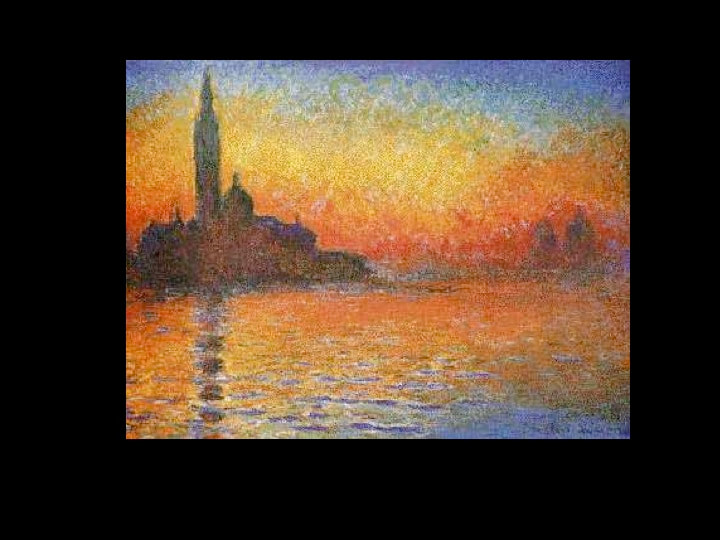
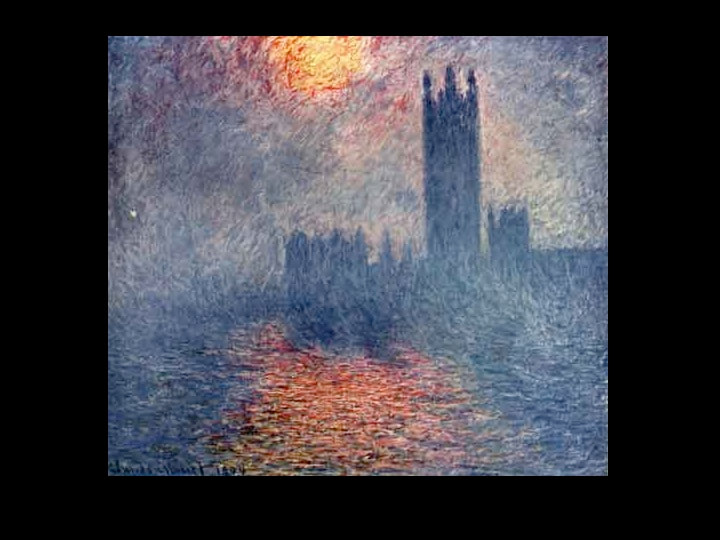
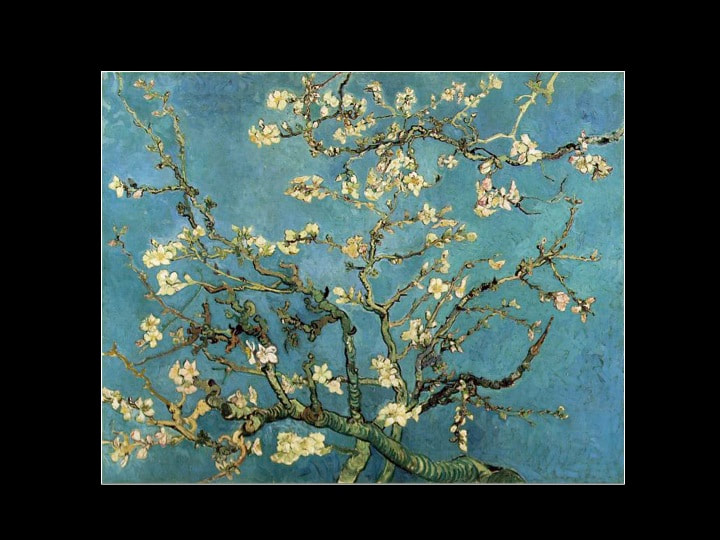
“Color is my day-long obsession, joy and torment” –Claude Monet
Assignment:
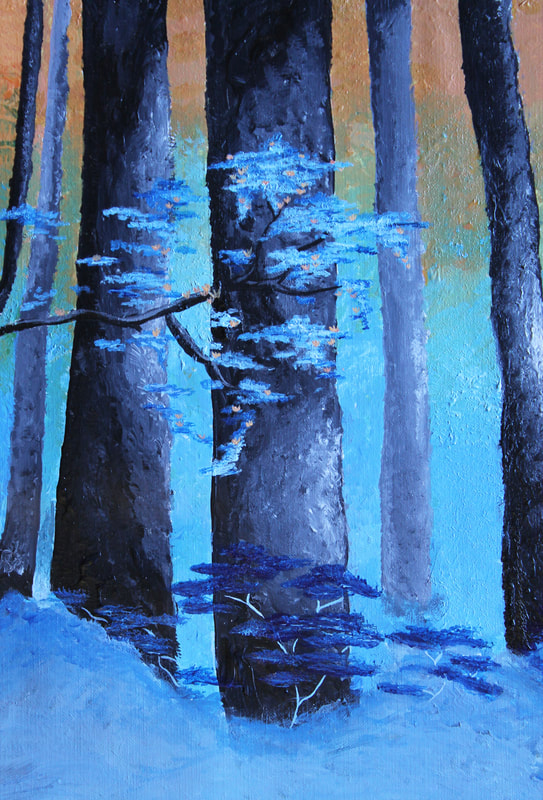
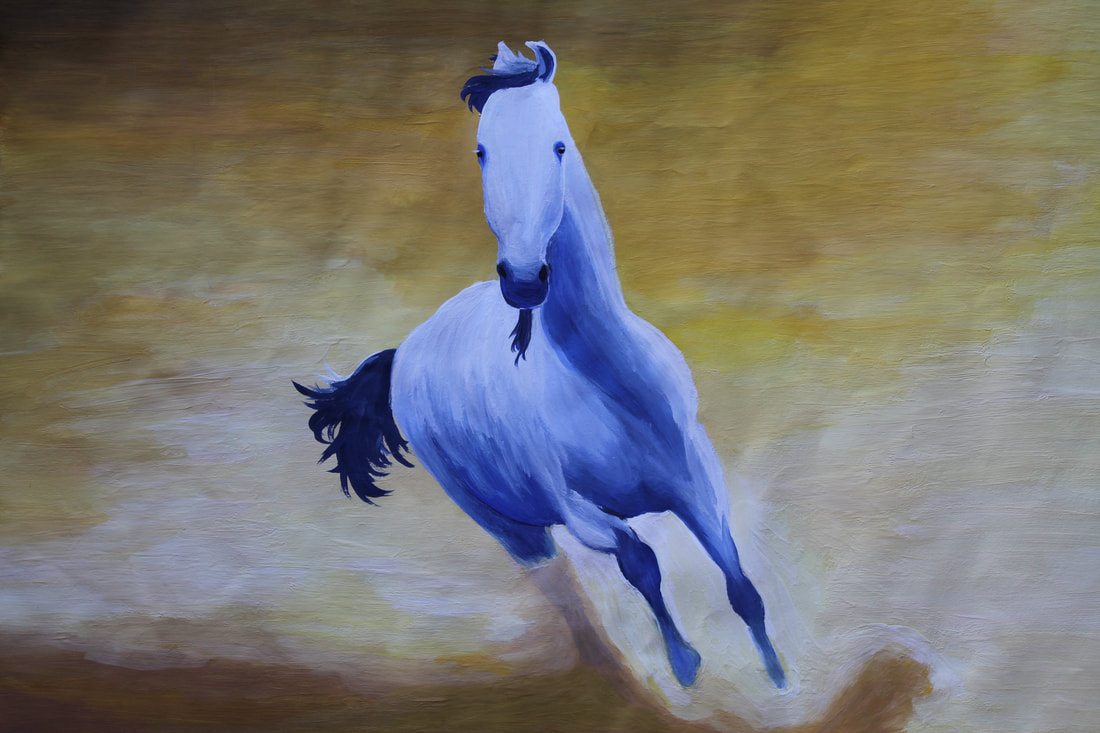
Choose a realistic photograph of a landscape or seascape and recreate the photograph as an impressionistic painting in a DIFFERENT COLOR SCHEME than the original photograph. Use one specific color scheme and emulate the art movement of Impressionism using short, painterly brushstrokes and color blending.
Objectives:
· Demonstrate understanding of color theory and color schemes.
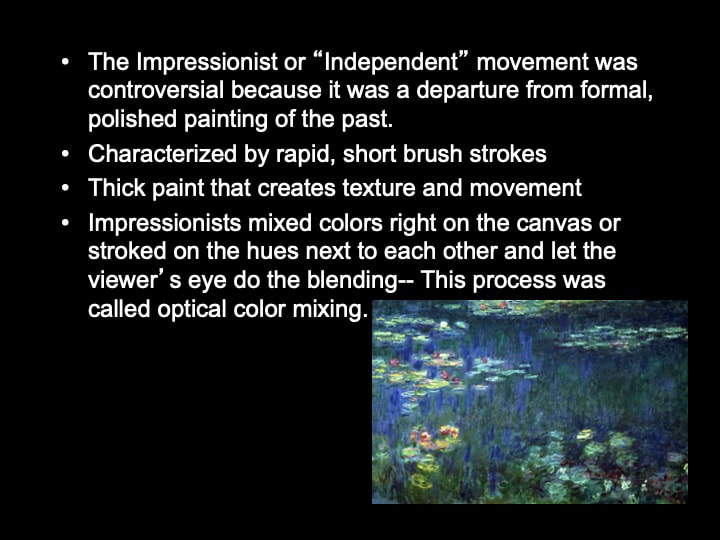
· Demonstrate understanding of the art movement Impressionism: experiment with brushstrokes and optical color blending.
· Continue practice in the elements of art and principles of design with emphasis on color, value, texture, movement, and unity.
DIRECTIONS:
Create this painting on your CANVAS BOARD from school. Use ACRYLIC PAINTS
1) Choose any realistic photograph (no artwork or graphics) that interests you and will keep your attention for several class periods.
2) Lightly draw your outline shapes for your landscape using a #2 pencil or chalk pastel.
3) Choose a new Color Scheme:
· Monochromatic
· Complementary
· Analogous
· Triad
· Split Complement
· Double Complement
4) Paint your replica using your chosen color scheme. Create value and dimension by using the pure saturated color, tints, and shades of each hue in your color scheme.
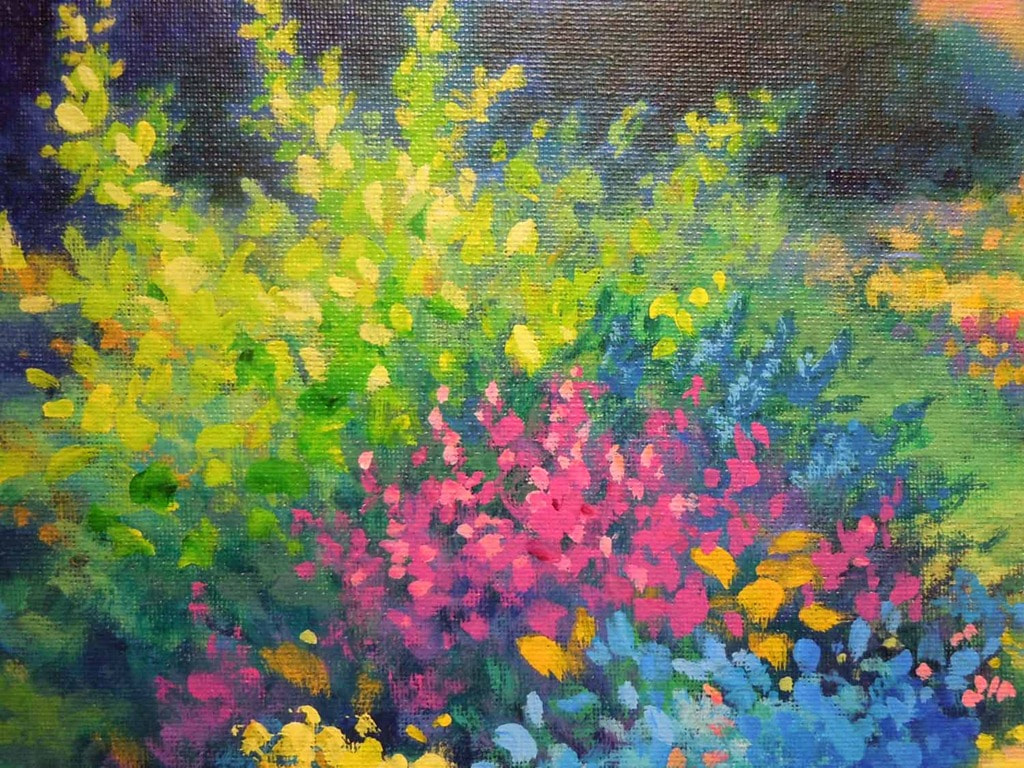
5) Use the style of Impressionists and/or post-impressionists: short, textural brushstrokes with an emphasis on movement and texture.
6) Must include at least 4 acrylic techniques from the Acrylic Technique Chart
Assignment:
Choose a realistic photograph of a landscape or seascape and recreate the photograph as an impressionistic painting in a DIFFERENT COLOR SCHEME than the original photograph. Use one specific color scheme and emulate the art movement of Impressionism using short, painterly brushstrokes and color blending.
Objectives:
· Demonstrate understanding of color theory and color schemes.
· Demonstrate understanding of the art movement Impressionism: experiment with brushstrokes and optical color blending.
· Continue practice in the elements of art and principles of design with emphasis on color, value, texture, movement, and unity.
DIRECTIONS:
Create this painting on your CANVAS BOARD from school. Use ACRYLIC PAINTS
1) Choose any realistic photograph (no artwork or graphics) that interests you and will keep your attention for several class periods.
2) Lightly draw your outline shapes for your landscape using a #2 pencil or chalk pastel.
3) Choose a new Color Scheme:
· Monochromatic
· Complementary
· Analogous
· Triad
· Split Complement
· Double Complement
4) Paint your replica using your chosen color scheme. Create value and dimension by using the pure saturated color, tints, and shades of each hue in your color scheme.
5) Use the style of Impressionists and/or post-impressionists: short, textural brushstrokes with an emphasis on movement and texture.
6) Must include at least 4 acrylic techniques from the Acrylic Technique Chart
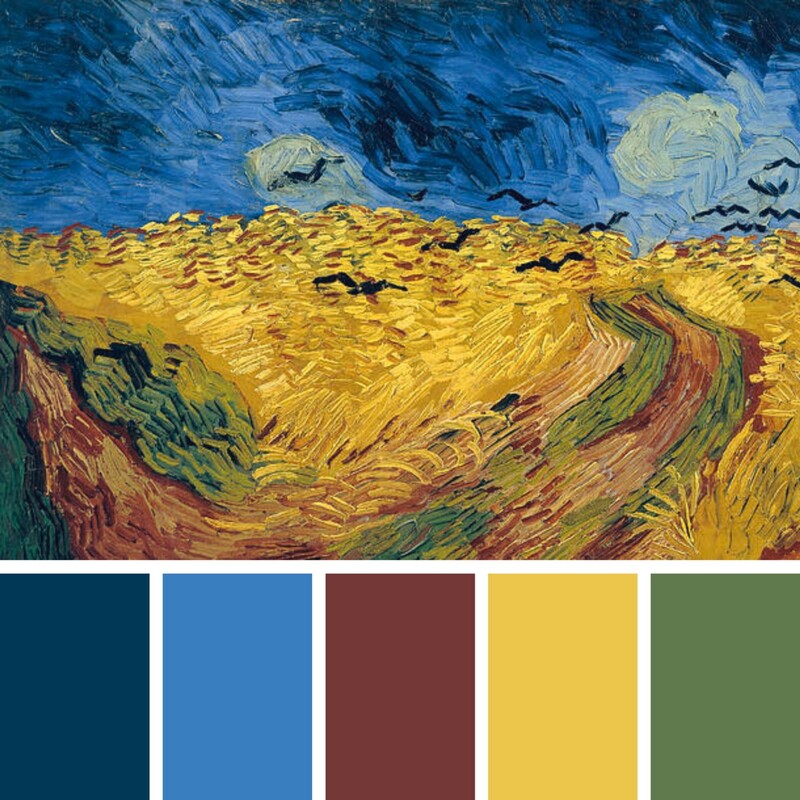
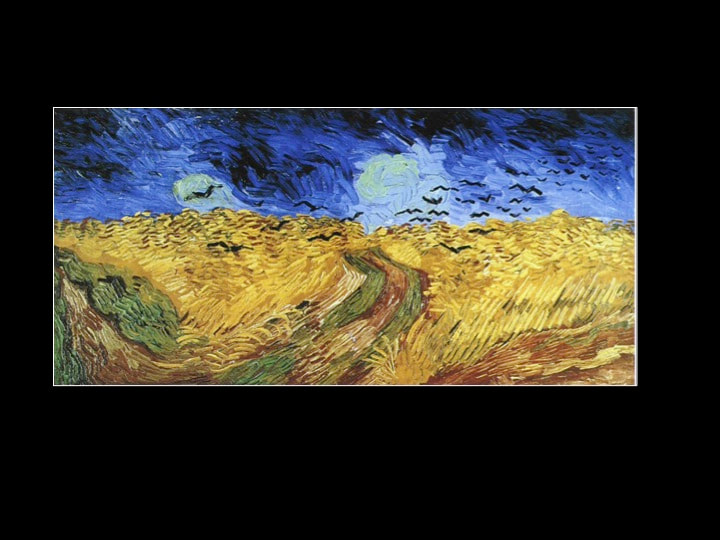
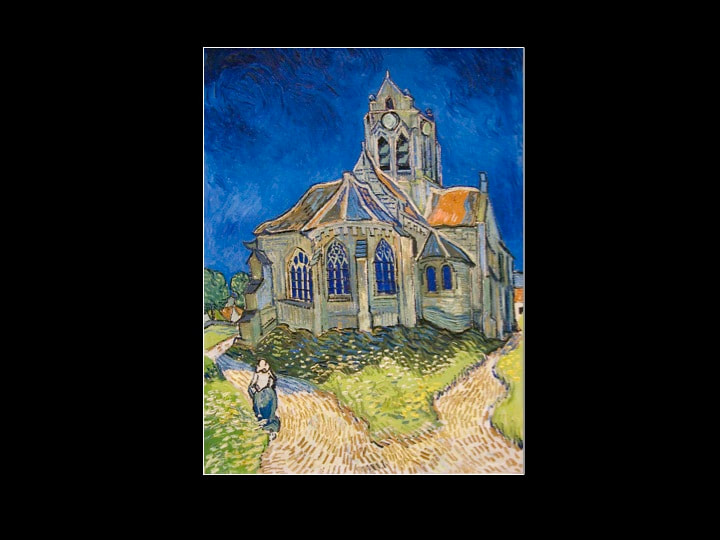
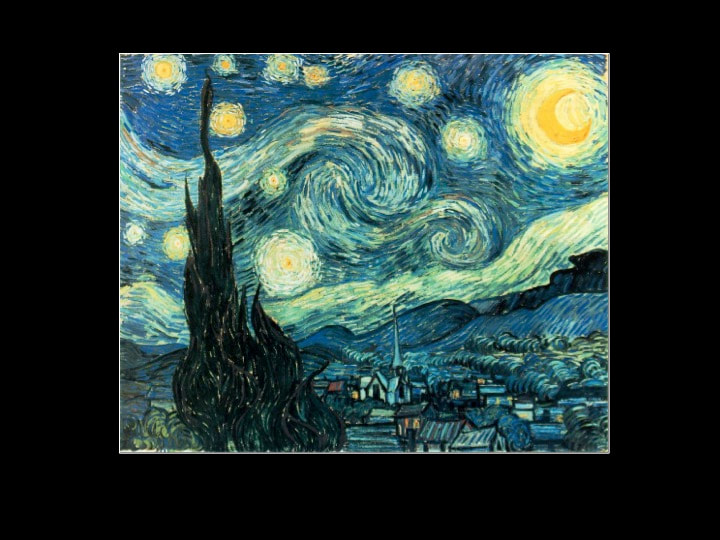
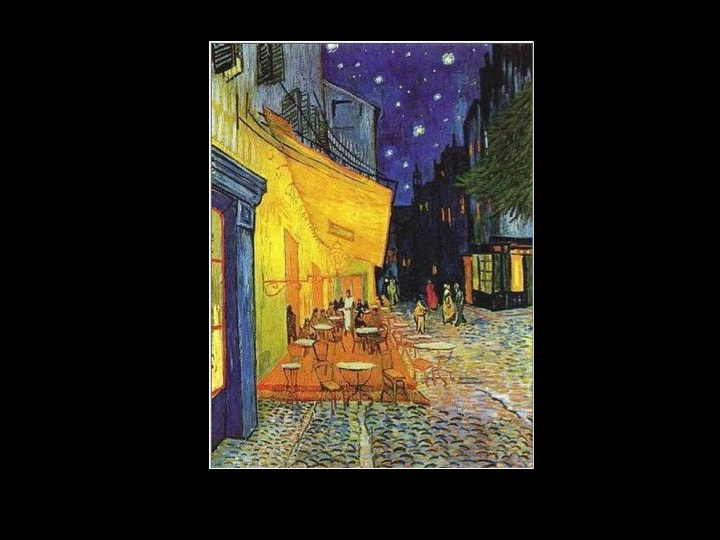
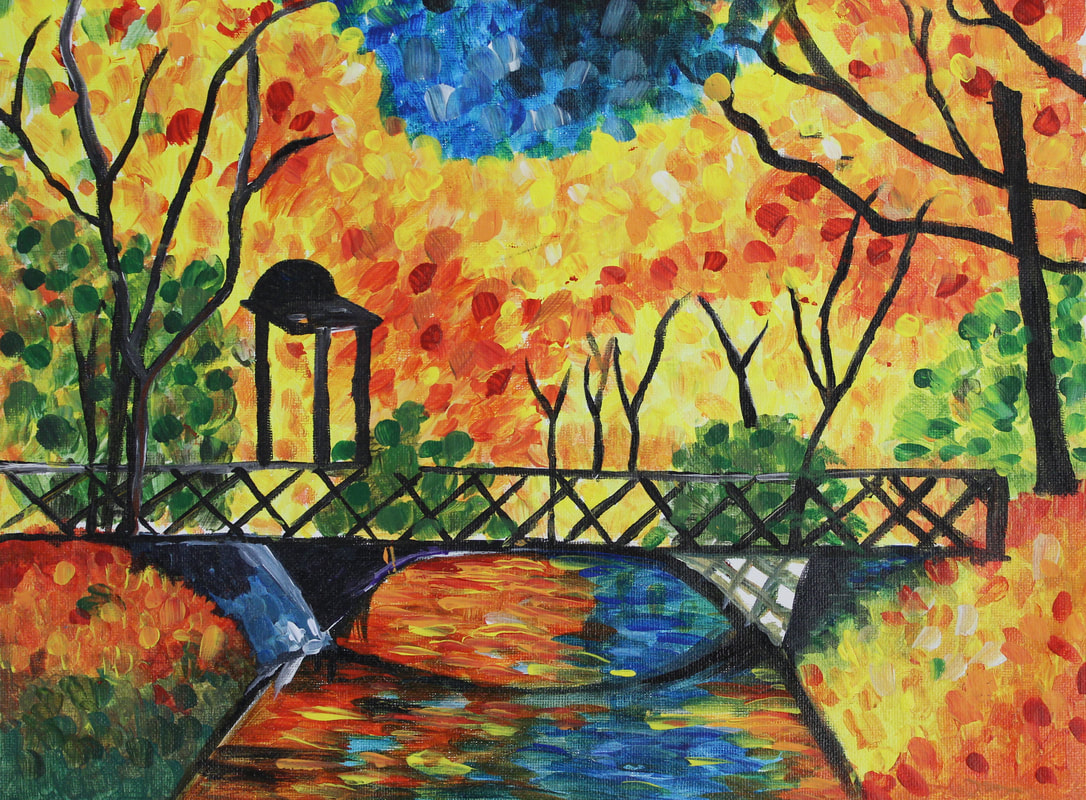
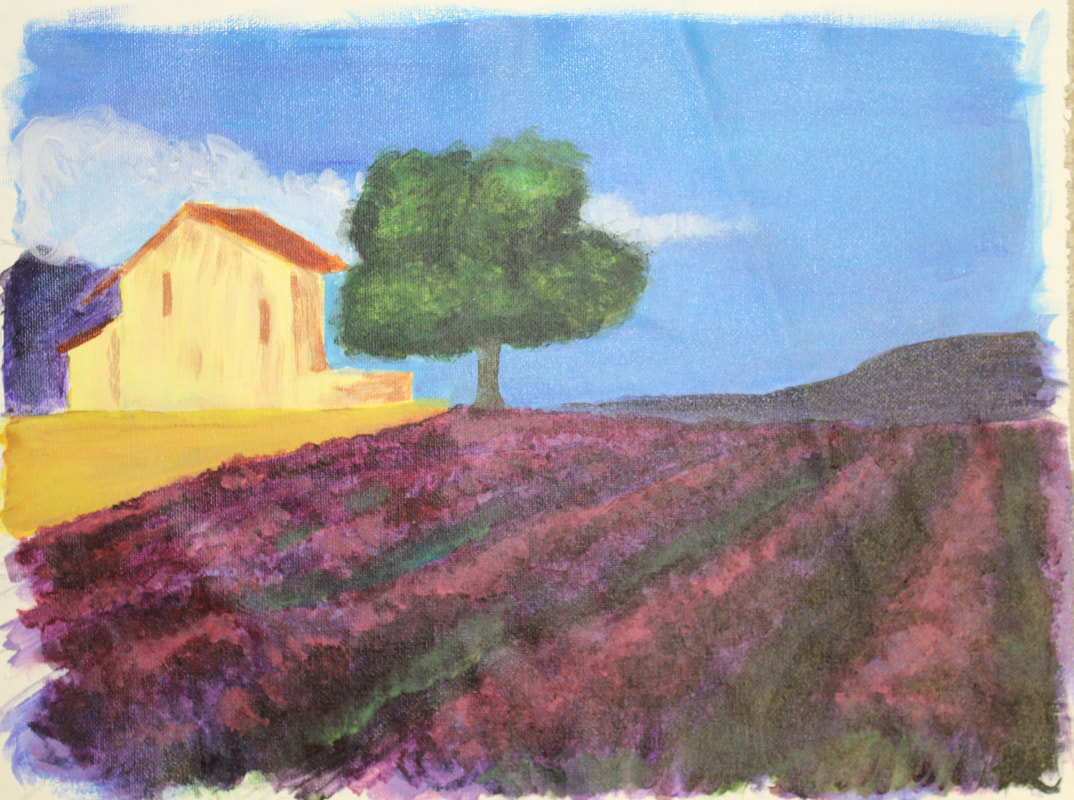
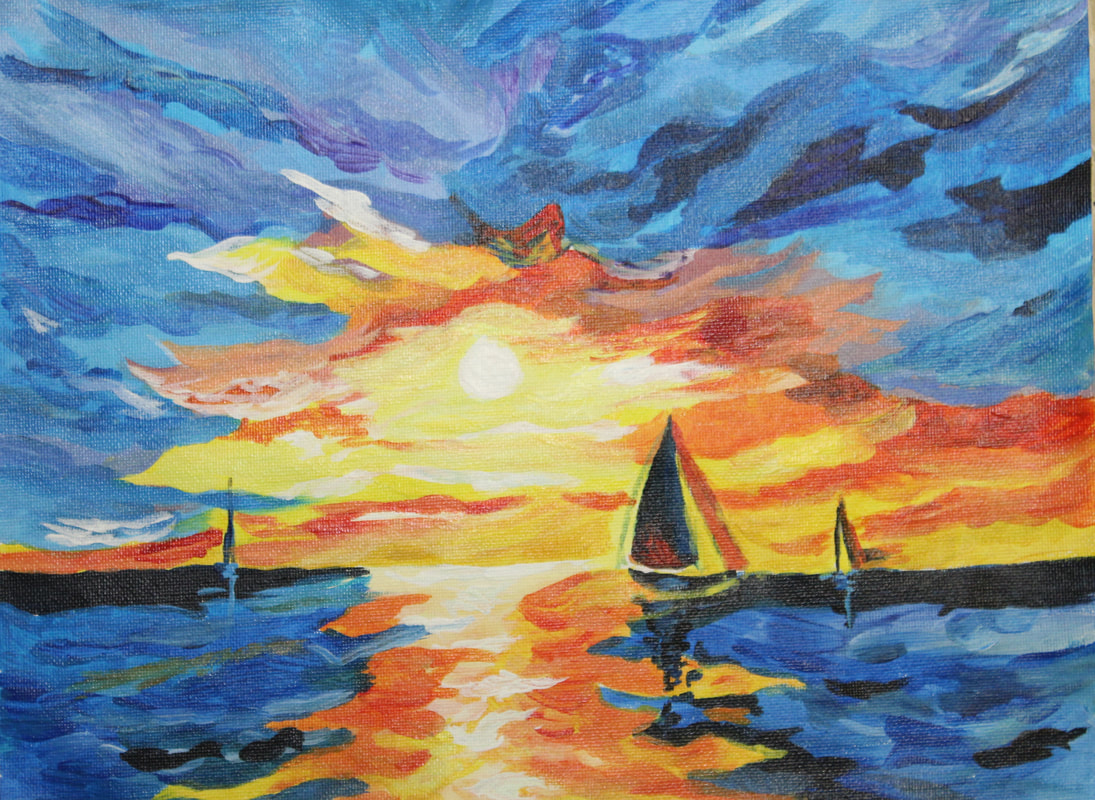
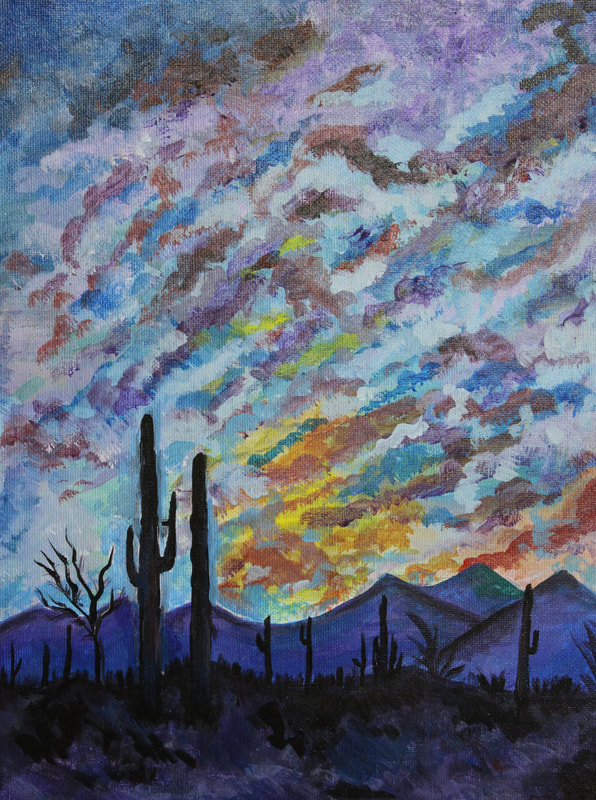
Impressionism Examples:

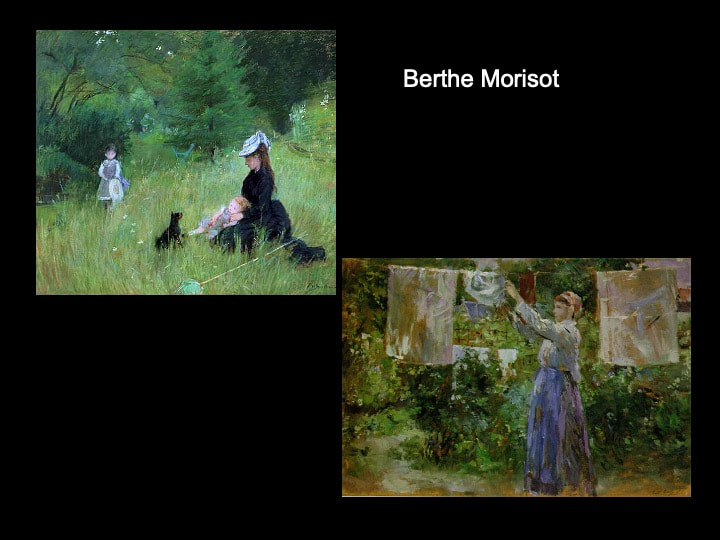
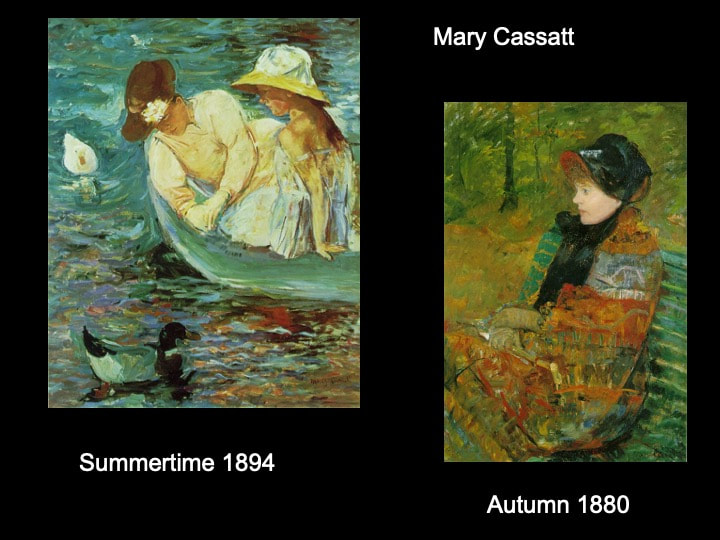
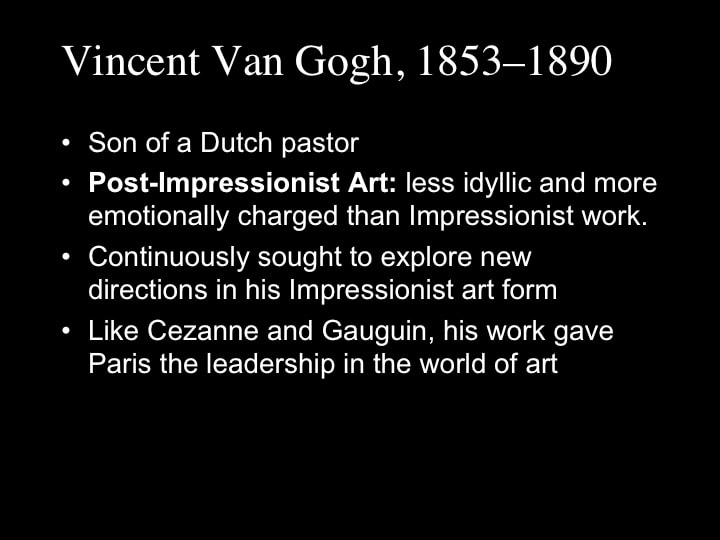
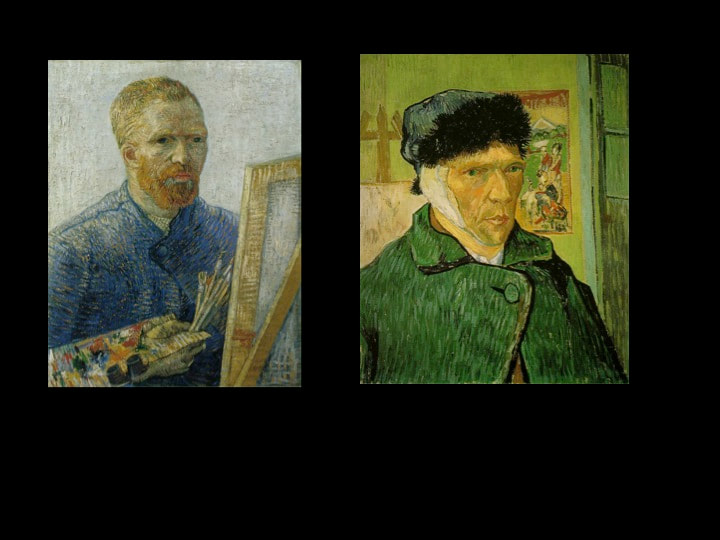
Post-Impressionism Examples:
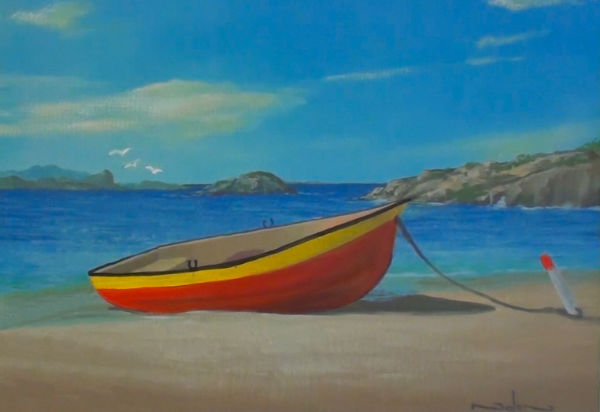
Student Impressionism Painting Examples:


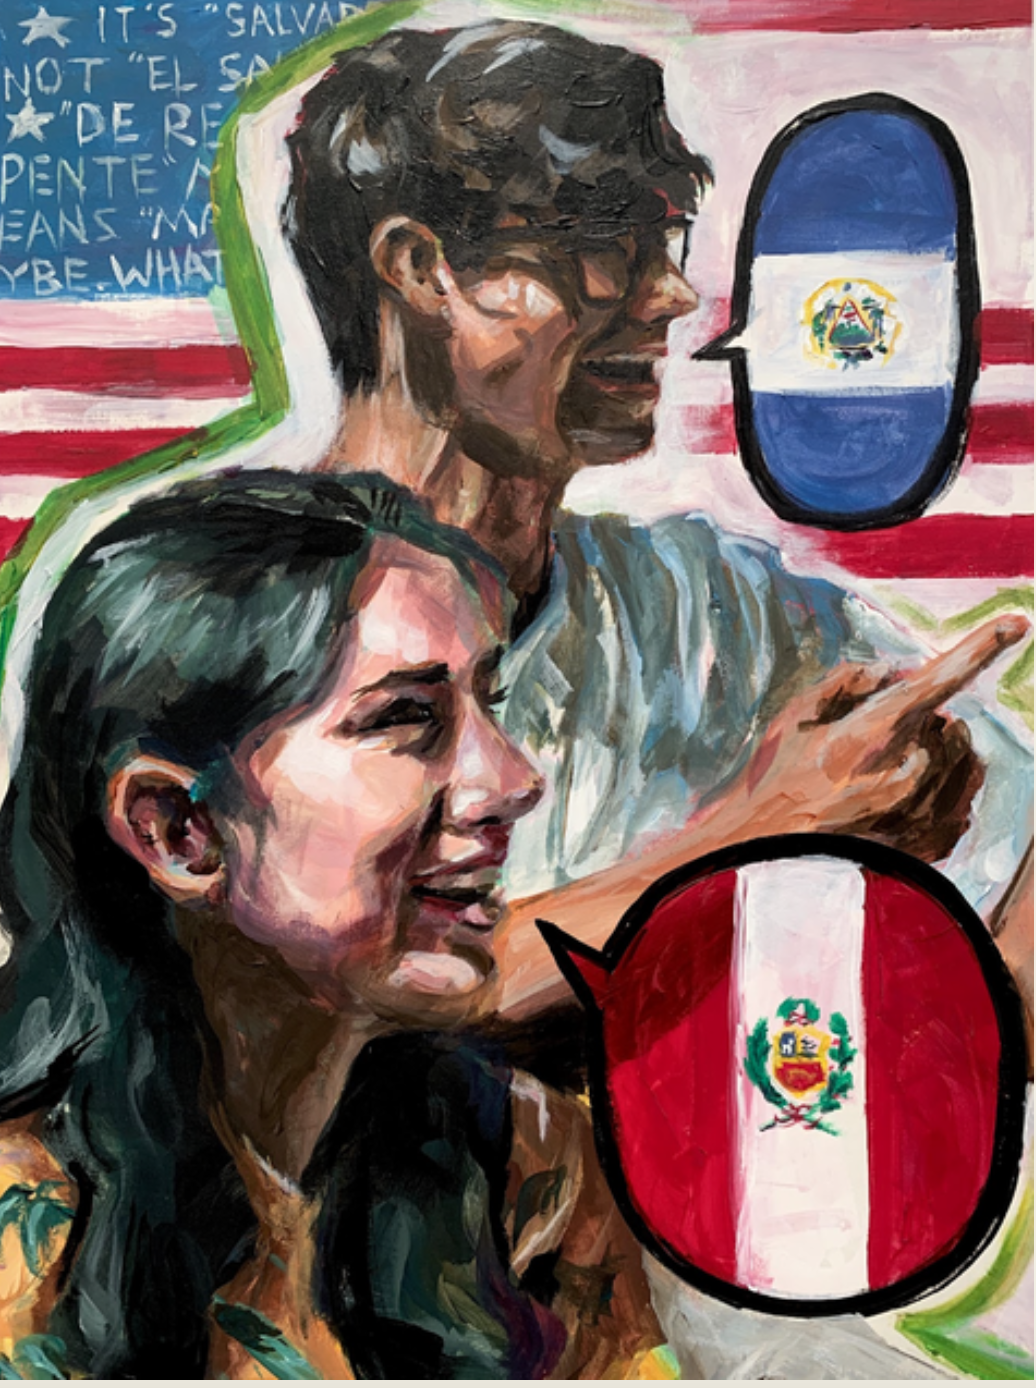
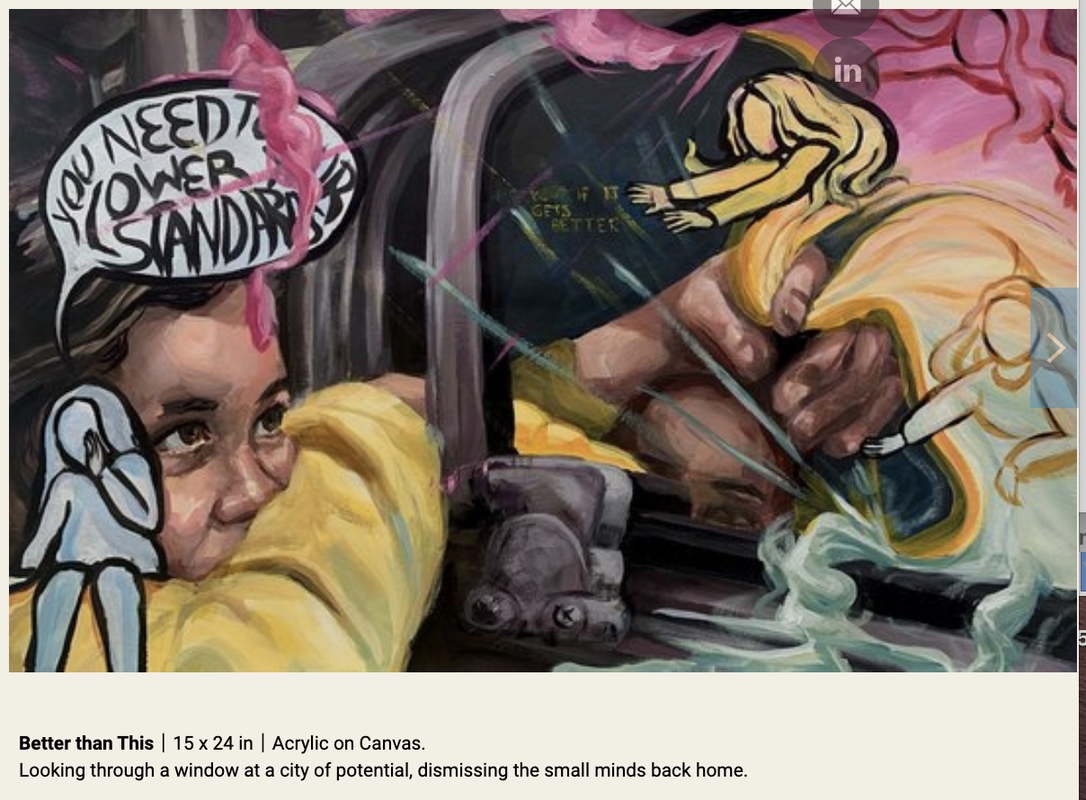
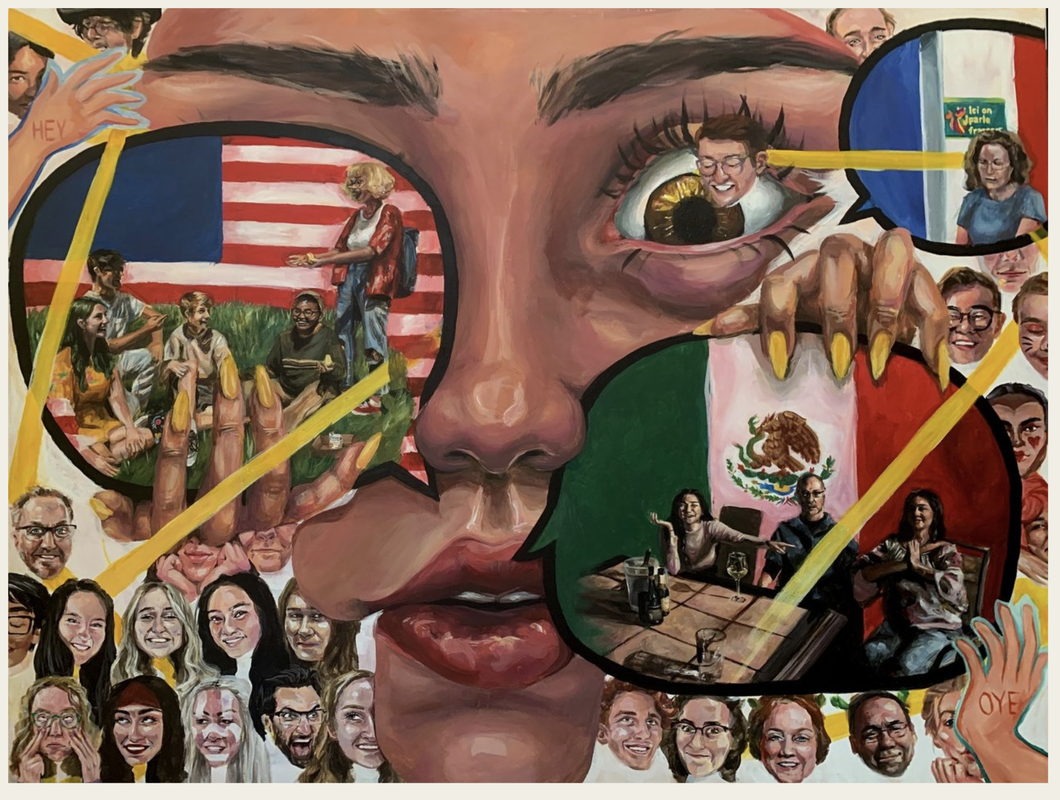
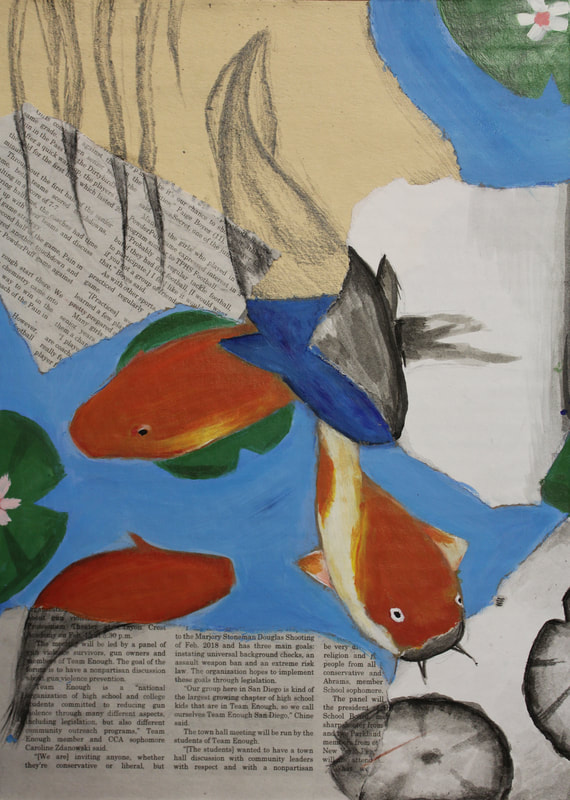
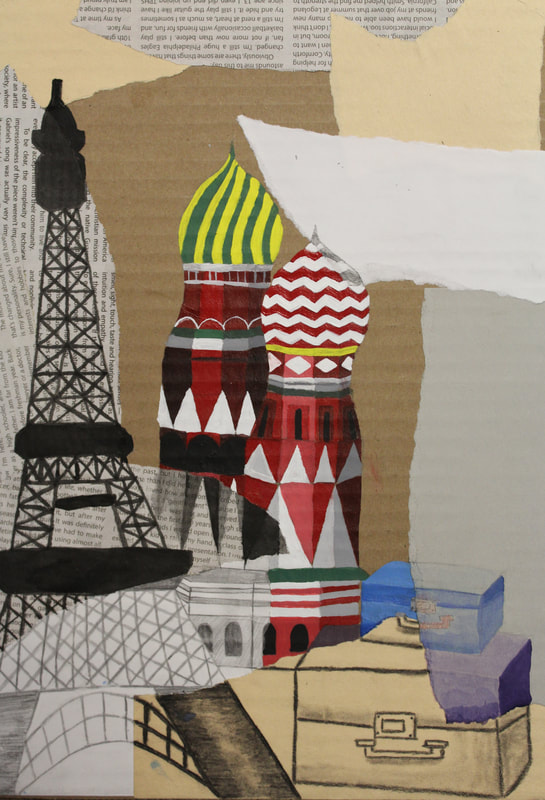
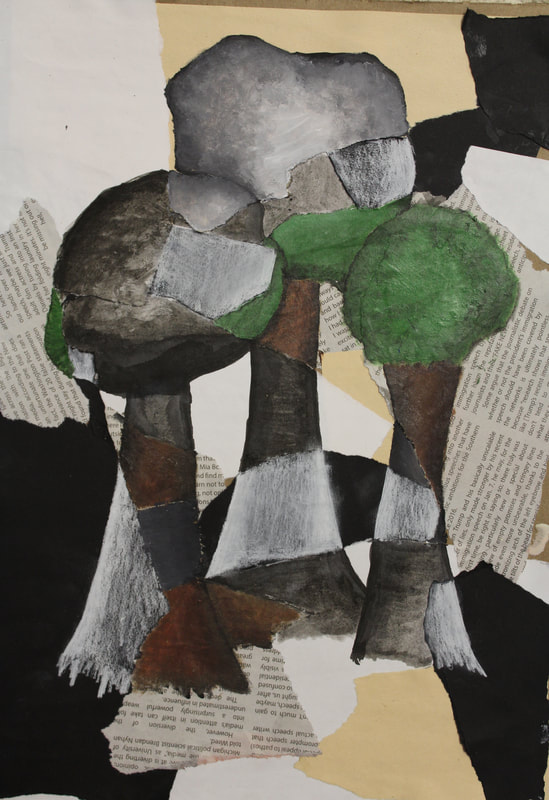
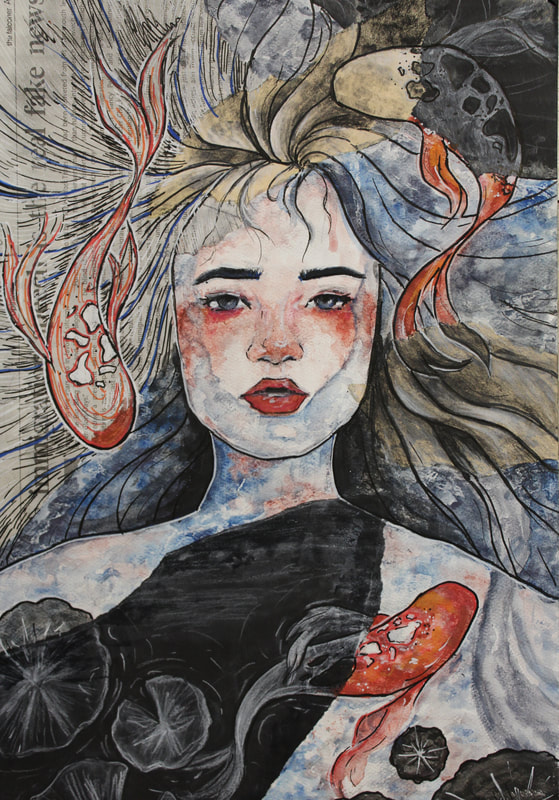
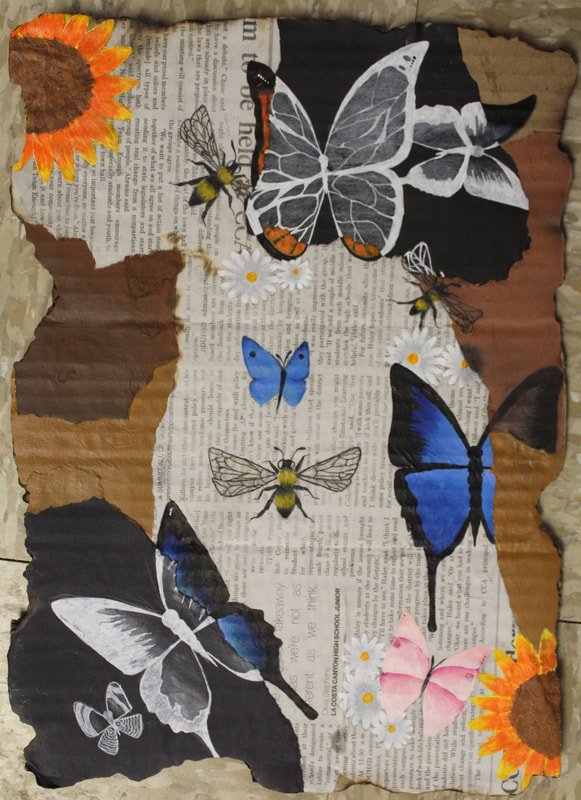
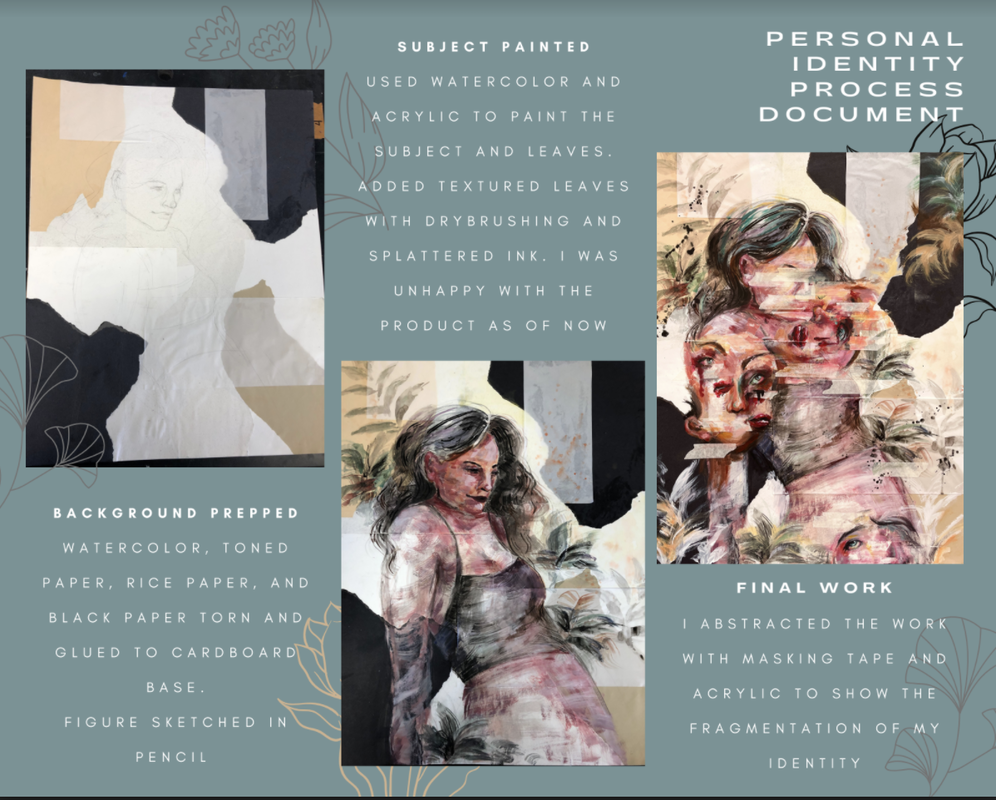
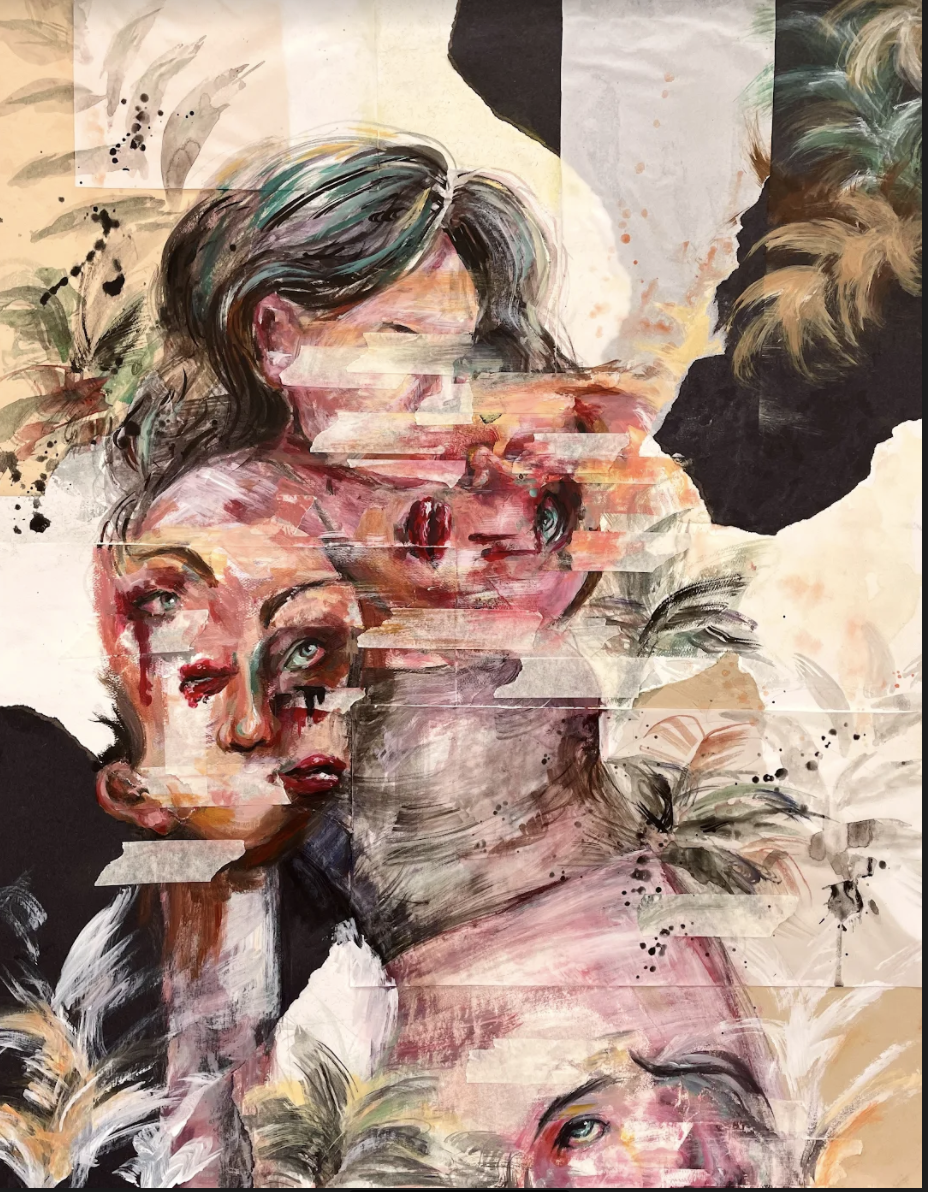
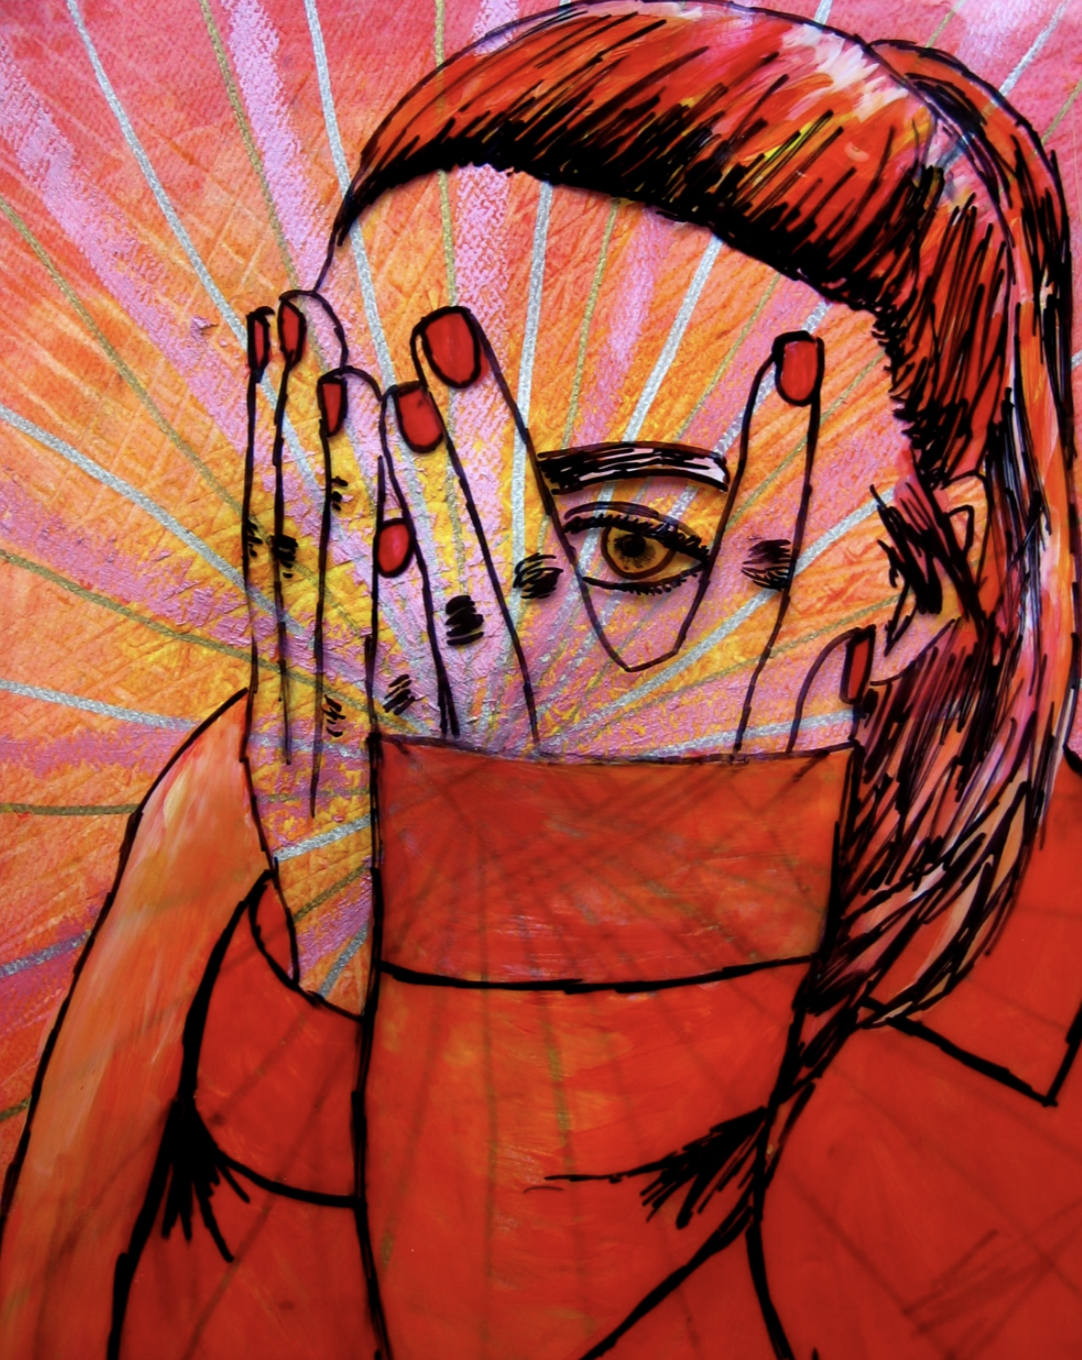
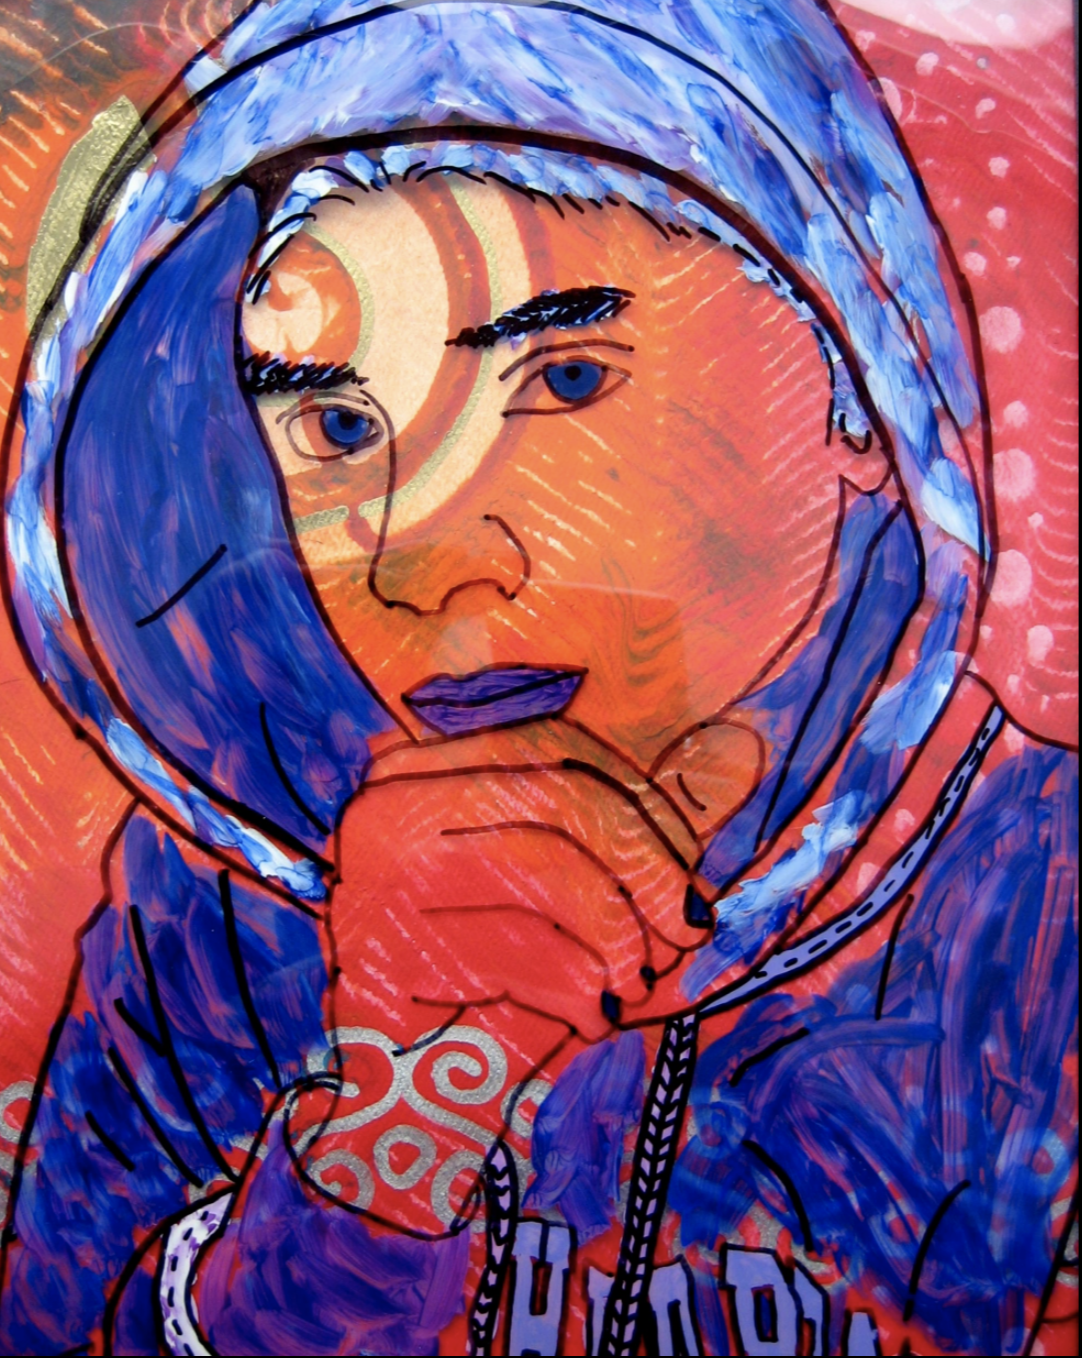
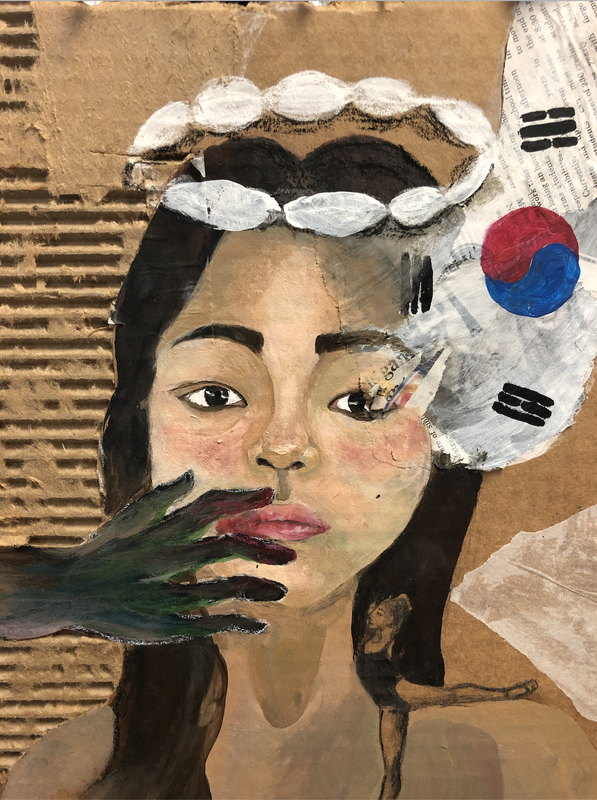
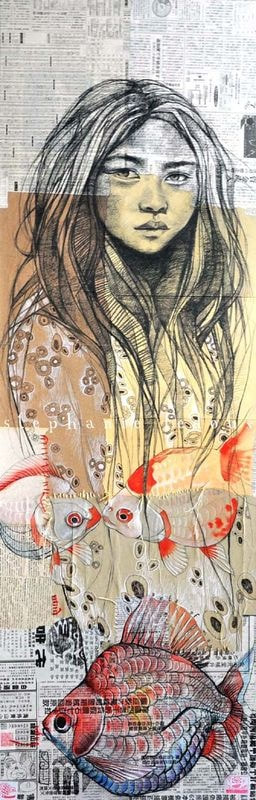
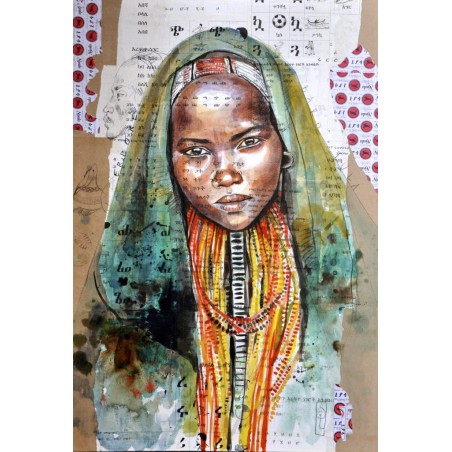
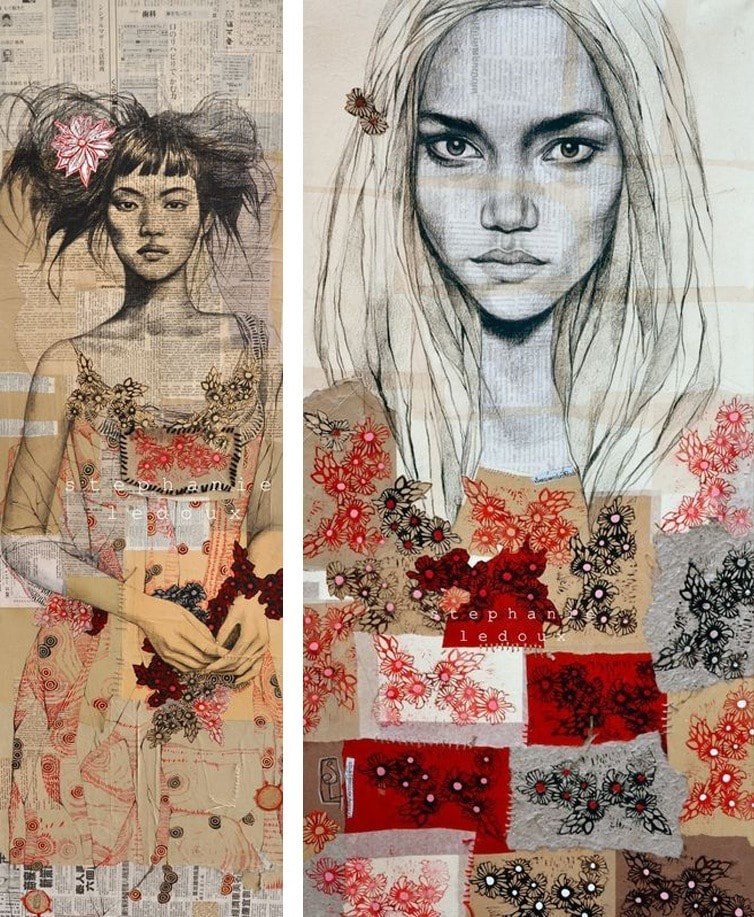
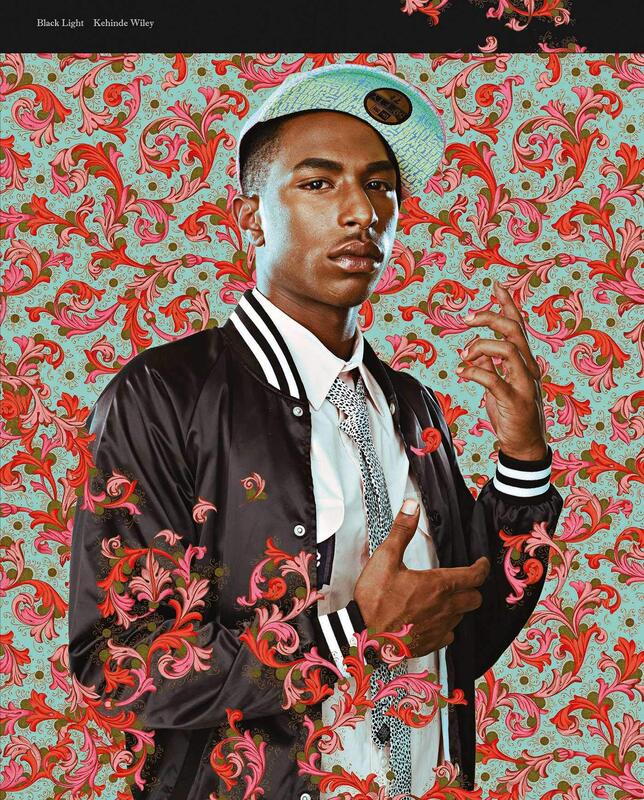
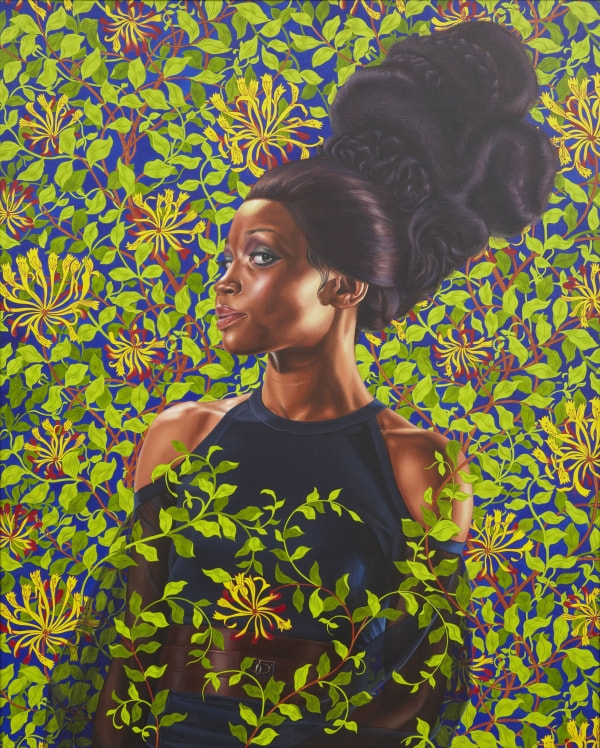
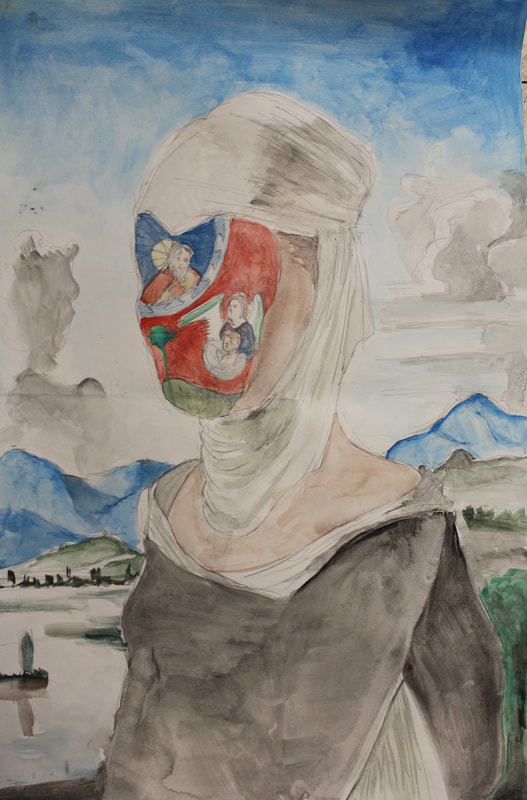
Personal Identity Mixed Media Painting
Project Objective:
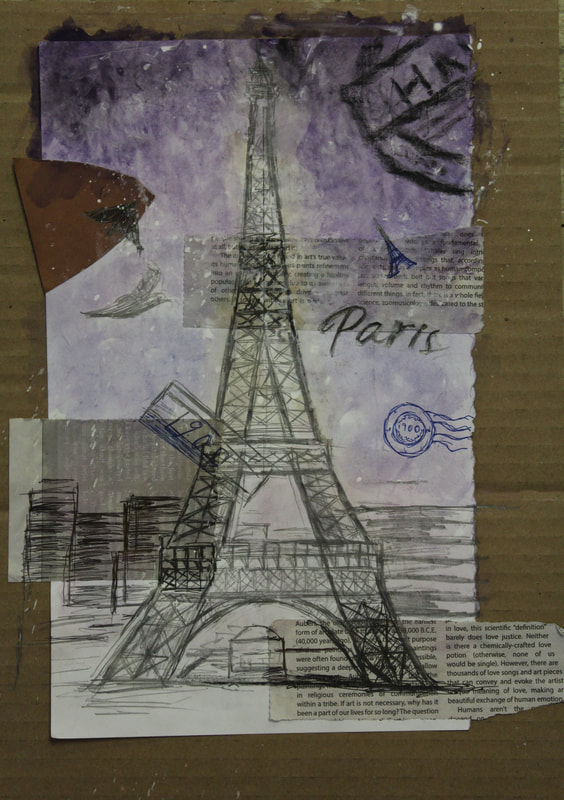
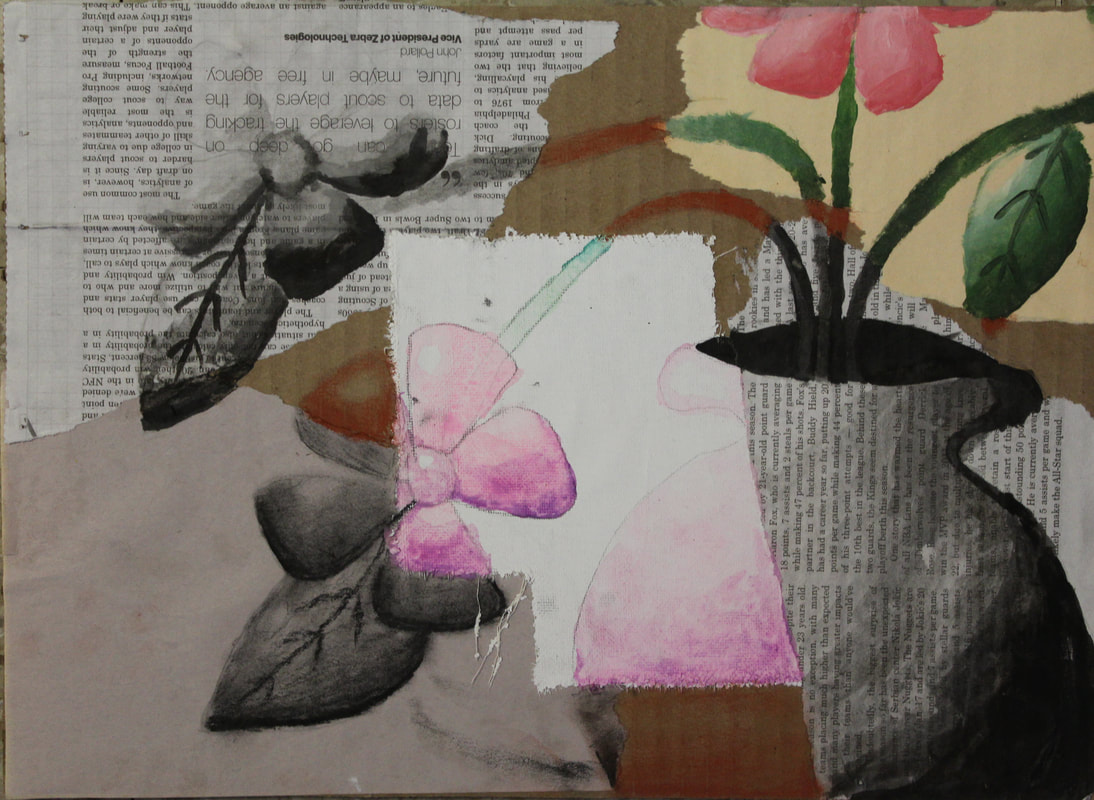
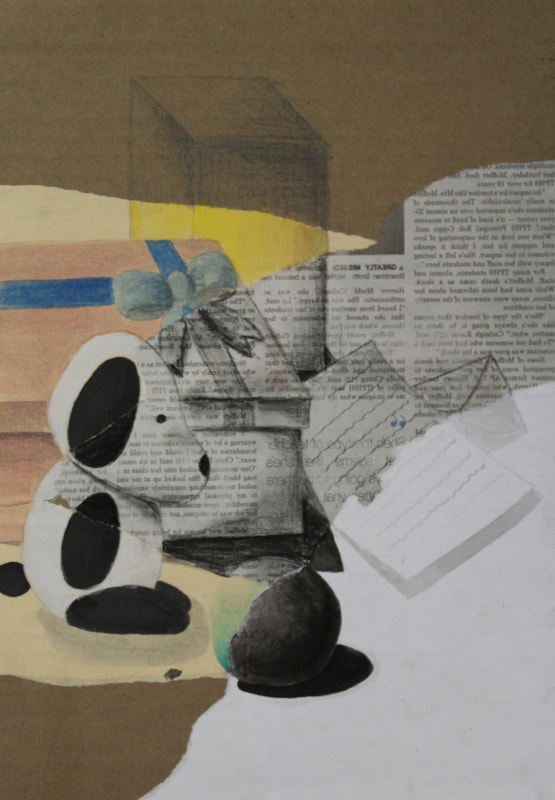
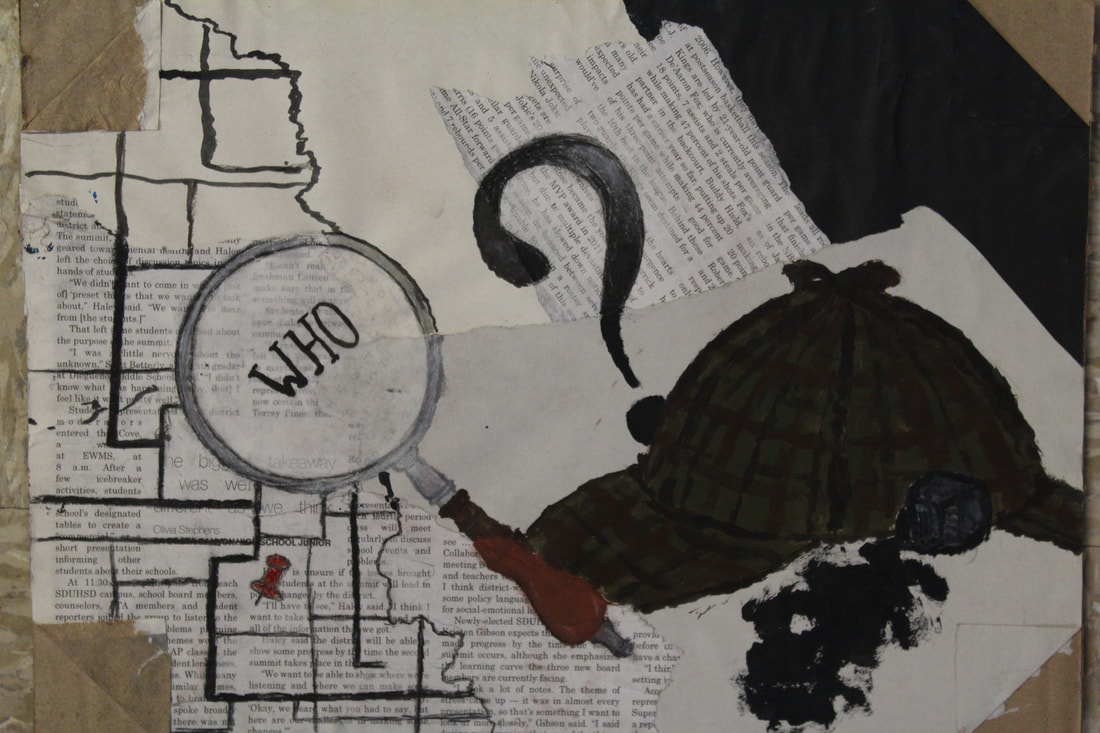
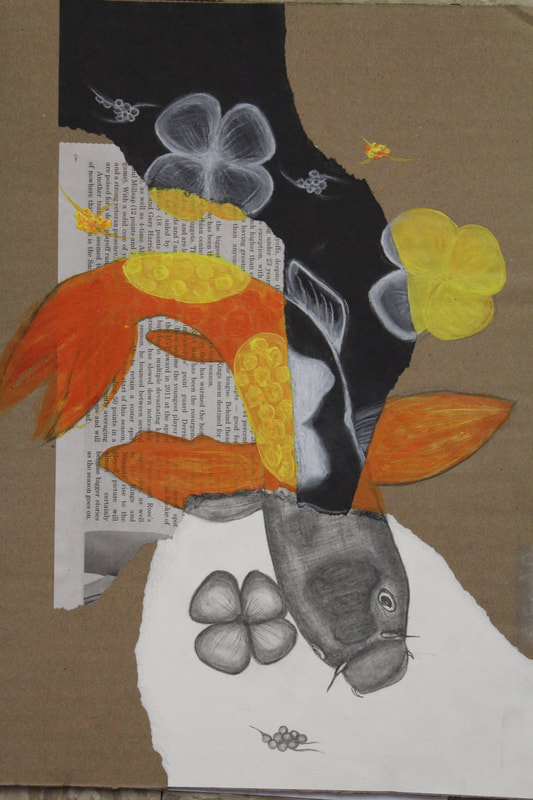
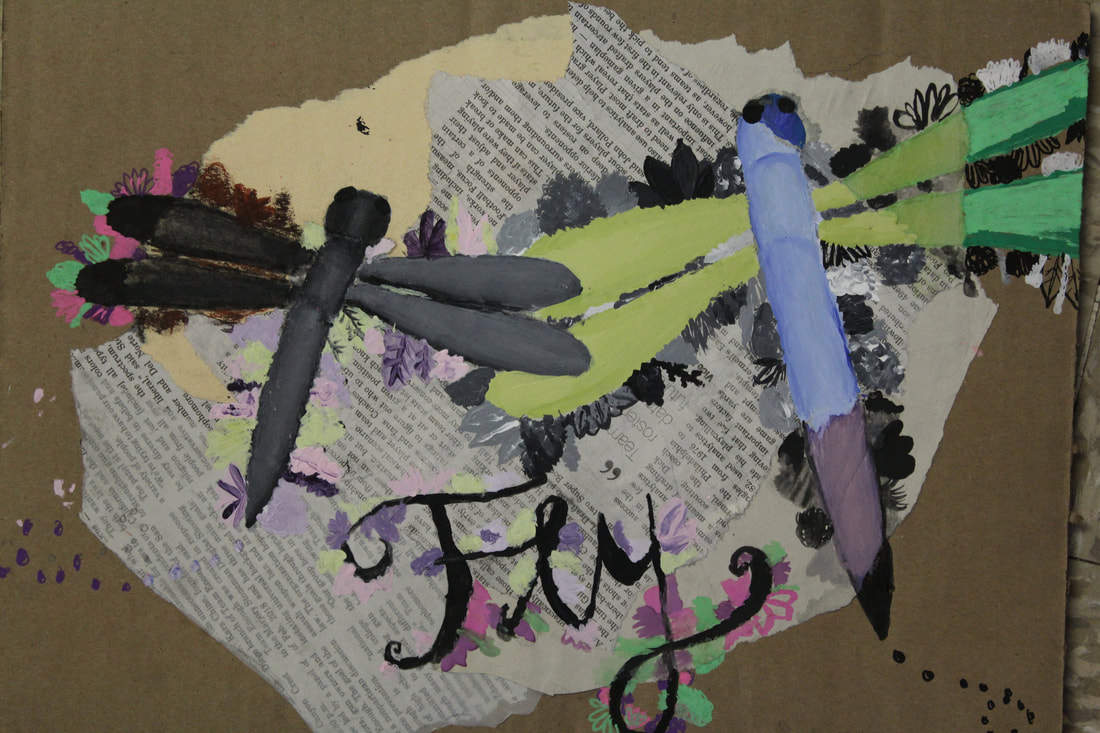
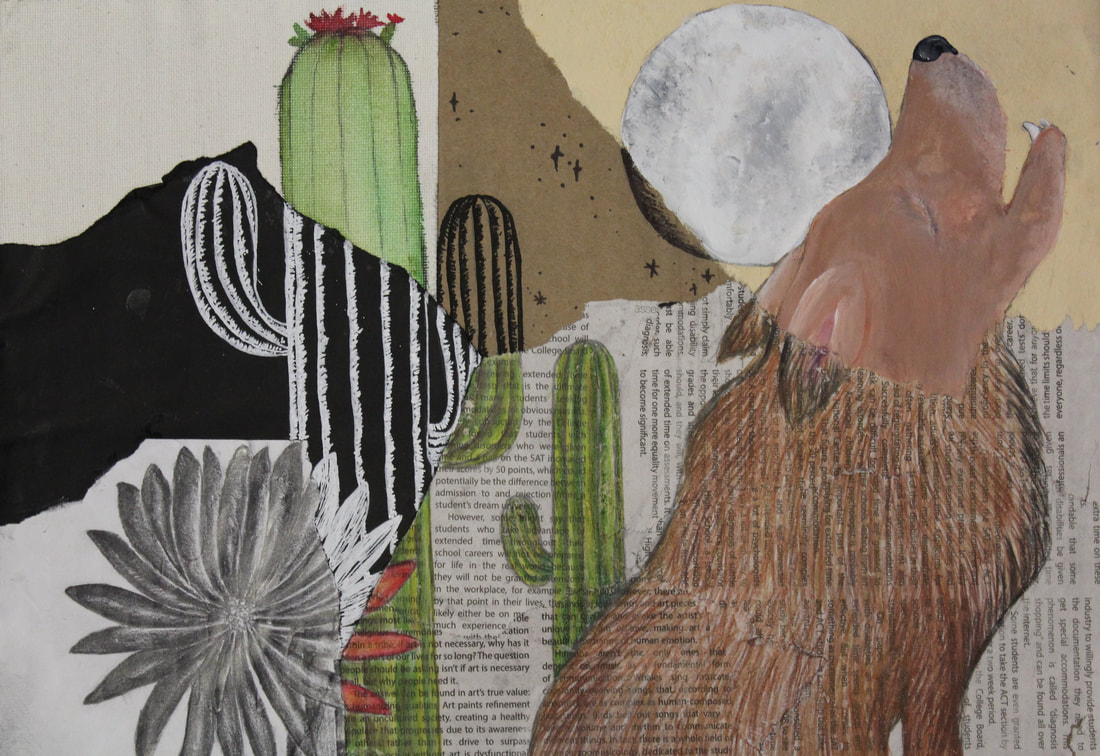
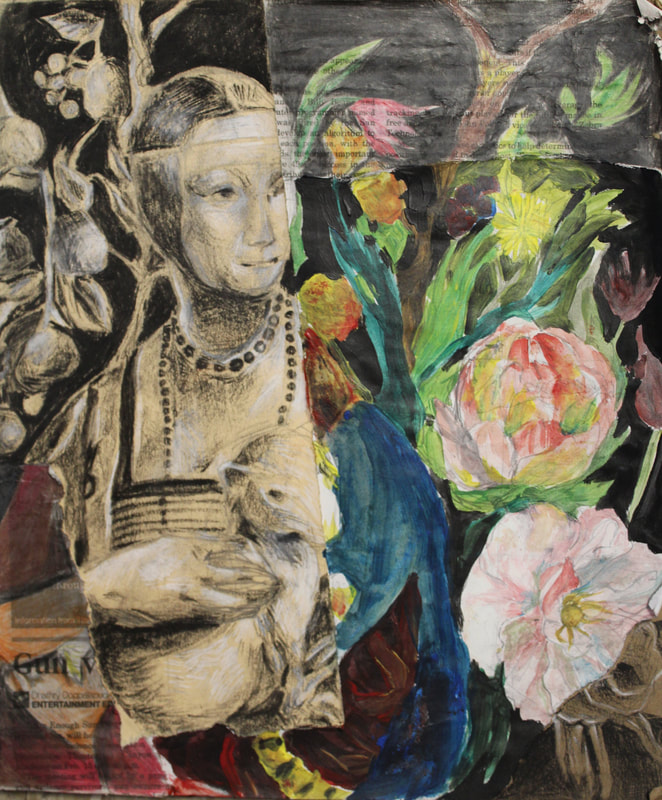
Create a mixed media artwork that explores your Personal Identity.
Explore how factors such as culture, gender, race, religion, your passions, experiences, and family shape your personal identity.
Process and objectives:
Mixed-media mediums to include:
You will use Newspaper and White Drawing Paper.
Choose 2 more:
Instructions:
Prepare surface one class in advance:
Glue a scrap of newspaper and 2 more scraps of your choice: of black paper, manila paper, brown craft paper, rice paper, charcoal paper or watercolor paper onto a larger white sheet of drawing paper or cardboard. Make sure to OVERLAP papers and have the different papers EXTEND to the EDGES.
Create a mixed media artwork that explores your Personal Identity.
Explore how factors such as culture, gender, race, religion, your passions, experiences, and family shape your personal identity.
Process and objectives:
- Identify and explore several facets of your personal identity.
- Observe and analyze how your own culture, gender, race, religion, passions, experiences, and family influence and shape your personal identity.
- Reflect on any of the above to explore in your work.
- Create a mind map exploring several facets of your identity. Make connections, use visuals and words.
- Interview people close to you on family histories, traditions, or other things that contribute to how your define your identity
Mixed-media mediums to include:
You will use Newspaper and White Drawing Paper.
- Required: Tempera or acrylic on Brown craft paper or Manila paper or Charcoal Paper
- Required: Graphite drawing pencils on White Drawing Paper
Choose 2 more:
- Black & white charcoal or black & white acrylic on Brown Craft Paper or Manila Paper or Charcoal Paper
- White Charcoal or white acrylic or white paint pen on Black Paper
- Colored pencil or acrylic on Newspaper.
- Watercolor and/or watercolor pencil on Watercolor paper
- Black ink or colored inks on white paper
Instructions:
Prepare surface one class in advance:
Glue a scrap of newspaper and 2 more scraps of your choice: of black paper, manila paper, brown craft paper, rice paper, charcoal paper or watercolor paper onto a larger white sheet of drawing paper or cardboard. Make sure to OVERLAP papers and have the different papers EXTEND to the EDGES.
- Choose 1 to 3 objects/subjects to draw that symbolically represent one or more aspects of your personality.
- Draw out your composition onto your prepared paper using a 2h drawing pencil. Draw it so that each object crosses over all of the different papers - make it go off the page if you have to. Make sure your drawing is as accurate as you can draw!
- In each of the different papers, use the designated mediums to render the objects with FULL shading with shades and tints. Use a range of values in the designated medium.
- Make sure you switch mediums as you cross over the different papers.
Student Examples
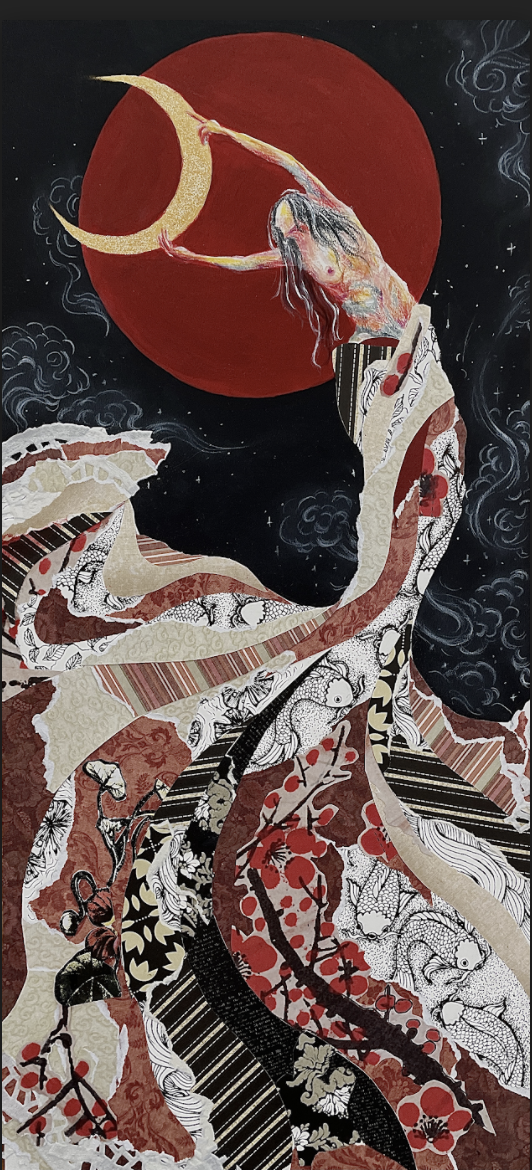
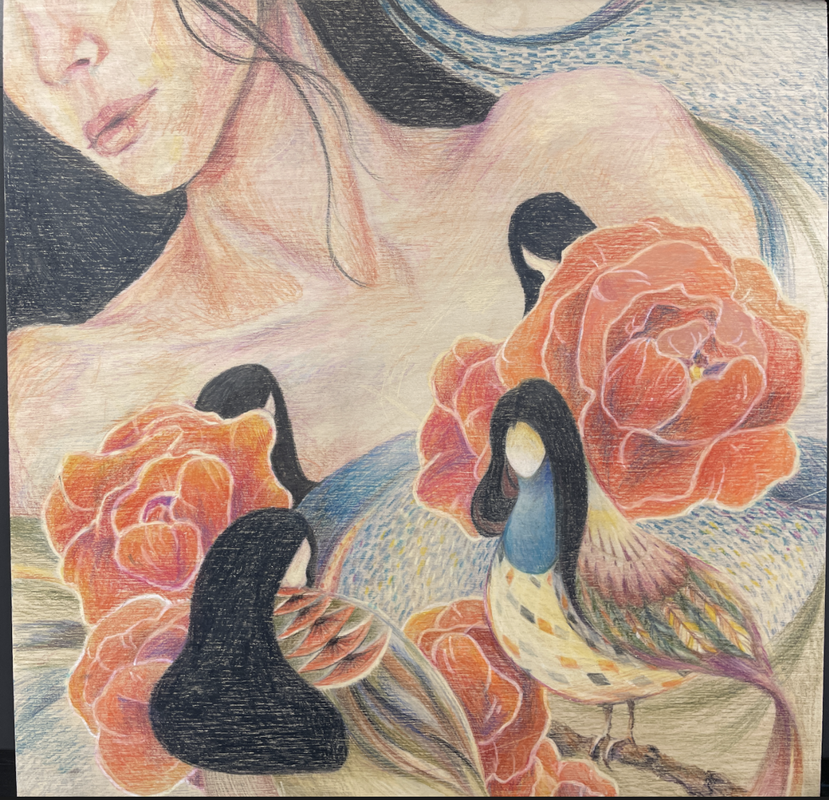

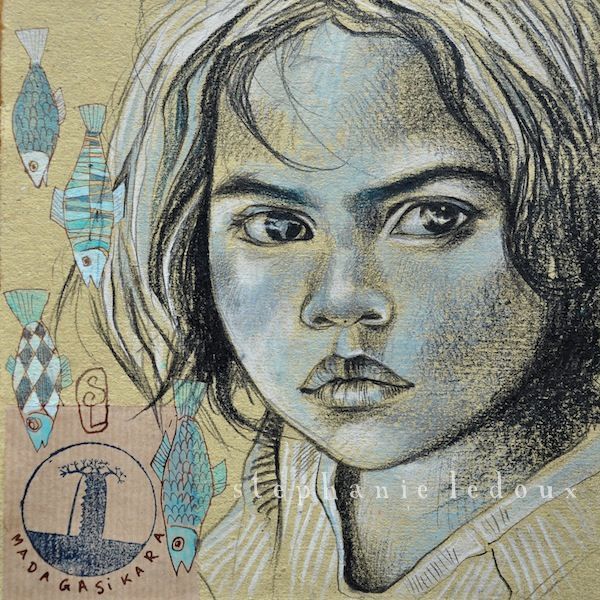
Professional Examples


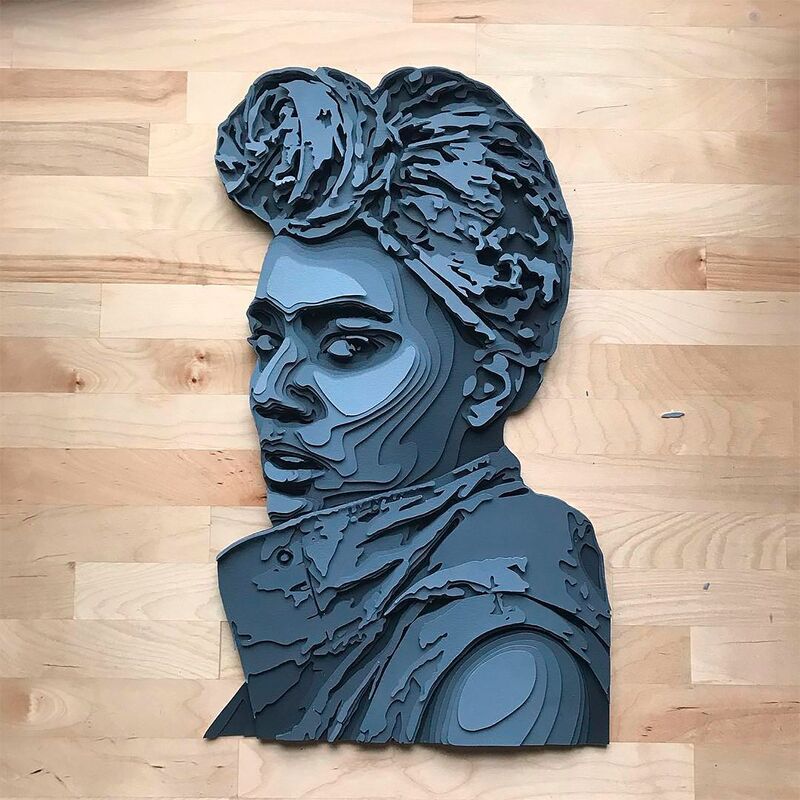
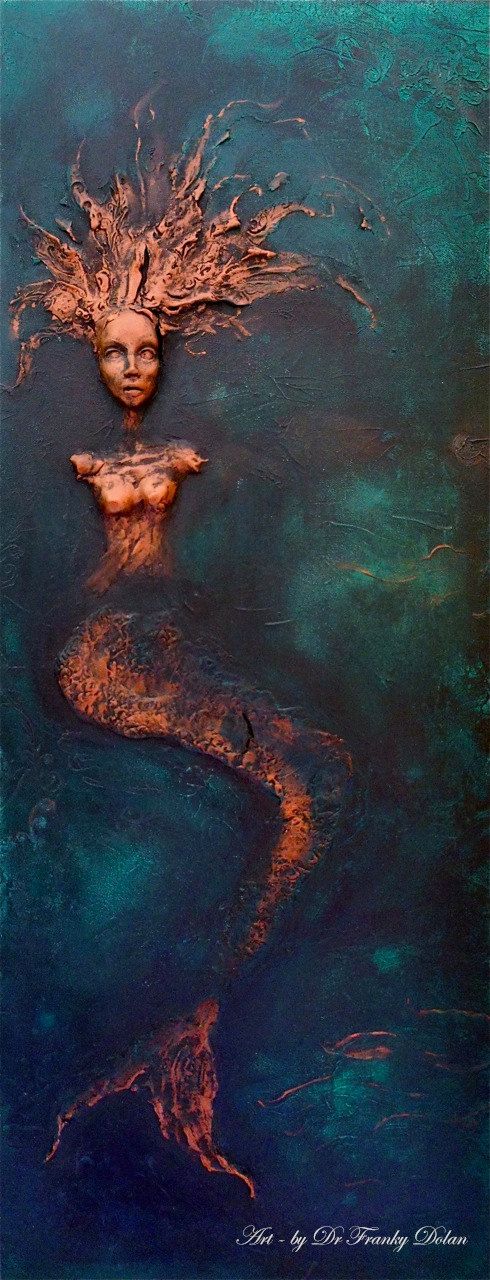
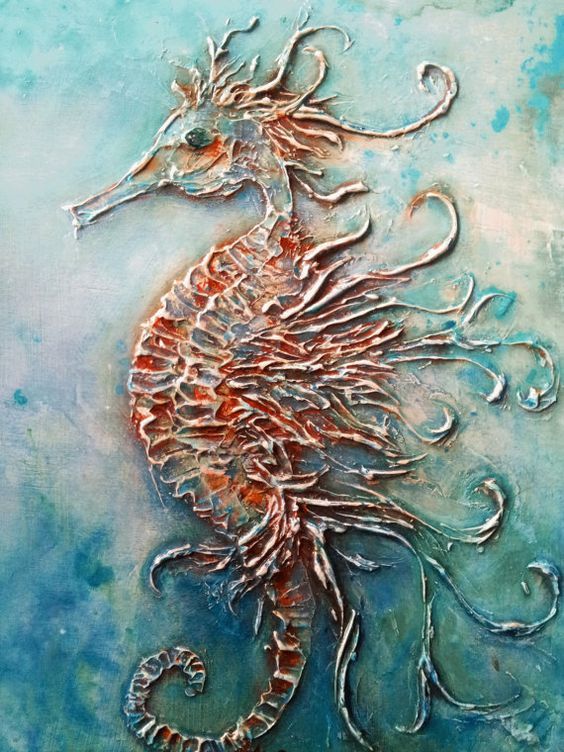
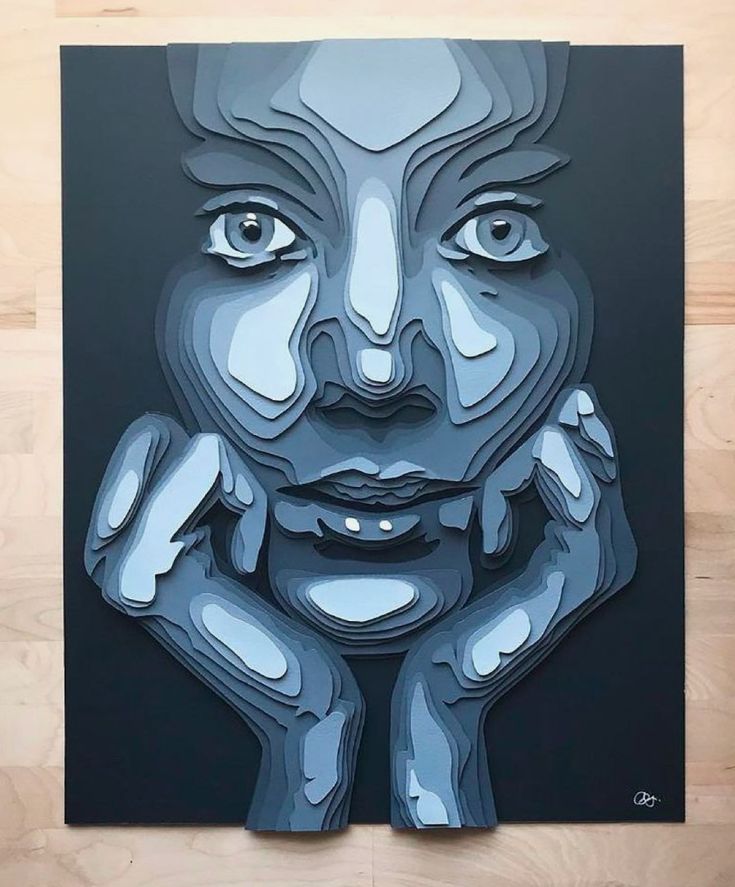
3D Painting Project
Assignment: To create a painting with a raised surface and 3D element.
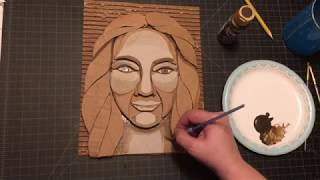
Option 1: Layered Cardboard & Paper
Create a painting with a subject of your choice using cardboard and paper.
1)Use a sheet of Cardboard for your foundation.
2)Cut out shapes in cardboard and paper and build them up to create a raised surface.
3)Paint areas of the cardboard and leave some areas unpainted.
4)Paint the paper.
5)Glue on the layers.
6)Add additional paint and details.
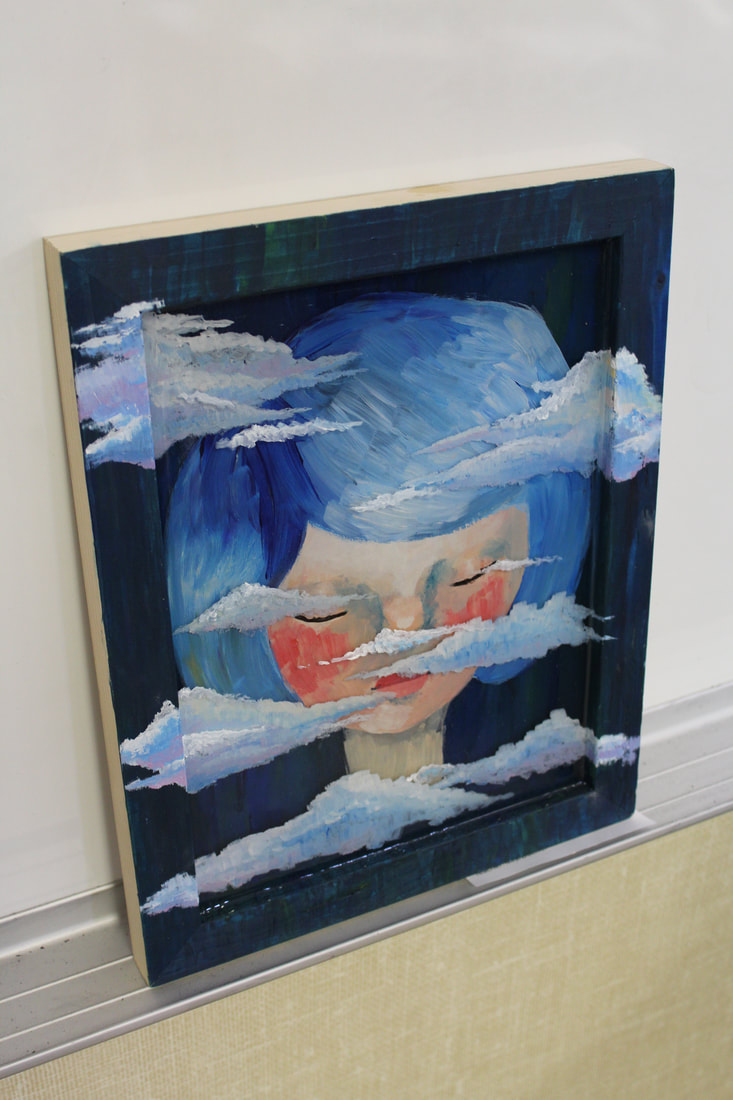
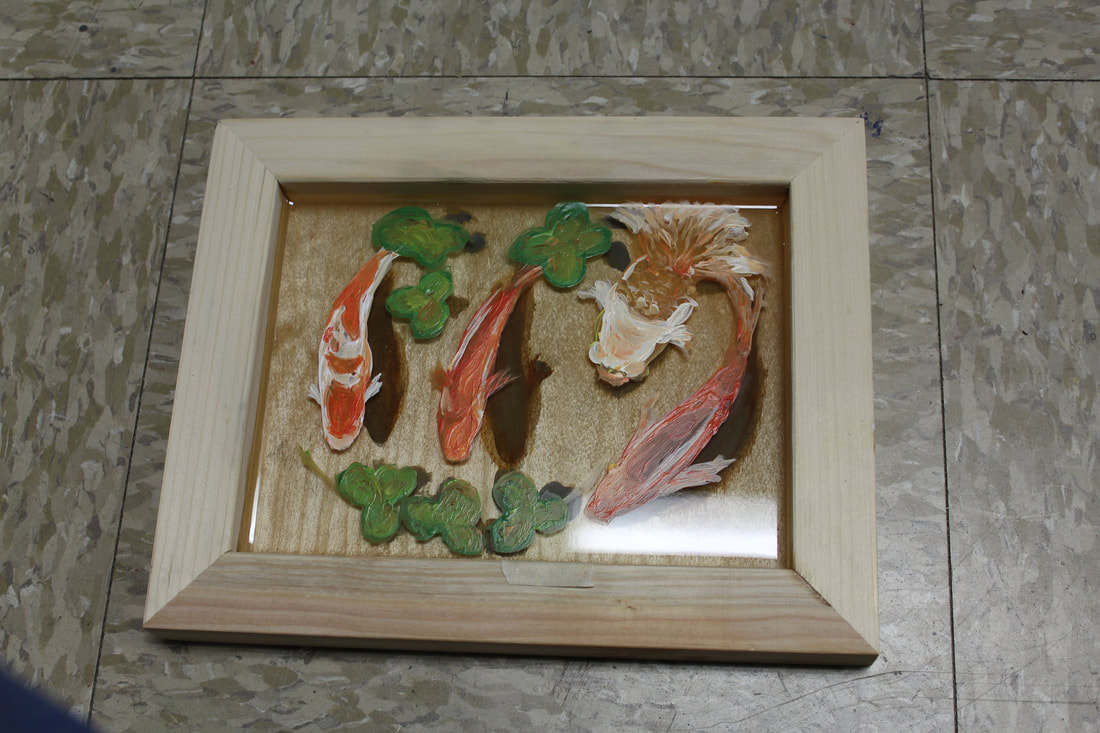
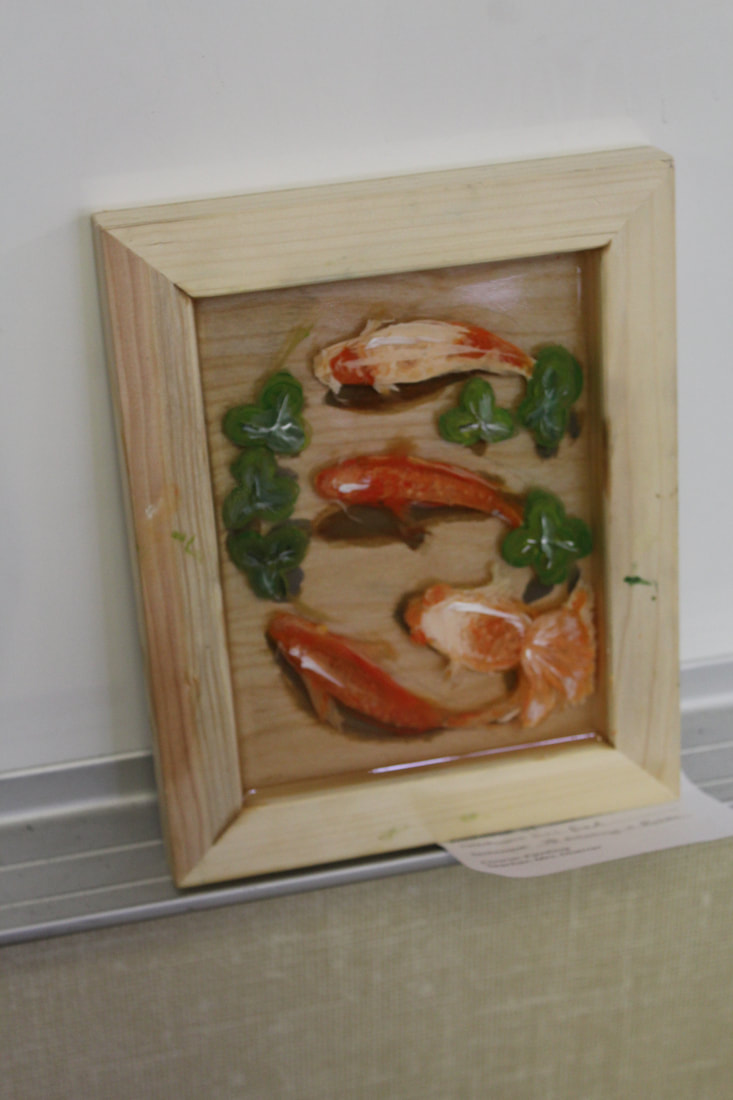
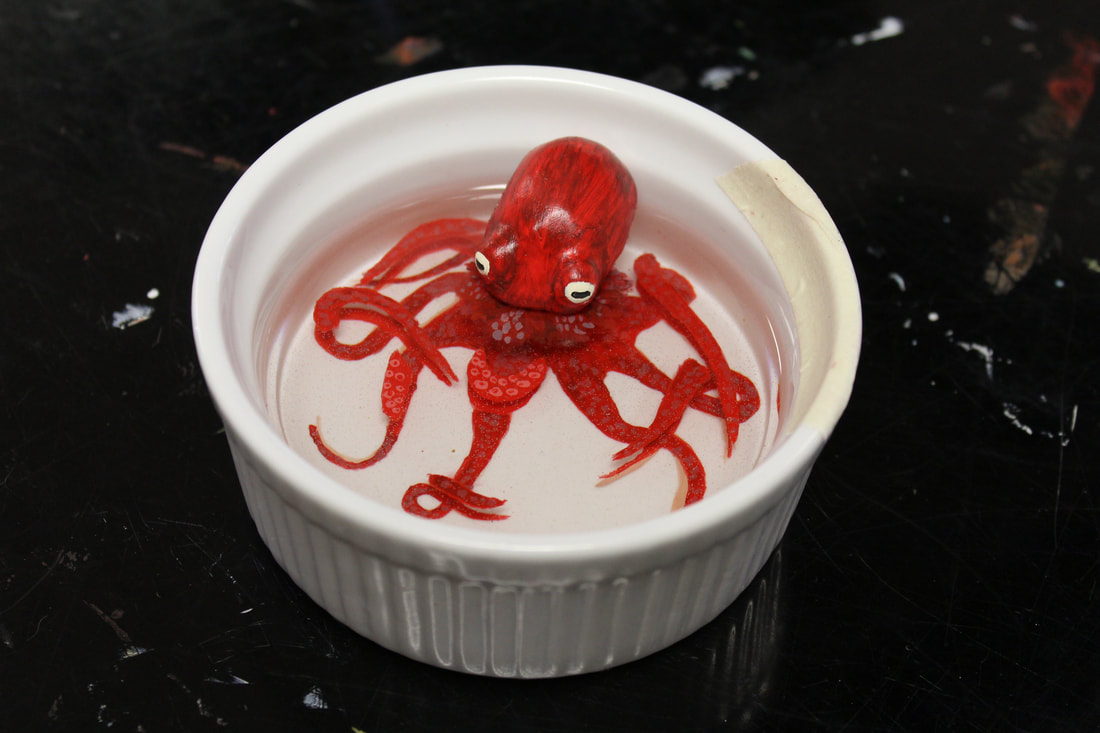
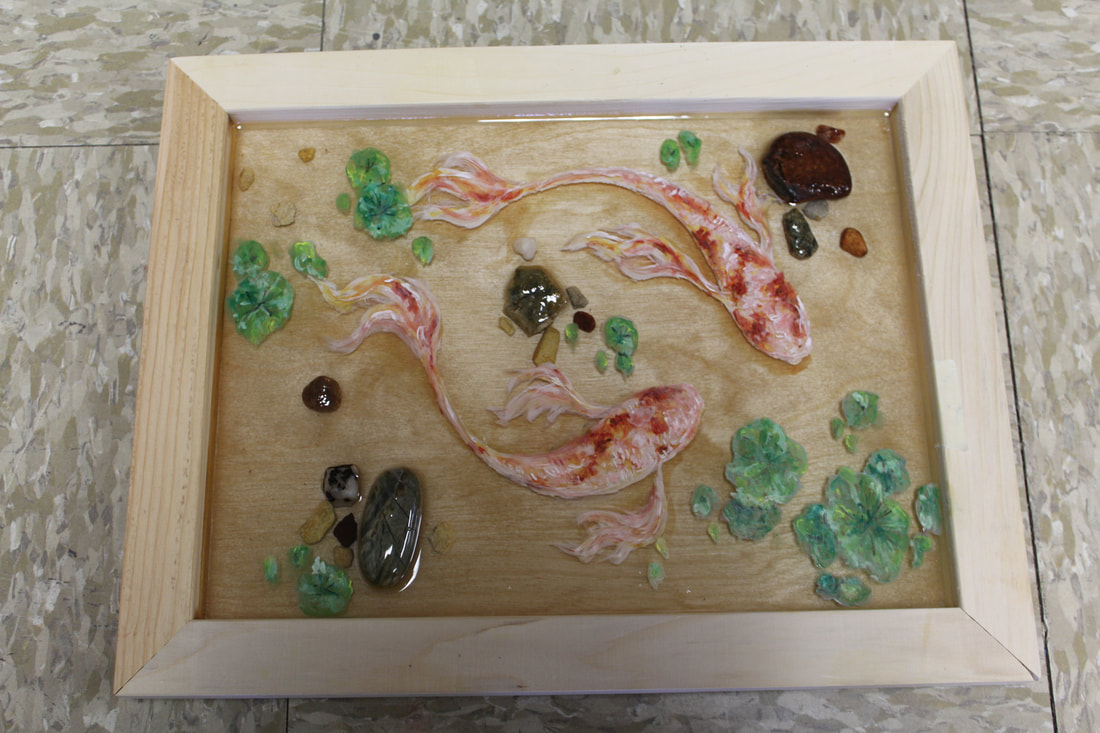
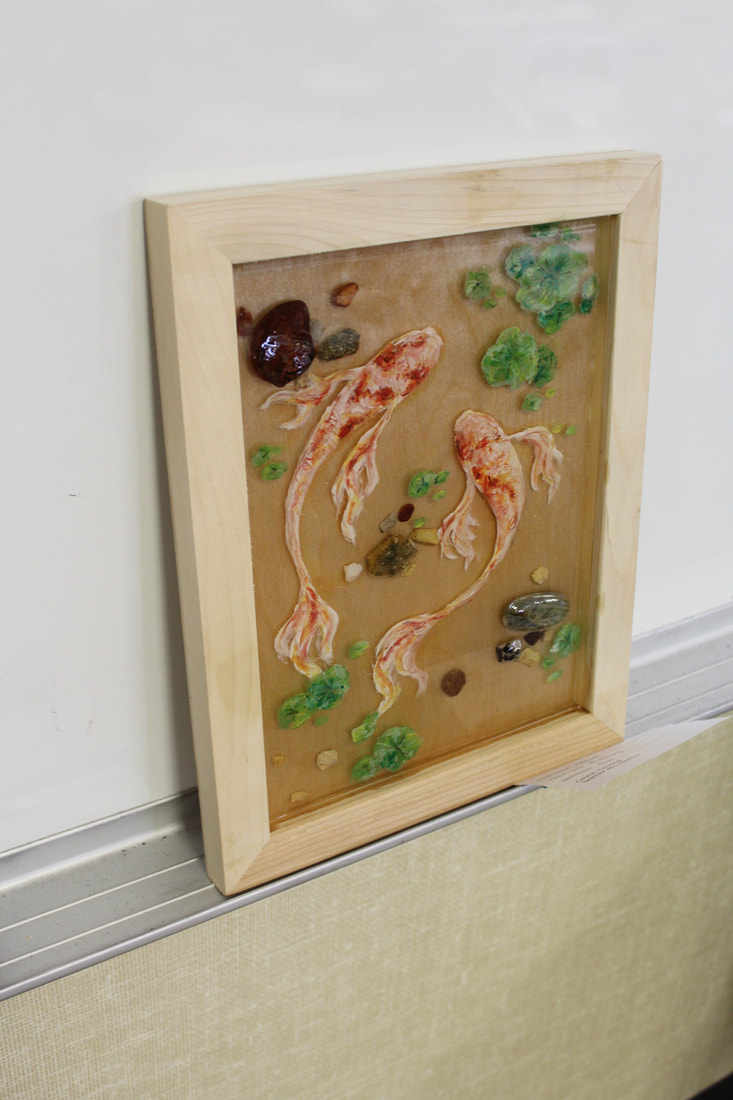
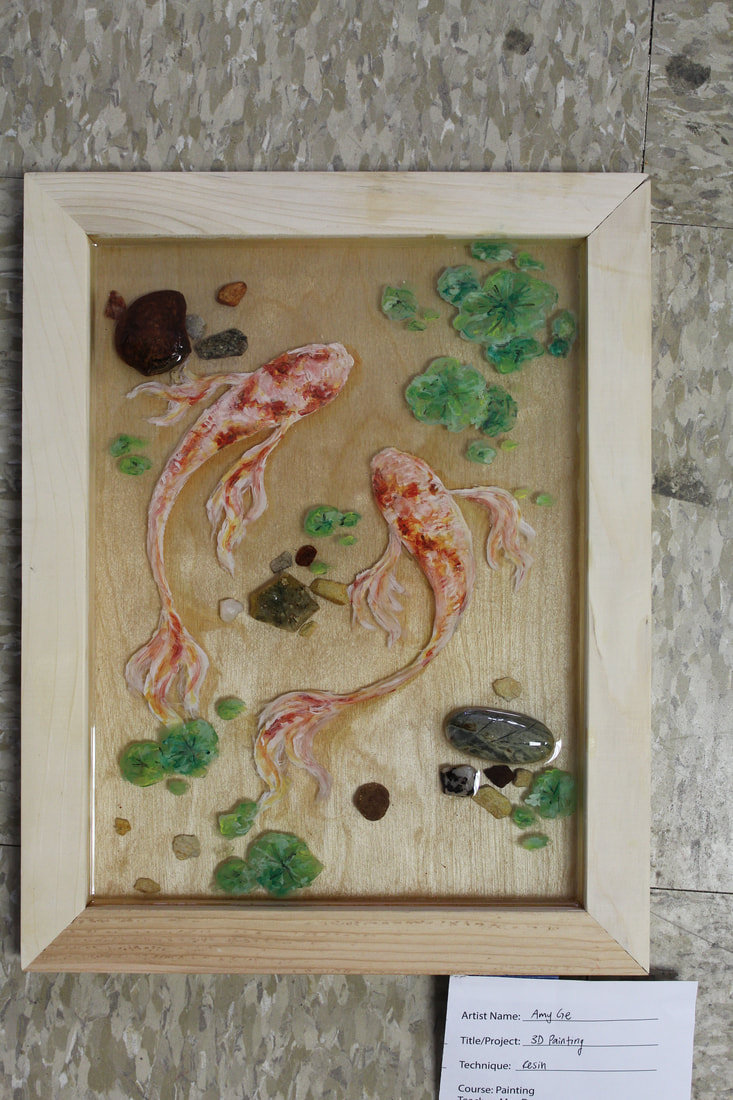
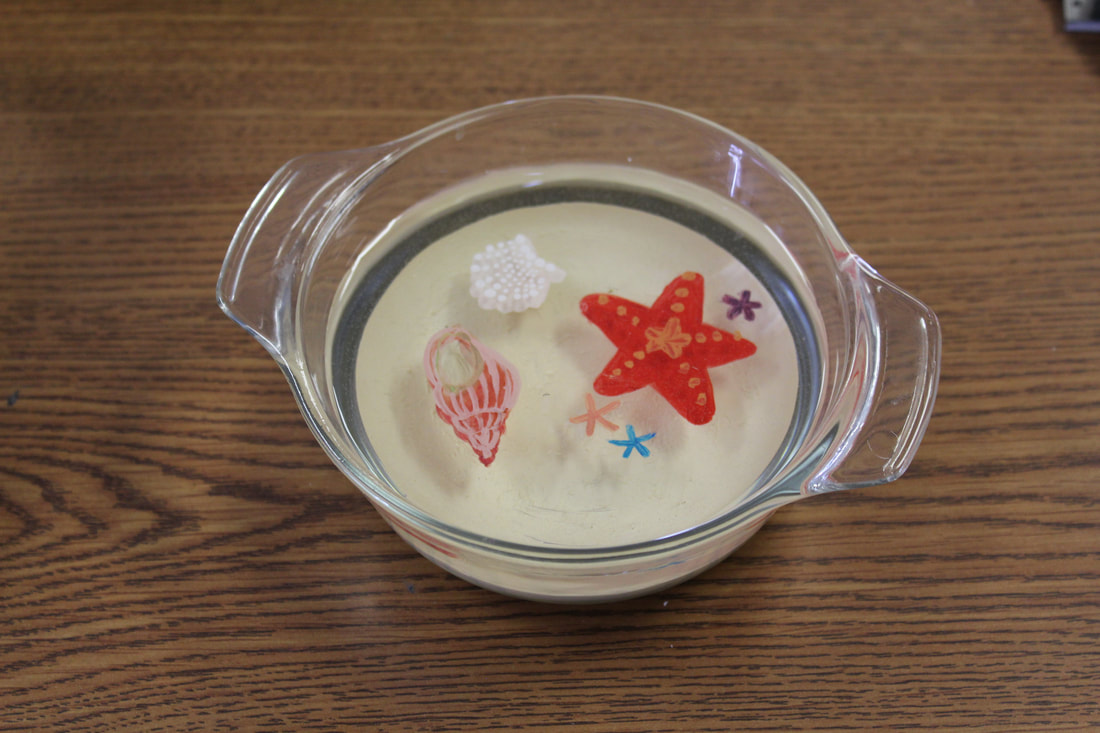
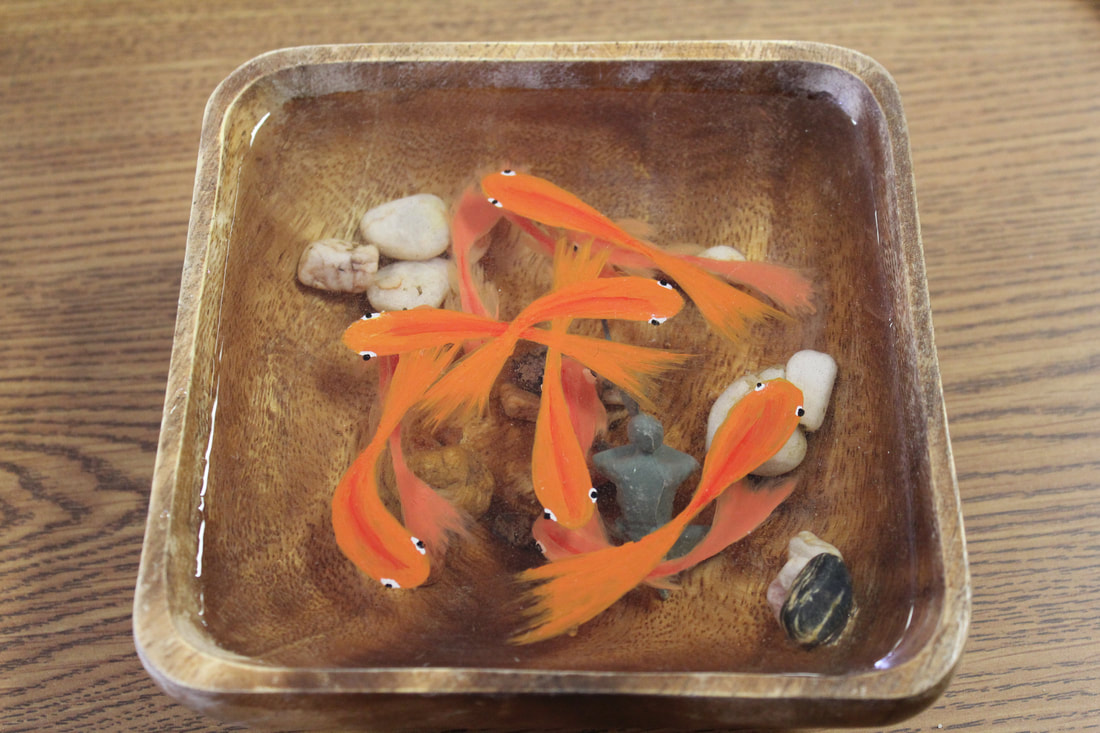
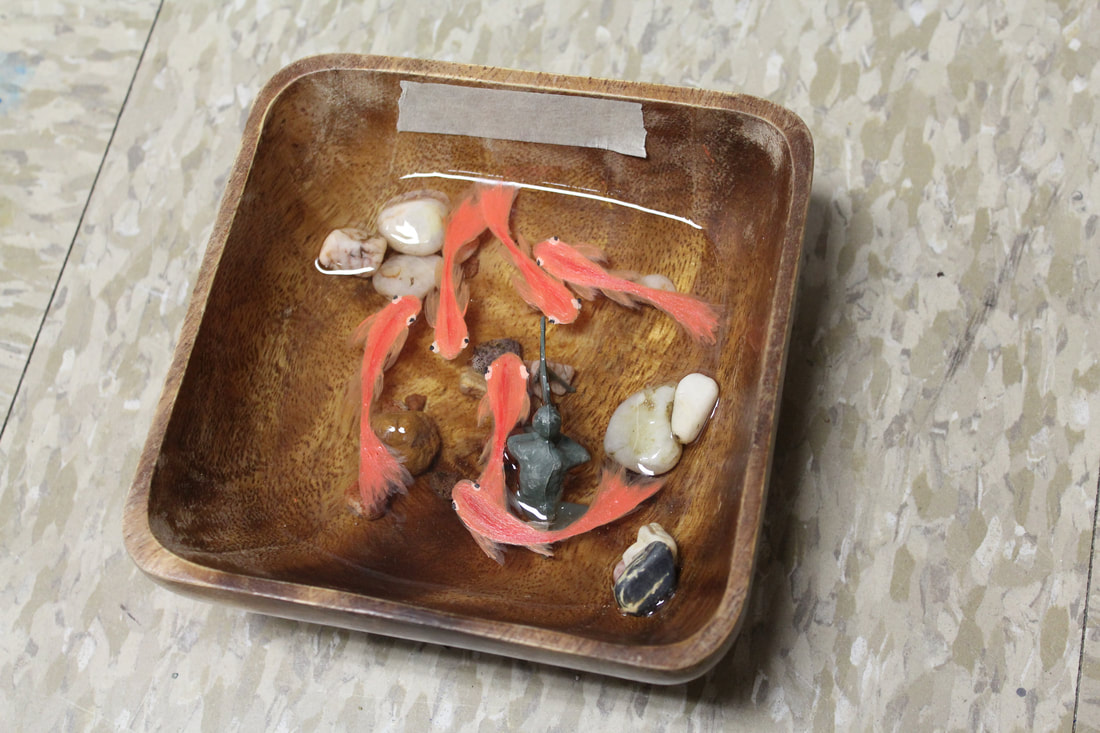
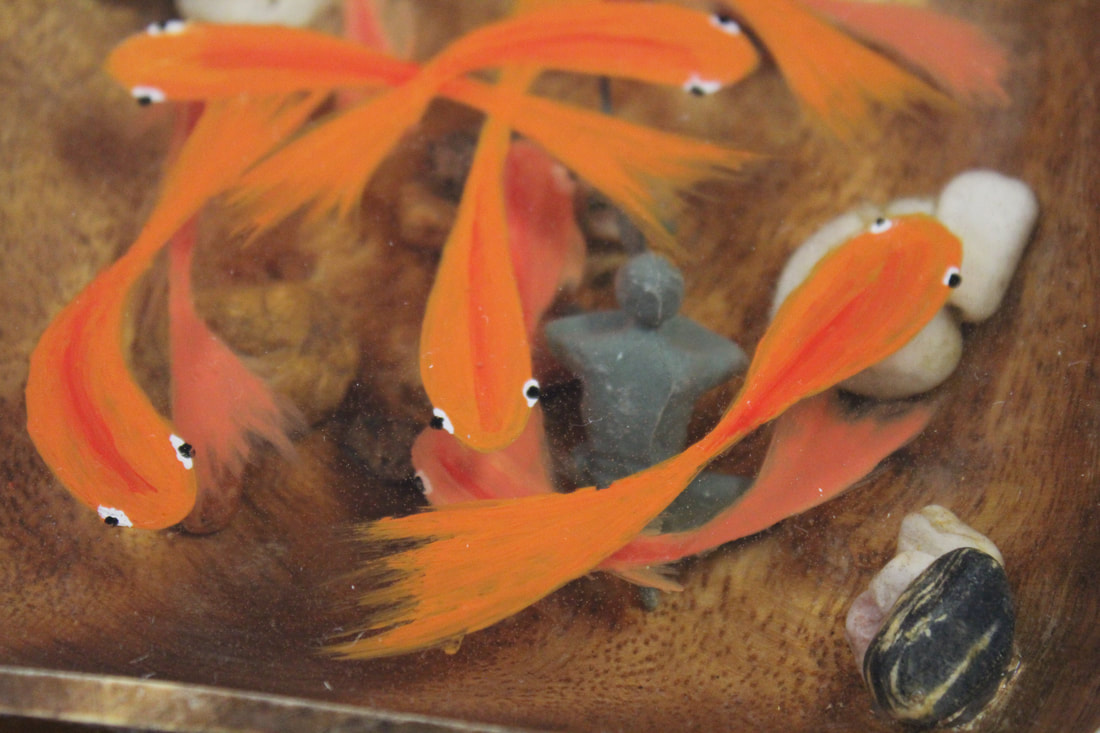
Option 2: Layered Resin Painting
Create a painting using acrylic paint and 3 layers of resin.
Process:
1)Choose a foundation: a bowl, ceramic cup, wood panel with a frame.
2)Paint your first layer or add real objects like rocks (for an ocean or pond scene).
3)Mrs. Doerrer will pour the resin. Let dry over night.
4)Paint your next layer.
5)Pour resin.
6)Paint your final layer. Add objects if desired.
7)Pour resin if desired.
8)Paint fine details.
Option 3: Modeling Paste and Acrylic Paint
1)Use canvas board as your foundation.
2)Sketch in main subject.
3)Use acrylic paint and modeling paste to build up 3D areas.
4)Continue with acrylic painting techniques.
Option 4: Glue Gun Painting
1)Use canvas board or Masonite board for your foundation.
2)Sketch in your main subject and background.
3)Use a hot glue gun to “paint” on your subject and details. Let dry.
4)Prime over your glue with gesso. Let dry.
5)Use acrylic painting techniques to paint your project.
Option 1: Layered Cardboard & Paper
Create a painting with a subject of your choice using cardboard and paper.
1)Use a sheet of Cardboard for your foundation.
2)Cut out shapes in cardboard and paper and build them up to create a raised surface.
3)Paint areas of the cardboard and leave some areas unpainted.
4)Paint the paper.
5)Glue on the layers.
6)Add additional paint and details.
Option 2: Layered Resin Painting
Create a painting using acrylic paint and 3 layers of resin.
Process:
1)Choose a foundation: a bowl, ceramic cup, wood panel with a frame.
2)Paint your first layer or add real objects like rocks (for an ocean or pond scene).
3)Mrs. Doerrer will pour the resin. Let dry over night.
4)Paint your next layer.
5)Pour resin.
6)Paint your final layer. Add objects if desired.
7)Pour resin if desired.
8)Paint fine details.
Option 3: Modeling Paste and Acrylic Paint
1)Use canvas board as your foundation.
2)Sketch in main subject.
3)Use acrylic paint and modeling paste to build up 3D areas.
4)Continue with acrylic painting techniques.
Option 4: Glue Gun Painting
1)Use canvas board or Masonite board for your foundation.
2)Sketch in your main subject and background.
3)Use a hot glue gun to “paint” on your subject and details. Let dry.
4)Prime over your glue with gesso. Let dry.
5)Use acrylic painting techniques to paint your project.
3D Paintings - Layered Cardboard, Modeling paste, Resin

Student 3D Paintings - Resin & Acrylic

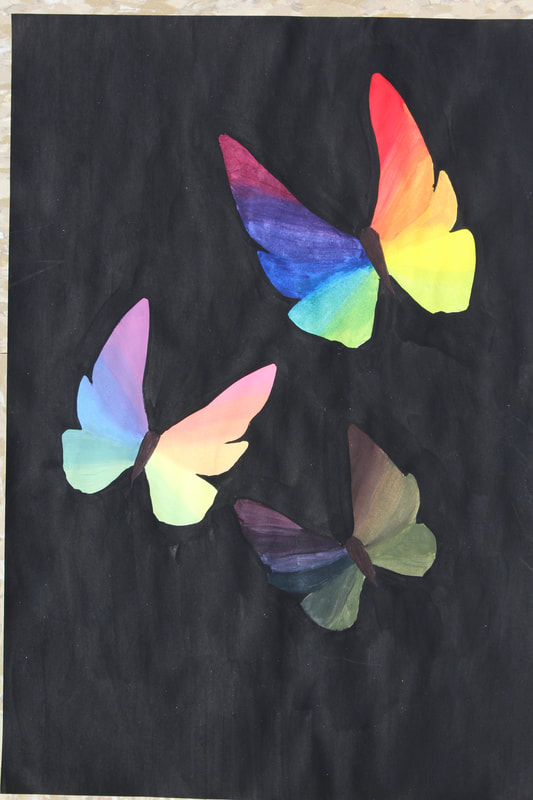
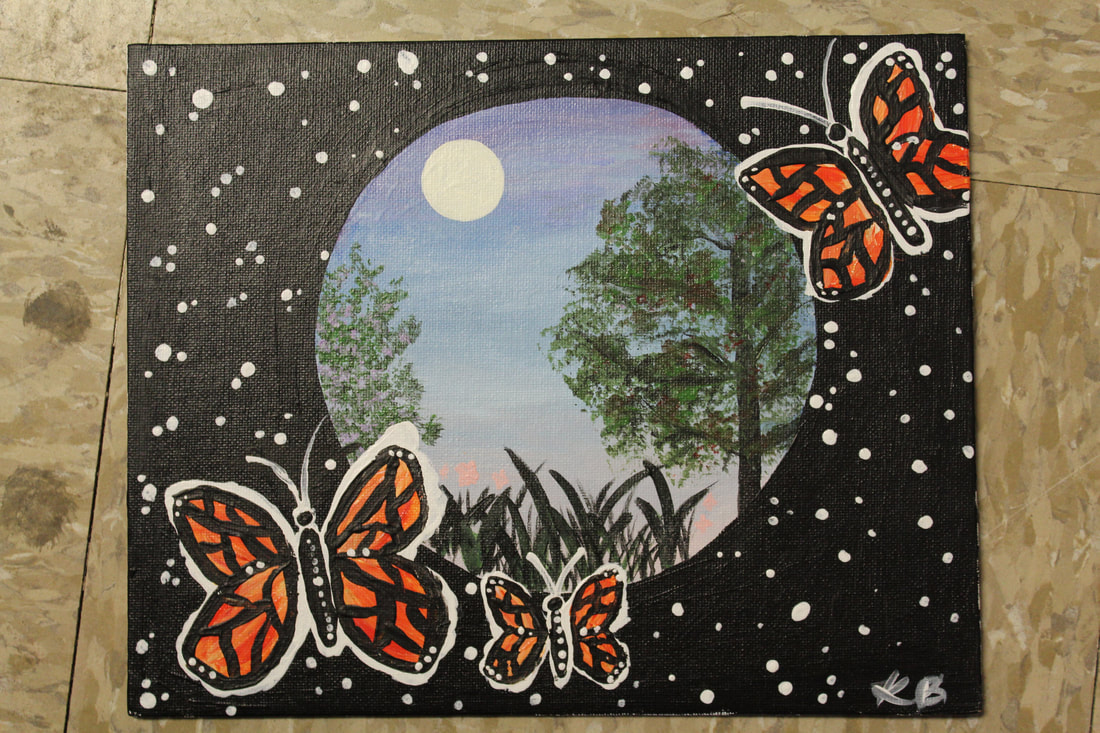
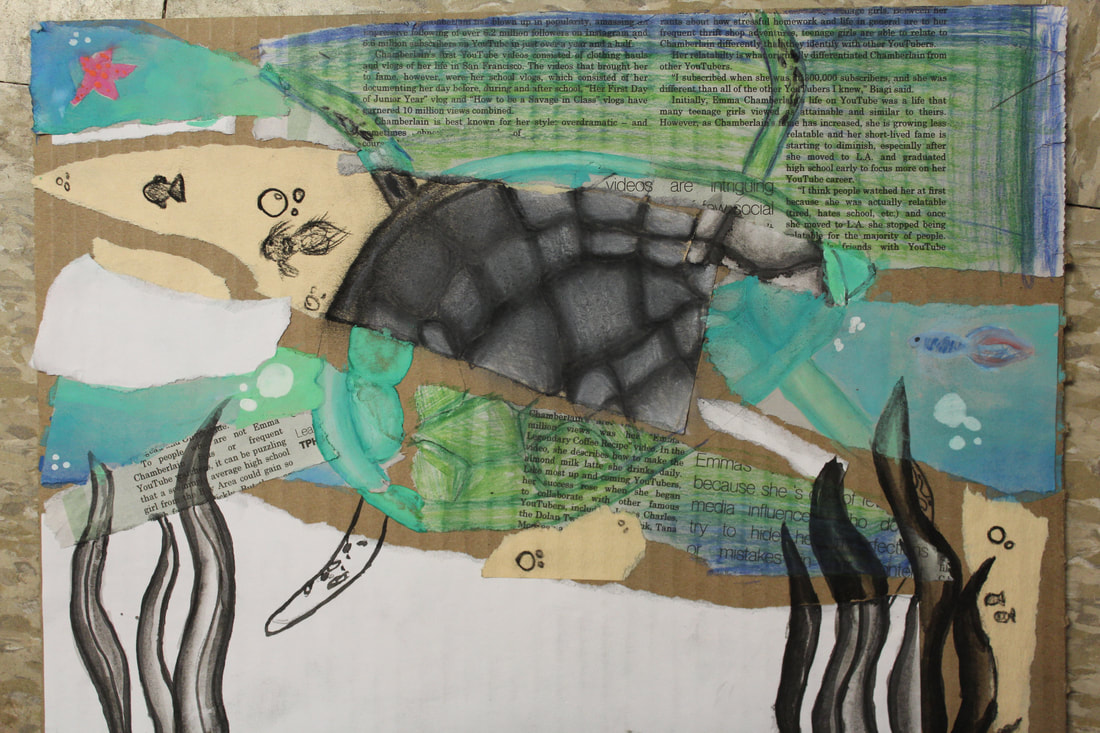
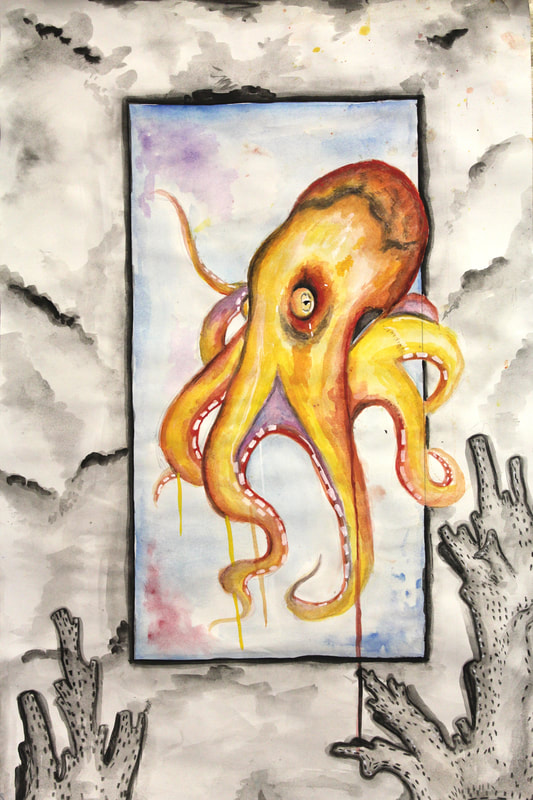
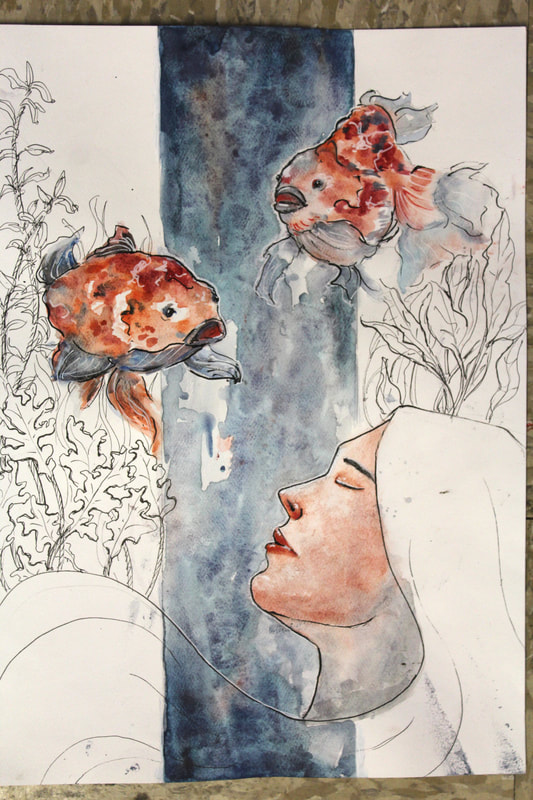
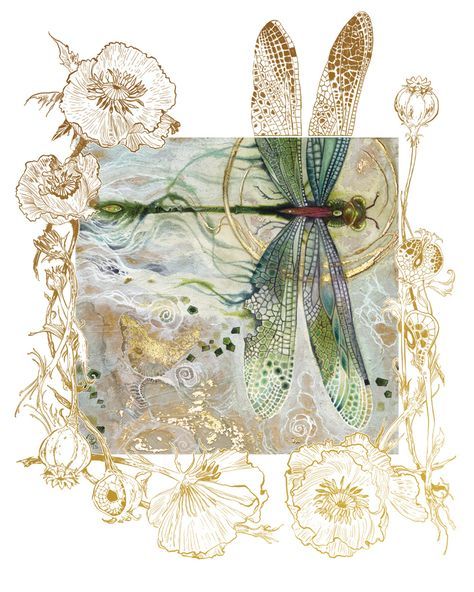
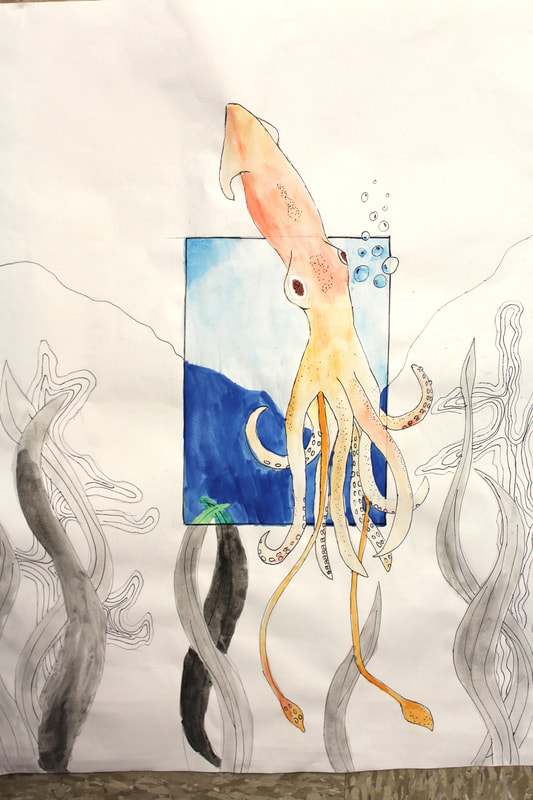
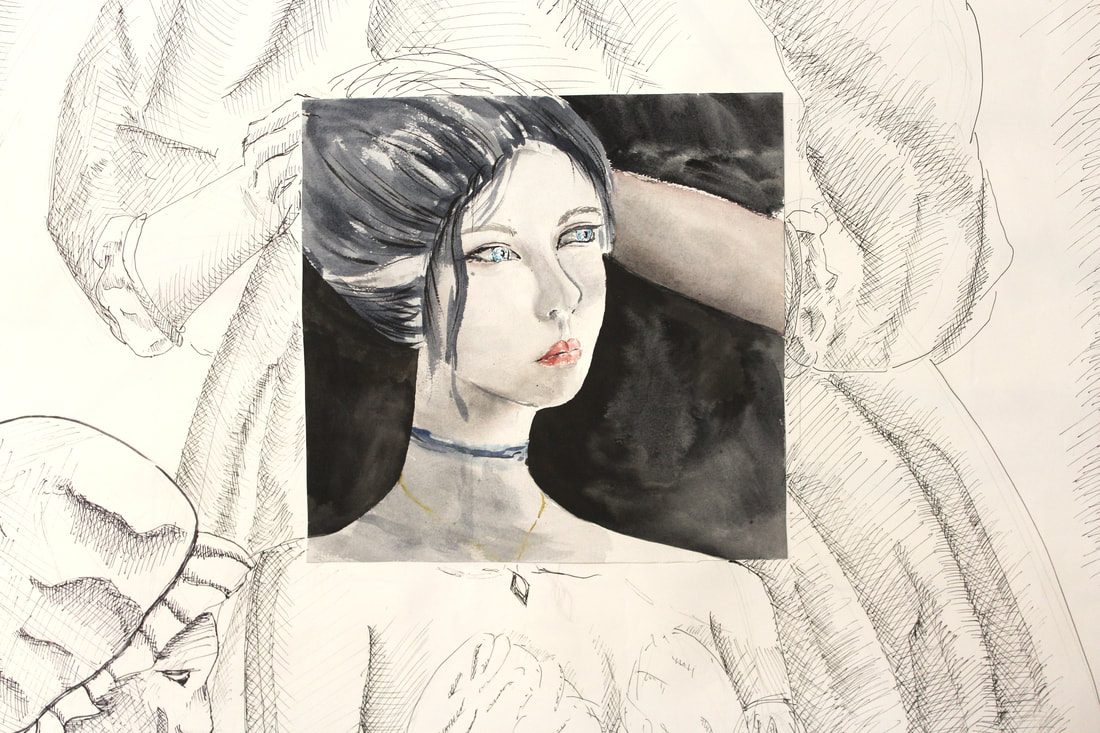
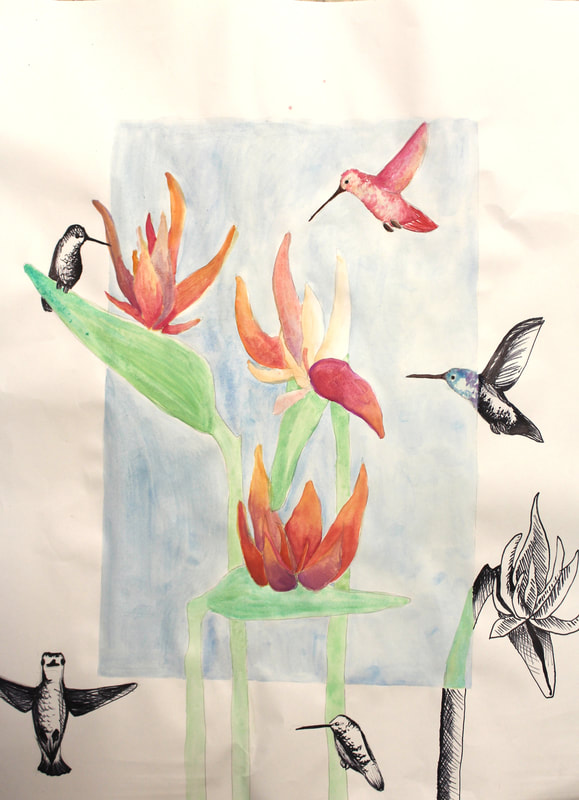
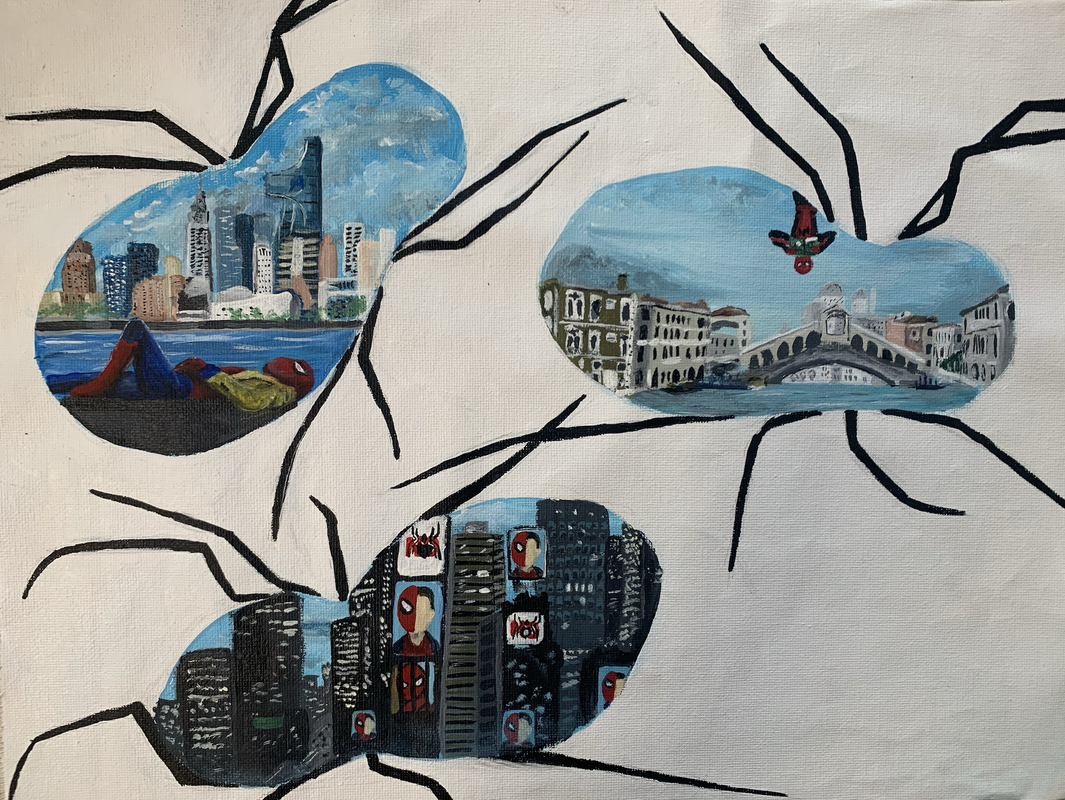
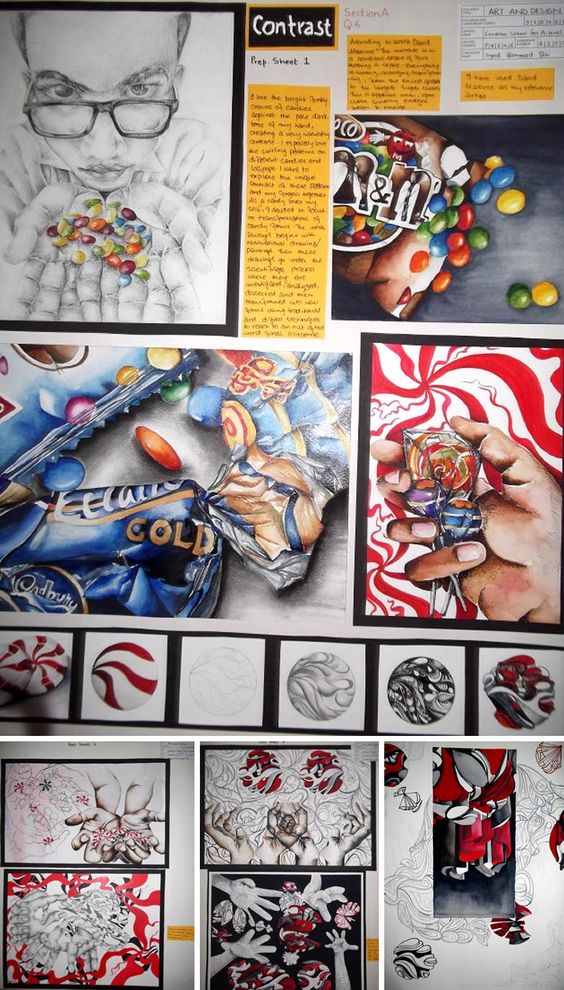
Out of Bounds Painting
Project Objective:
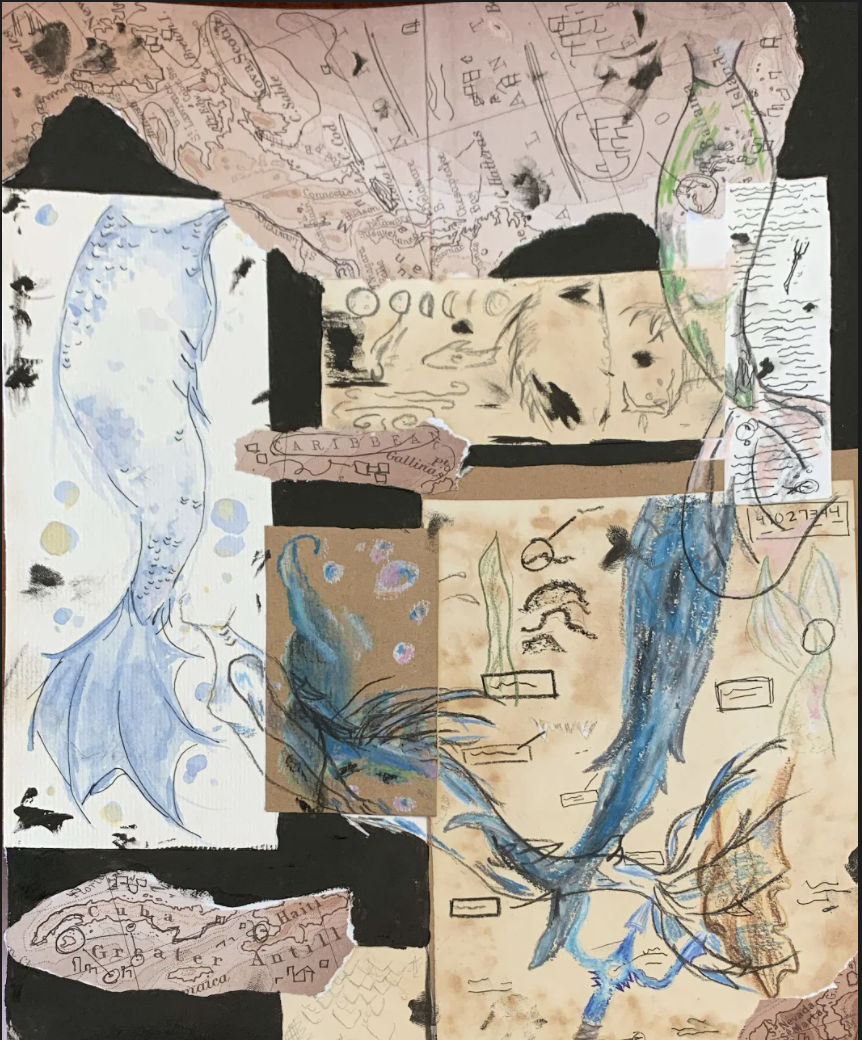
Create a 2D mixed media art piece with a unified composition by incorporating elements used within the border and extending outside of the border. Explore the use of color (as a means of emphasis) inside the border and contrast through black & white design outside of the border.
Instructions:
1. Choose your subject matter (suggestions: sea animals-with flowing fins or tentacles butterflies, insects (colorful), birds, flowers, trees, vines, snakes, coral, kelp, …
2. In your sketchbook, plan out your design:
a. Start with the outside border, then draw an interior rectangle. or other shape of your choice.
b. Place your focal point on the Rule of Thirds.
c. Use value and contrast and color to emphasis the focal point.
d. Creatively expand PART of your design outside of the border you drew.
3. When you have your final design approved by the teacher, you may begin on the final watercolor paper. Begin LIGHTLY drawing your interior rectangle (size of your choice) with a #2 pencil.
4. Draw your main subject matter in lightly.
5. Add your background extending ONLY PART of it to the edges of the paper. Extend at least 3 sides across and outside the border.
6. Paint your main subject with watercolors, use techniques learned on your Watercolor Worksheet/chart.
7. Apply India ink, black colored pencil, black sharpie, or black watercolor to the subject matter (outline & add details).
8. Apply black watercolor paint, black colored pencil, or black sharpie to the area beyond the border --this part will ONLY be black & white.
Use hatching & cross-hatching, stippling or other Pen & Ink Techniques to show value changes & textures. (see handouts for textures.)


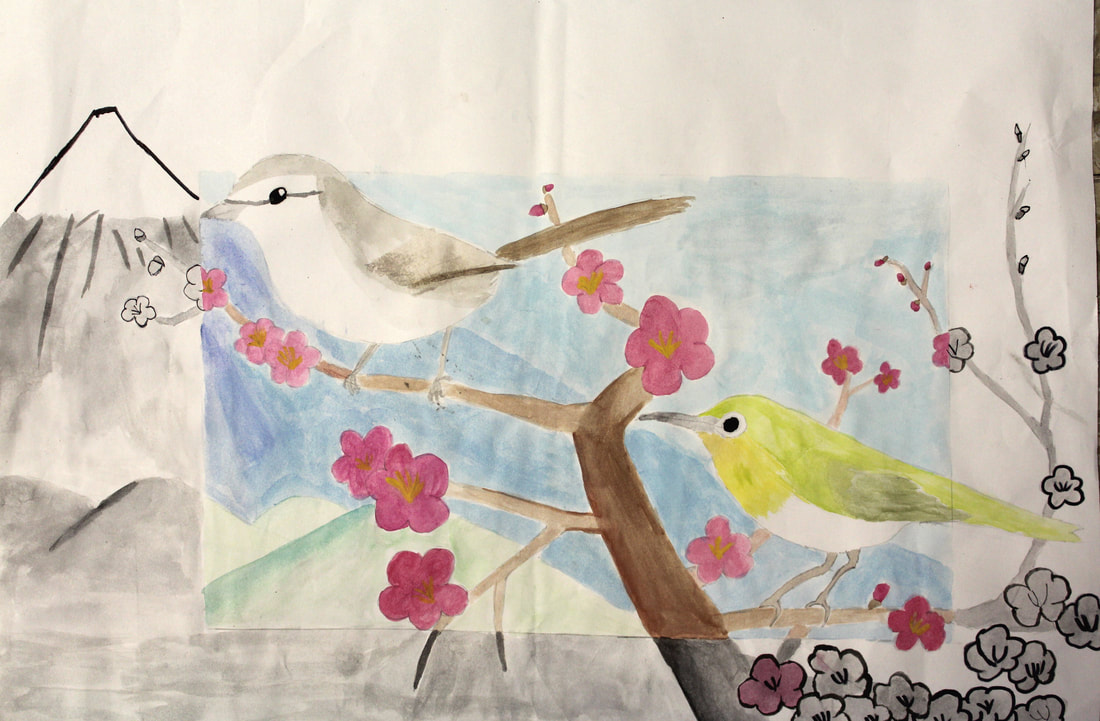
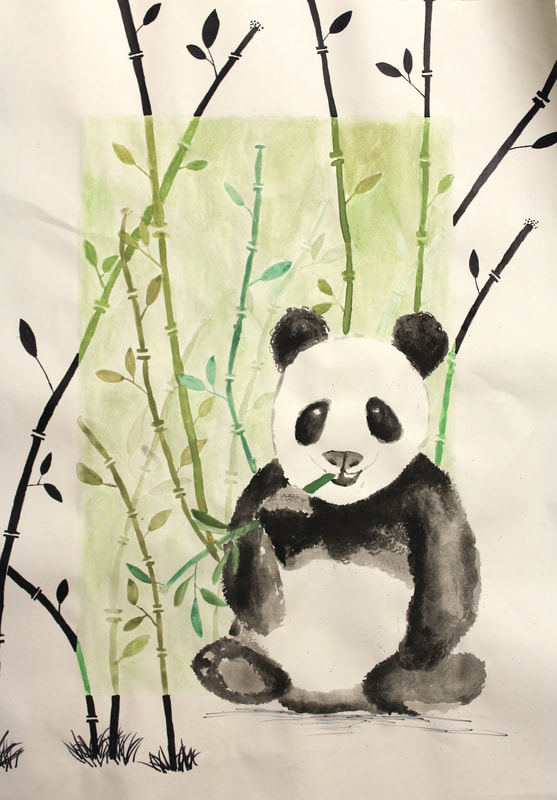
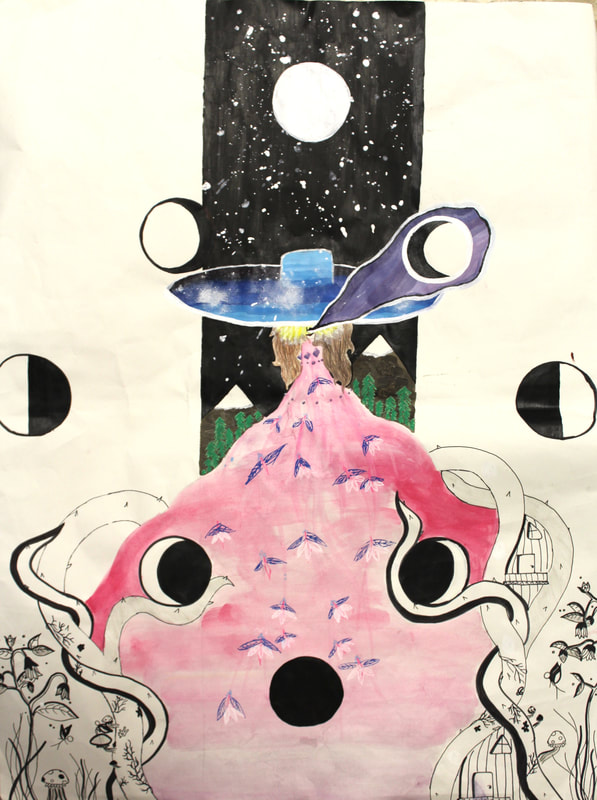
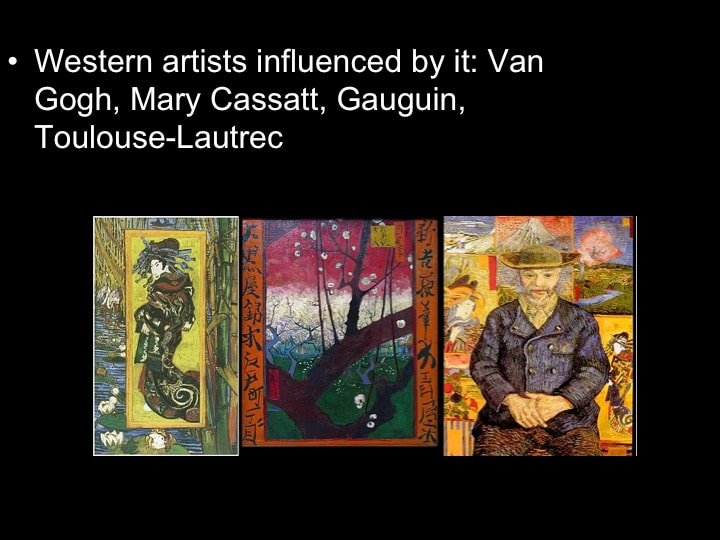
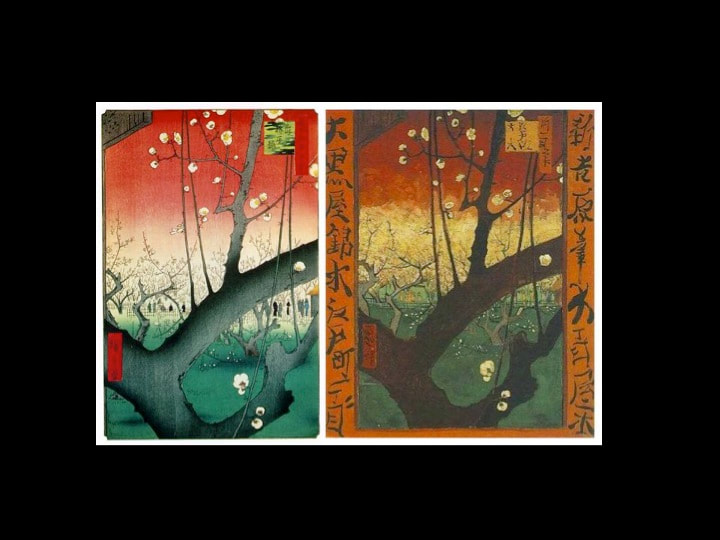
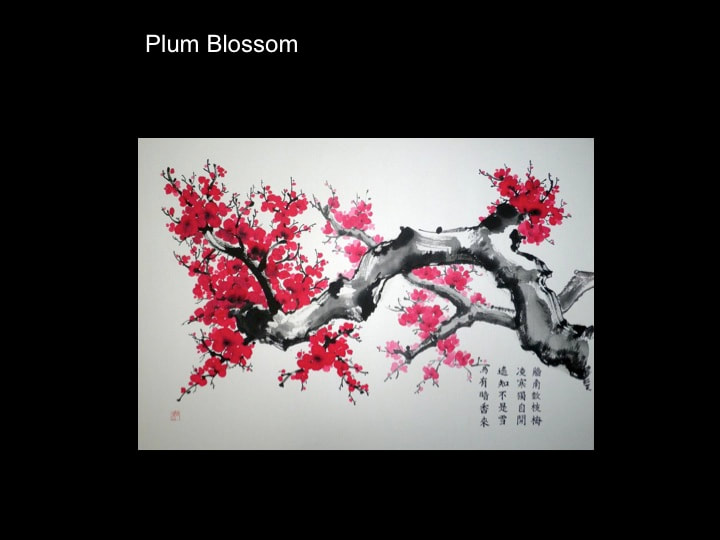
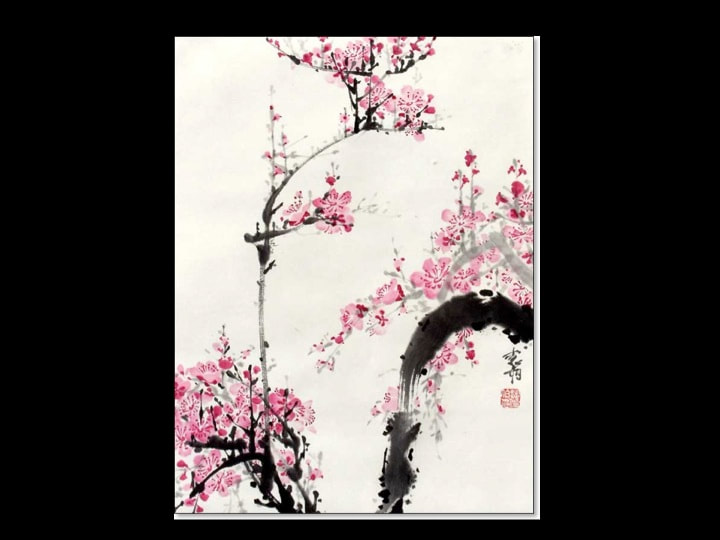
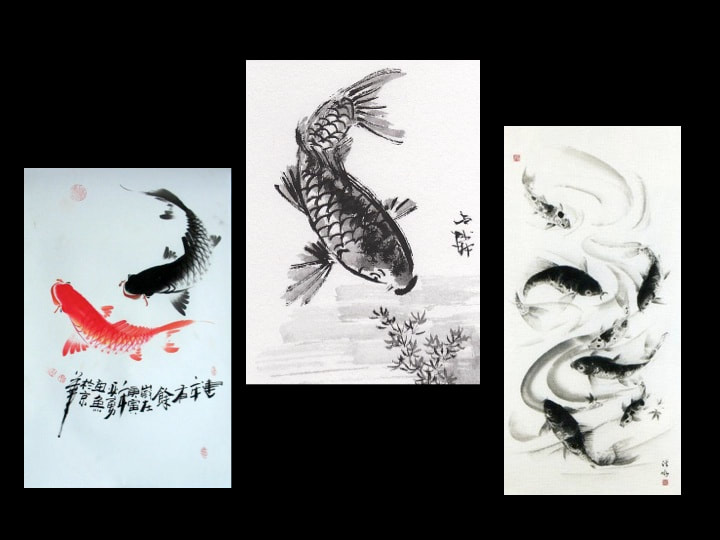
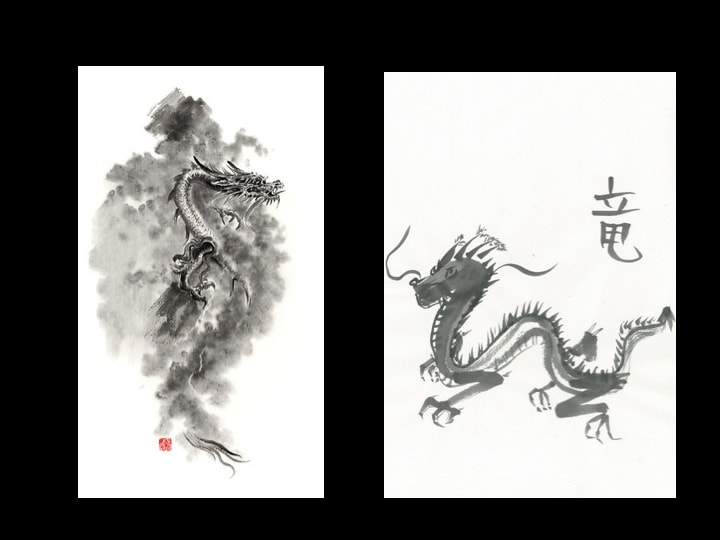
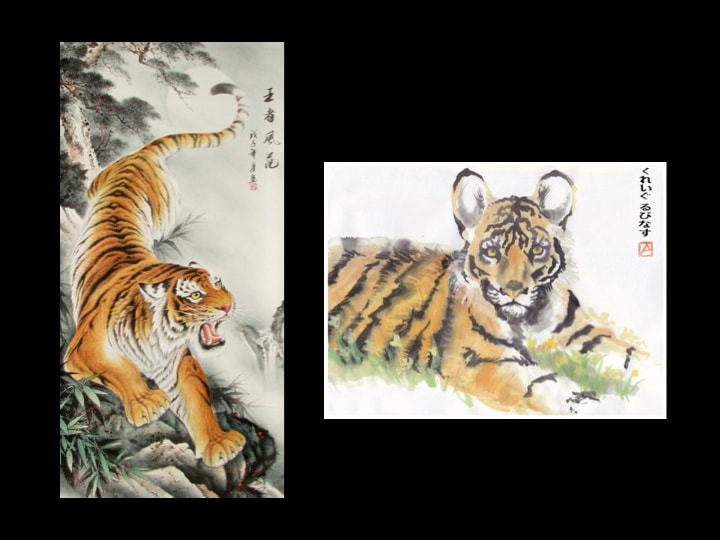
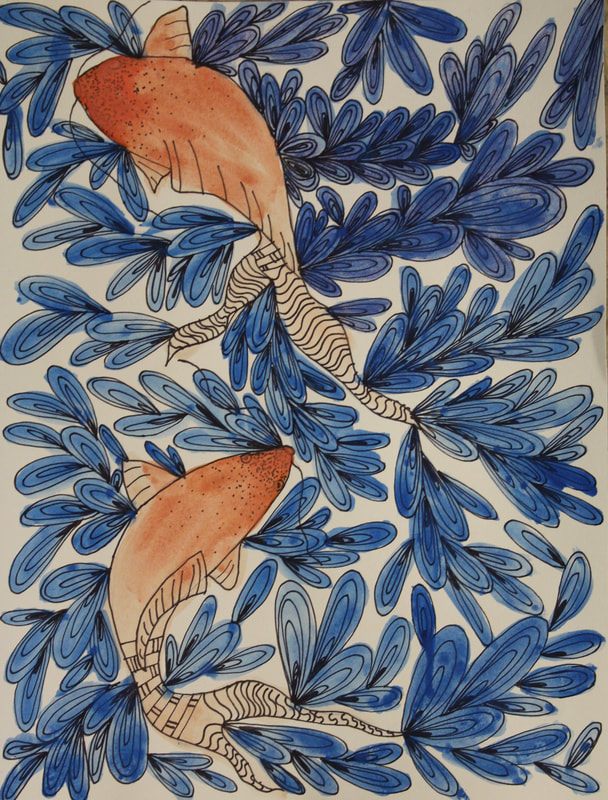
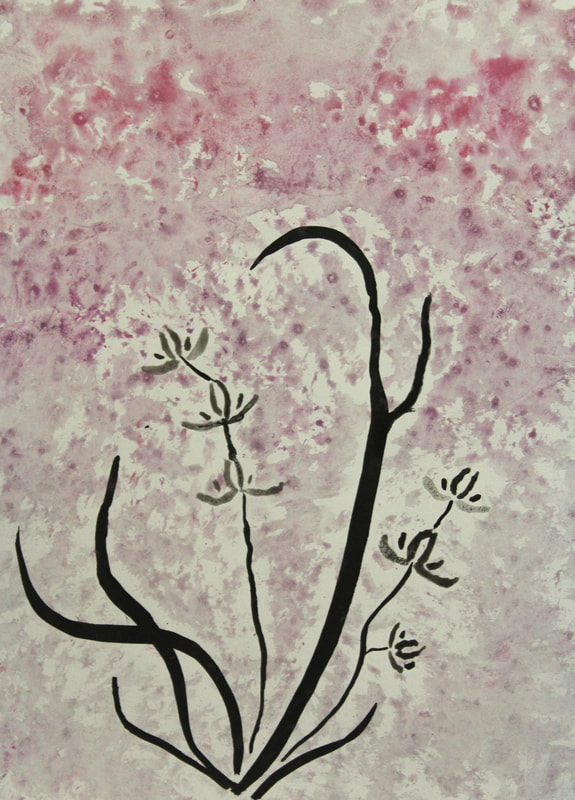
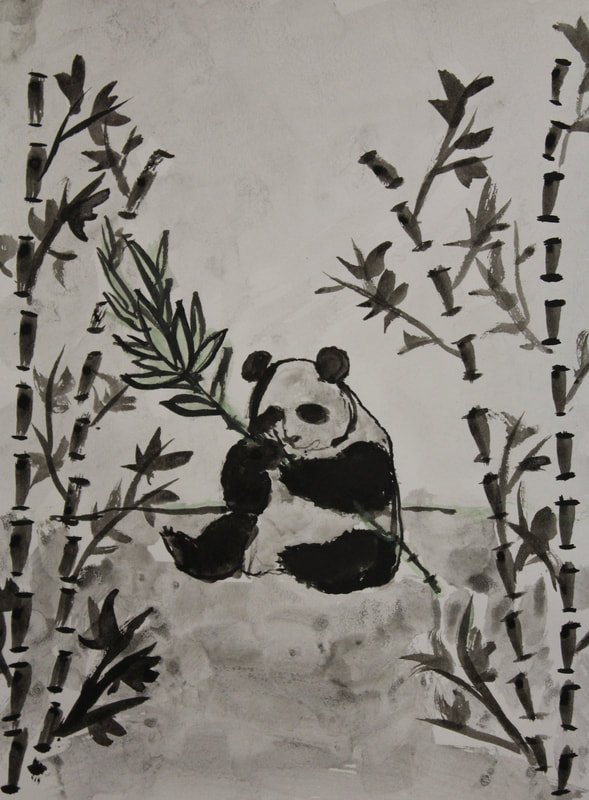
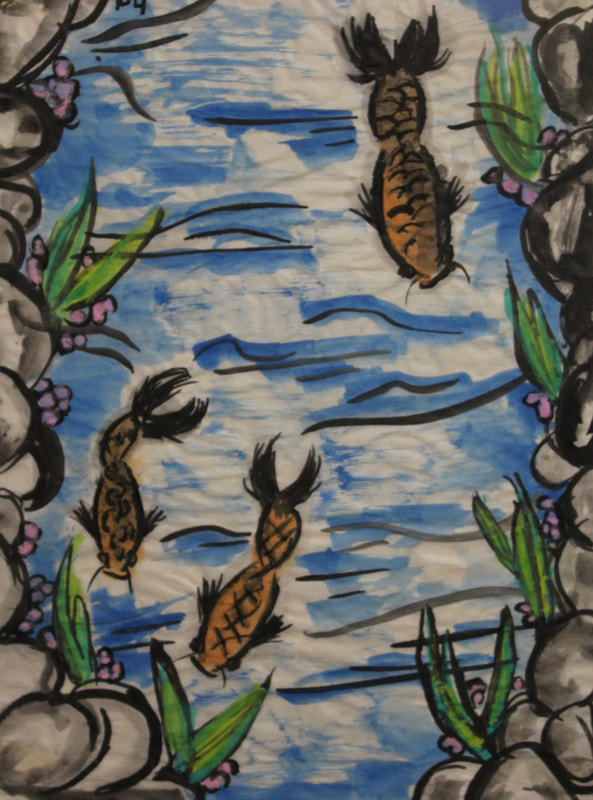
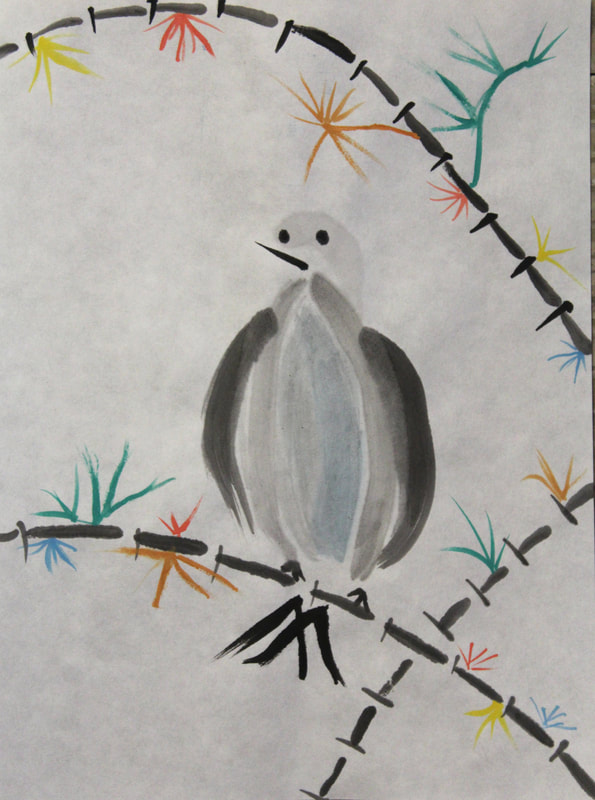
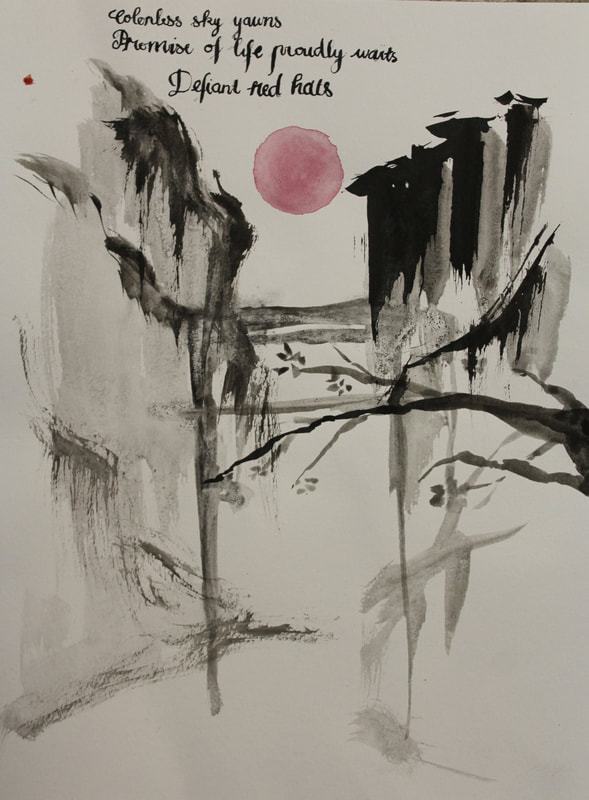
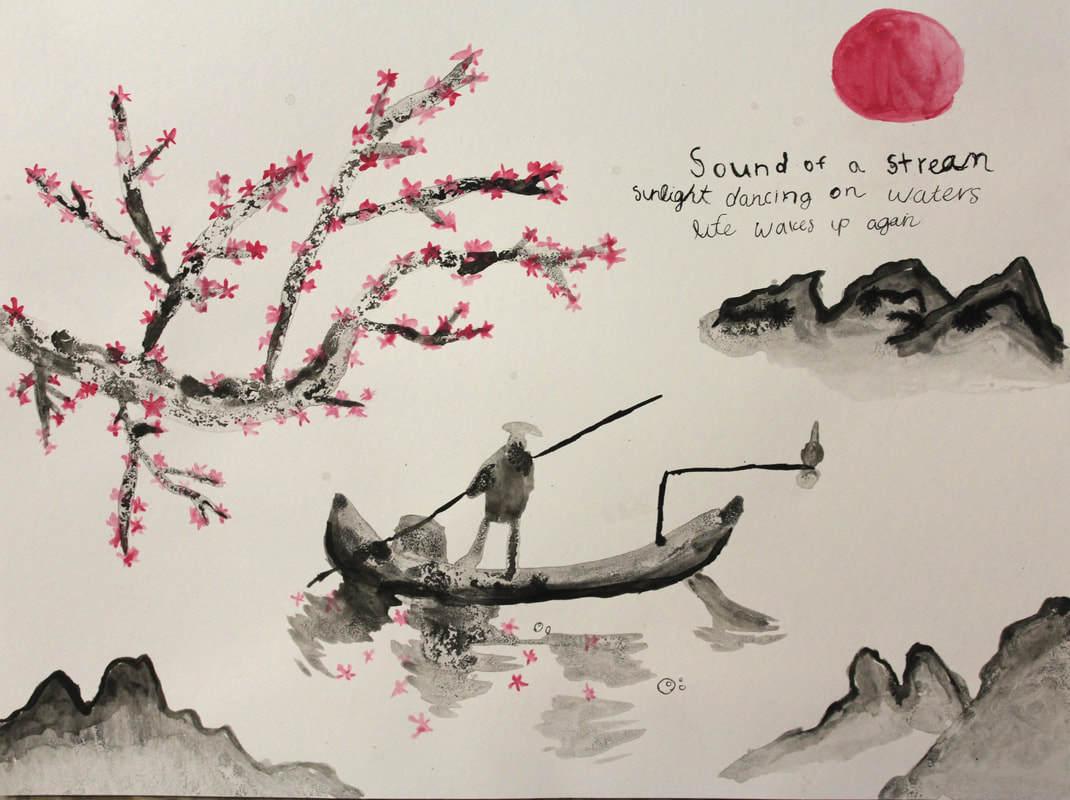
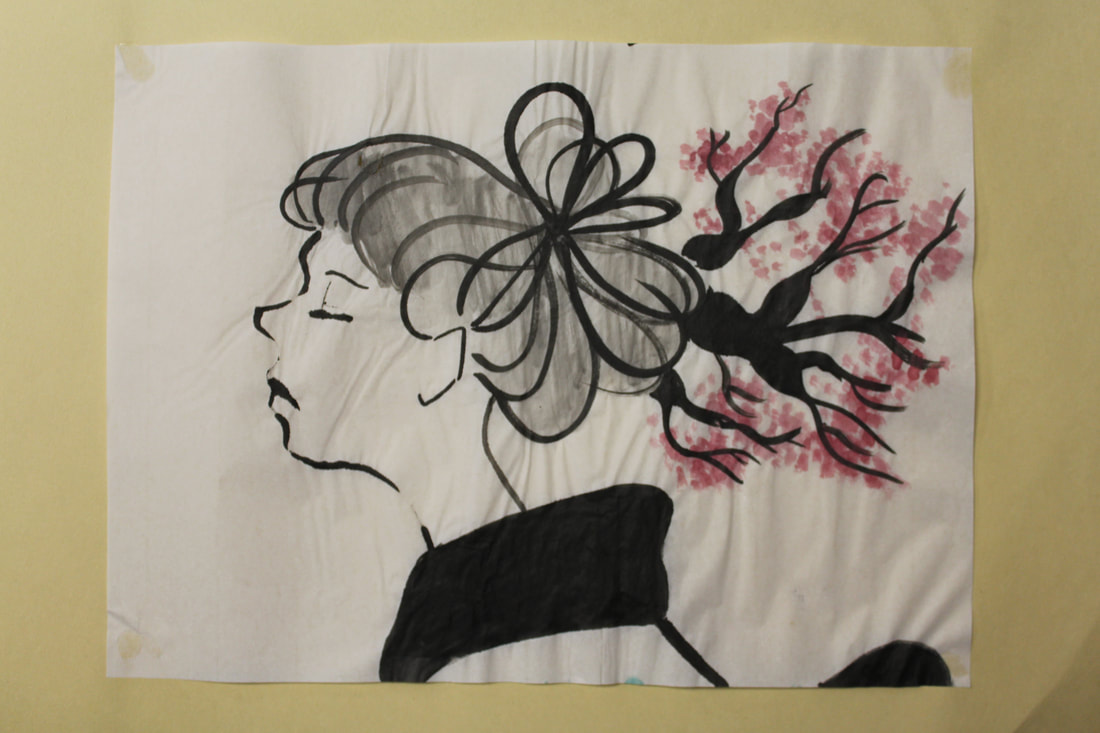
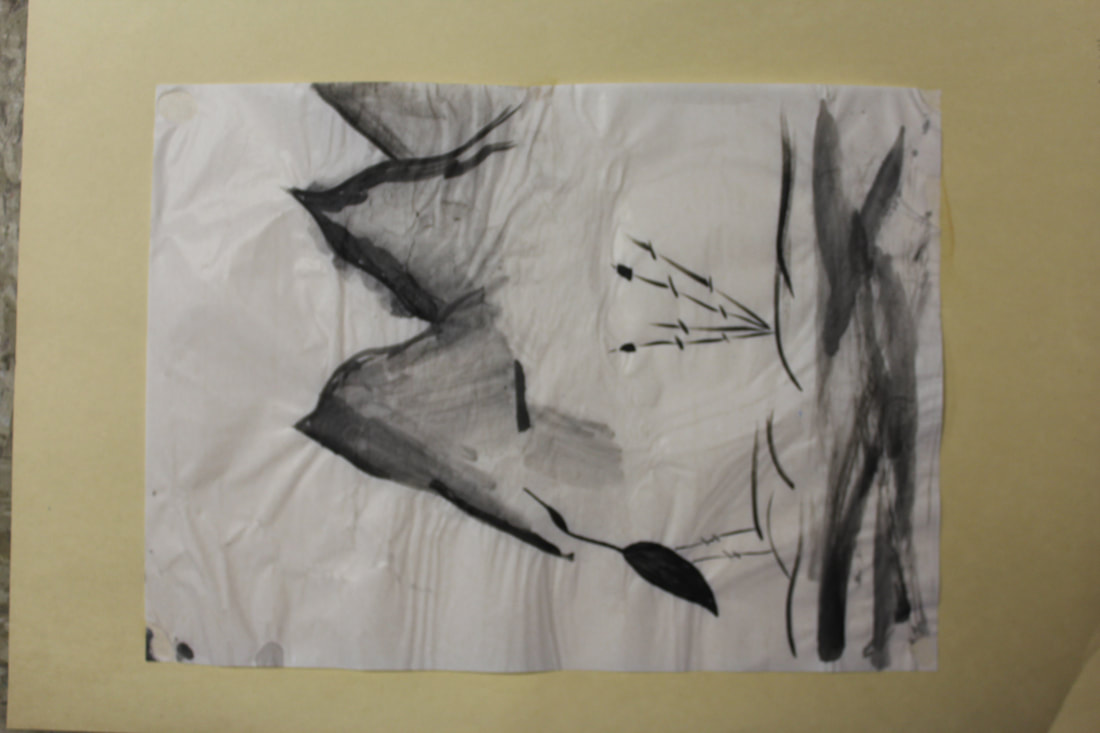
Sumi-e Ink Painting
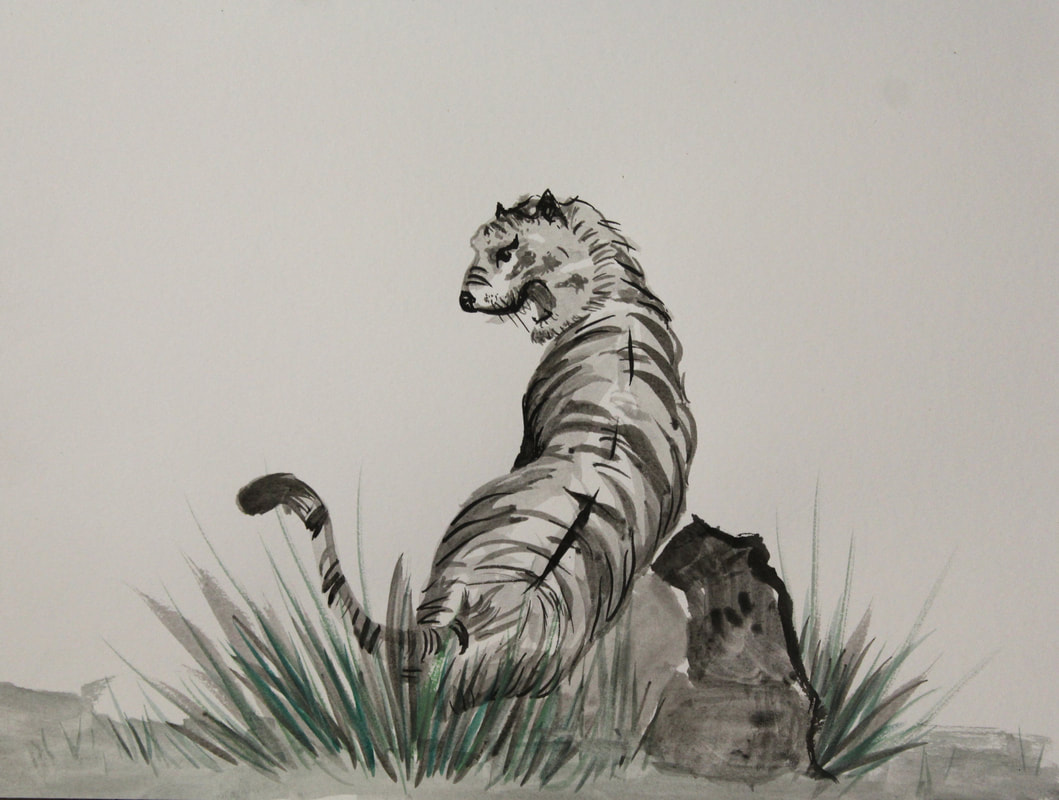
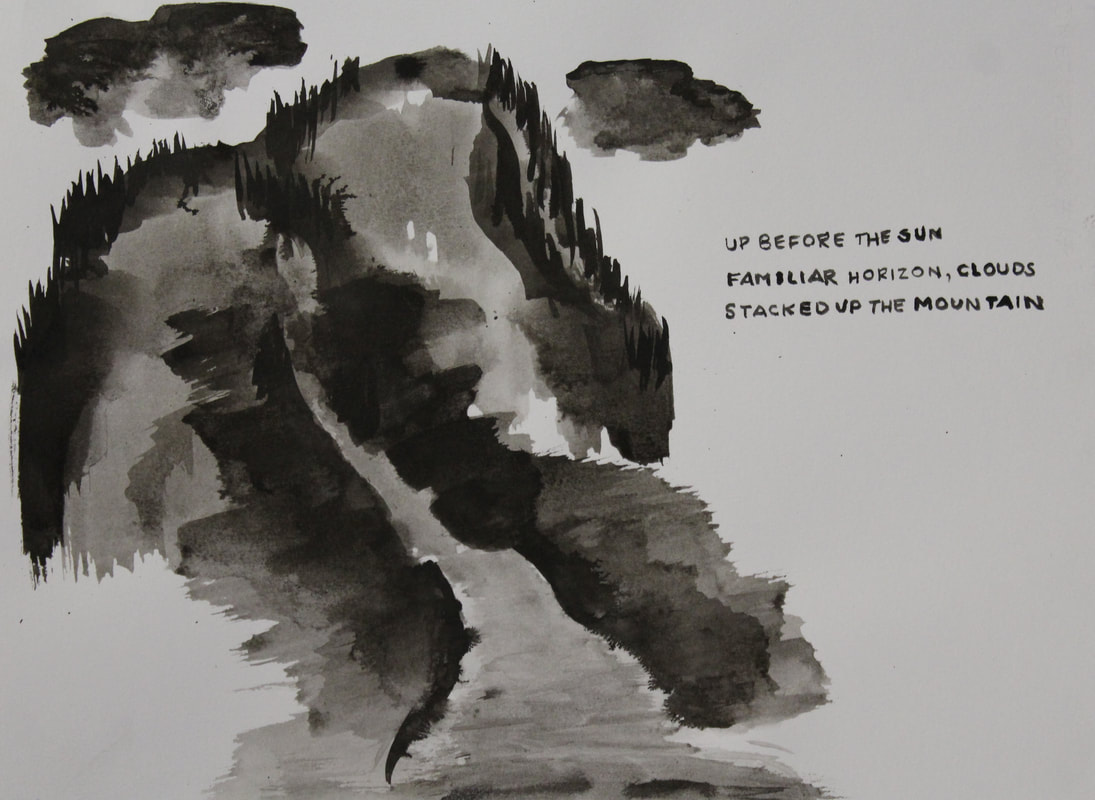
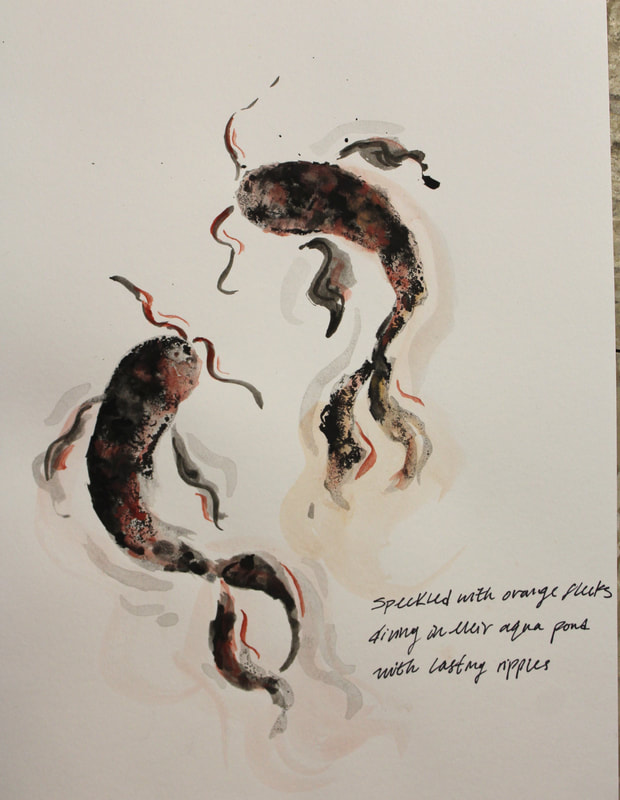
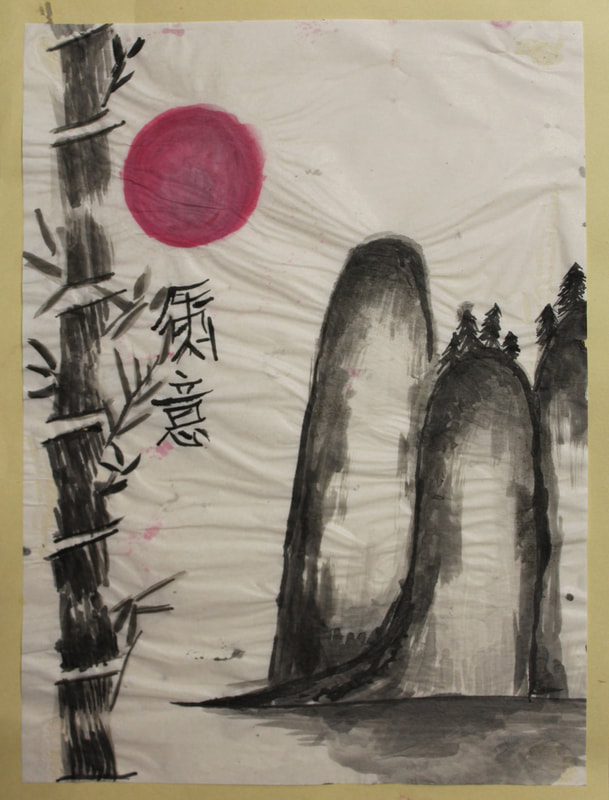
Assignment:
You will create 2 Sumi-e paintings:
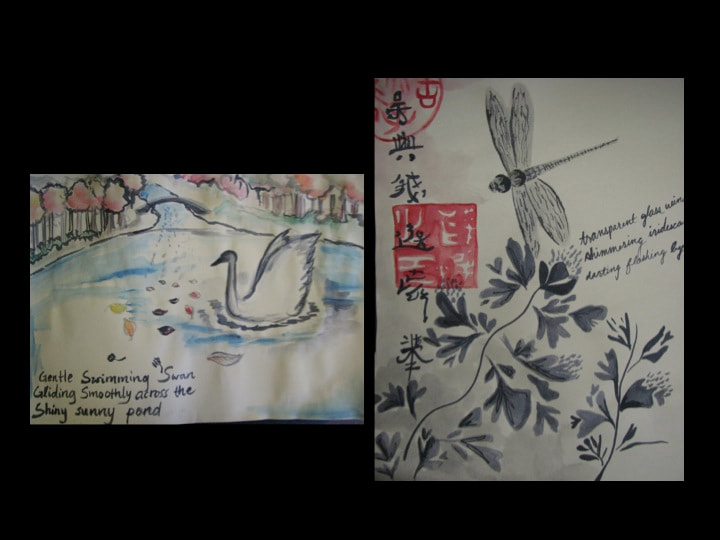
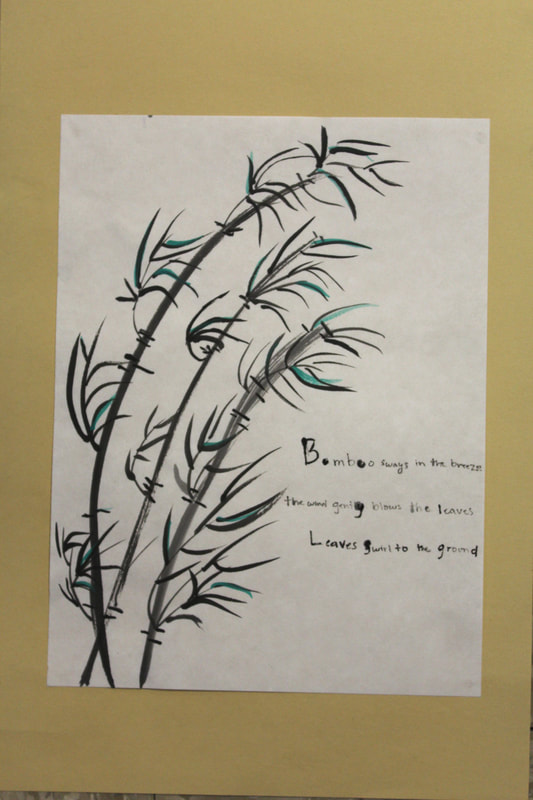
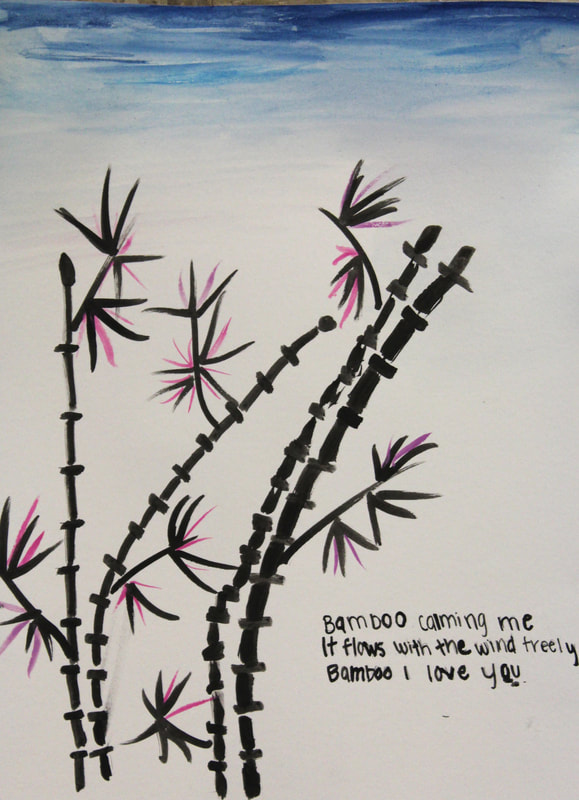
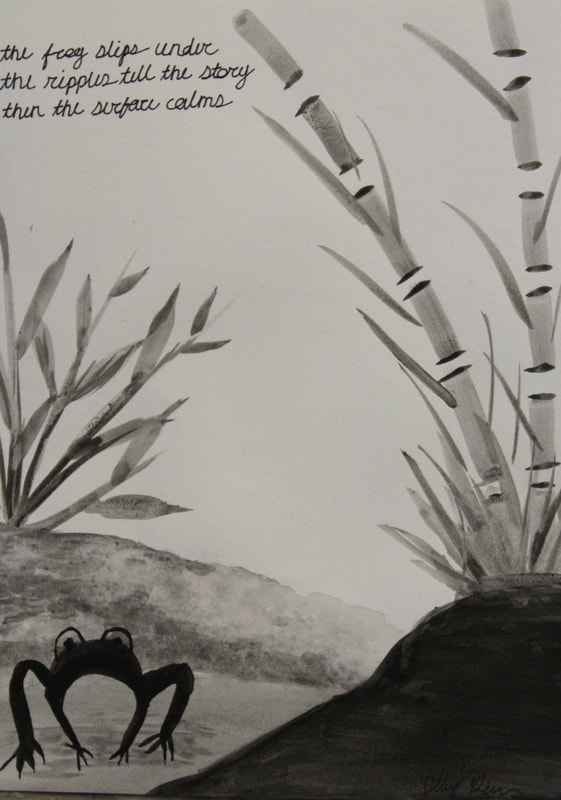
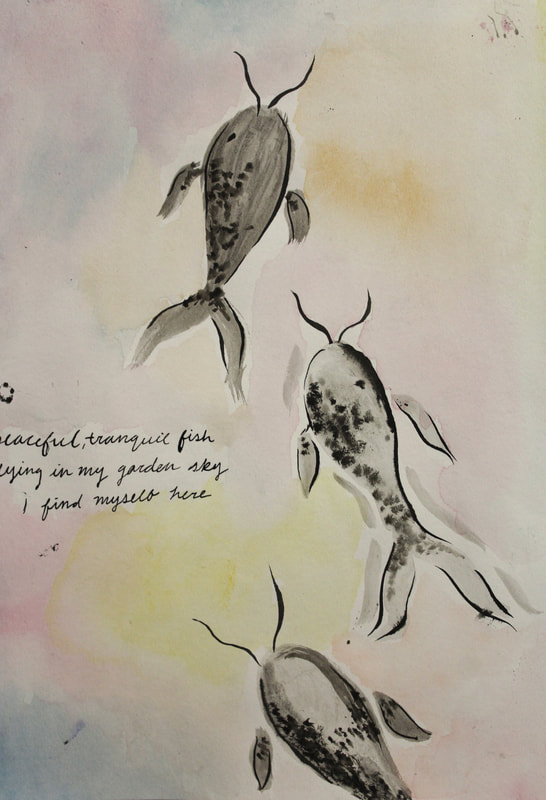
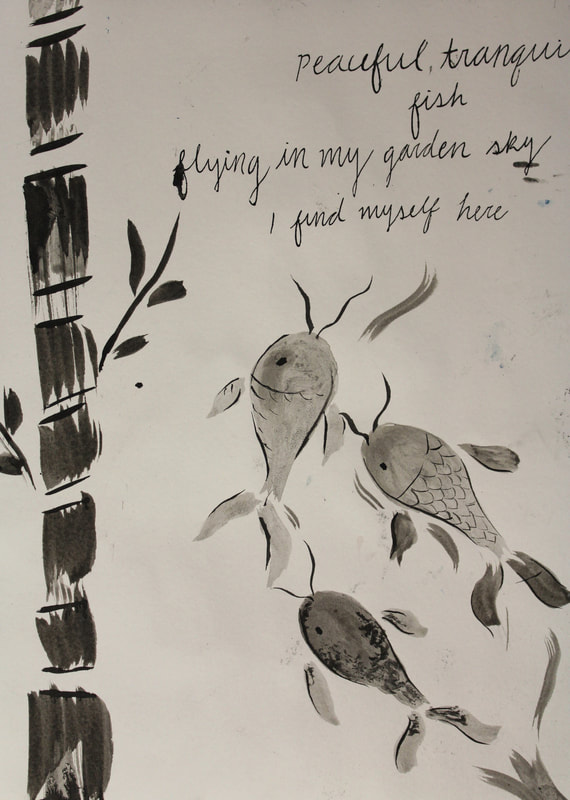
- 1) A sumi-e painting visually illustrating a haiku
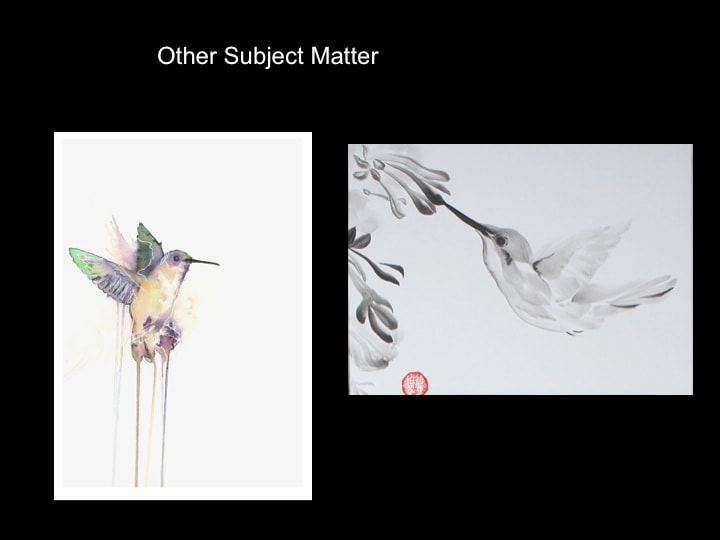
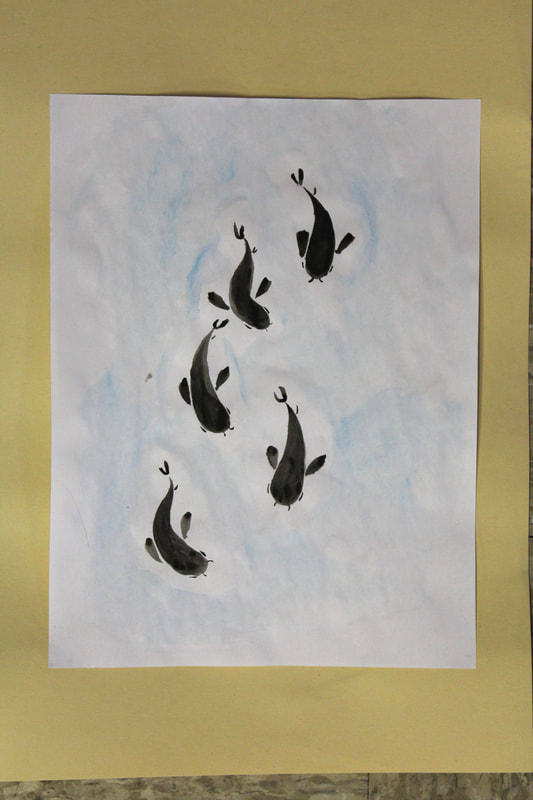
- 2) A sumi-e painting with subject matter of your choice
Support: rice paper, Bristol paper, or watercolor paper
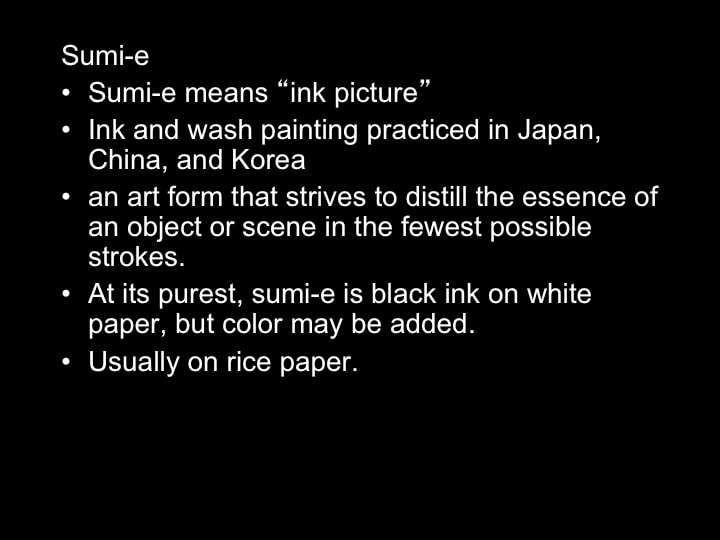
Objectives:
-Study the art of Sumi-e Painting & Suminagashi
-Learn about the historical and cultural practice of Sumi-e painting and Suminagashi
-Continue study of value
-Experiment with ink wash and watercolor & paper marbling
Process:
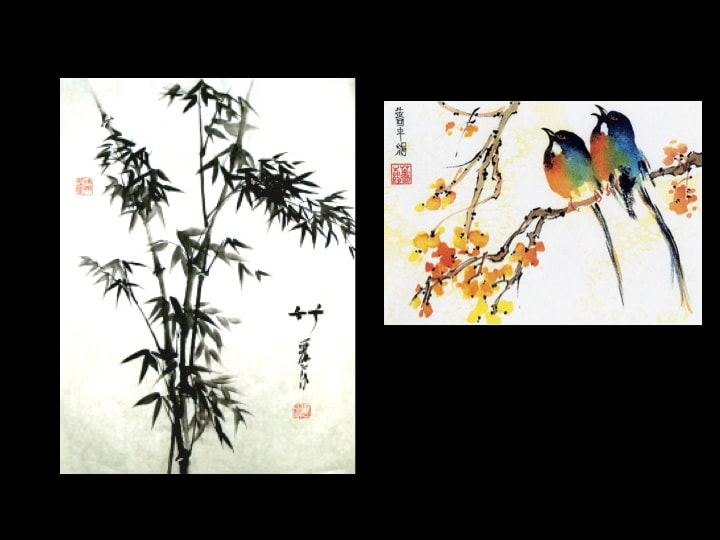
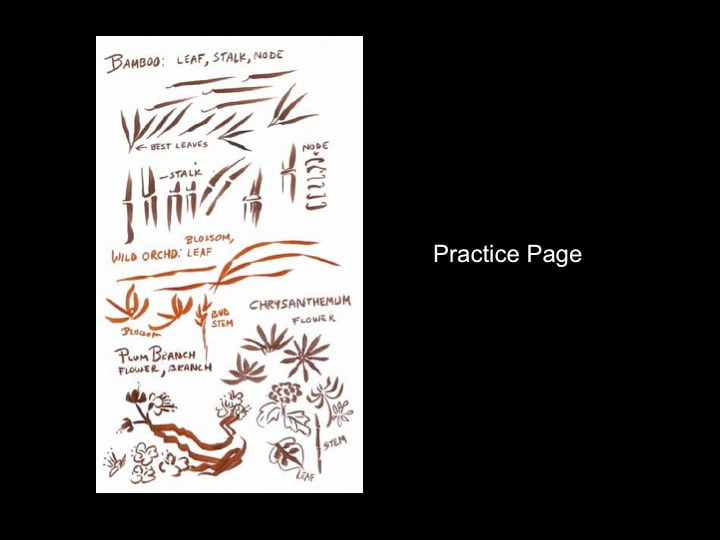
- 1) Review the Sumi-e Painting Presentation.
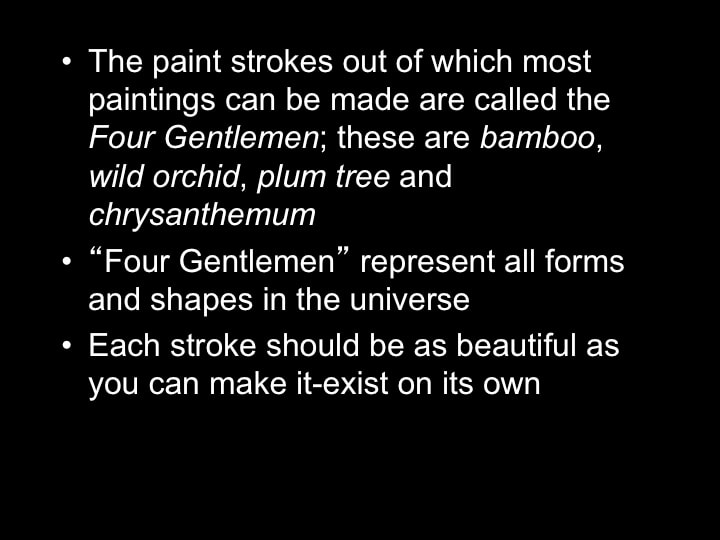
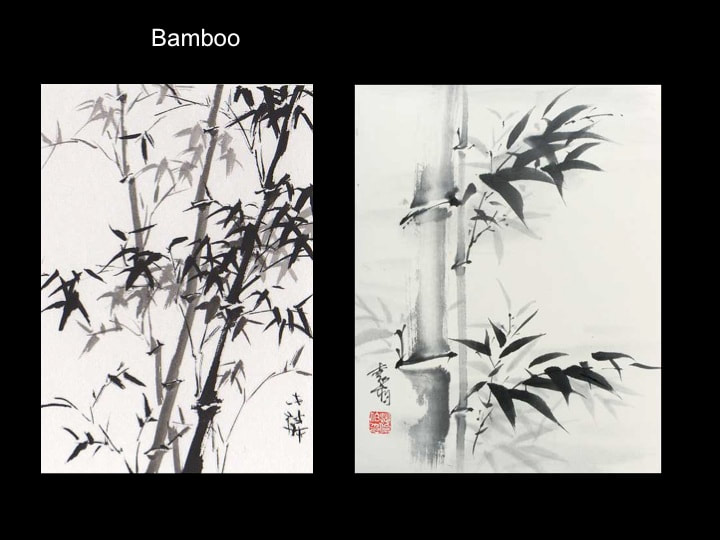
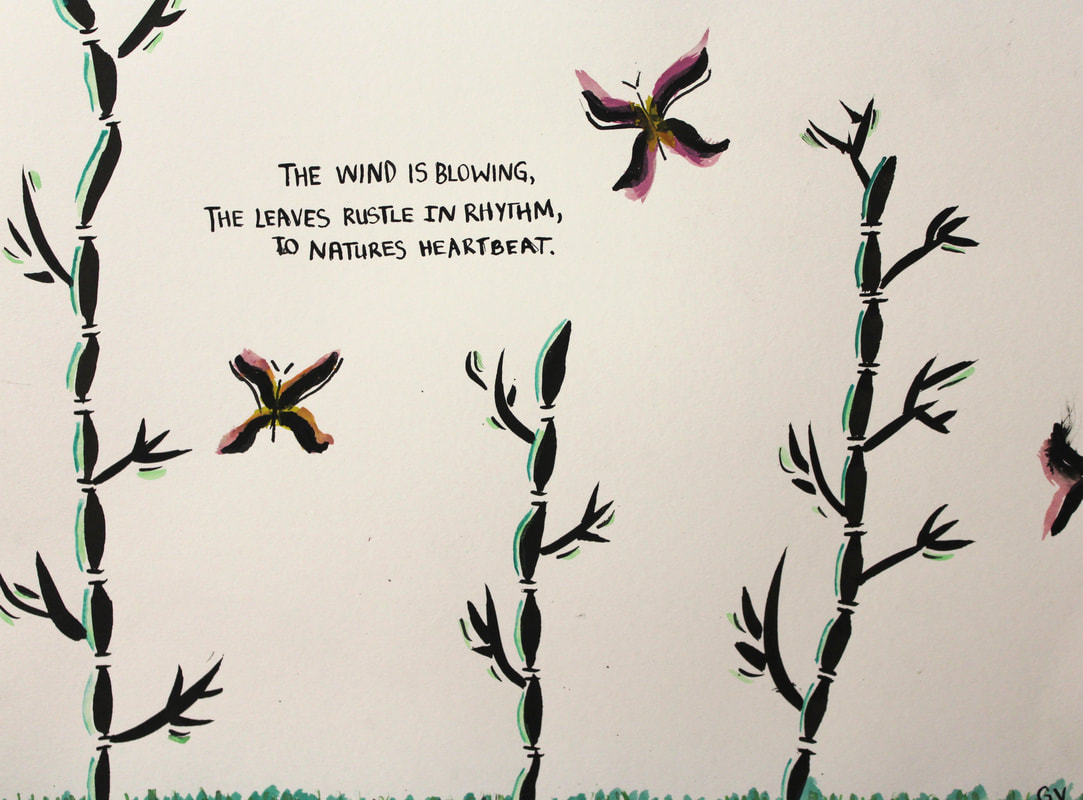
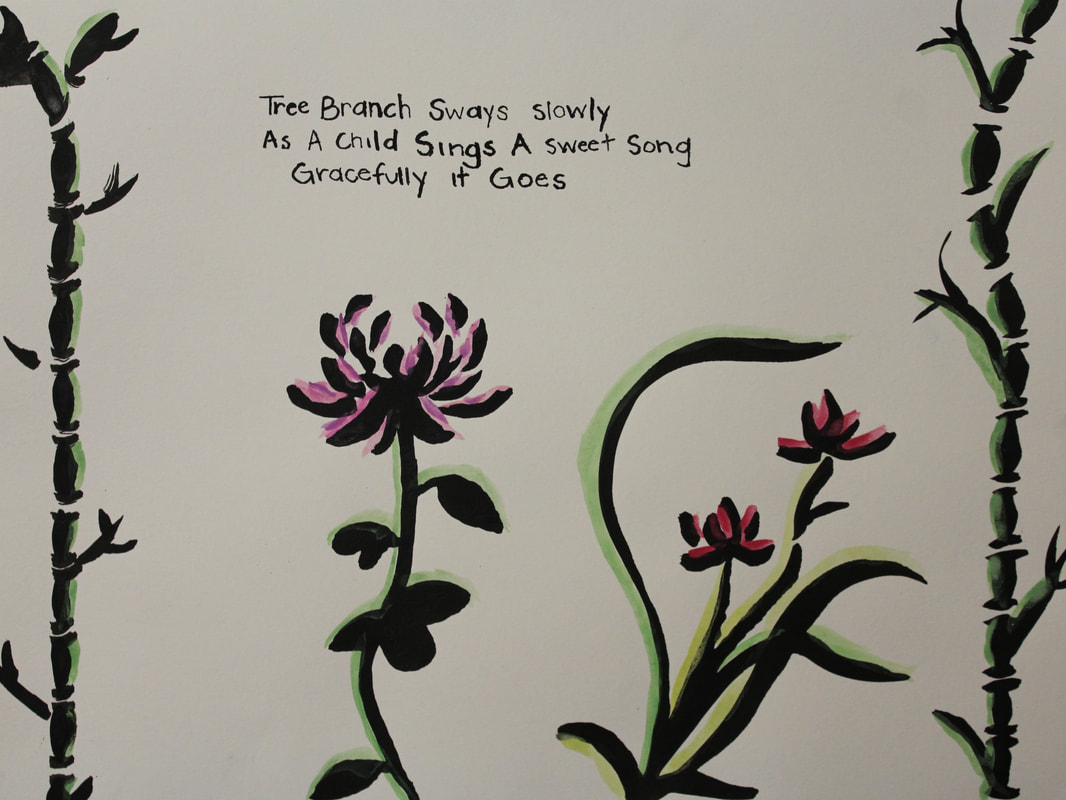
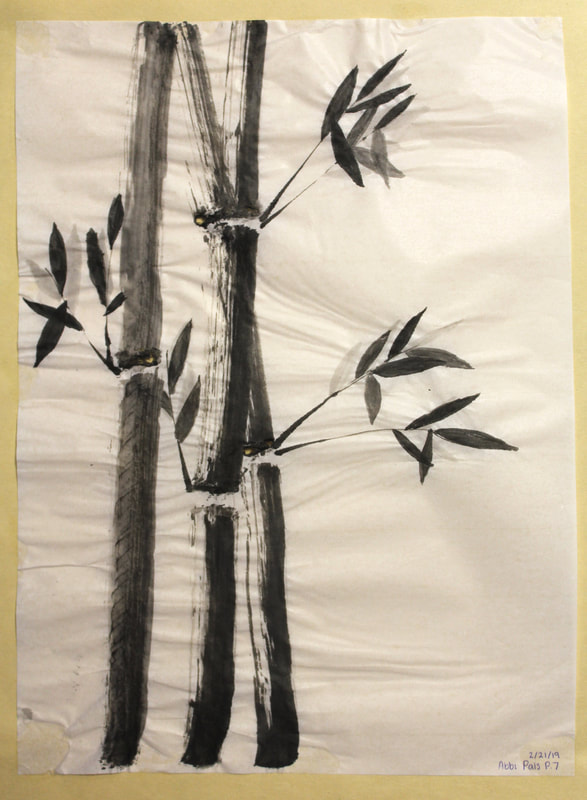
- 2) Practice the Four Gentlemen: Practice making thin and thick brush
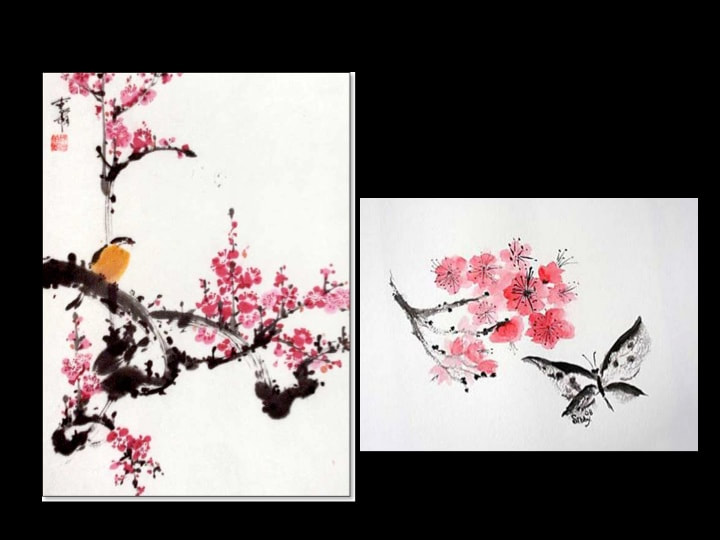
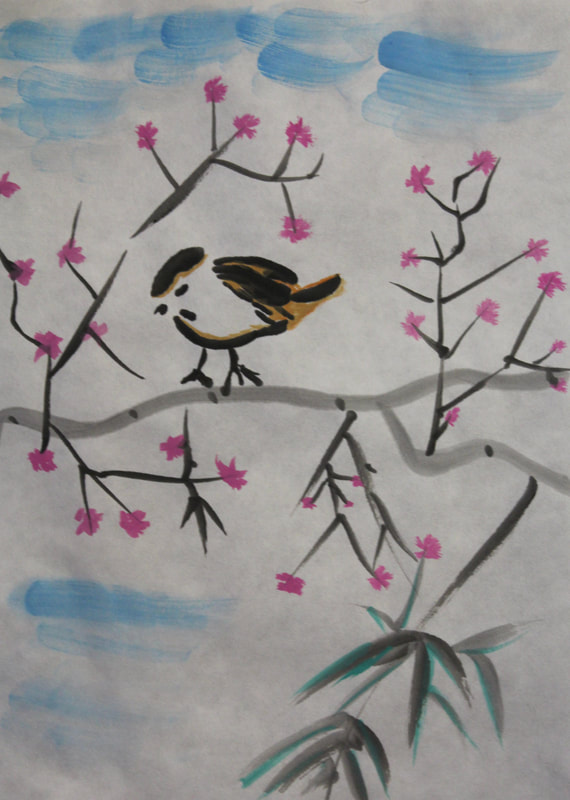
strokes, a range of values from dark (all ink) to light (add water to the ink). Practice painting Bamboo, Wild Orchid, Chrysanthemum, and Plum Branch (5 pages) - 3) Practice other flowers, trees, tigers, fish, birds, dragons, and non traditional subject matter.
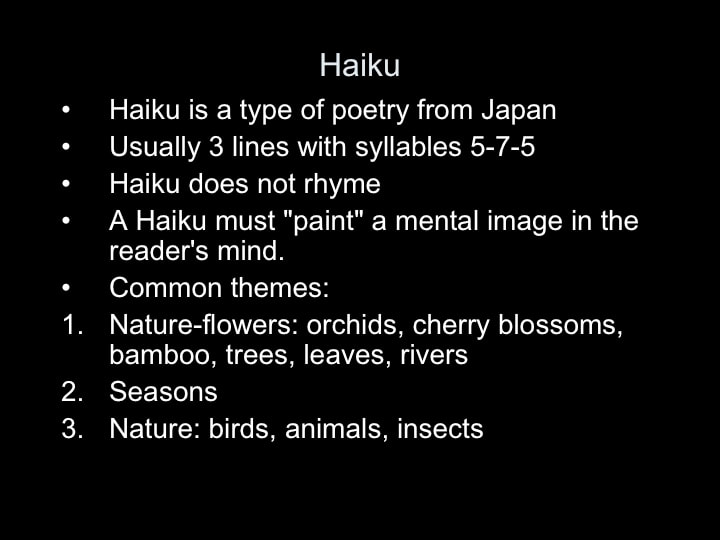
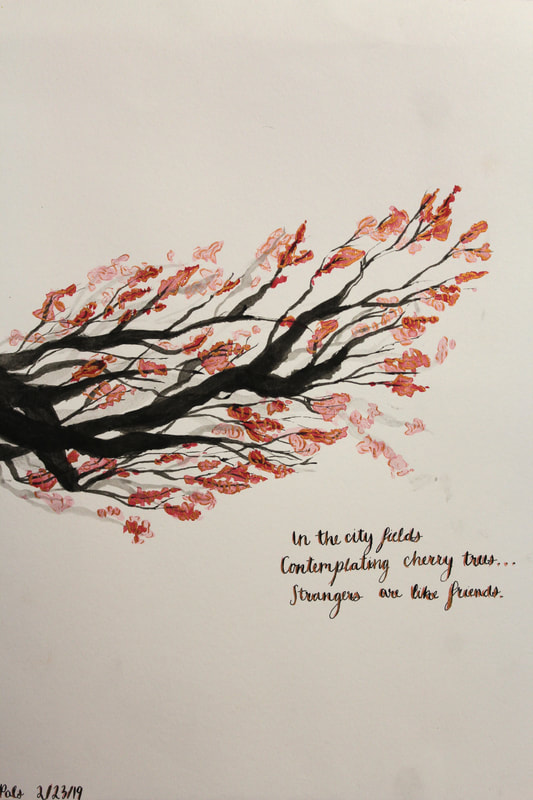
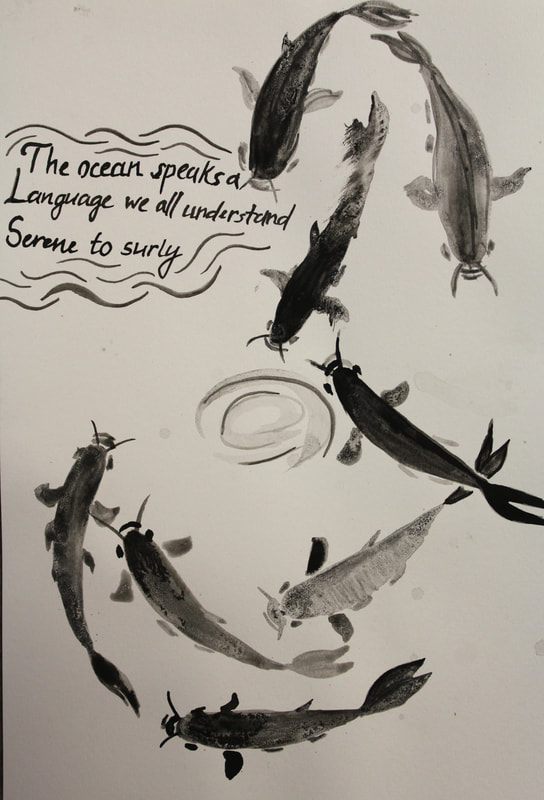
- 4) Choose or write 1 haiku poem that inspires you.
- 5) Visually illustrate the haiku using ink, ink wash, and watercolor.
*Optional: Write the Haiku somewhere on your composition. - 6) Create a second Sumi-e Painting with subject matter of your choice on
rice paper or watercolor paper.
*Optional: paint a sumi-e painting on top of one of your Suminagashi papers.
*Optional: research Chinese or Japanese characters and sign your name in the traditional red stamp.
1) Five Practice Pages: Sumi-e Paintings of the Four Gentlemen and 2 other subjects.- 5 pages = 20 points
2) One Sumi-e Painting on rice paper. (20 points)
3) One Sumi-e Painting inspired by a Haiku on rice paper or watercolor paper or bristol.


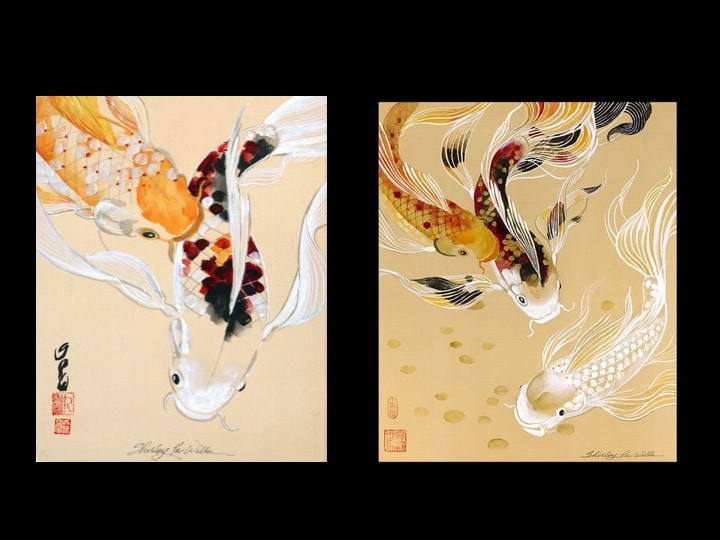
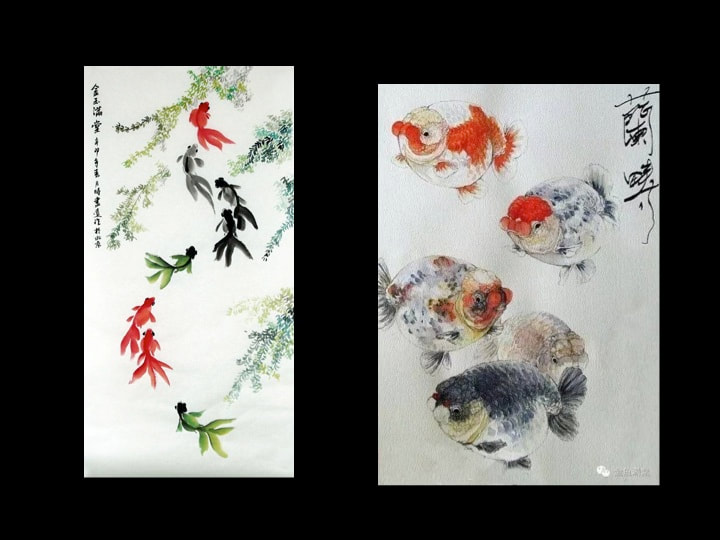
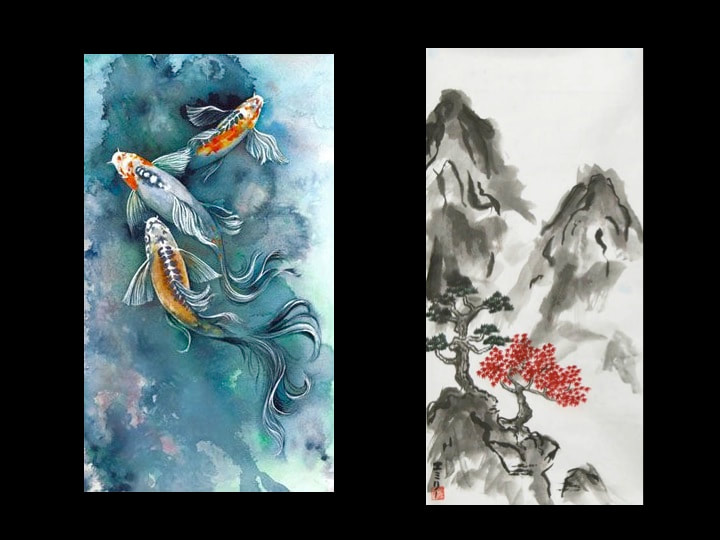
Student Examples

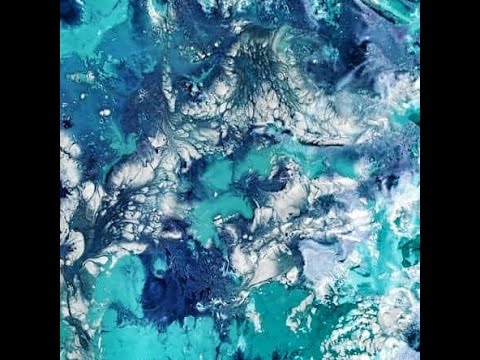
Suminigashi - Paper Marbling with ink and water
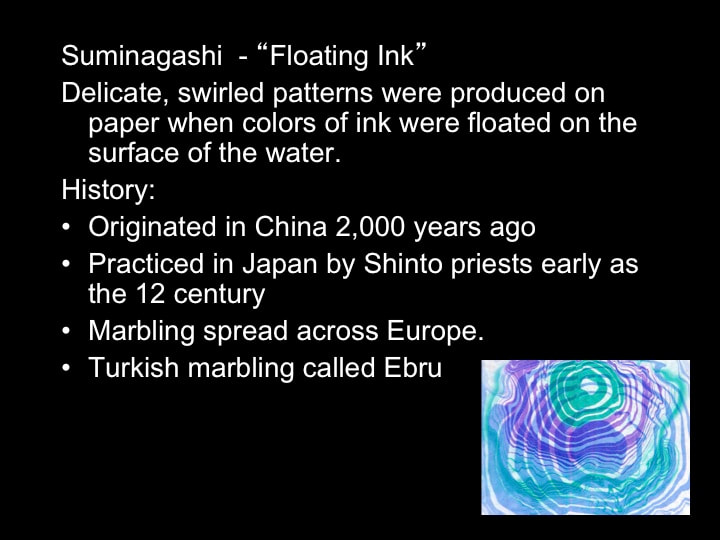
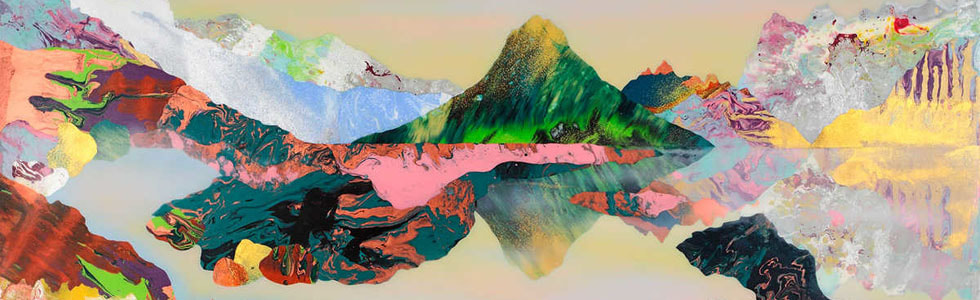

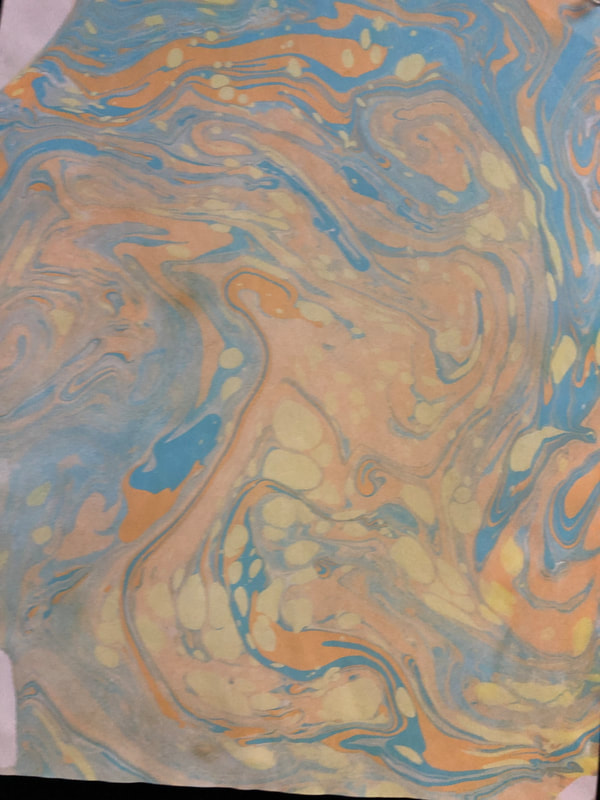
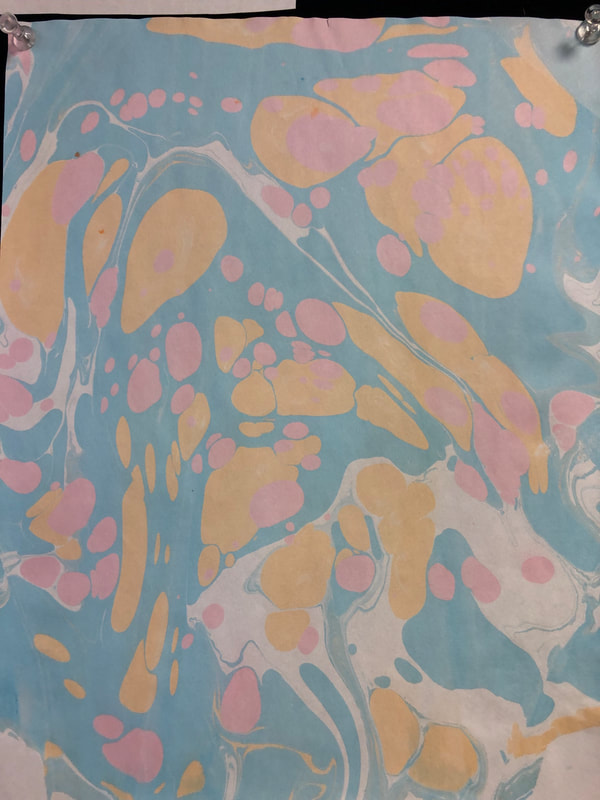
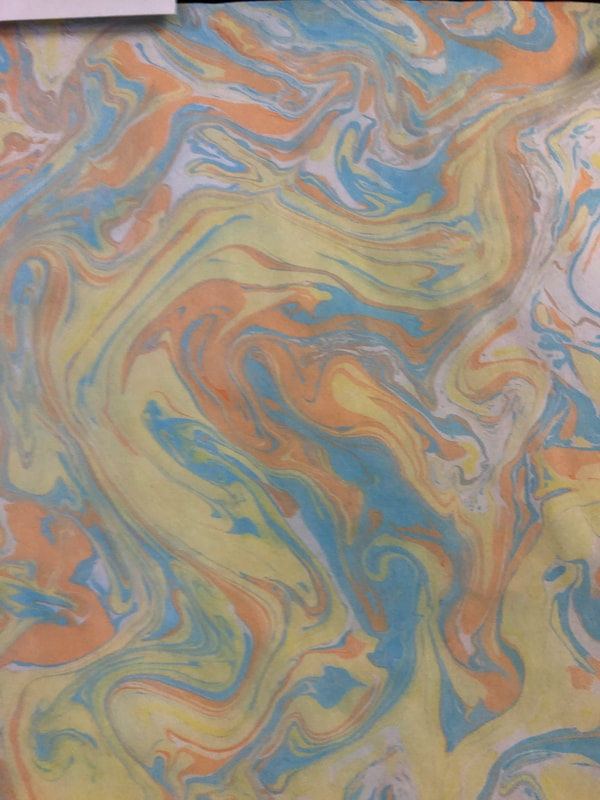
Suminagashi – Paper Marbling
The Art of Suminigashi Video
Suminigashi Artist
Process:
Step 1 – Prepare your materials and supplies:
1. Marbling tray (shallow and wide enough to hold the size paper you will be printing on)
2. Newspaper
3. Small paintbrushes
4. Inks
5. Watercolor mixing tray or plastic cups
6. Any absorbent paper or cardstock: rice paper, printer paper, mulberry
Step 2 – Create the Design
1) Fill the large shallow marbling tray with 2 inches of water.
2) Skim the surface with a strip of newspaper to remove any dust.
3) Using one brush per color, allow the brush to soak up dye, and touch the brush to the surface of the water.
4) Touch the brush with inkless surfactant solution in the middle of the color you’ve just applied to the water-filled tray. Keep alternating between colors and surfactant solutions until you’ve formed a number of concentric rings of color.
5) Remember that the more rings you create, the more visually appealing your suminagashi paper will be.
Step 3 – Make the Pattern:
· swirl the rings using a toothpick or end of your paintbrush
· fan them with a folding fan or simply blow gently on them.
· For more precision, use a straw to blow the inks in the exact direction you want. The important thing in this step is to recognize the natural viscosity of the water and not stir up the inks too much.
Step 4 – Print the Paper:
Adapted from suminagashi.com
The Art of Suminigashi Video
Suminigashi Artist
Process:
Step 1 – Prepare your materials and supplies:
1. Marbling tray (shallow and wide enough to hold the size paper you will be printing on)
2. Newspaper
3. Small paintbrushes
4. Inks
5. Watercolor mixing tray or plastic cups
6. Any absorbent paper or cardstock: rice paper, printer paper, mulberry
Step 2 – Create the Design
1) Fill the large shallow marbling tray with 2 inches of water.
2) Skim the surface with a strip of newspaper to remove any dust.
3) Using one brush per color, allow the brush to soak up dye, and touch the brush to the surface of the water.
4) Touch the brush with inkless surfactant solution in the middle of the color you’ve just applied to the water-filled tray. Keep alternating between colors and surfactant solutions until you’ve formed a number of concentric rings of color.
5) Remember that the more rings you create, the more visually appealing your suminagashi paper will be.
Step 3 – Make the Pattern:
· swirl the rings using a toothpick or end of your paintbrush
· fan them with a folding fan or simply blow gently on them.
· For more precision, use a straw to blow the inks in the exact direction you want. The important thing in this step is to recognize the natural viscosity of the water and not stir up the inks too much.
Step 4 – Print the Paper:
- Without stirring your design, gently and slowly lay a sheet of absorbent paper onto the surface of the water.
- Let it rest for 2- 3 seconds.
- Carefully lift off the paper, and lay it out on a flat surface to dry.
Adapted from suminagashi.com
Student Examples
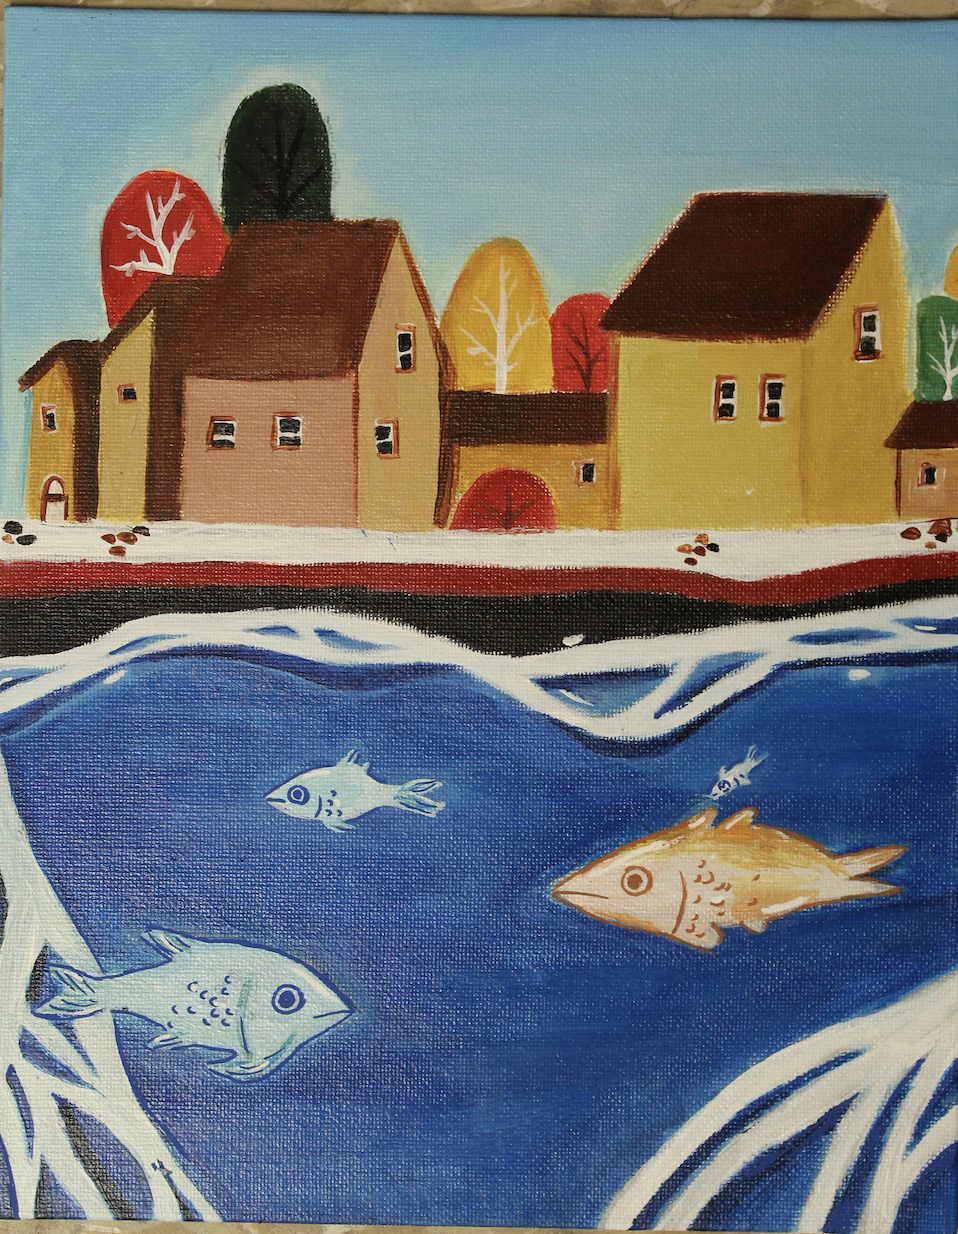
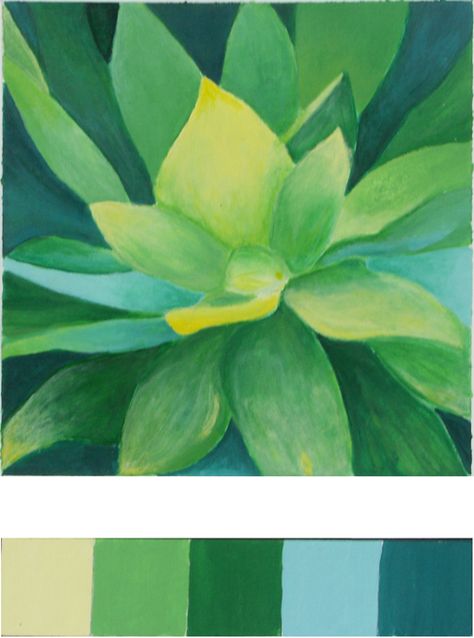
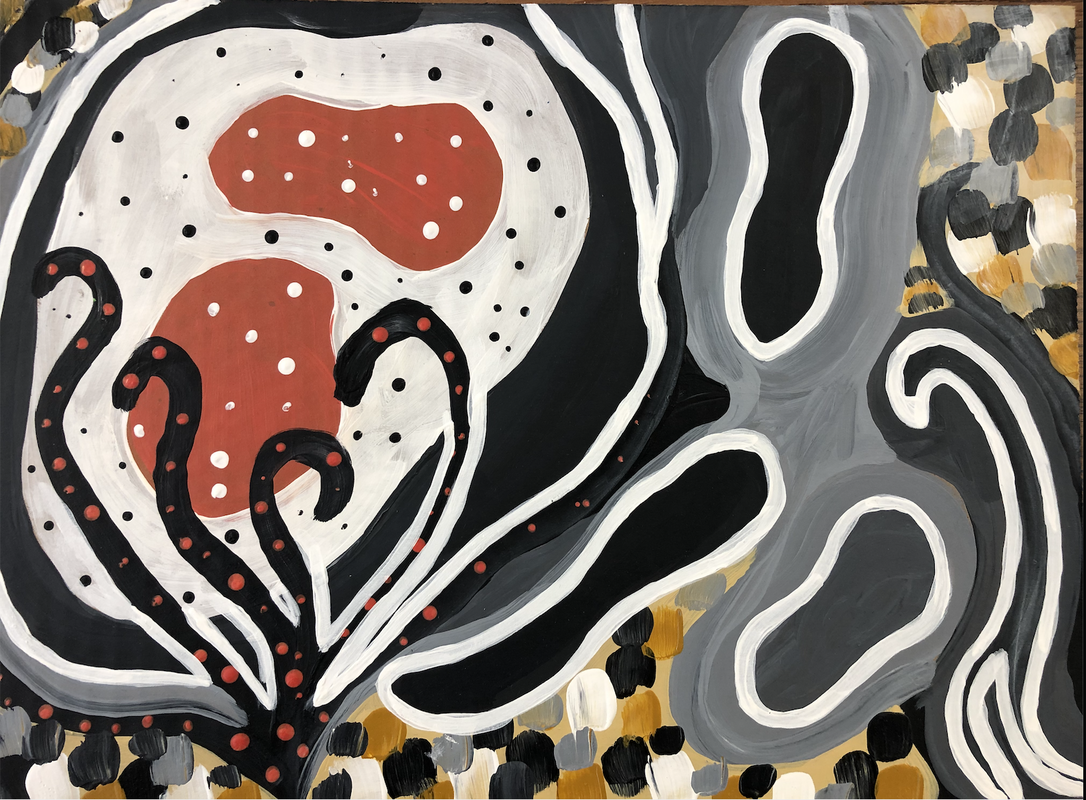
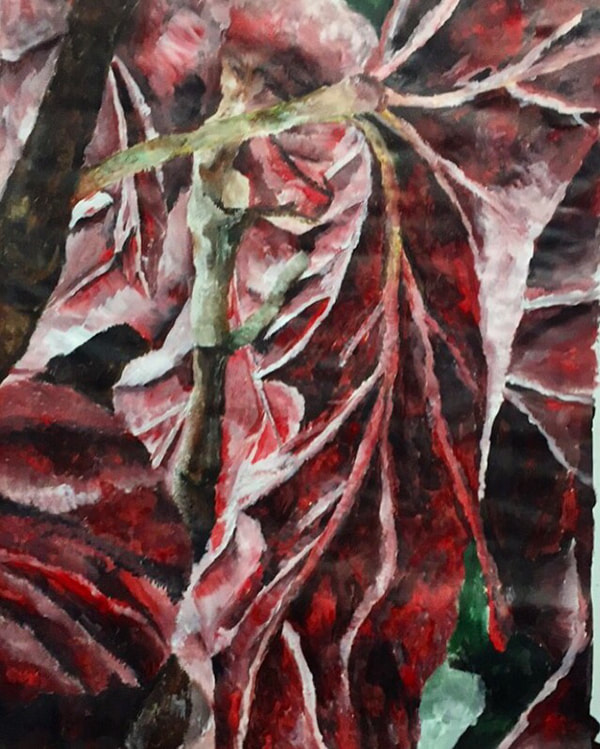
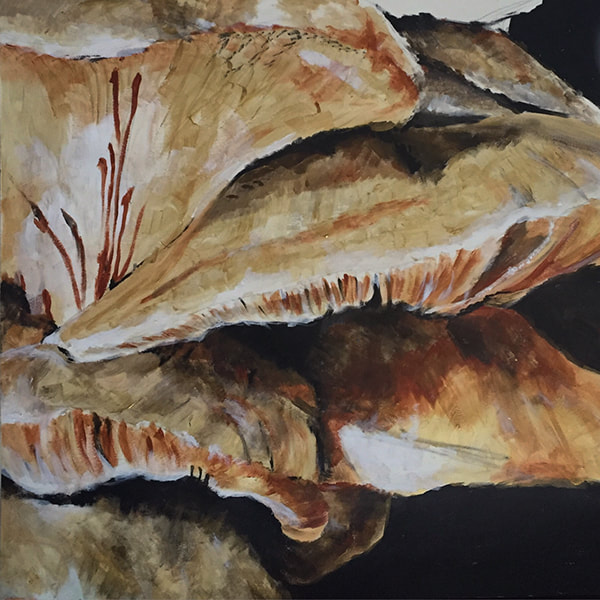
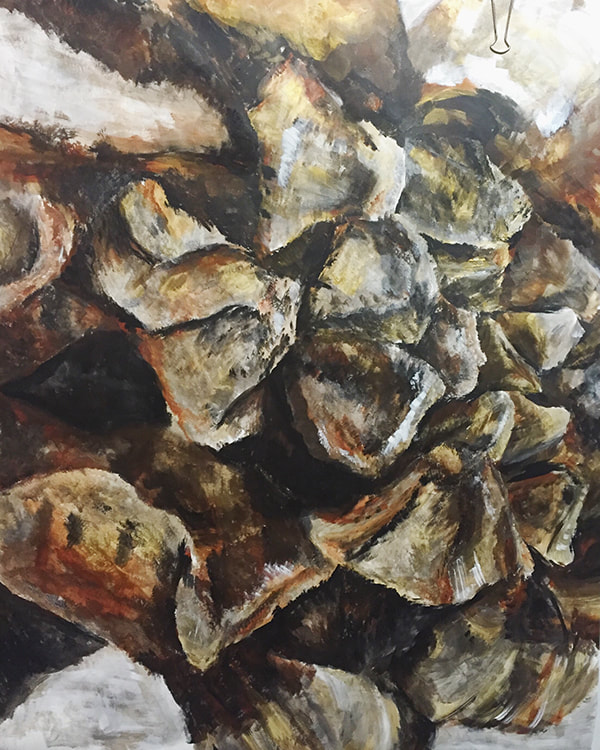
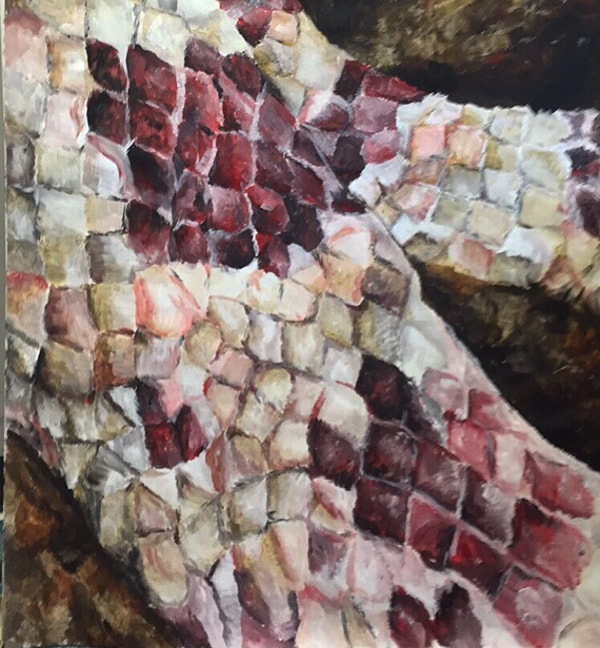
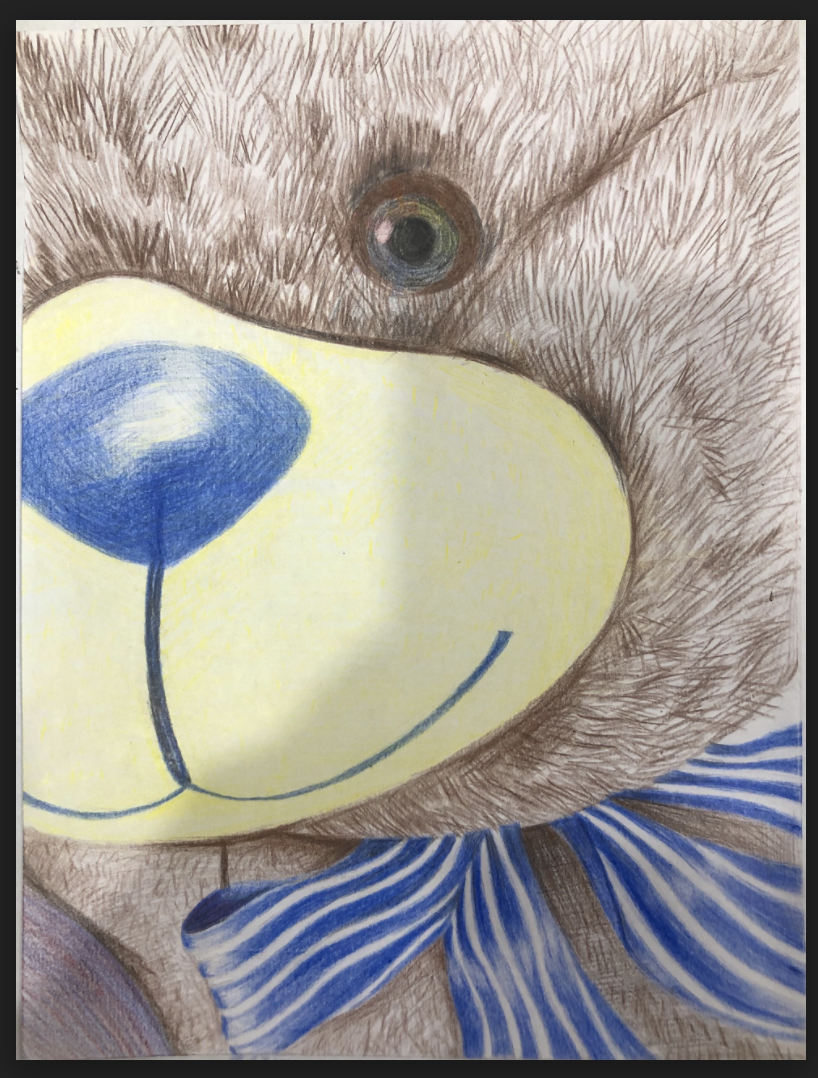
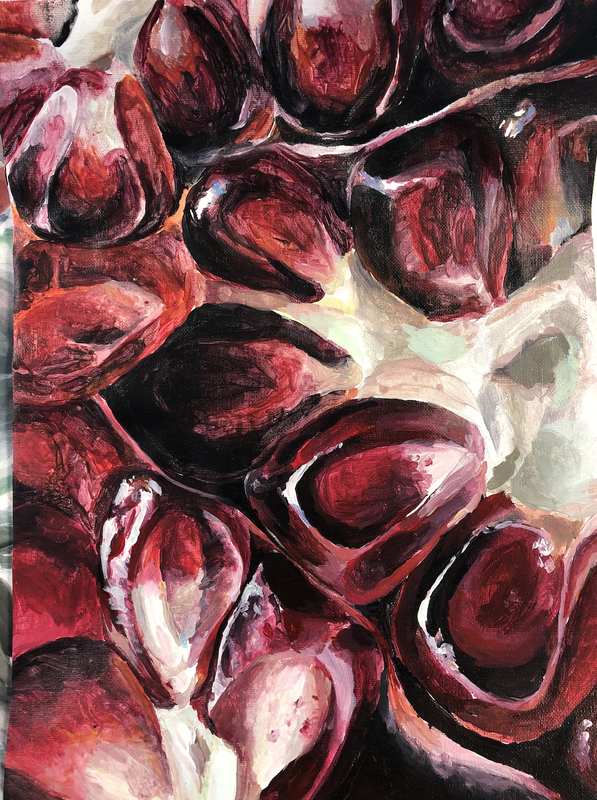
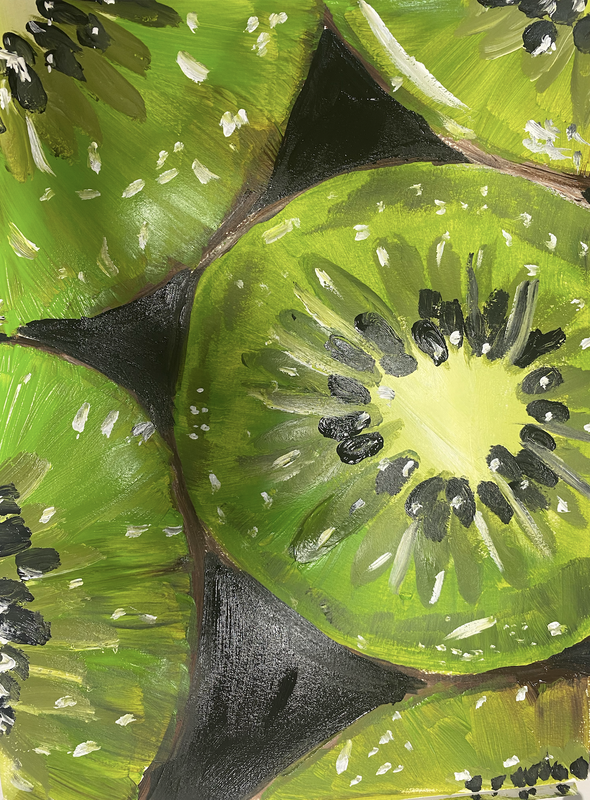
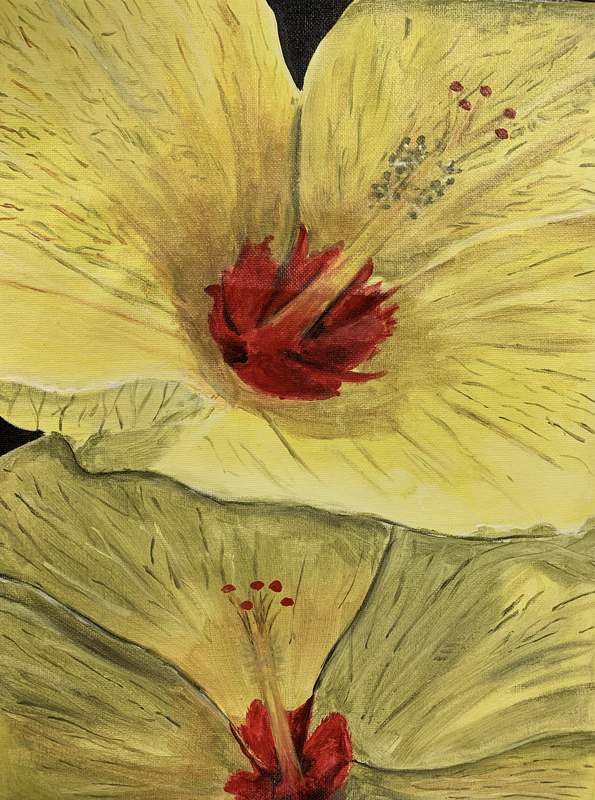
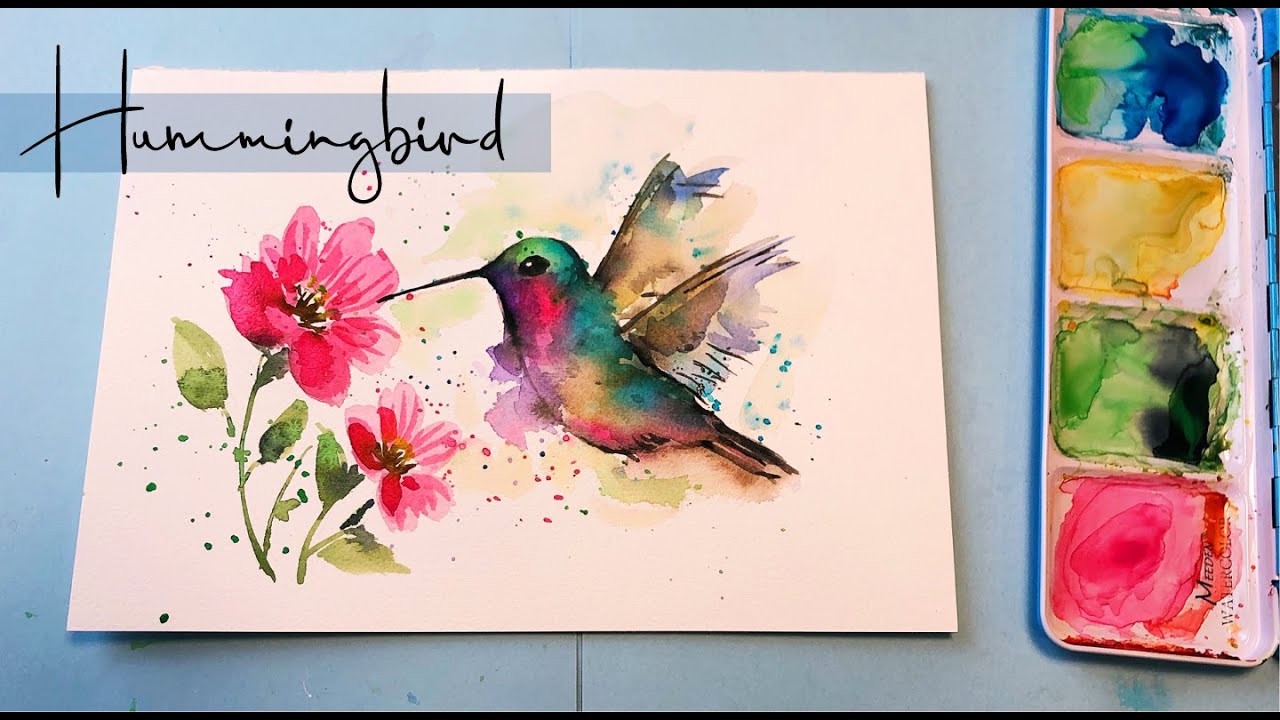
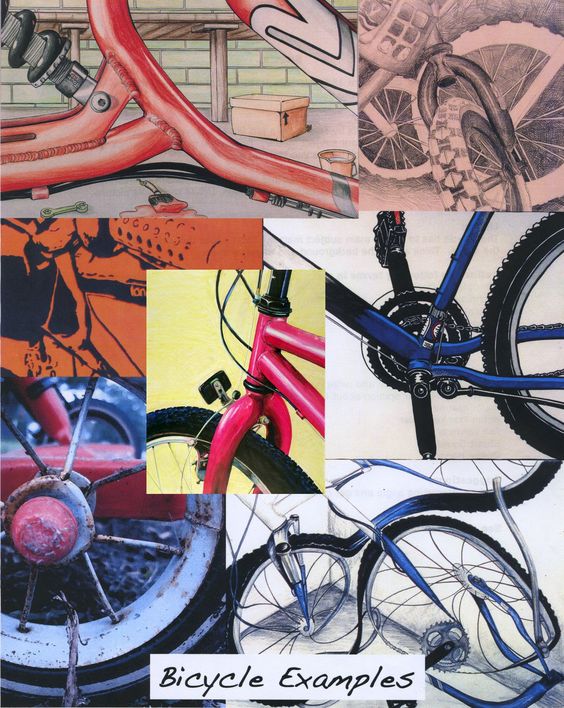
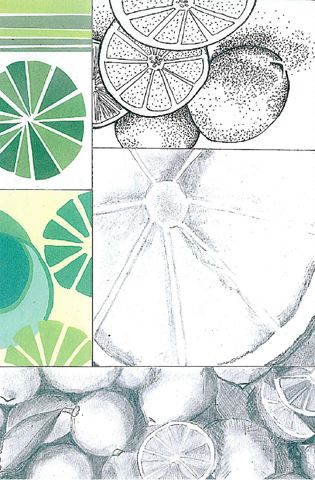
"Zoomed In" Magnified Painting
Assignment:
Directions:
Things to include:
Paper Size: minimum 8x10 inches
Acrylic or Watercolor
What you will TURN IN:
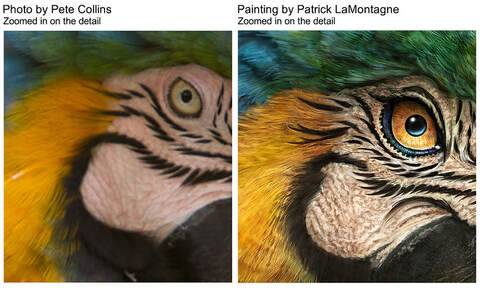
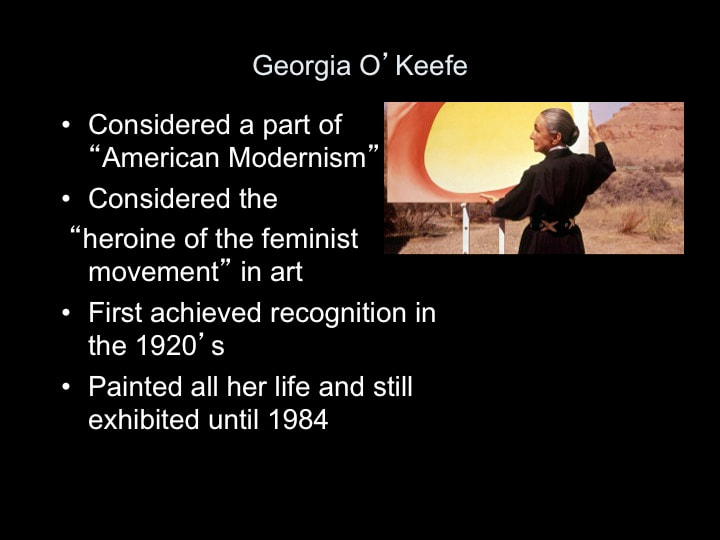
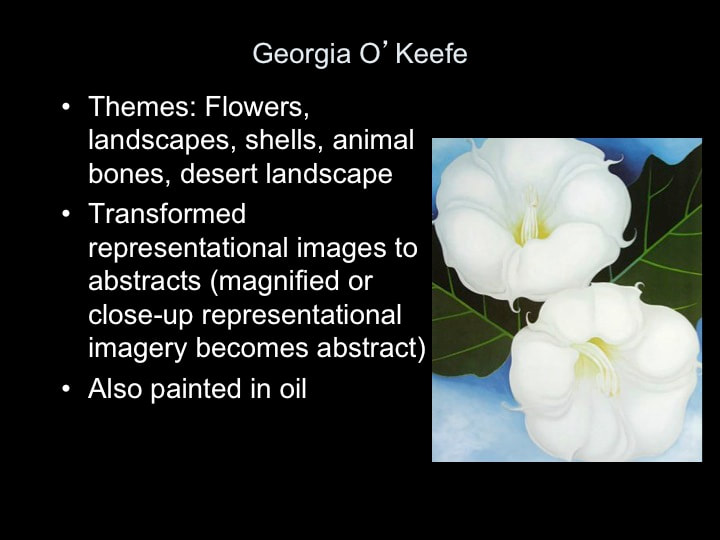
- Review the presentation about Georgia O’Keefe and her magnified point of view paintings.
- Review the examples of other artists’ zoomed in artworks.
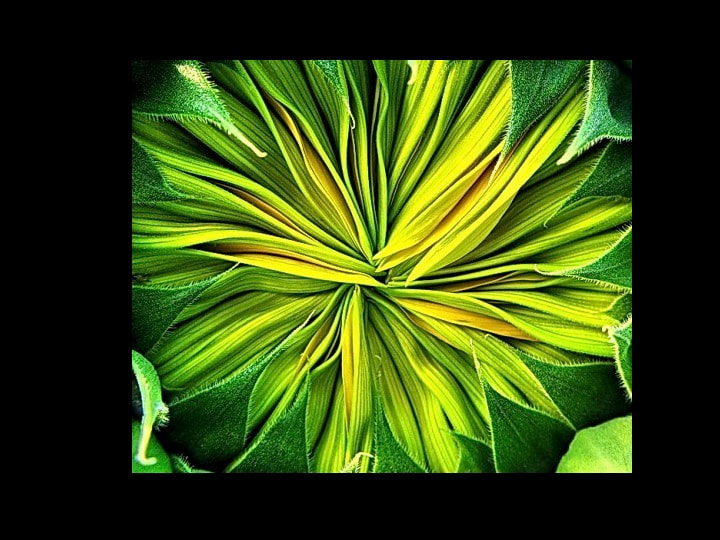
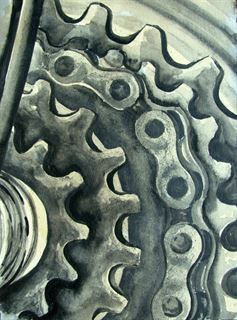
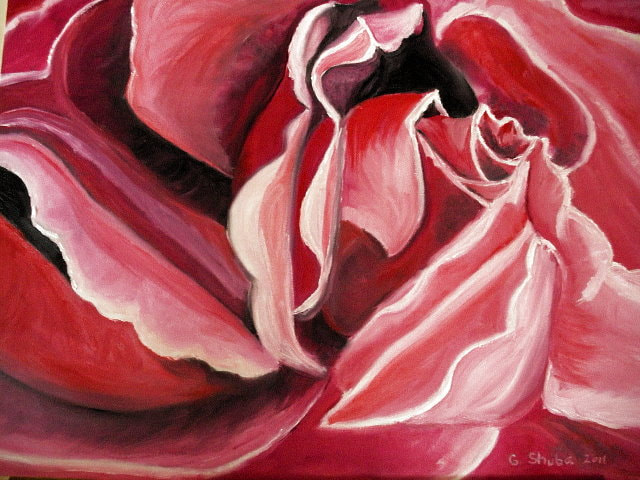
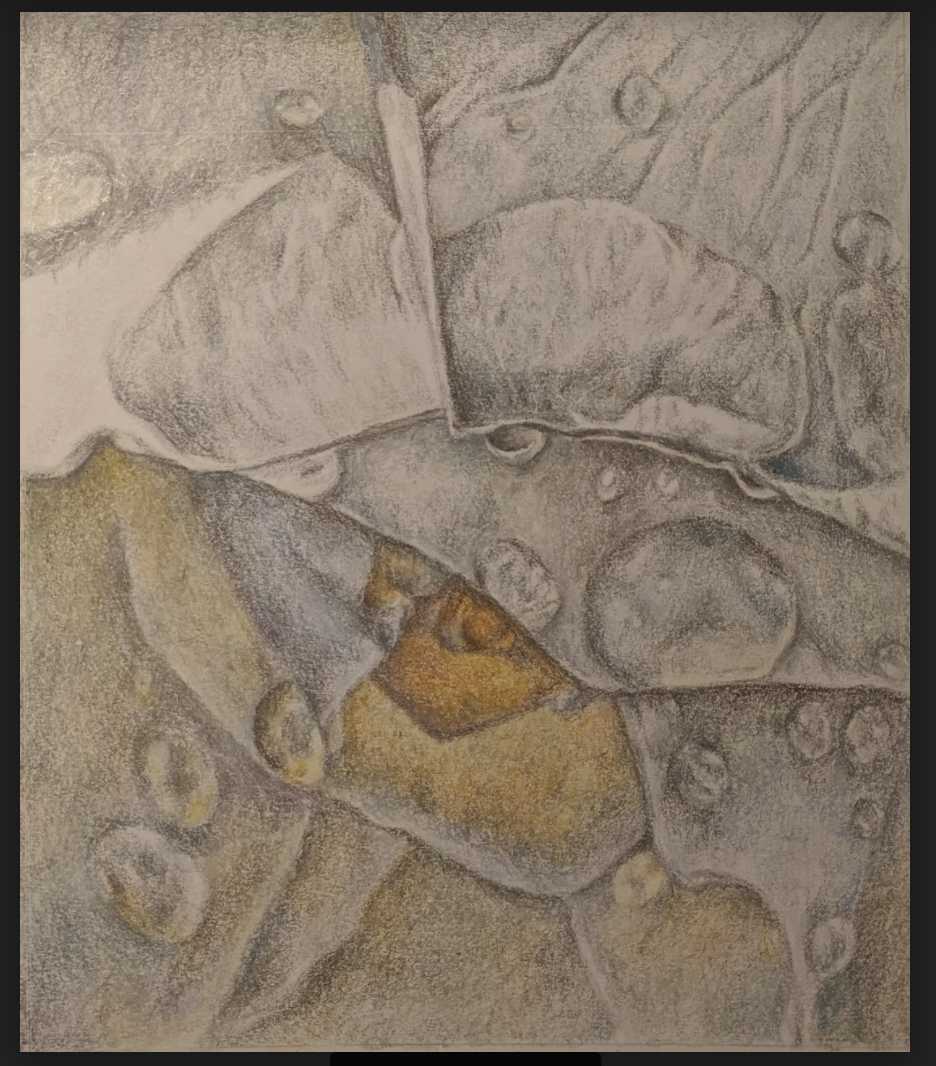
- Create your own “Zoomed In – Magnified” artwork
Directions:
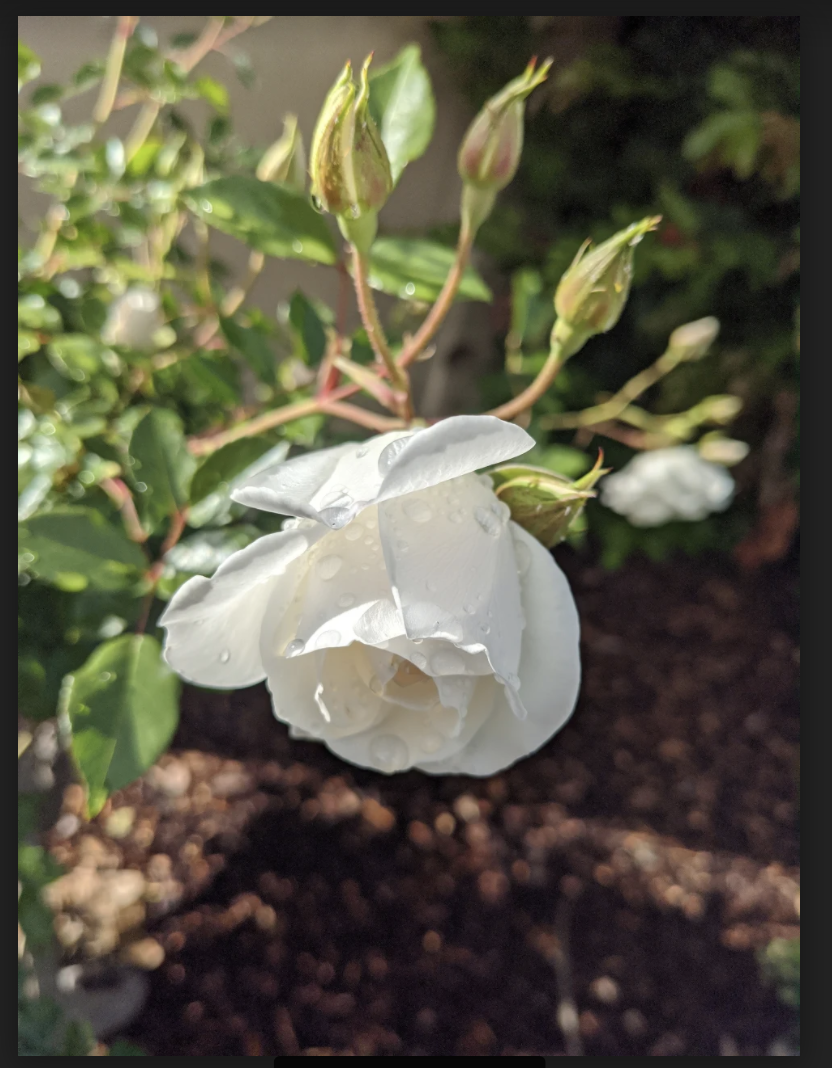
- Find a photo online or take your own photo that zooms in on a complex and detailed subject.
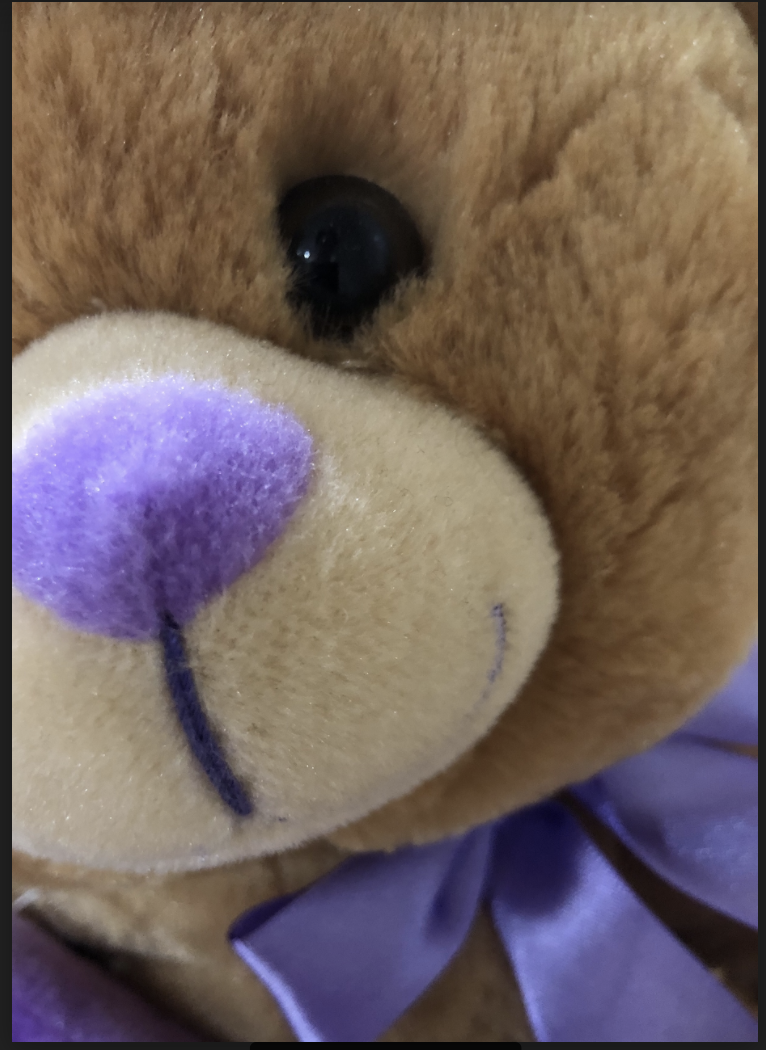
- Option: Look around your house or your front/backyard and choose a REAL OBJECT with interesting details, colors, textures, lines, shapes, fur, etc. that you could draw or paint. This could be leaves, flowers, a bicycle, your pet, a lizard, a hummingbird, pinecone…
- Avoid plain solid objects. Avoid all white or all black objects. Choose something with a lot of fantastic details!!
- Take a photo of it with your phone or camera. If you have a camera: use your zoom feature to really zoom in on an area of your object that has interesting details. If you use your phone, zoom into an interesting area after you to take the photo and crop it.
- On any paper or canvas you have available re-create your photo. You may use any media you have available at home: pencil, colored pencil, acrylic paint, watercolor paint, poster paint, or try these: paint with food coloring or with coffee!
Things to include:
- An interesting viewpoint of your chosen subject zoomed in.
- Use the ENTIRE picture plane. There should be NO BACKGROUND. Zoom all the way into your subject and fill the frame – fill your paper.
- Include a lot of interesting details: for example if I zoomed in on a leafy plant I would include the veins of the leaves, drops of water, specks of dirt, different values of green as the sun hit the leaves…
- Exaggerate elements of art and principles of design: color, line, shape, form, texture, movement, contrast…
Paper Size: minimum 8x10 inches
Acrylic or Watercolor
What you will TURN IN:
- The photo you took of the object or objects
- A photograph of your recreated artwork. see example:


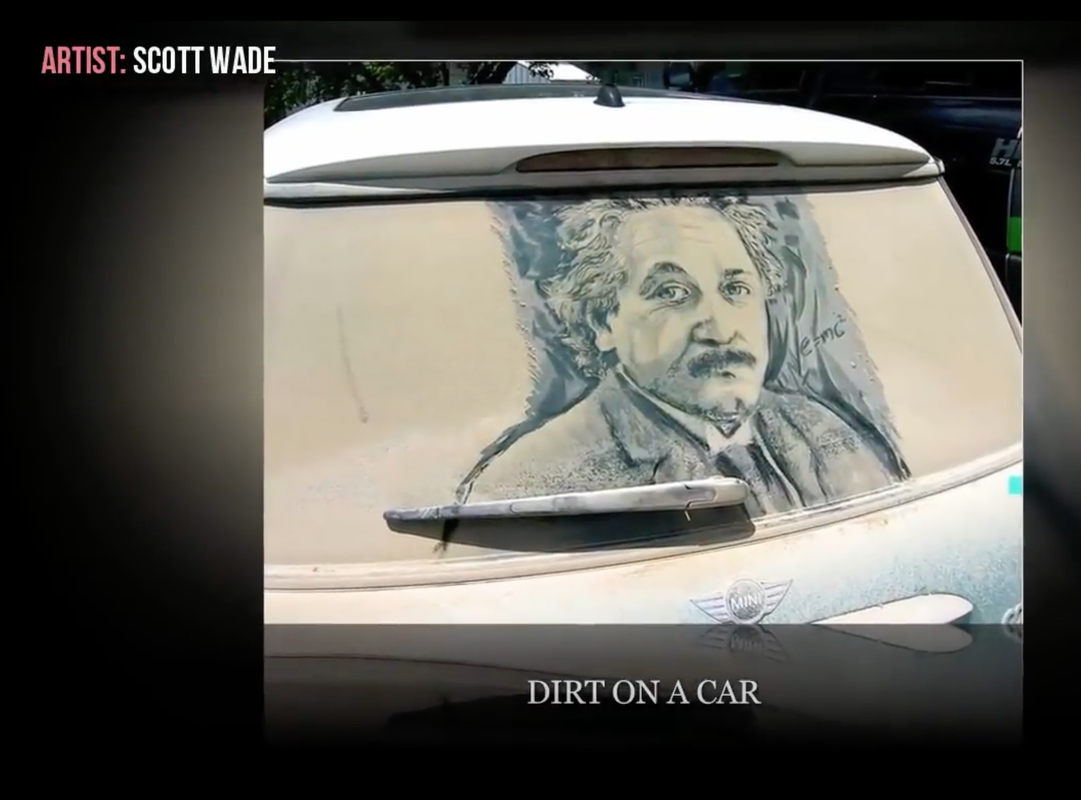
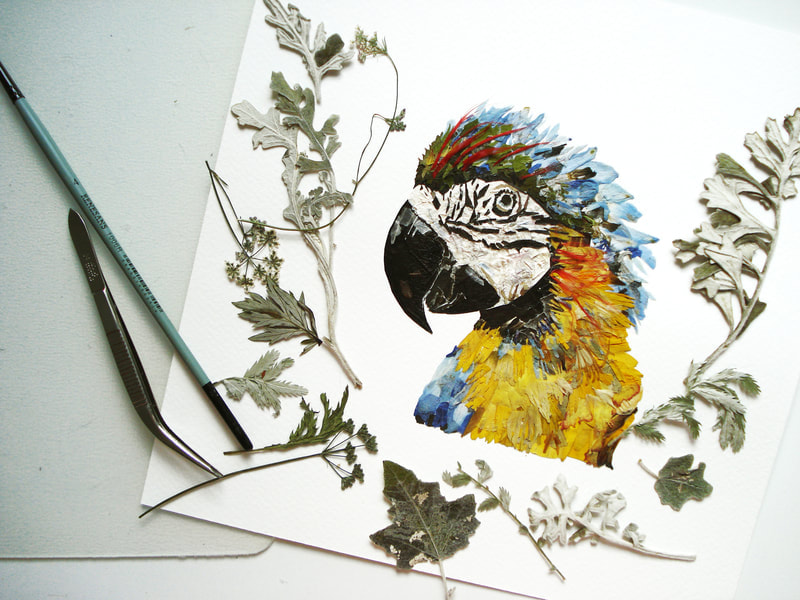
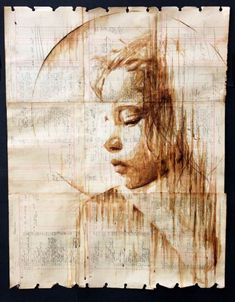
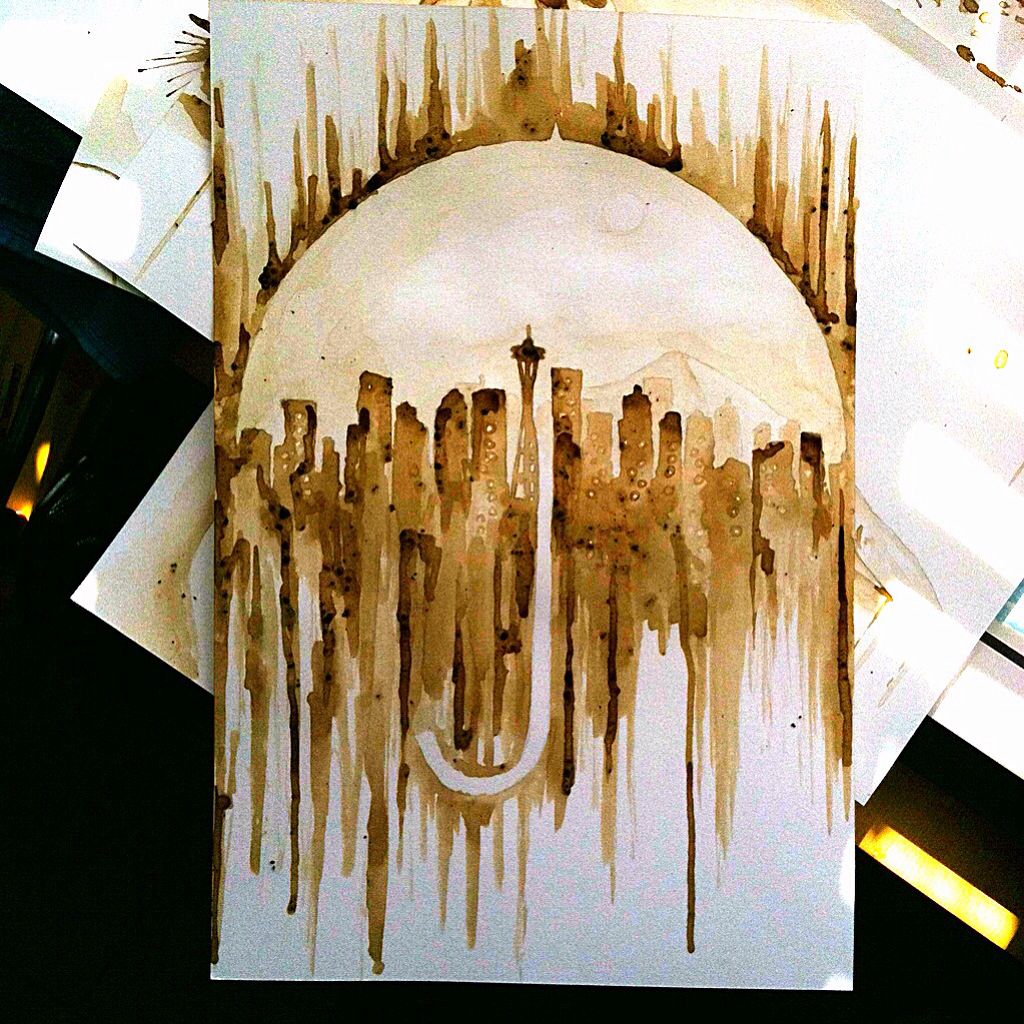
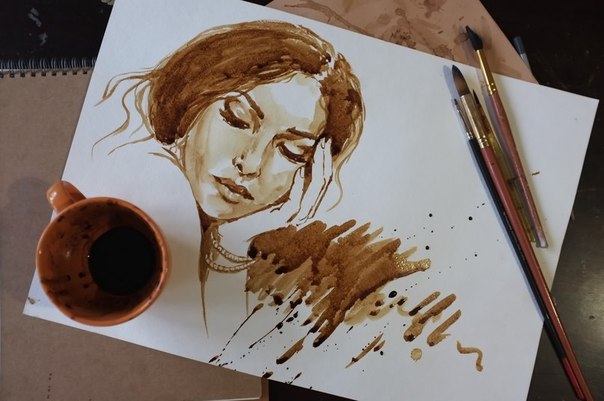
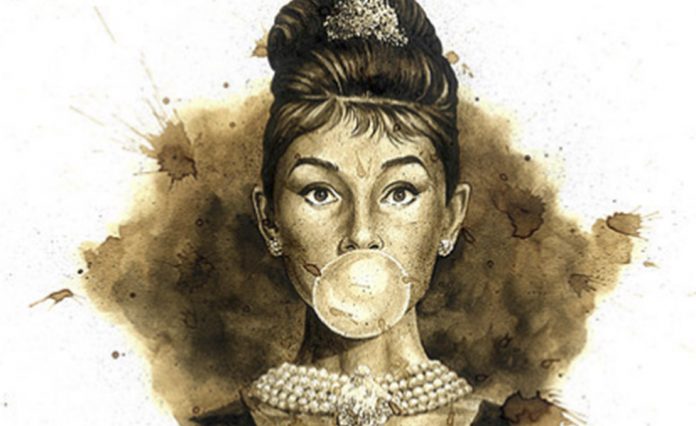
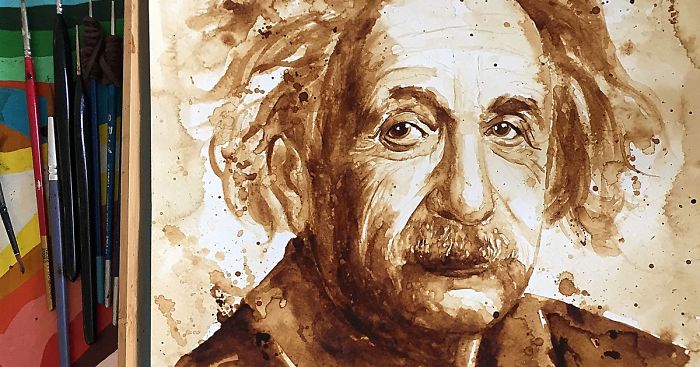
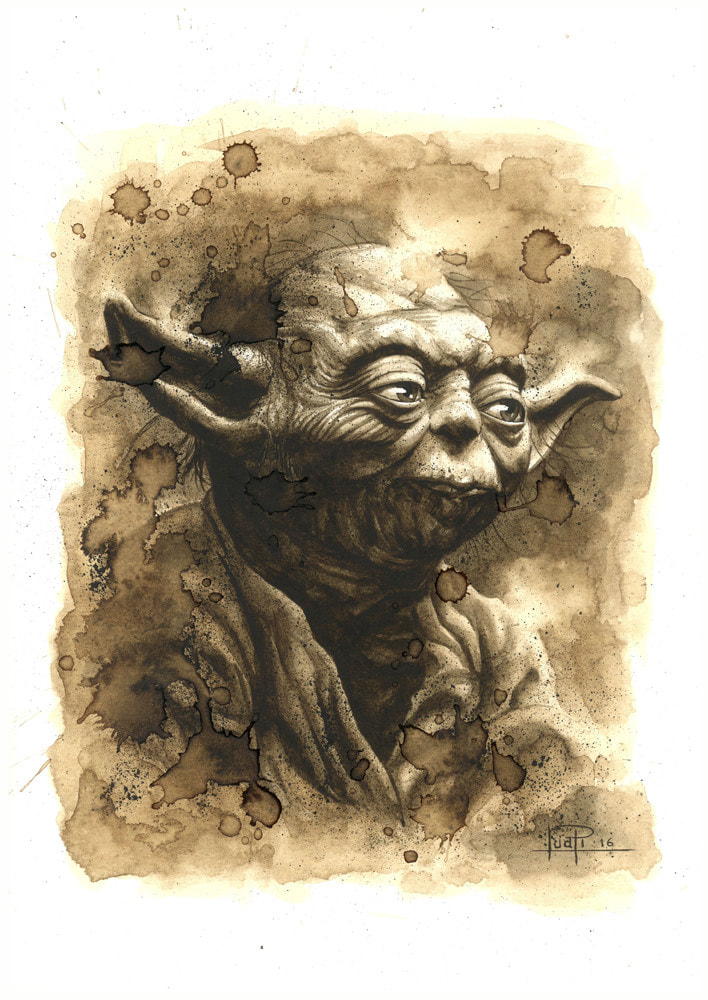
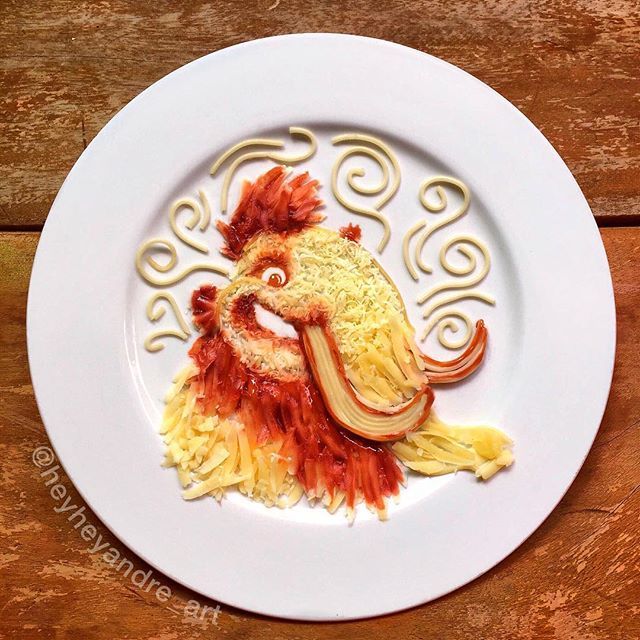
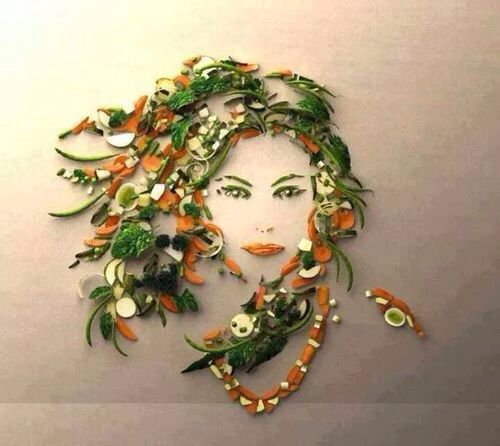
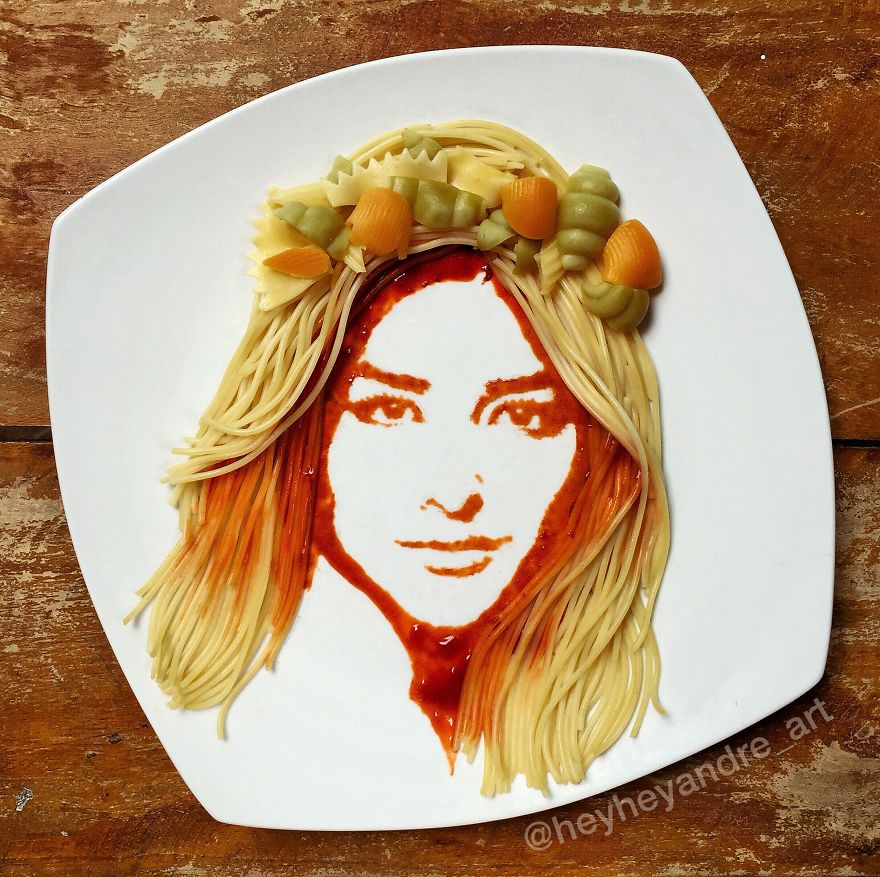
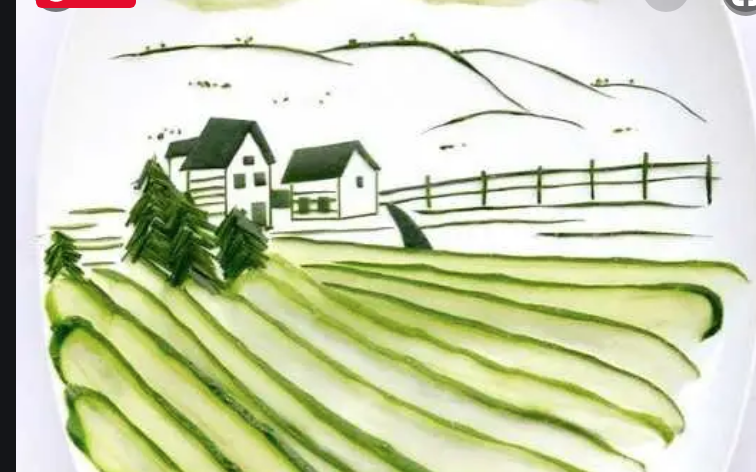
Unconventional Media Artwork
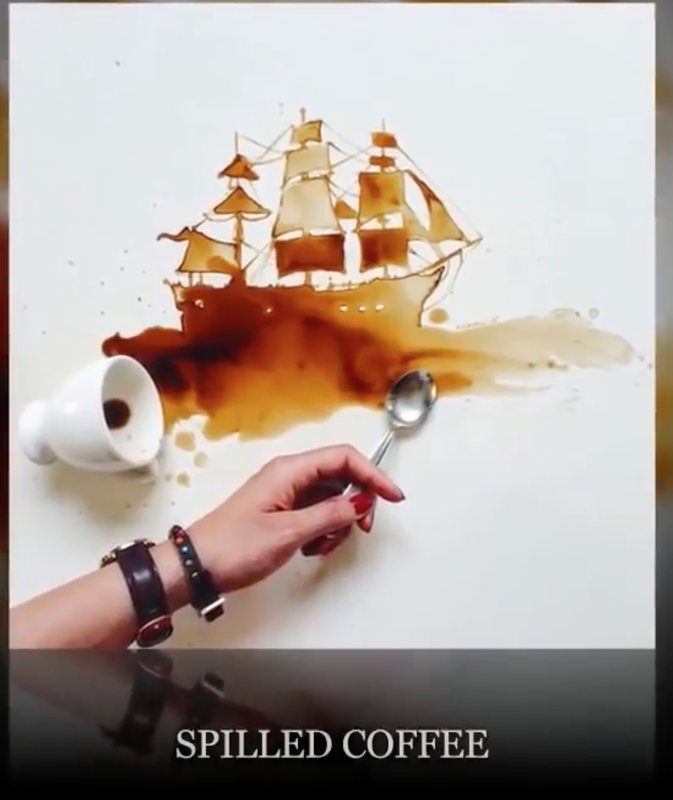
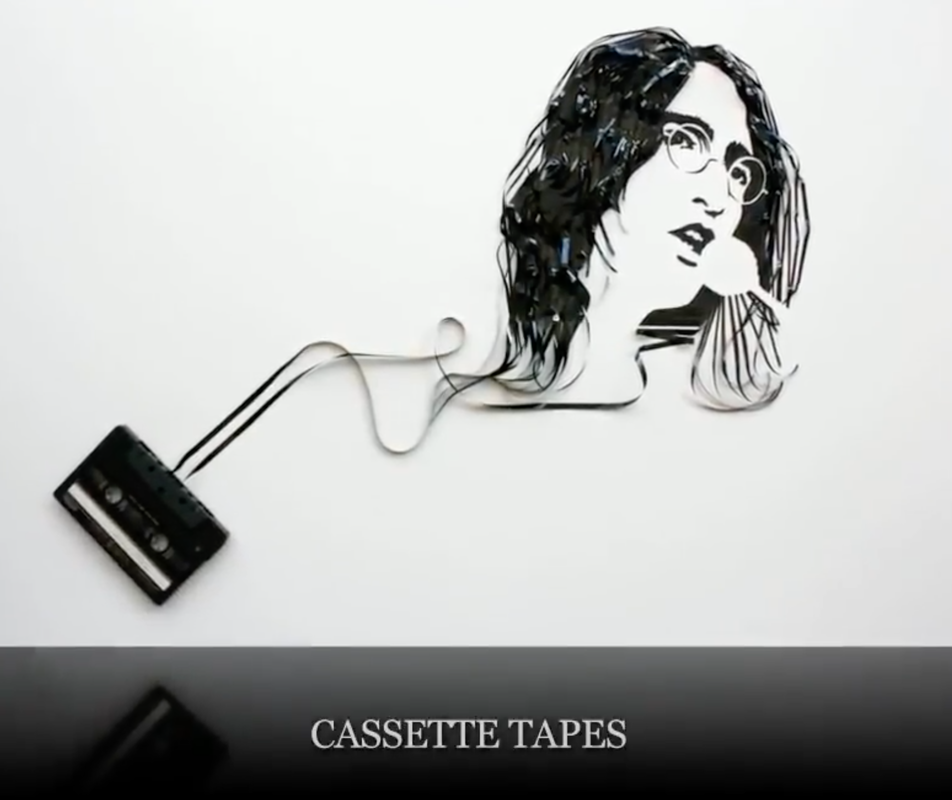
Create an artwork using unconventional media.
Your artwork could be any subject matter and any media.
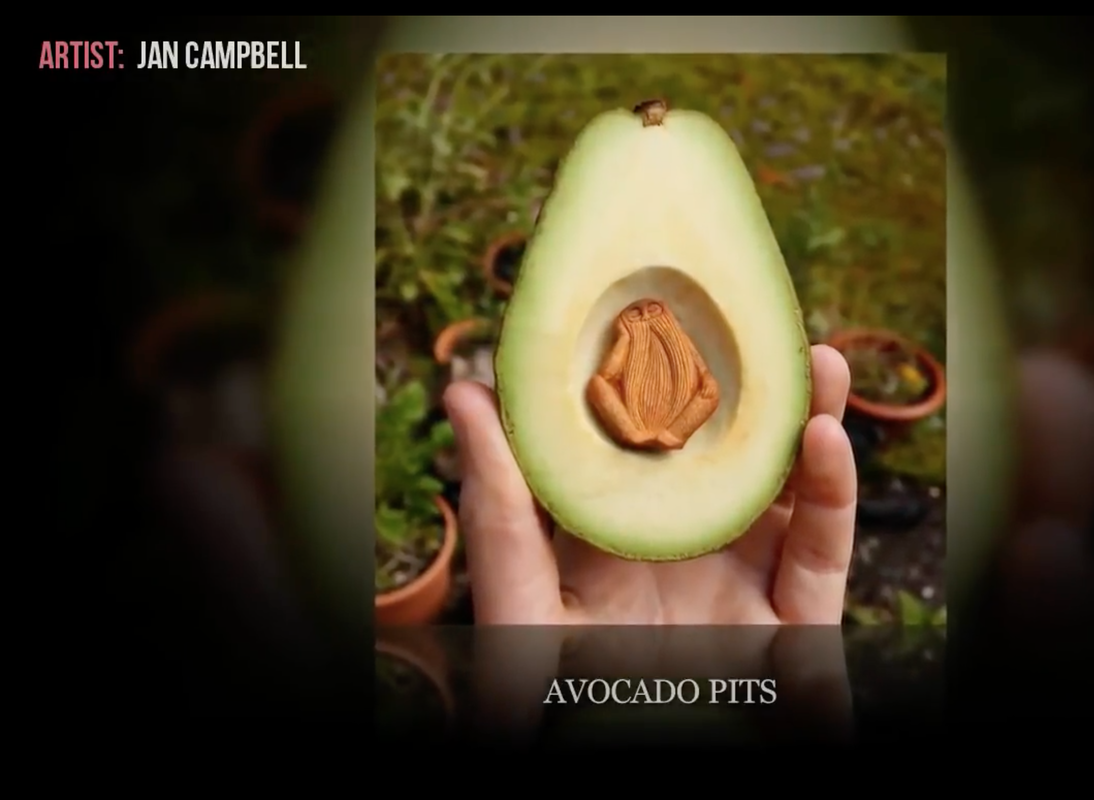
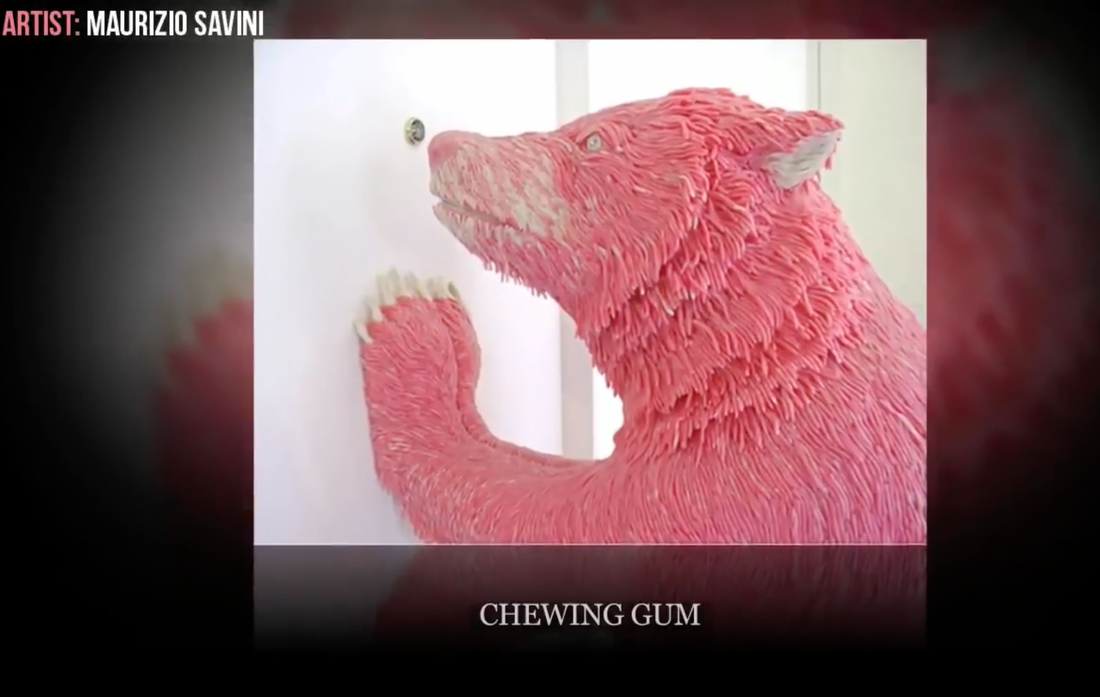
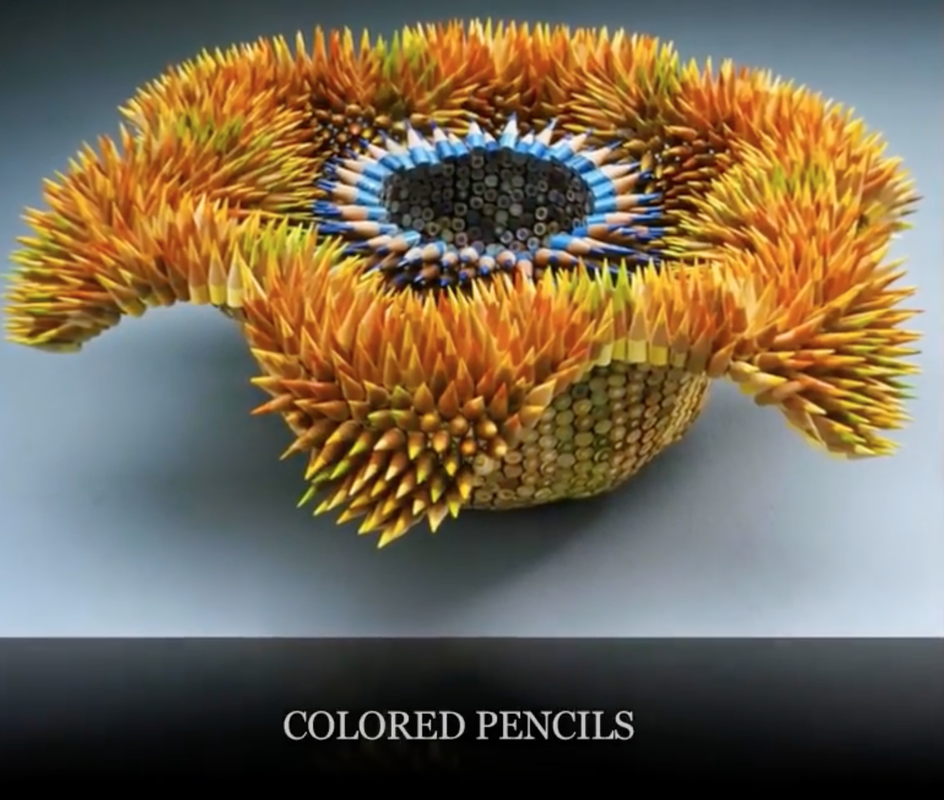
Experiment with painting with coffee, stamping with leaves and flowers, drawing with chocolate syrup, creating a portrait out of found objects like buttons, legos, pebbles, etc.
Create artworks out of sugar, paint with cut up towel paper rolls, assemble found objects...
1) Watch this video "Embrace the Shake"
The artist created so many different artwork using new and weird media: painting on his stomach, karate chop painting, painting with worms!, etc.
2) Do some research online and see what interesting media people use:
Watch these videos:
28 Artworks Made with Unusually Awesome Mediums
Art with Wire, Sugar, and String
Toilet Paper Roll Flowers
This as an episode of CBC arts on unconventional art and media
3) Do some practice and experimenting of your own with at least 3 different unconventional medias. Photograph your Practice Experiments and submit to the Google Classroom.
3 Practice Experiments = 3 different photos
Due May 8
4) After practicing: Decide on a favorite unconventional unusual new media and create a Final Unconventional Media Artwork.
This final artwork should show creativity with media, effort, time, and craftsmanship.
Due May 14.
The Final Artwork should take at least 3 hours to make.
If you make something that takes less time - then make 2 or more artworks.
Your artwork could be any subject matter and any media.
Experiment with painting with coffee, stamping with leaves and flowers, drawing with chocolate syrup, creating a portrait out of found objects like buttons, legos, pebbles, etc.
Create artworks out of sugar, paint with cut up towel paper rolls, assemble found objects...
1) Watch this video "Embrace the Shake"
The artist created so many different artwork using new and weird media: painting on his stomach, karate chop painting, painting with worms!, etc.
2) Do some research online and see what interesting media people use:
Watch these videos:
28 Artworks Made with Unusually Awesome Mediums
Art with Wire, Sugar, and String
Toilet Paper Roll Flowers
This as an episode of CBC arts on unconventional art and media
3) Do some practice and experimenting of your own with at least 3 different unconventional medias. Photograph your Practice Experiments and submit to the Google Classroom.
3 Practice Experiments = 3 different photos
Due May 8
4) After practicing: Decide on a favorite unconventional unusual new media and create a Final Unconventional Media Artwork.
This final artwork should show creativity with media, effort, time, and craftsmanship.
Due May 14.
The Final Artwork should take at least 3 hours to make.
If you make something that takes less time - then make 2 or more artworks.
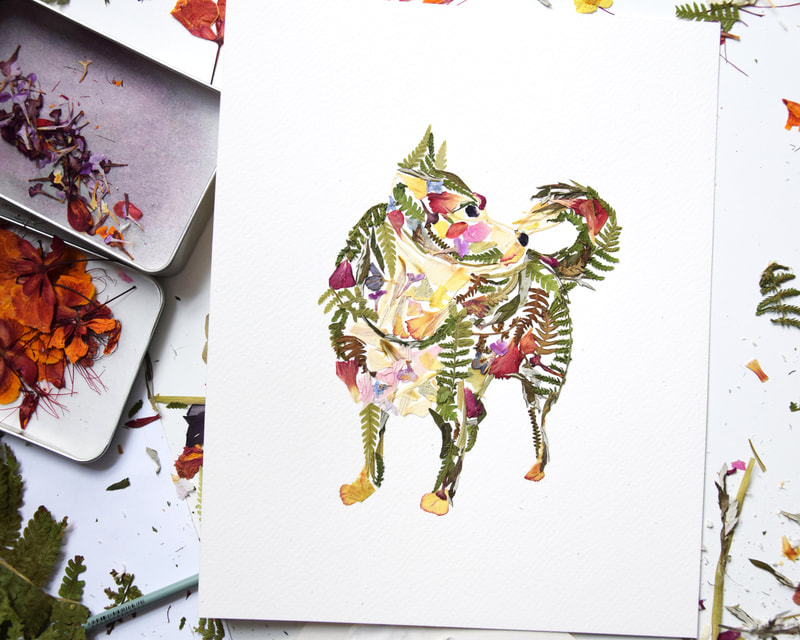
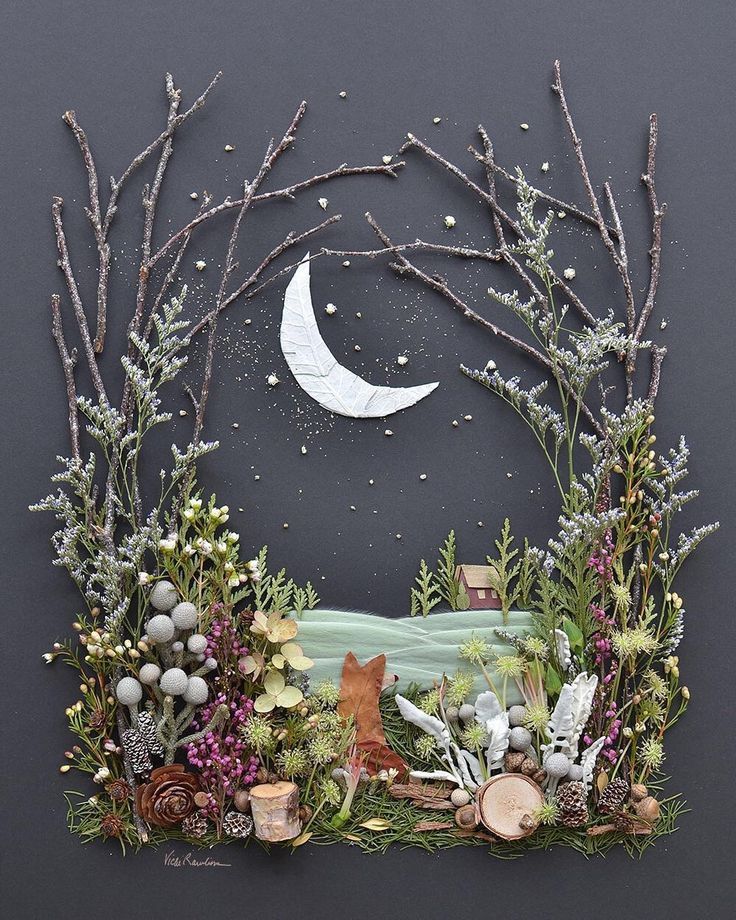
Unconventional Materials Artwork Examples:
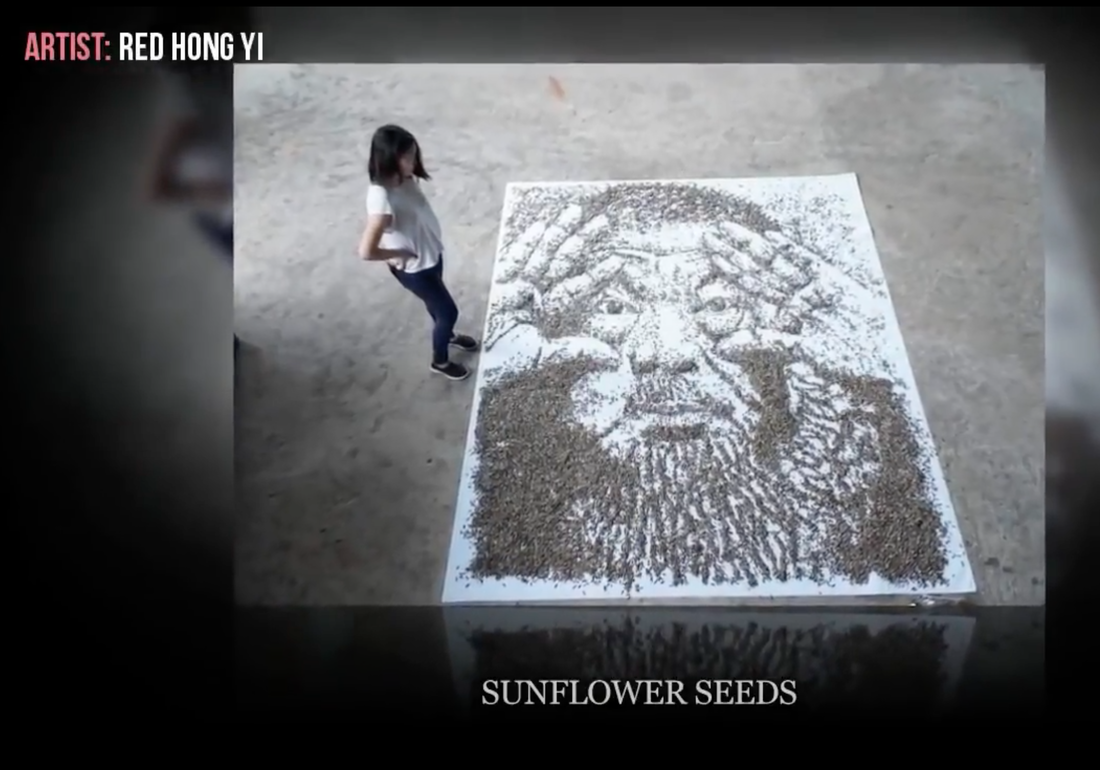
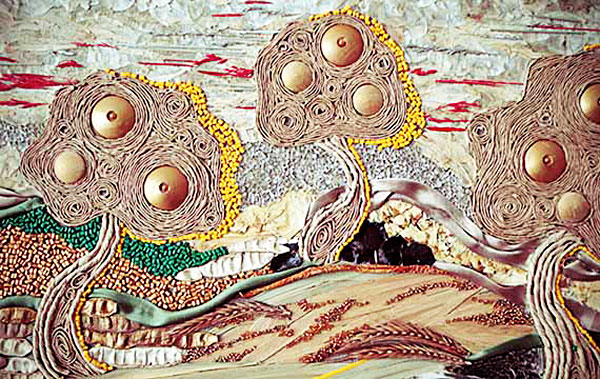
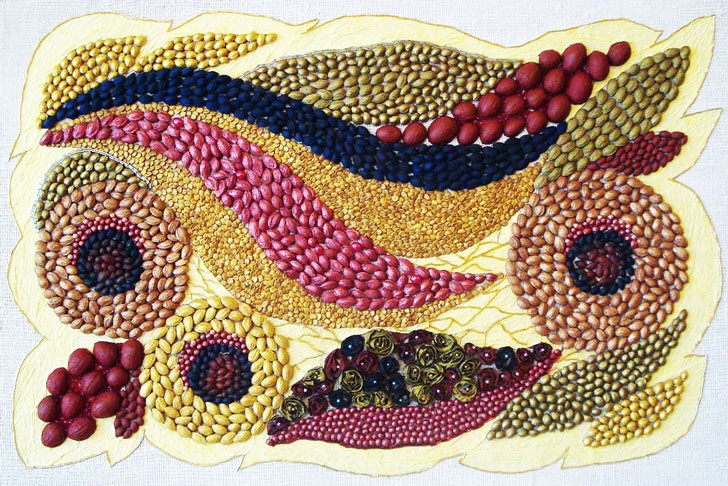
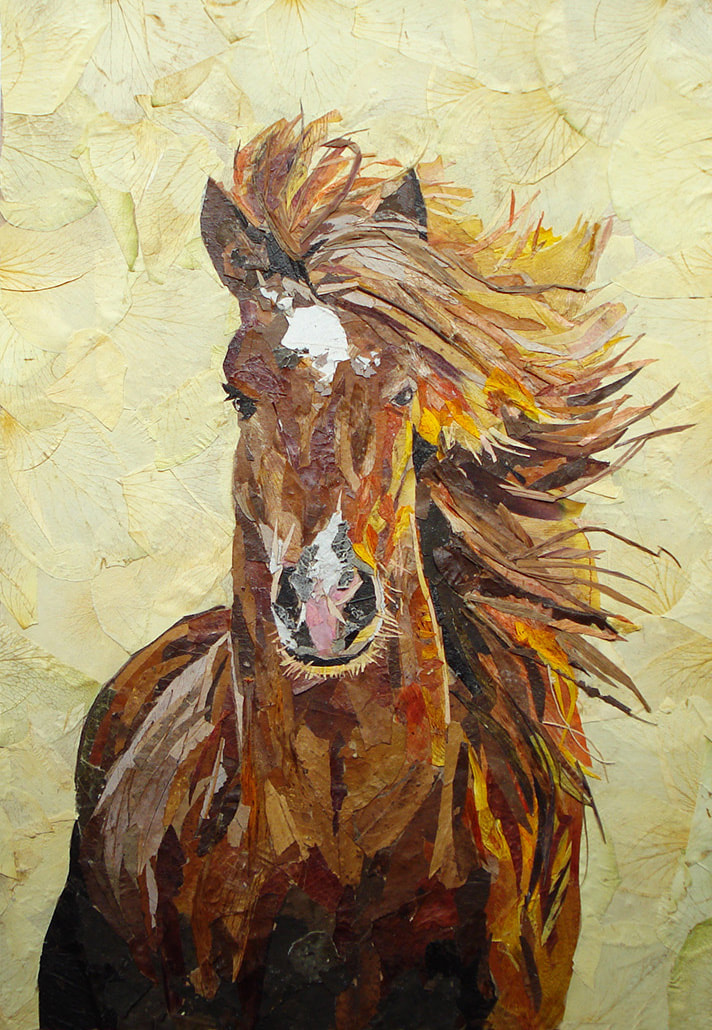
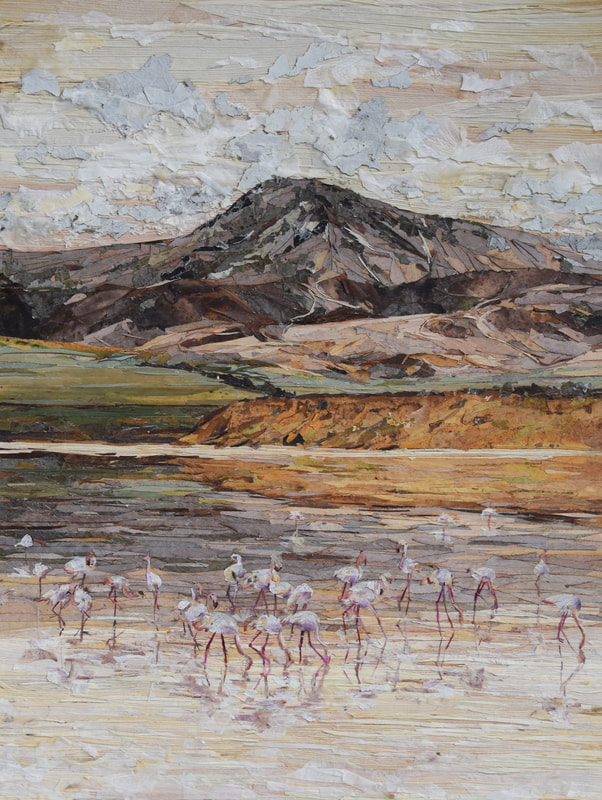
Artwork made with Natural Materials: flowers, leaves, sand, pebbles, rice, beans...
Artwork made with Coffee
Artwork made with food
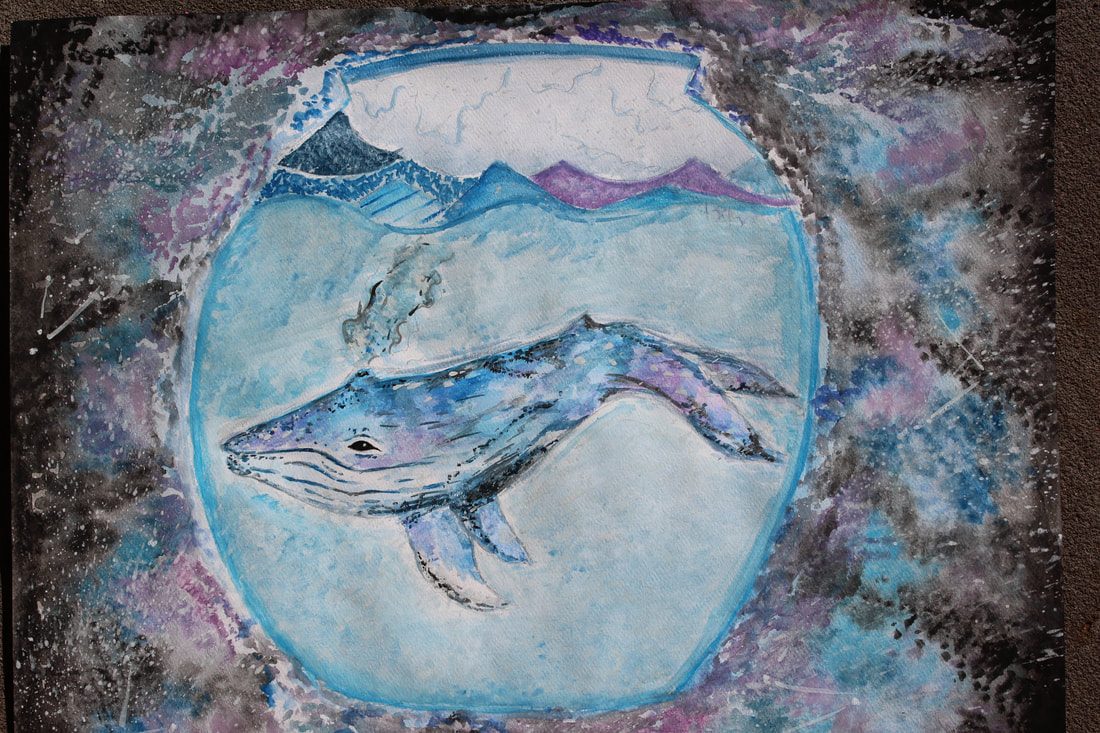
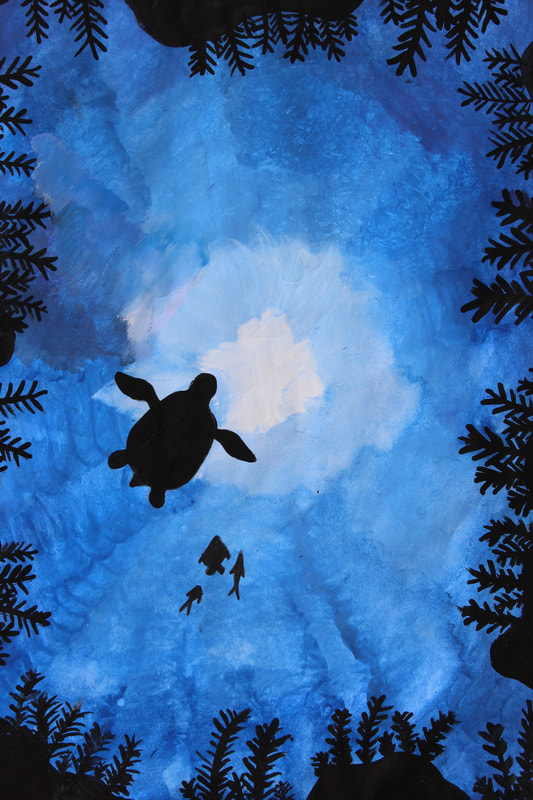
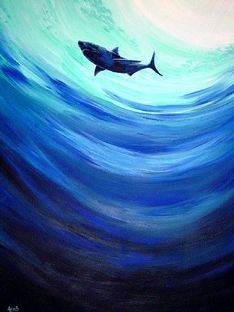
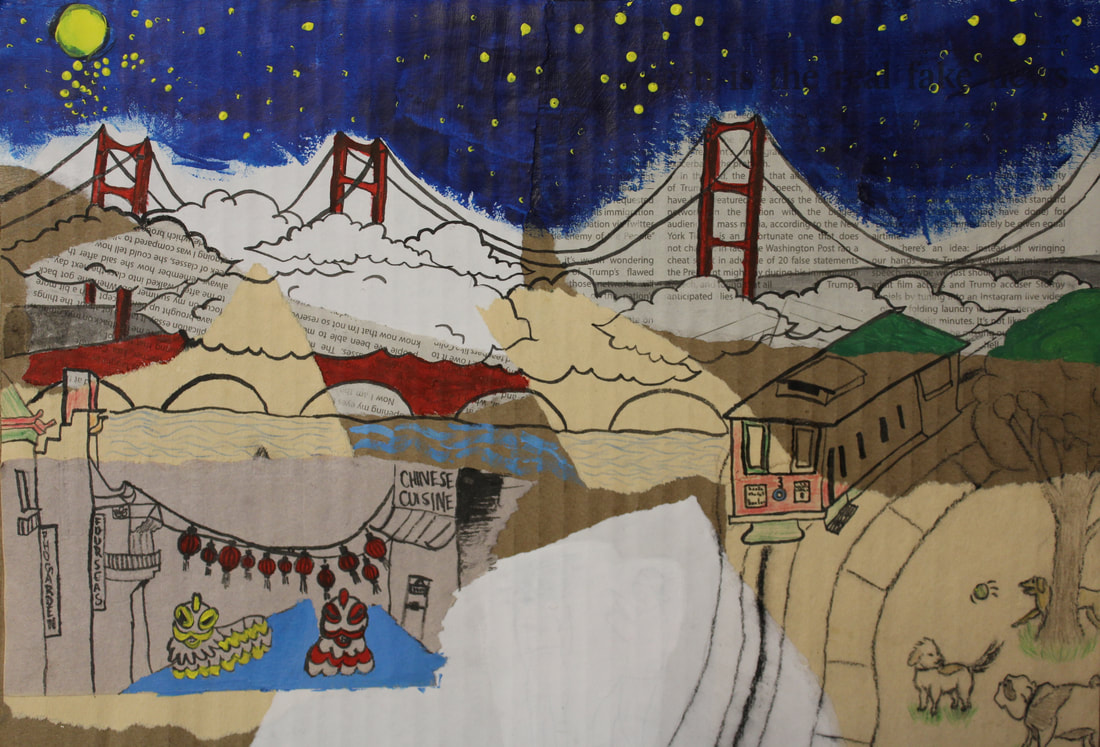
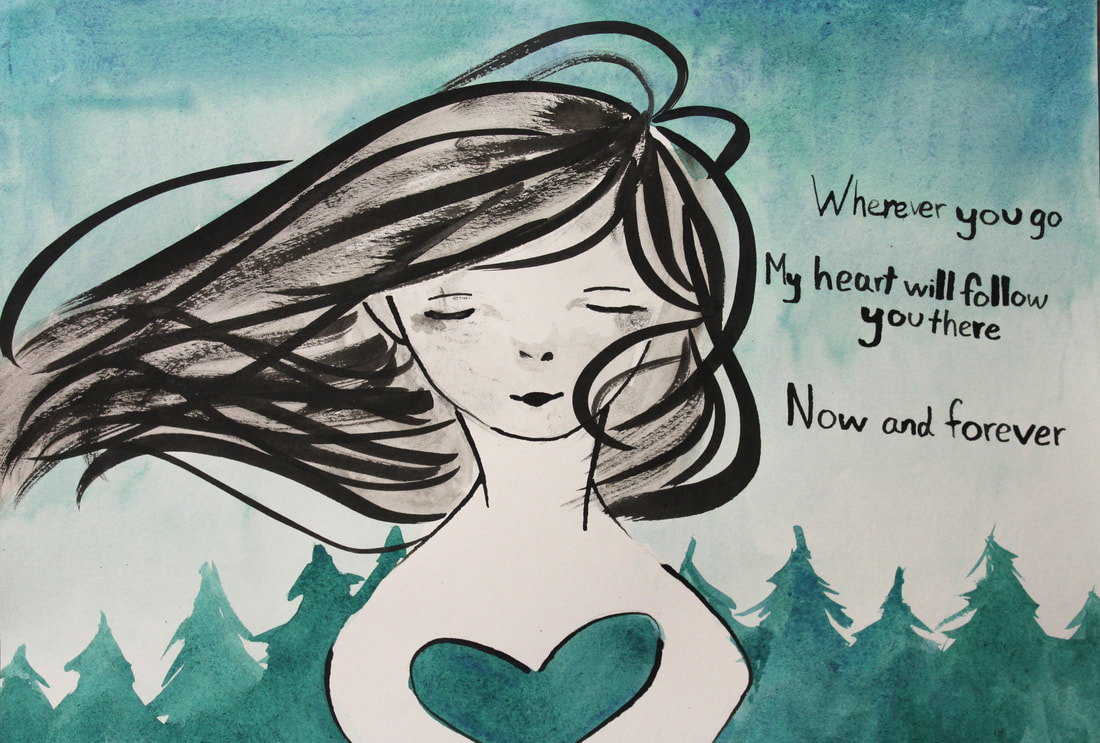
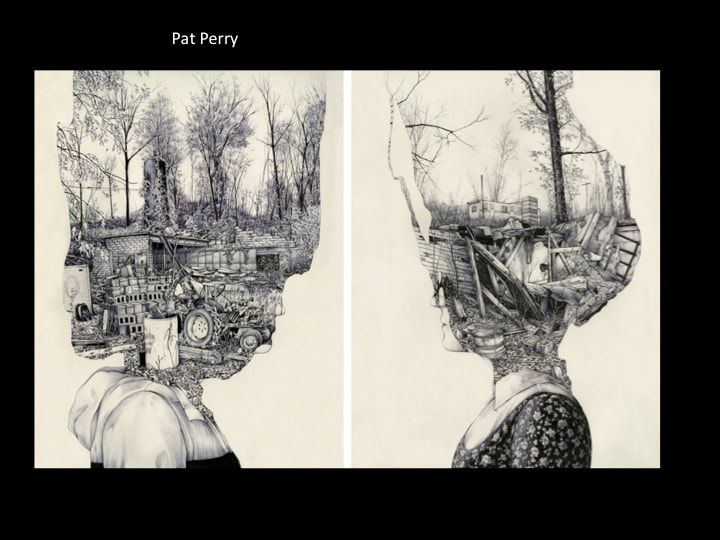
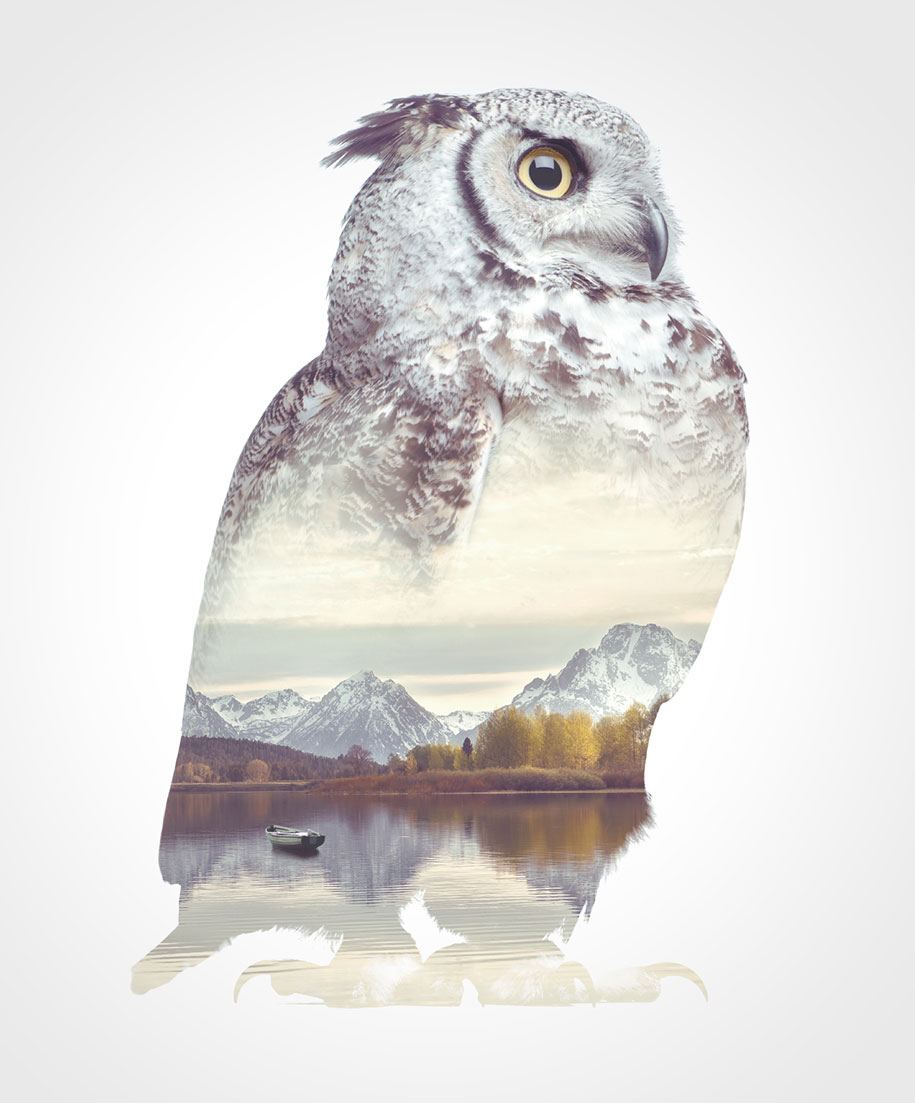
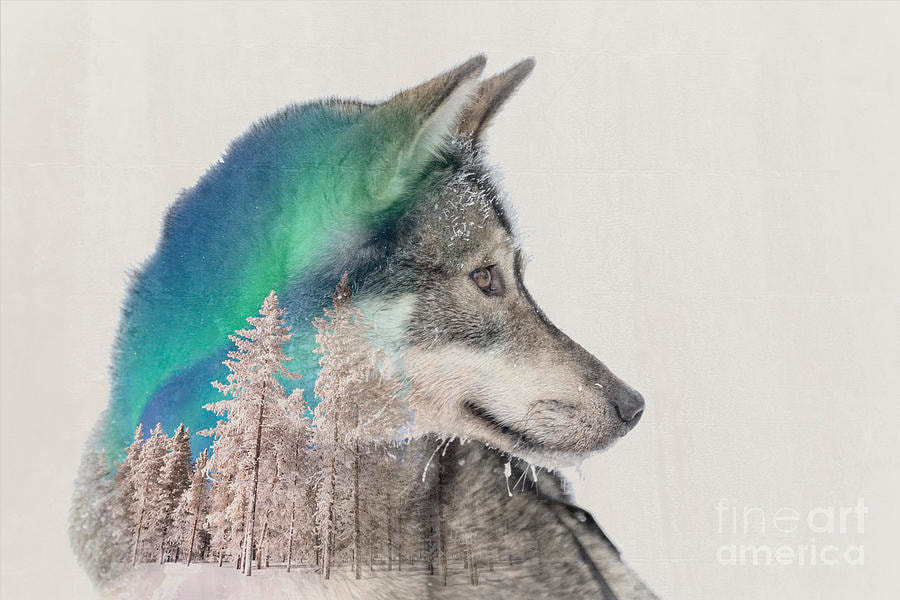
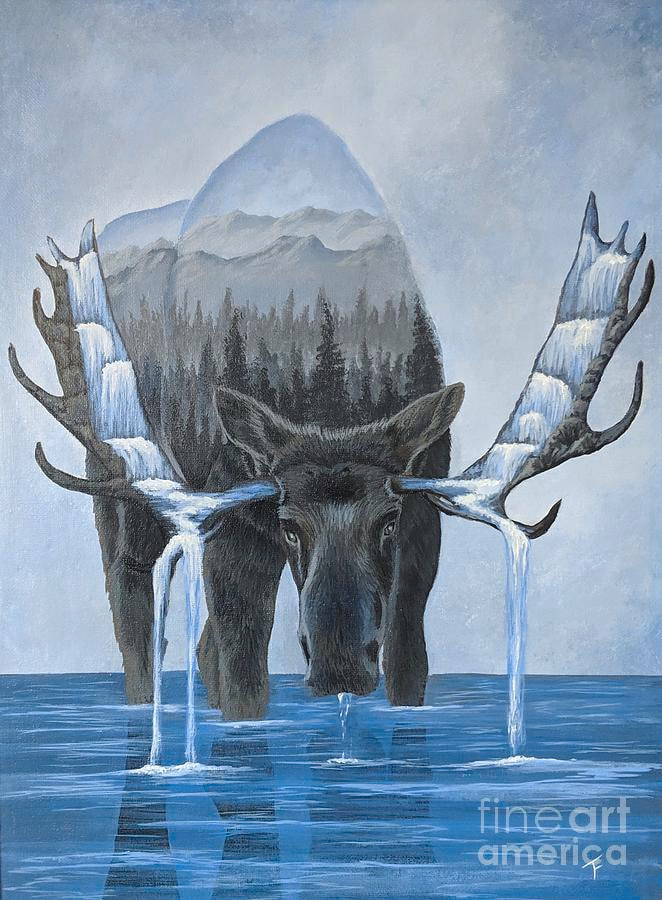
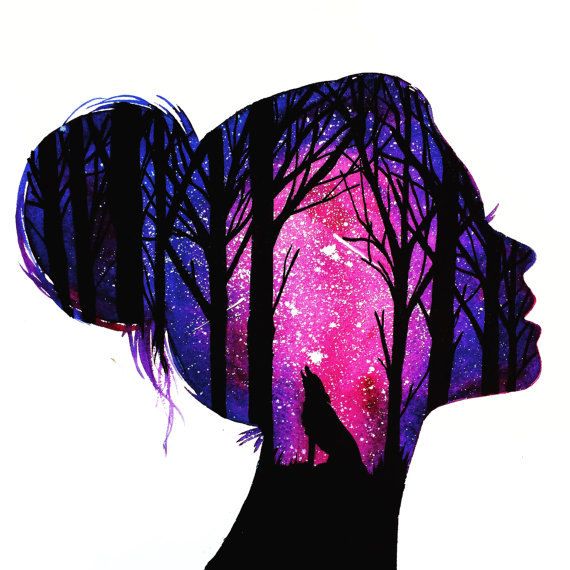
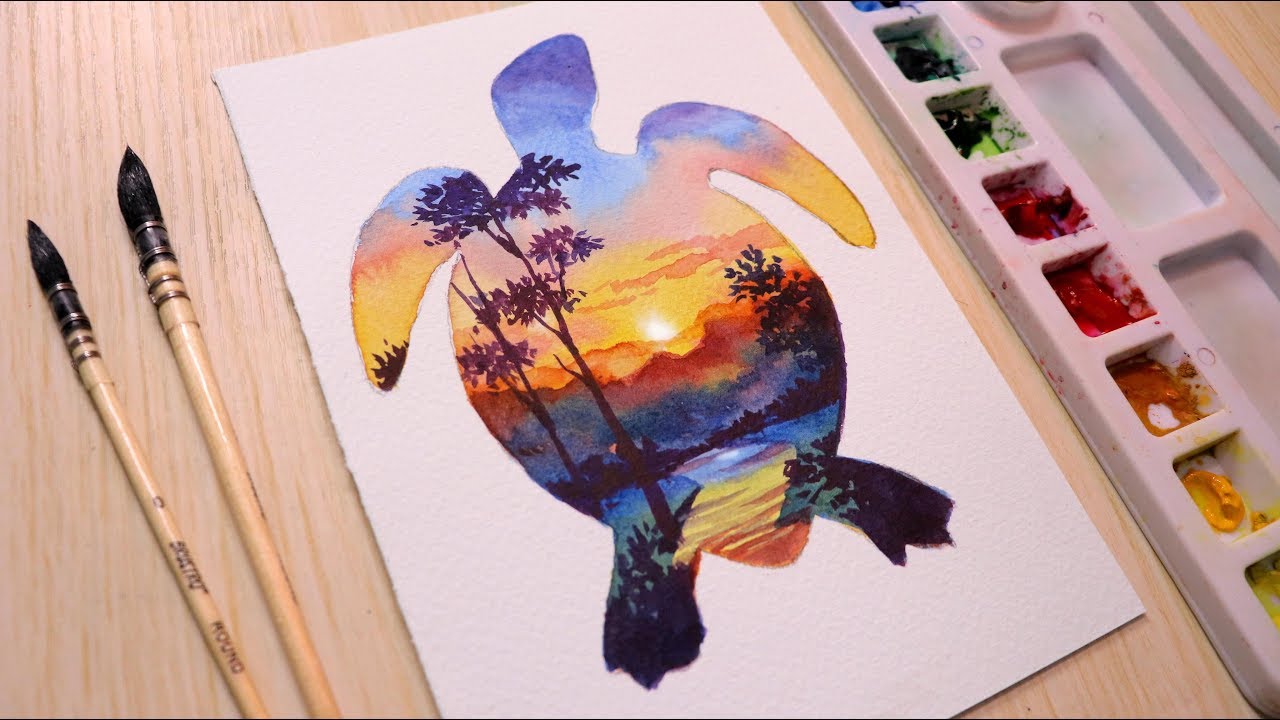
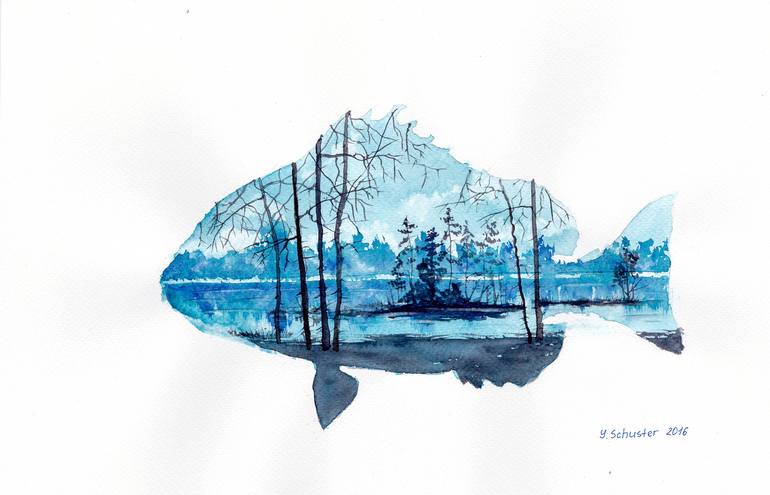
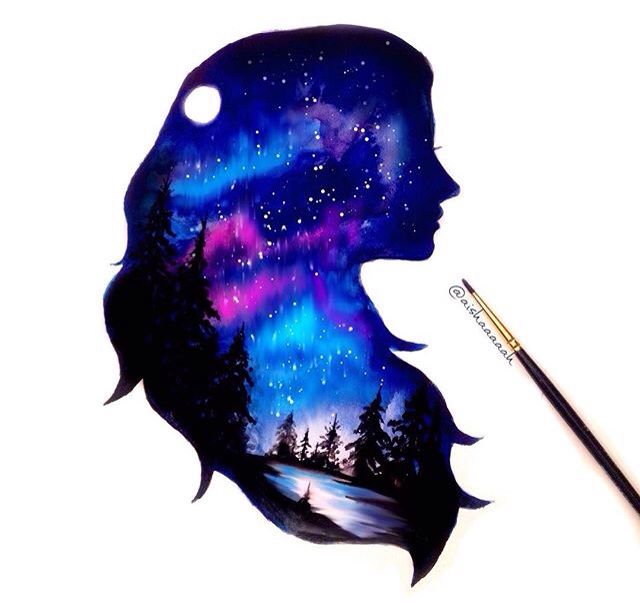
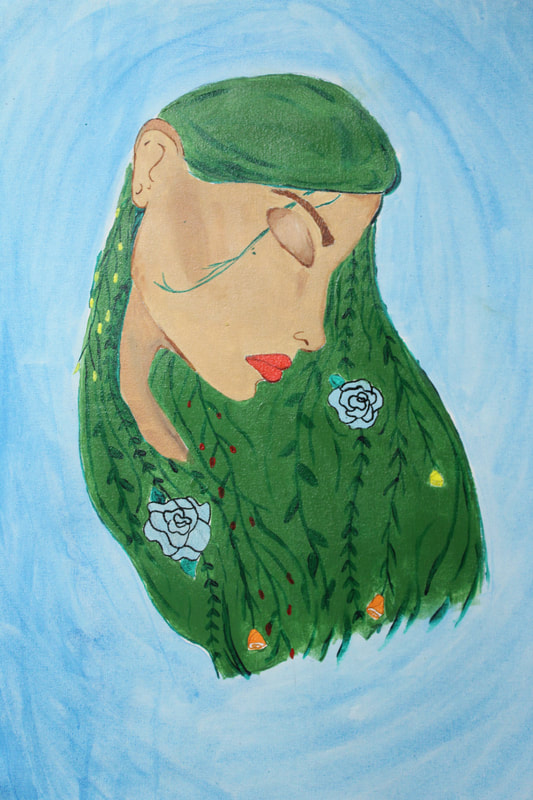
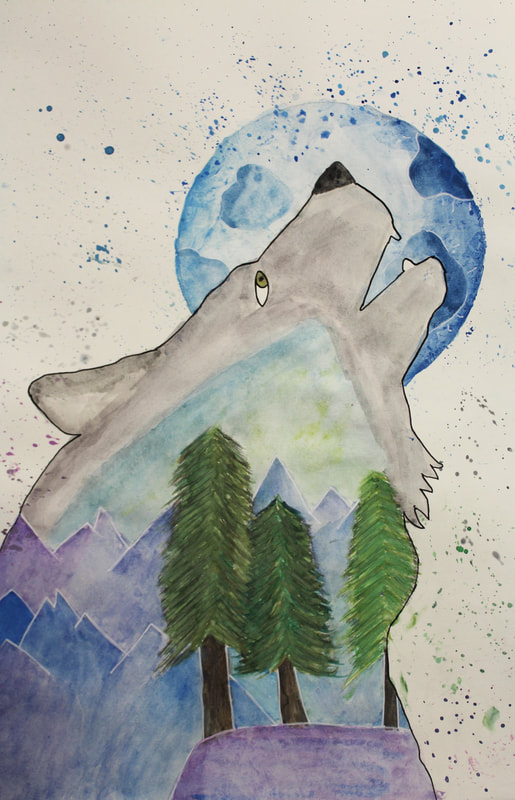
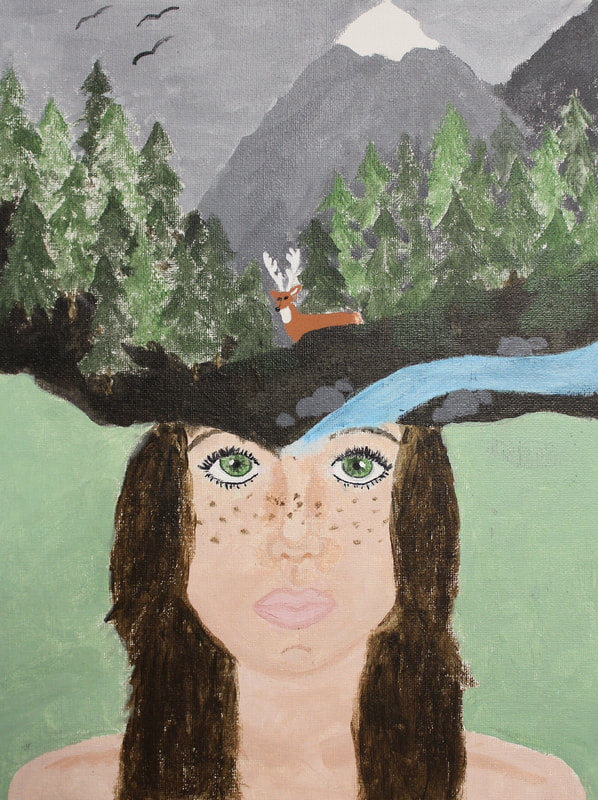
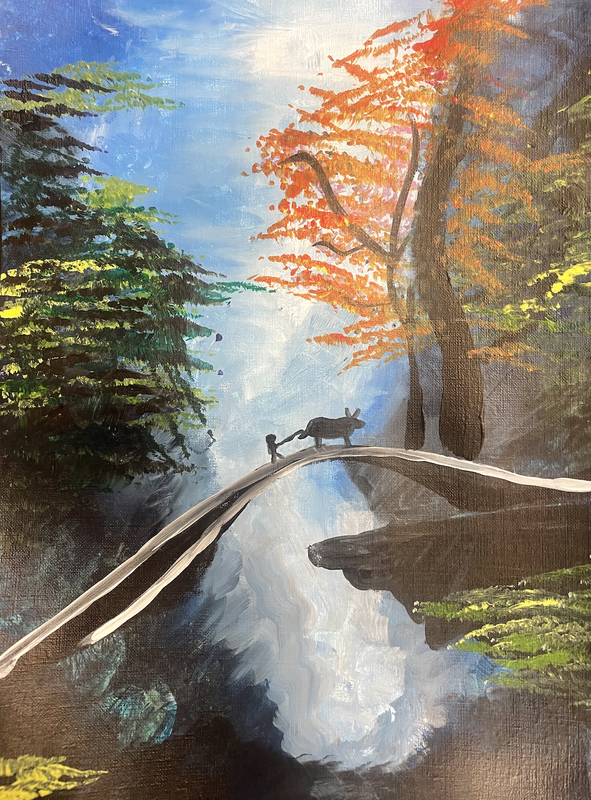
Blendscape Artwork
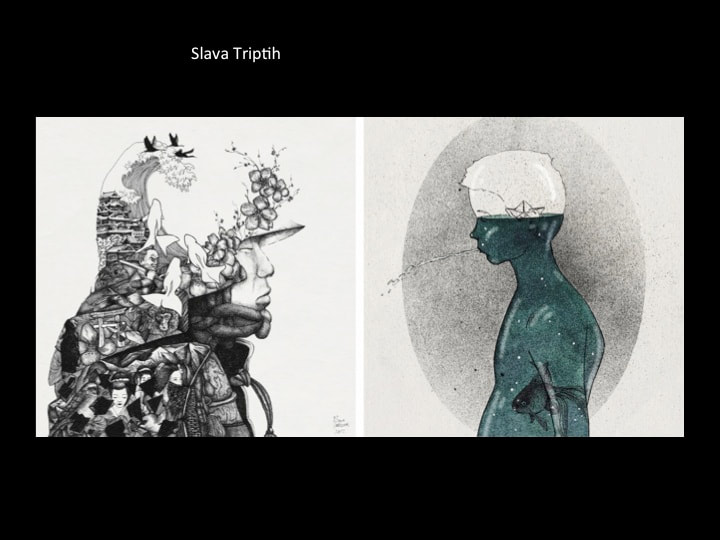
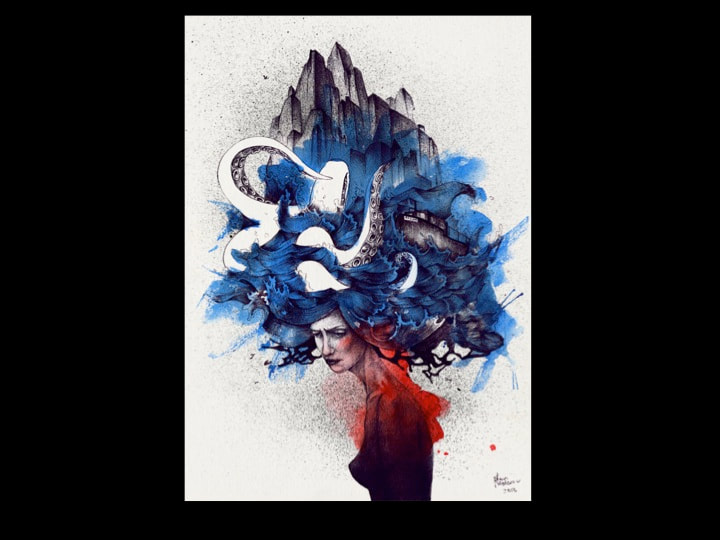
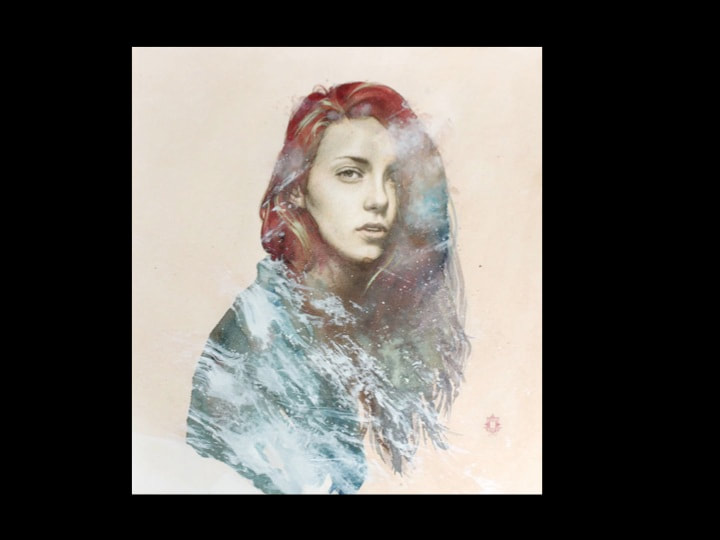
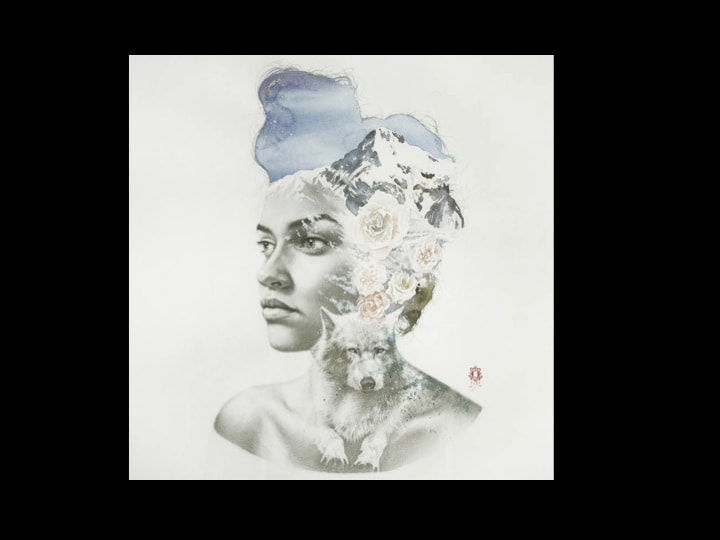
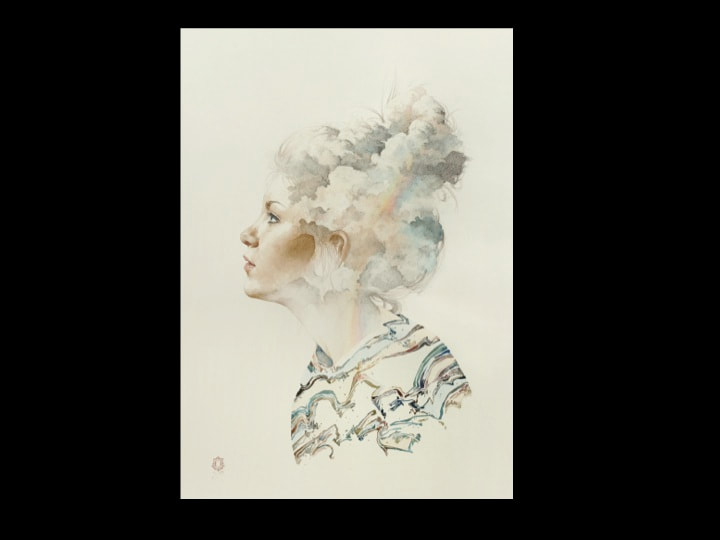
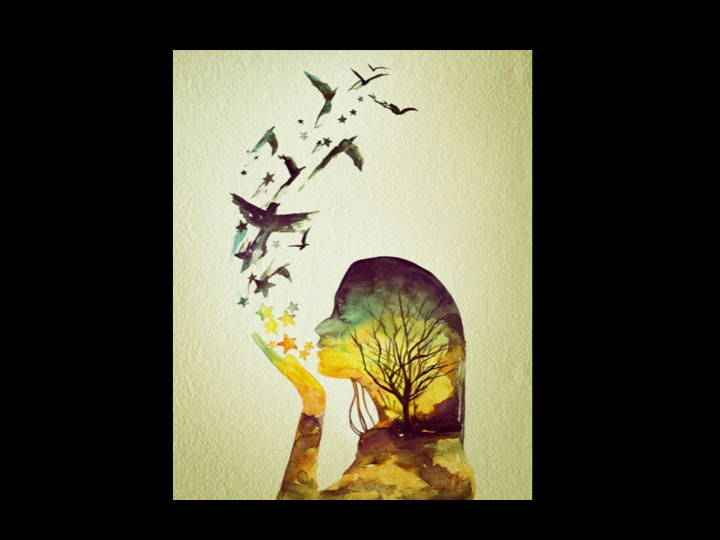
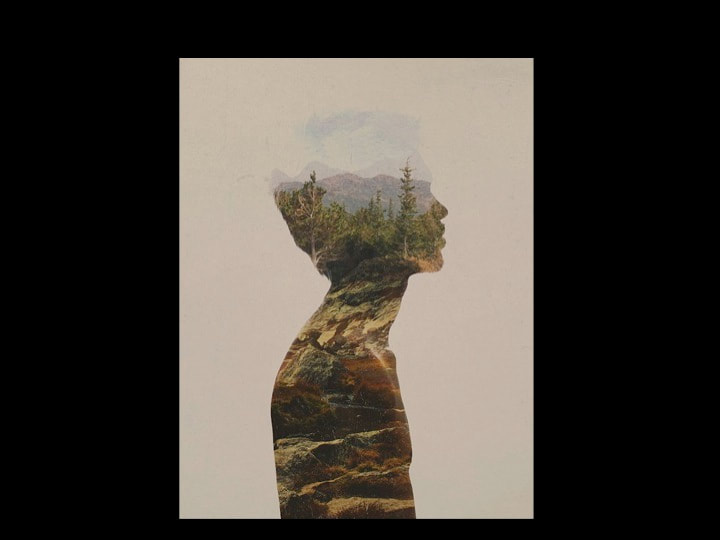
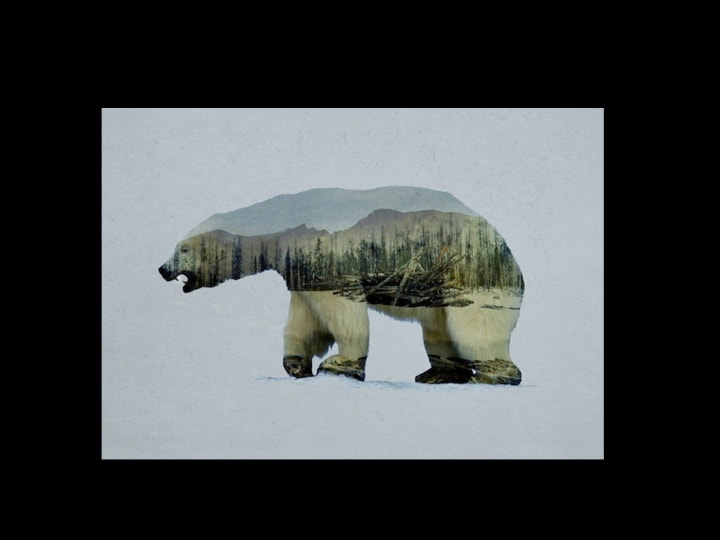
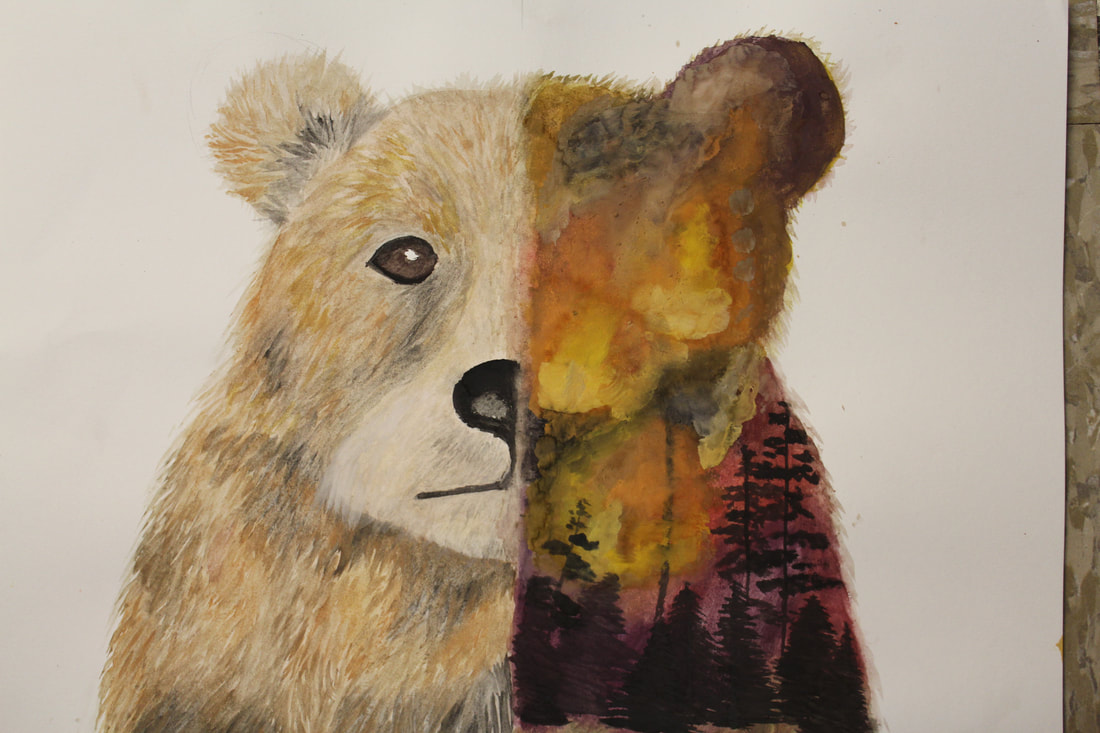
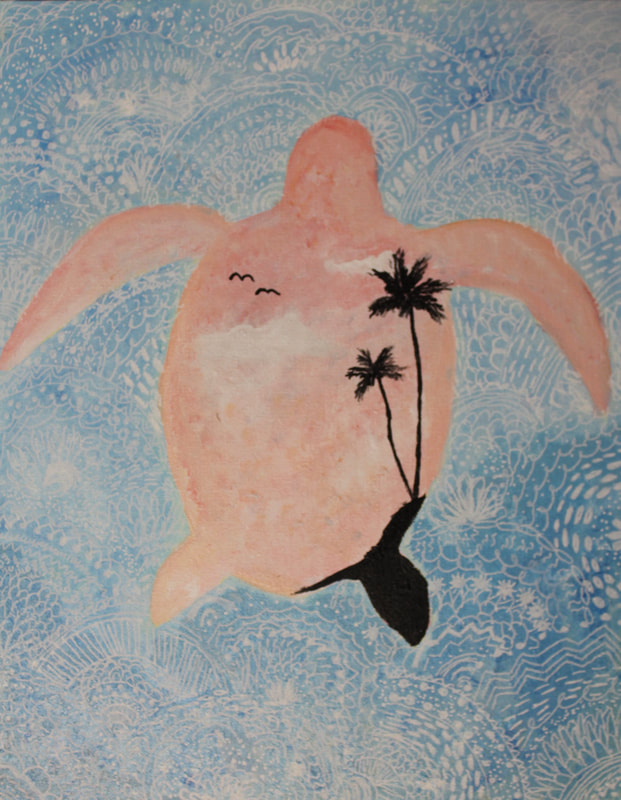
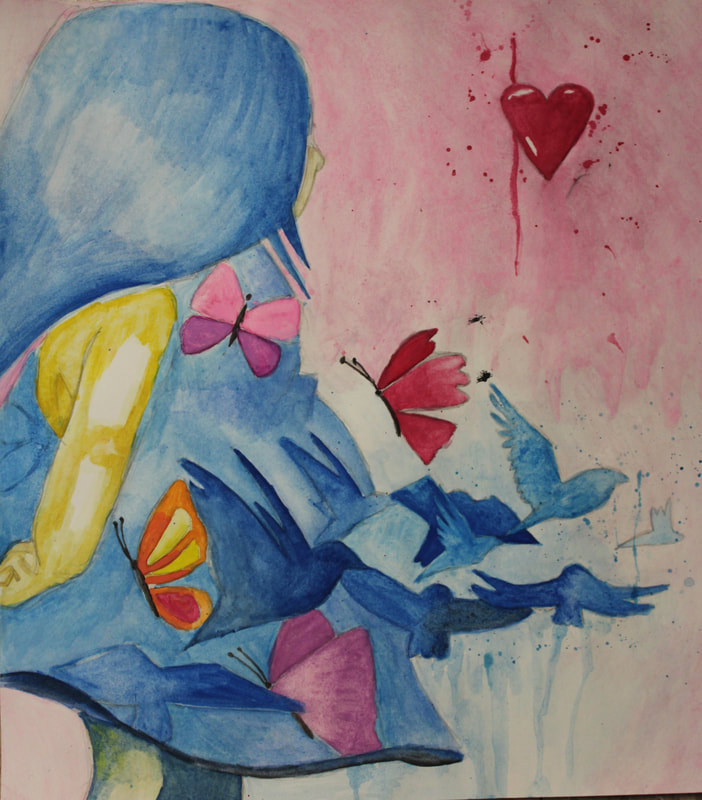
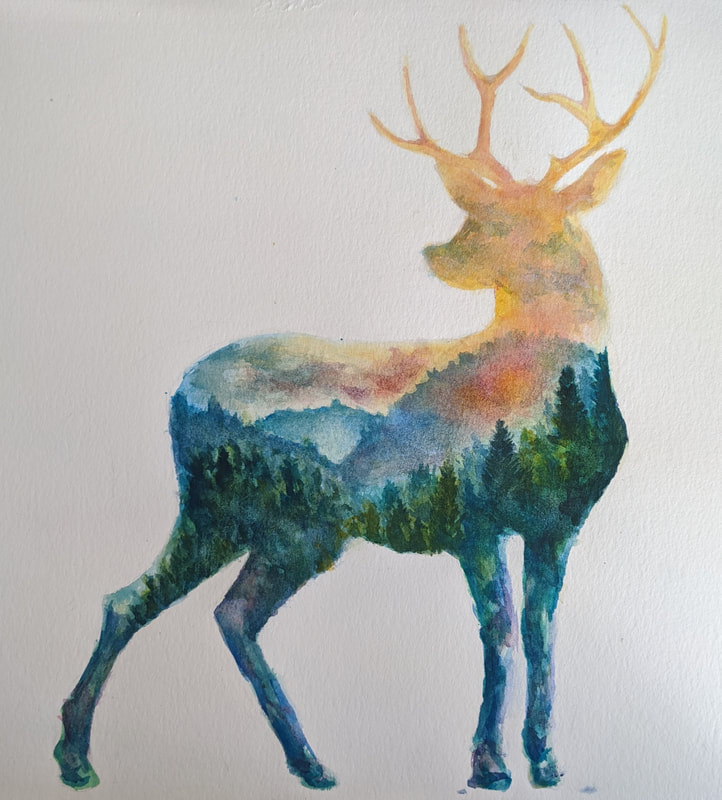
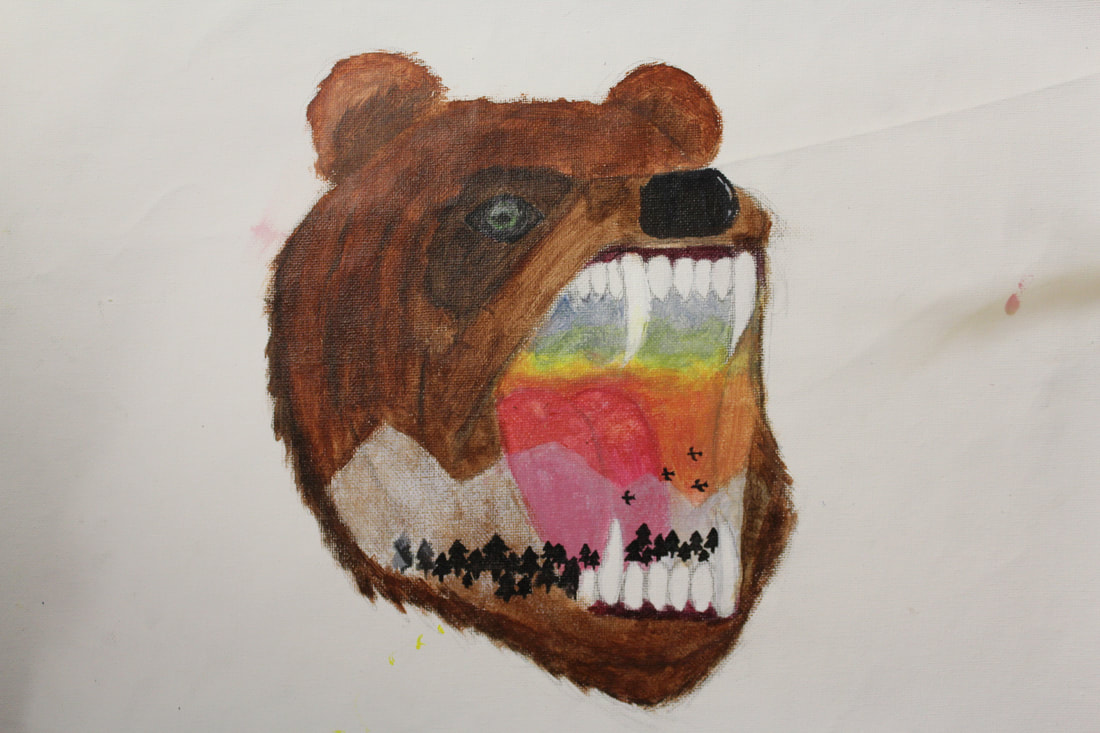
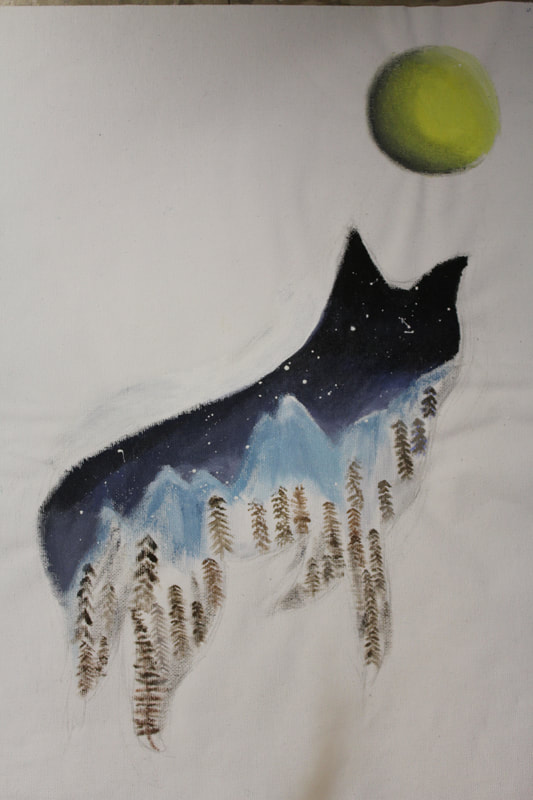
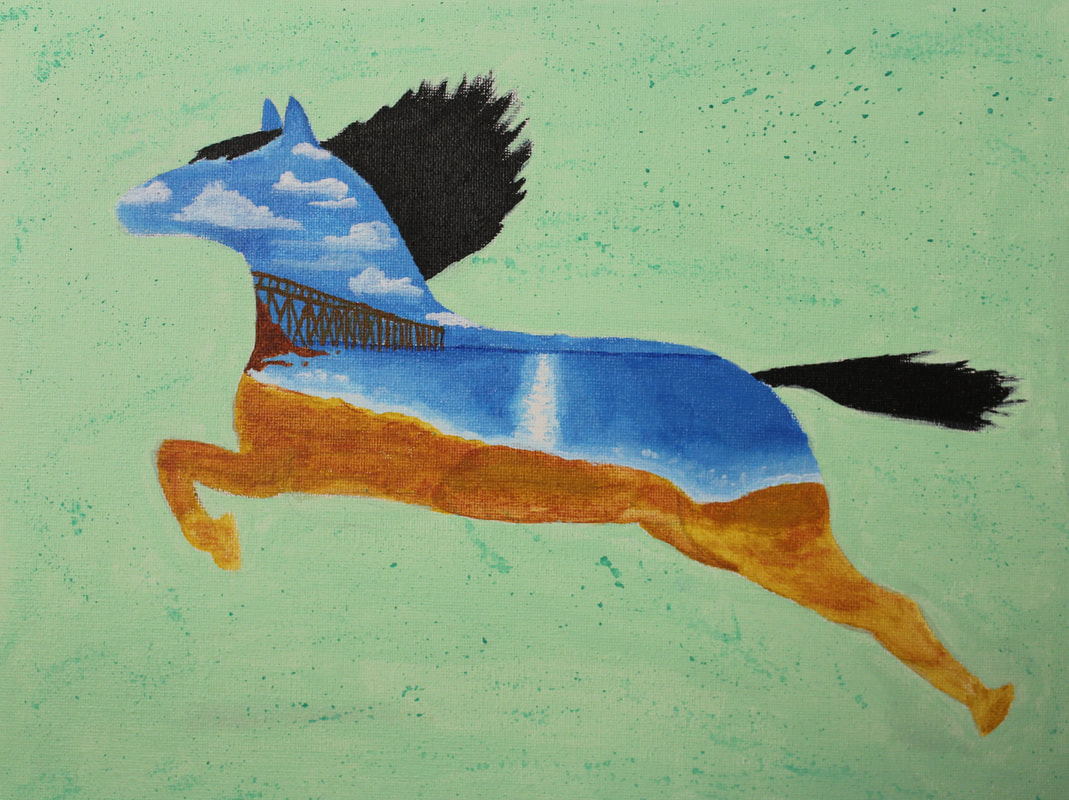
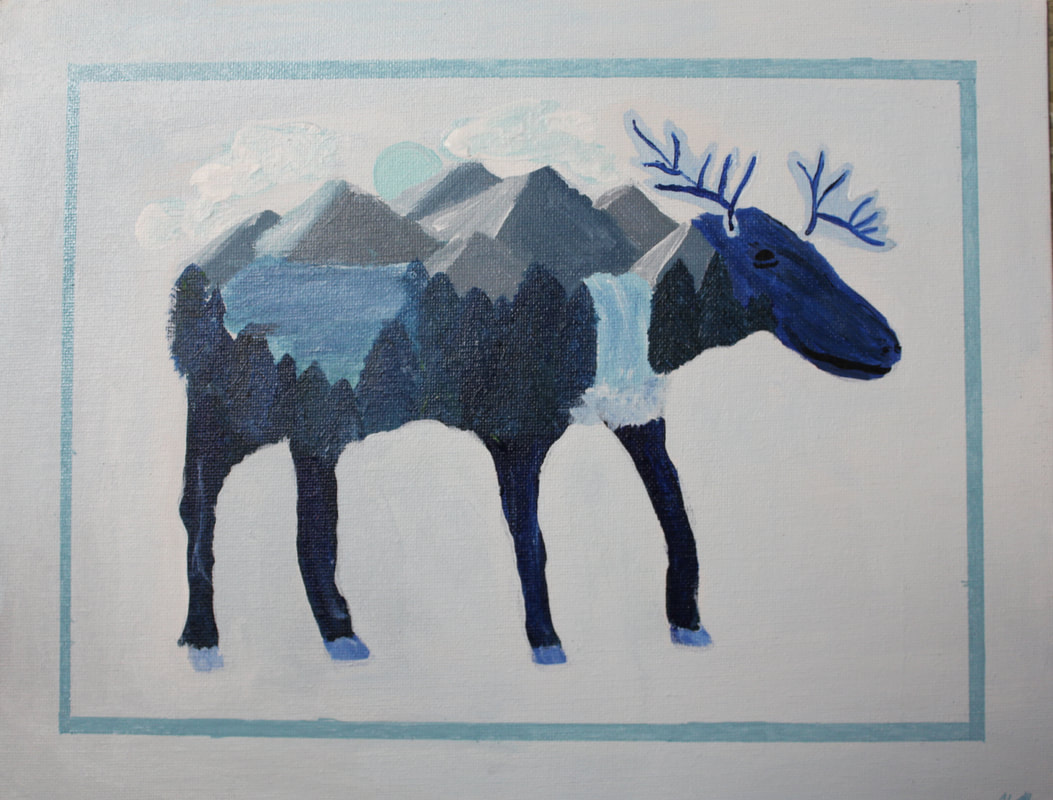
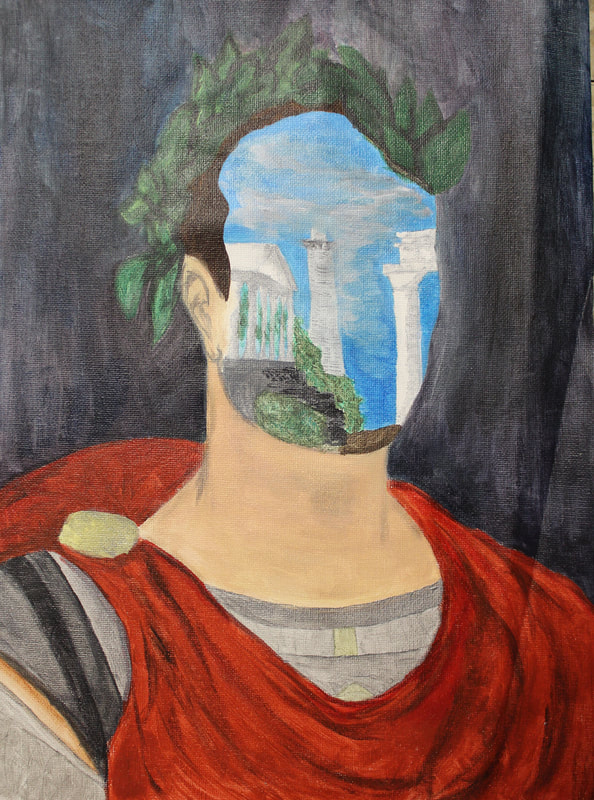
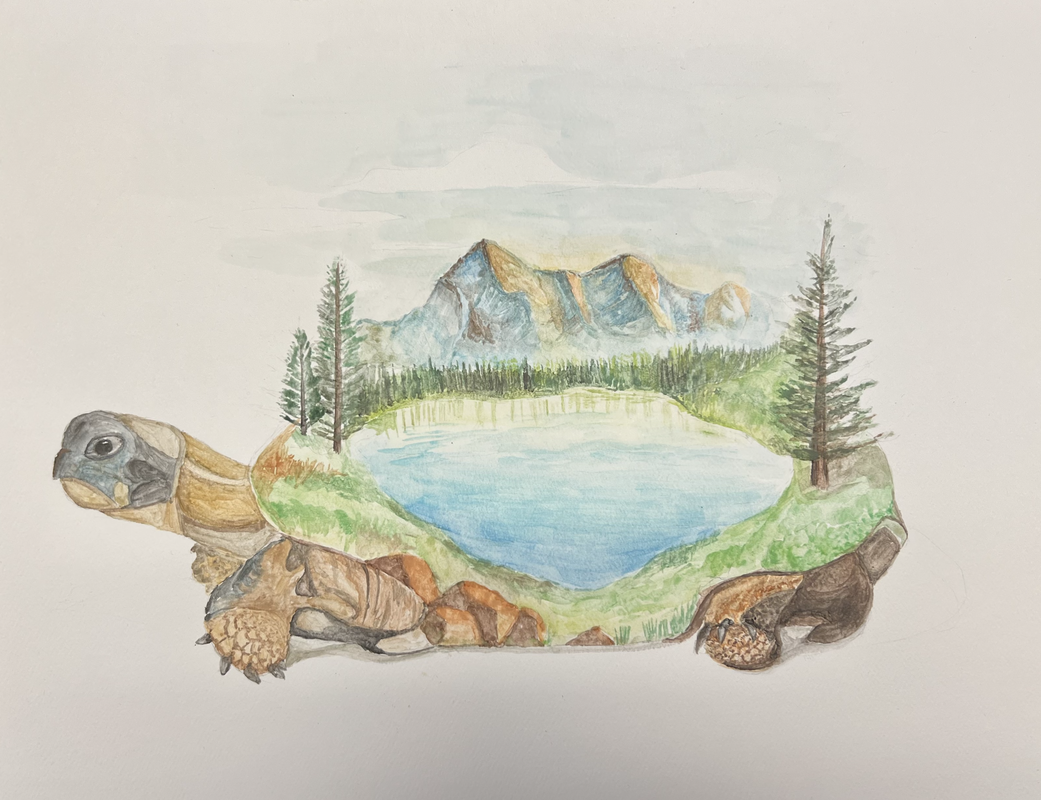
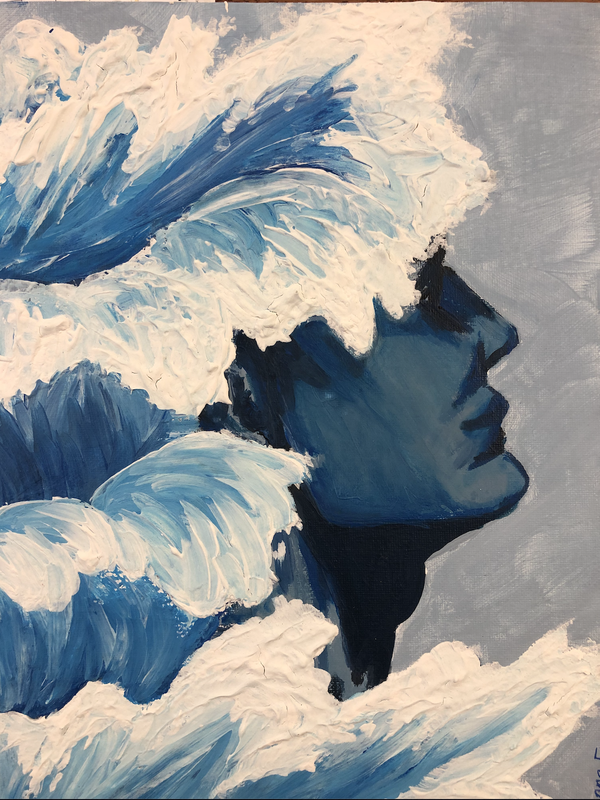
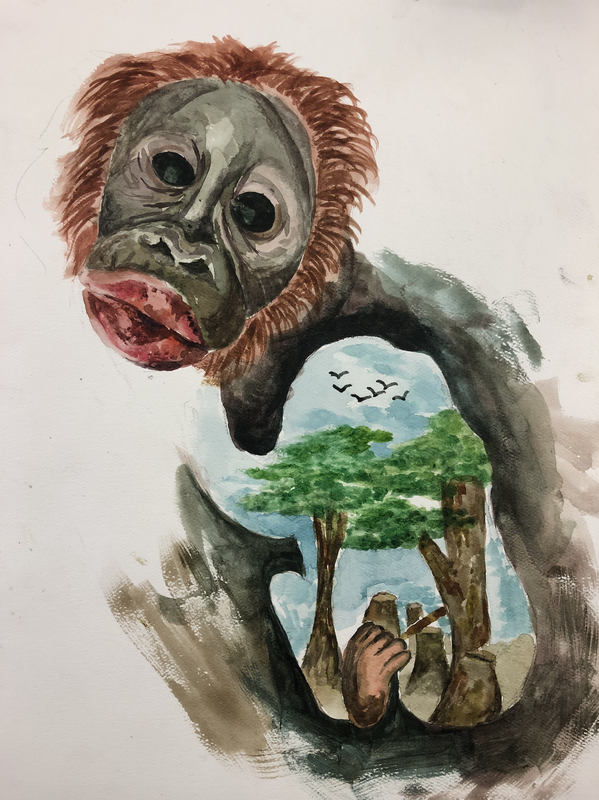
Create a Blendscape where you blend 2 or more images together.
Options:
Media: your choice of watercolor, tempera, acrylic, ink, pencil, colored pencil, paint pens, charcoal...
Requirements:
Review these helpful video tutorials:
-Birds blended with landscapes
-Leopard blended with a landscape
-A leaf blended with a landscape
Options:
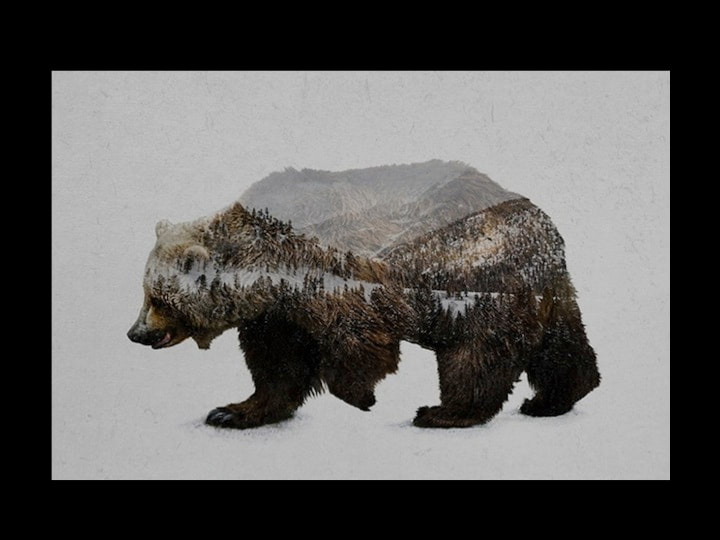
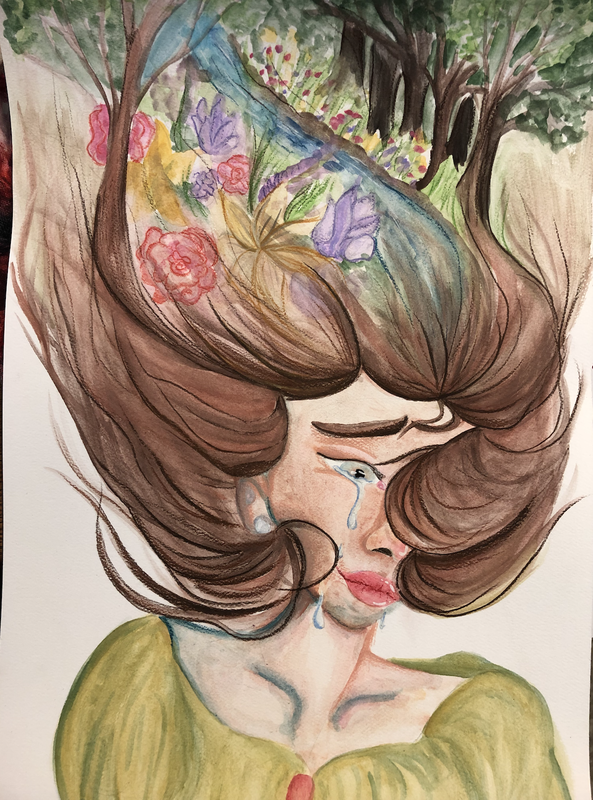
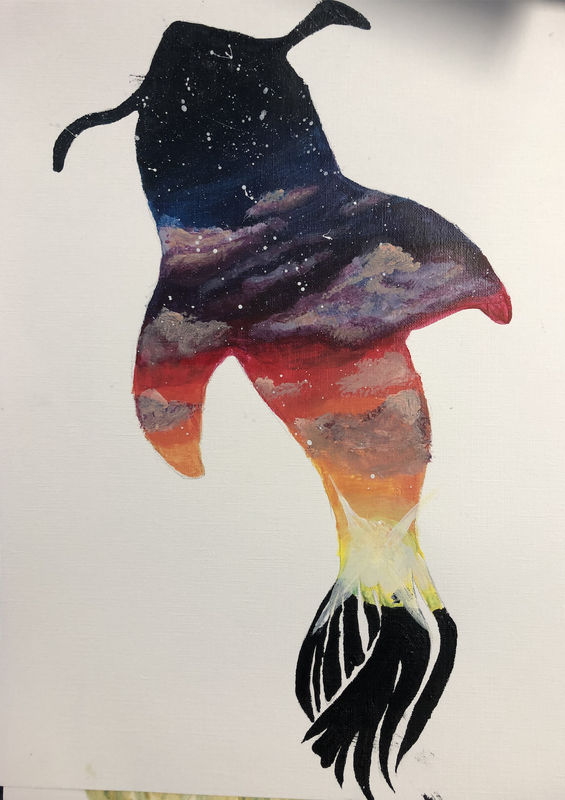
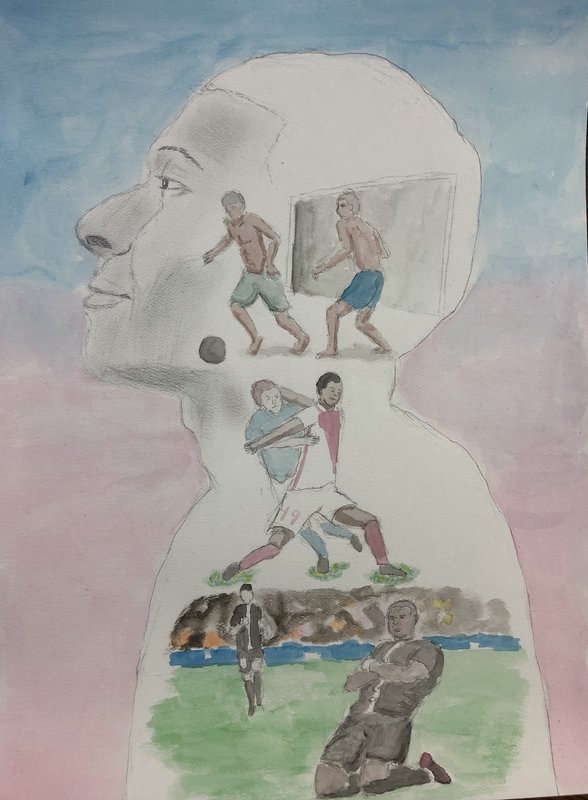
- Create a silhouette of an animal, bird, reptile, person, etc. Then blend inside a landscape, cityscape, beach scene, ocean scape, etc.
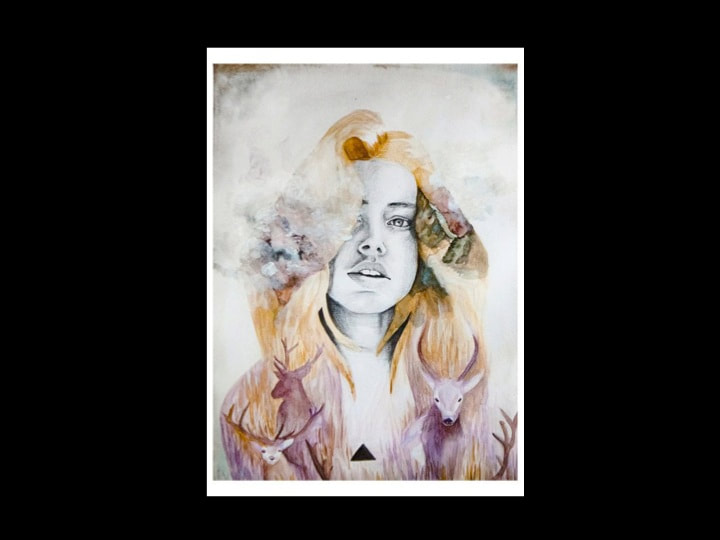
- Create a realistic painting of a person or animal and gradually blend a landscape, cityscape, or other objects like animals, flowers, birds, clouds, water, etc.
Media: your choice of watercolor, tempera, acrylic, ink, pencil, colored pencil, paint pens, charcoal...
Requirements:
- Blend a minimum of 2 images together
- Have a color scheme
- Demonstrate good composition
- Demonstrate use of the elements and principles: line, shape, form, texture, movement, balance, unity…
- Echo the architecture/features of the portrait with architecture from nature
Review these helpful video tutorials:
-Birds blended with landscapes
-Leopard blended with a landscape
-A leaf blended with a landscape

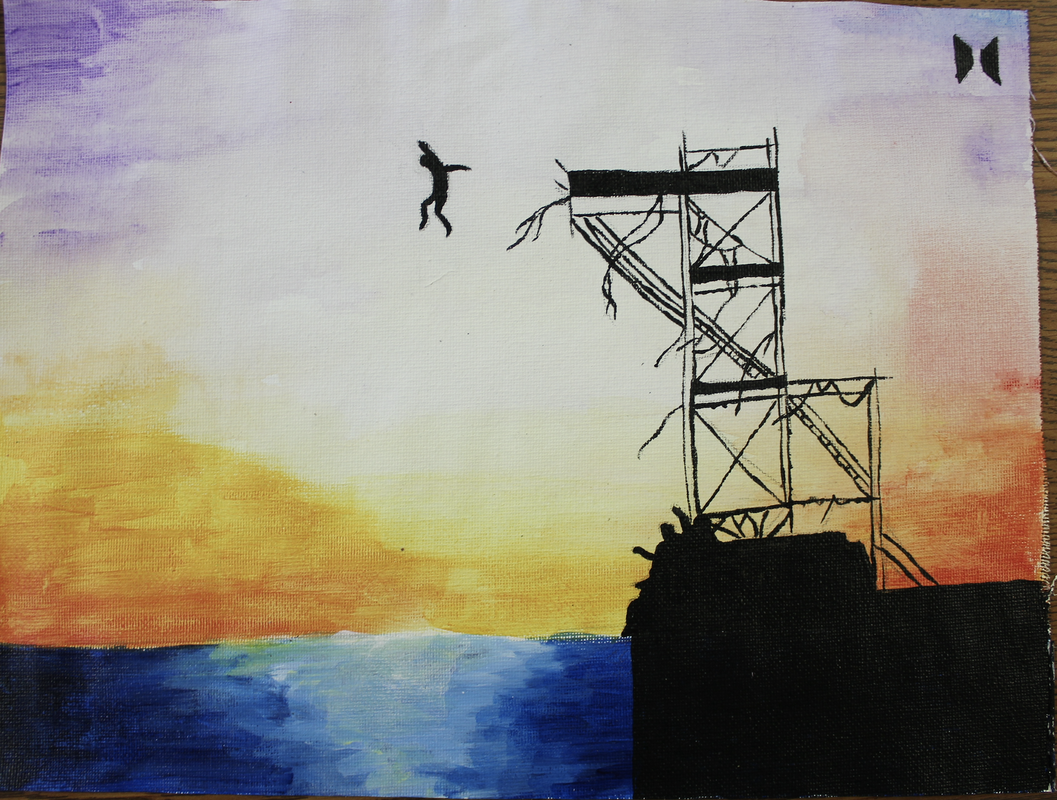
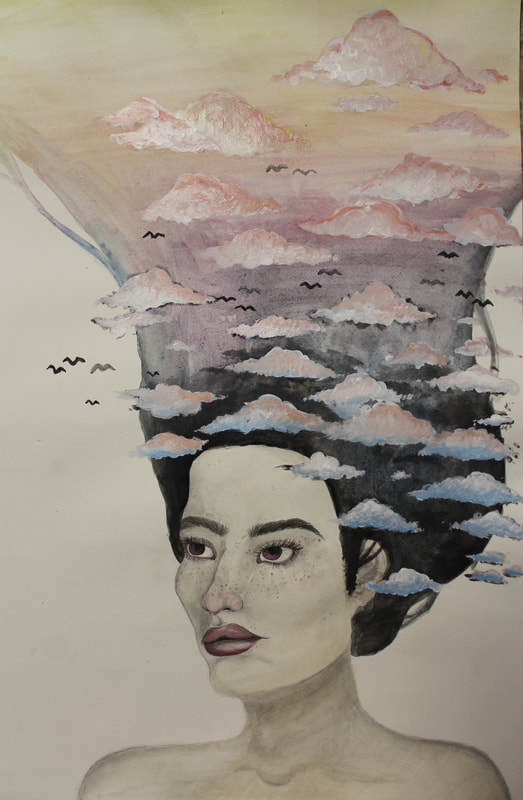
Student Blendscapes:


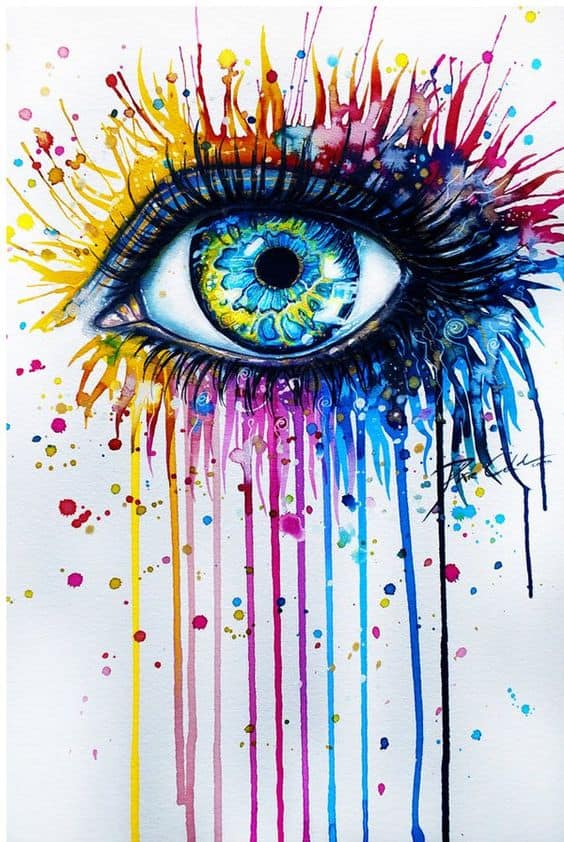
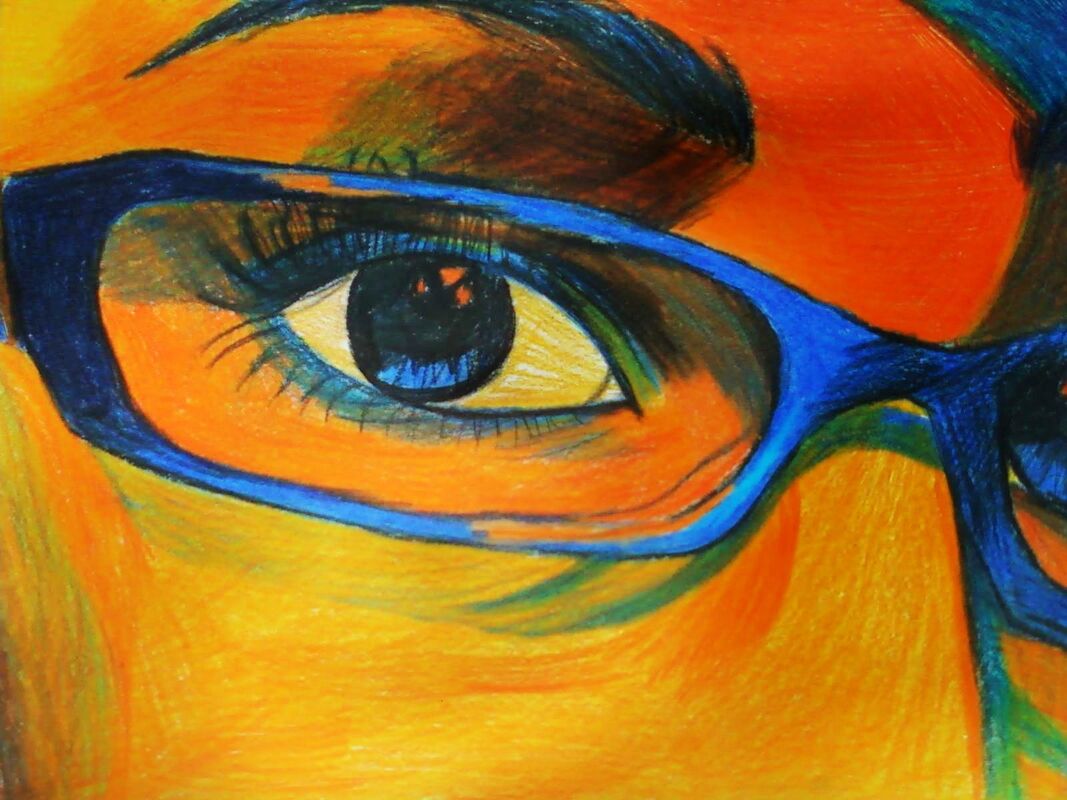
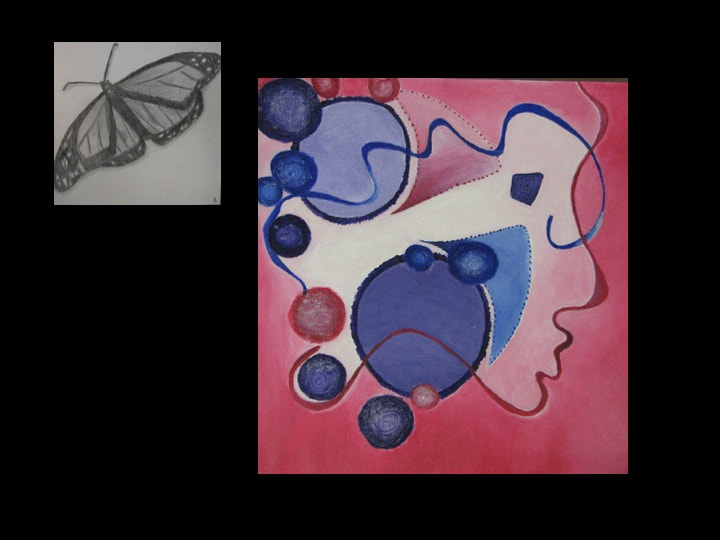
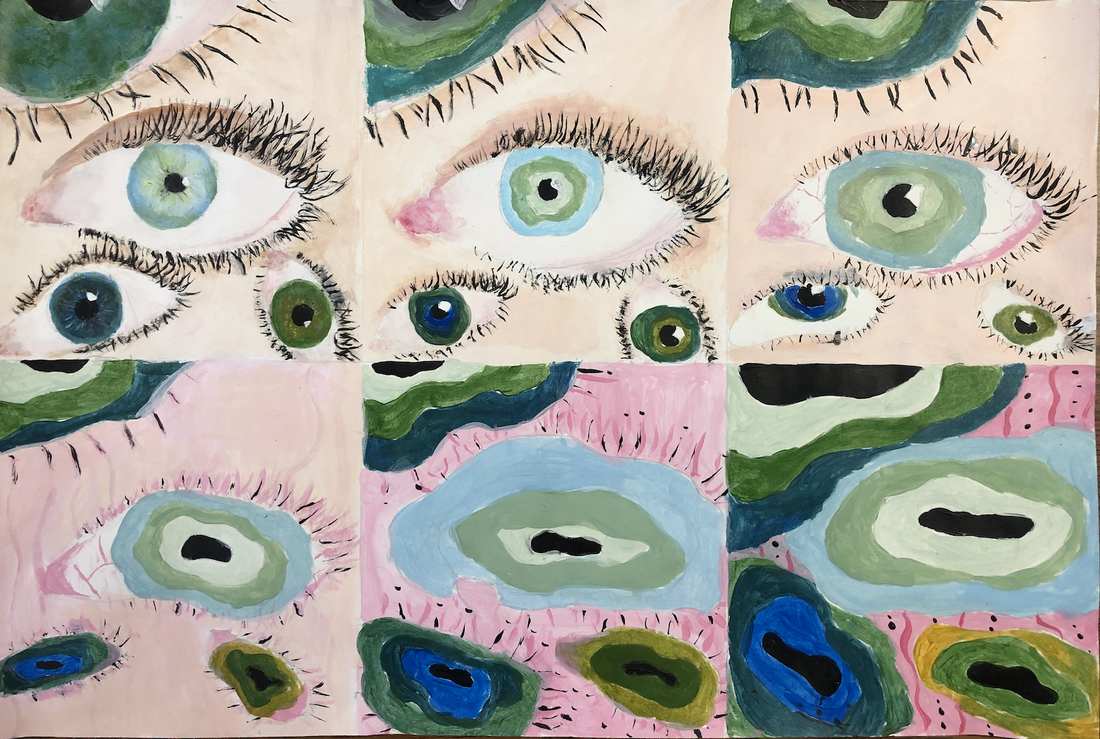
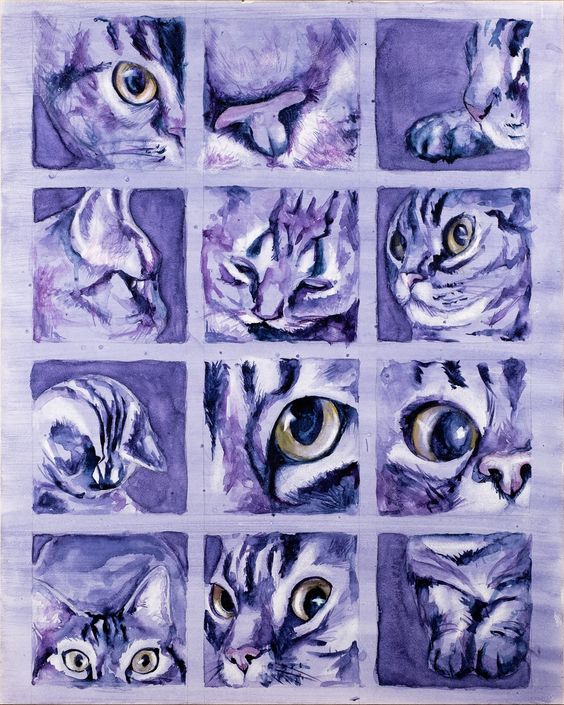
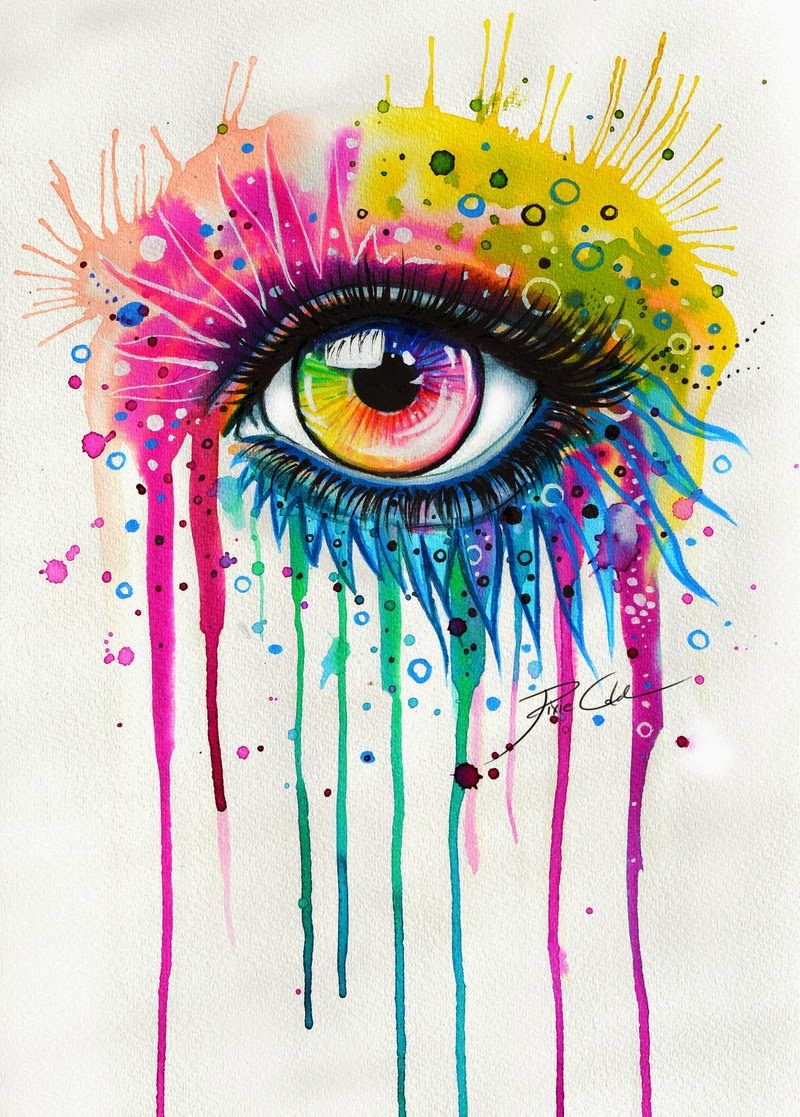
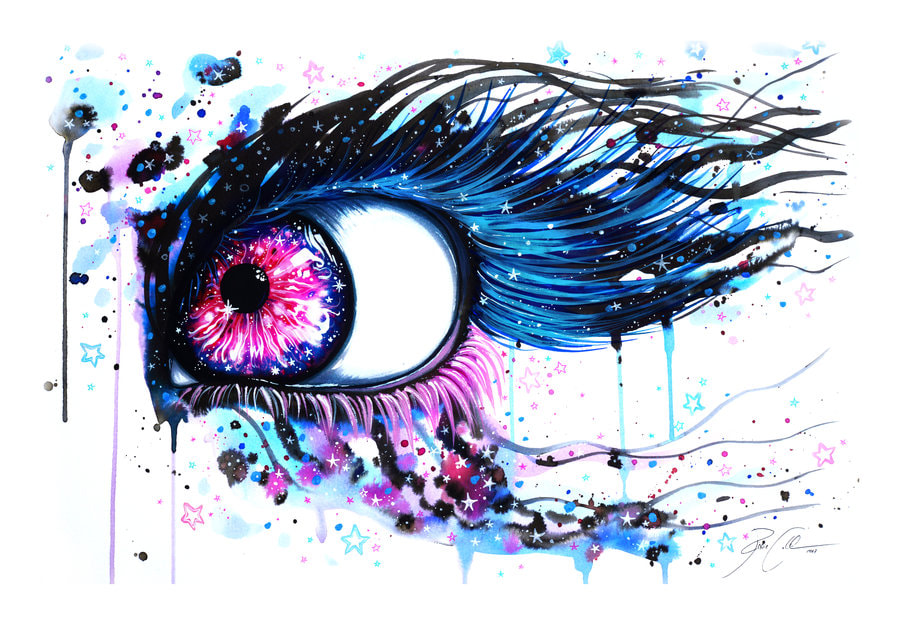
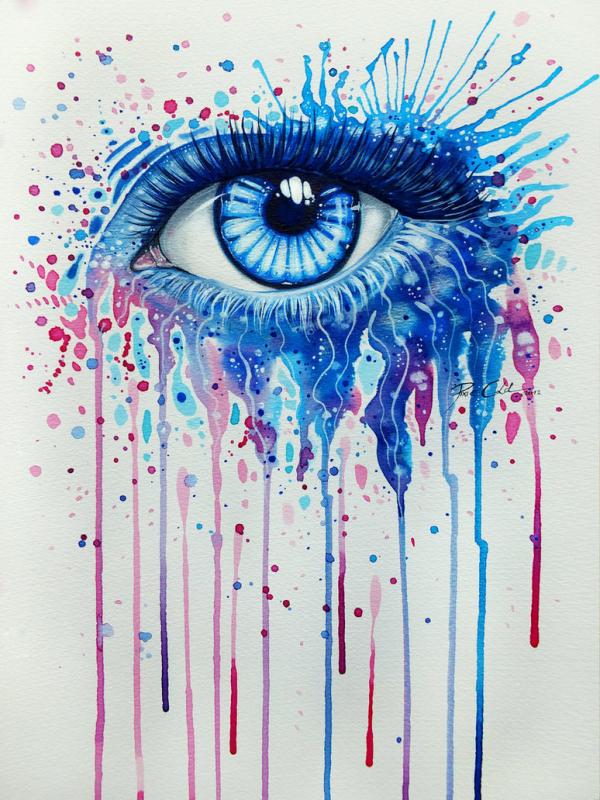
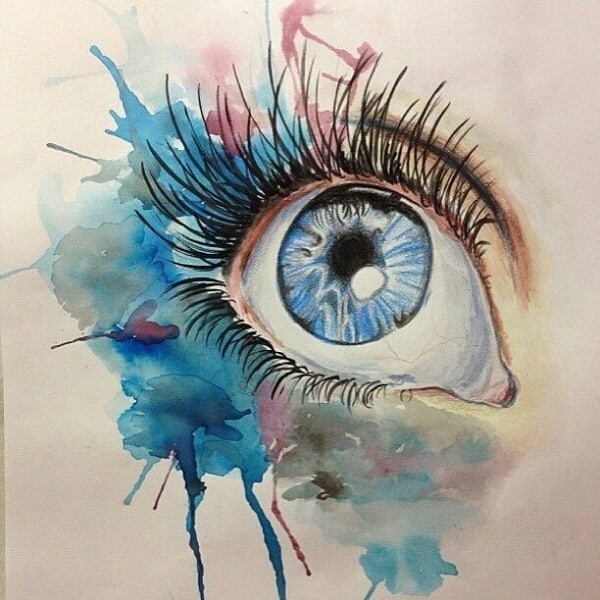
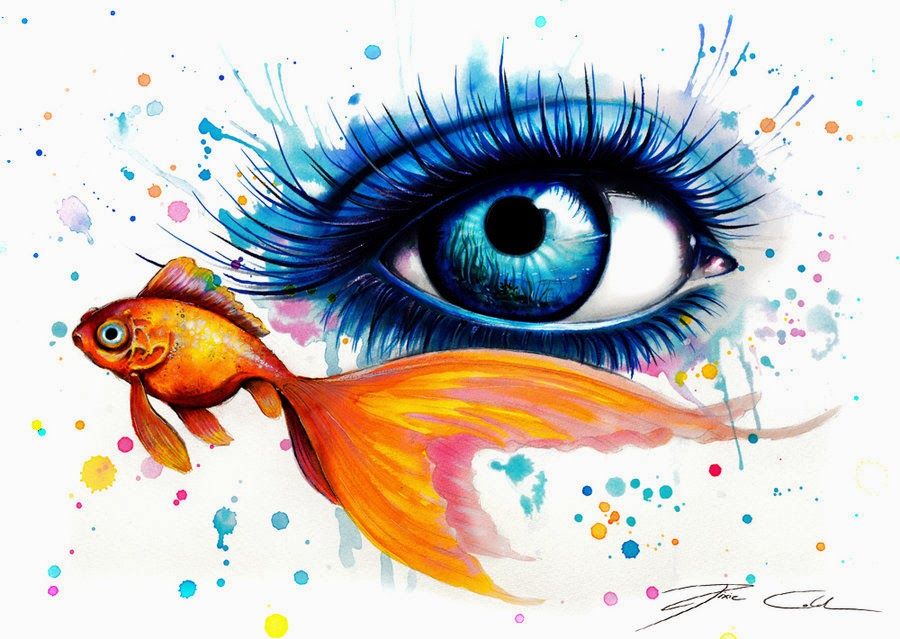
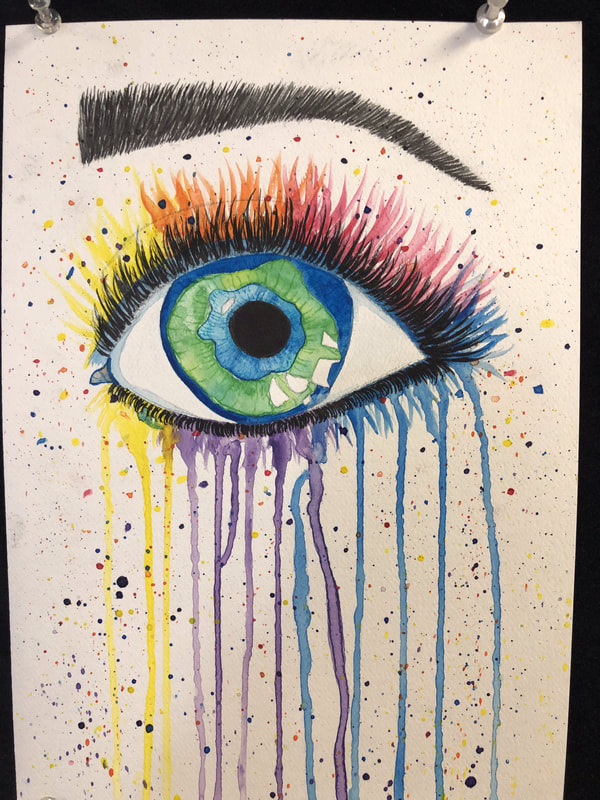
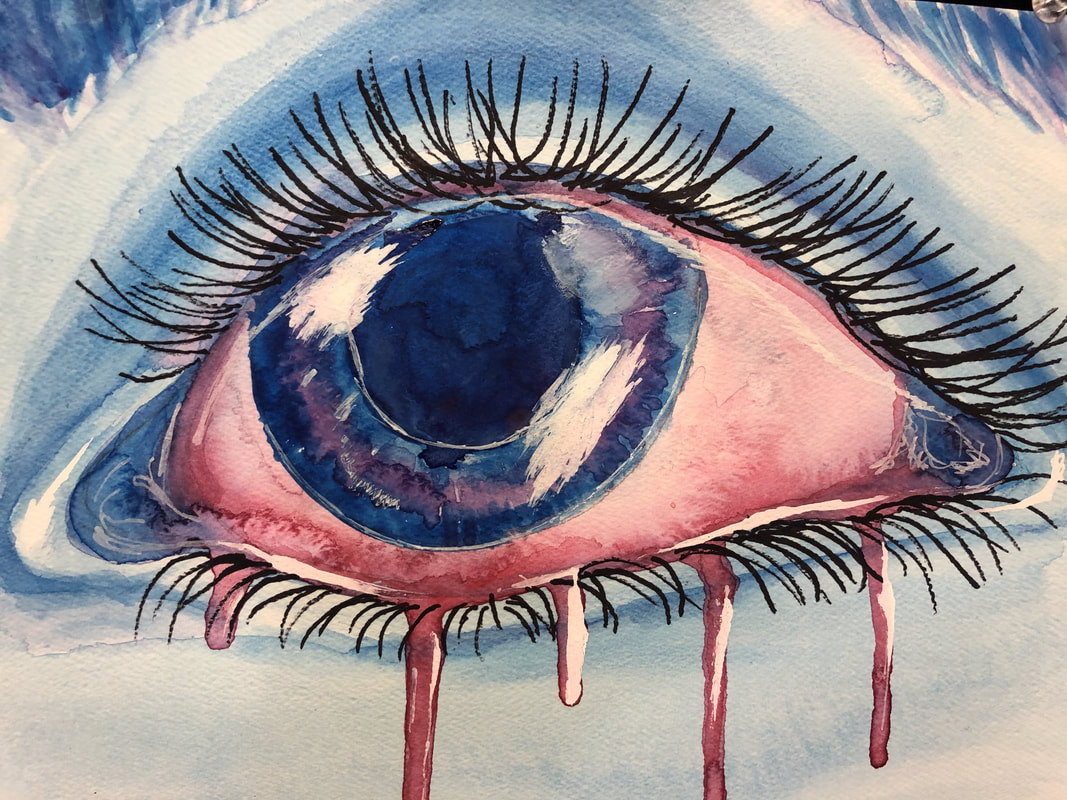
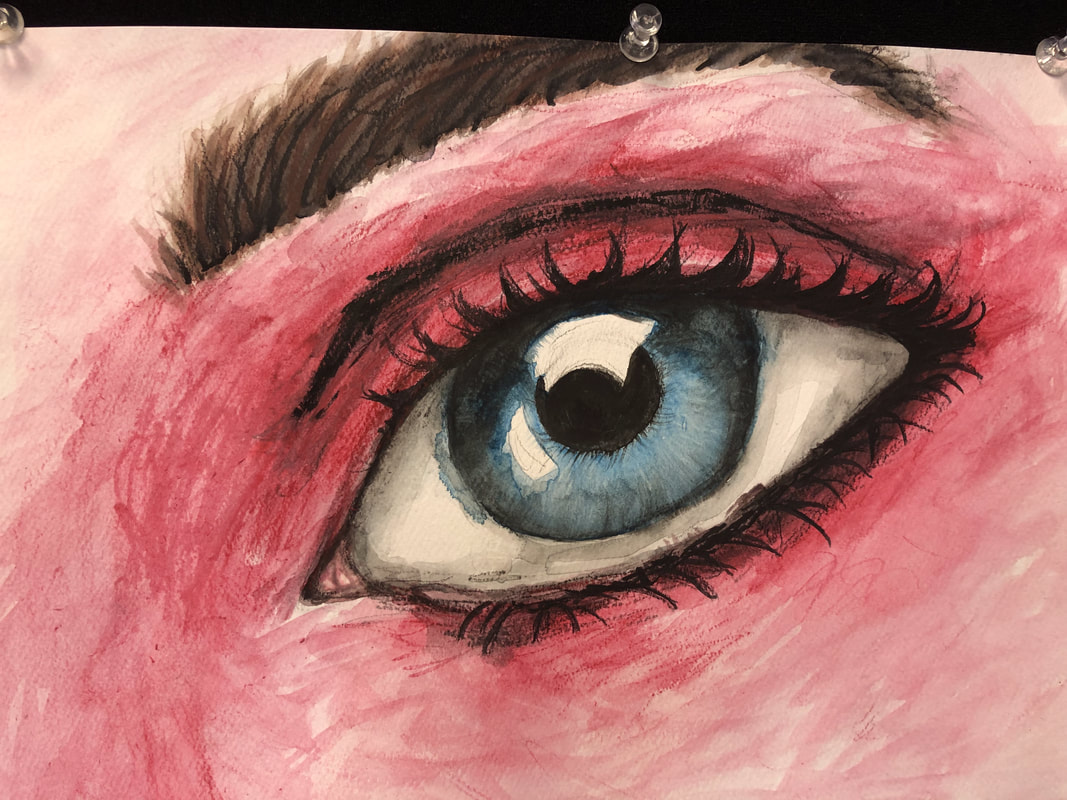
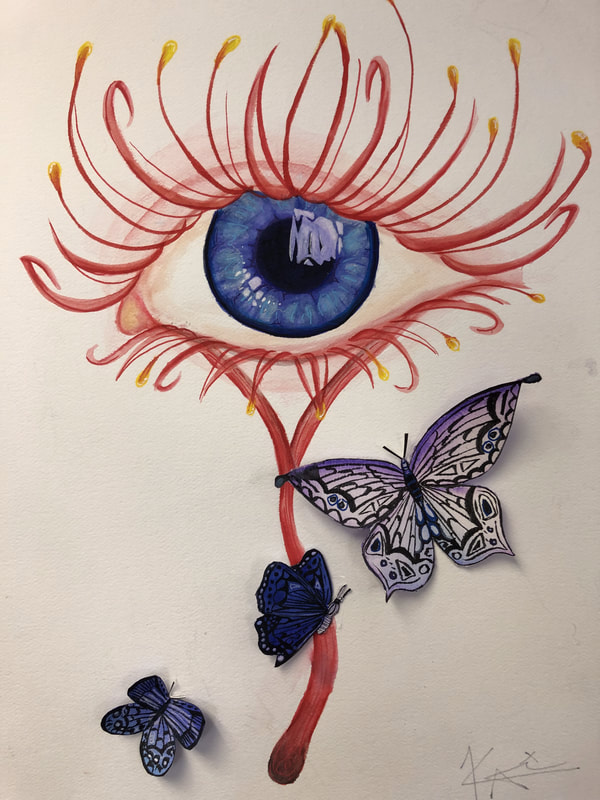
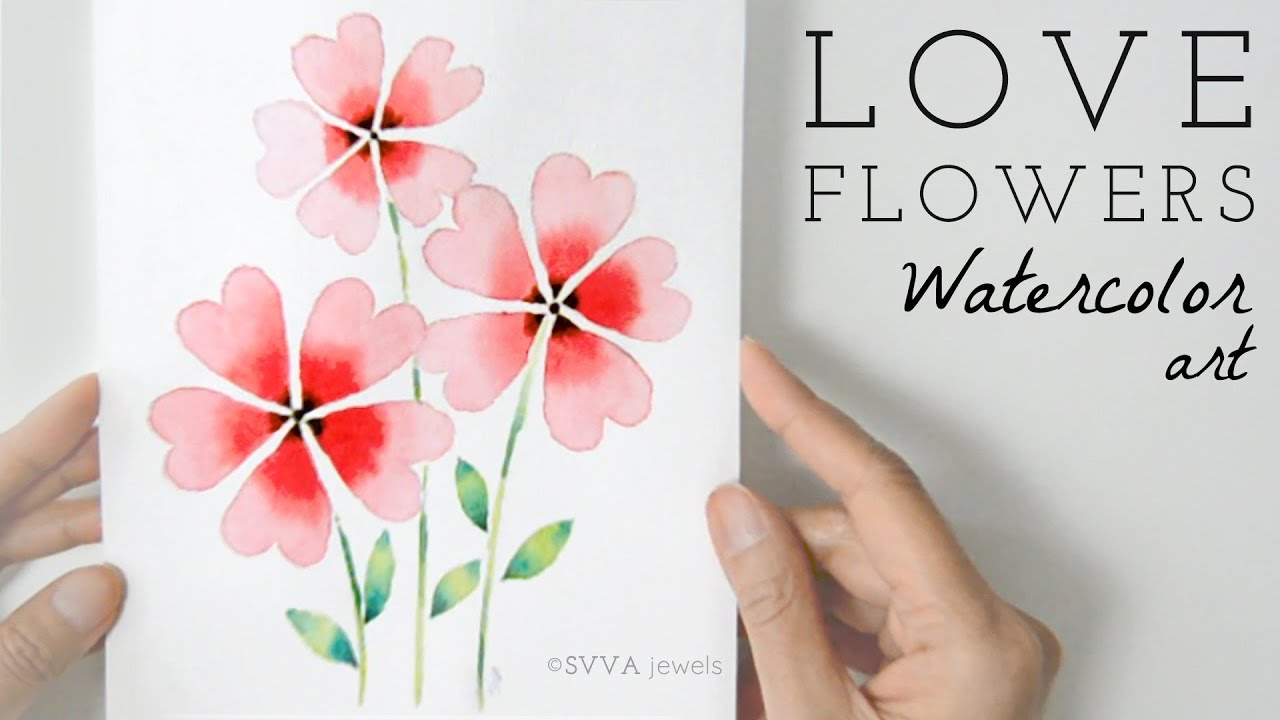
Watercolor Eye Painting
Assignment:
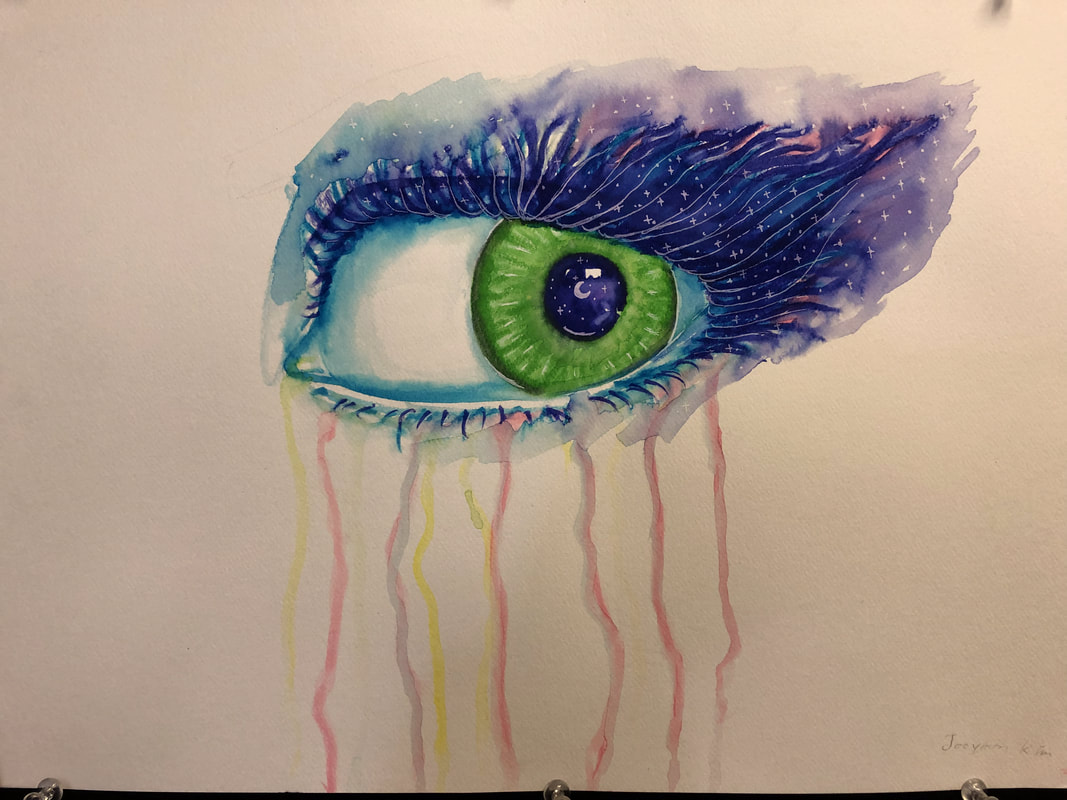
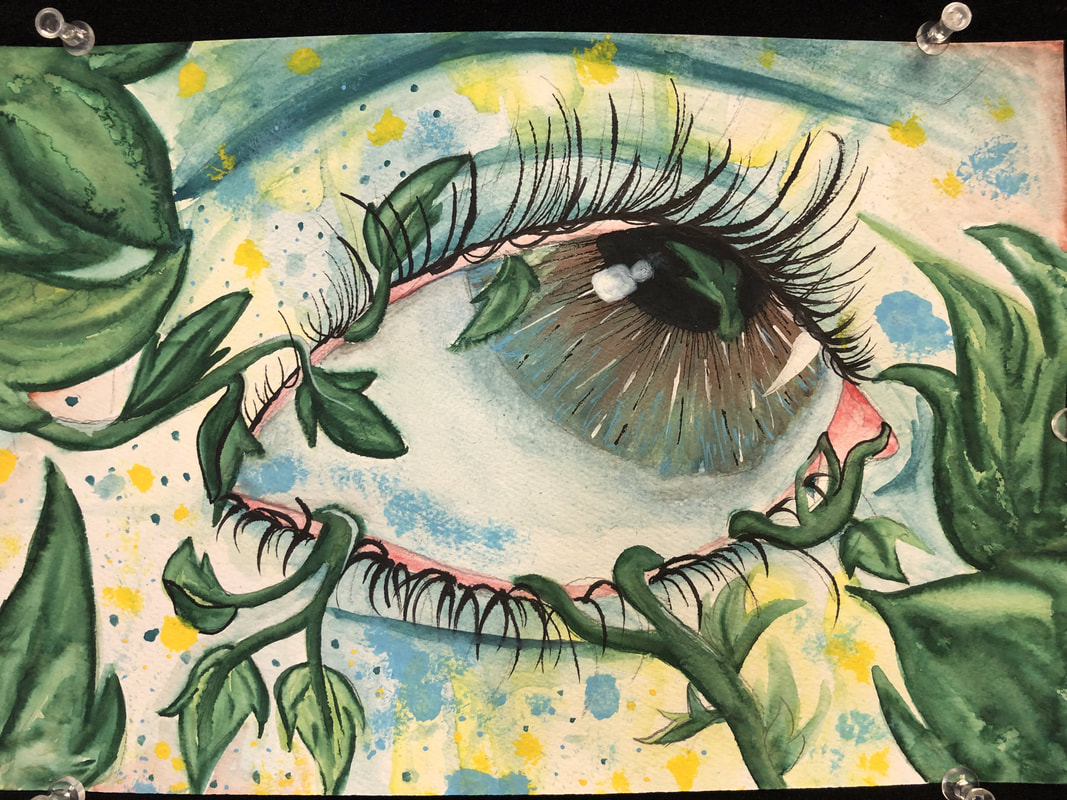
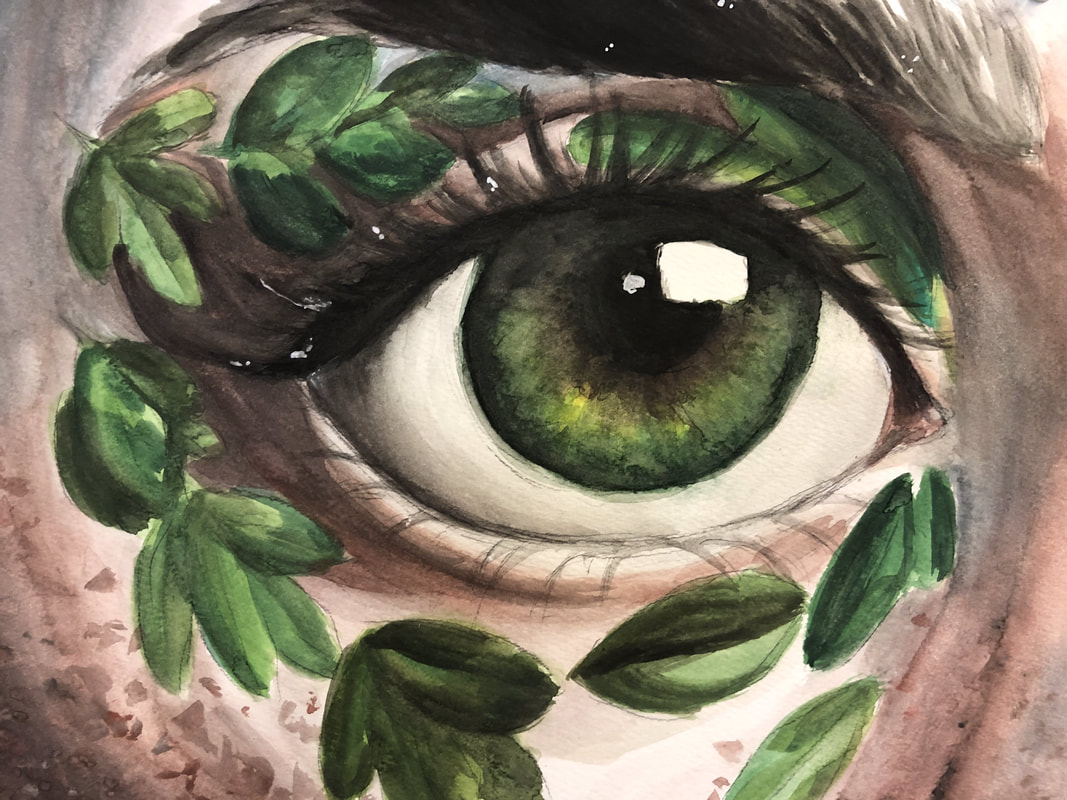
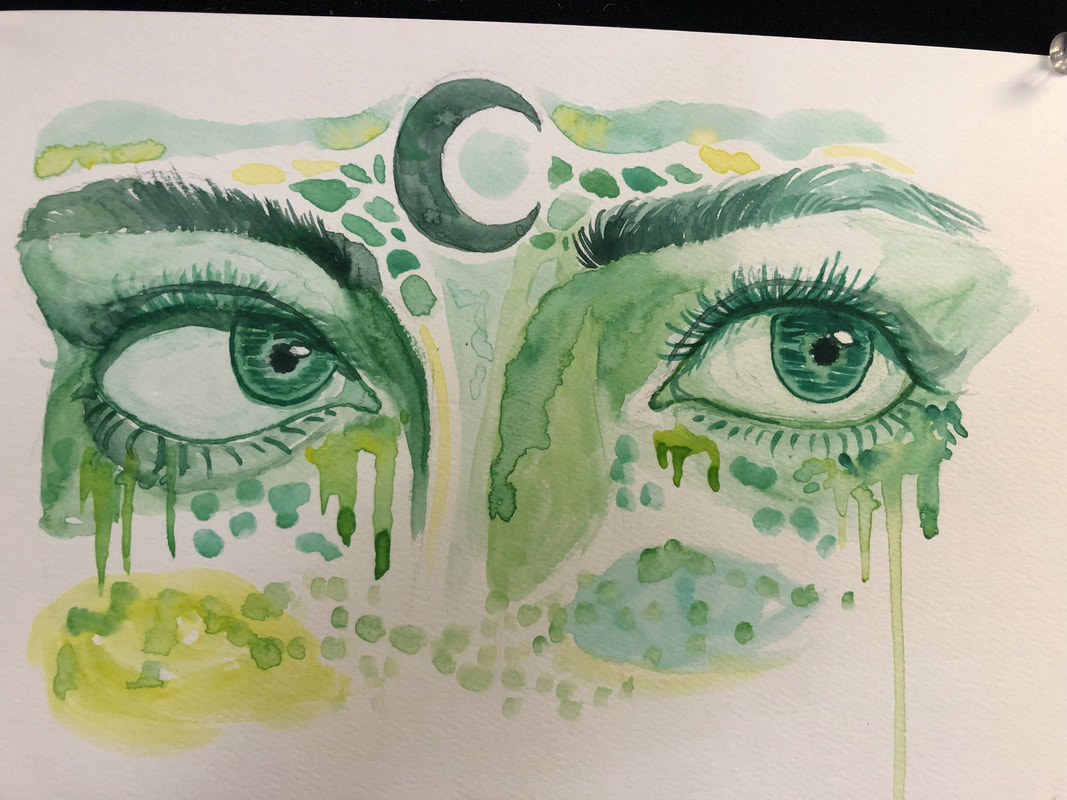
Create a Unique Watercolor Eye Painting using watercolor paint and watercolor techniques.
Directions:
1. Lightly sketch 1 or 2 eyes on watercolor paper.
2. Begin painting the eyelids, eyebrows, under the eye.
3. use washes, dripping, spattering and other watercolor effects around the eye.
4. Paint the iris and the pupil.
5. Paint the outside edge of the eye.
6. Add more layers of paint to build saturation and contrast.
7. Add eyelashes. You may use watercolor pant or black acrylic paint.
8. Add highlights with white acrylic paint.
9. Add the reflections on the eye with white acrylic paint.
10. Add unique details or add other imagery like birds, butterflies, fish etc.
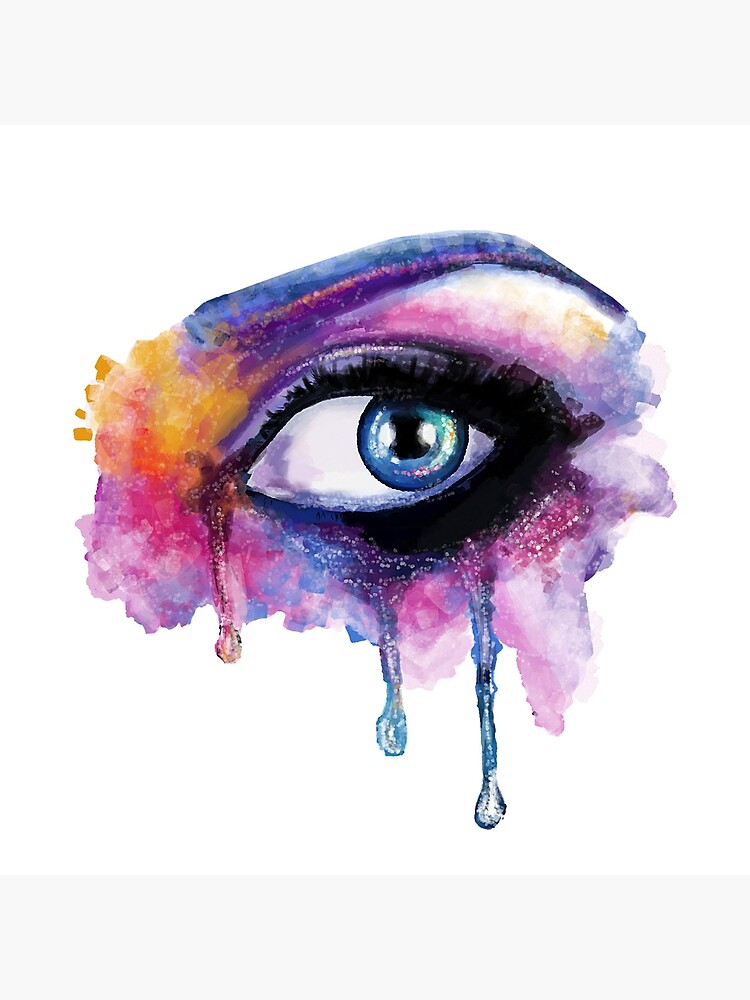
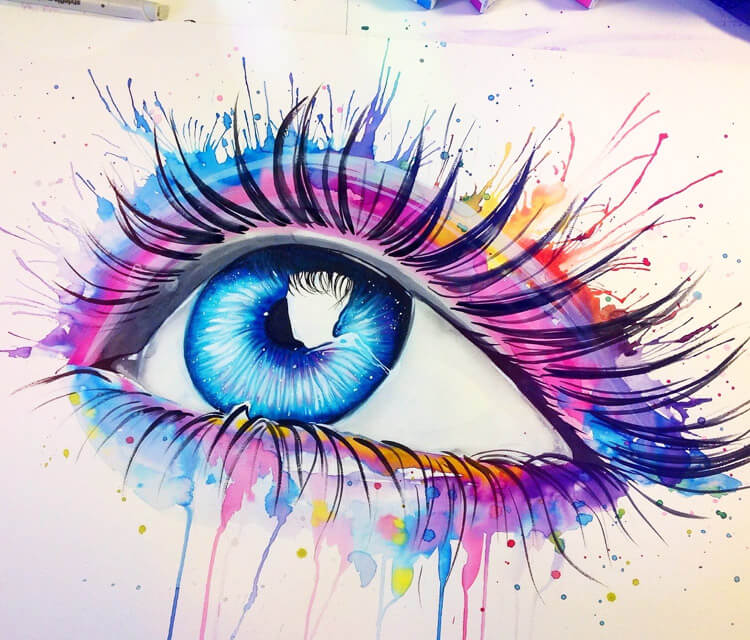
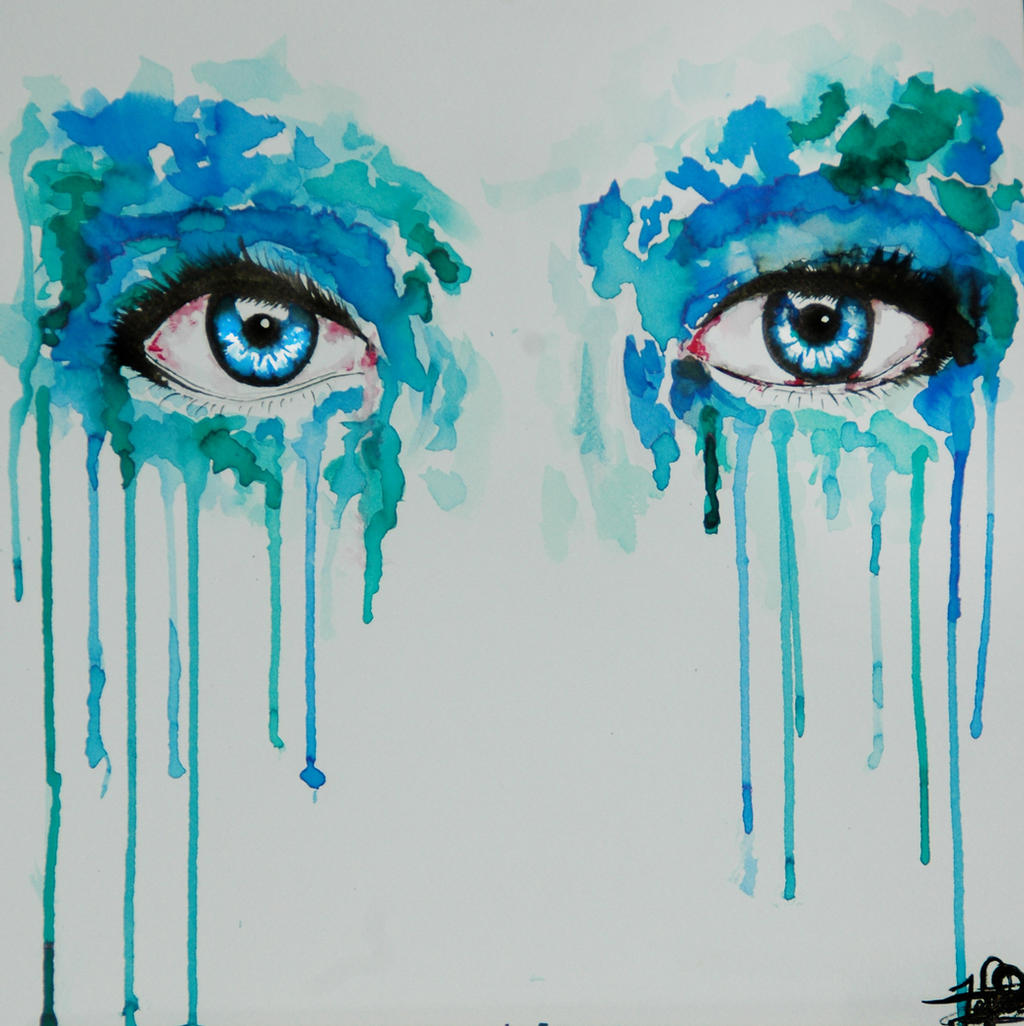
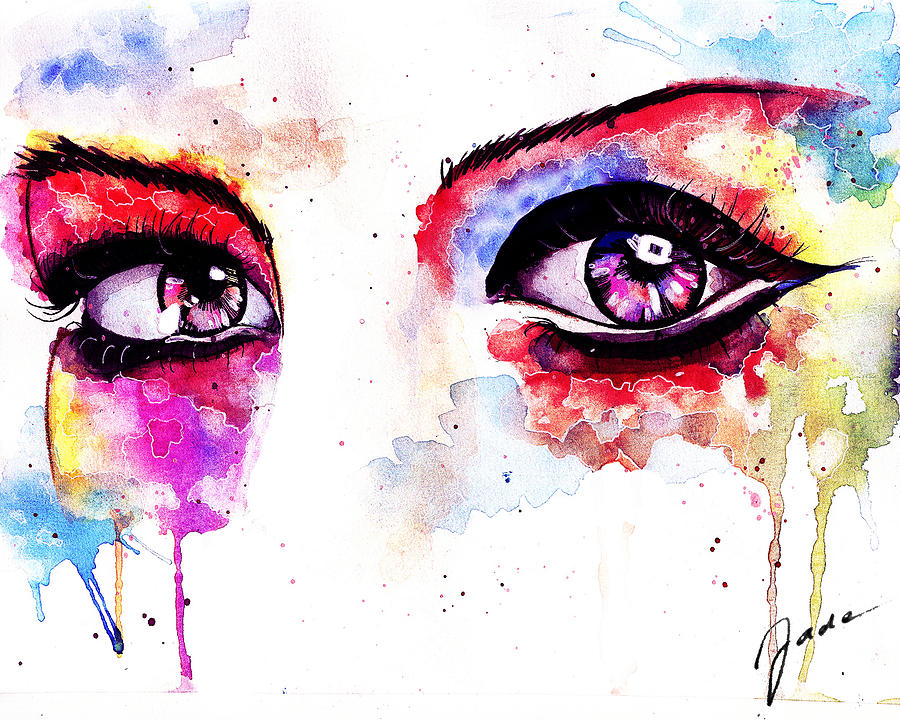
Student Examples
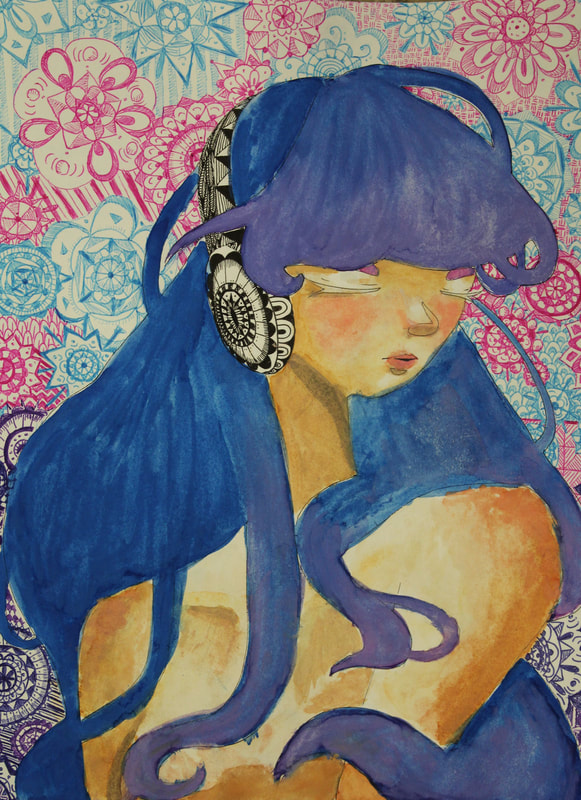
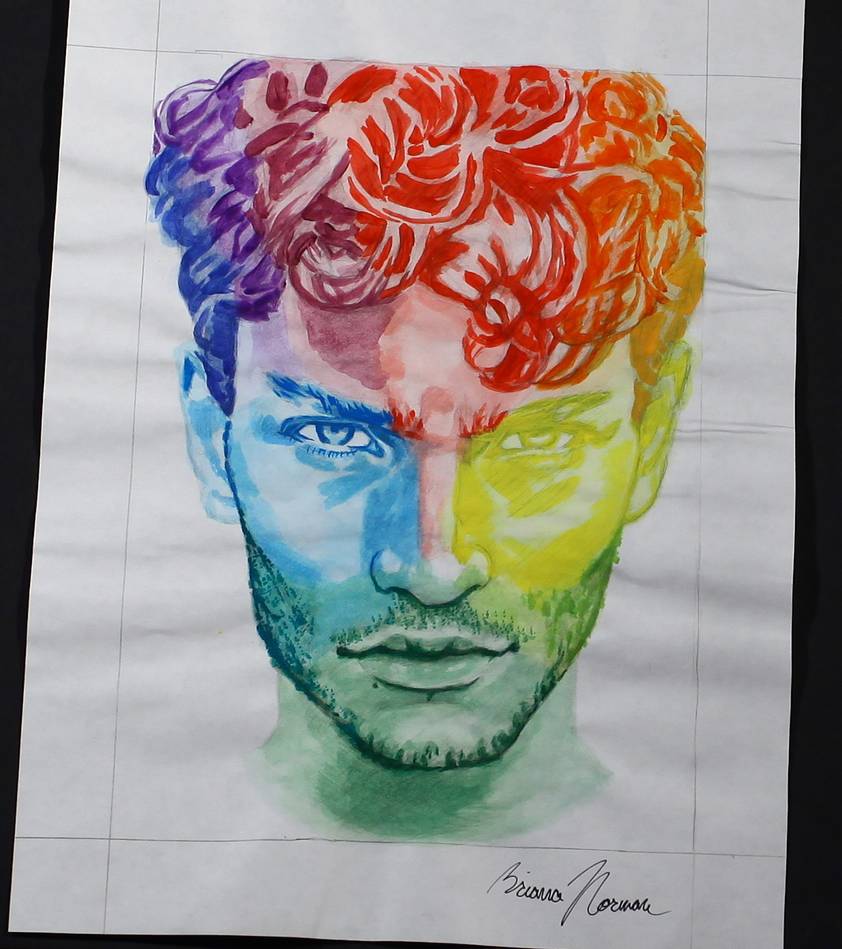
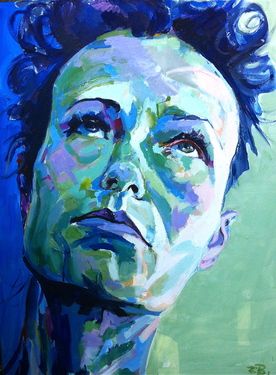
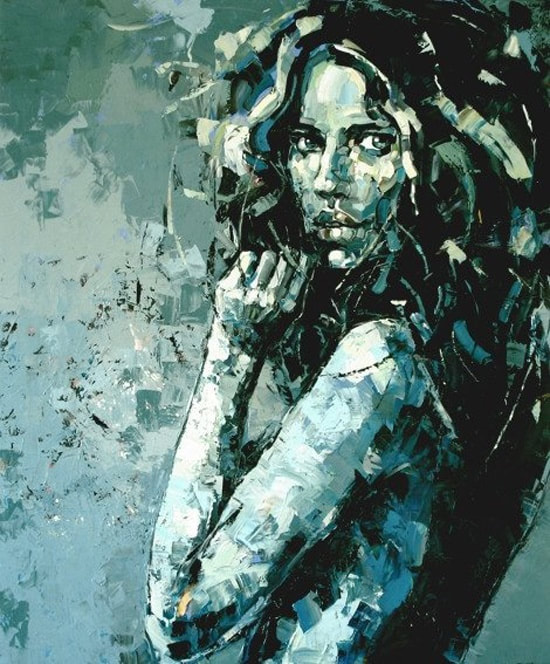
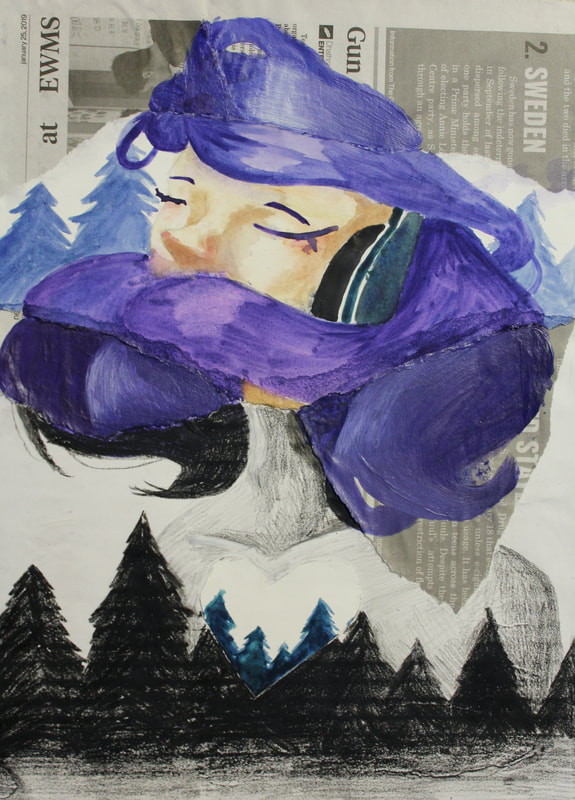
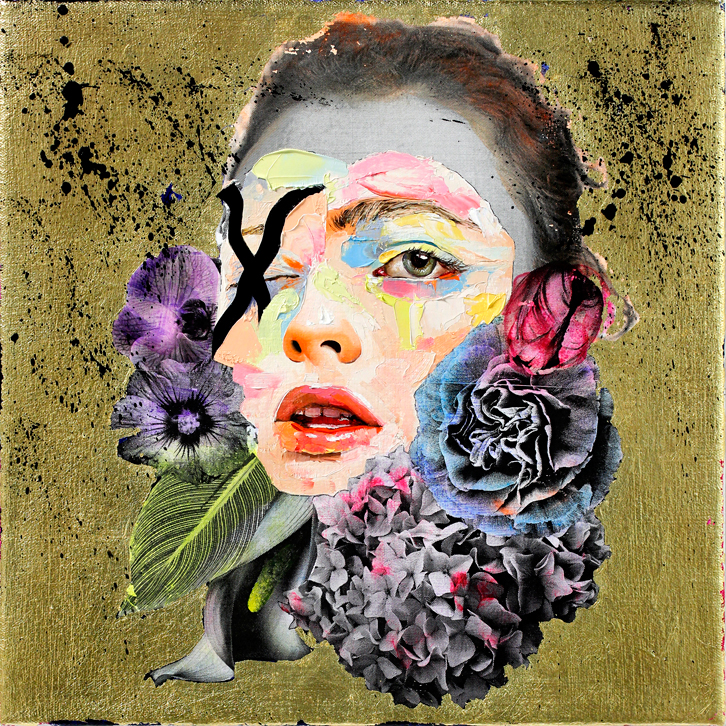
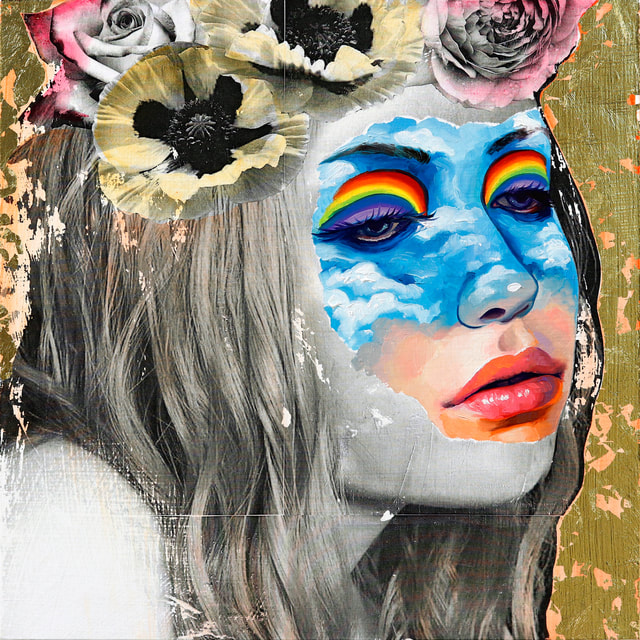
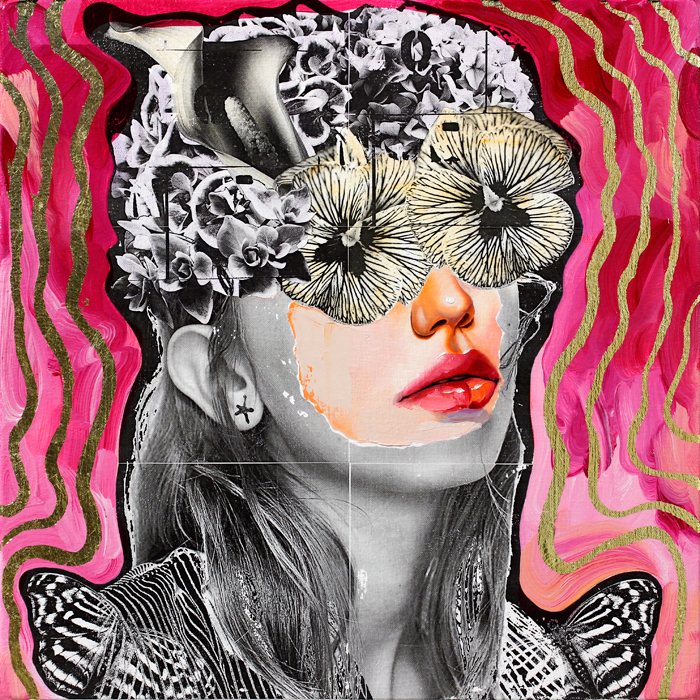
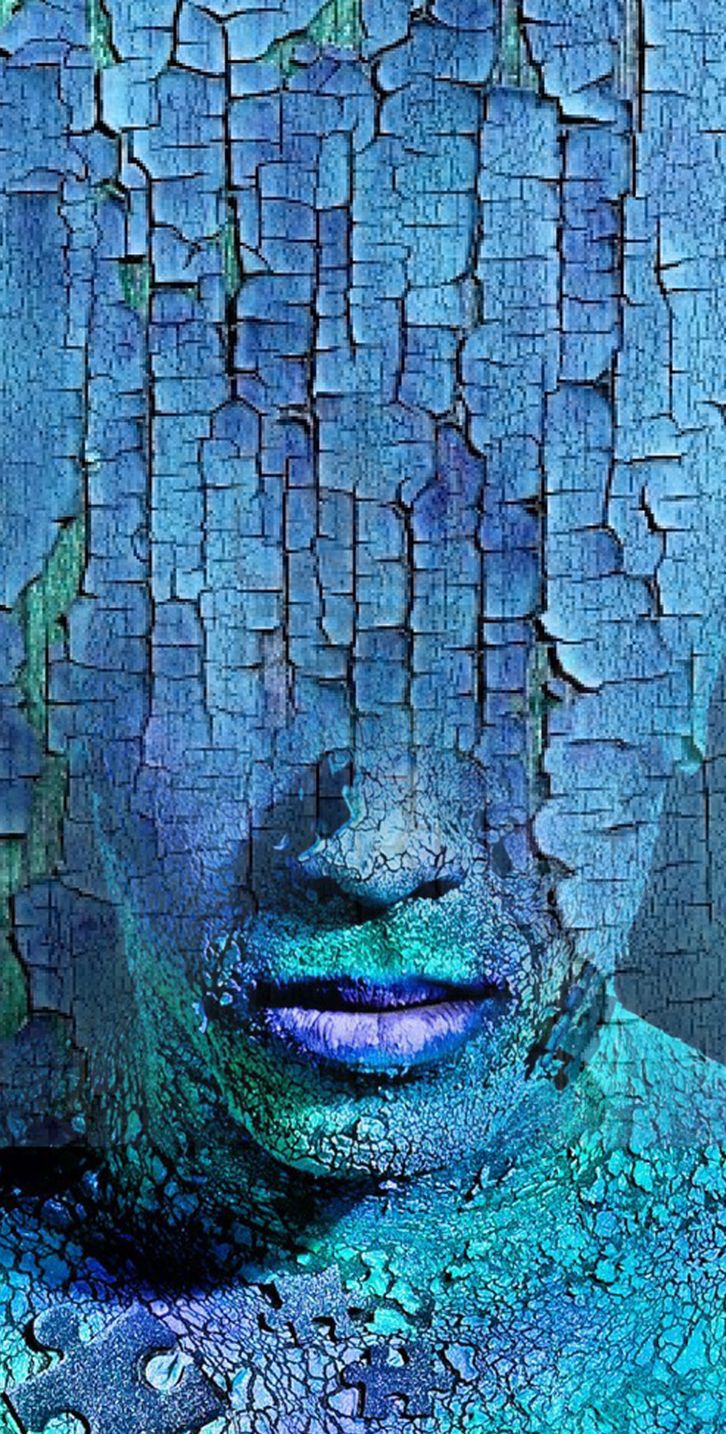
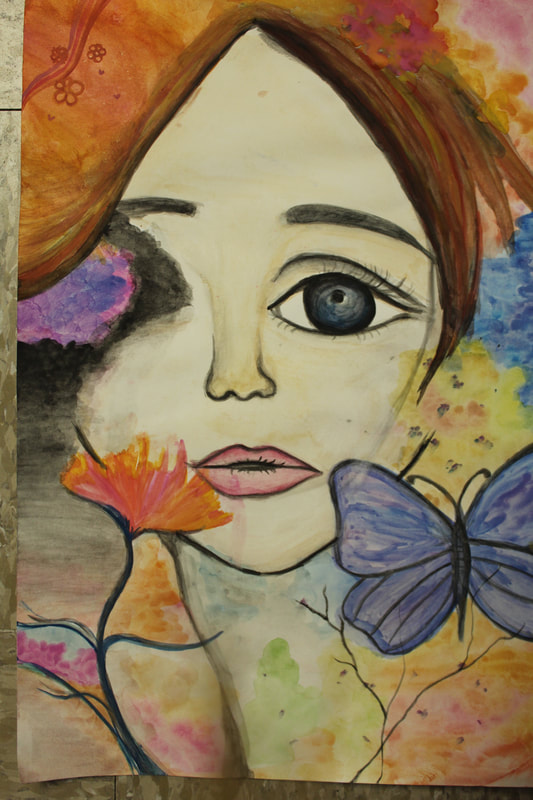
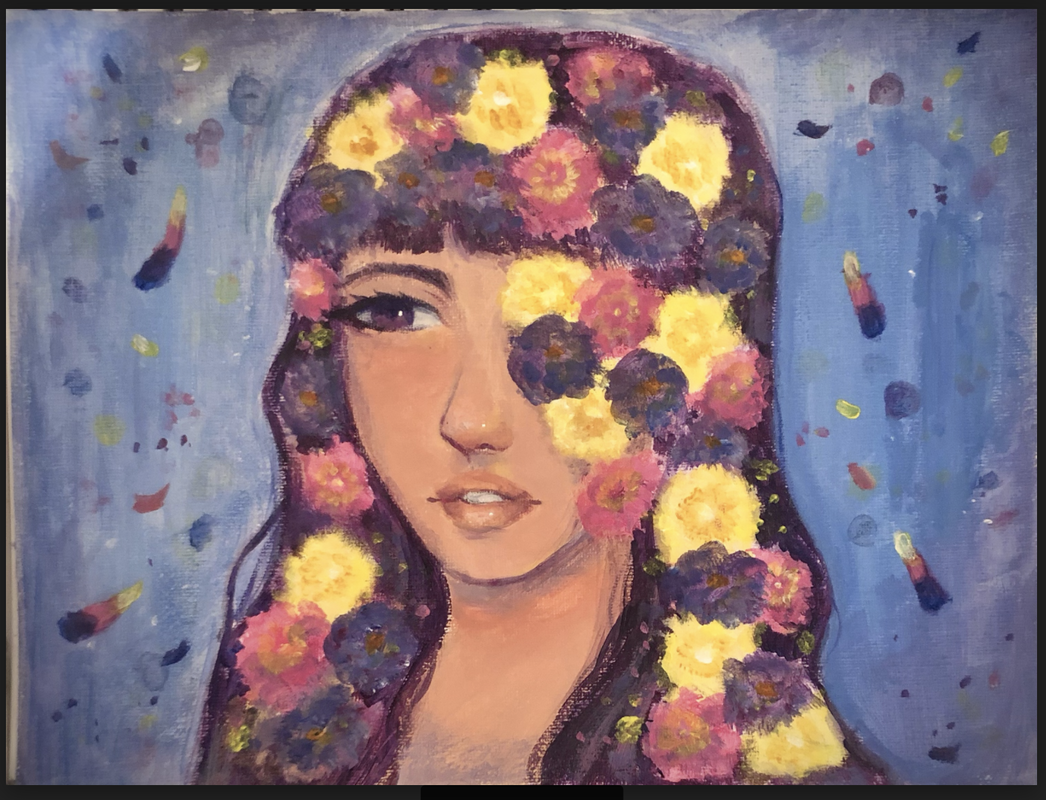
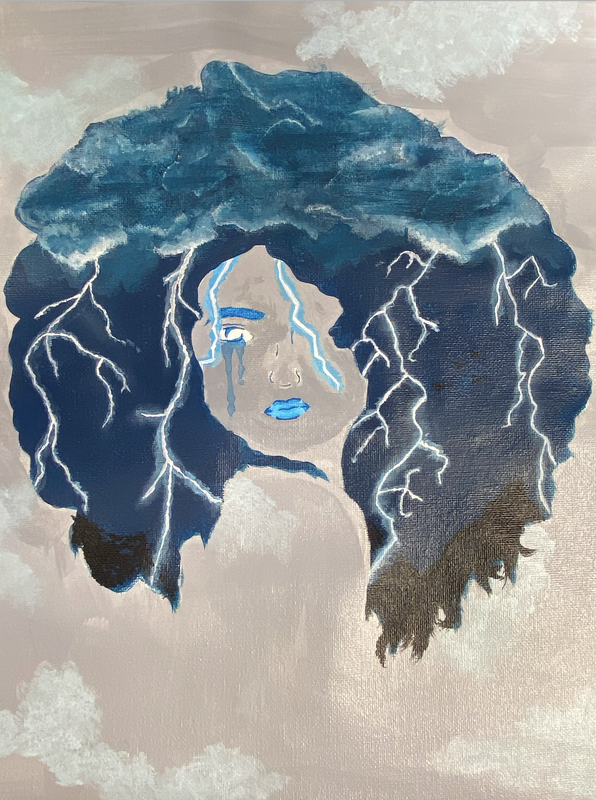
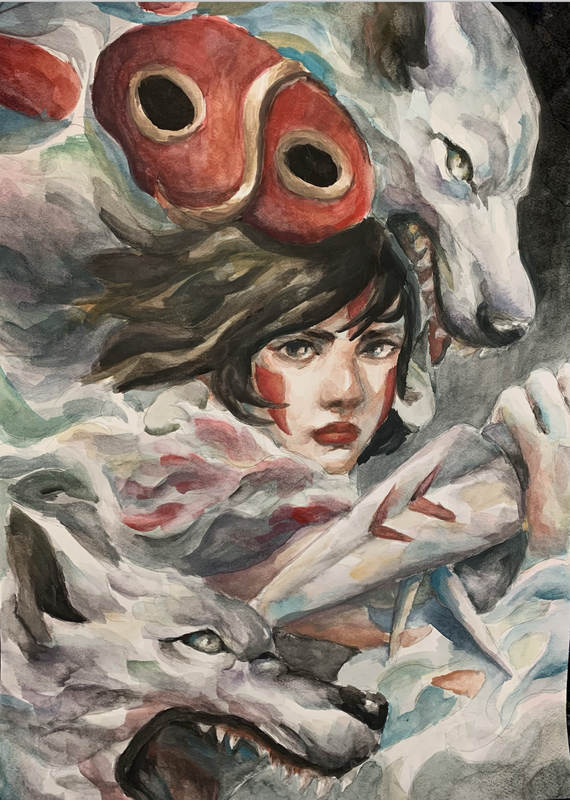
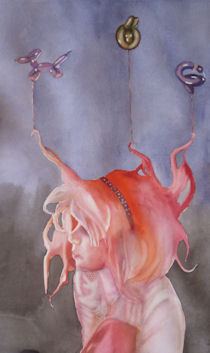
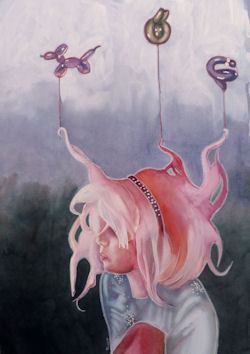
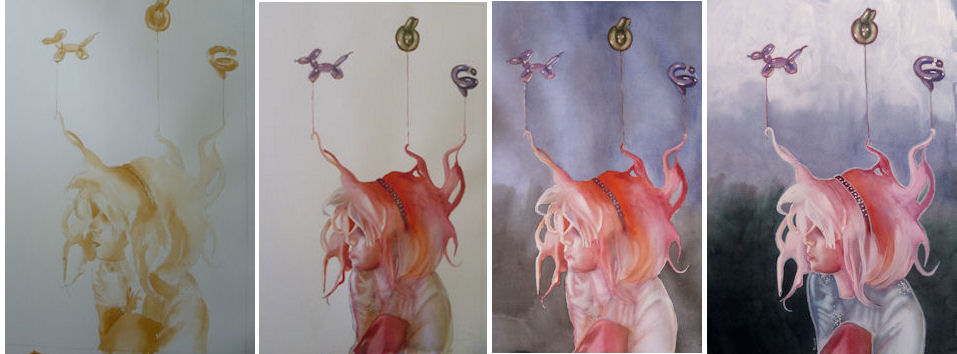
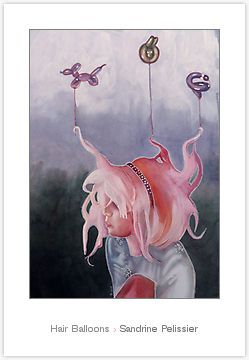
Watercolor Portraits Project
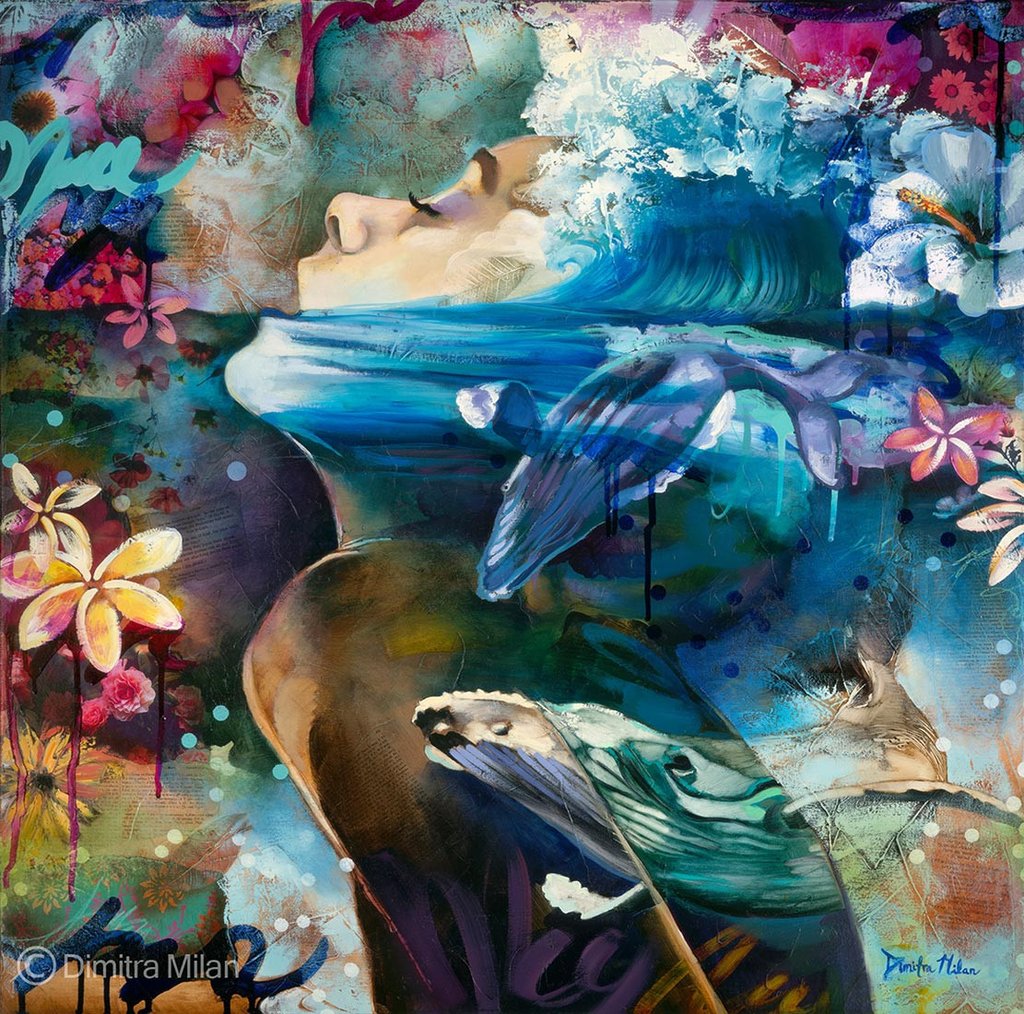
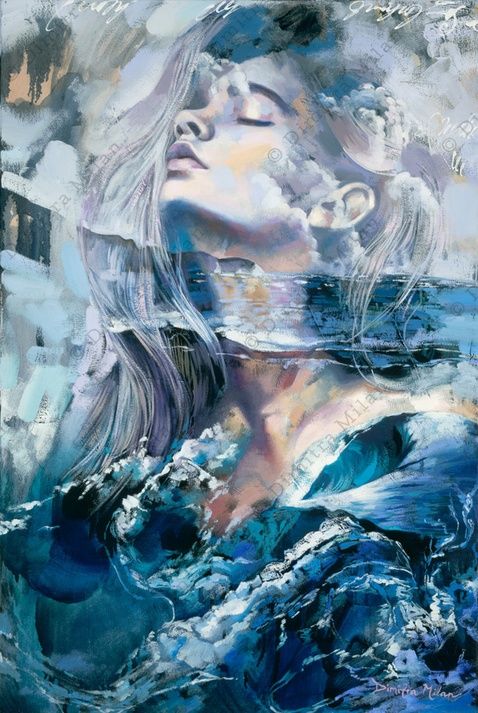
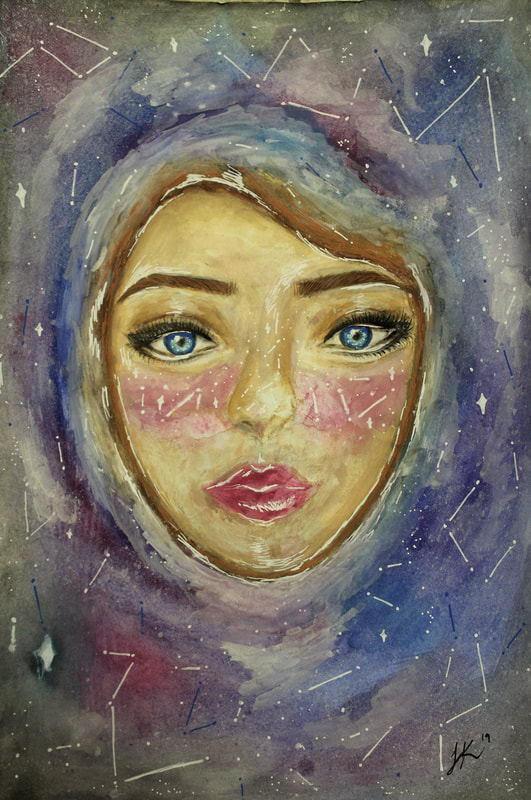
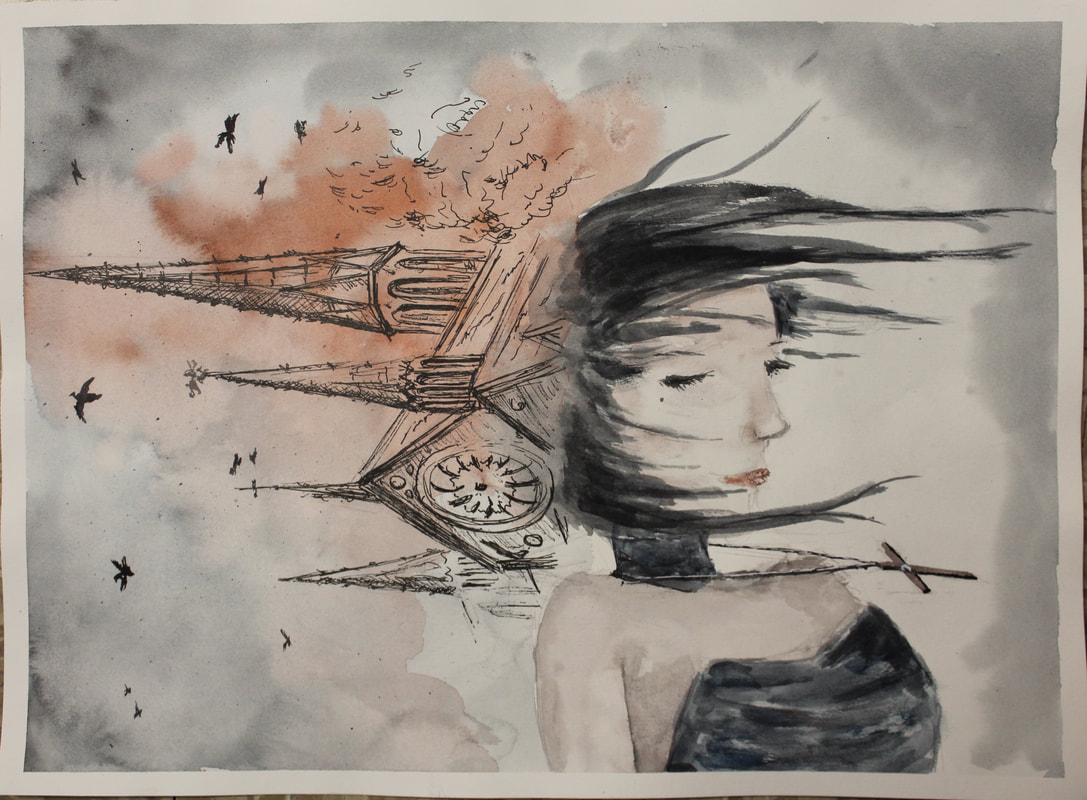
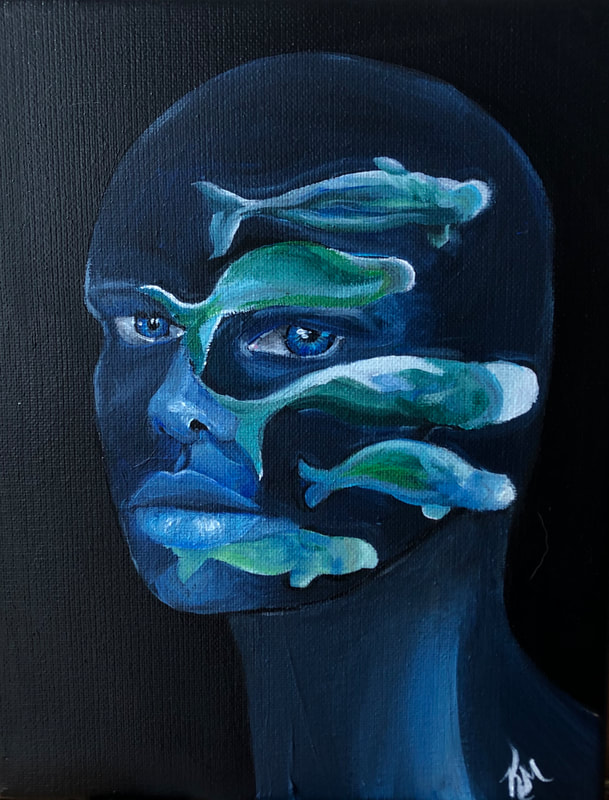
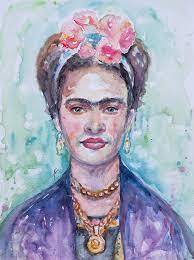
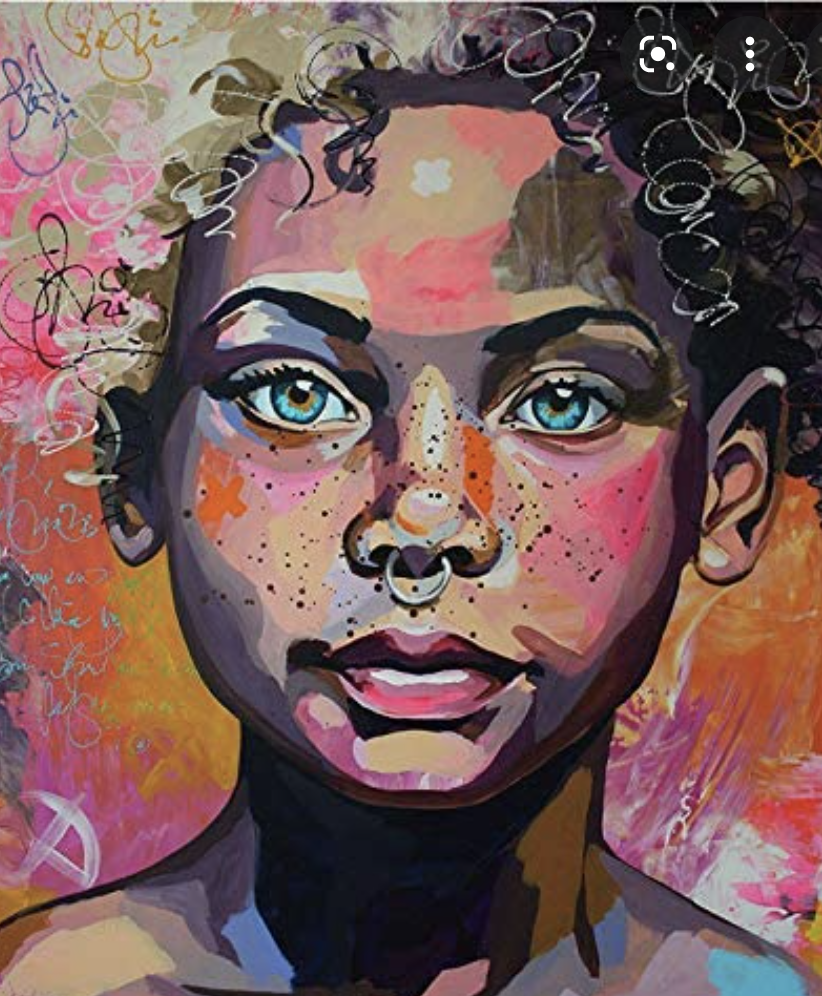
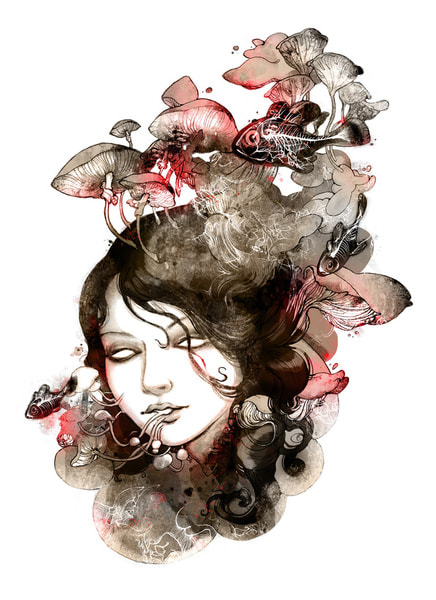
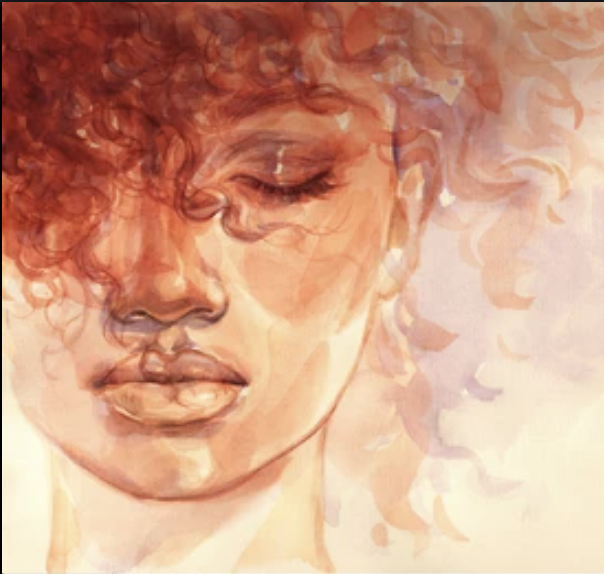
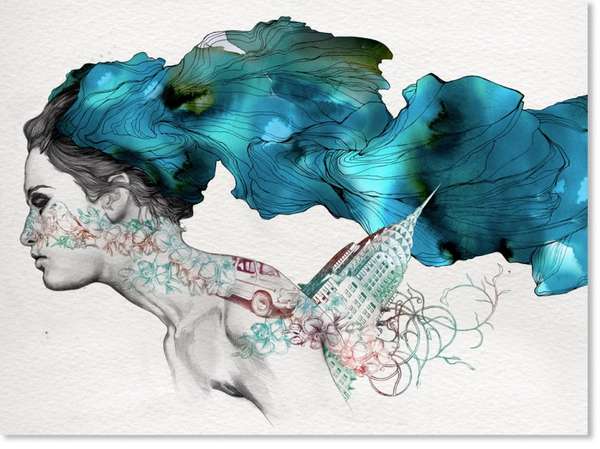
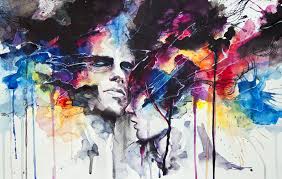
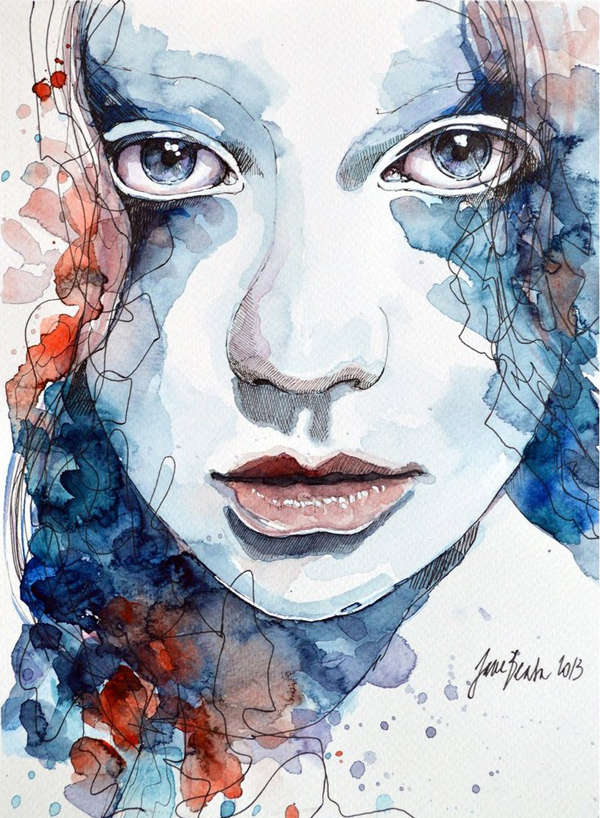
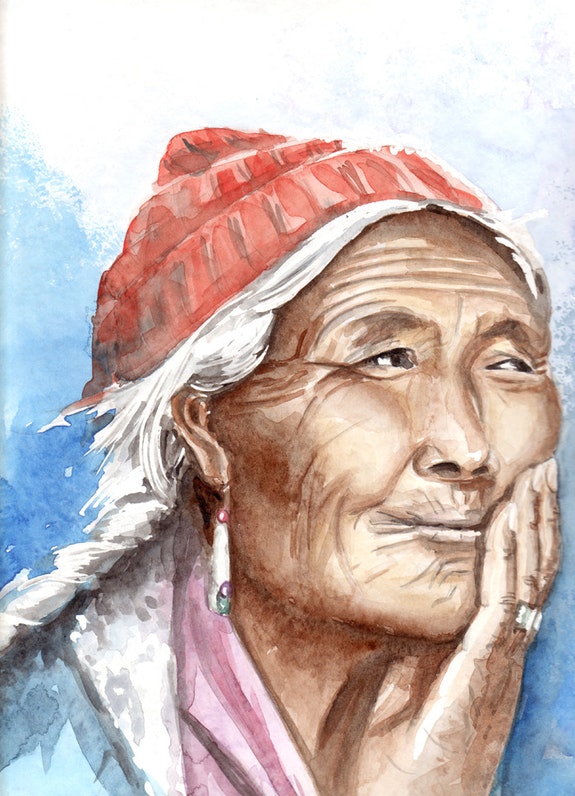
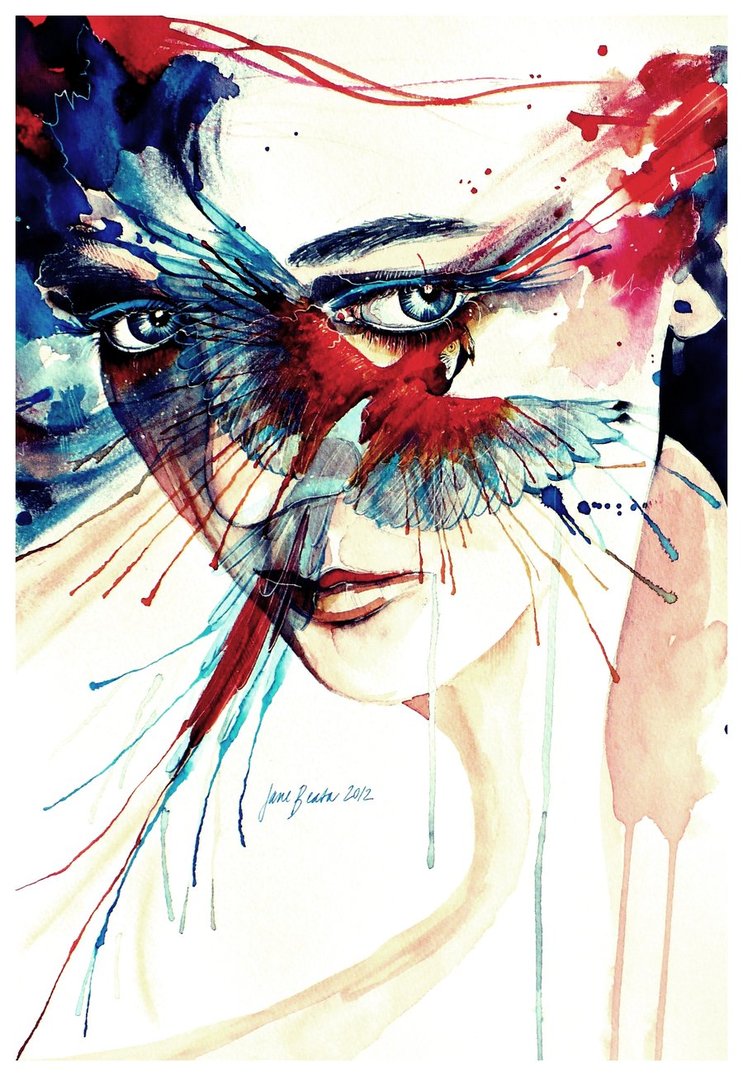
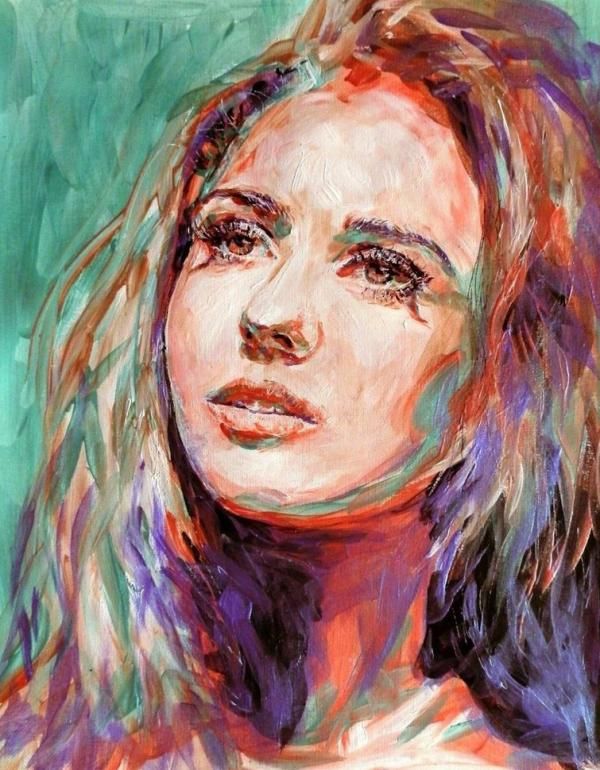
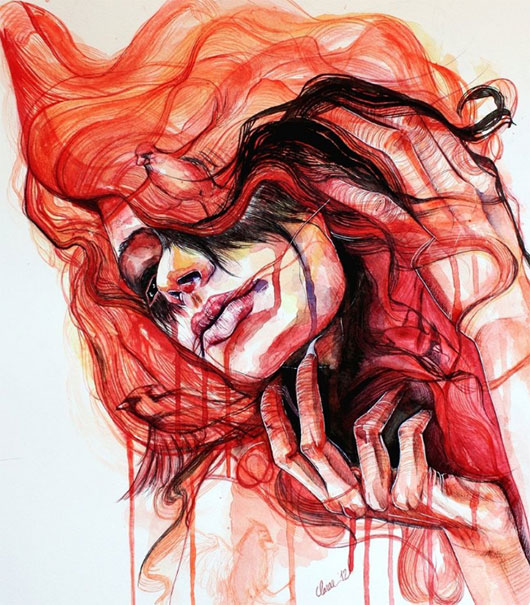
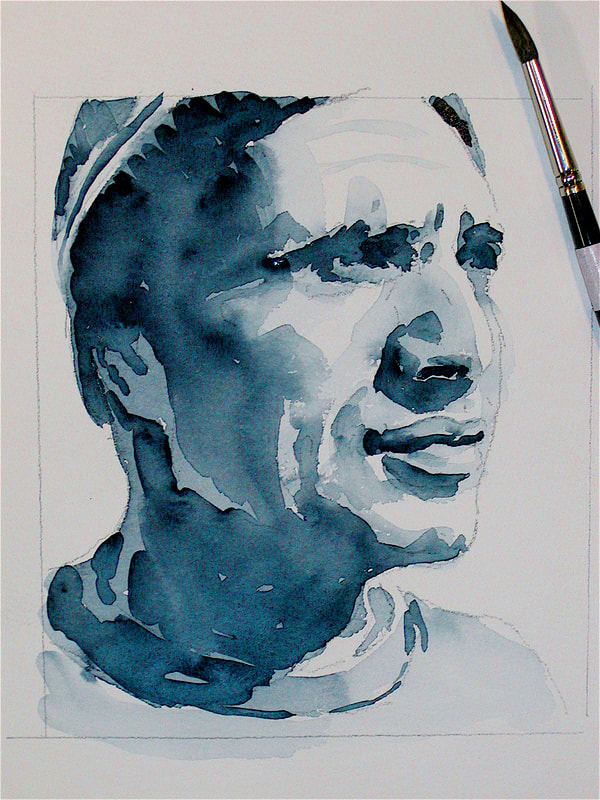
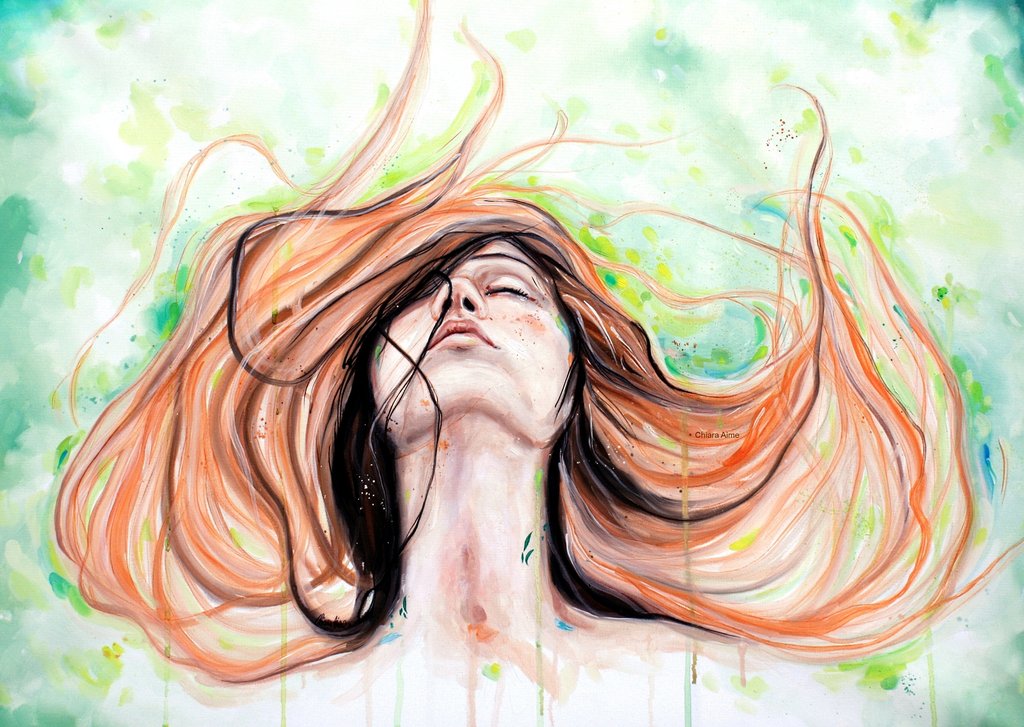
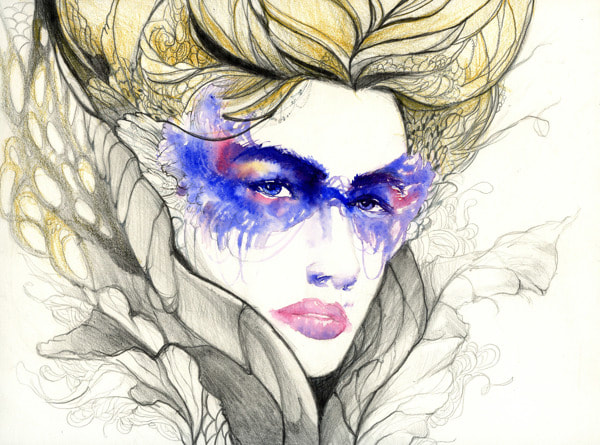
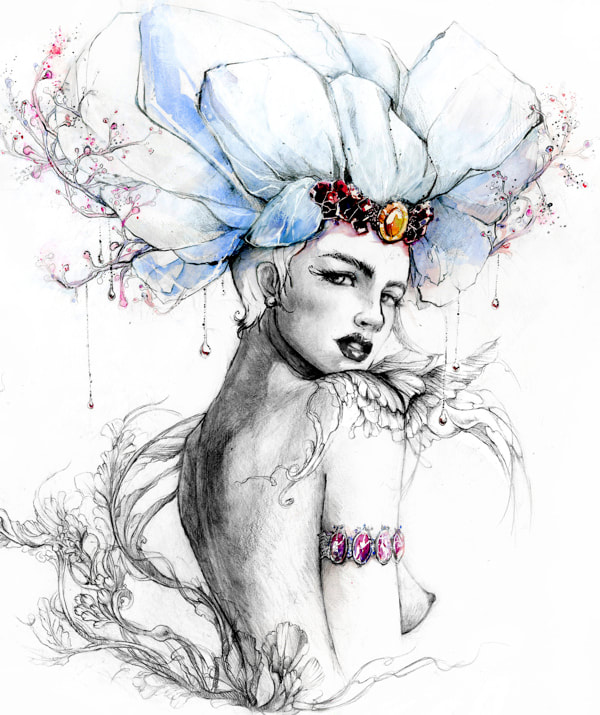
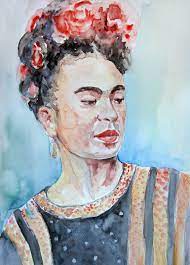
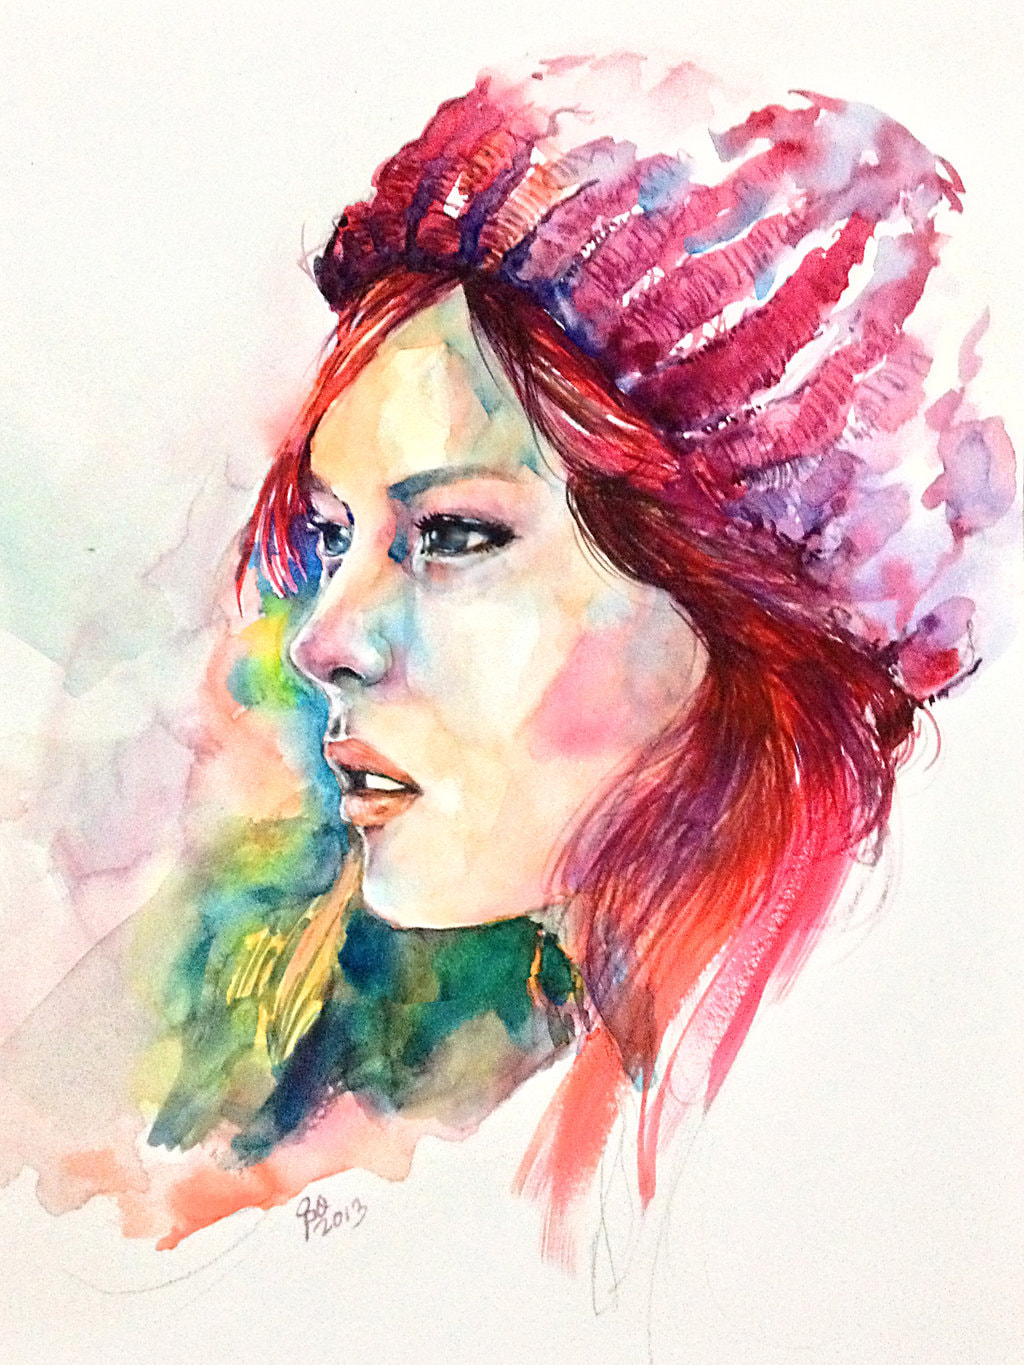
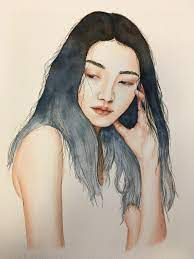
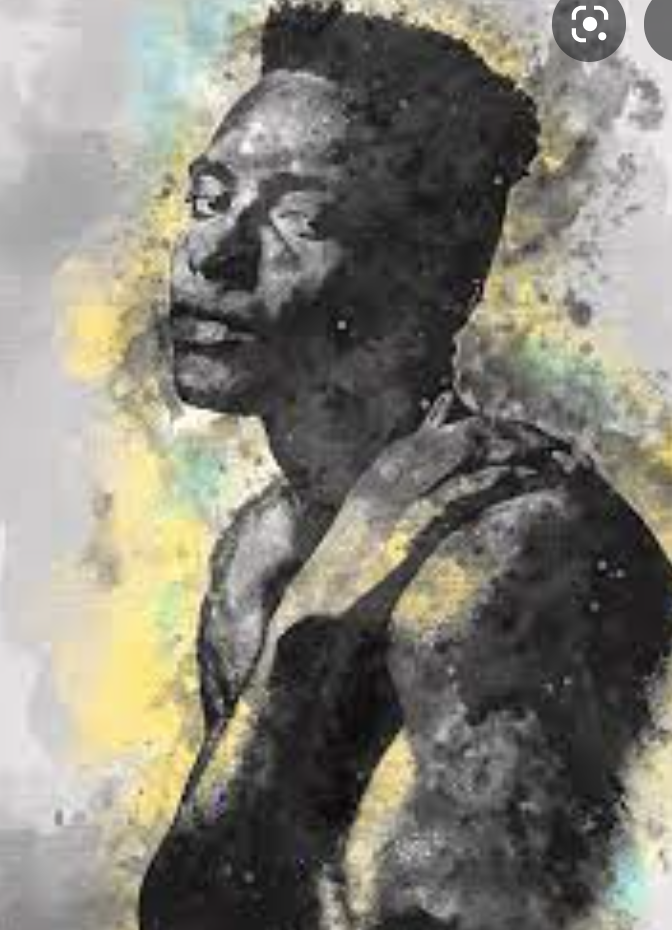
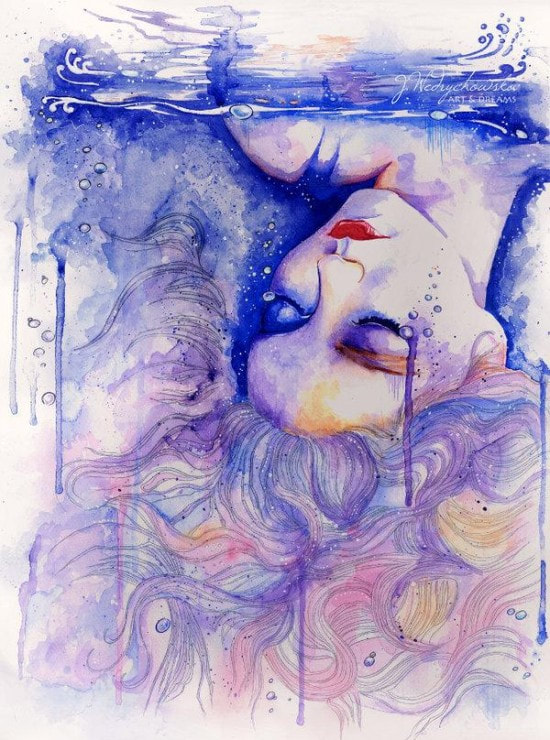
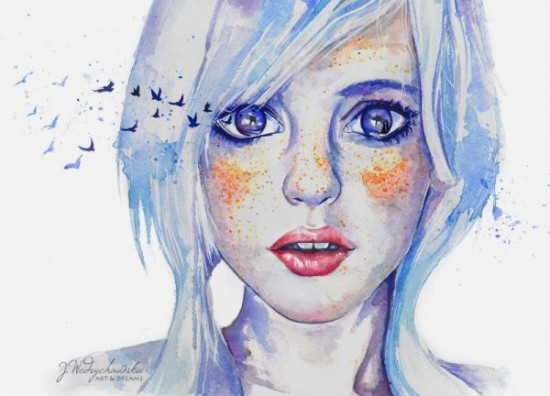
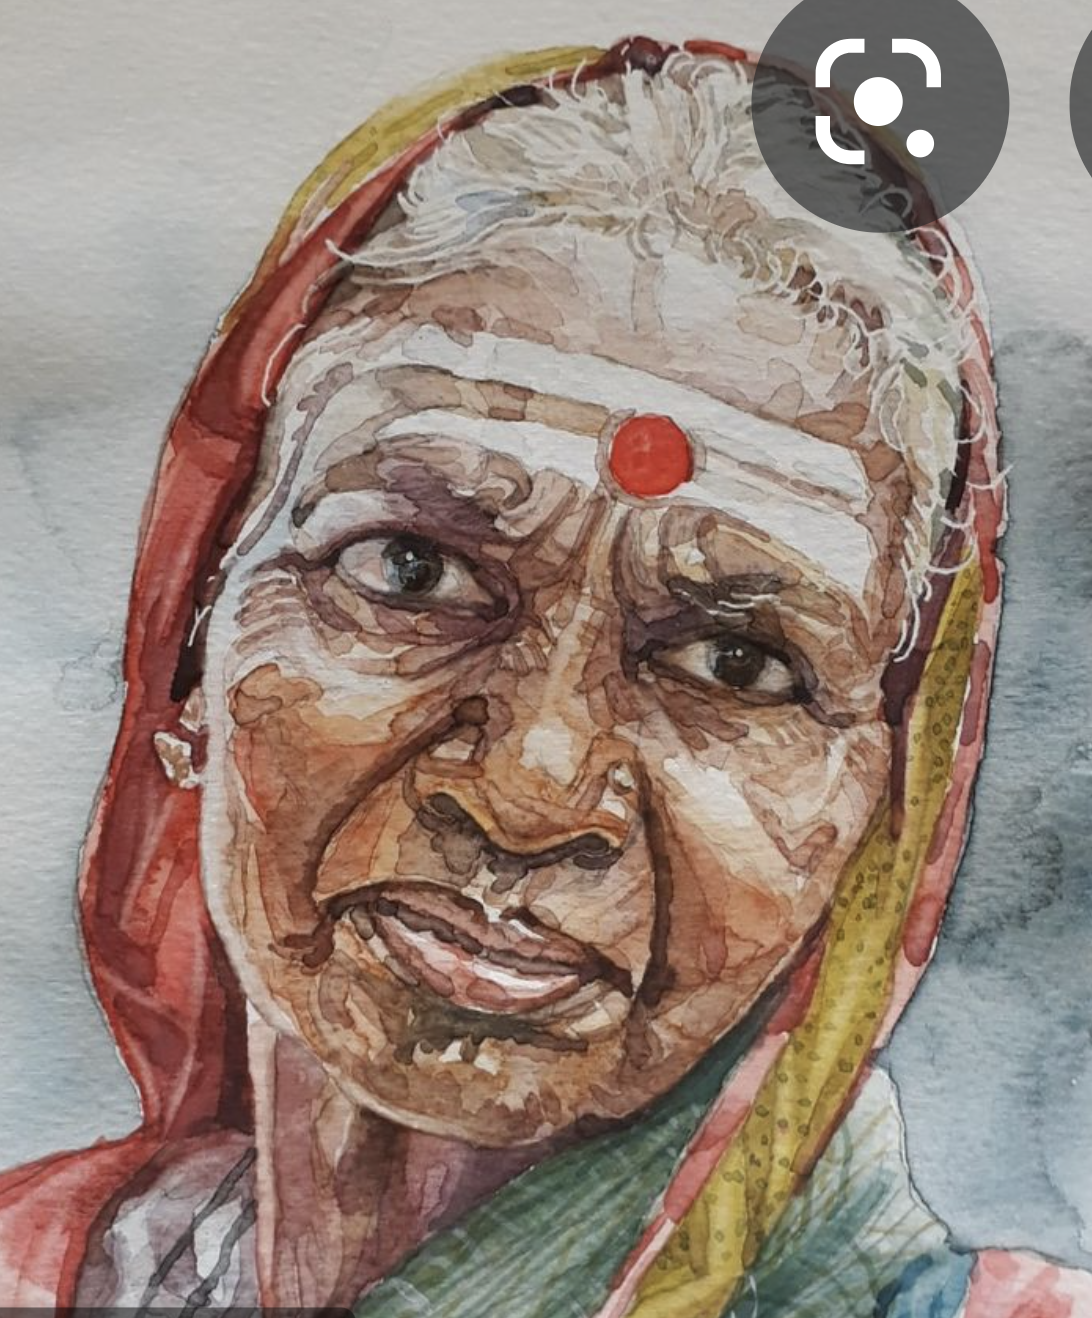
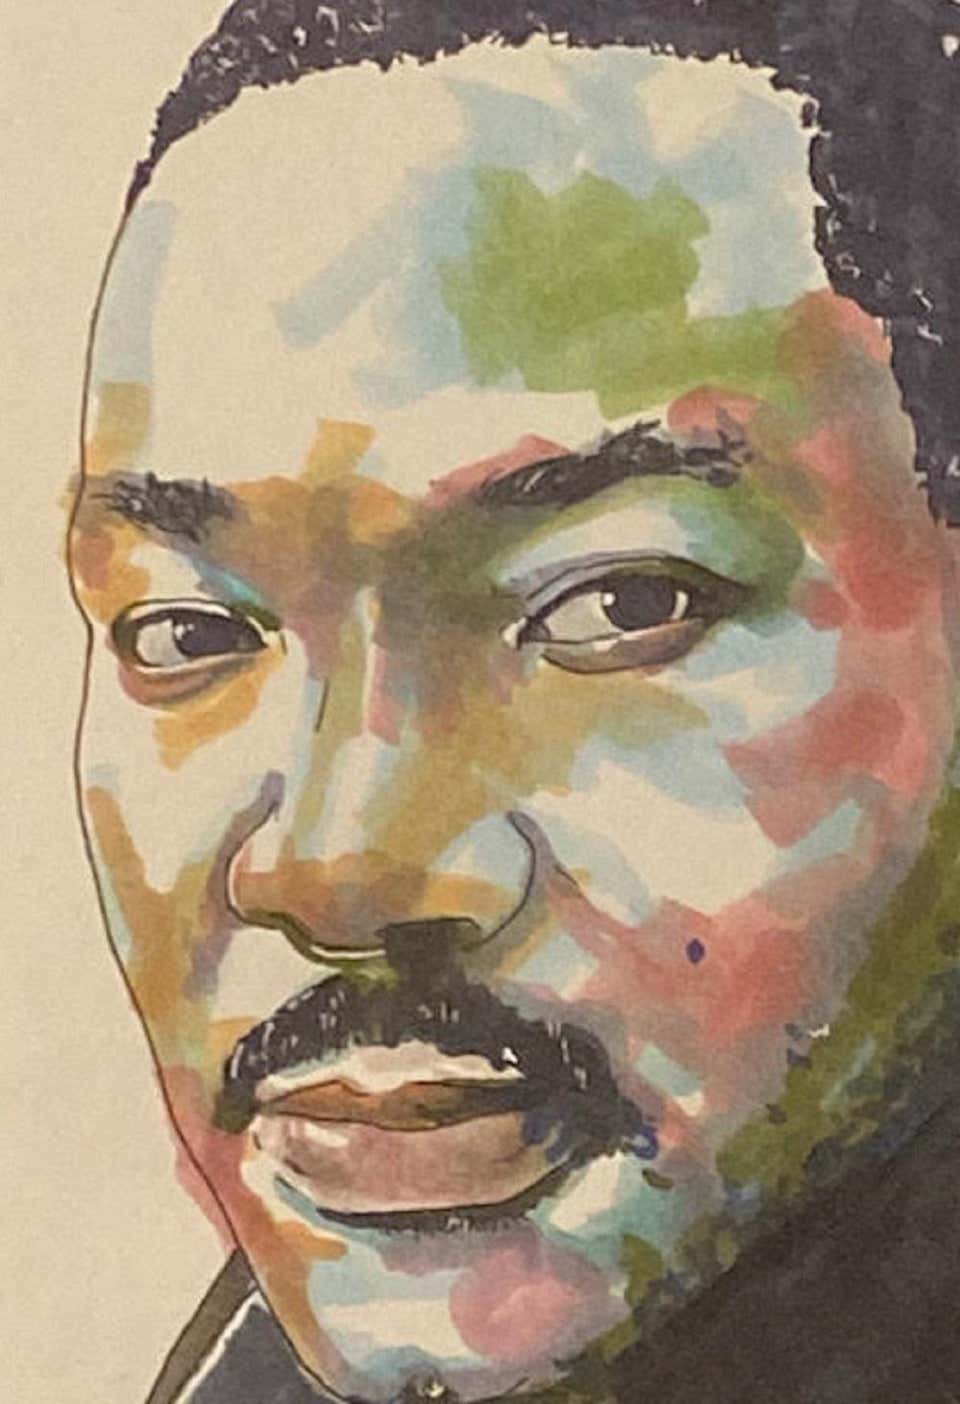
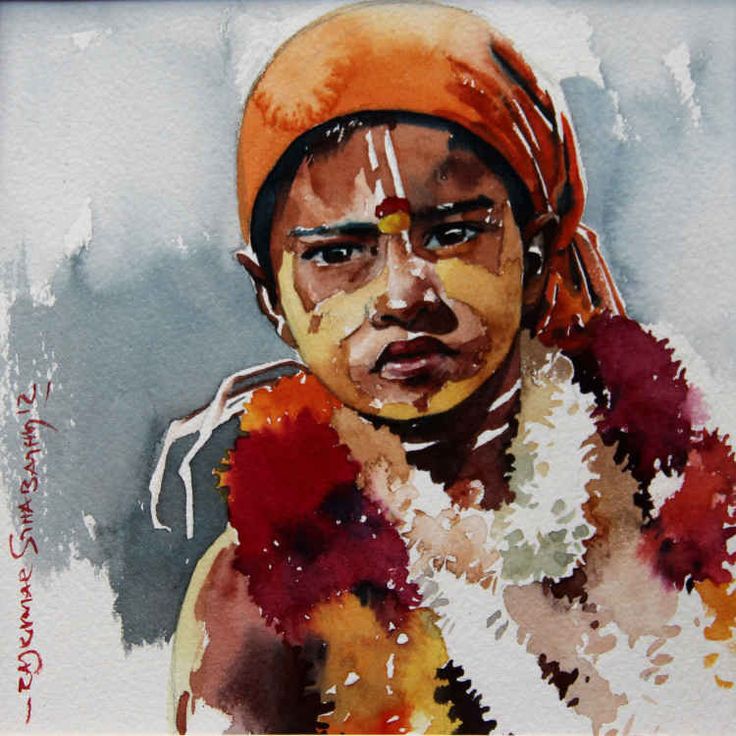
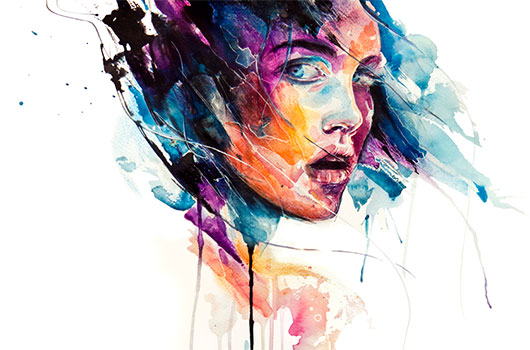
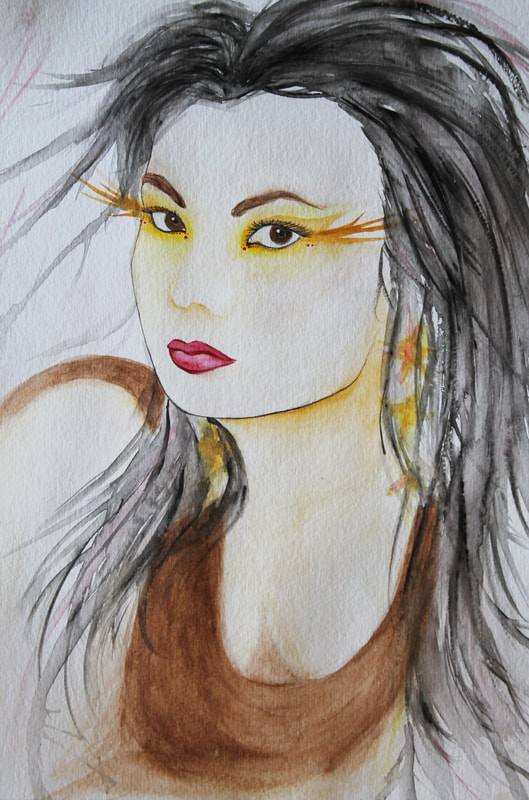
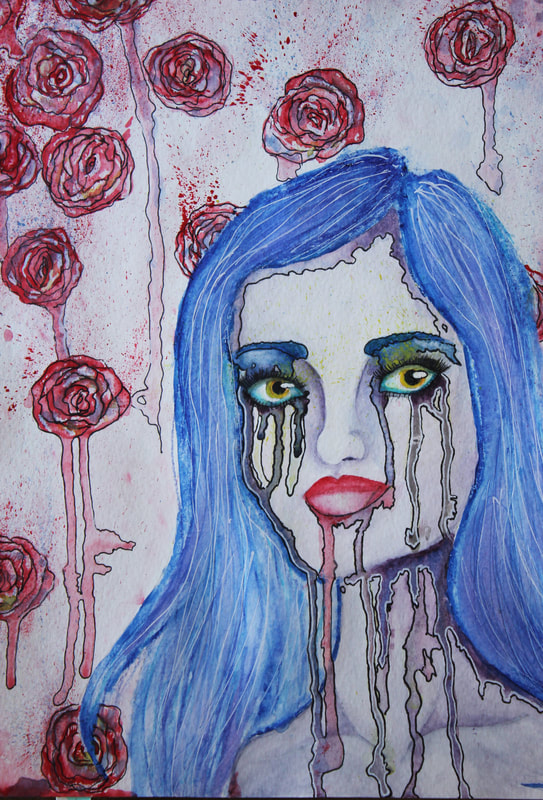
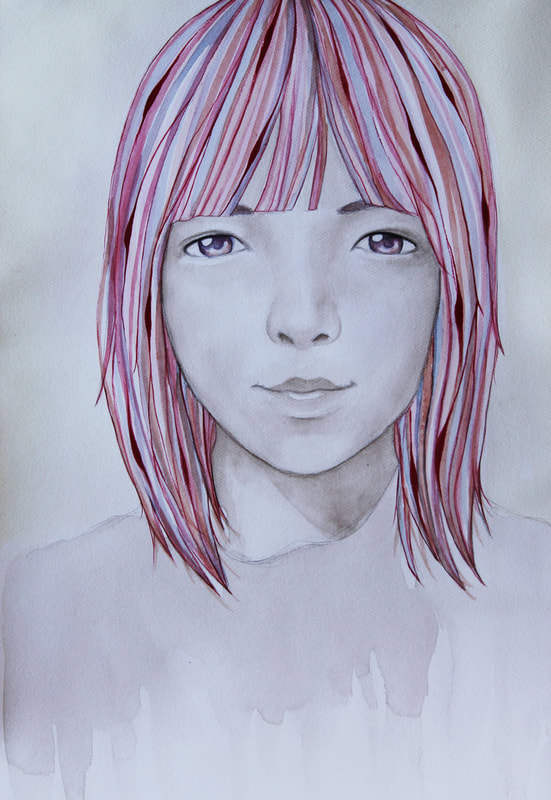
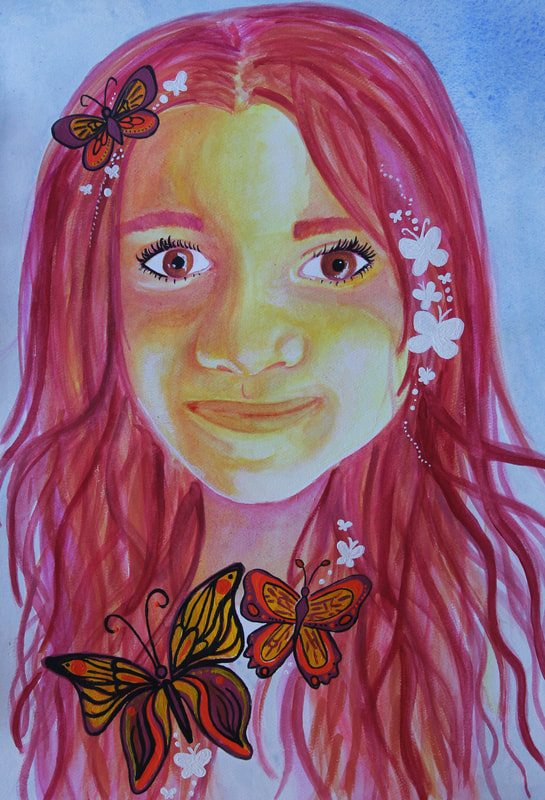
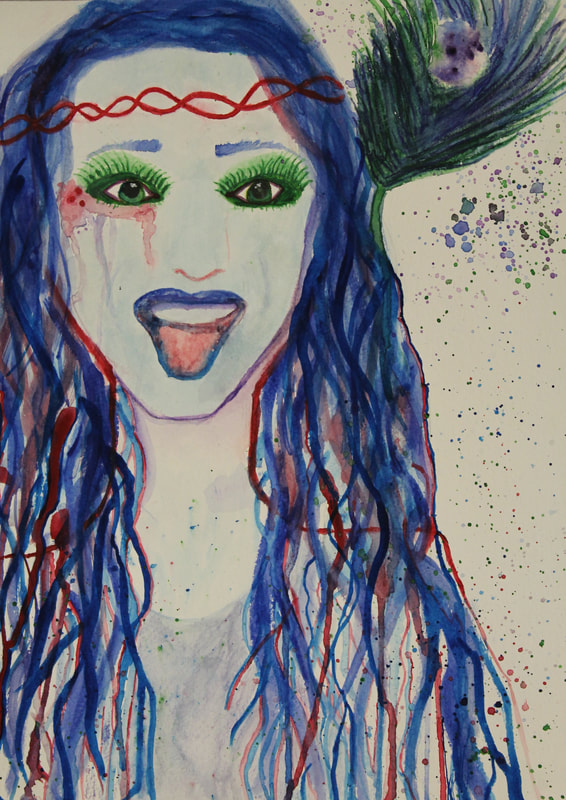
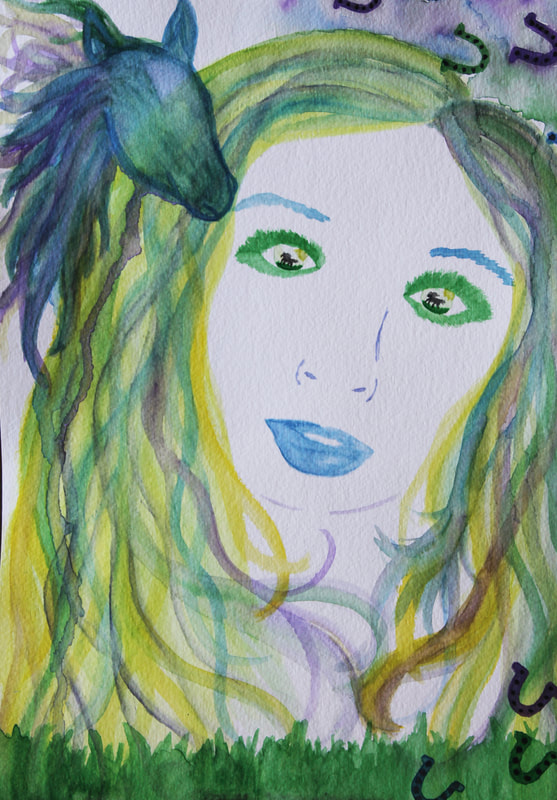
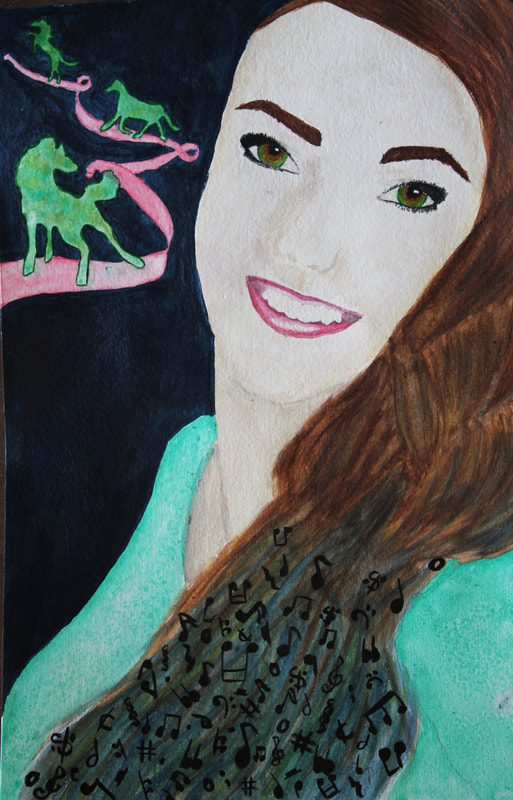
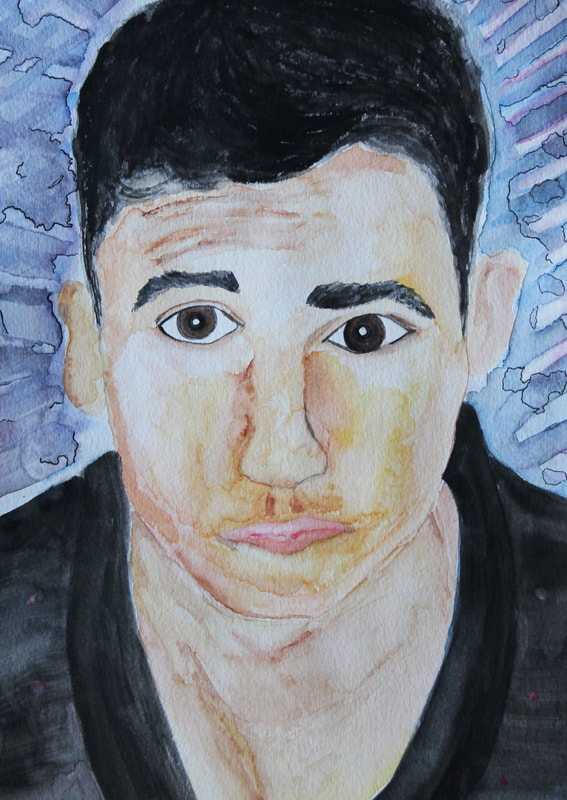
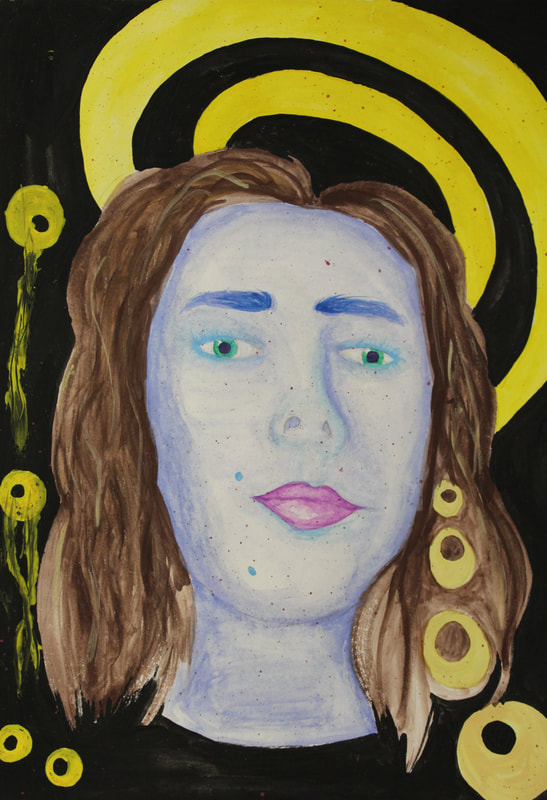
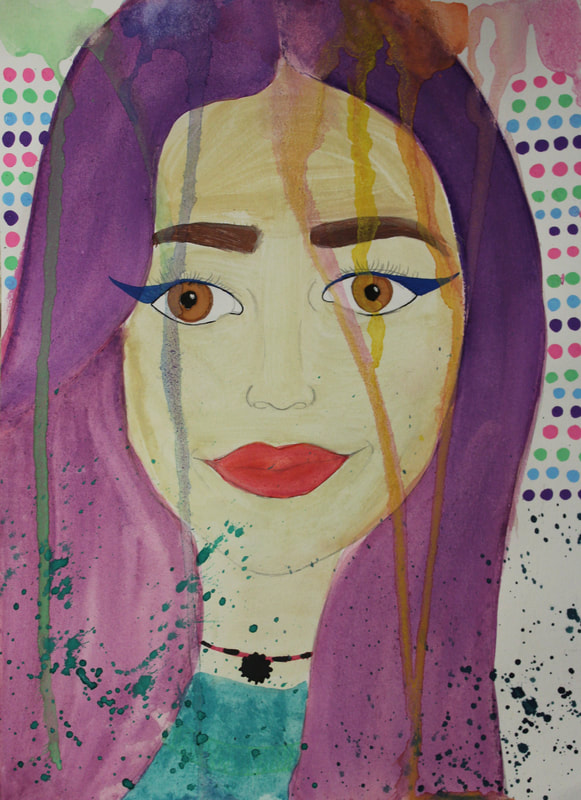
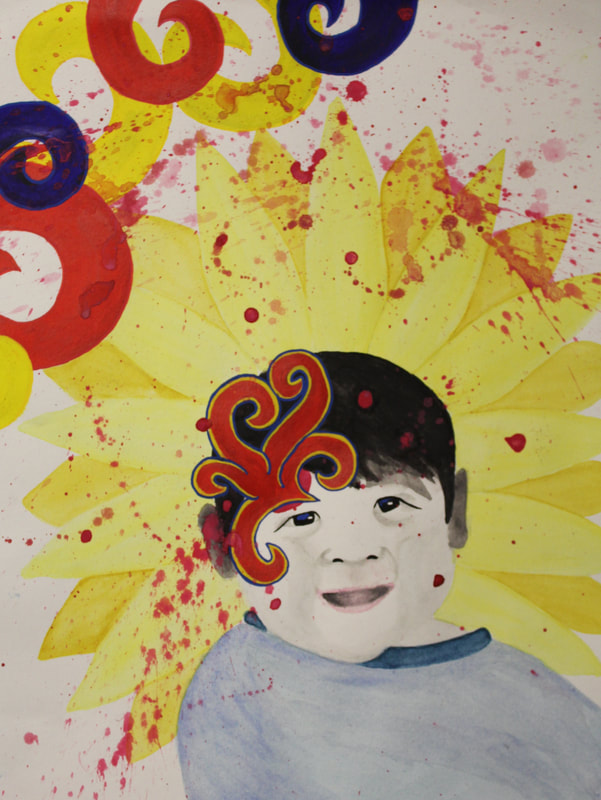
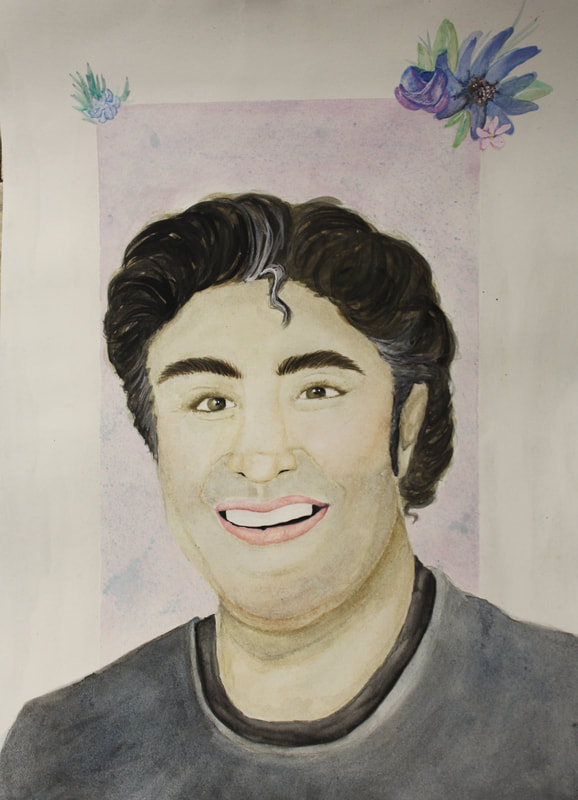
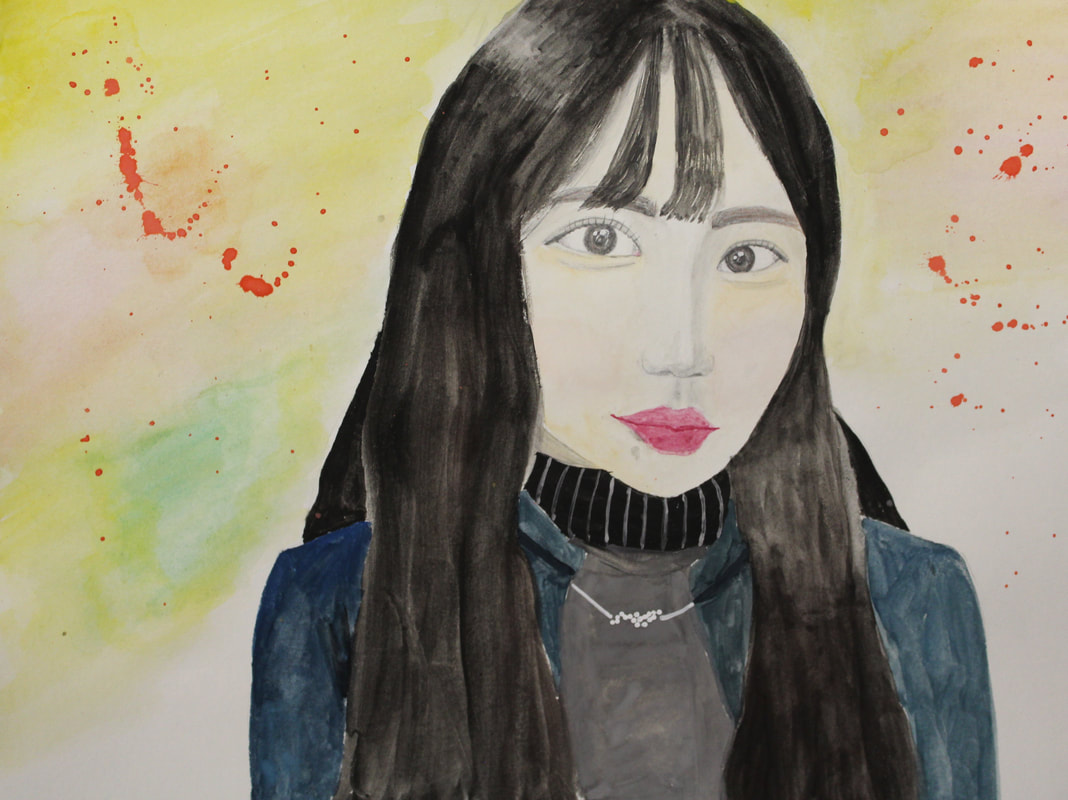
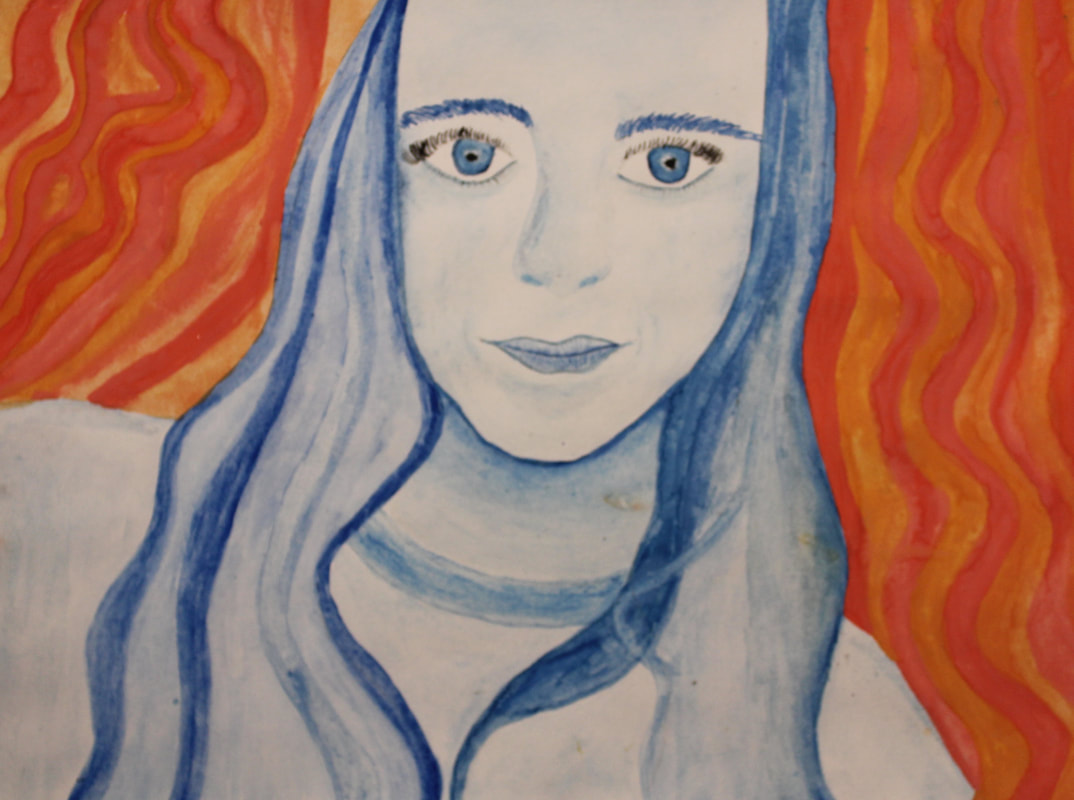
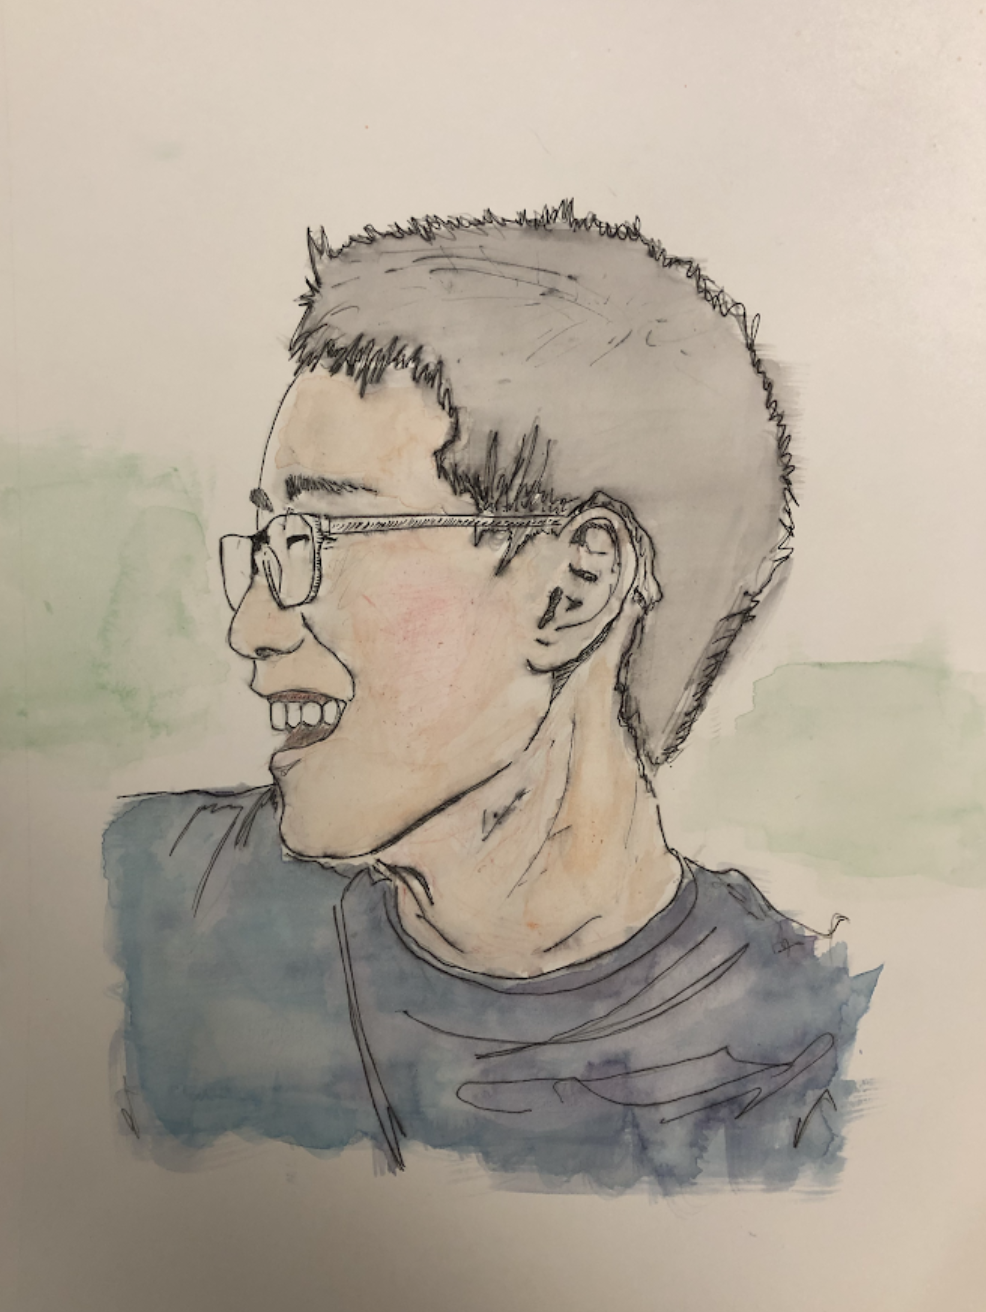
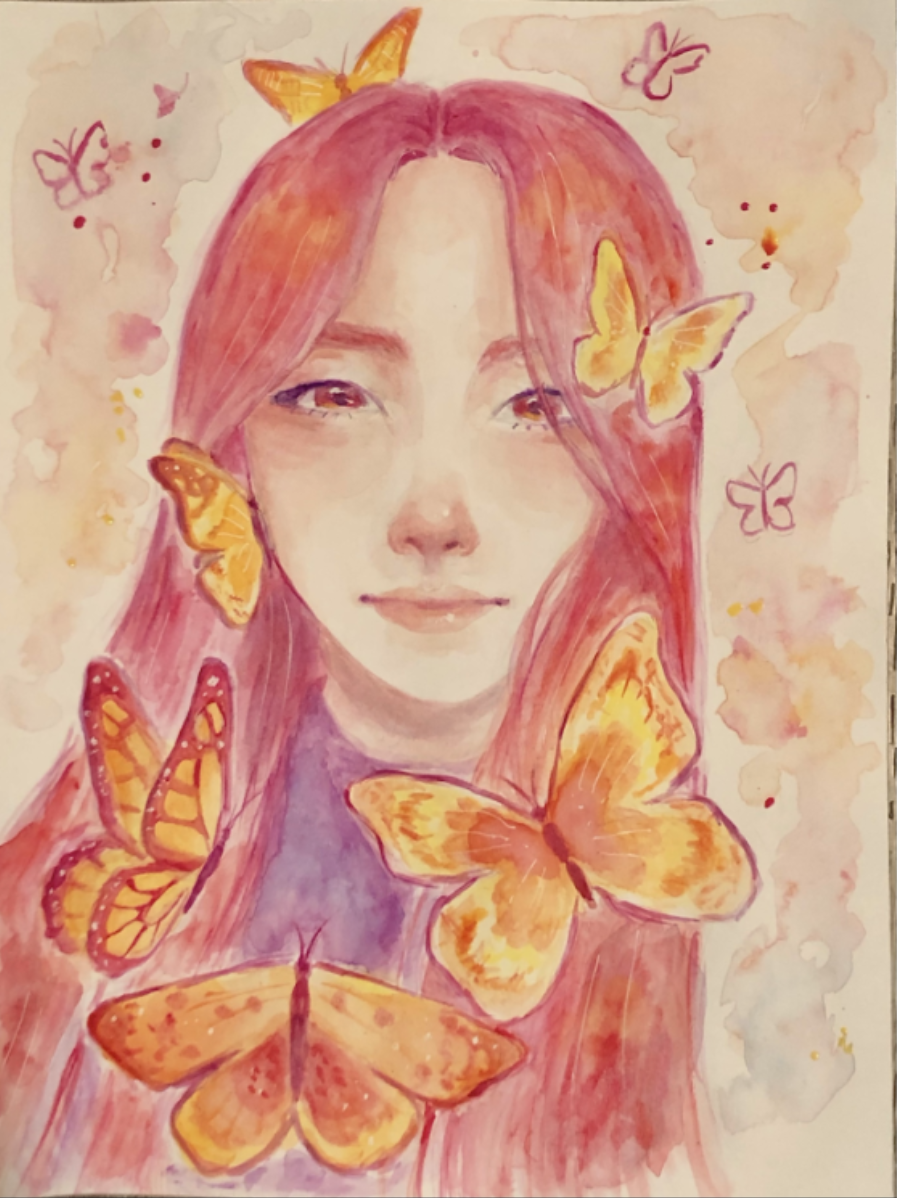
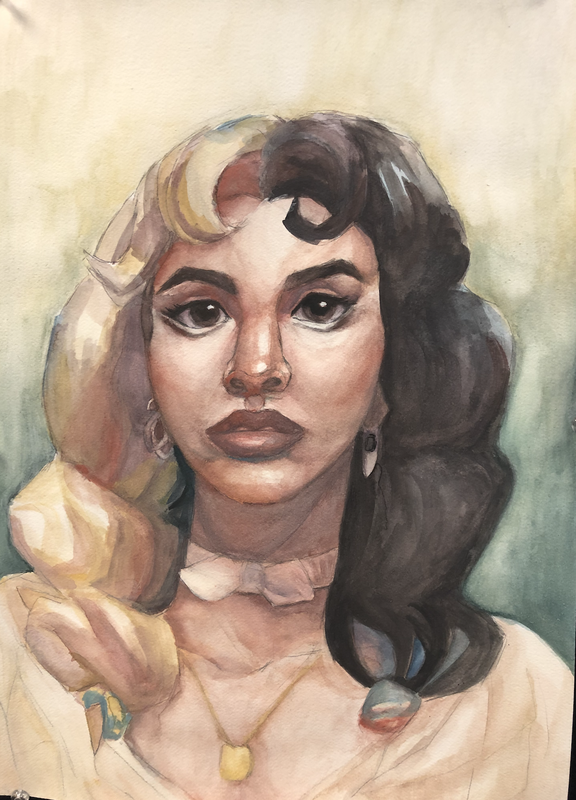
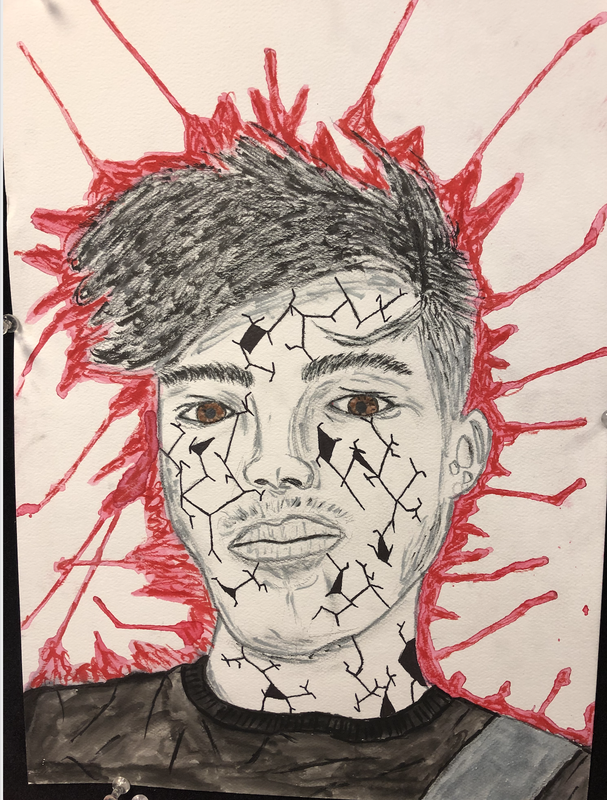
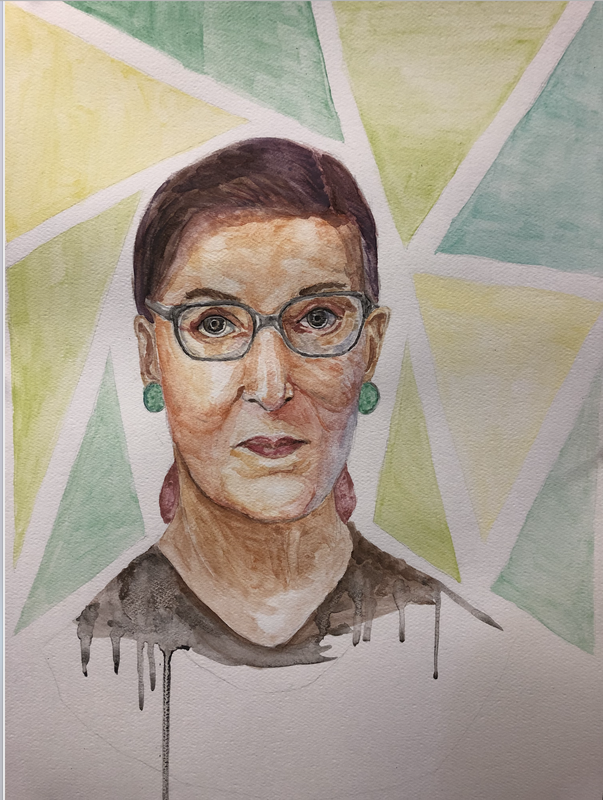
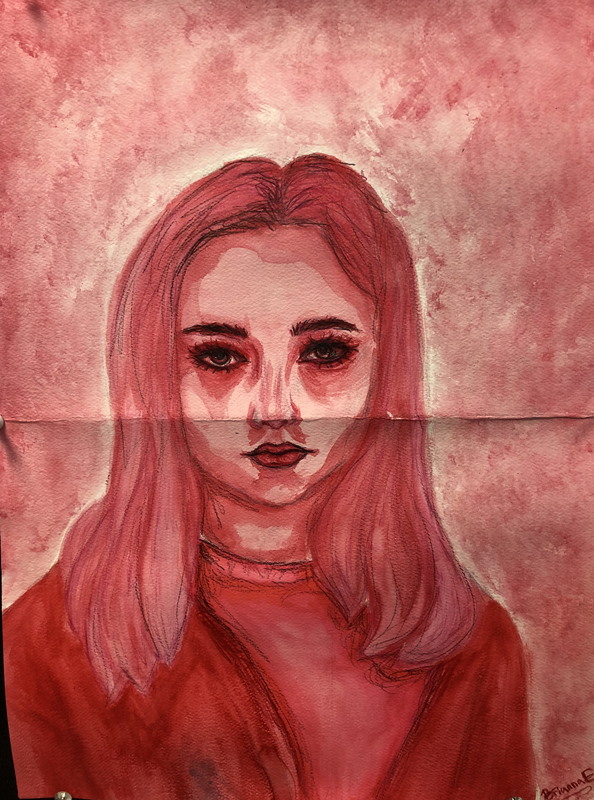
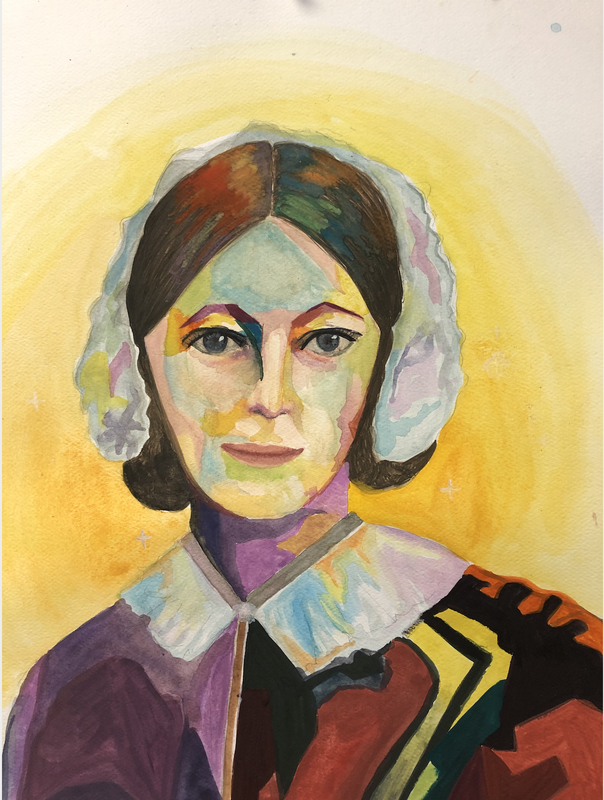
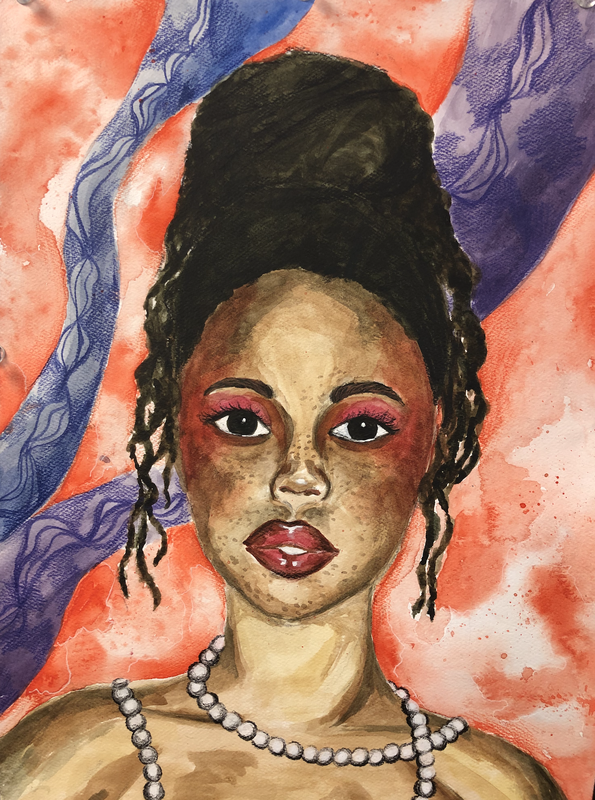
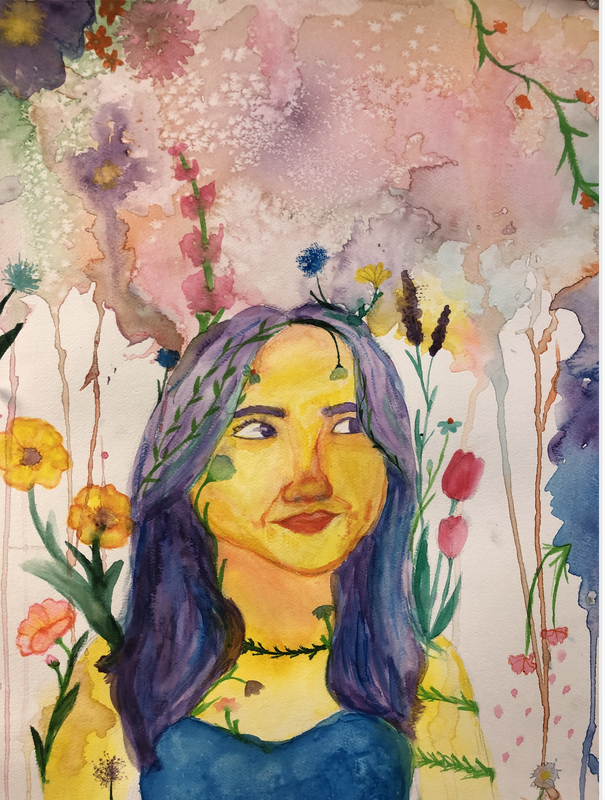
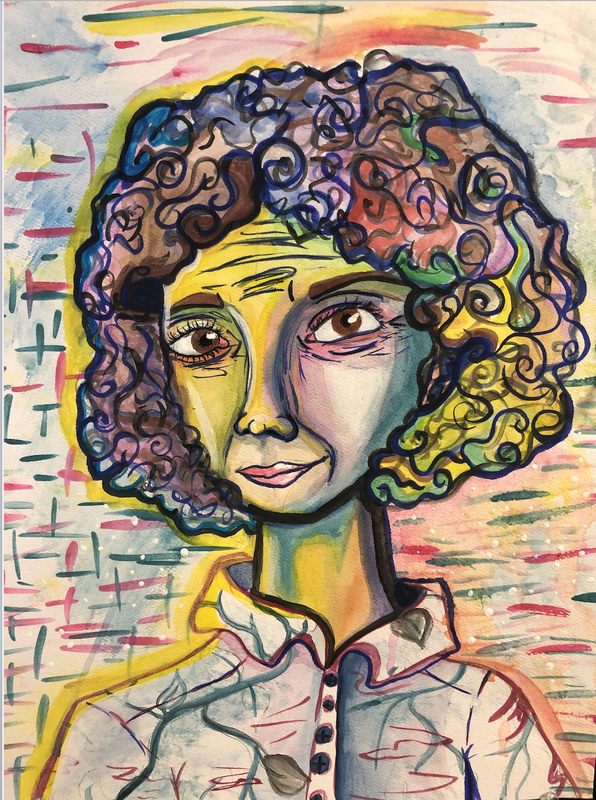
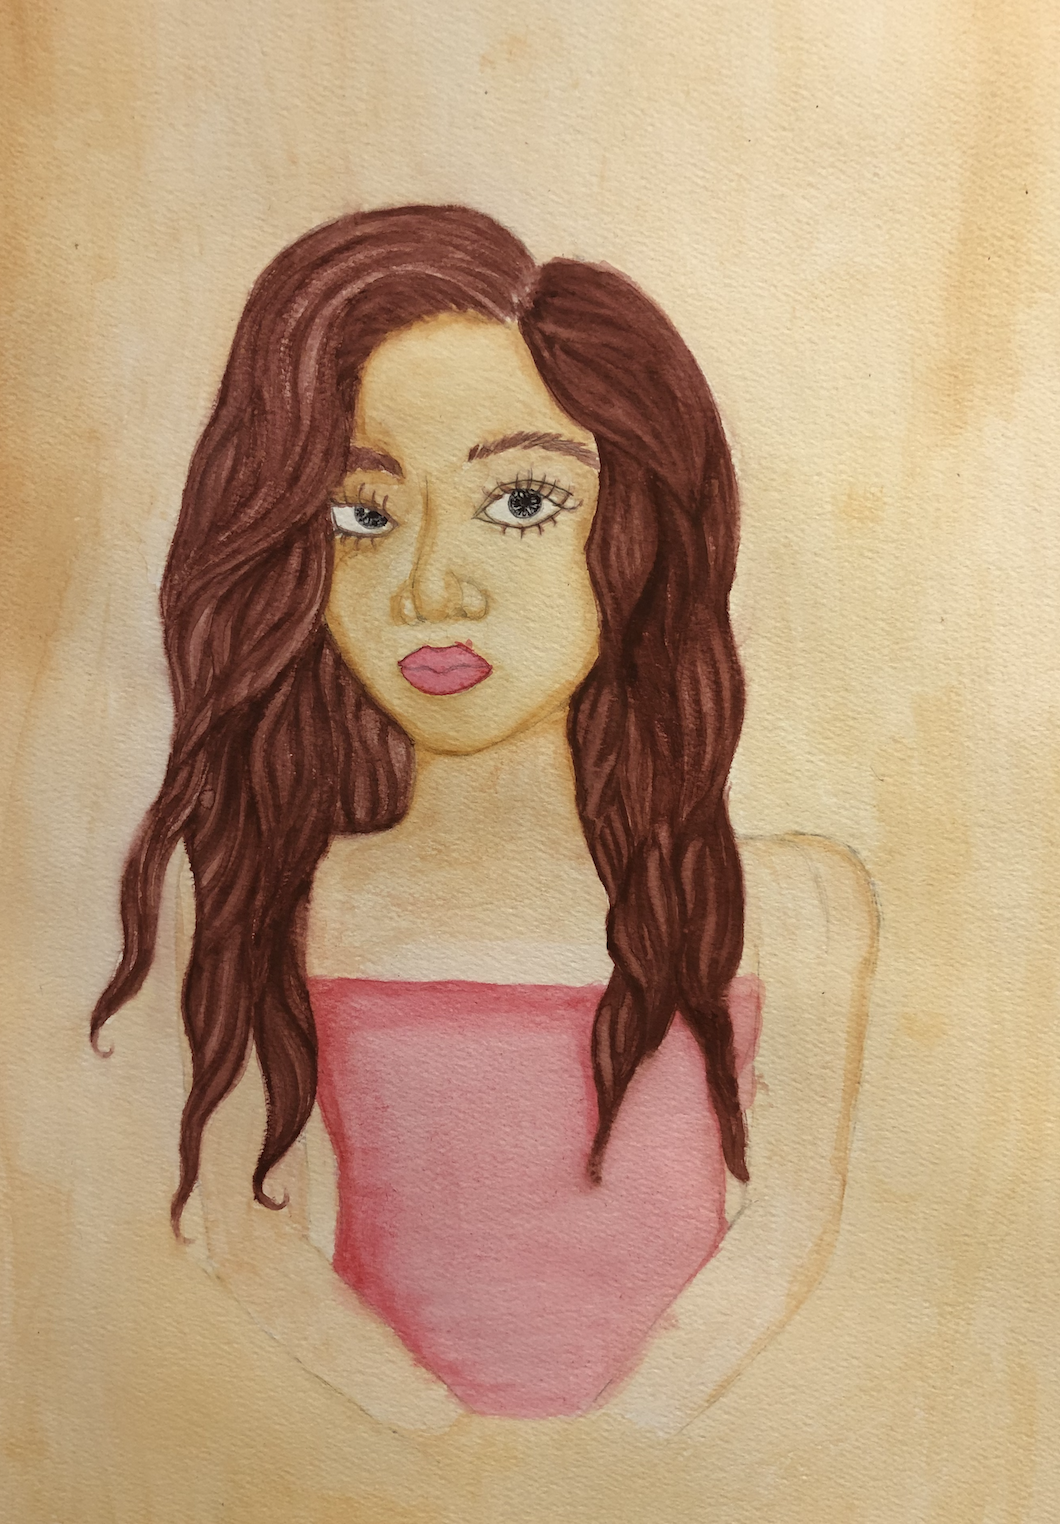
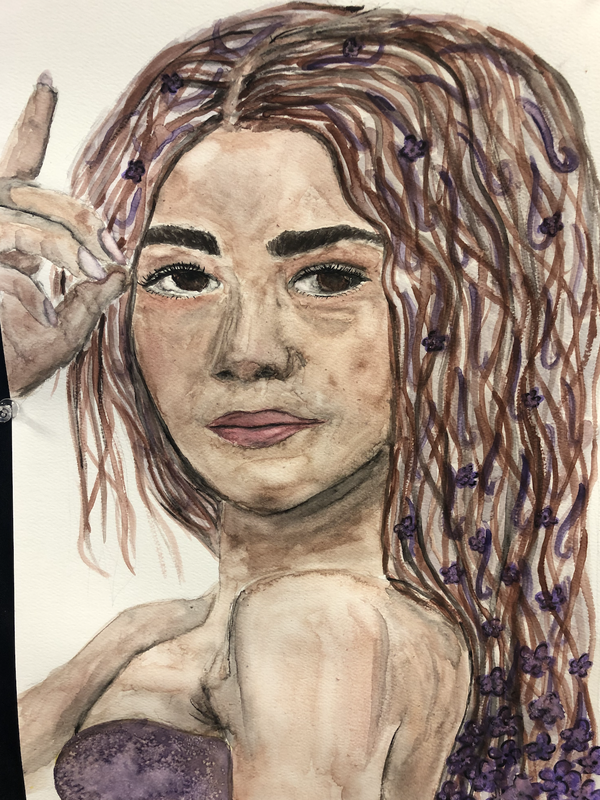
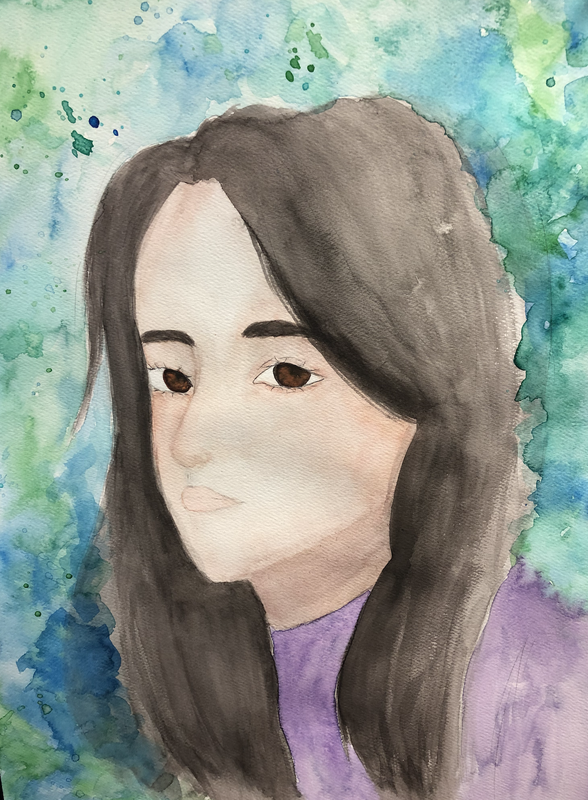
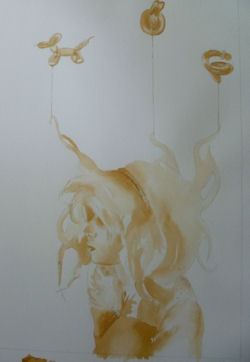
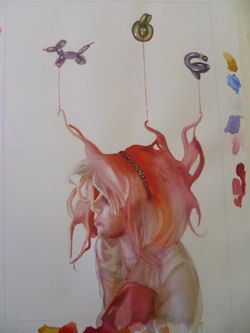
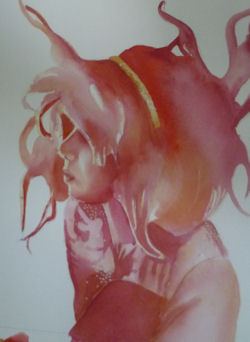
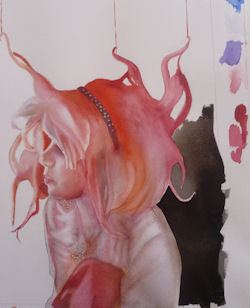
Watercolor Portrait Project
You will create a watercolor portrait using a photograph of you or a family member at any age as a reference.
Objectives:
Requirements:
Portrait Directions:
1. Once you’ve chosen a photo reference, lightly sketch your portrait onto your watercolor paper.
2. Choose a specific color scheme: Analagous, Complementary, Split Complement, Triad, etc. Limit your colors to a maximum of three or four.
3. Begin painting your portrait using a variety of watercolor techniques. You must demonstrate at least 4 different techniques in your portrait. Refer to your watercolor chart.
4. Add black ink or watercolor for contrast. You may paint with the black India ink or use the calligraphy pen to create crisp lines.
5. Add white acrylic paint or white paint pen for highlights.
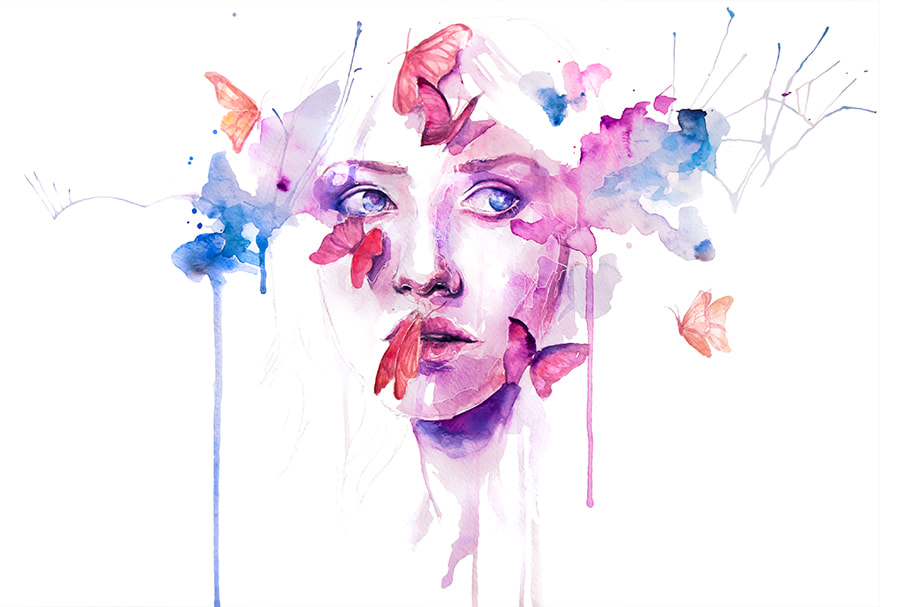
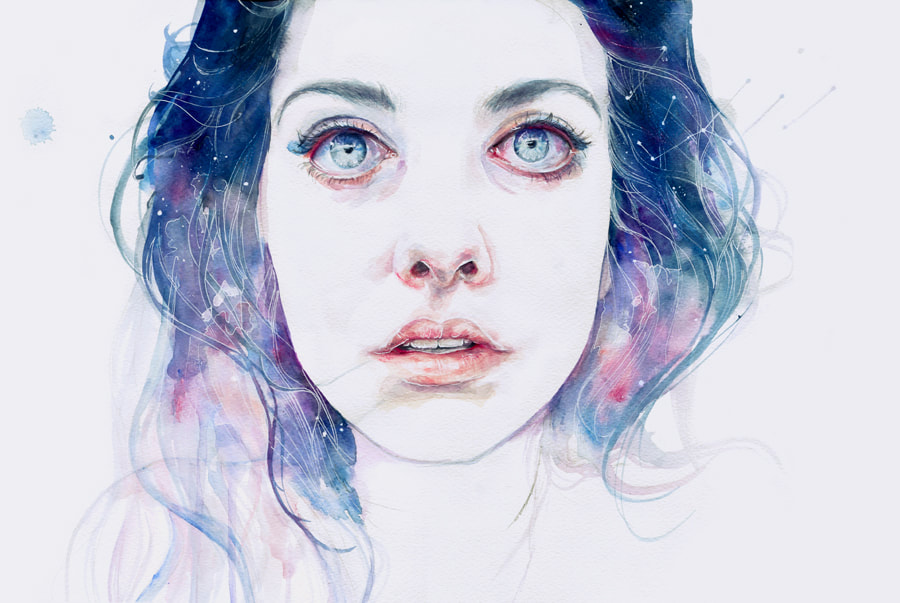
6. Add your own personal voice and originality:
-Add surreal or stylized elements like birds, flowers, buildings, etc.
-Add texture and variety with paint drippings, splatters, paint drips or alcohol drip.
-Add crisp lines with watercolor pencils or ink or paint pen
You will create a watercolor portrait using a photograph of you or a family member at any age as a reference.
Objectives:
- Learn and demonstrate watercolor painting techniques.
- Demonstrate understanding of positive and negative space.
- Demonstrate understanding of the three dimensional aspects of the face using value, line, and form.
Requirements:
- Create a portrait of yourself or a family member
- Demonstrate a minimum of 4 watercolor techniques. You must include wash techniques and at least 1 texture technique.
- Use a specific color scheme. Maximum of 4 colors plus black and white.
- Include a range of values by diluting paint with water and LAYERING paint to build saturation.
- Include a surreal/creative element
- Minimum size 9X12”
Portrait Directions:
1. Once you’ve chosen a photo reference, lightly sketch your portrait onto your watercolor paper.
2. Choose a specific color scheme: Analagous, Complementary, Split Complement, Triad, etc. Limit your colors to a maximum of three or four.
3. Begin painting your portrait using a variety of watercolor techniques. You must demonstrate at least 4 different techniques in your portrait. Refer to your watercolor chart.
4. Add black ink or watercolor for contrast. You may paint with the black India ink or use the calligraphy pen to create crisp lines.
5. Add white acrylic paint or white paint pen for highlights.
6. Add your own personal voice and originality:
-Add surreal or stylized elements like birds, flowers, buildings, etc.
-Add texture and variety with paint drippings, splatters, paint drips or alcohol drip.
-Add crisp lines with watercolor pencils or ink or paint pen
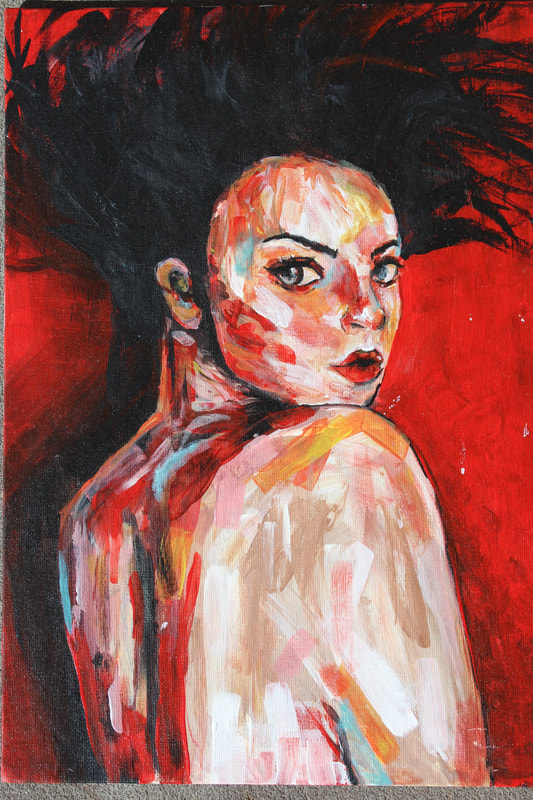
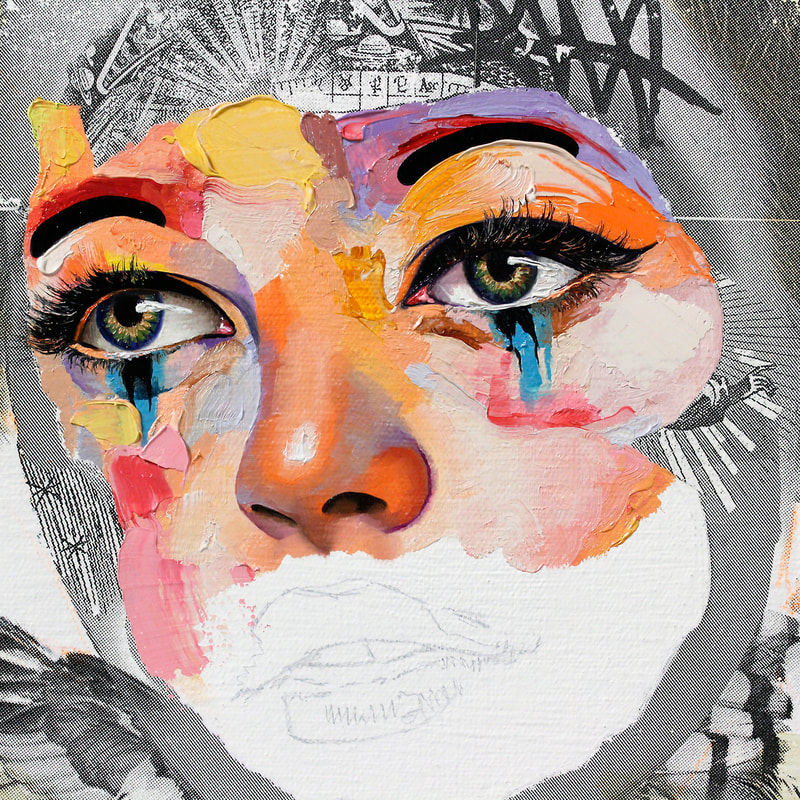
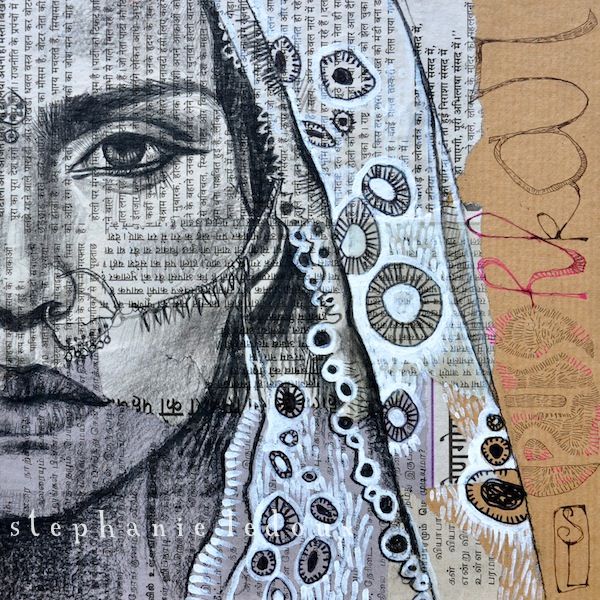
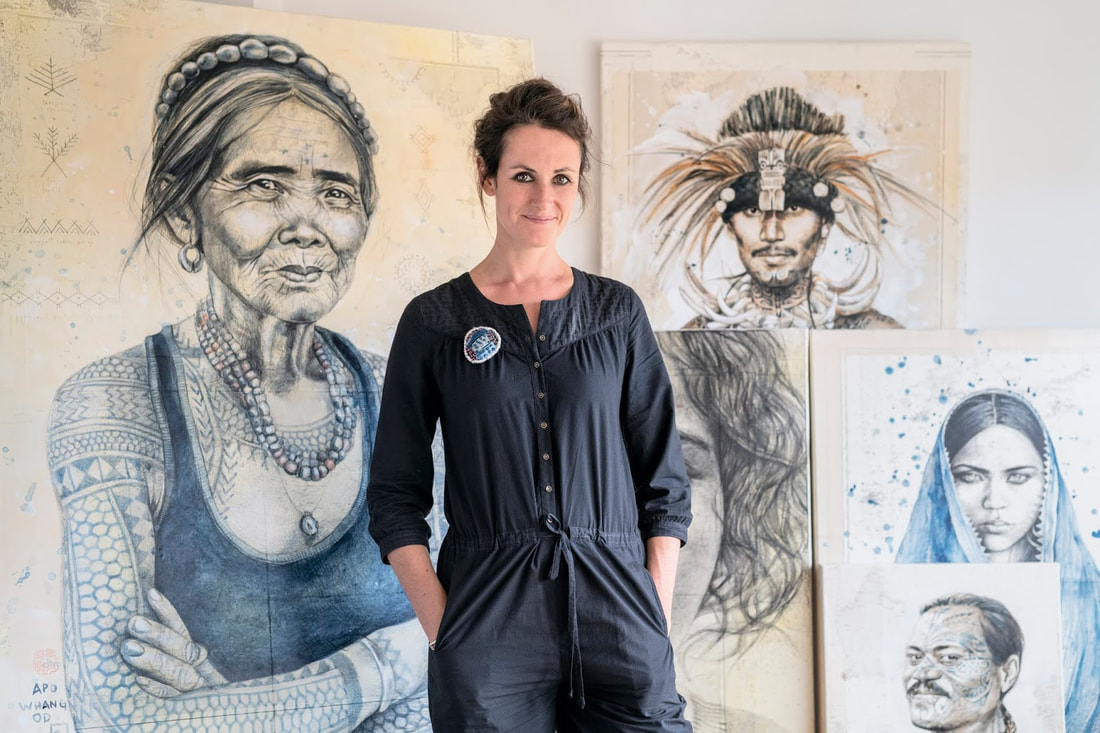
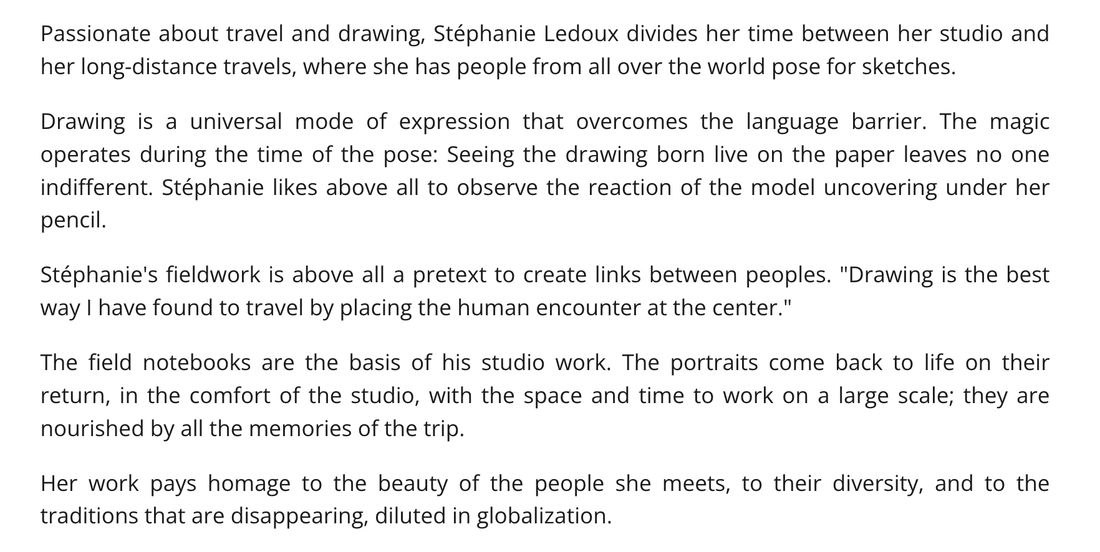
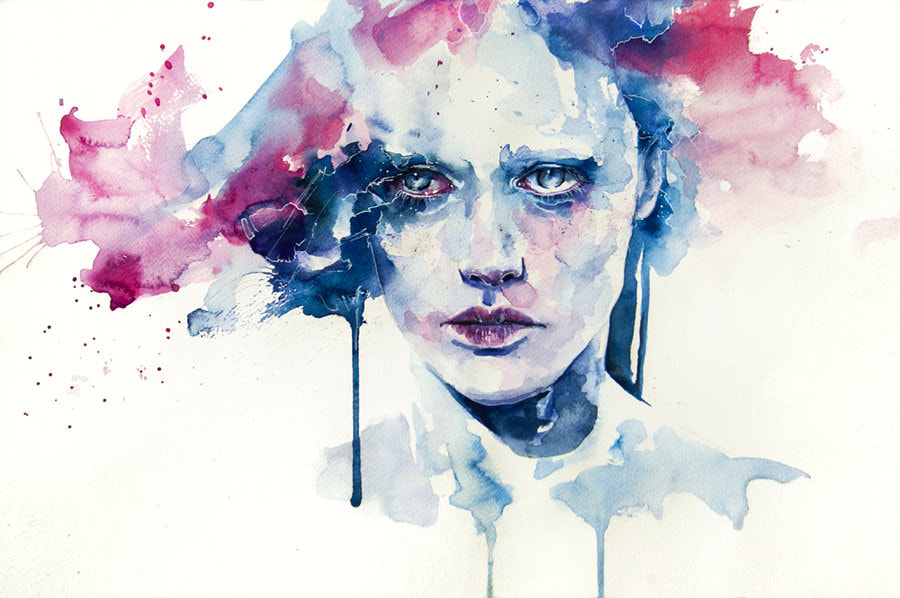
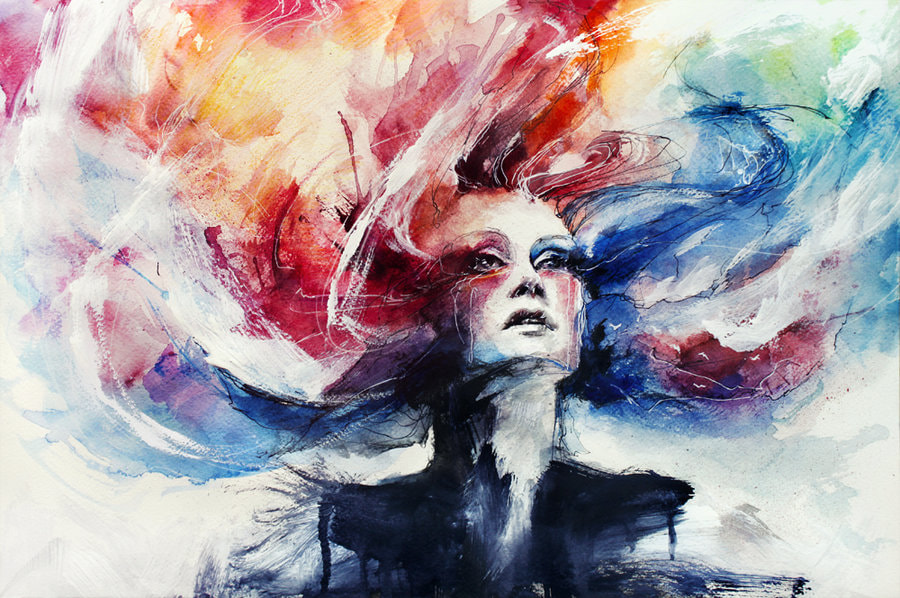
Watercolor Portrait Professional Examples:

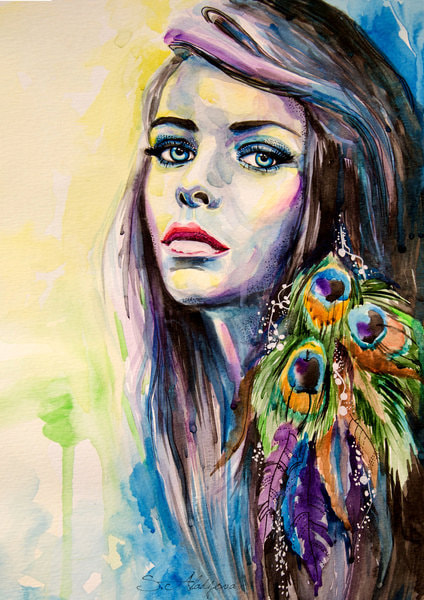
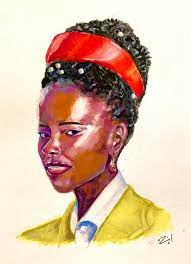
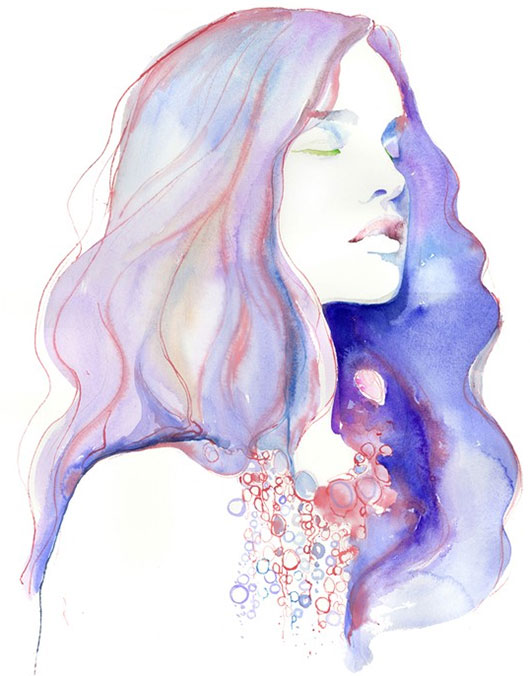
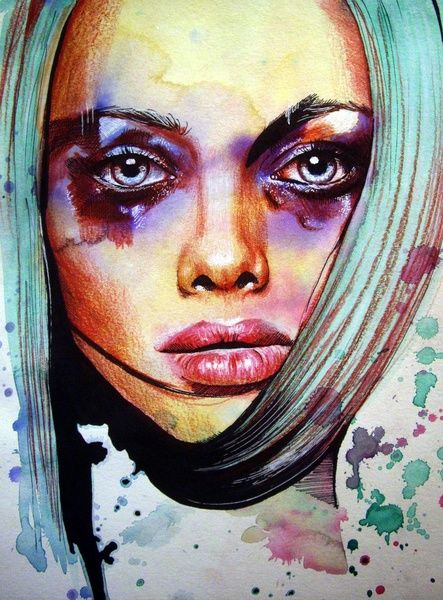
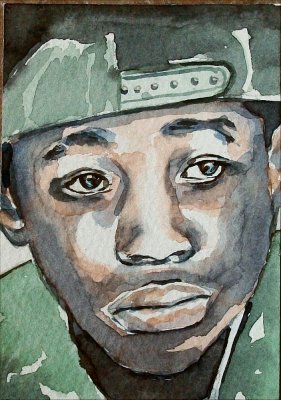


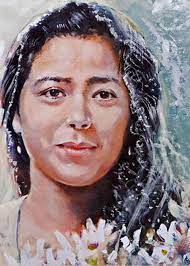
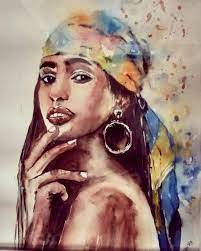
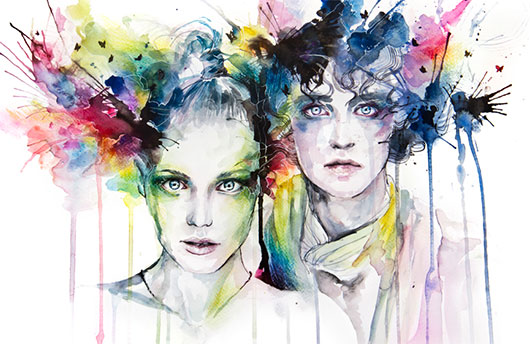
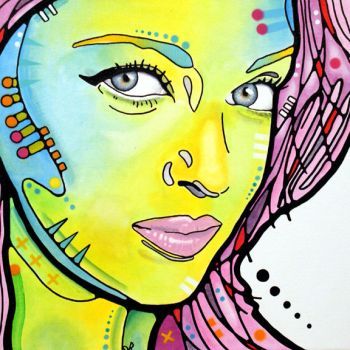
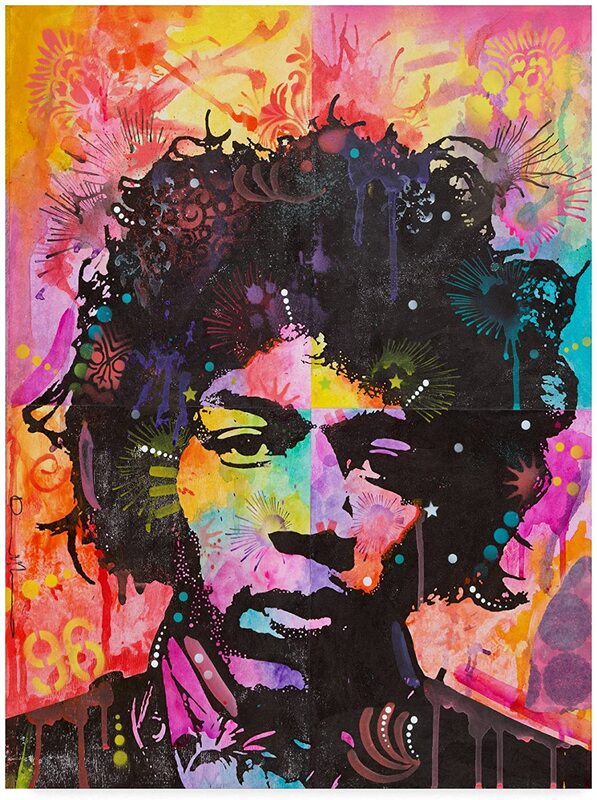
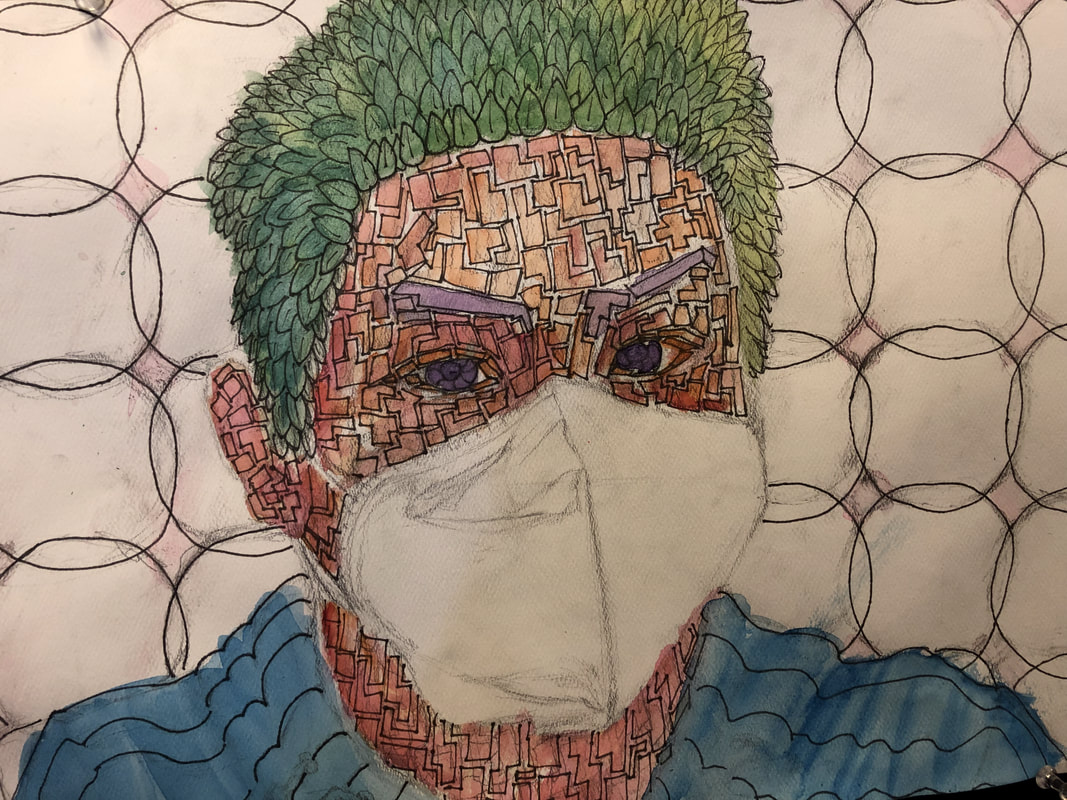
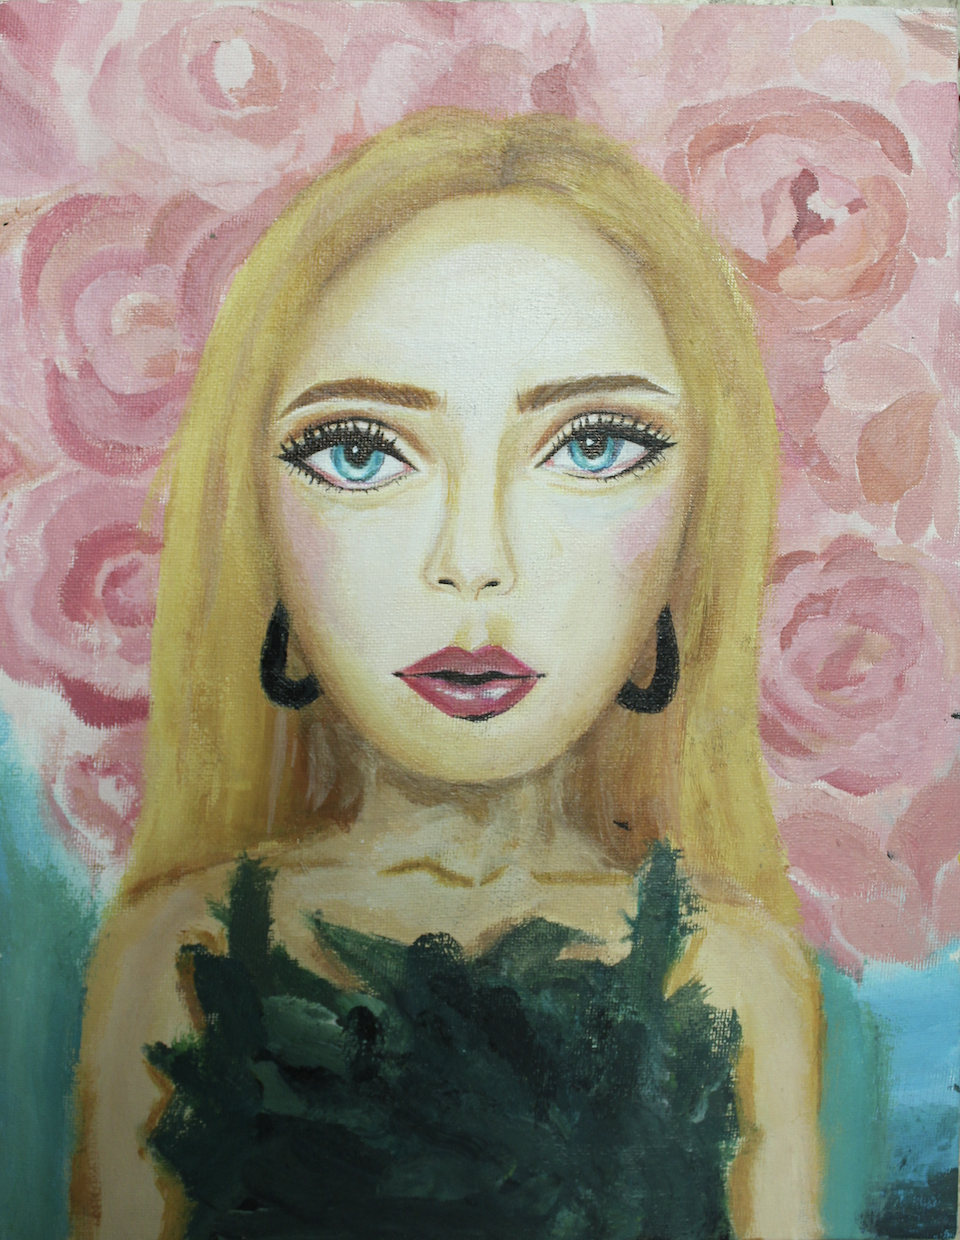
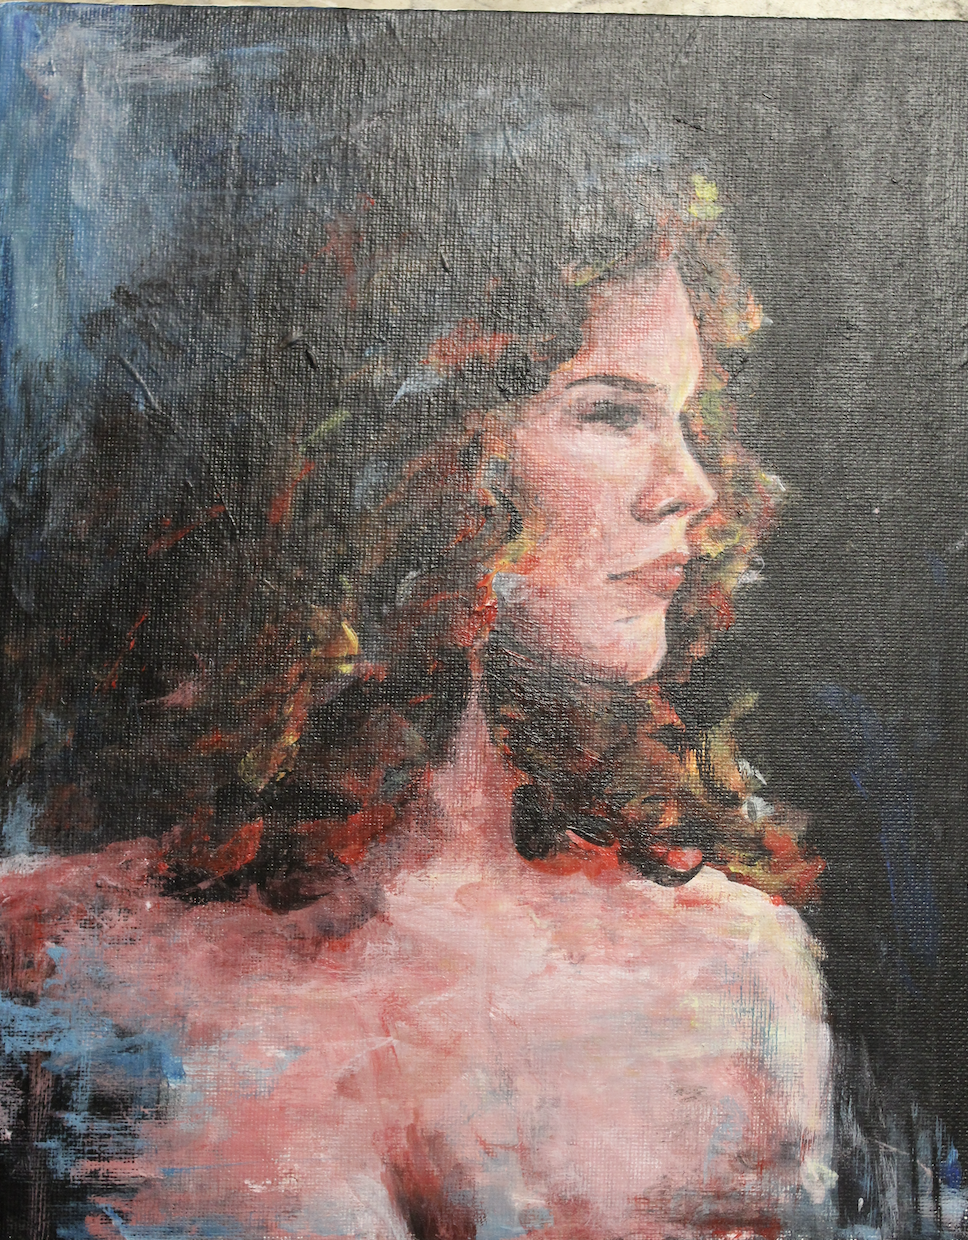
Watercolor Portraits Student Examples:

Watercolor Portrait Tutorial:

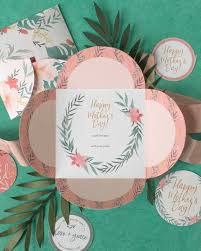
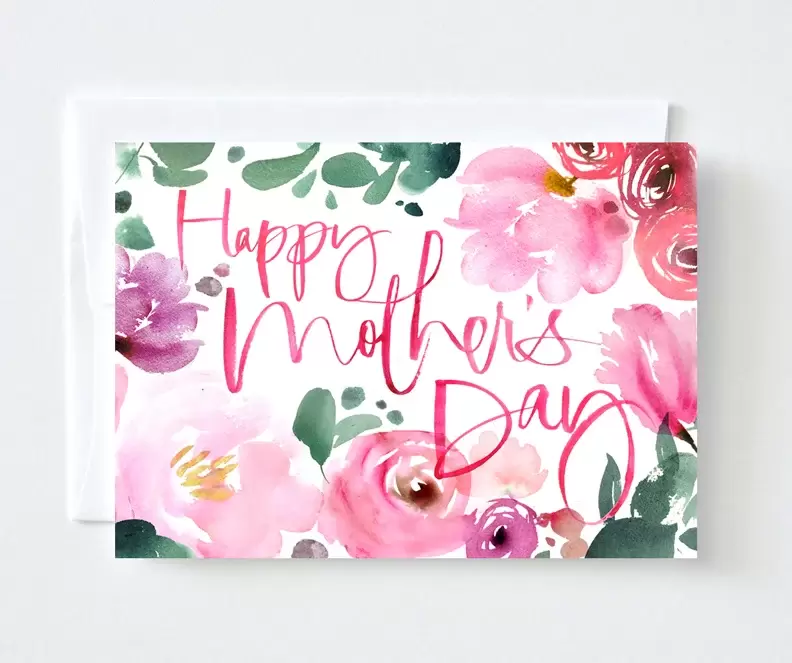
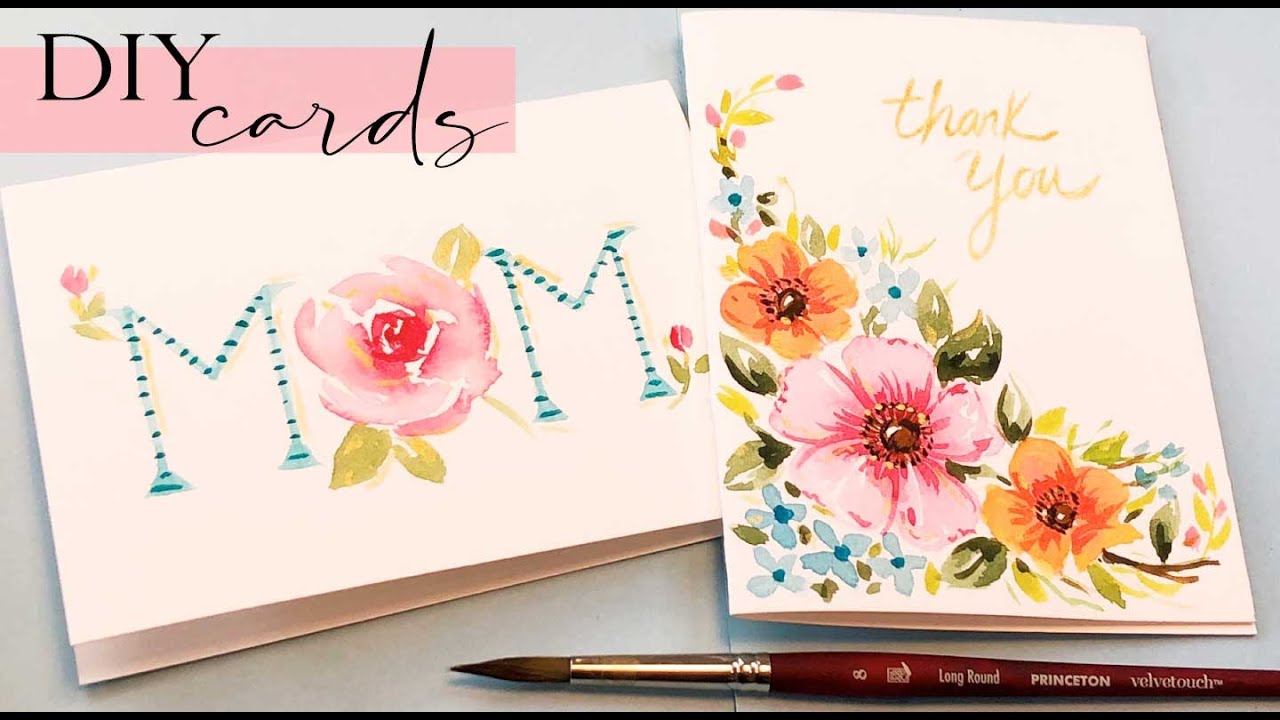
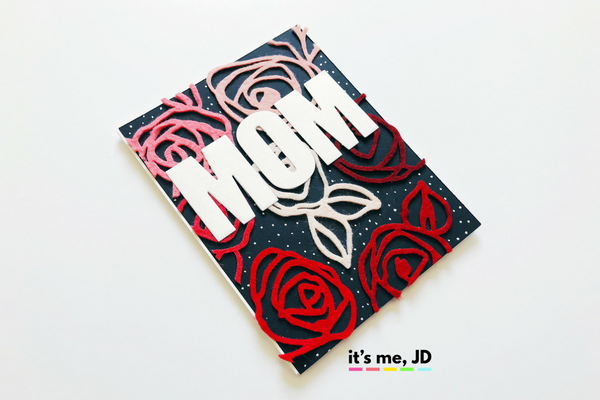
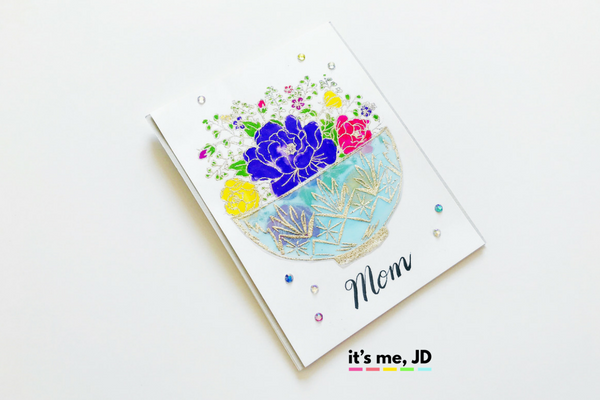
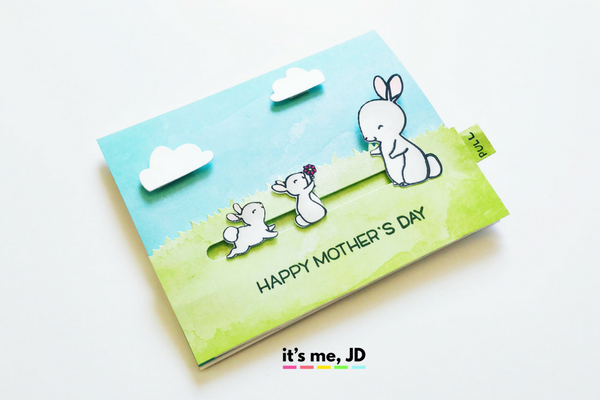
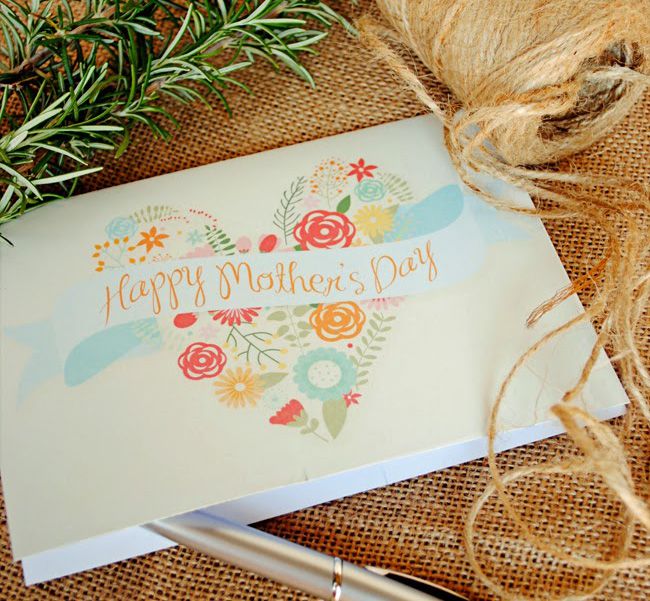
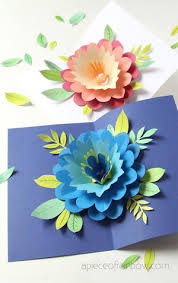
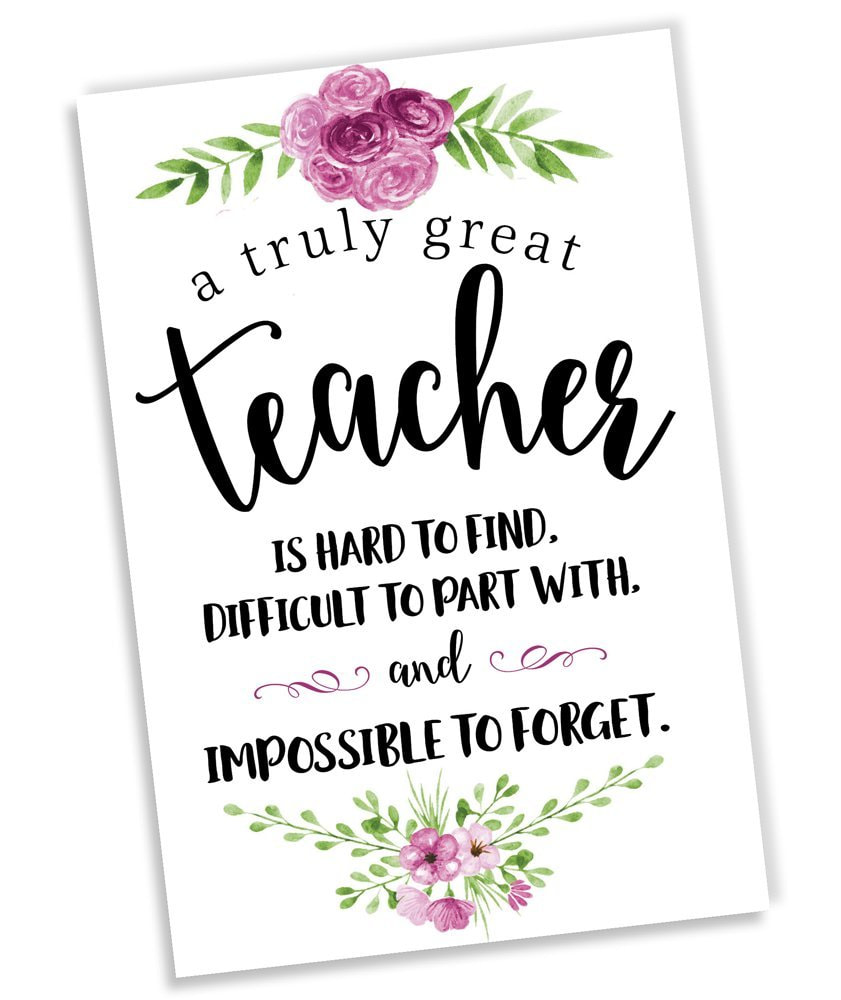
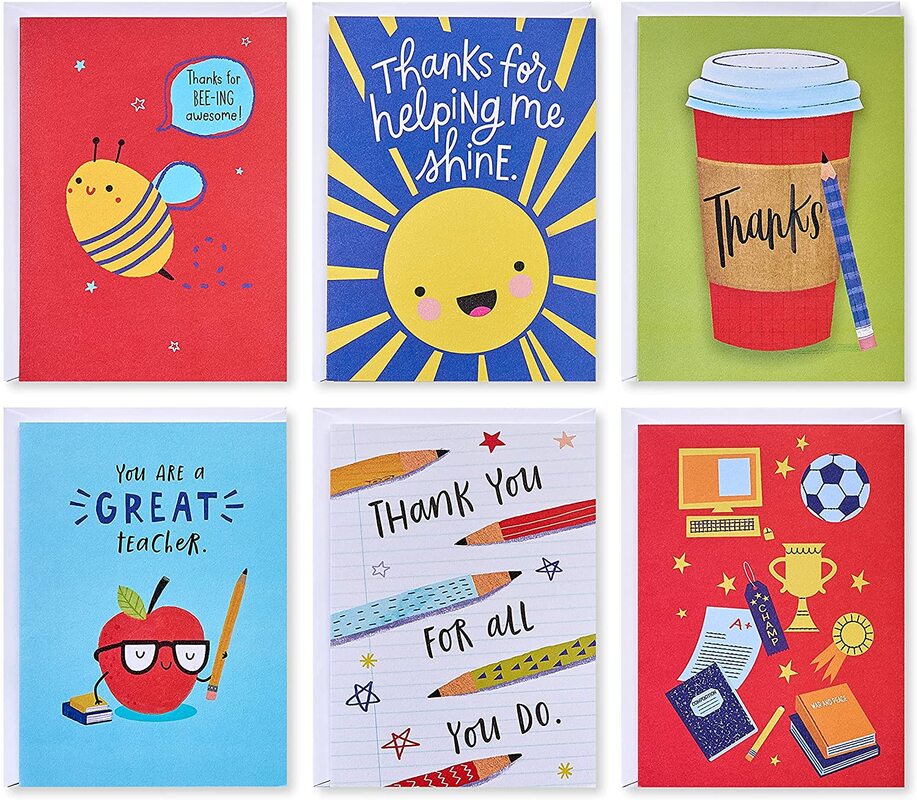
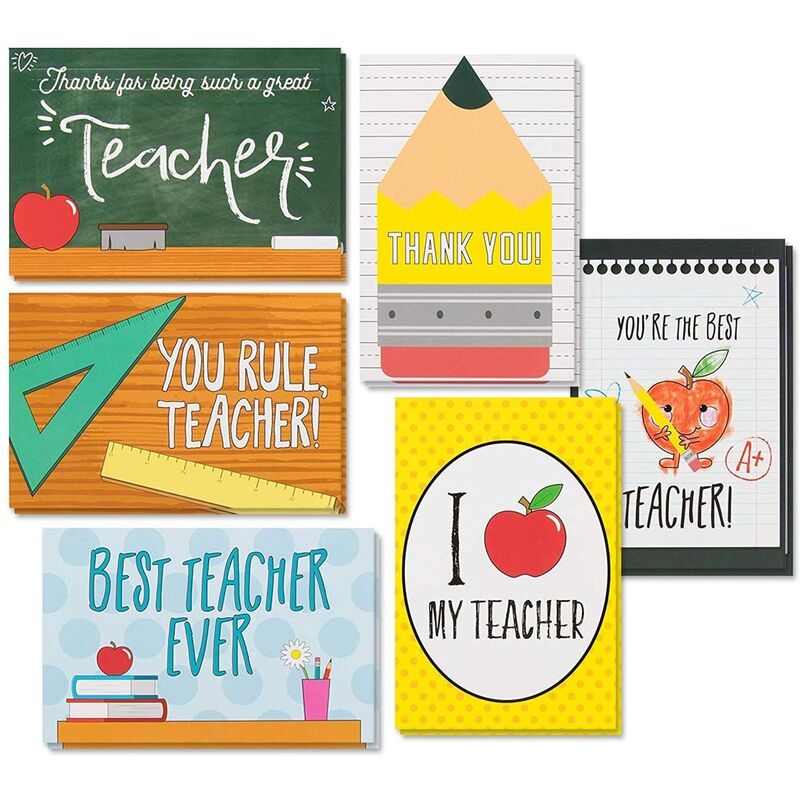
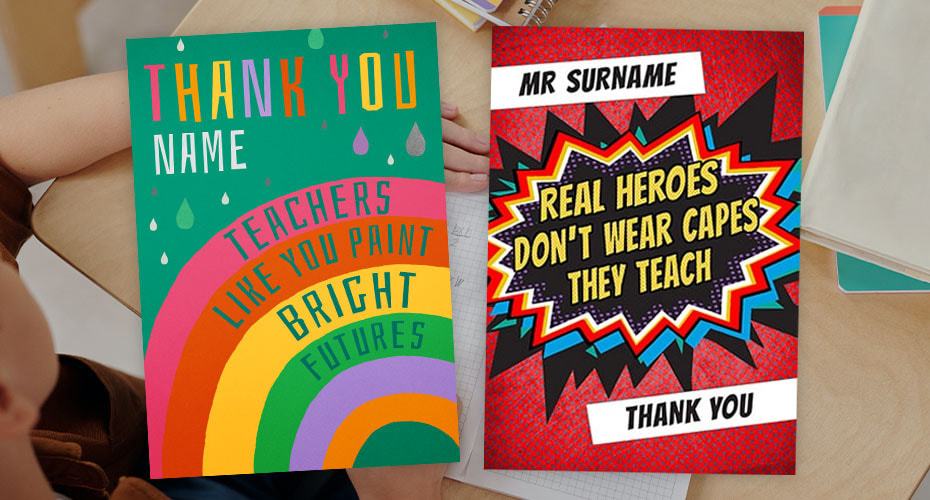
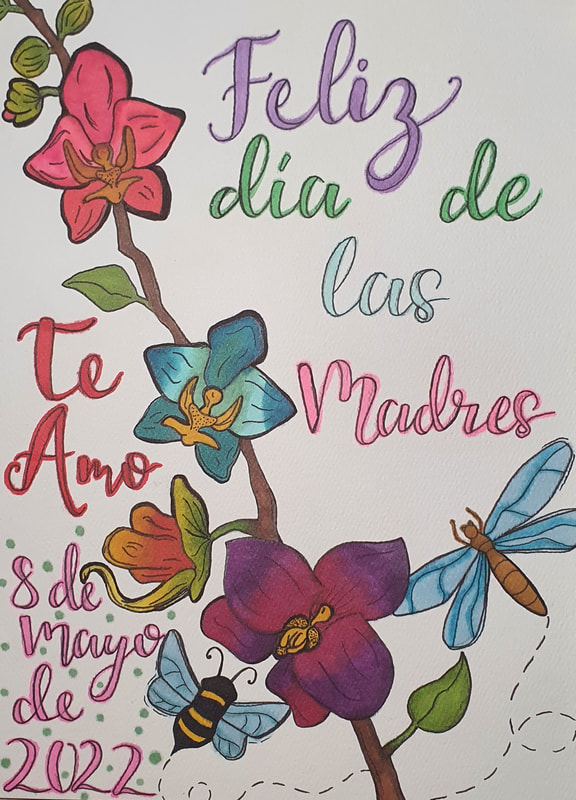
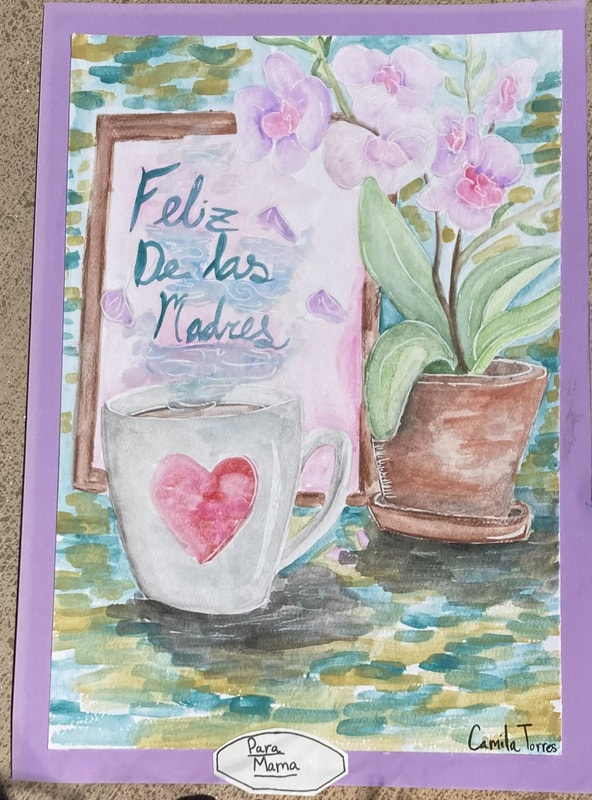
Mother's Day Card Art or Teacher Appreciation Card
Create a card or artwork for your Mother, Grandmother, or Guardian. Or create a Teacher Appreciation card.
Include a painting that shows your appreciation and love for this person.
Optional: include a handwritten message.
Your choice of watercolor, acrylics, or oil pastels
Include a painting that shows your appreciation and love for this person.
Optional: include a handwritten message.
Your choice of watercolor, acrylics, or oil pastels


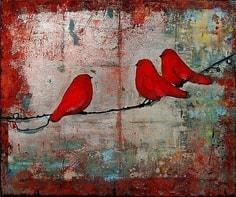
Abstract Texture Painting
Create an Abstract or representational painting focusing on color, value, and texture.
Steps:
1) Choose a canvas board or wood board
2) Mix acrylic paint color of your choice, joint compound, and a small amount of glue.
3) Use the paint knives, scraping tools, and brushes to create different textures in your artwork.
4) Mix new values and colors into your joint compound and continue making textures.
Requirements:
1) Must have a unifying color scheme: monochromatic, analogous, or complementary.
2) Must show value with shades and tints
3) Must create a minimum of 5 different textures with the class tools

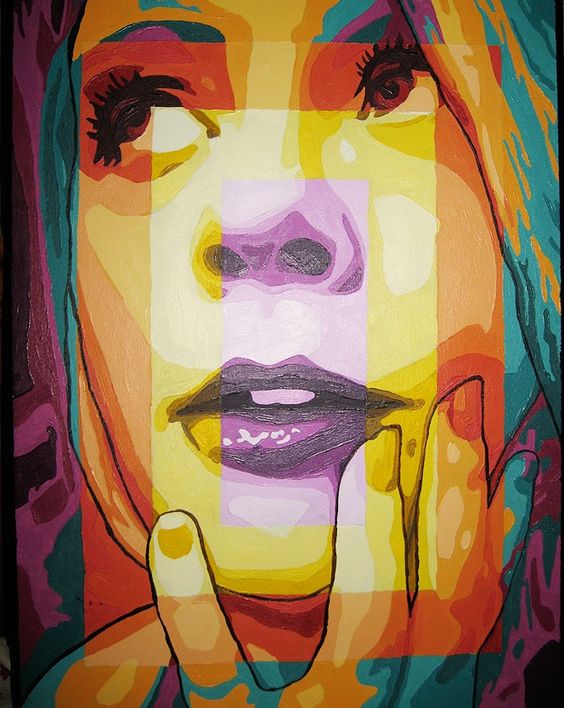
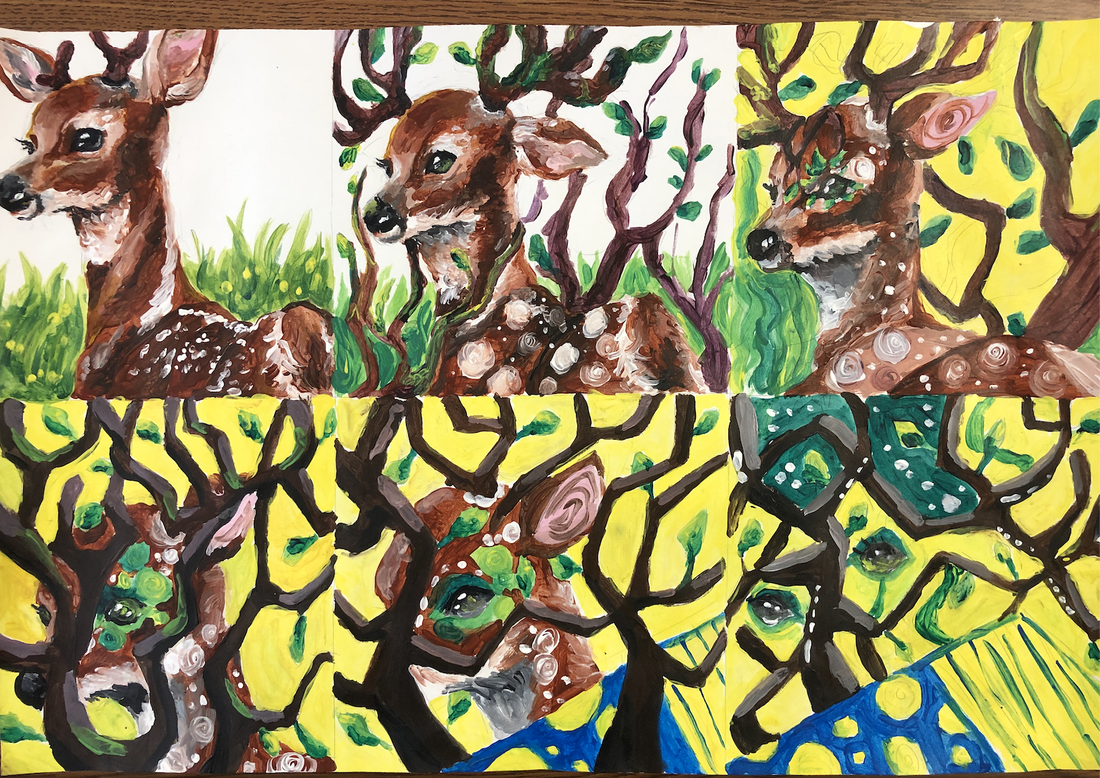
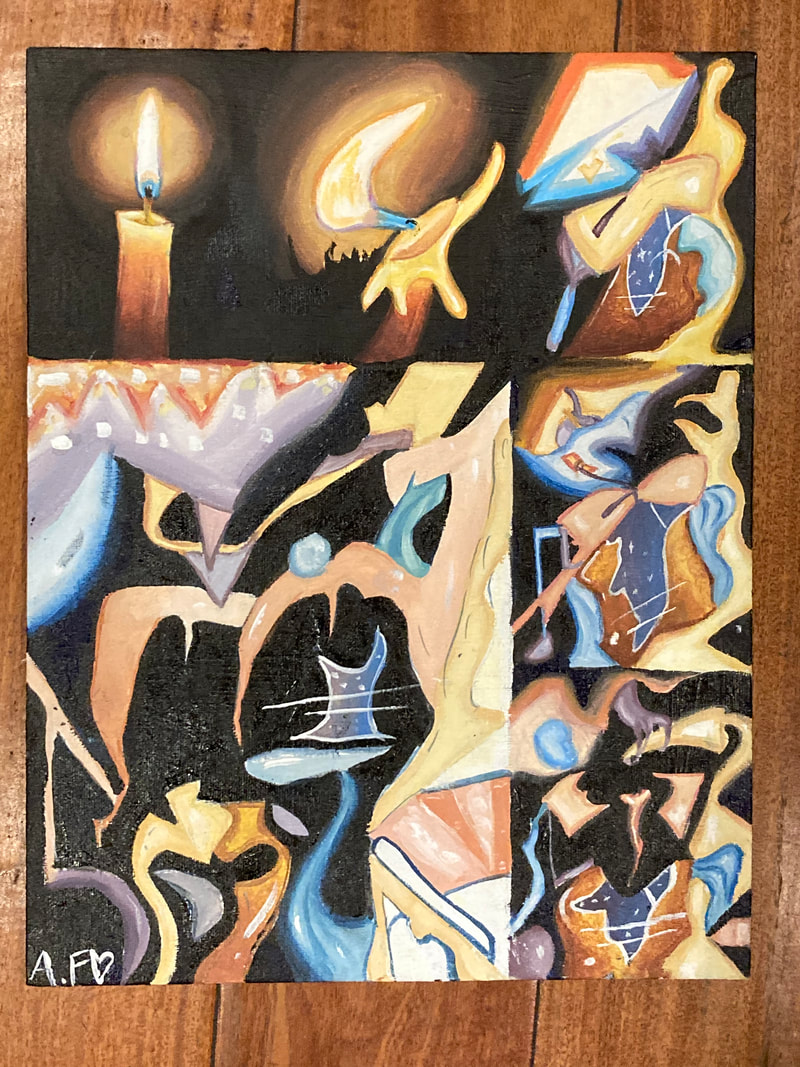
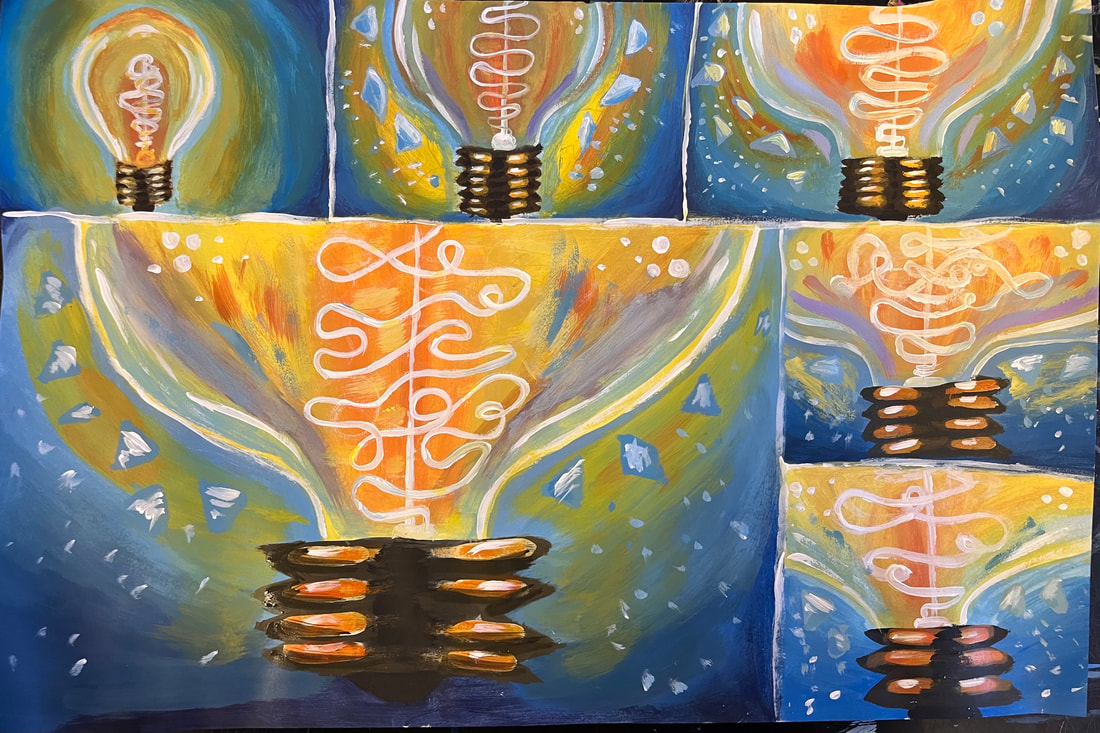
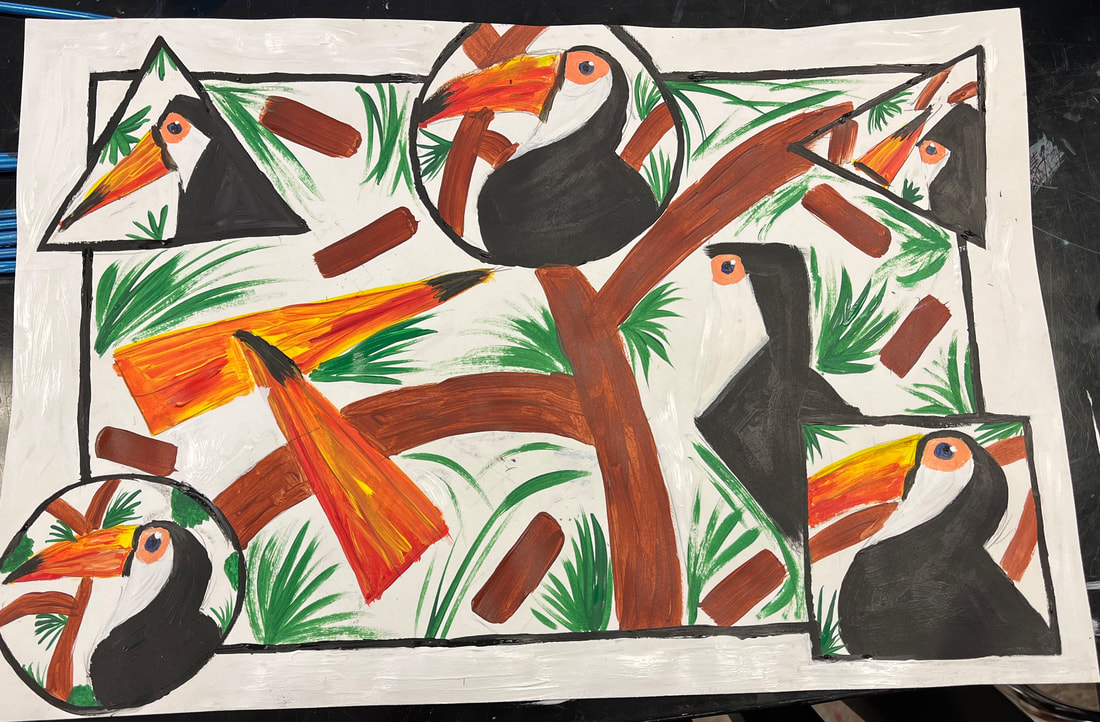
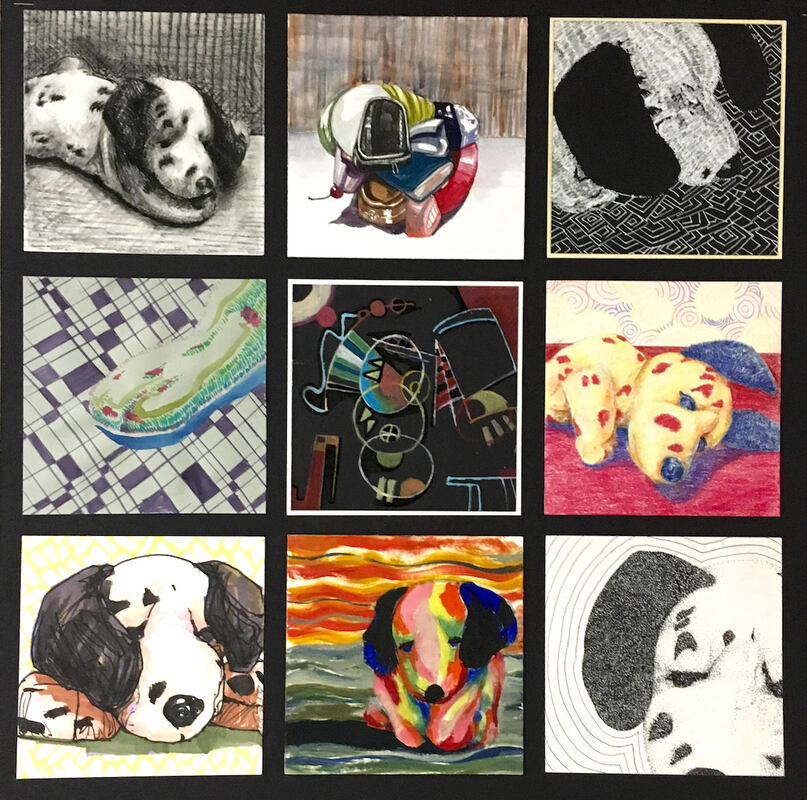
Multiple Techniques & Styles Painting
For this painting you will choose a subject of your choice (inanimate object, person, living thing), divide it up 5 ways and demonstrate at least 5 painting techniques and painting movements you have learned this year.
1) Choose 1 subject to paint (object, living things, inanimate object, person)
2) Divide your picture plane into 5 sections. You may divide by drawing squares, rectangles, circles, or a combination.
3) Sketch the subject 5 different ways. Use a different viewpoint each time:
4) Begin painting each section. Use a different media in each section:
Art Media to use:
5) In each section demonstrate a different art style or art movement you have learned this year. Pick at least 5:
Art Styles/Movements to include:
Size Requirement:
11x14" or larger
Support:
You may use canvas, canvas board, mixed media paper, cardboard, or watercolor paper
1) Choose 1 subject to paint (object, living things, inanimate object, person)
2) Divide your picture plane into 5 sections. You may divide by drawing squares, rectangles, circles, or a combination.
3) Sketch the subject 5 different ways. Use a different viewpoint each time:
- Bug's eye view: looking up
- Bird's eye view: looking down
- Magnified - zoom in on part of the subject
- Zoom out and include the whole subject
- View straight on
- Dissect the object (for example a piece of fruit or mechanical object with multiple parts)
4) Begin painting each section. Use a different media in each section:
Art Media to use:
- Oil pastel
- Watercolor Paint
- watercolor pencil or markers
- Acrylic Paint
- paint pens
- inks
- Sharpie
- Colored Pencil
- Mixed Media
- tempera paint
5) In each section demonstrate a different art style or art movement you have learned this year. Pick at least 5:
Art Styles/Movements to include:
- Zentangles
- Impressionism
- Fauvism
- Abstraction
- Surrealism: Double Image or Blendscape
- Day of the Dead
- Magnified - Zoomed In Viewpoint
- Surrealism - blendscape
- Out of Bounds Style
- Sumi-e Painting or Suminigashi
- Realistic
- Mixed Media
Size Requirement:
11x14" or larger
Support:
You may use canvas, canvas board, mixed media paper, cardboard, or watercolor paper

