AP Studio Art Projects - scroll down to see all projects
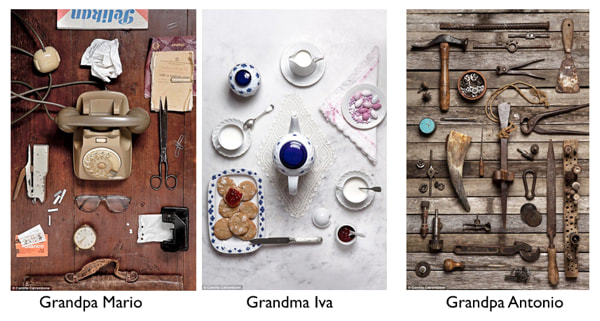
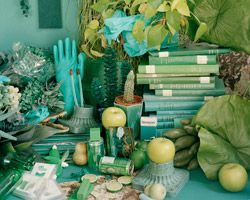
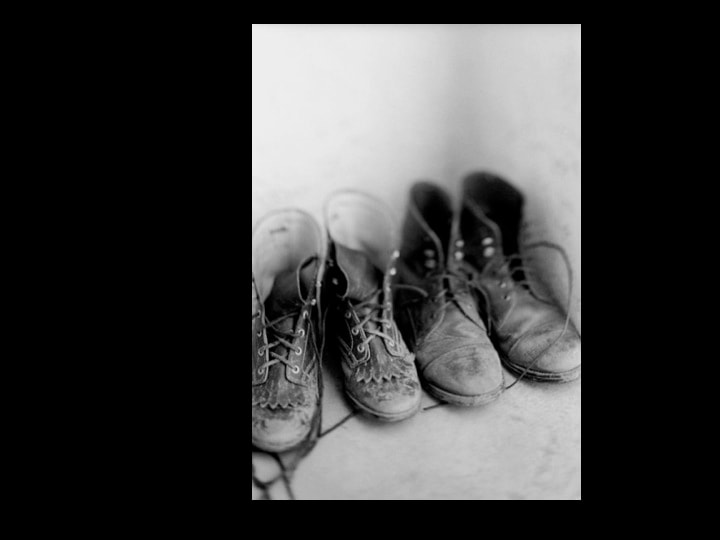
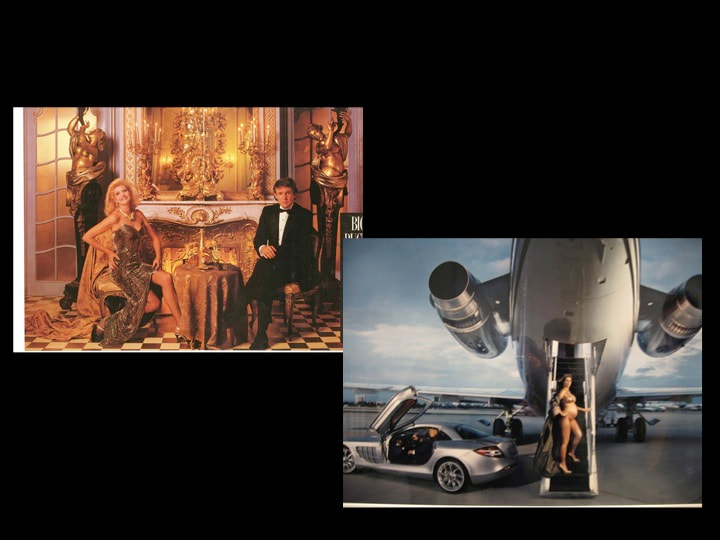
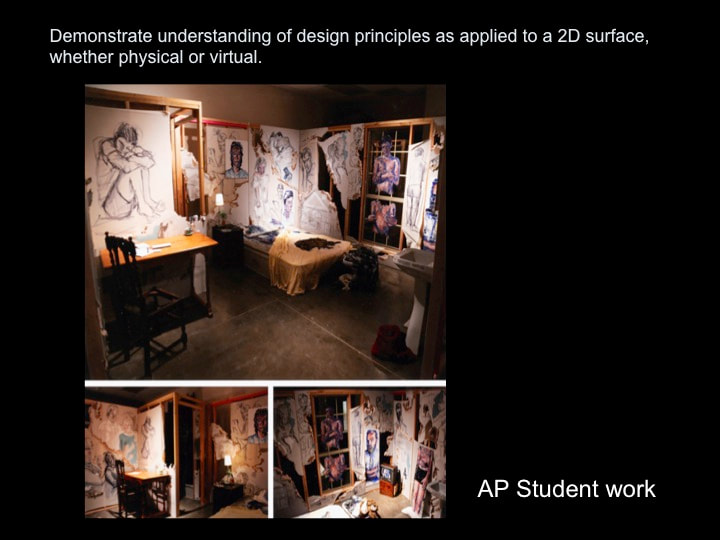
Symbolic Object Self-Portrait
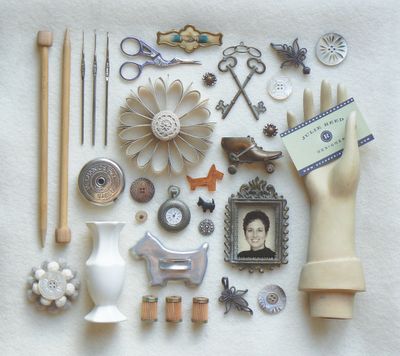
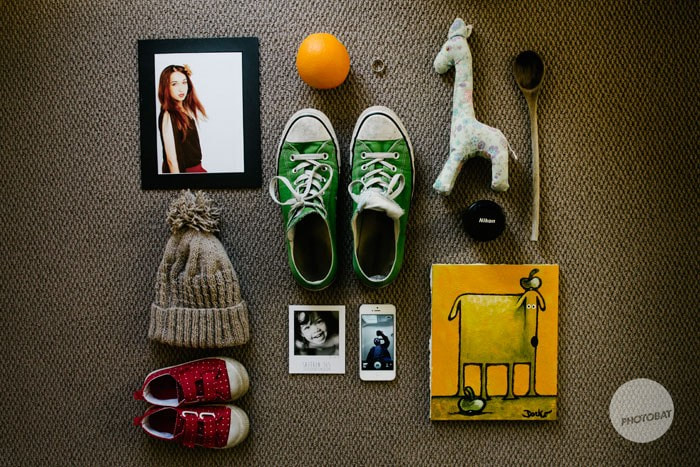
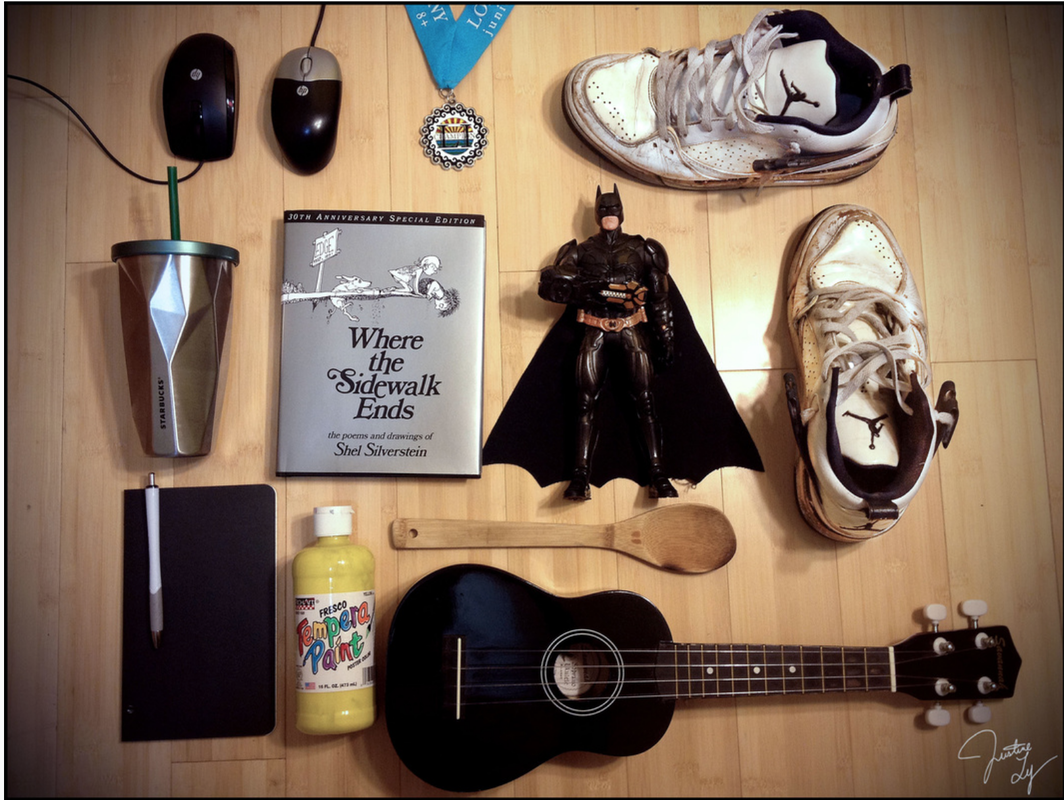
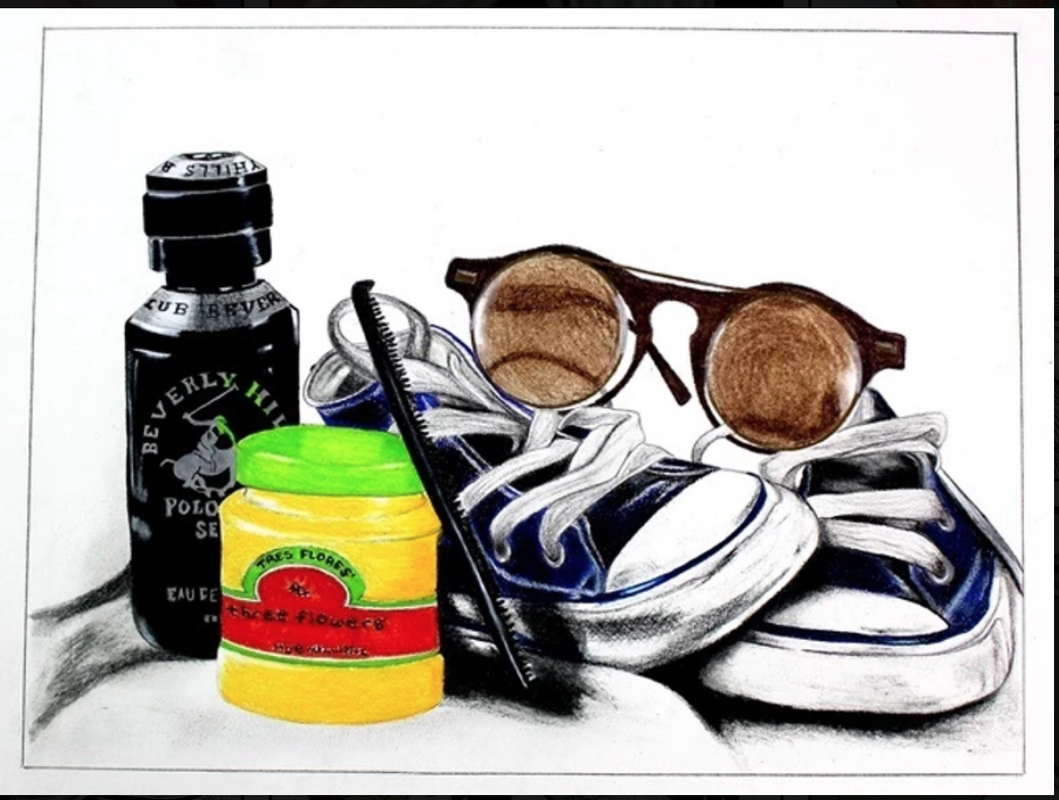
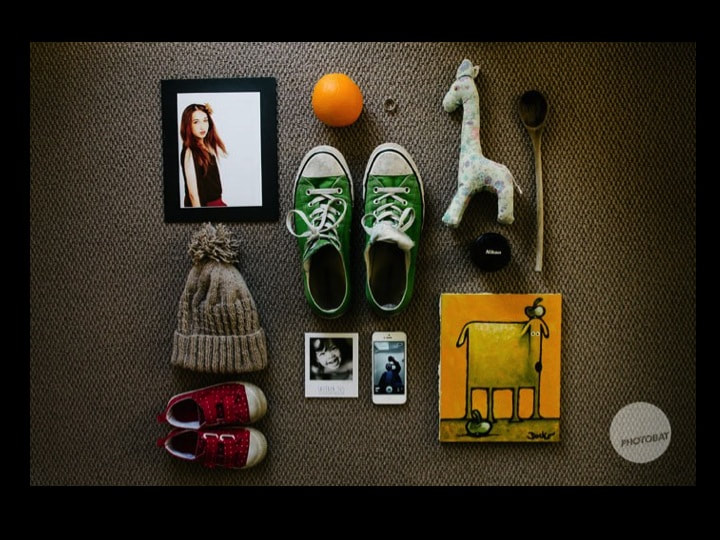
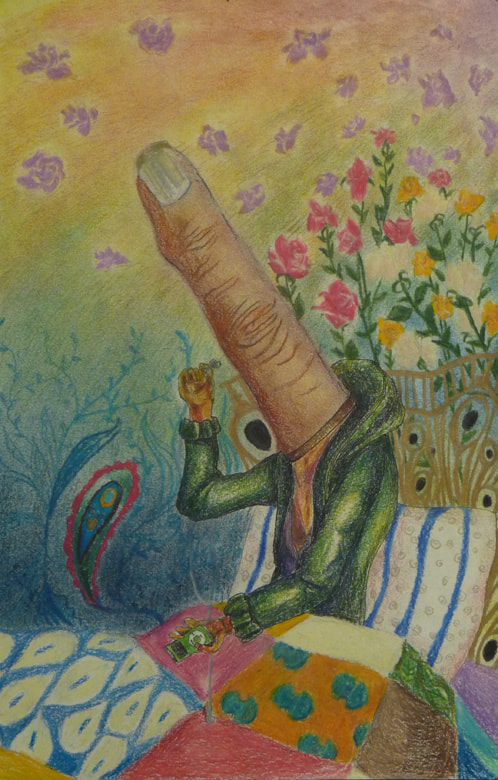
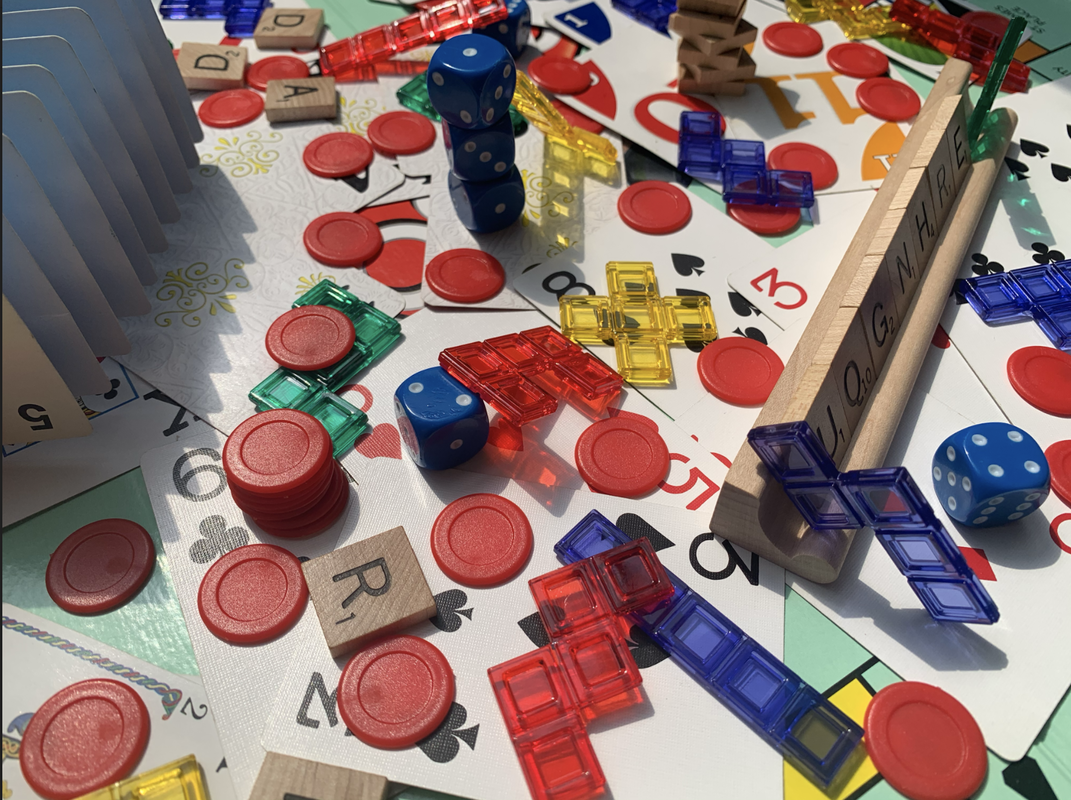
For this assignment you will create a self-portrait by collecting objects around your home that represent different aspects of your personality. Then you will create a visually interesting artwork. You must include at least 8 objects.
Options:
Instructions:
1) Complete the class scavenger hunt.
2) Photograph your scavenger hunt items.
3) Look around your room, house, backyard and collect more items that will help tell s story about you.
4) Add these items to your scavenger hunt items (or subtract items - your choice) arrange them in an interesting composition:
6) Create your final artwork in the medium of your choice.
7) Turn into to Google classroom:
Options:
- Collect real objects around your house, arrange them in a dynamic composition and photograph it. Make sure to use purposeful color, lighting, composition, and background.
- Collect real objects around your house, arrange them in a dynamic composition and photograph it. Then recreate your photo as a drawing, painting, or mixed media artwork where you are free to alter color, shape, warp, overlap, alter light and dark, texture, etc...
- Collect real objects around your house, arrange them in a dynamic composition and photograph it. Then use Photoshop or other photo editing software to create a digital artwork with your object photos. Make sure to use purposeful composition, color, overlapping, cast shadows, seamless blending (masking), digital painting, etc...
Instructions:
1) Complete the class scavenger hunt.
2) Photograph your scavenger hunt items.
3) Look around your room, house, backyard and collect more items that will help tell s story about you.
4) Add these items to your scavenger hunt items (or subtract items - your choice) arrange them in an interesting composition:
- consider viewpoint: bug's eye view, bird's eye view, foreground and background, layering and overlapping objects to create levels and depth
- consider lighting: natural lighting outside, from a window or artificial lighting: lamps, candles, ...
- consider collecting items with a color scheme or alter your items to fit a color scheme: paint them or edit in Photoshop
6) Create your final artwork in the medium of your choice.
7) Turn into to Google classroom:
- photo of your scavenger hunt items
- photo of your final objects you chose
- sketchbook brainstorming page
- Final artwork
Symbolic Partner Portrait
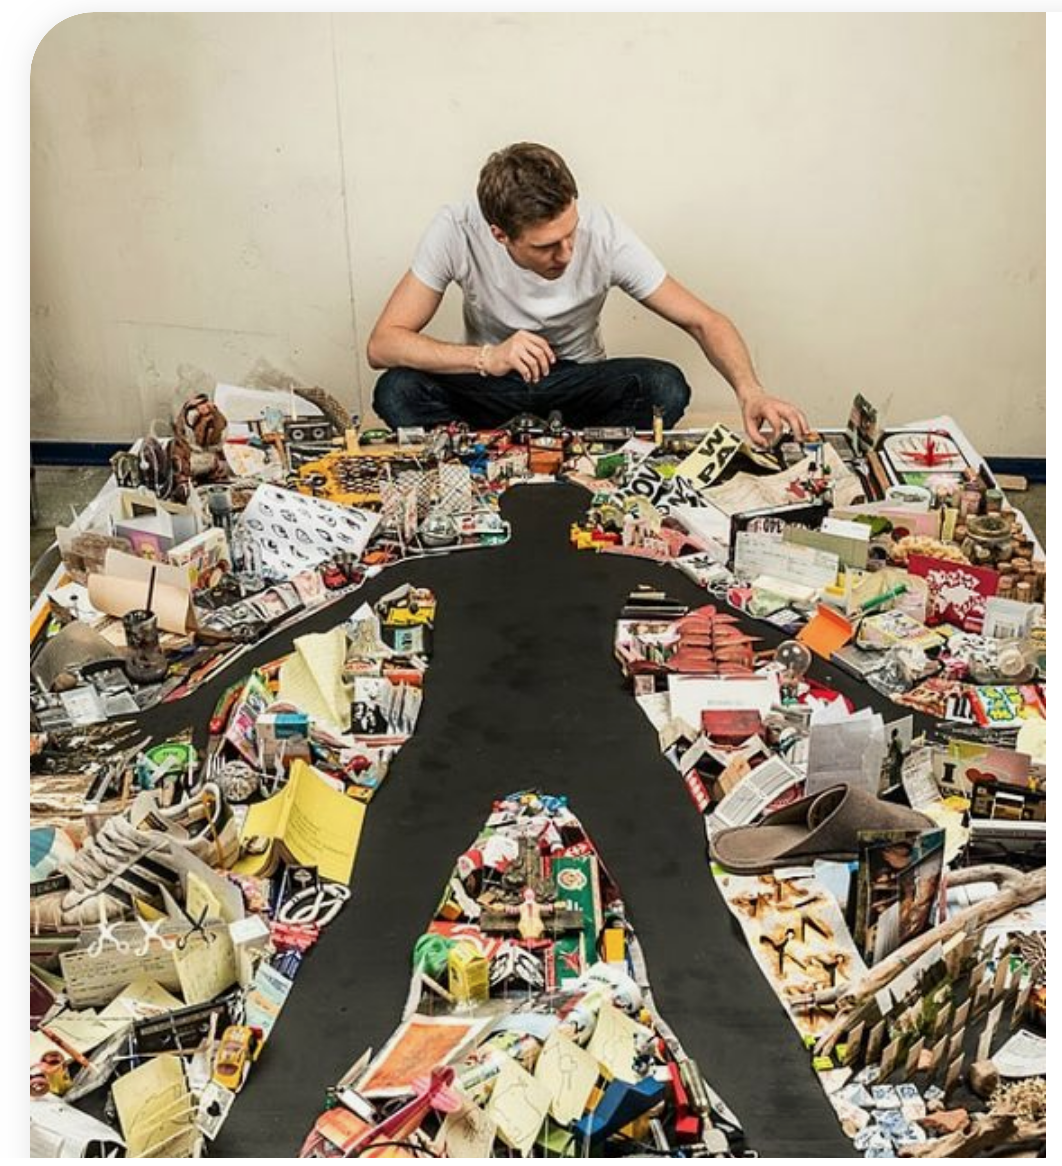
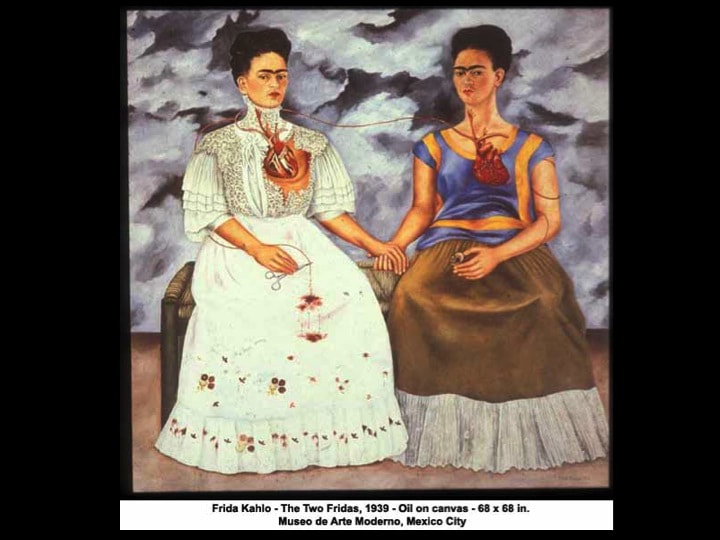
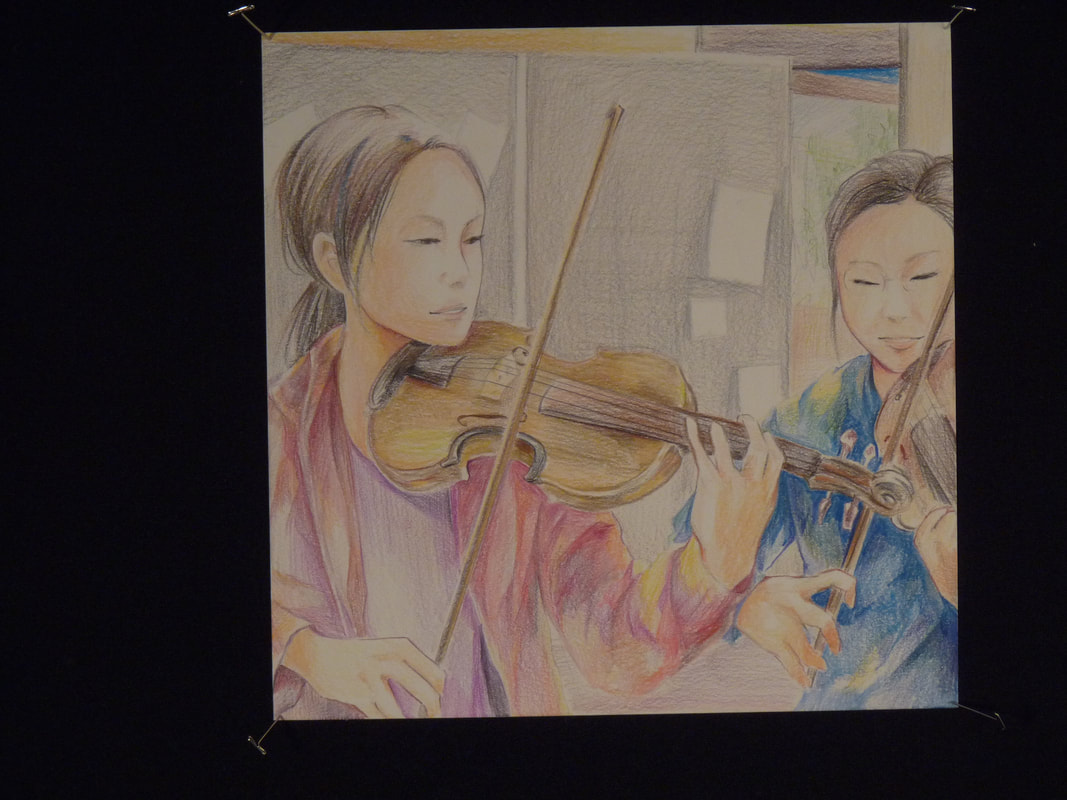
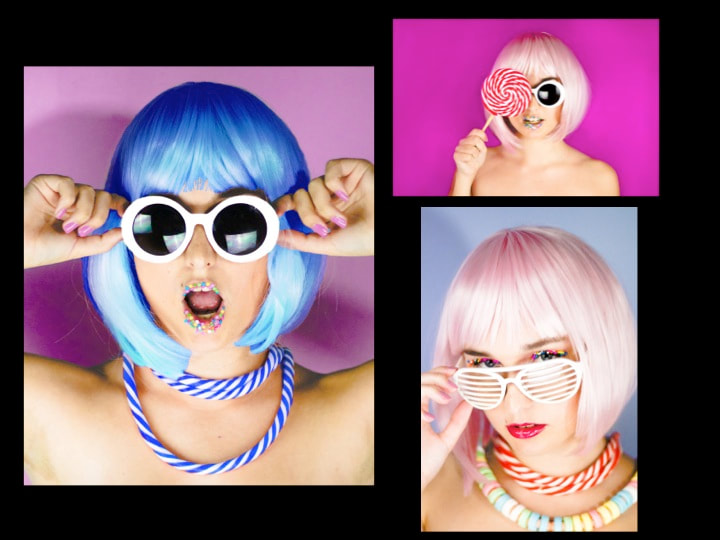
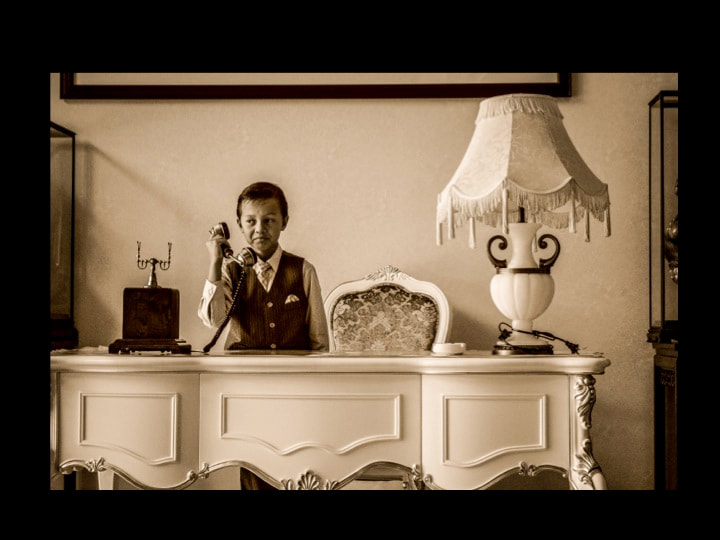
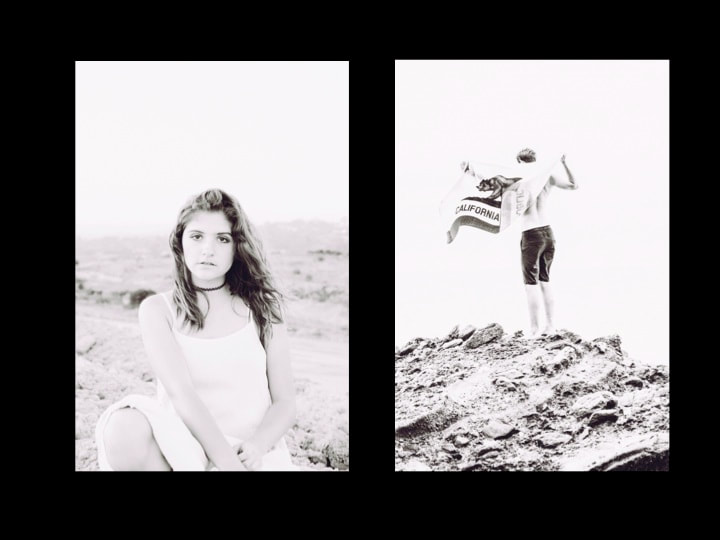
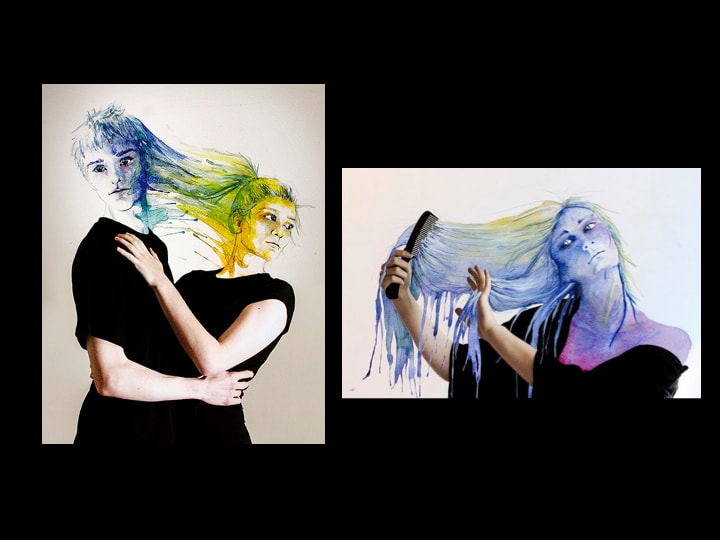
Create a symbolic portrait of another student in class. You will create an artwork that represents some aspect or aspects of a student in this class whom you have just met. This portrait should not be a physical representation of the student, although you may include some physical likeness if you wish. The portrait should reveal unique and interesting things about the student. The class should be able to learn new things about this student after viewing your artwork.
Begin by introducing yourself to another student. Speak with someone you have never met!
Take turns asking each other these questions:
Based on your conversation create a symbolic portrait of that student revealing something about their personality.
Your choice of media: pencil, colored pencil, oil pastel, watercolor, acrylic, charcoal, photography, digital art, mixed media, etc.
Minimum size 8x10”
If you choose photography as your medium, you will turn in a series of 4 photographs.
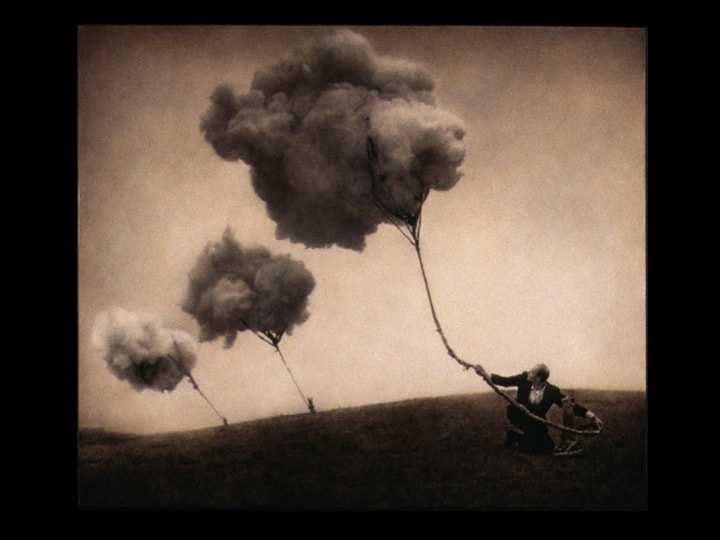
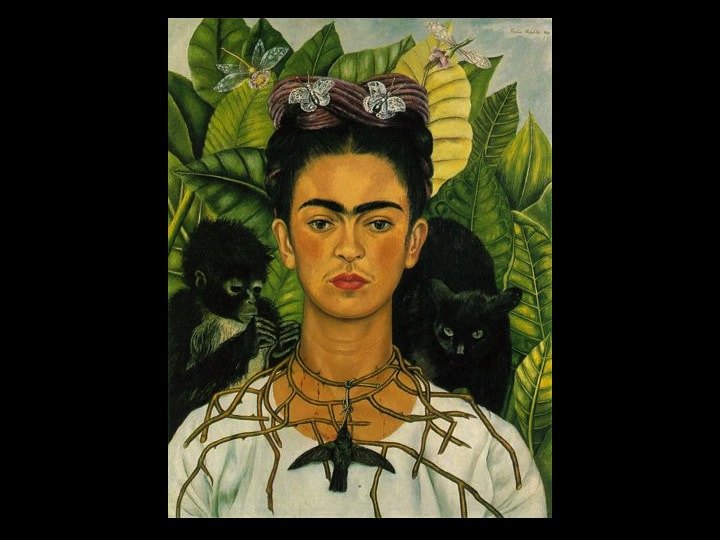
Robert Parke Harrison, Frida Kahlo and student examples:
Begin by introducing yourself to another student. Speak with someone you have never met!
Take turns asking each other these questions:
- What did you do this summer?
- What are your hobbies or favorite activities? Explain.
- Whom do you admire and why?
- Who/what inspires you and why?
- What is a song on your playlist that describes you right now? Explain.
- If you were a superhero or villain, what would your power be? Explain.
Based on your conversation create a symbolic portrait of that student revealing something about their personality.
Your choice of media: pencil, colored pencil, oil pastel, watercolor, acrylic, charcoal, photography, digital art, mixed media, etc.
Minimum size 8x10”
If you choose photography as your medium, you will turn in a series of 4 photographs.
Robert Parke Harrison, Frida Kahlo and student examples:
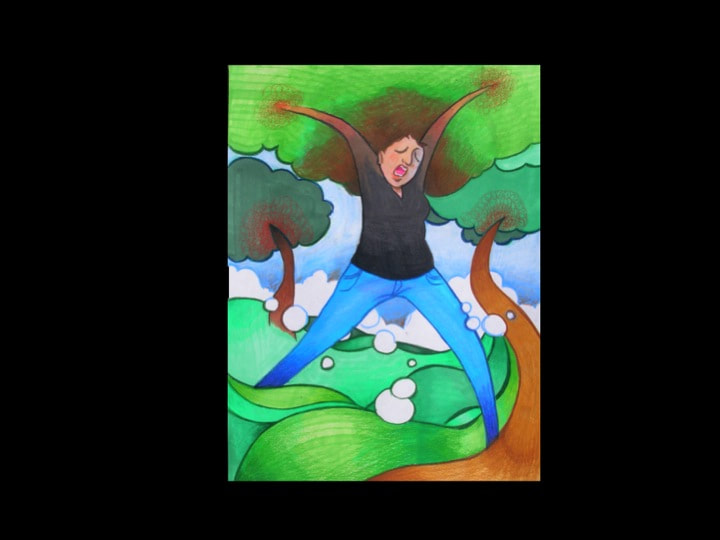
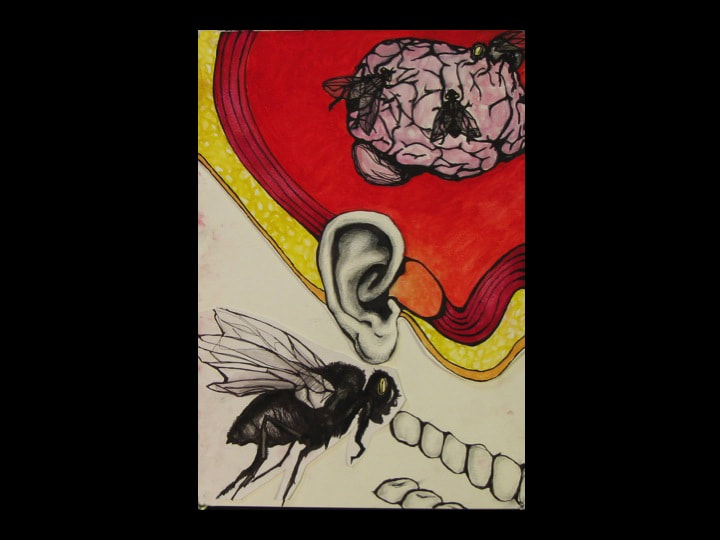
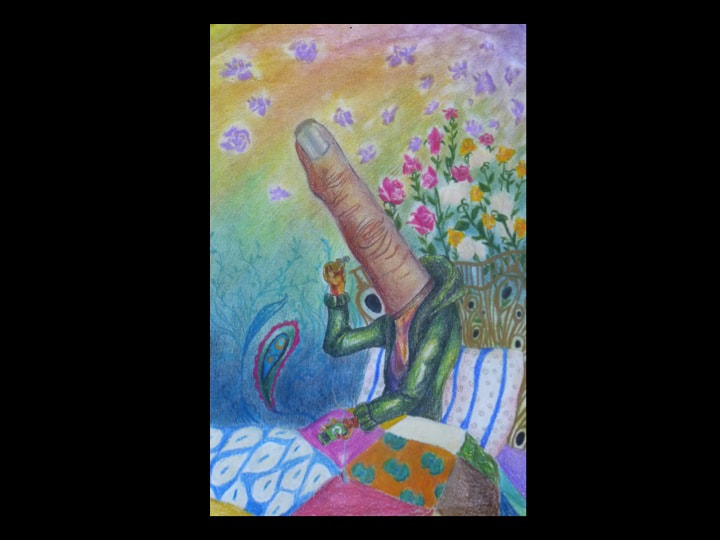
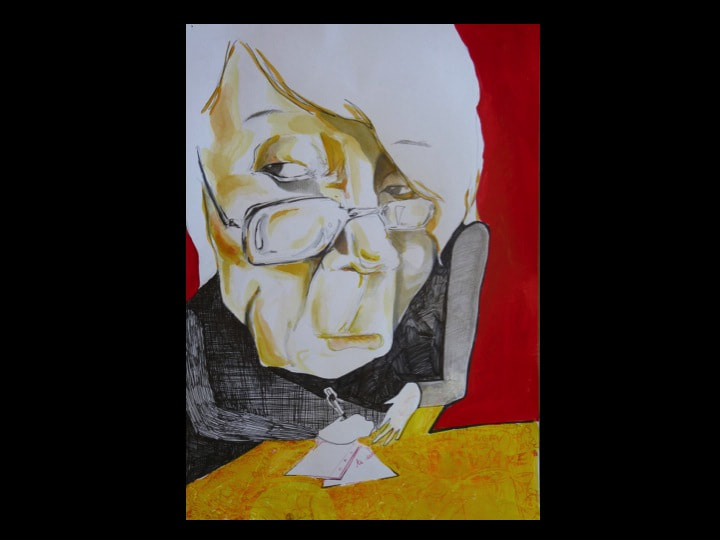
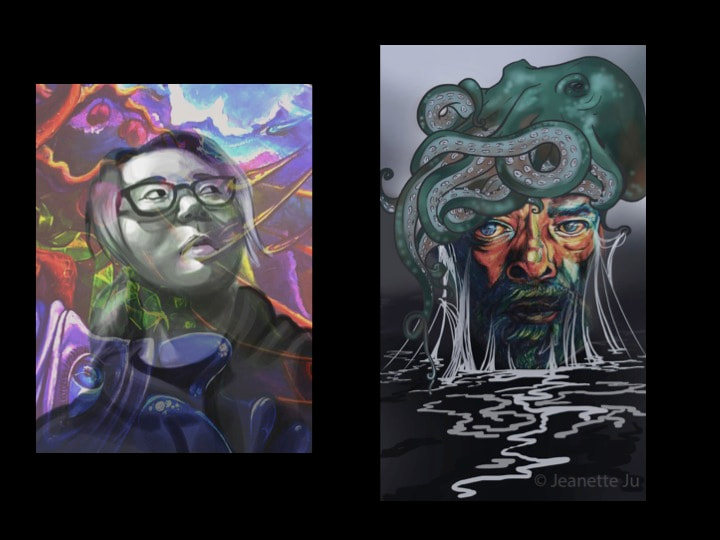
Student Examples


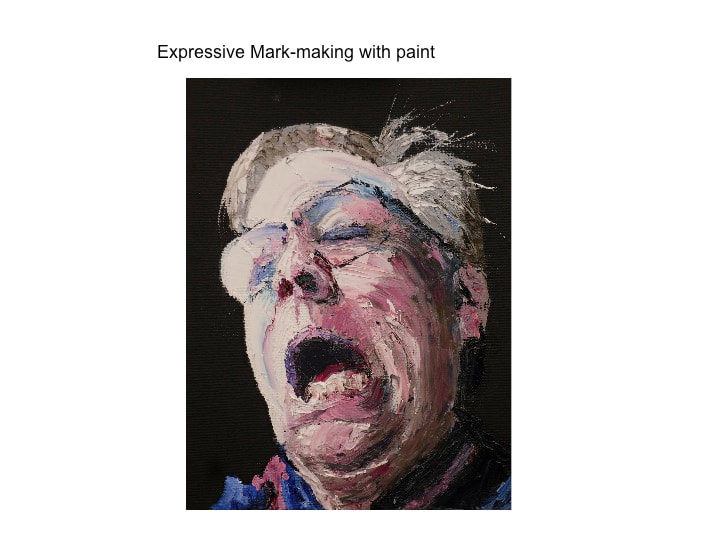
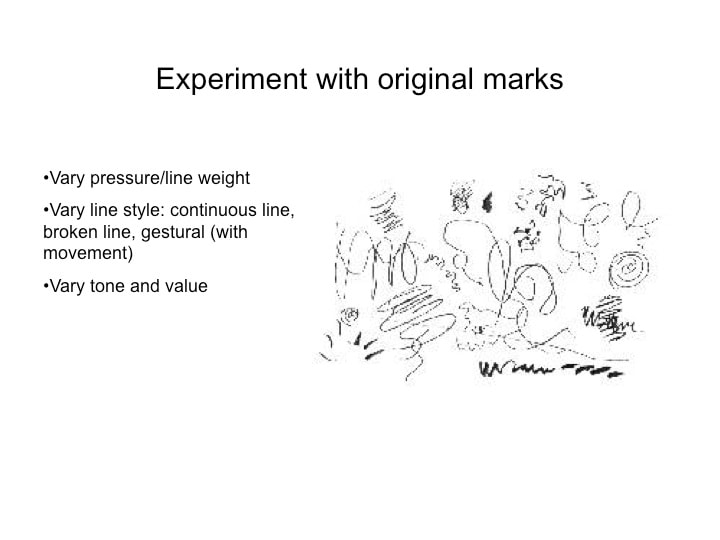
Line & Mark-Making Assignment
Complete this assignment BEFORE you complete the Line Emphasis Project
Directions for Fine artists:
In you sketchbook or on a separate sheet of mixed media paper:
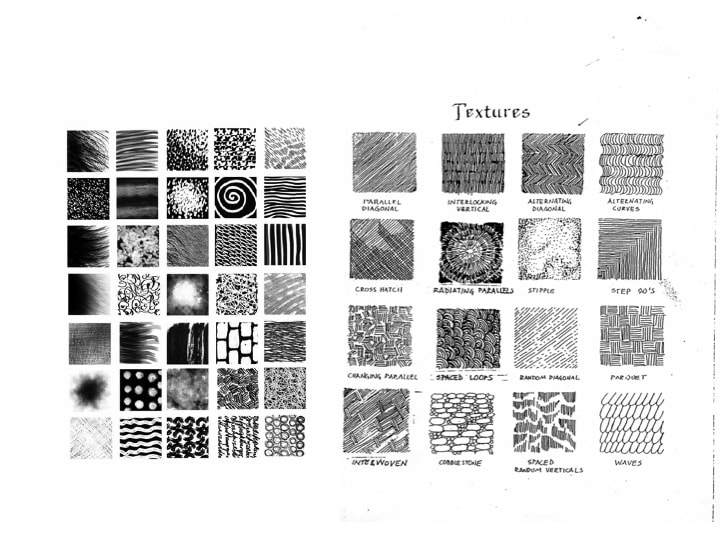
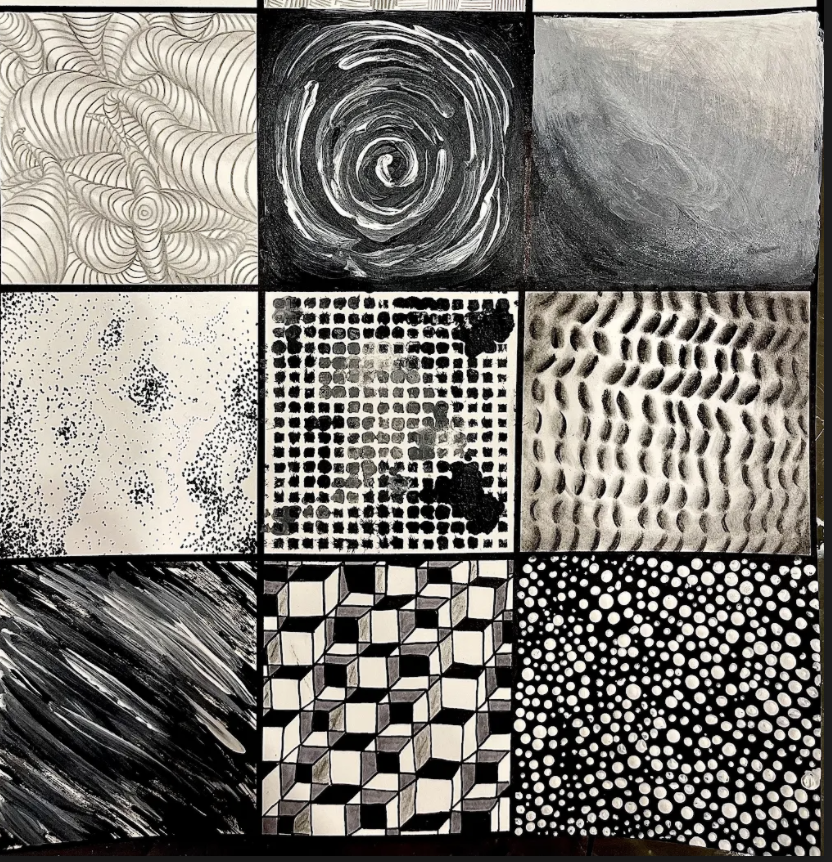
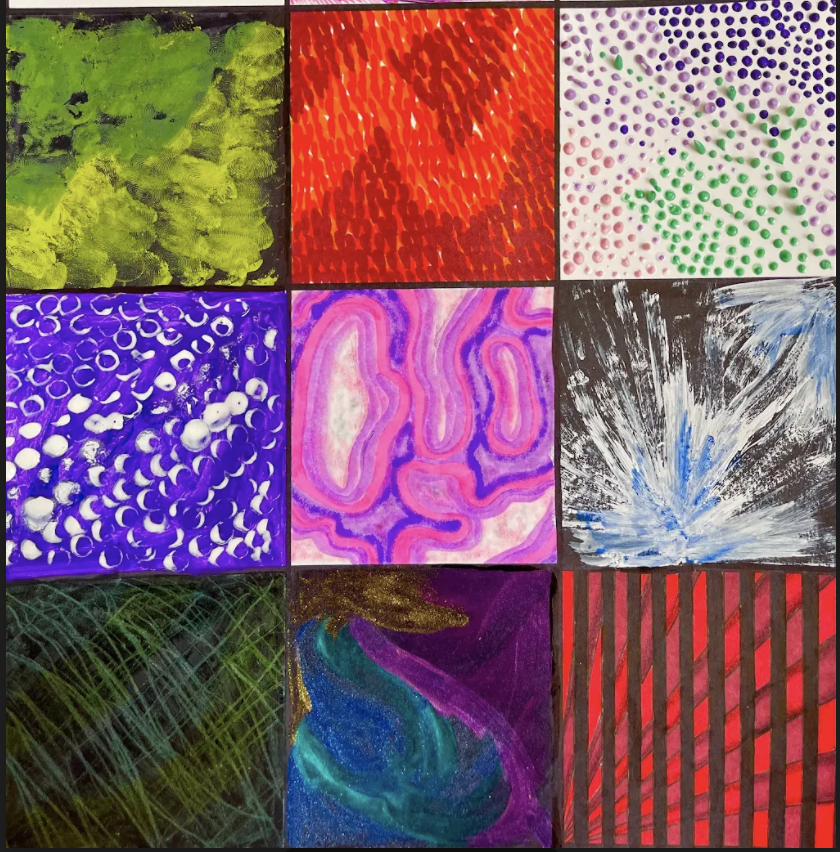
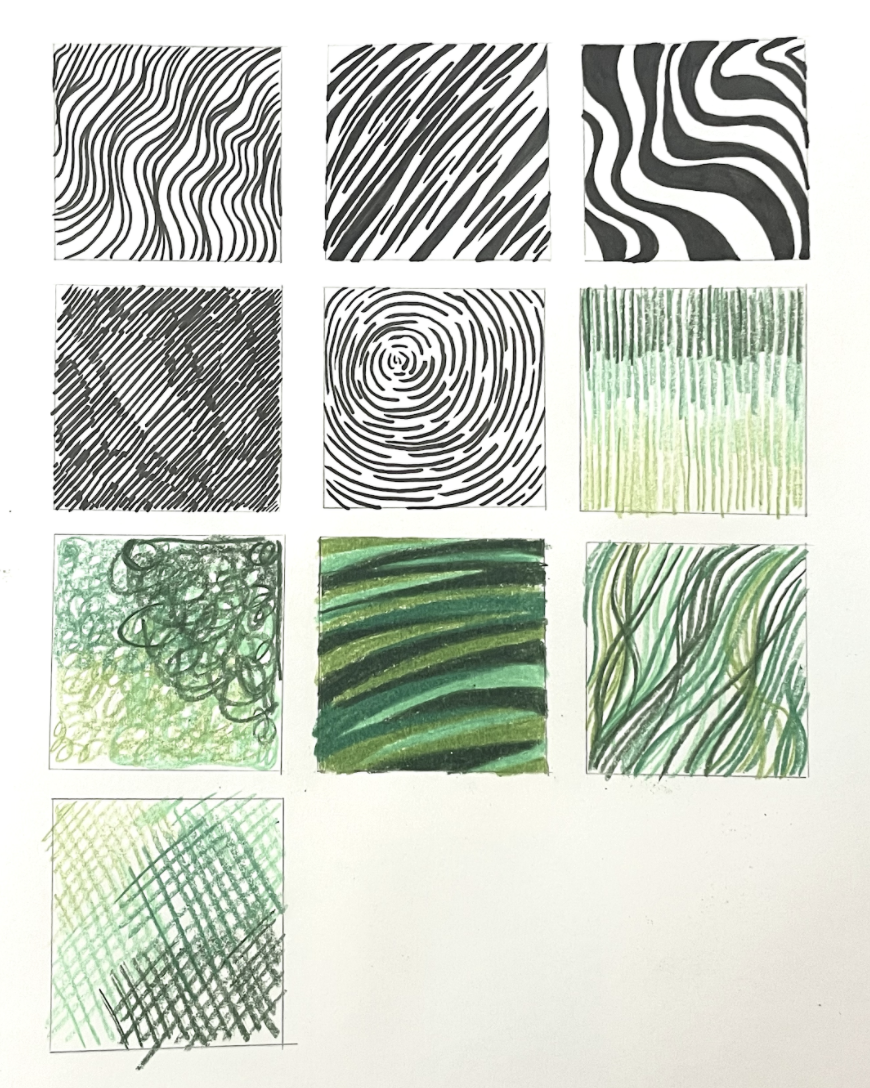
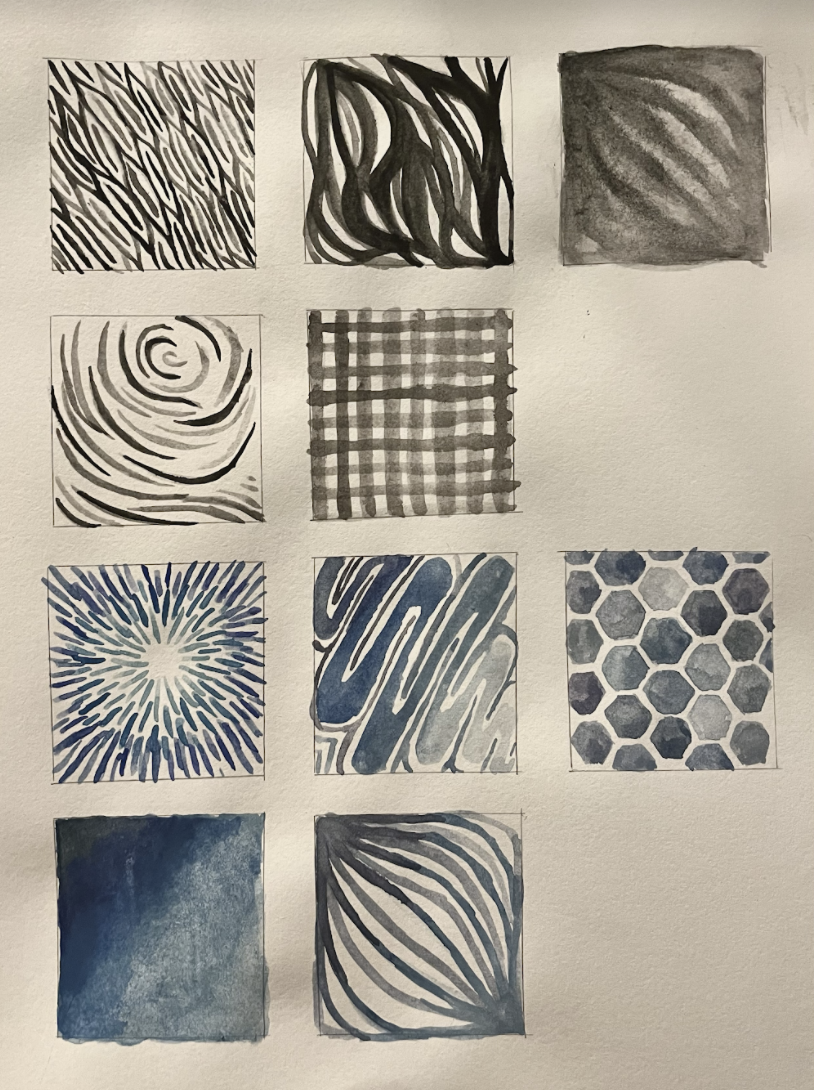
1) Create TEN 3x3" squares. Fill each square with a different and unique mark using DRY media such as graphite, colored pencil, charcoal, sharpie, copic marker, chalk pastel, oil pastel. You may have a maximum of 5 squares in Black & White and 5 or more in COLOR.
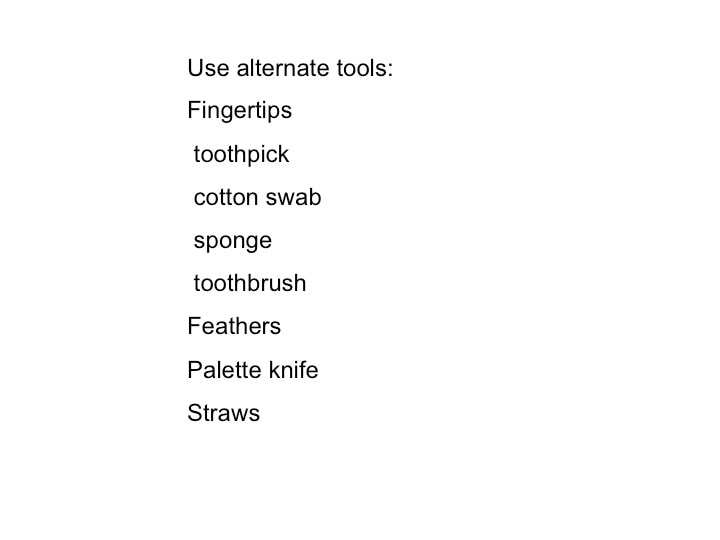
2) Create TEN MORE 3x3" squares. Fill each square with a different mark using WET media such as watercolor paint, acrylic, oil, tempera, inks. Vary your tool: brushes, calligraphy pens/nibs, sticks, q-tips, blow with straws...
You may have a maximum of 5 squares in Black & White and 5 or more in COLOR.
Directions for Digital Artists:
Using Photoshop, Illustrator, Photopea, your tablet, ipad, digital painting or drawing software, etc.
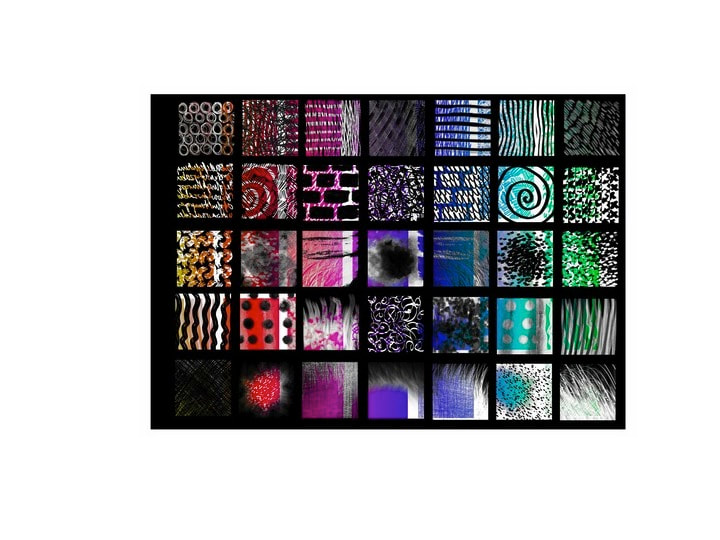
1) Create TEN 3x3" squares. Fill each square with a different and unique mark using black and white. Use different brush tools, the pen tool, use pen pressure and emphasize different lines, shapes, textures, etc.
2) Create TEN MORE 3x3" squares. Fill each square with a different mark using COLOR. Use different brush tools, the pen tool, use pen pressure and emphasize different lines, shapes, textures, change opacities, layer marks, etc.
Directions for Photographers:
Using your camera or phone:
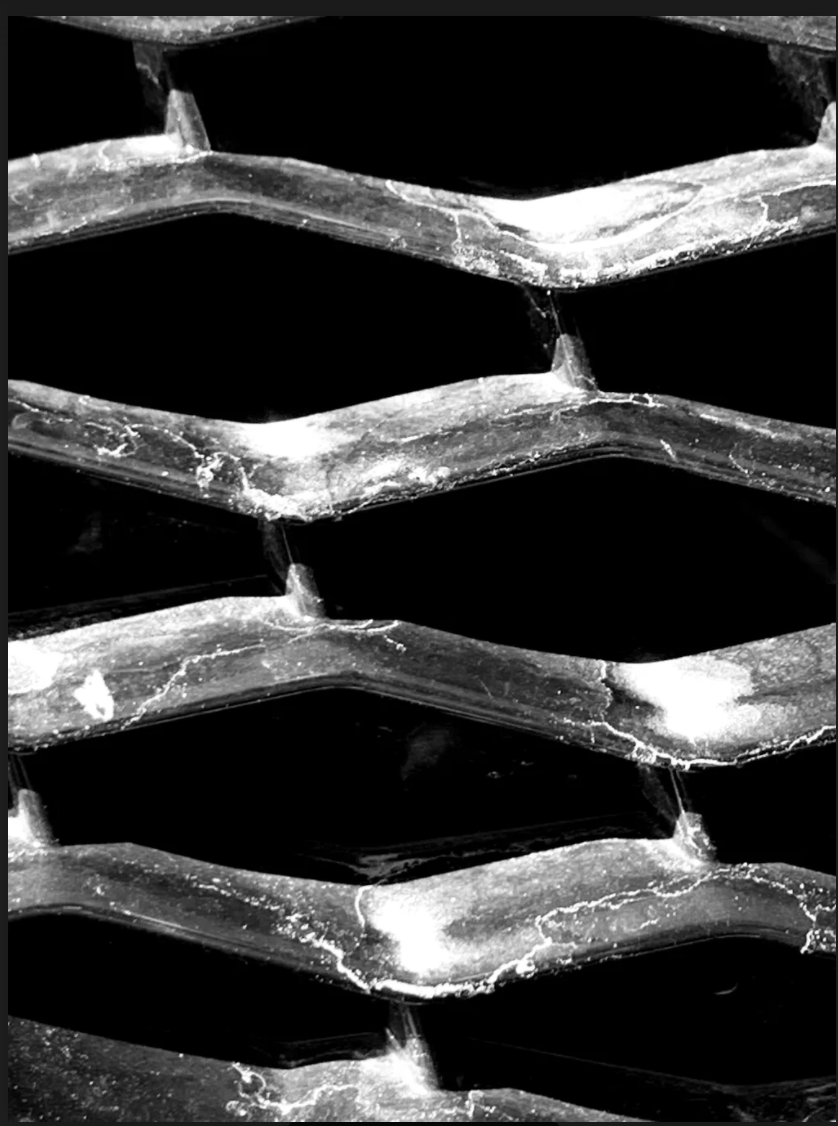
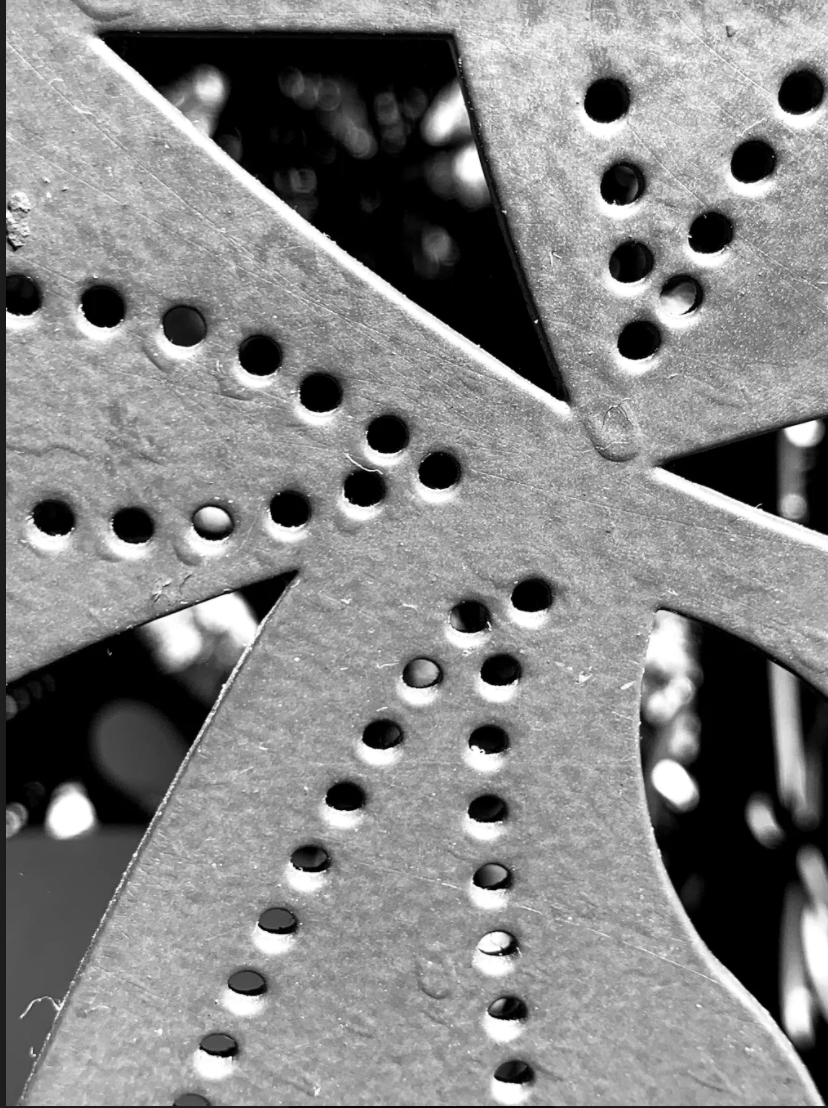
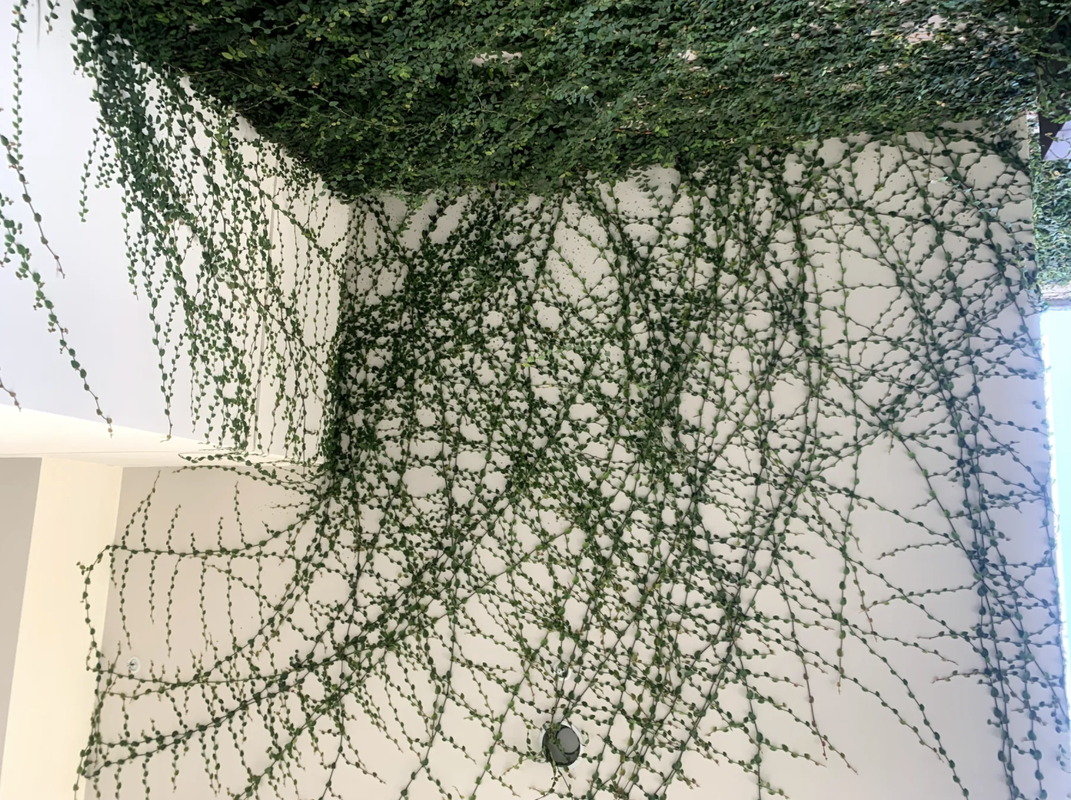
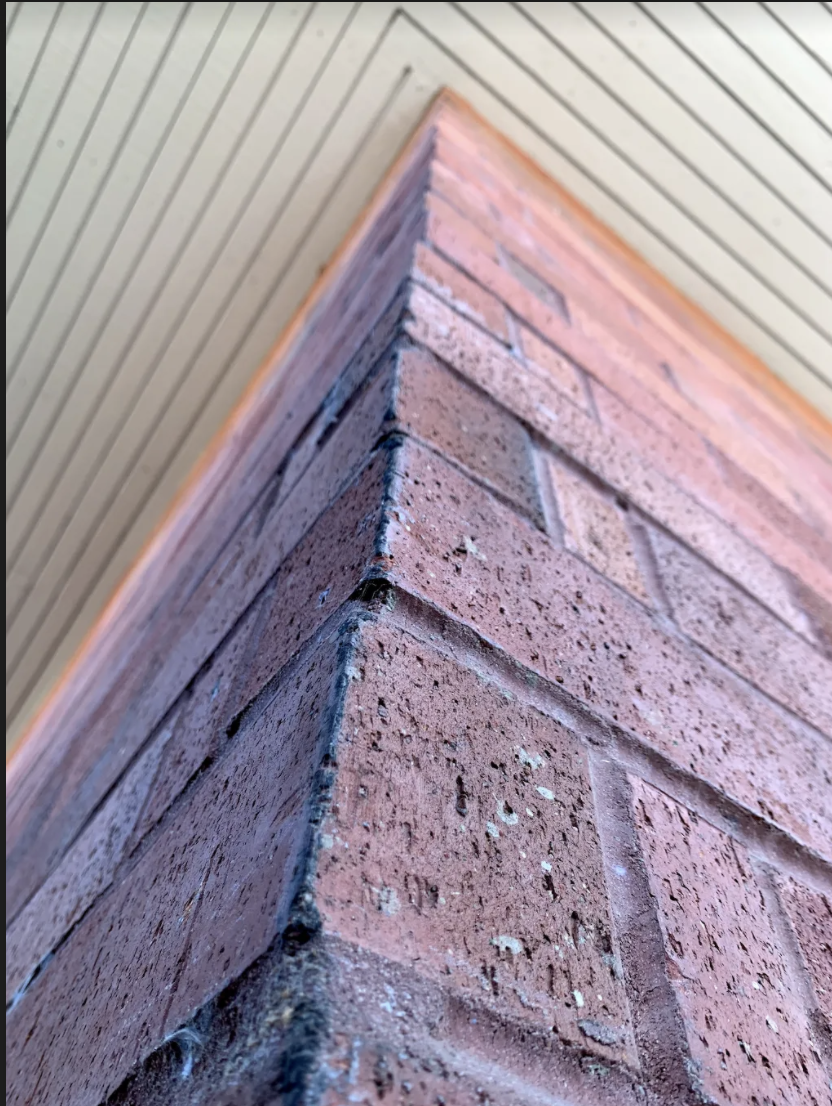
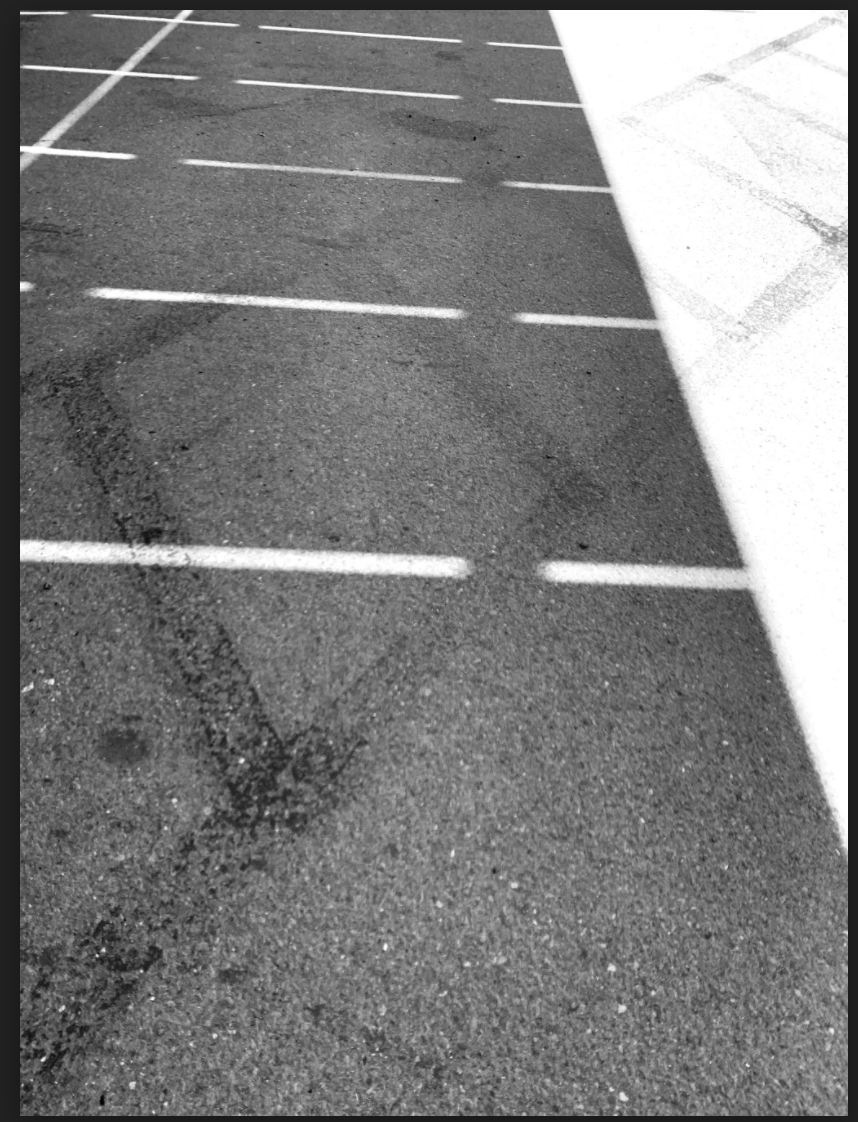
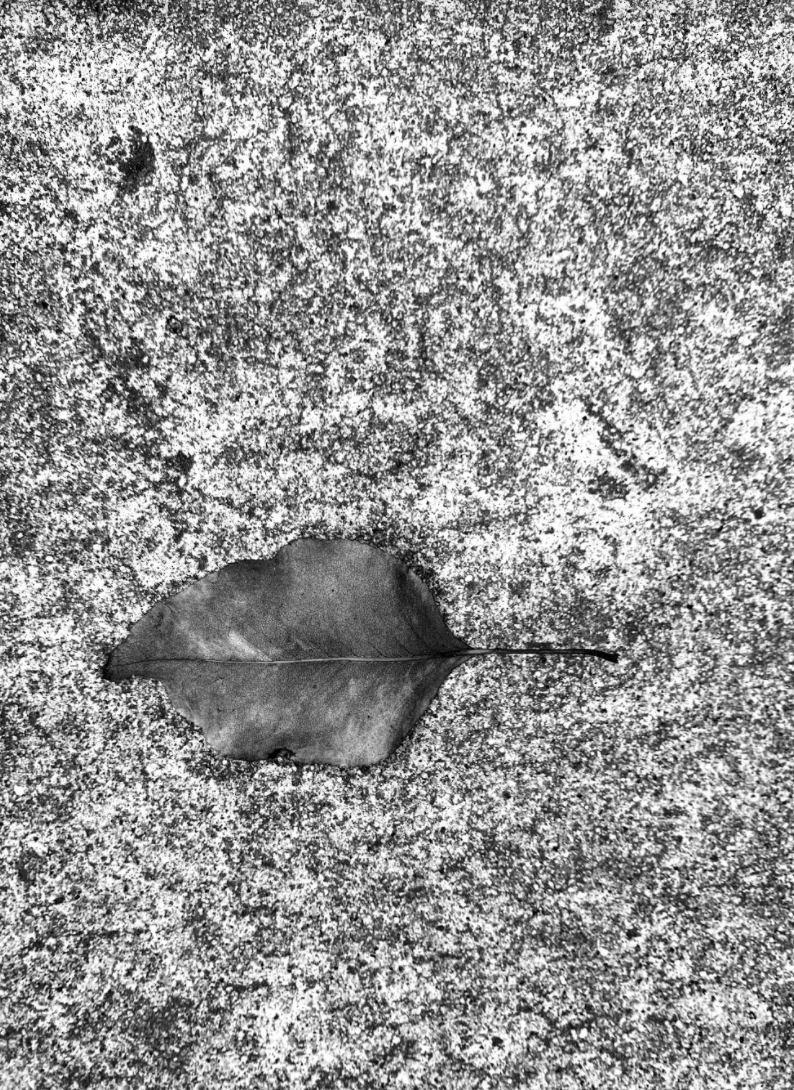
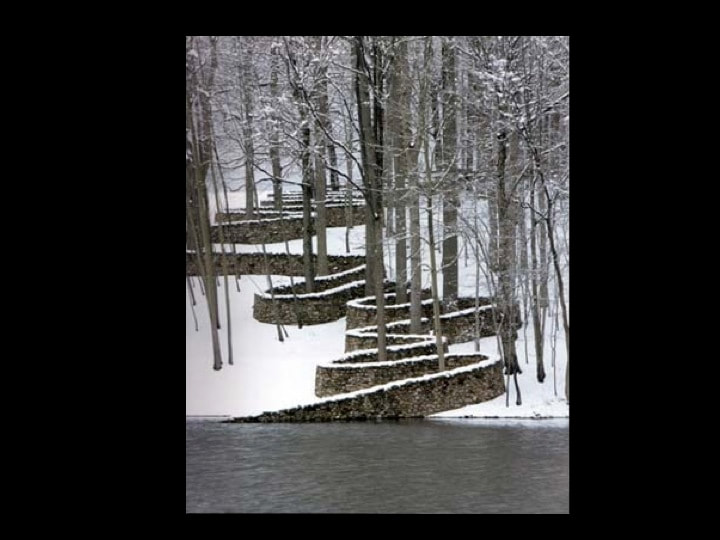
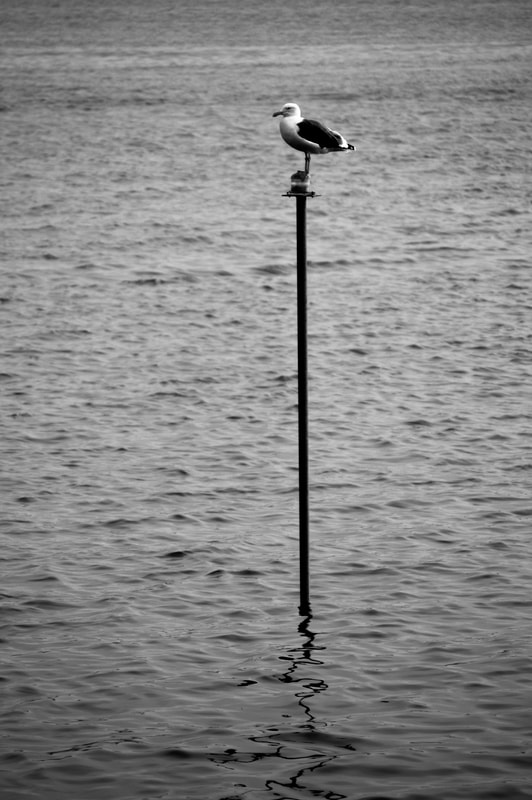
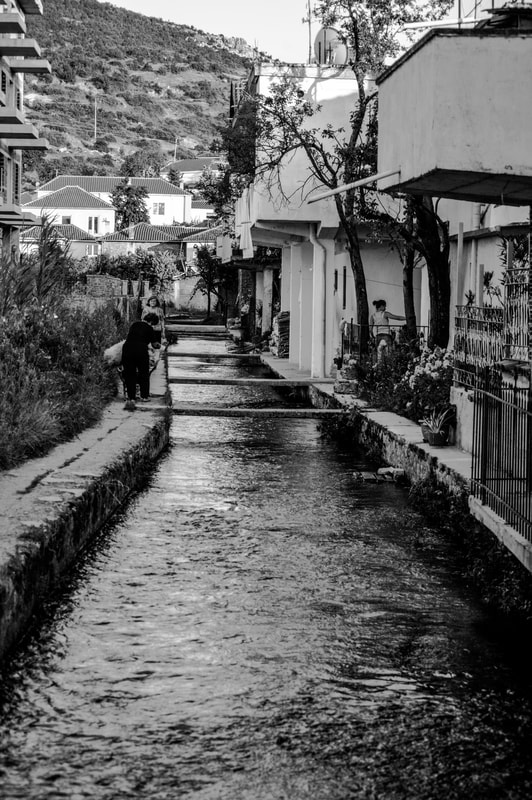
Take 20 original and unique photos that emphasize marks through line and texture. You can find marks by looking for things with line and texture (natural elements, trees, sand, ocean, lakes, animals, birds, feathers, buildings, architecture), or create things (stage things) to photograph that emphasize line and texture.
You may have a maximum of 10 photos in Black & White and 10 or more in COLOR.
Each photo must show a different mark, subject matter, viewpoint, and compositional choices.
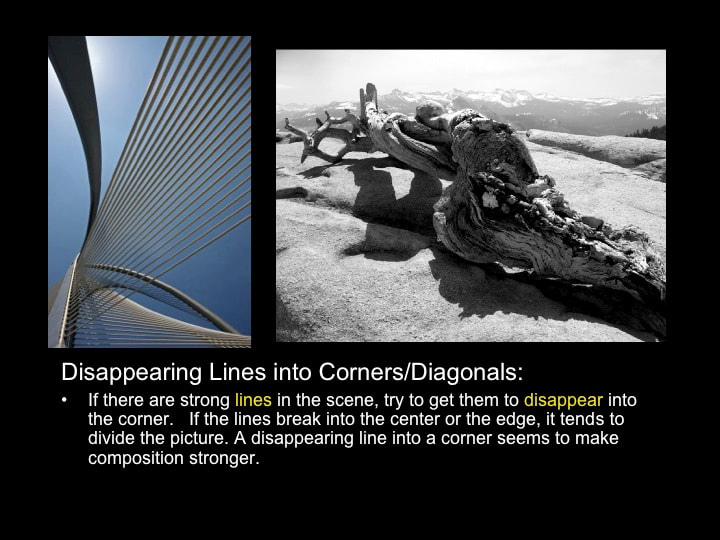
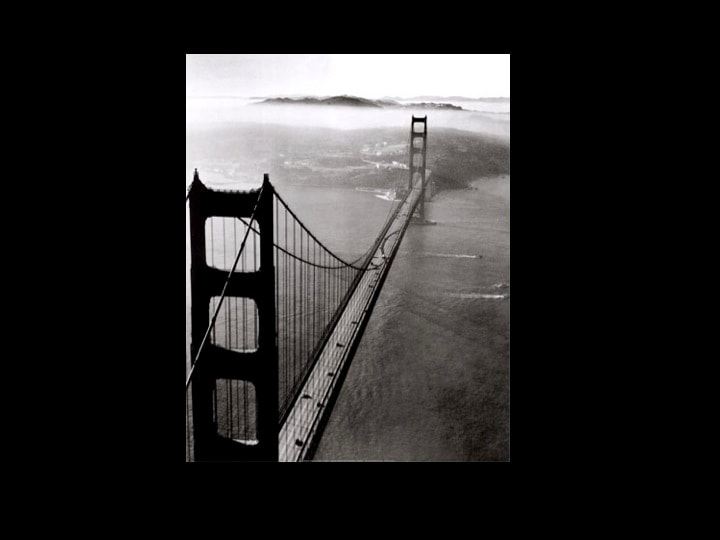
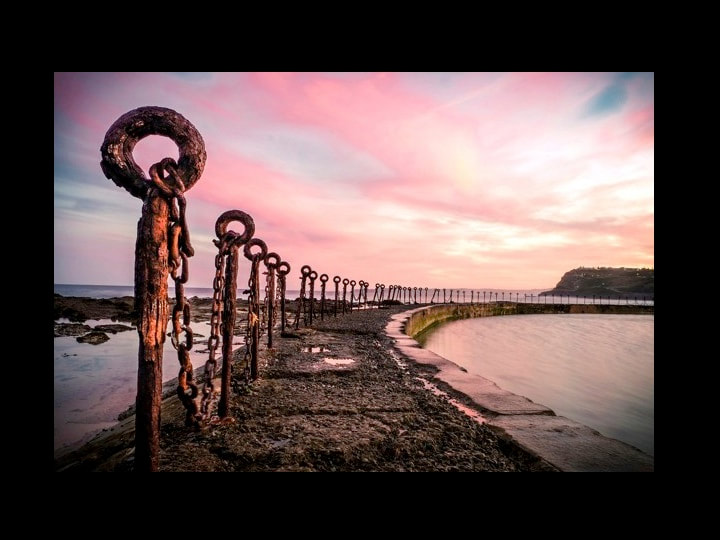
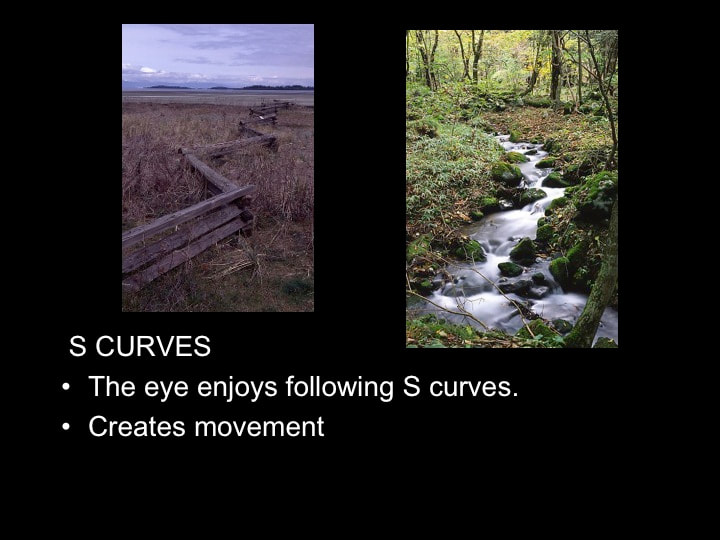
Review the Rules of Composition and make sure to demonstrate them.
Directions for Fine artists:
In you sketchbook or on a separate sheet of mixed media paper:
1) Create TEN 3x3" squares. Fill each square with a different and unique mark using DRY media such as graphite, colored pencil, charcoal, sharpie, copic marker, chalk pastel, oil pastel. You may have a maximum of 5 squares in Black & White and 5 or more in COLOR.
2) Create TEN MORE 3x3" squares. Fill each square with a different mark using WET media such as watercolor paint, acrylic, oil, tempera, inks. Vary your tool: brushes, calligraphy pens/nibs, sticks, q-tips, blow with straws...
You may have a maximum of 5 squares in Black & White and 5 or more in COLOR.
Directions for Digital Artists:
Using Photoshop, Illustrator, Photopea, your tablet, ipad, digital painting or drawing software, etc.
1) Create TEN 3x3" squares. Fill each square with a different and unique mark using black and white. Use different brush tools, the pen tool, use pen pressure and emphasize different lines, shapes, textures, etc.
2) Create TEN MORE 3x3" squares. Fill each square with a different mark using COLOR. Use different brush tools, the pen tool, use pen pressure and emphasize different lines, shapes, textures, change opacities, layer marks, etc.
Directions for Photographers:
Using your camera or phone:
Take 20 original and unique photos that emphasize marks through line and texture. You can find marks by looking for things with line and texture (natural elements, trees, sand, ocean, lakes, animals, birds, feathers, buildings, architecture), or create things (stage things) to photograph that emphasize line and texture.
You may have a maximum of 10 photos in Black & White and 10 or more in COLOR.
Each photo must show a different mark, subject matter, viewpoint, and compositional choices.
Review the Rules of Composition and make sure to demonstrate them.


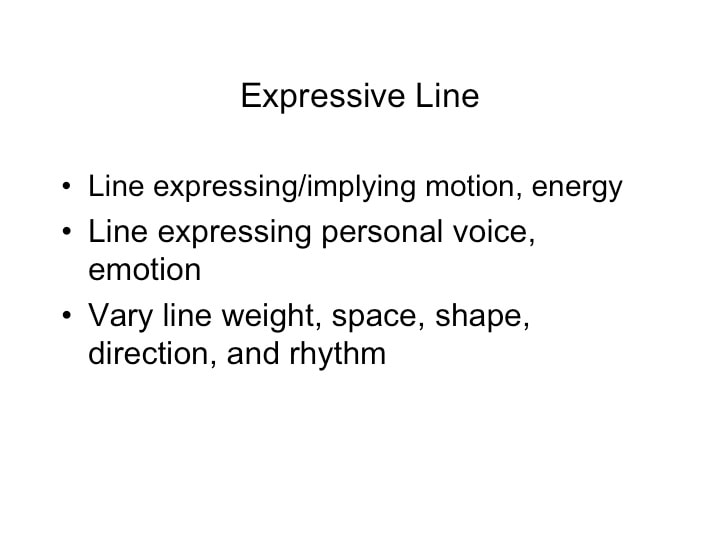
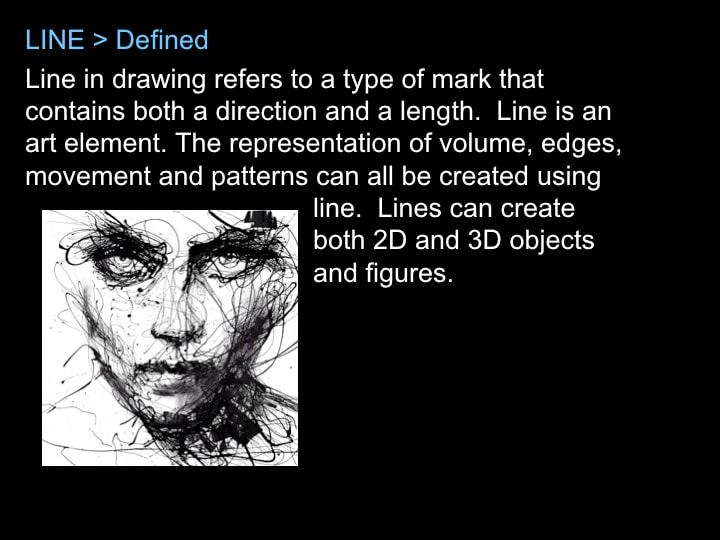
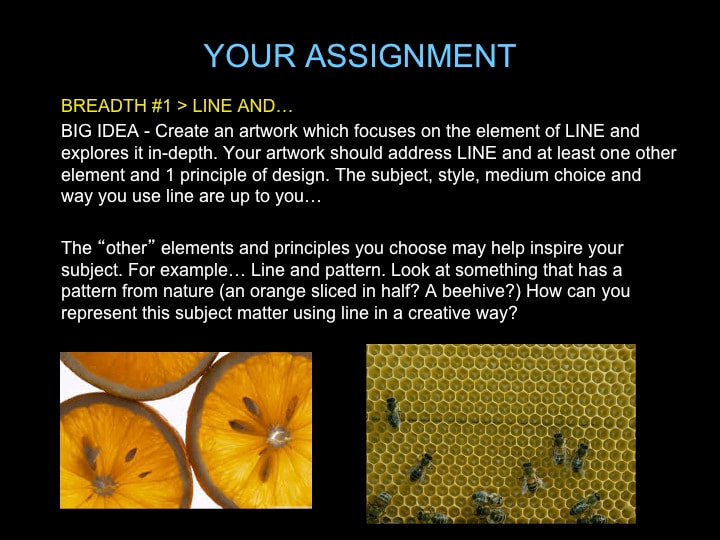
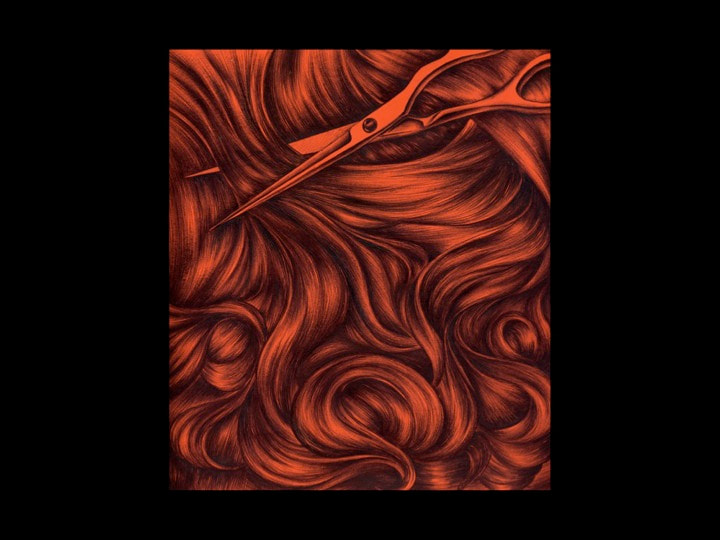
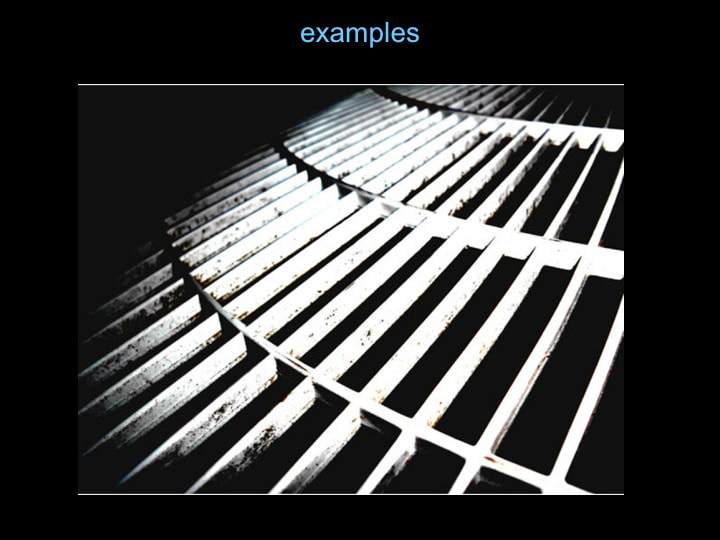
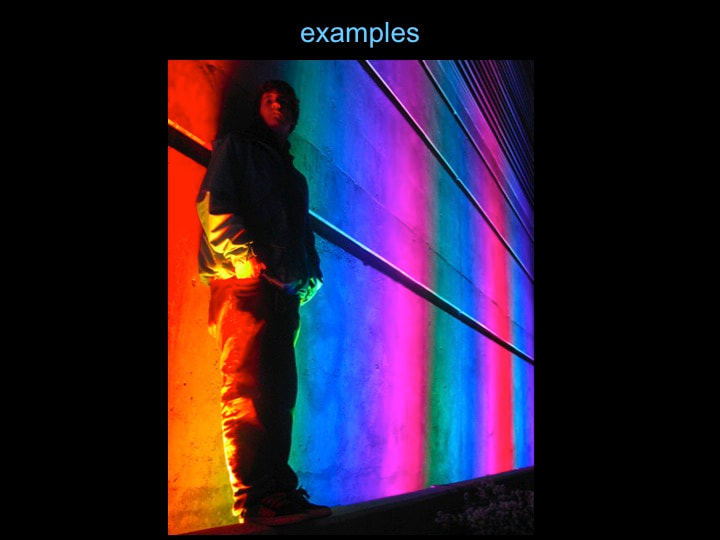
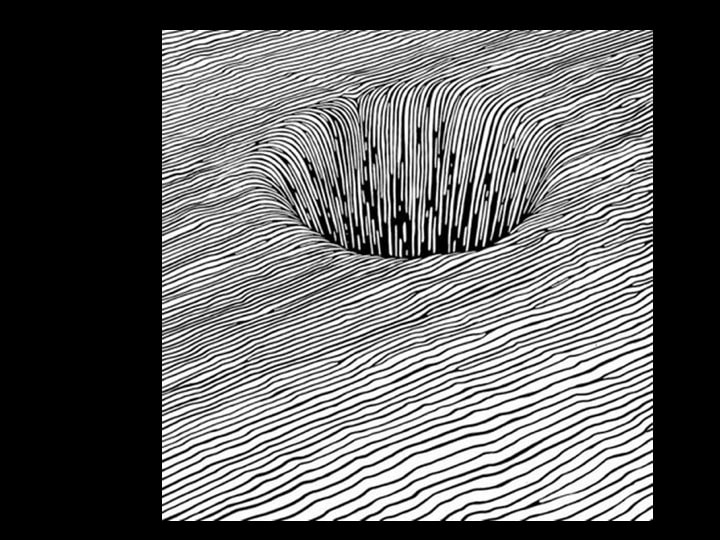
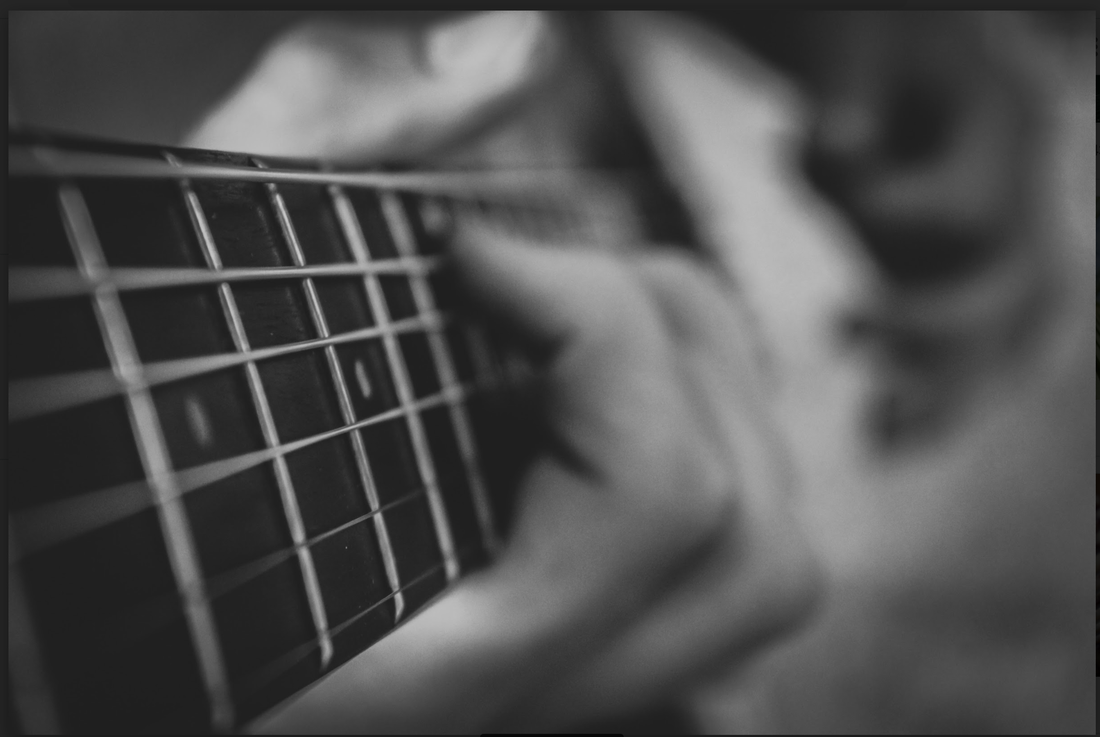
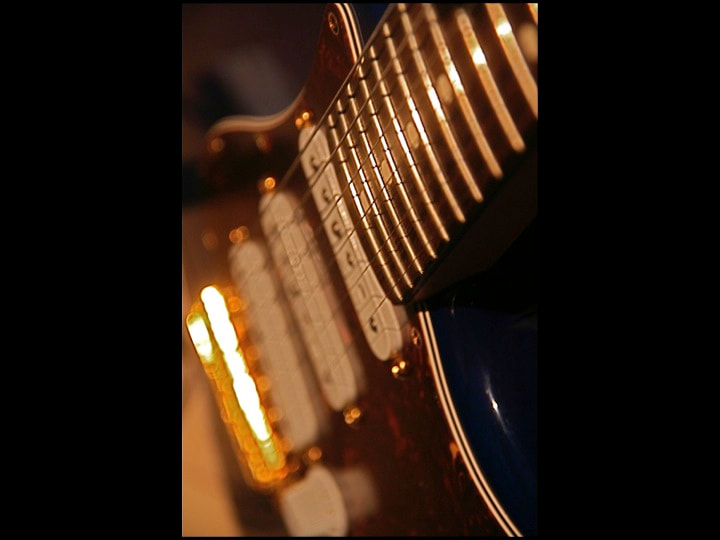
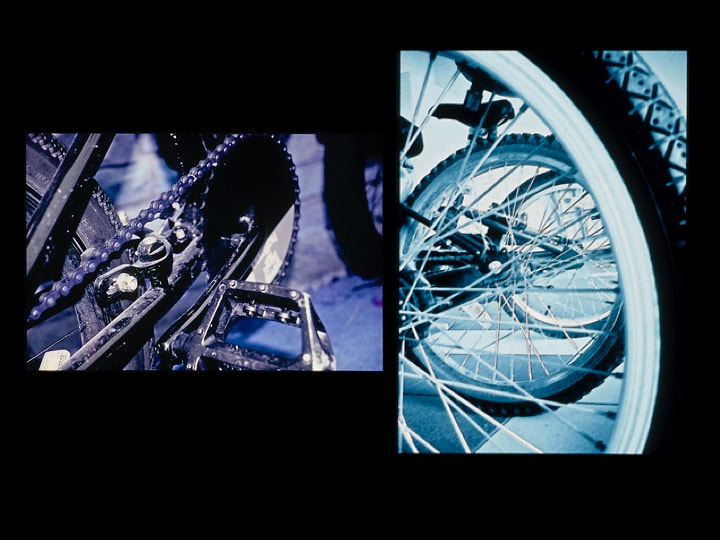
Line Emphasis Project
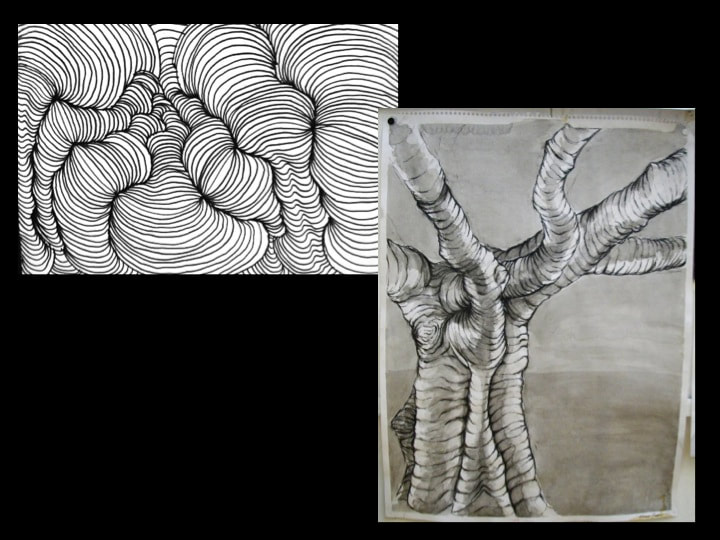
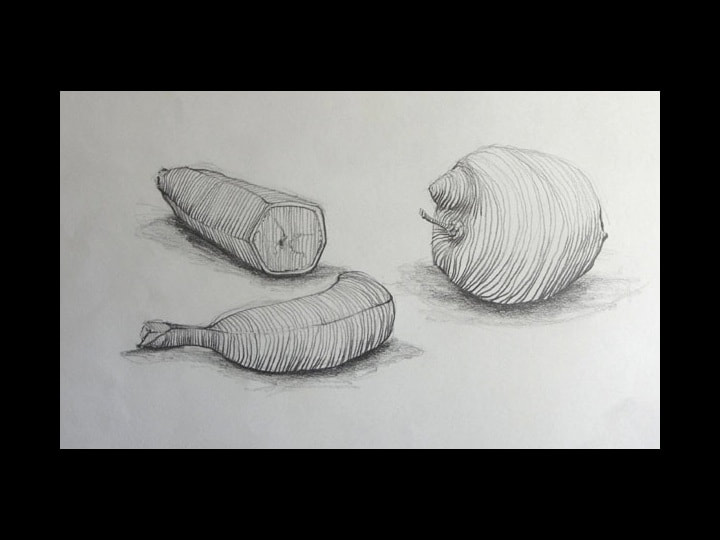
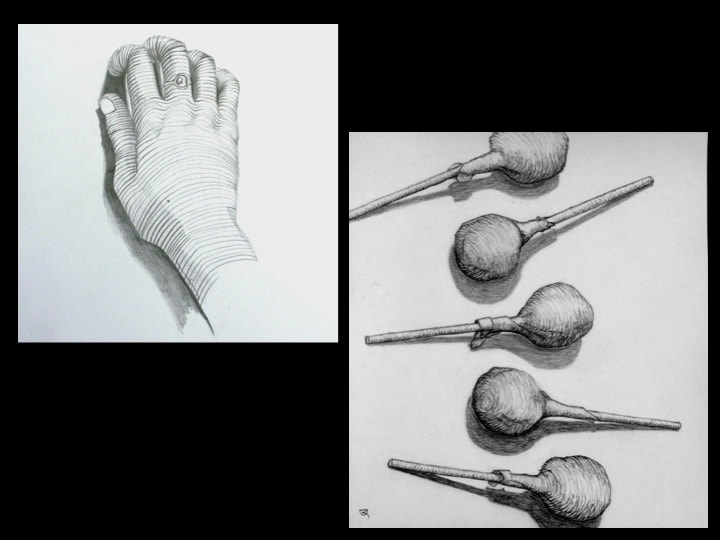
Create an artwork that emphasizes LINE and 1 other element of art and 1 principle of design.
For example you could choose line, shape, and movement. Or Line, texture, and asymmetrical balance...
Photography Option:
Shoot 12 photographs. Each photo must illustrate Line and at least 1 other element and 1 principle. Every element and every principle must be represented.
*Submit your photographs in high resolution to the AP Art Google Classroom.
Process:
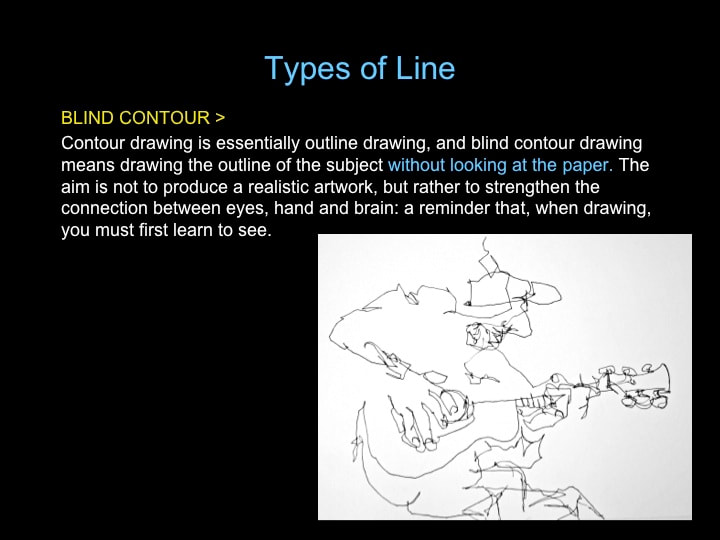
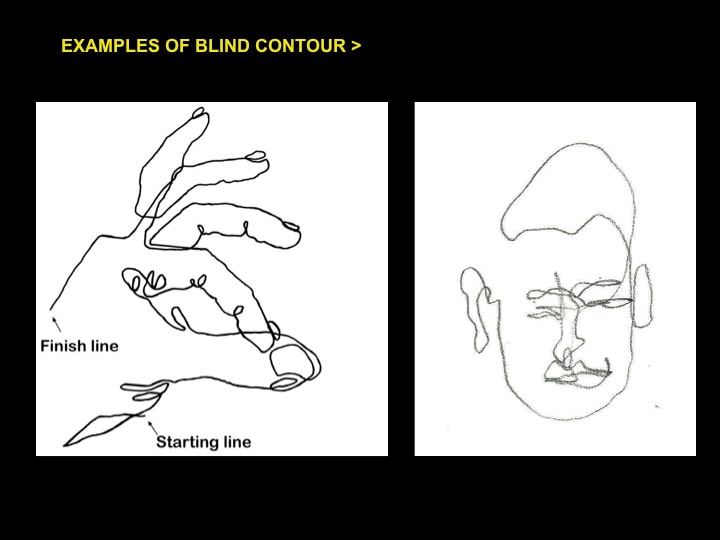
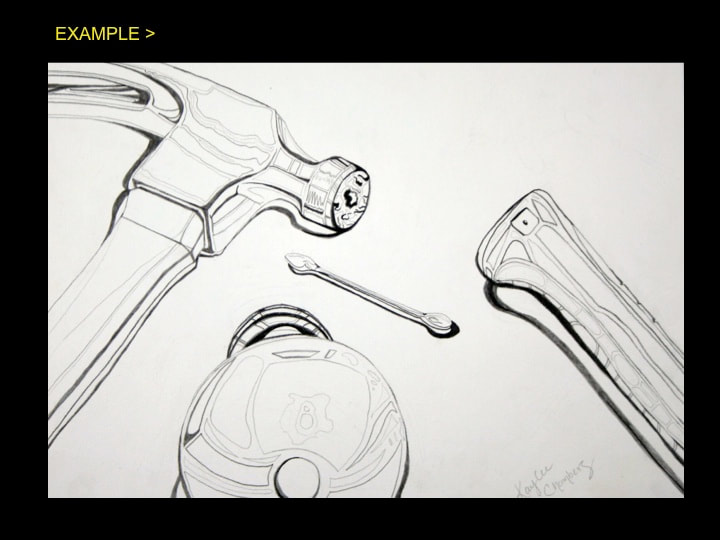
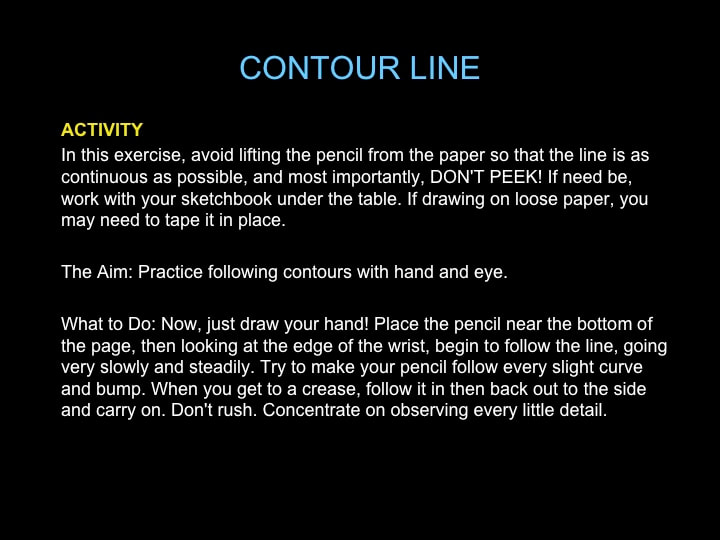
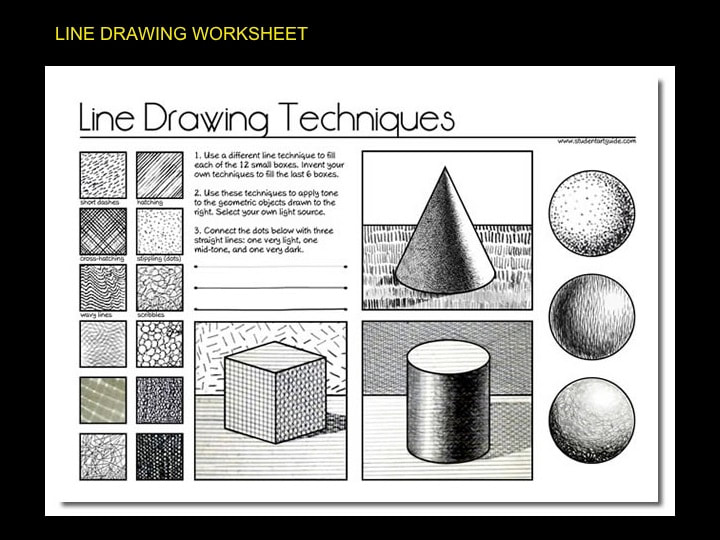
1 - Complete line study activities (worksheet and blind contour)
2 - Brainstorm ideas for line project. Do sketches in your sketchbook about the concept (even if you are photographer - write notes about your approach to this artistic “problem”)
3 - Research techniques of other artists:
- Research 2 different artists and their technique or style
- In your sketchbook, write a short critique of their work
- sketch examples of their work
-How could you utilize or integrate a technique from this artist's work into your own (without copying)
4 - Sketch multiple thumbnail sketches experimenting with composition, viewpoint, color, etc.
5 - Make media choices - experiment with different media
6 - Begin work on your final artwork
For example you could choose line, shape, and movement. Or Line, texture, and asymmetrical balance...
- Media your choice: Charcoal, watercolor, acrylic, graphite, pastel, digital art, photography, mixed media
- Subject your choice.
- 2D & Drawing - Minimum size 9X12"
Photography Option:
Shoot 12 photographs. Each photo must illustrate Line and at least 1 other element and 1 principle. Every element and every principle must be represented.
*Submit your photographs in high resolution to the AP Art Google Classroom.
Process:
1 - Complete line study activities (worksheet and blind contour)
2 - Brainstorm ideas for line project. Do sketches in your sketchbook about the concept (even if you are photographer - write notes about your approach to this artistic “problem”)
3 - Research techniques of other artists:
- Research 2 different artists and their technique or style
- In your sketchbook, write a short critique of their work
- sketch examples of their work
-How could you utilize or integrate a technique from this artist's work into your own (without copying)
4 - Sketch multiple thumbnail sketches experimenting with composition, viewpoint, color, etc.
5 - Make media choices - experiment with different media
6 - Begin work on your final artwork


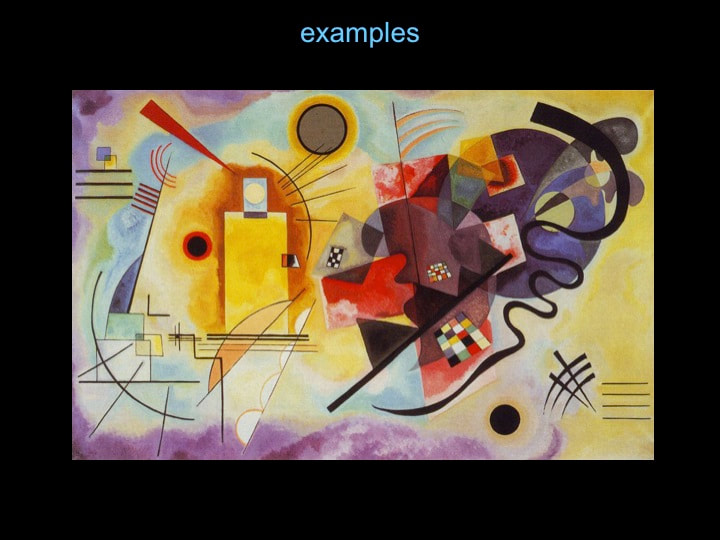
Student Examples


Resources:
- The Artist's Tool Kit: interactive examples
- Project ARTiculate
- Elements of Art
& Principles of Design Presentation/Notes
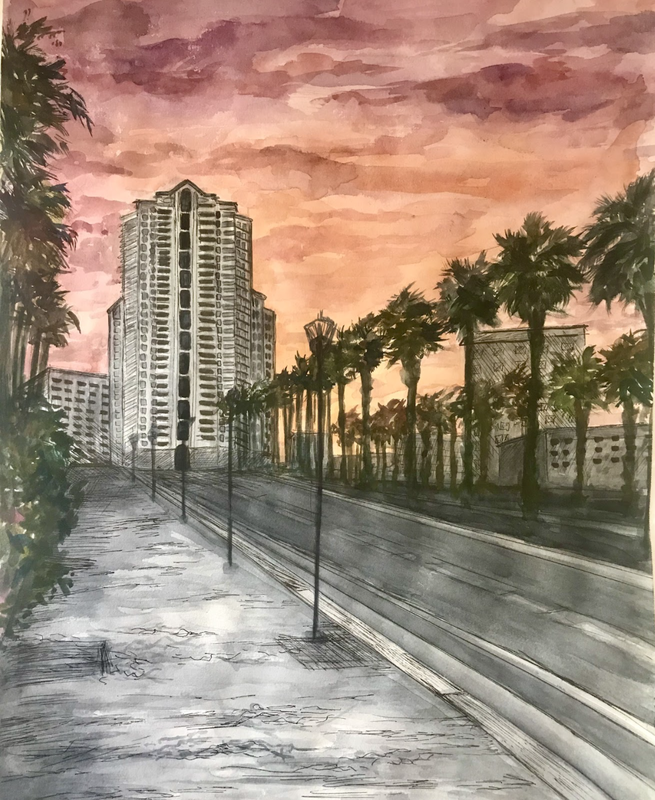
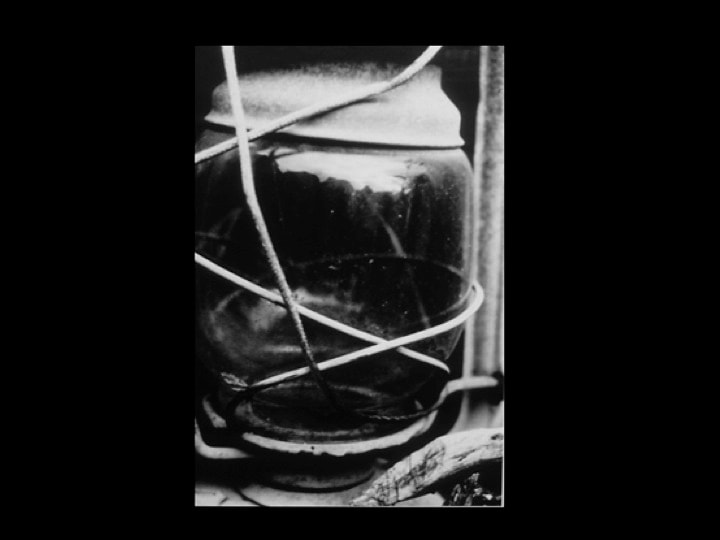
Reflections & Shadows - Still Life or Architecture
Choose one of the options below.
Size: minimum 9X12”, maximum 18X24”
Medium: your choice. Consider graphite, charcoal, oil pastel, acrylic, oil, conte, ink, marker, pen, digital drawing/painting, photography or mixed media.
This may be true observational drawing (realistic) or add distortion or abstraction with true artistic intent. Any distortion must look purposeful.
Photography Option: 12 photos required
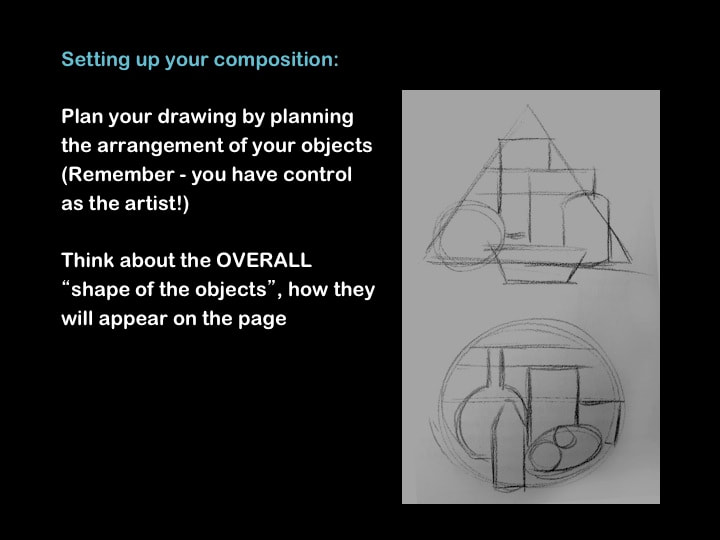
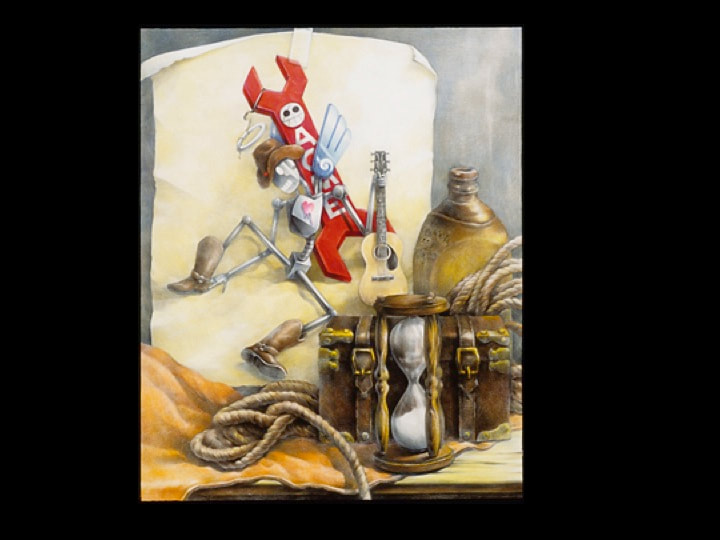
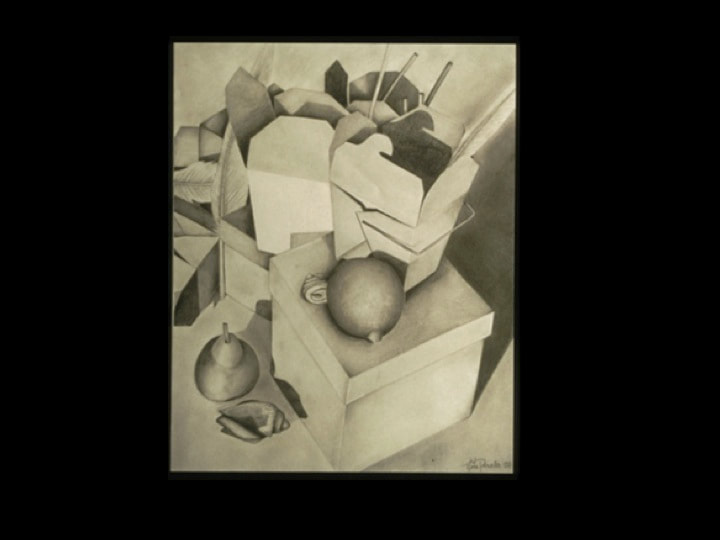
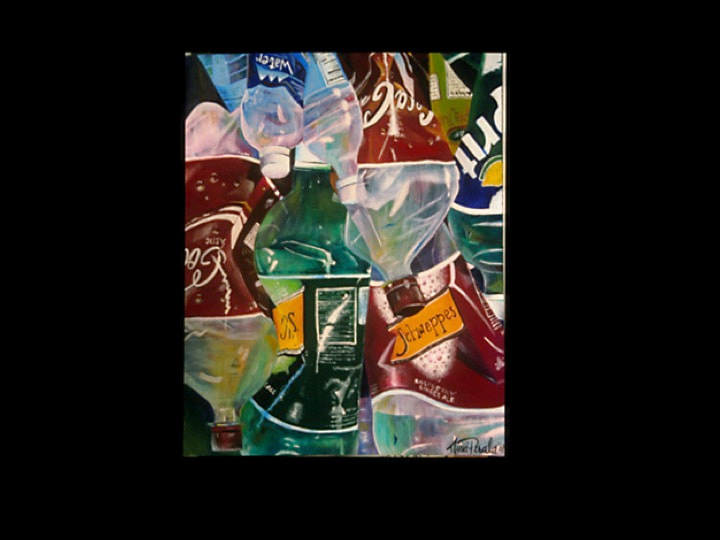
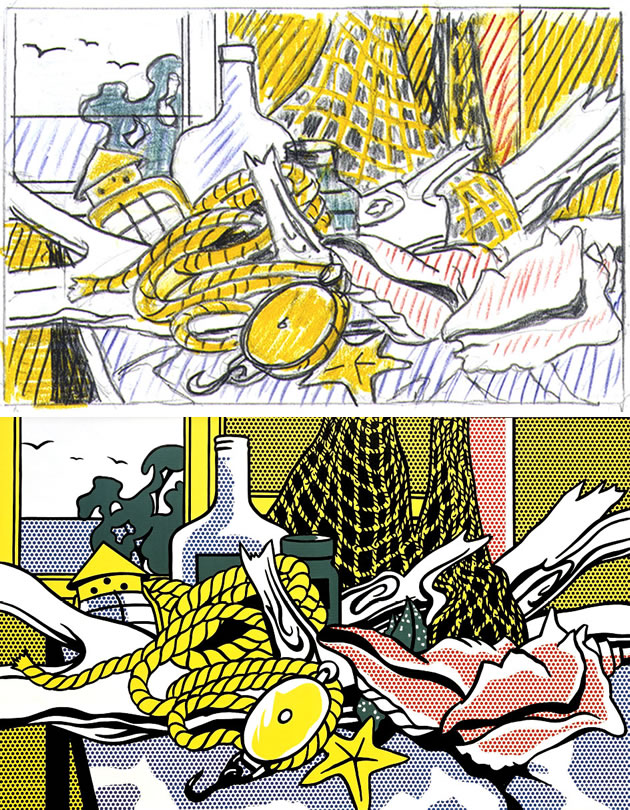
1) Unusual Object Still Life. Arrange a still life using objects, clothing, food, etc.
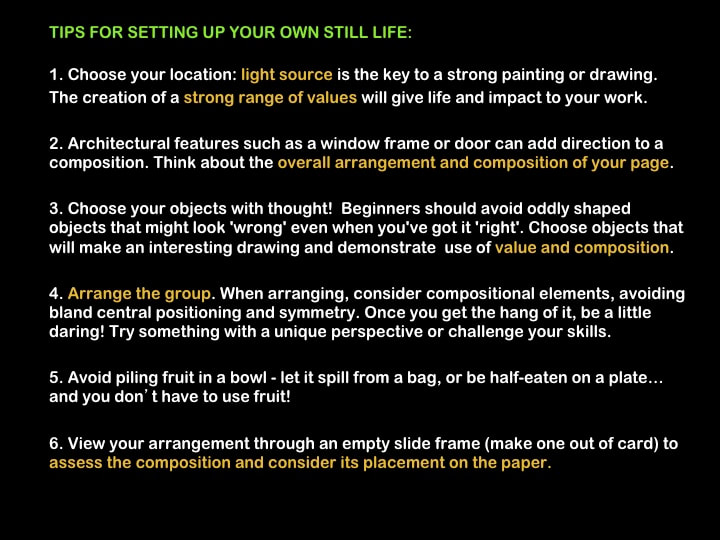
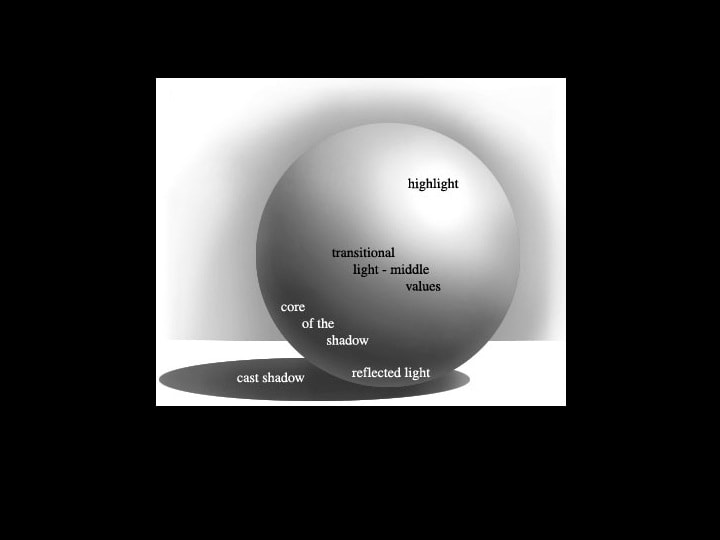
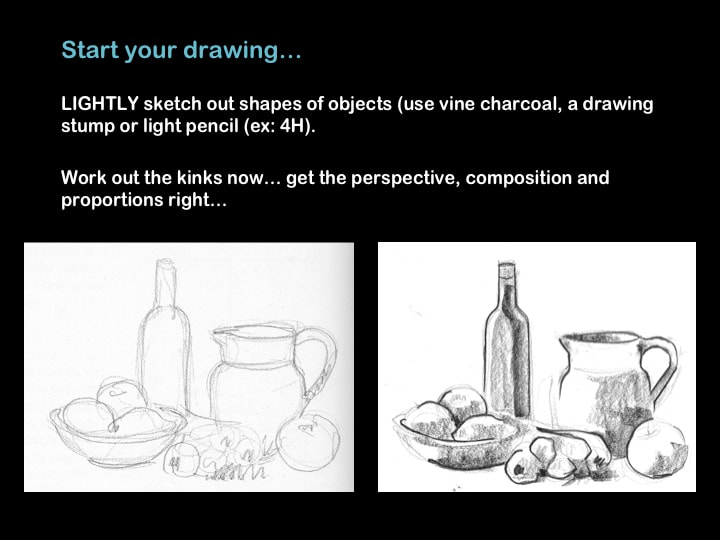
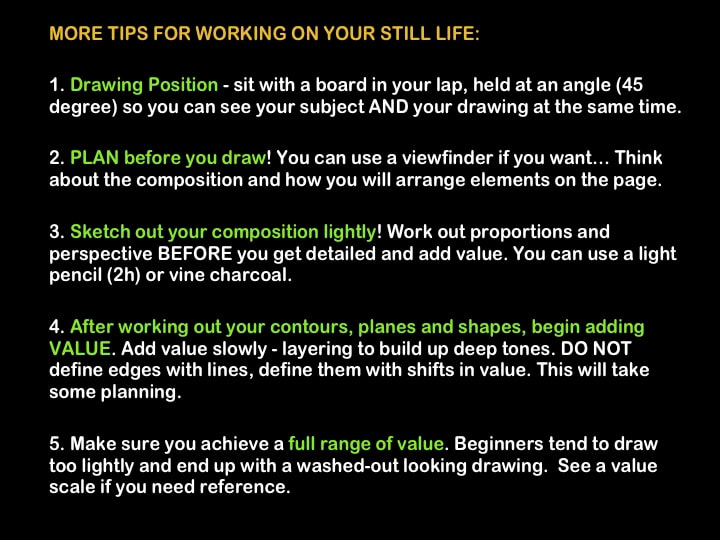
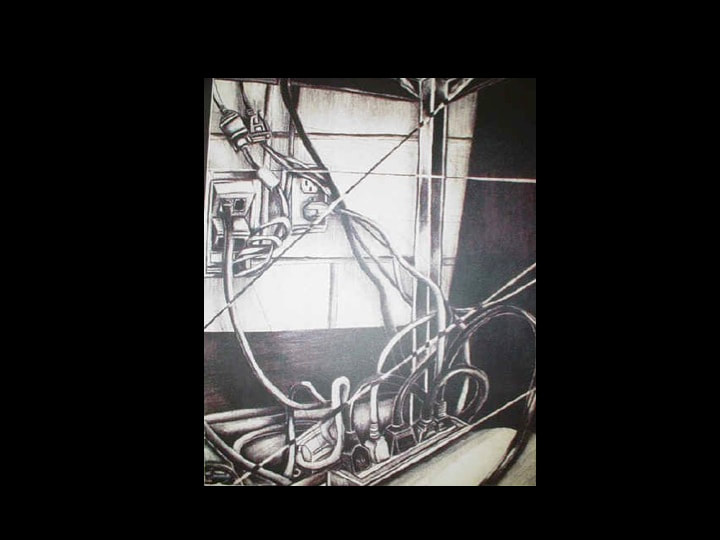
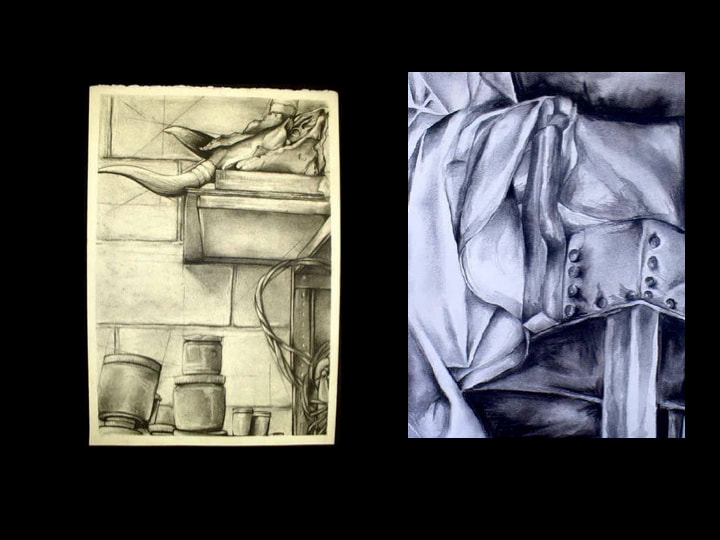
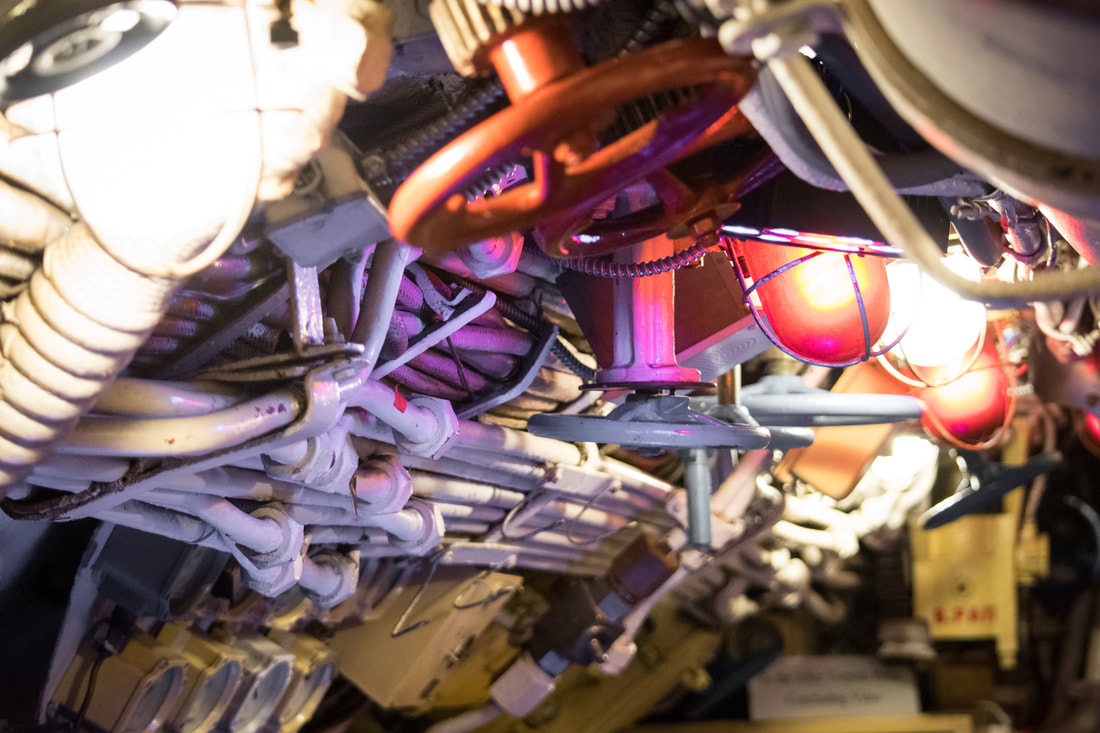
Create an interesting and unusual composition with unique viewpoint (bug’s eye view, bird’s eye view, angle, zoomed in). Create a hard light source with a bright lamp or look for interesting light sources (window, closet light) or create your own (flashlight, candle, etc.) See that light and dark work in your favor. Consider how the light and shadow fall over surfaces and how it helps to separate one plane from another. Use perspective to help you give the illusion of forms in space.
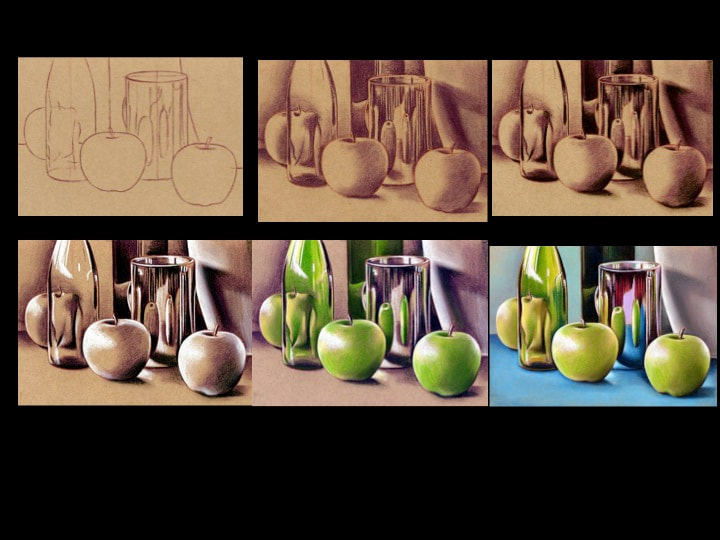
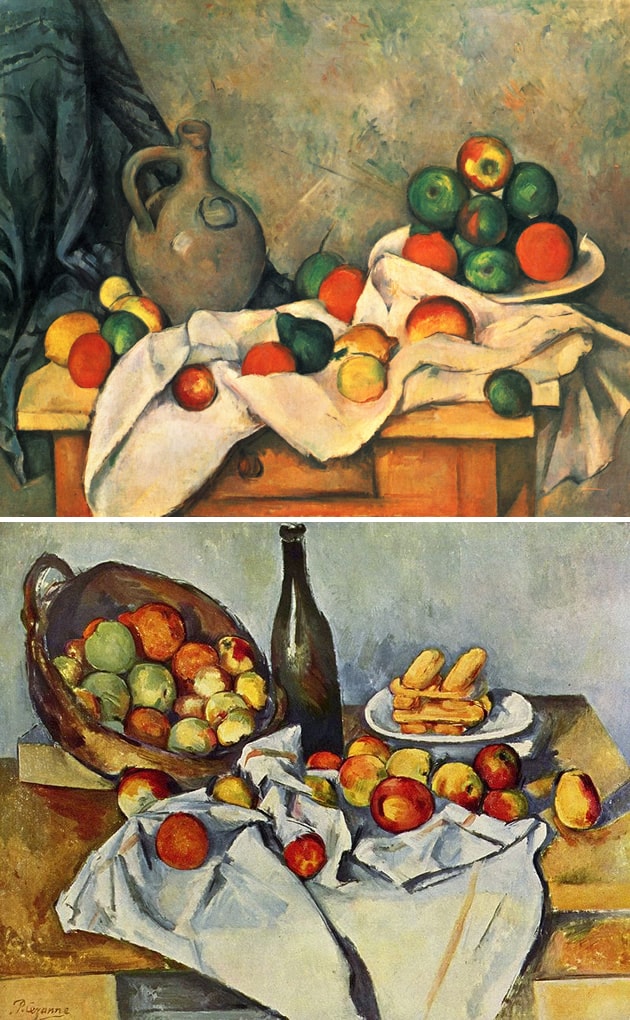
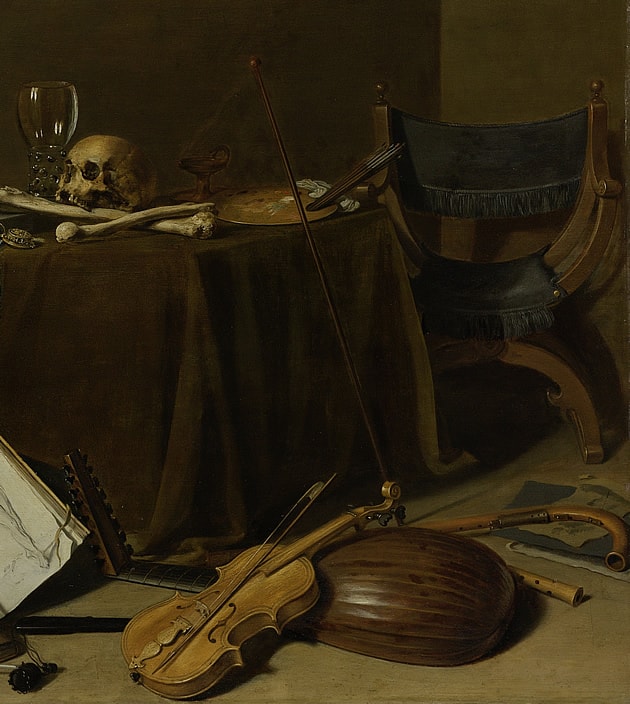
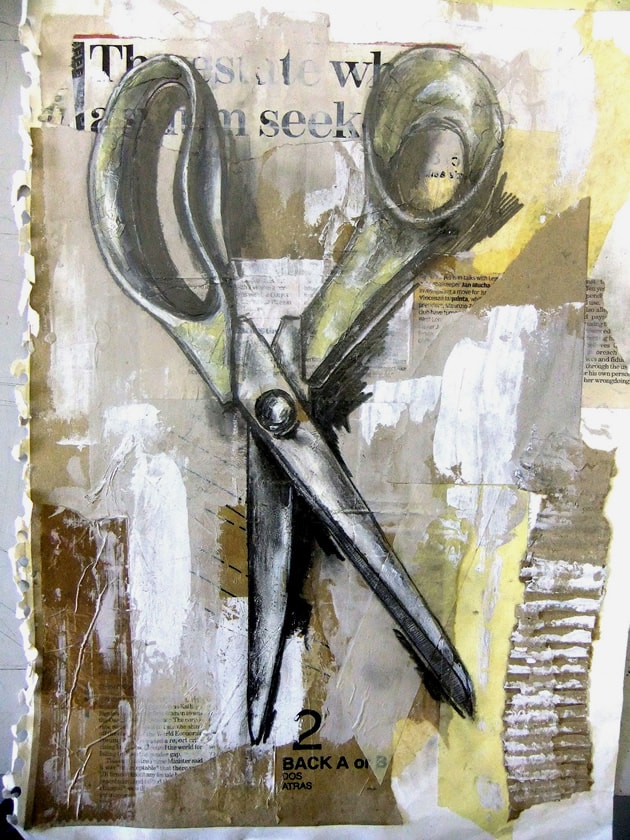
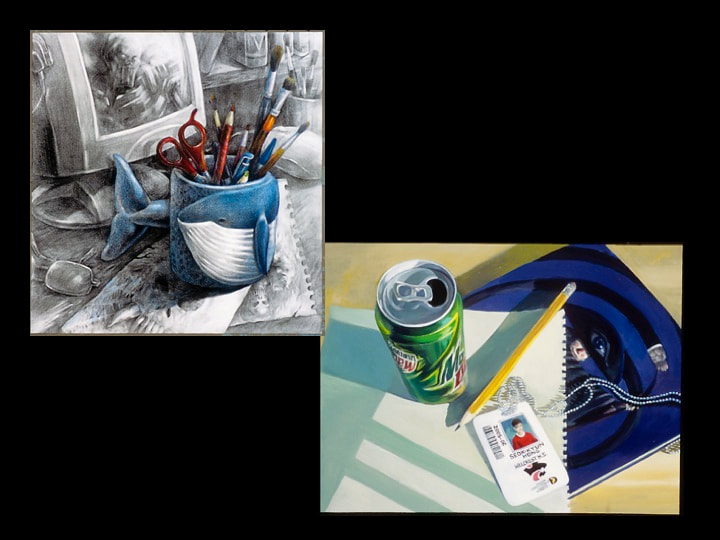
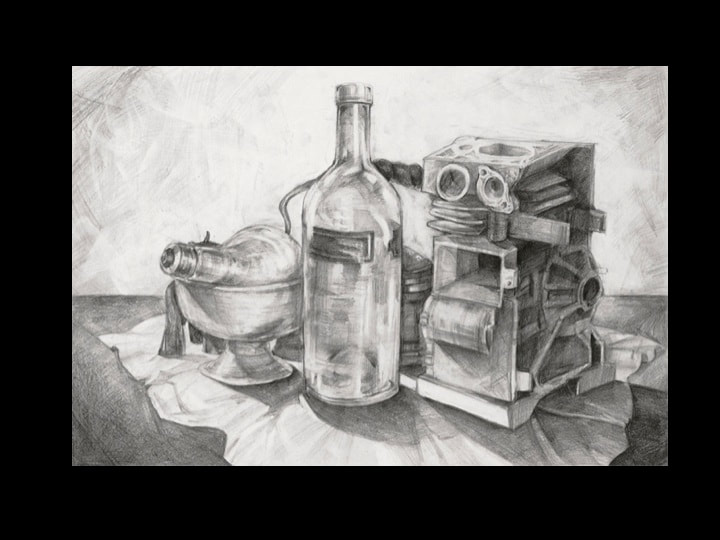
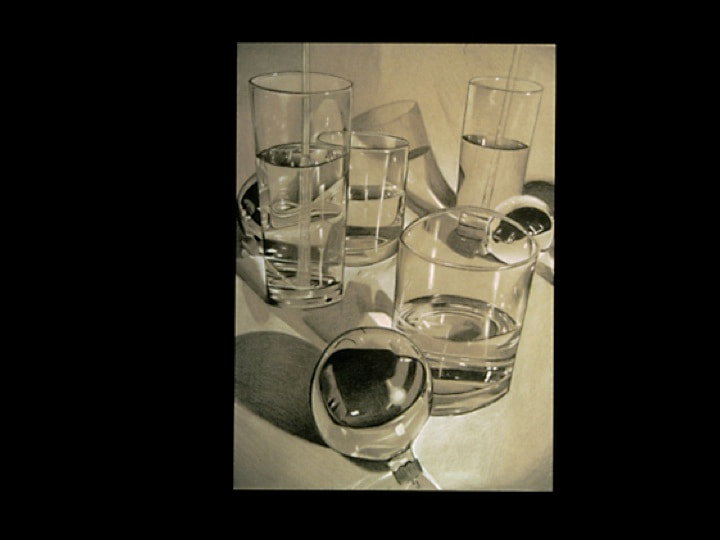
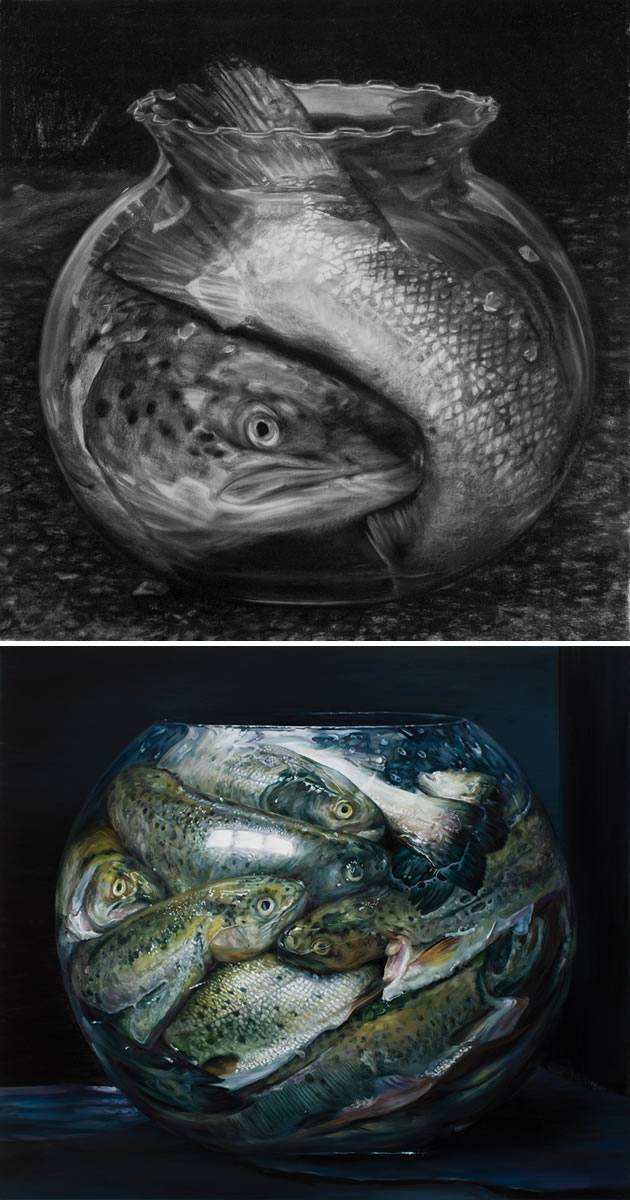
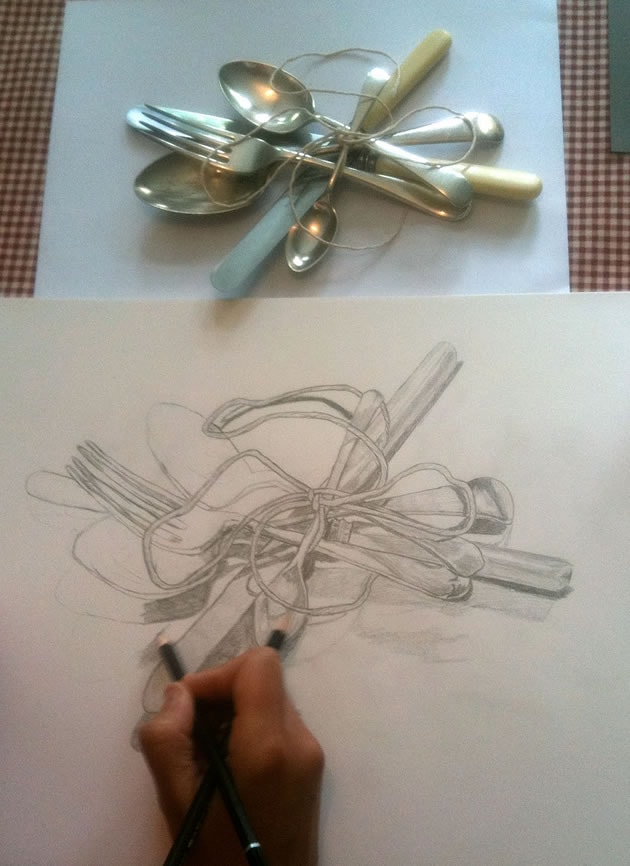
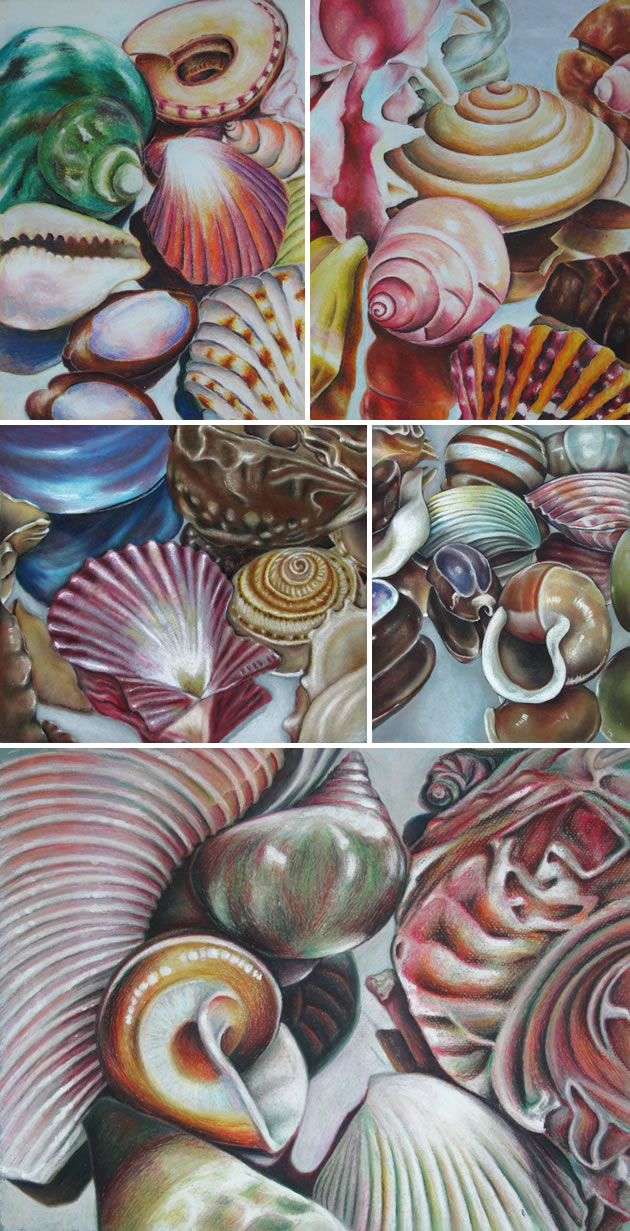
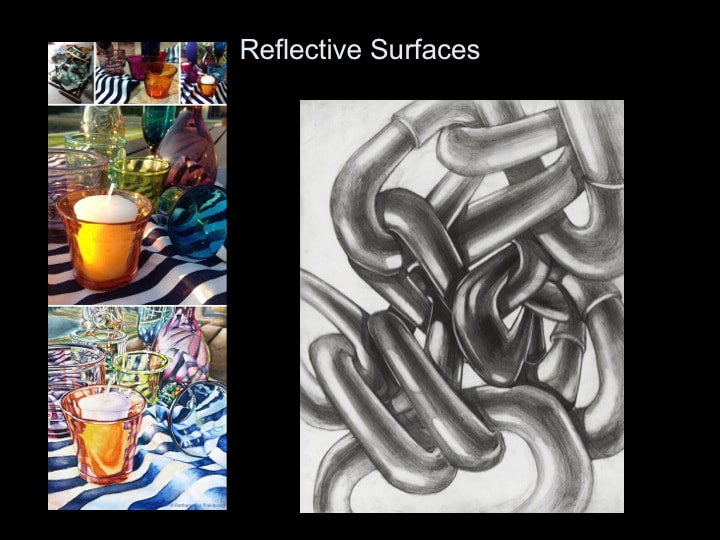
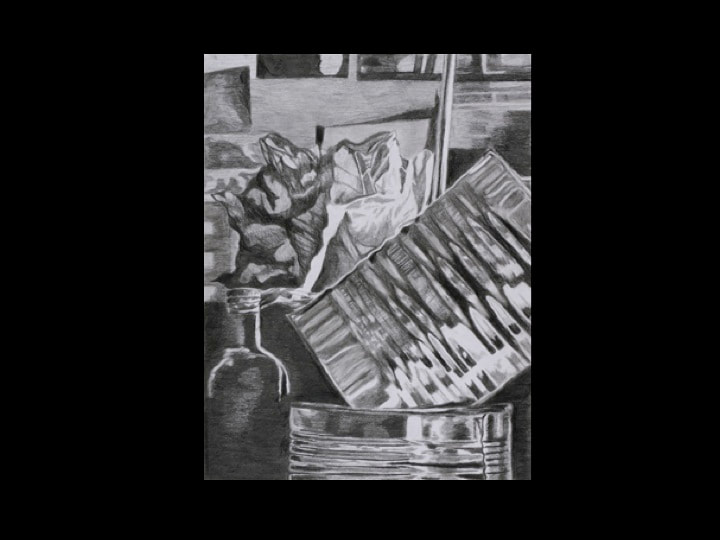
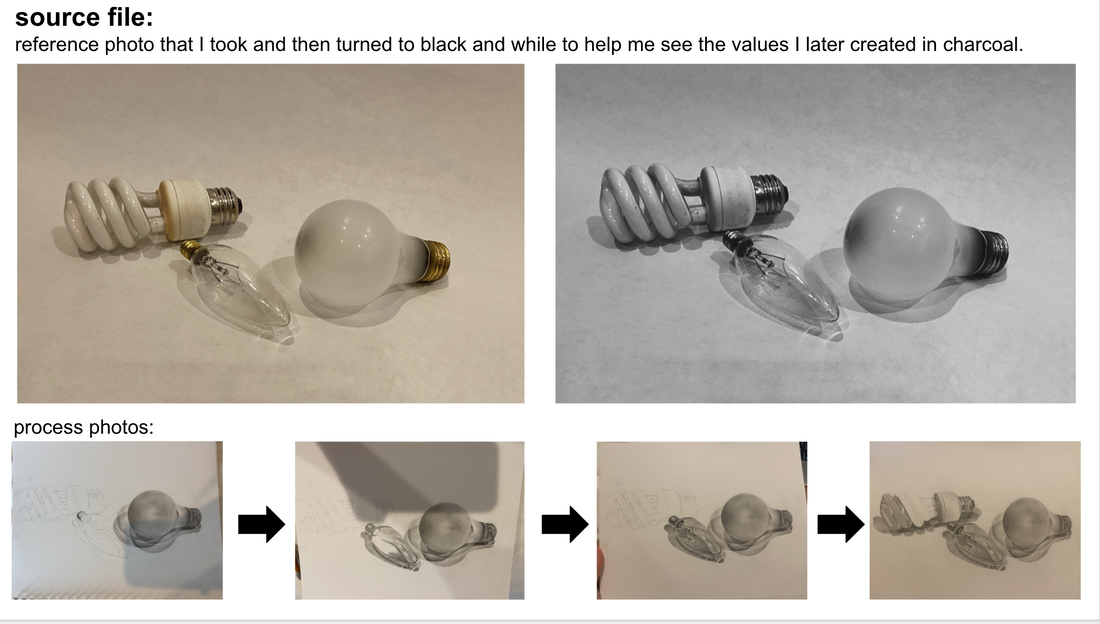
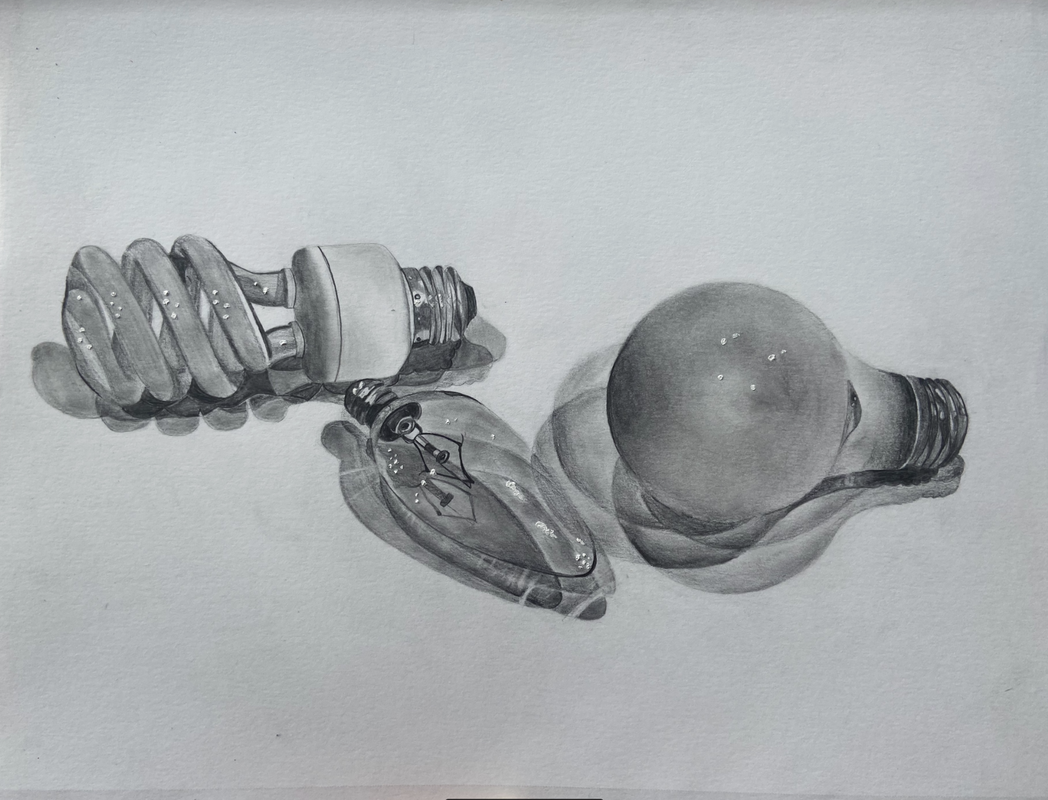
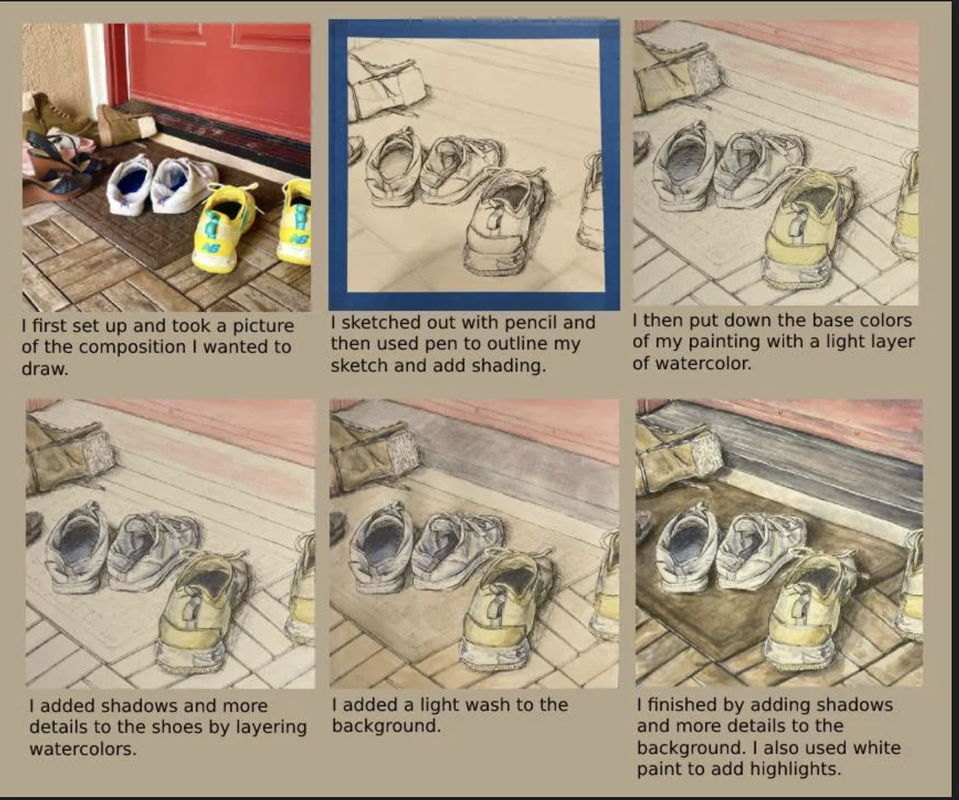
2) Reflective Surfaces Still Life. Choose 3 to 5 objects and create a still life arrangement. Make sure your objects are a variety of shapes and sizes. Consider using glass, metal, and reflective objects. Consider objects with interesting and contrasting textures. Arrange them so that there is some overlap of objects in your composition.
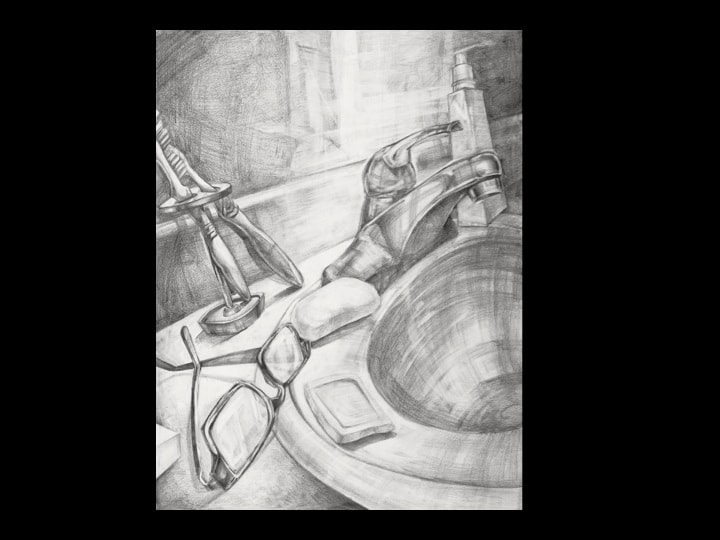
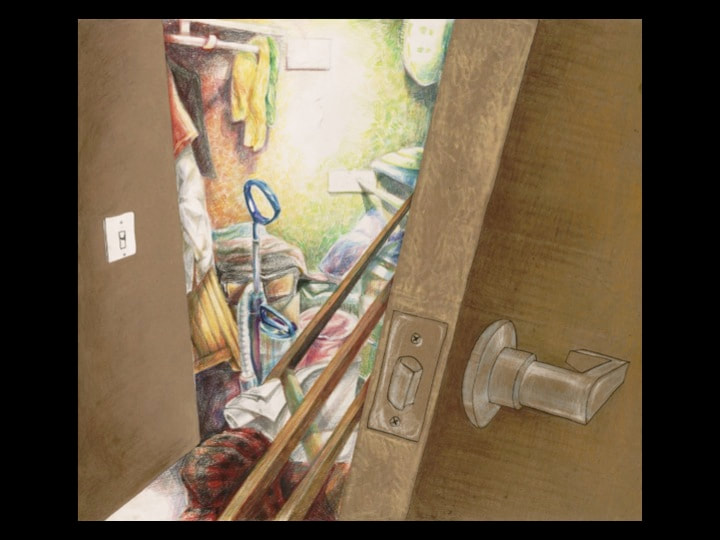
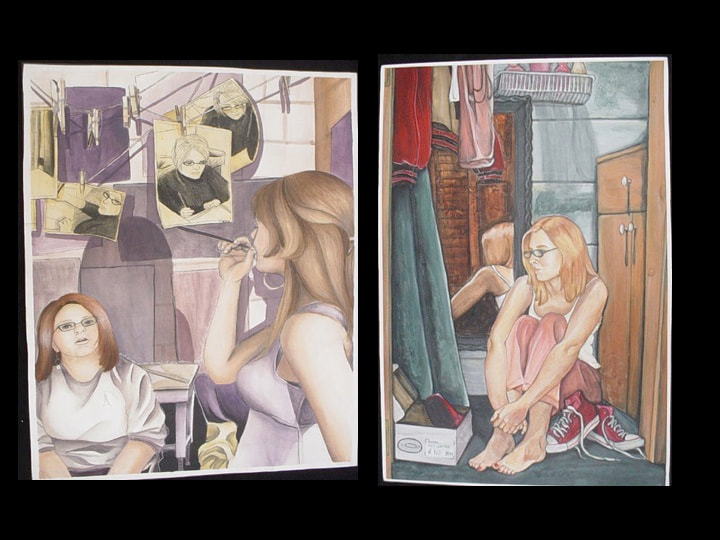
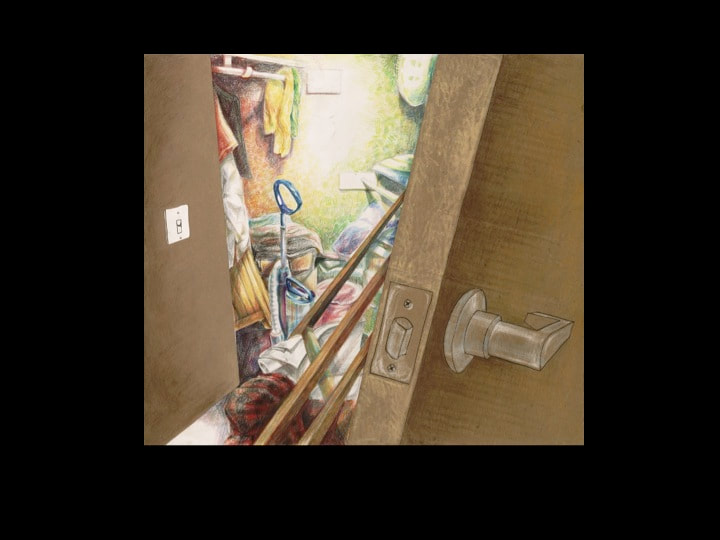
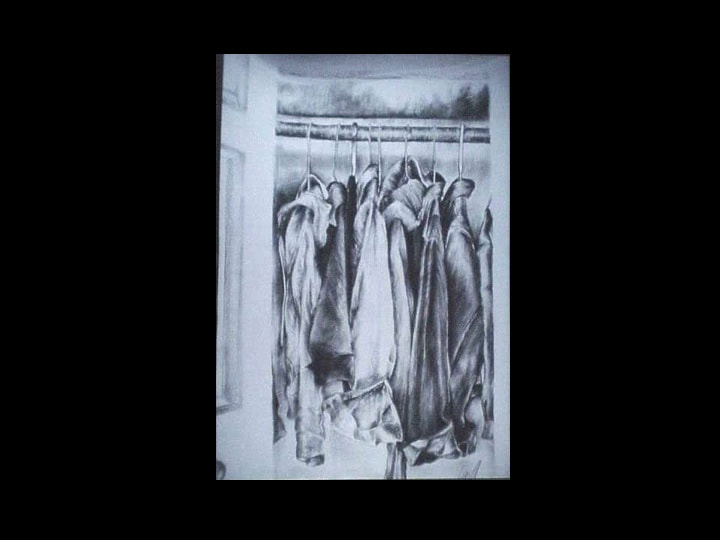
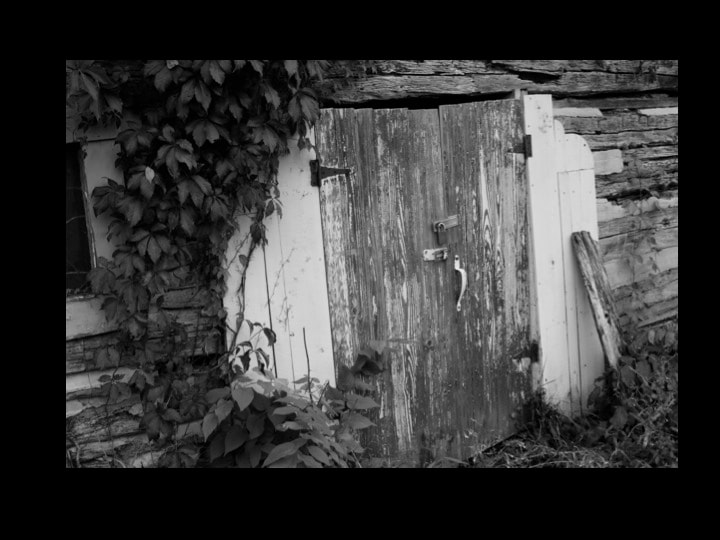
3) Interior Spaces: Draw a “still life” of a partial view of a space in your house. For instance, a view into your closet, a corner of the garage, your bathroom sink. Look for an interesting and unusual composition with unique viewpoint (bug’s eye view, bird’s eye view, angle, zoomed in). Create a hard light source with a bright lamp or look for interesting light sources (window, closet light) or create your own (flashlight, candle, etc.)
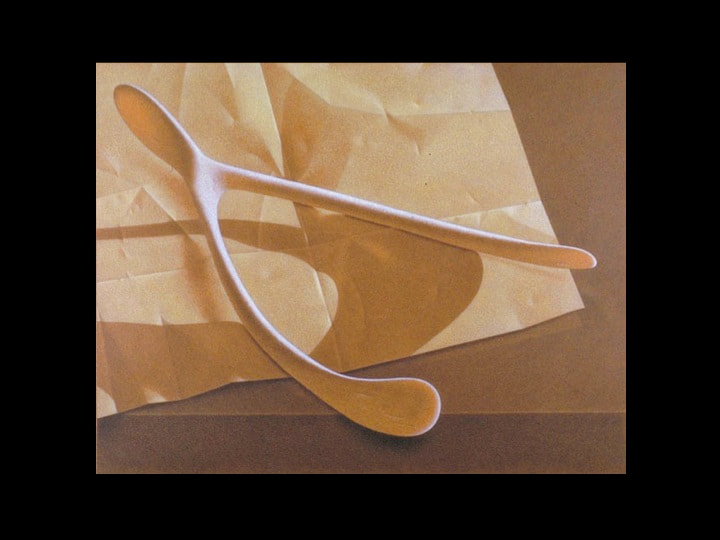
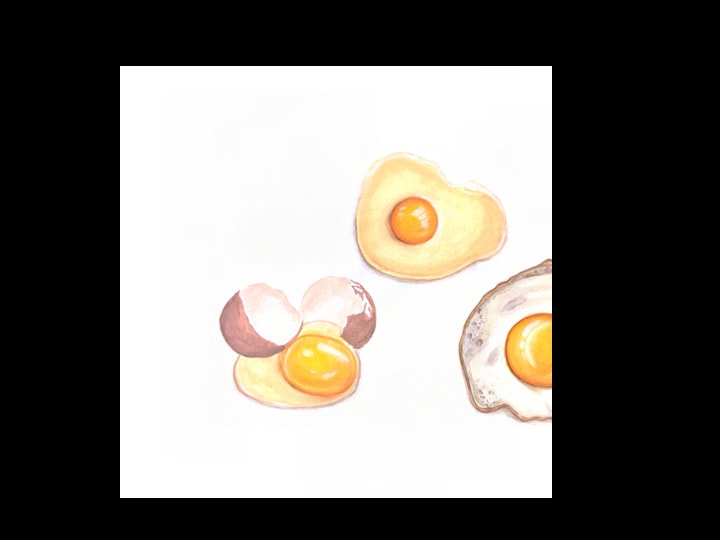
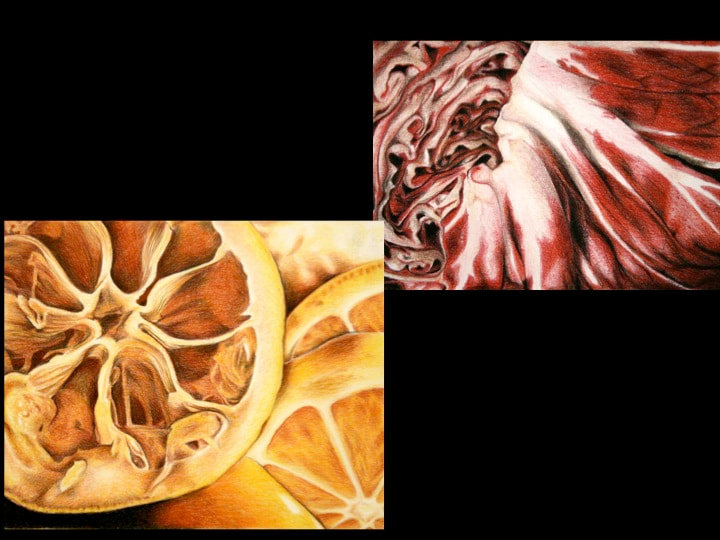
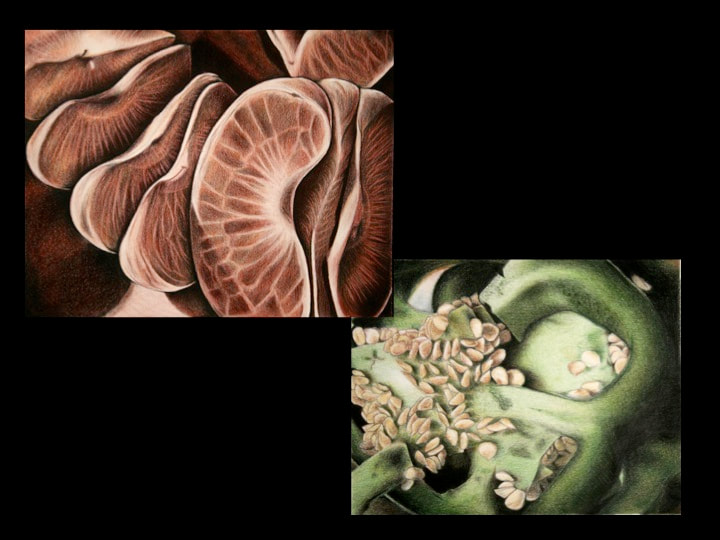
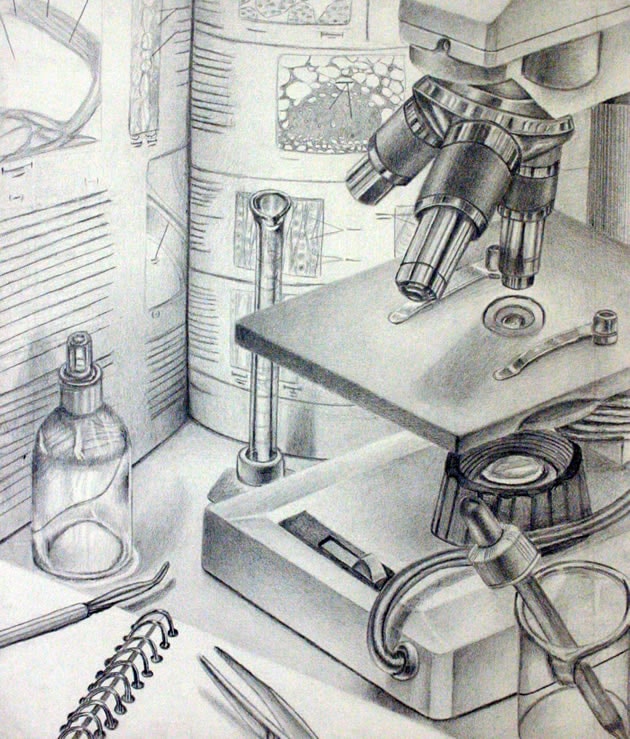
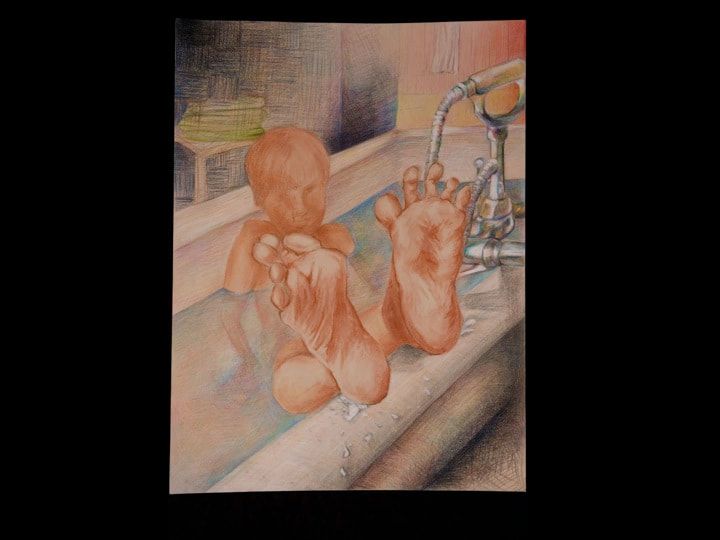
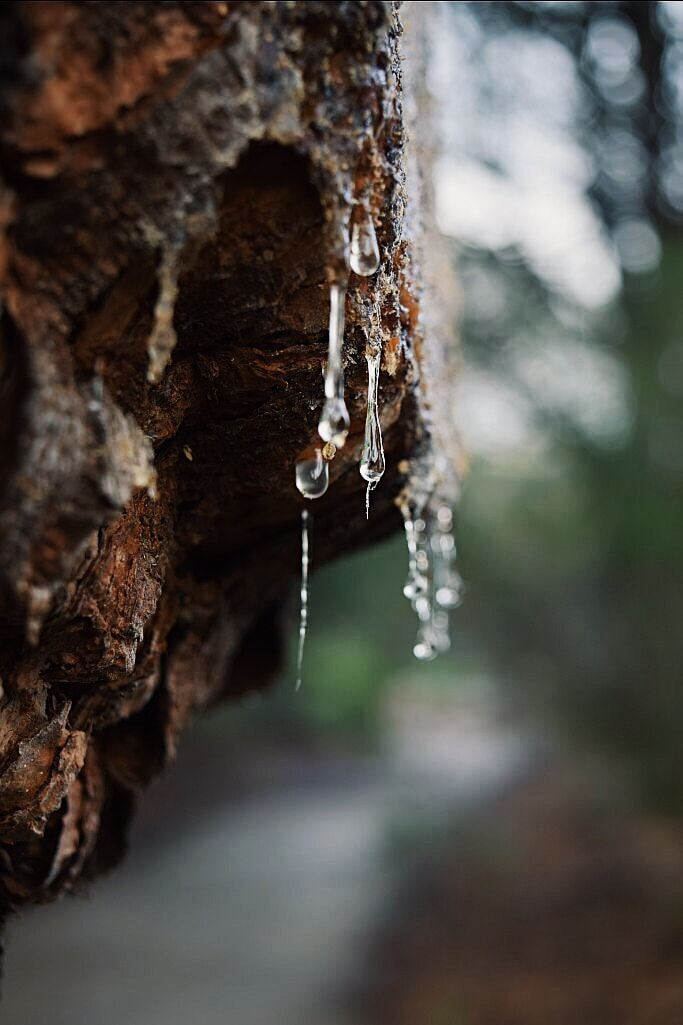
4) Magnified viewpoint of an object. Depict an object or objects close-up and reveal new and unique details with line, texture, form, color, etc. Cut up fruit or vegetables, dissect/disassemble an object and show its interior parts.
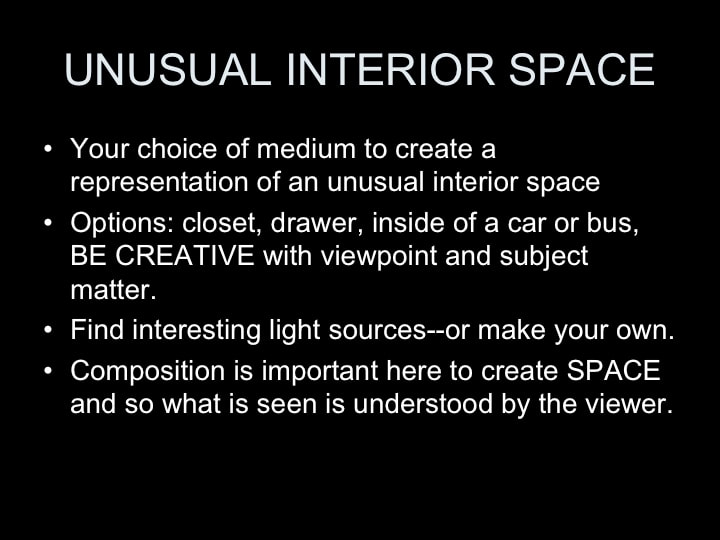
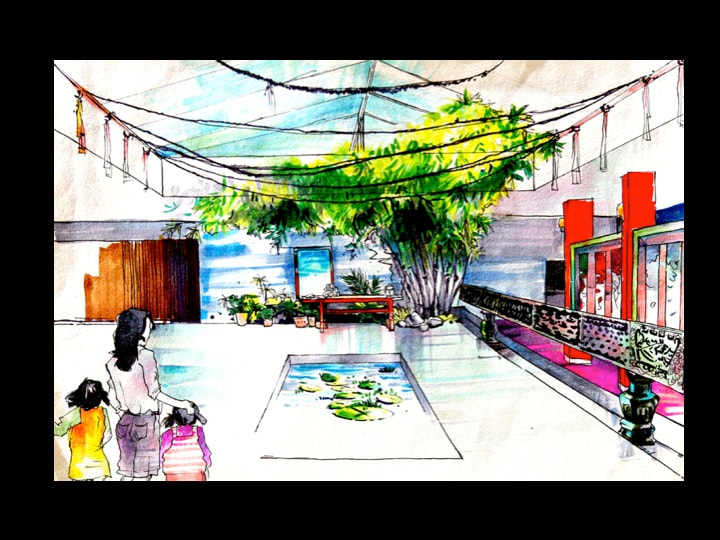
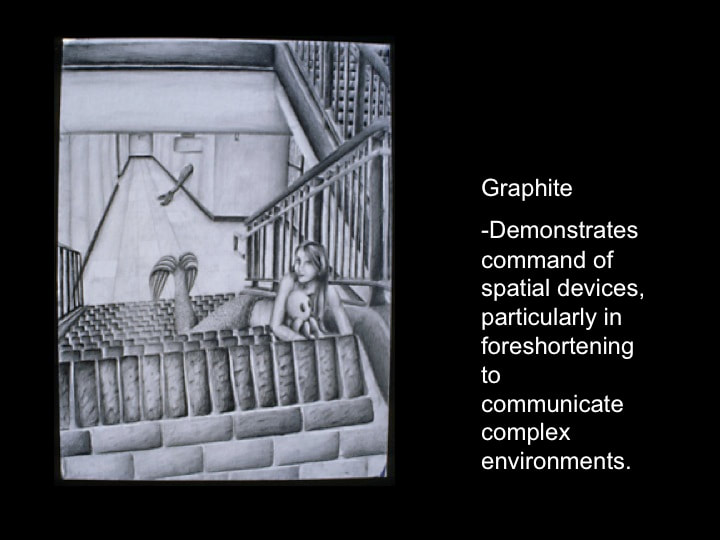
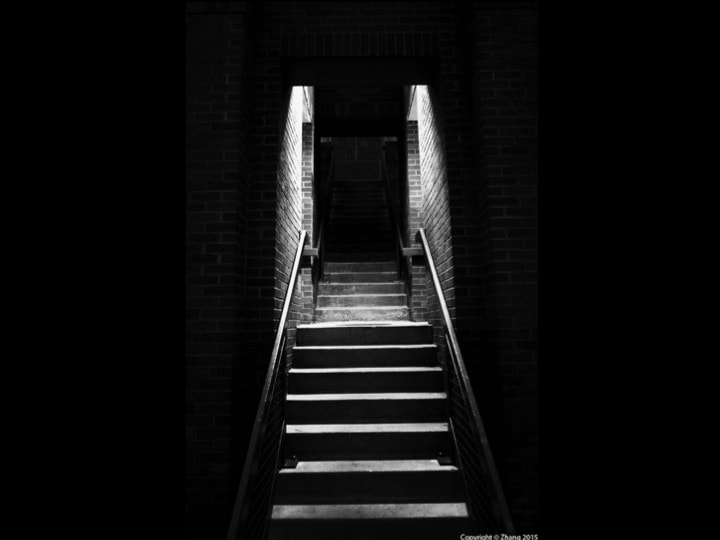
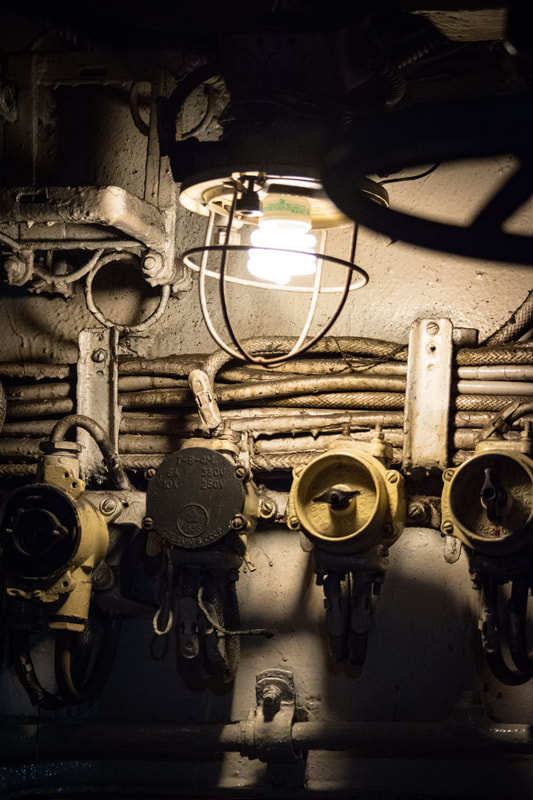
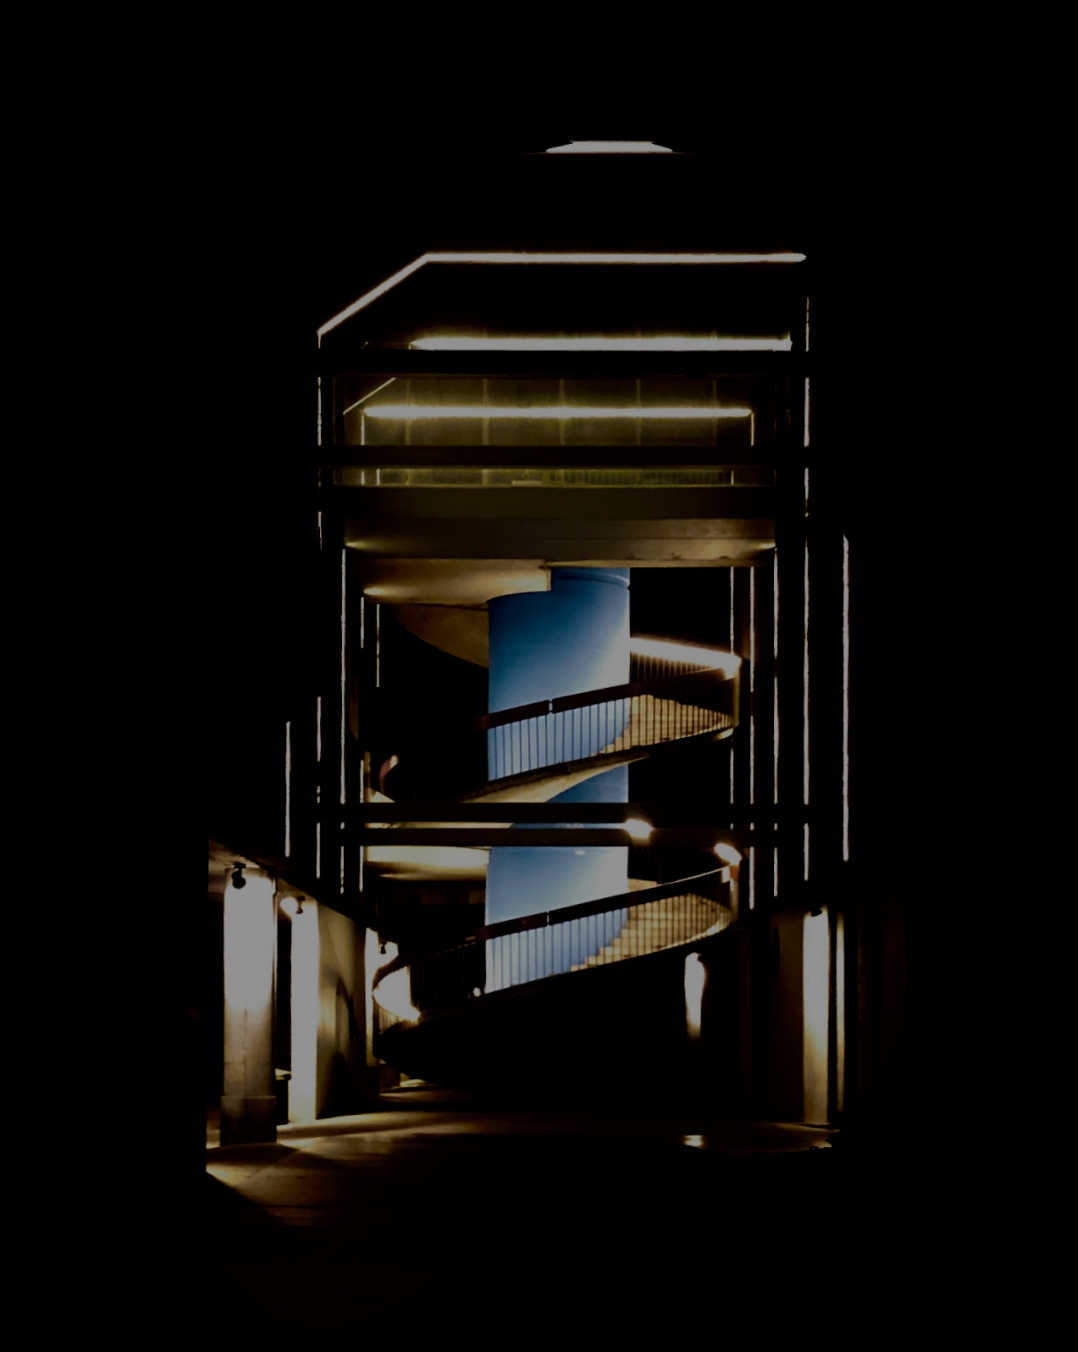
5) Unusual Interiors: Find interesting and unusual compositions of rooms or interior spaces and depict them. For example: inside a closet, in the basement, standing outside looking through a window, a stairwell, under a bridge, inside the refrigerator, etc. Look for interesting light sources or create your own (flashlight, candle, etc.) Consider how the light and shadow fall over surfaces and how it helps to separate one plane from another. Use perspective to help you give the illusion of forms in space. Develop a full range of value in the media of your choice.
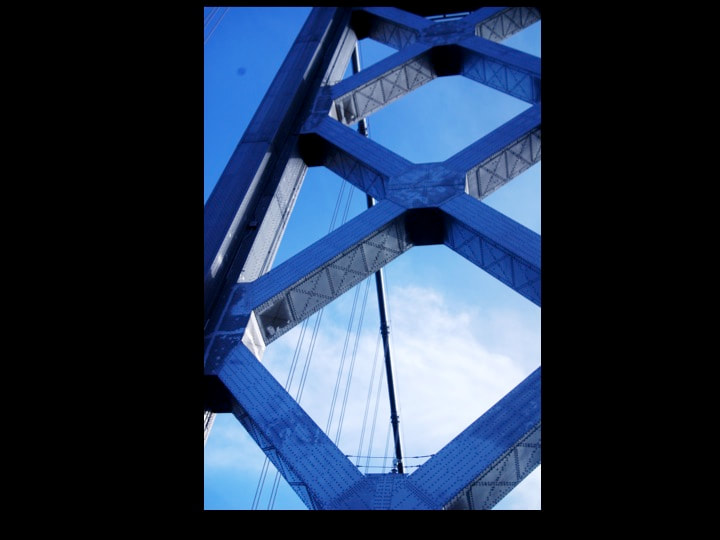
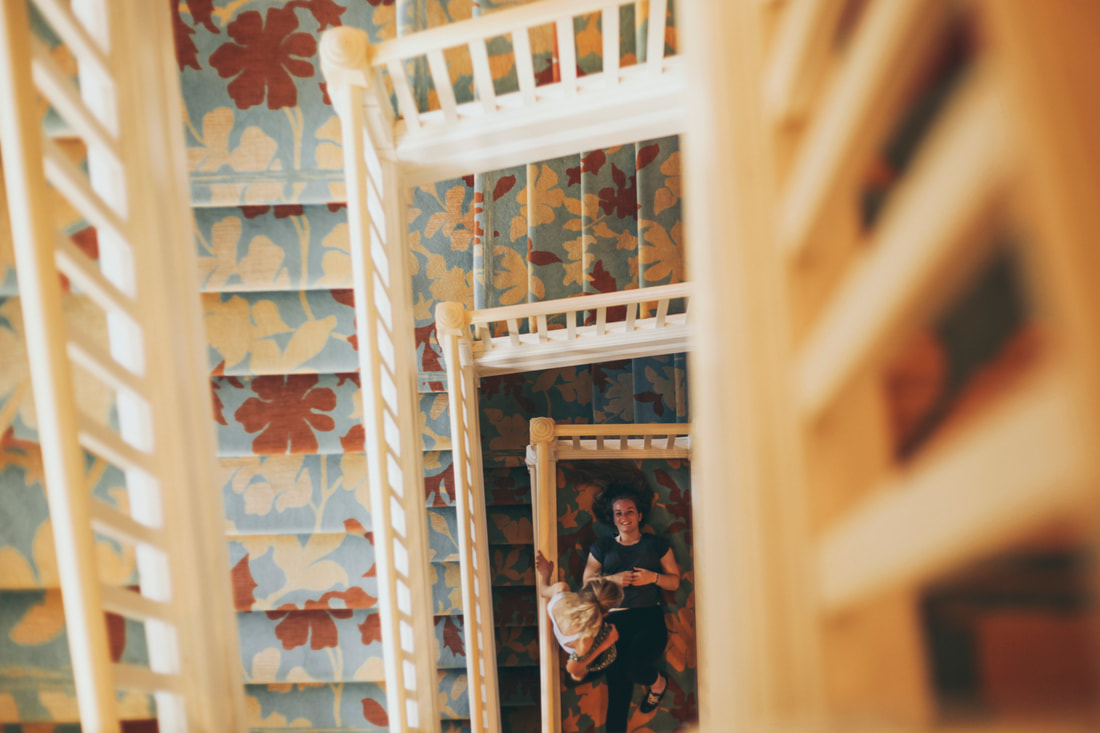
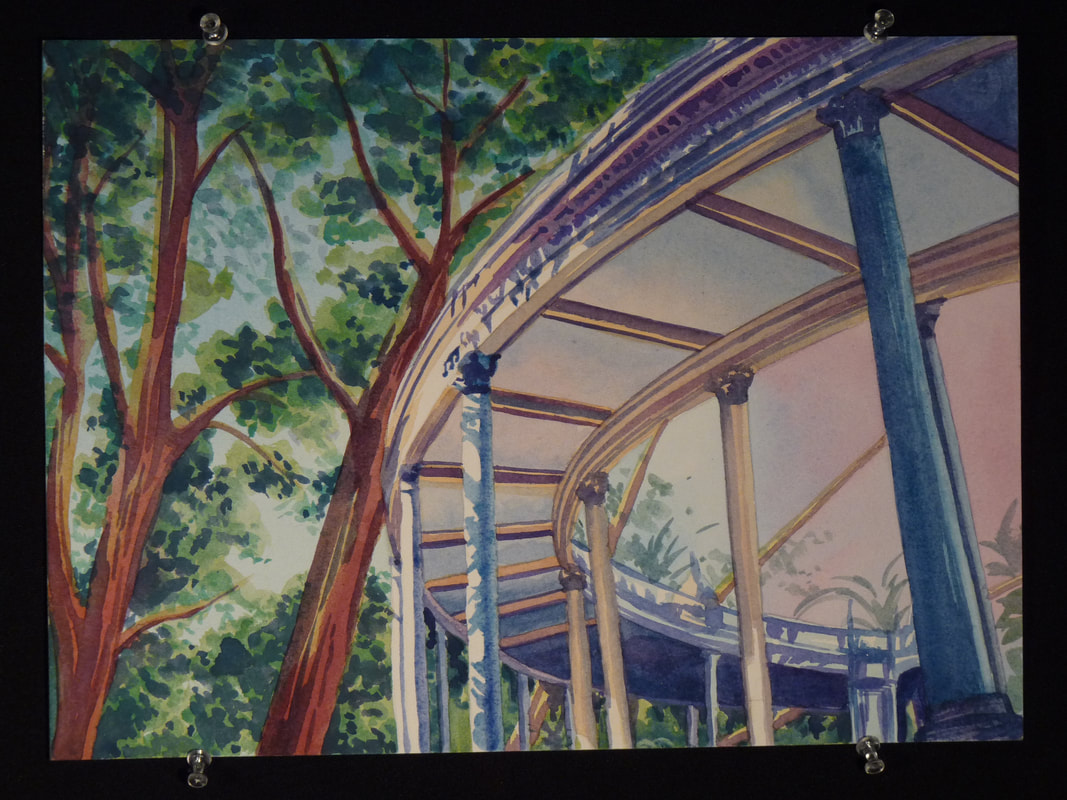
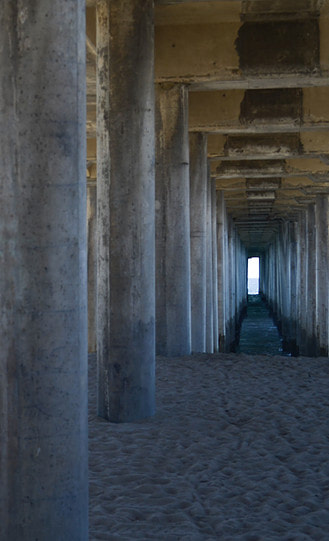
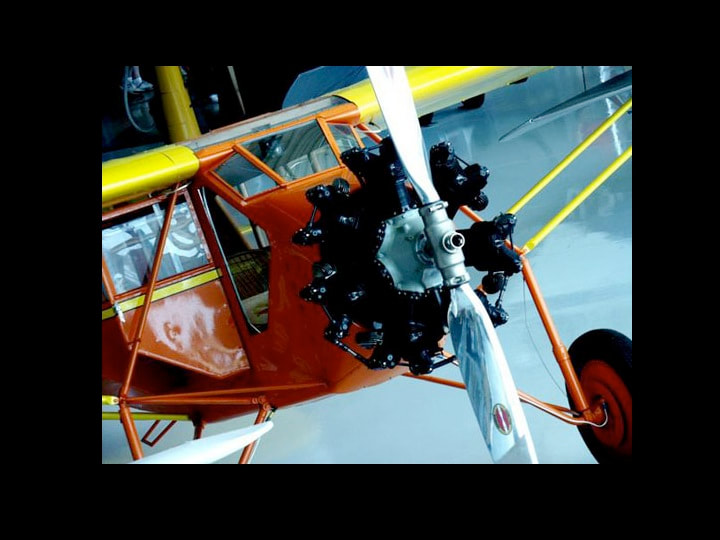
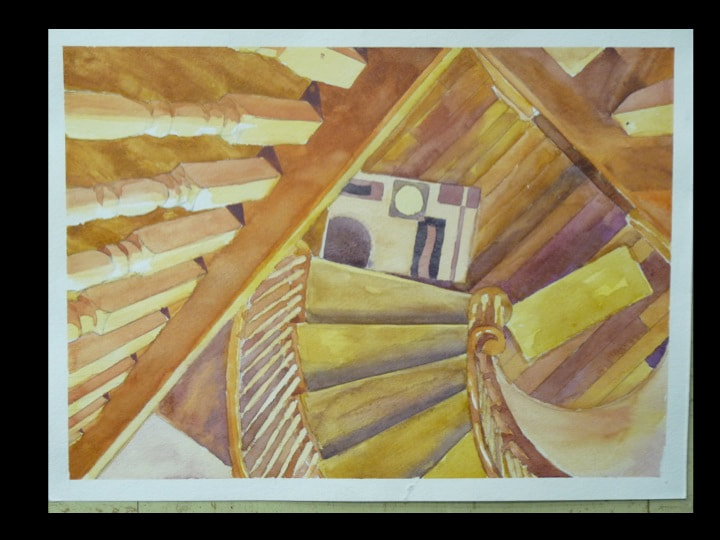
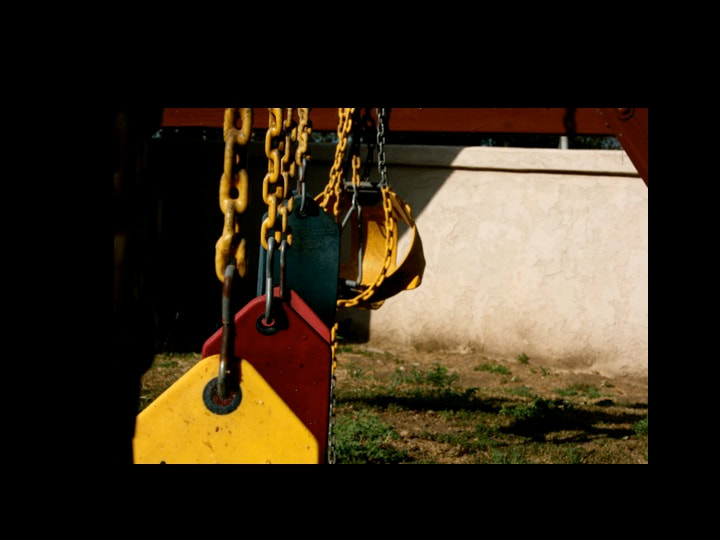
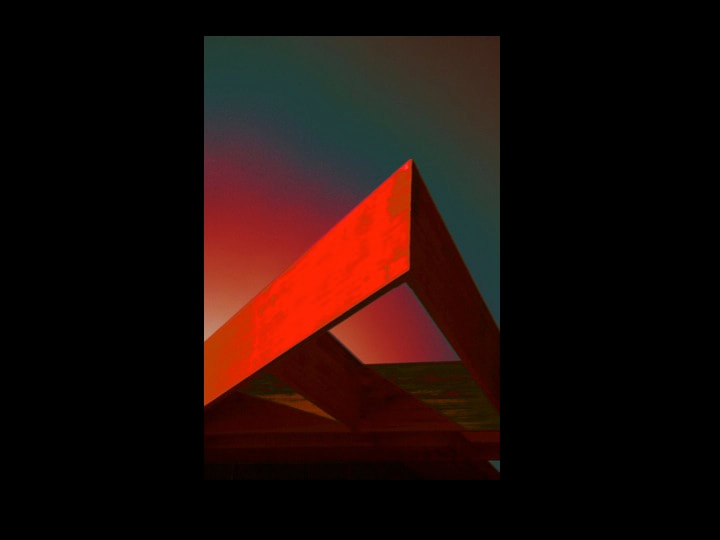
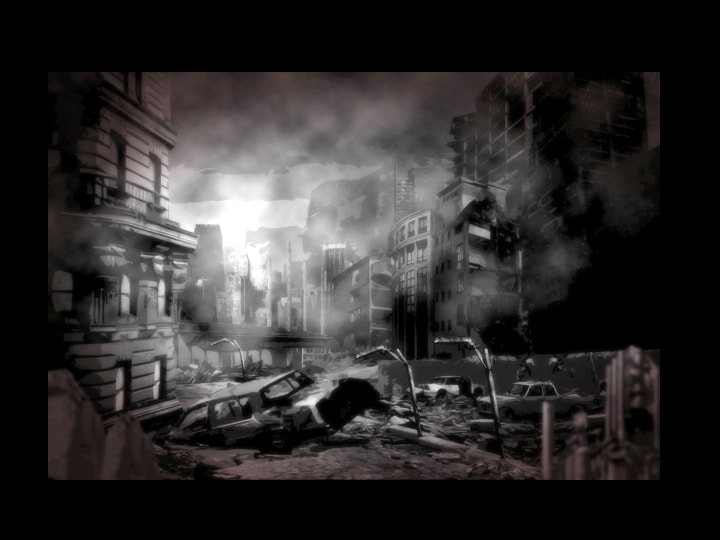
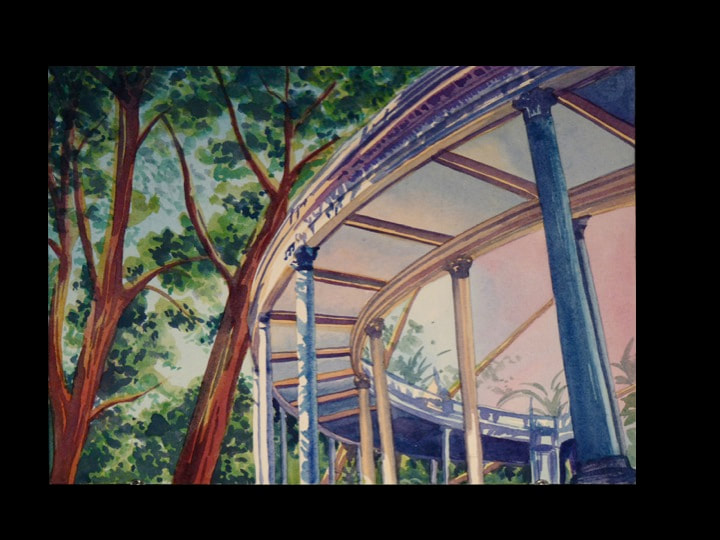
6) Draw Architecture: Find interesting compositions of buildings and man-made architecture. Experiment with viewpoint and perspective. Depict interesting architectural/structural spaces: bridges, theatres, atriums, stairs, houses, playgrounds, etc. Pay attention to light and dark and depict interesting angles, planes, and shadows. Develop a full range of values in the media of your choice. Consider how the light and shadows fall over surfaces and how it helps to separate one plane from another. Use perspective to help you give the illusion of forms in space.
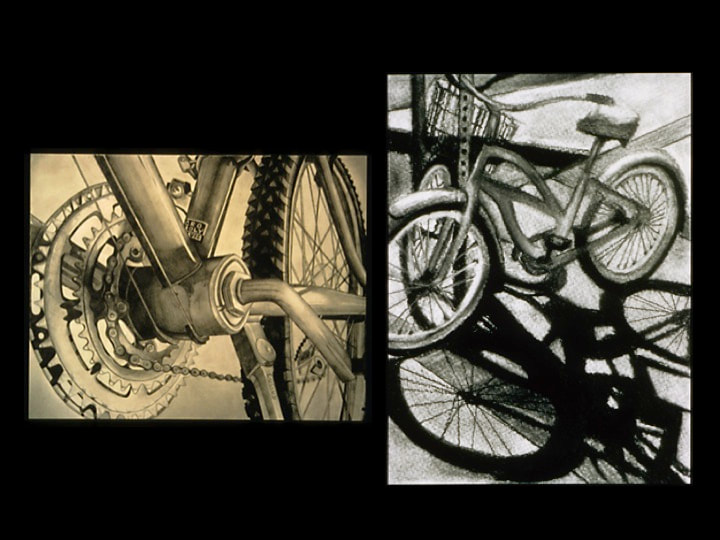
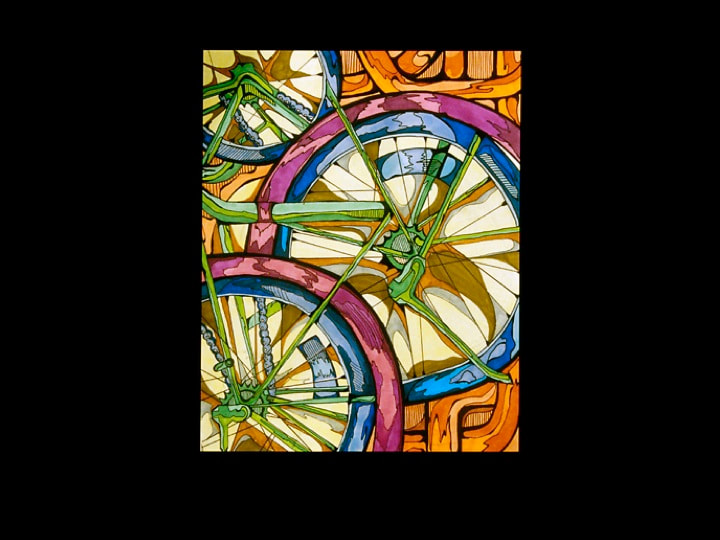
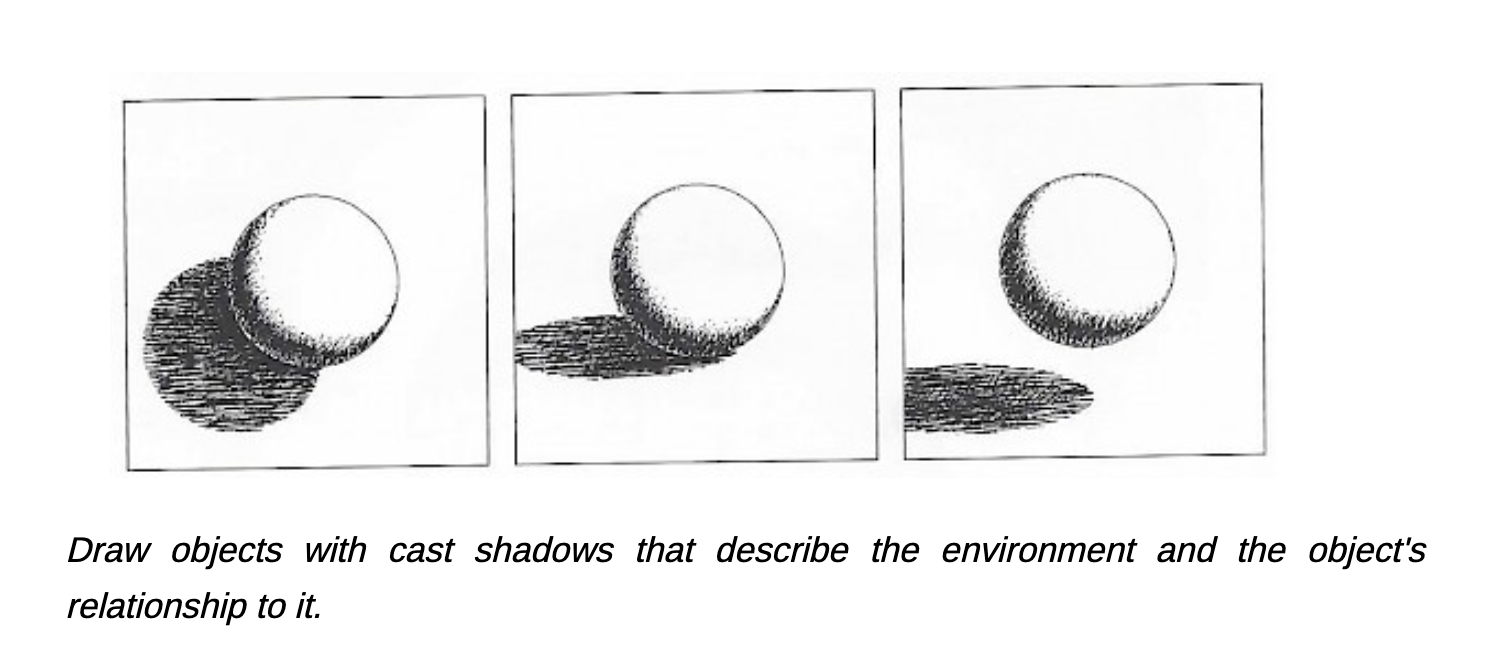
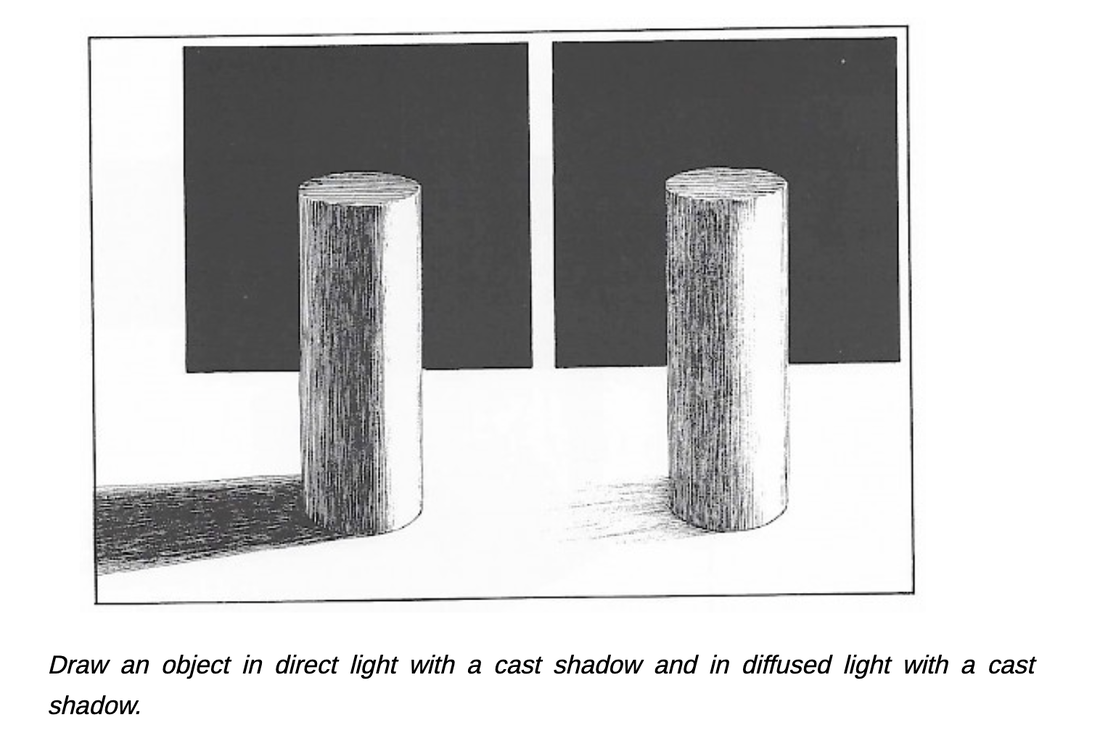
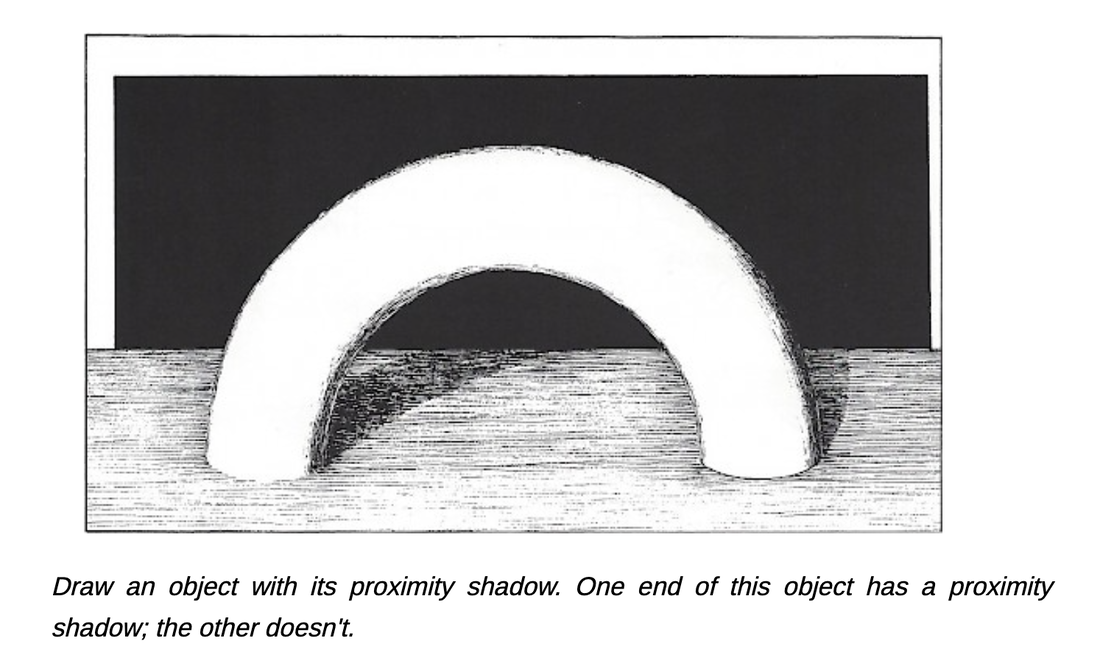
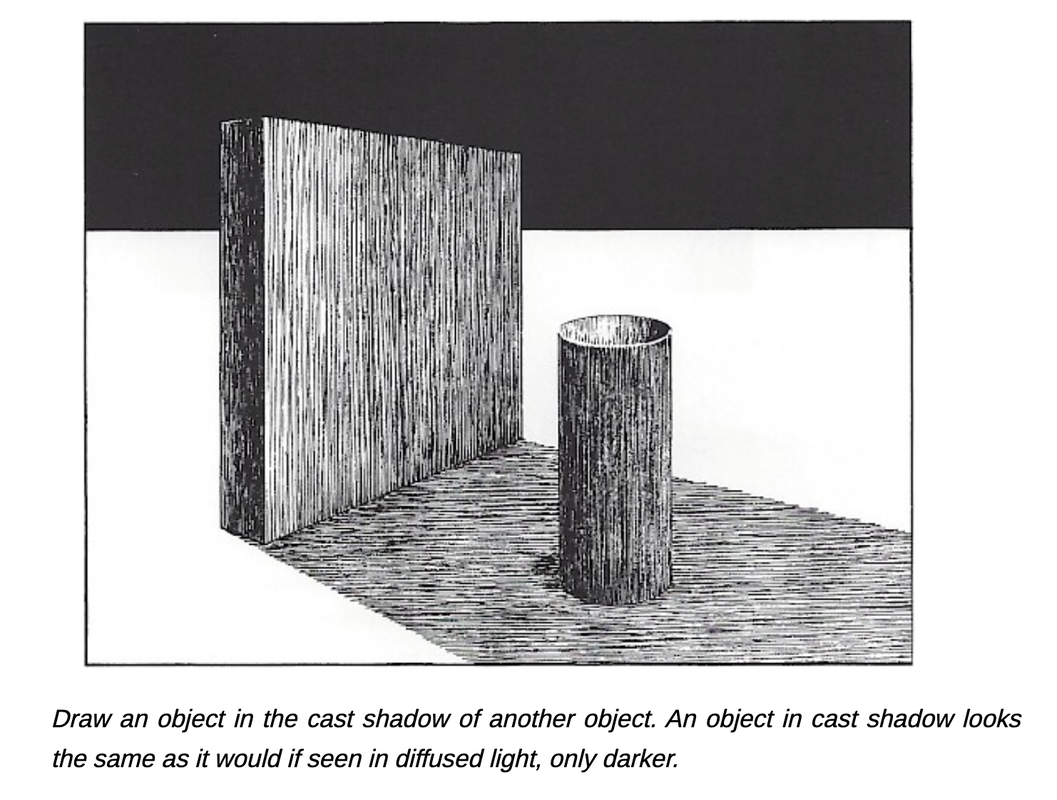
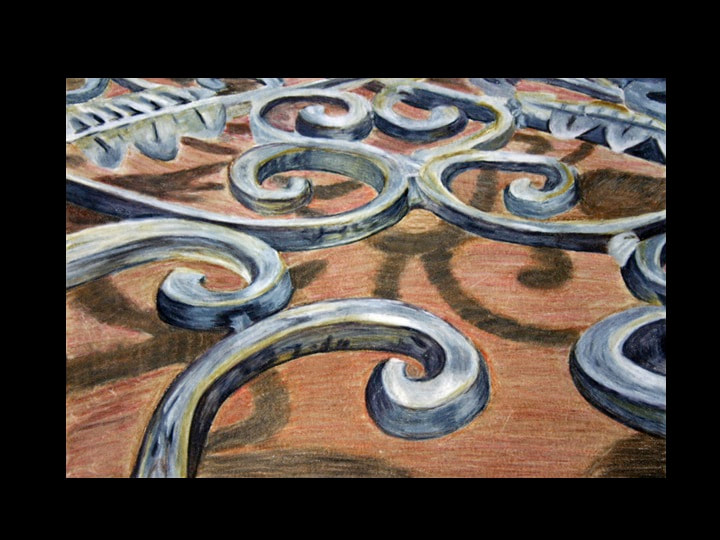
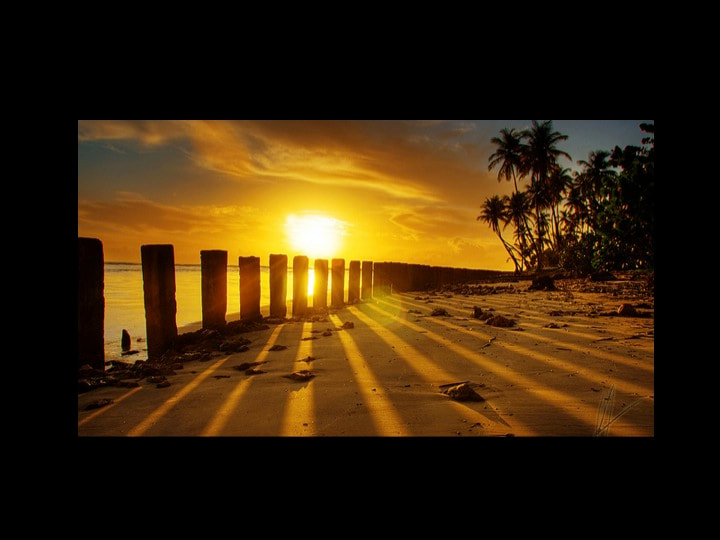
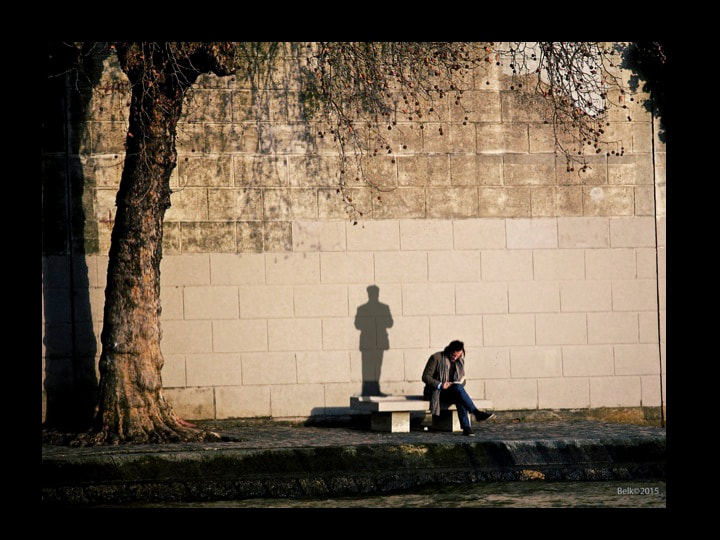
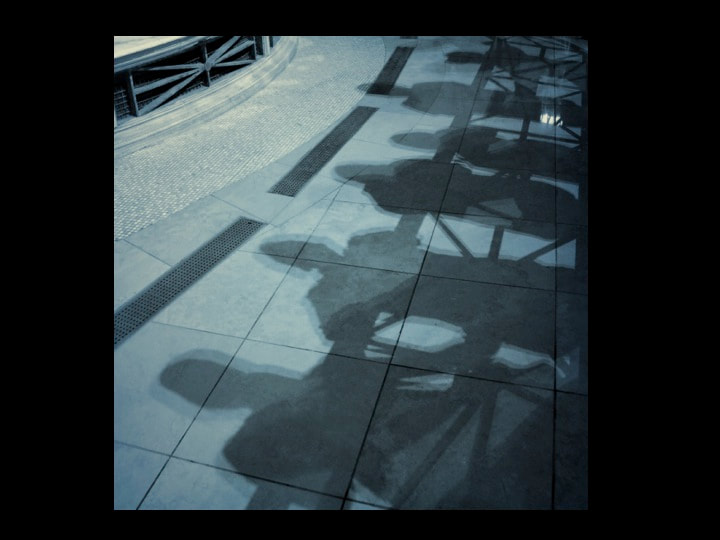
7) Draw Shadows: Find interesting compositions with shadows and depict them. Focus on interesting scenes and objects that cast unique and complex shadows. For example: bicycles, trees, bridges, playgrounds, roller coasters, etc.. Pay attention to light and dark and depict interesting angles, planes, and shadows. Develop a full range of values in the media of your choice. Consider how the light and shadows fall over surfaces and how it helps to separate one plane from another. Render the shadows and exploit them as interesting elements of art.
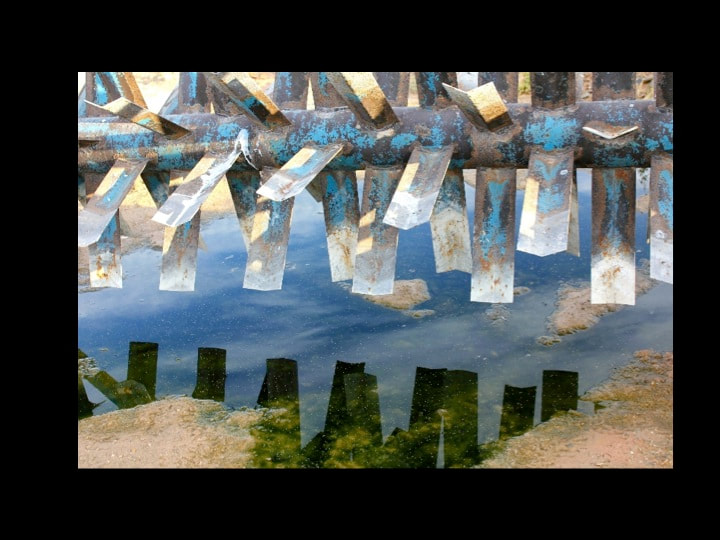
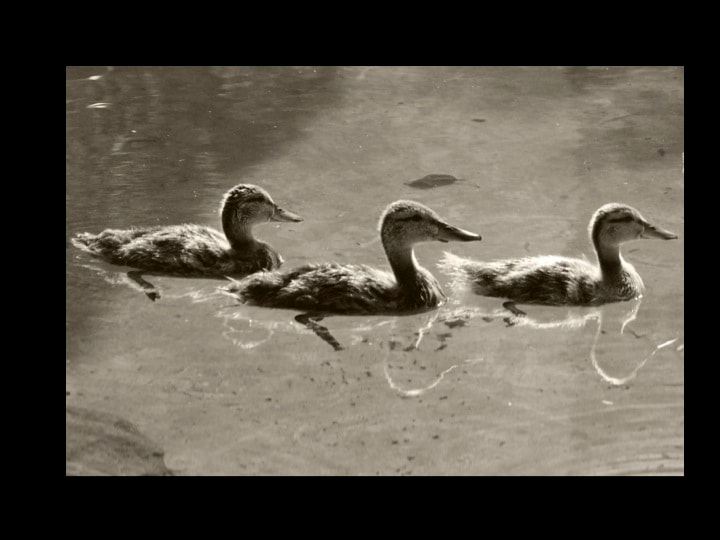
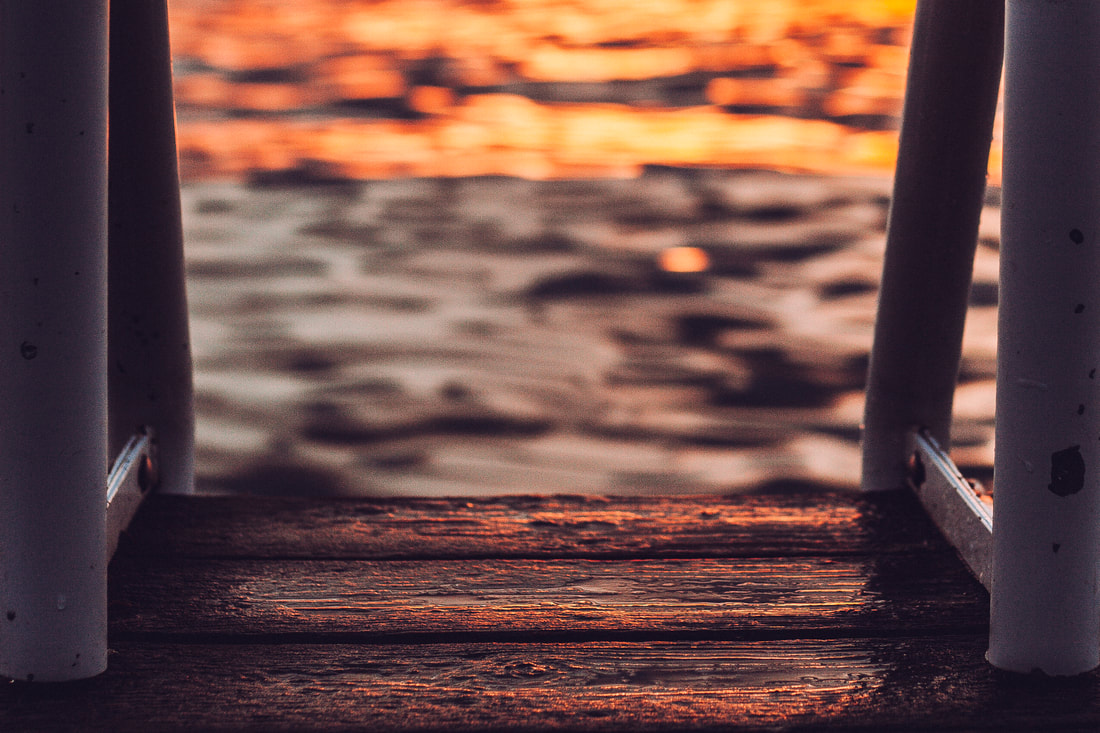
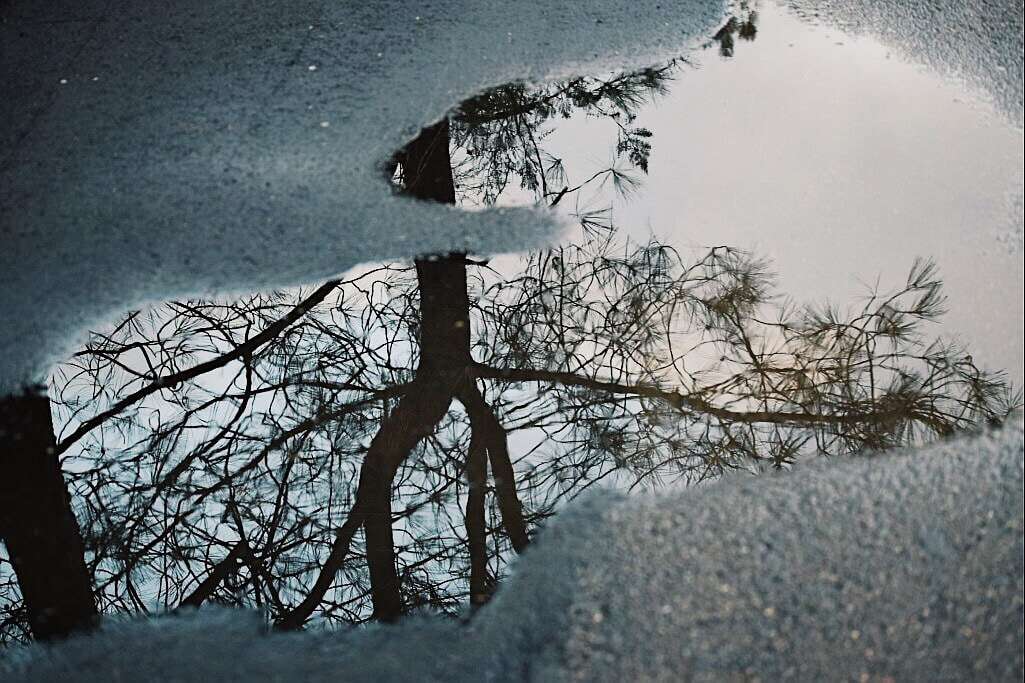
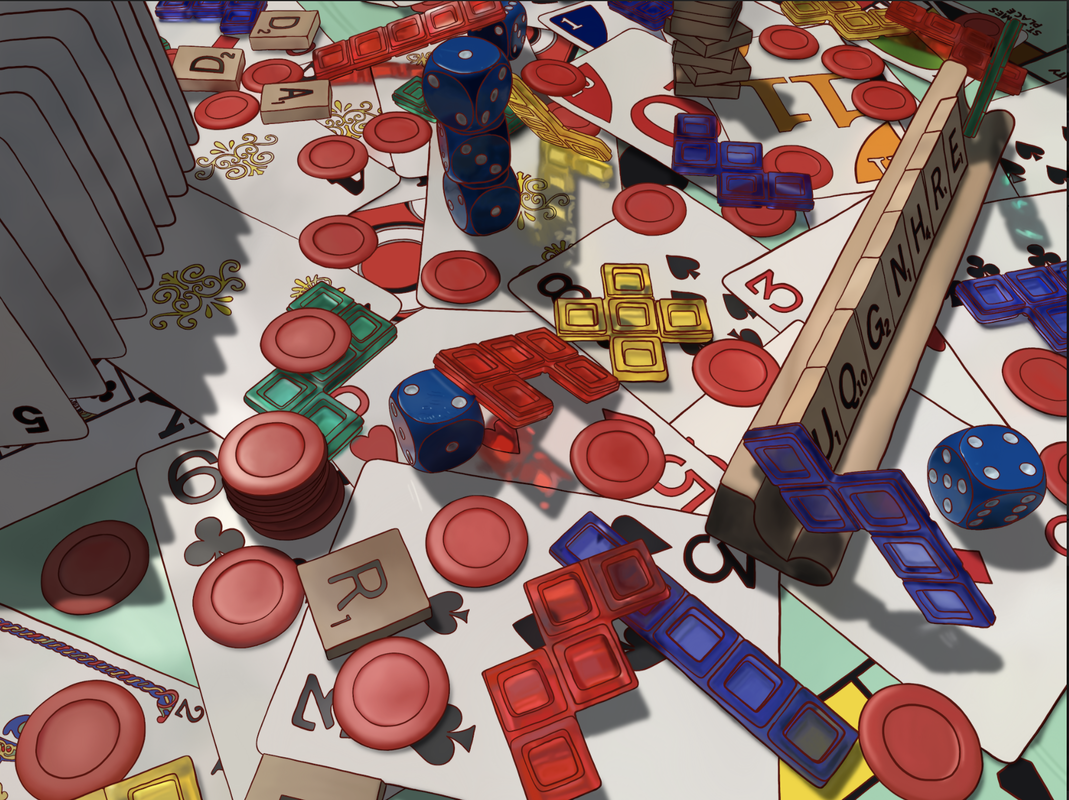
8) Reflections, Reflective Surfaces: Explore reflections in the natural world, or reflective man-made objects, or find environments with reflective surfaces, and capture reflections in interesting ways. For example objects or structures made of glass, mirror, plastic or metal. Look for natural reflections in water, bodies of water, fountains, metals, etc. Pay attention to light and dark and depict interesting angles, planes, shadows, and reflections. Develop a full range of values in the media of your choice. Consider how the light and shadows fall over surfaces and how it helps to separate one plane from another. Render the reflections/reflective surfaces and exploit them as interesting elements of art.
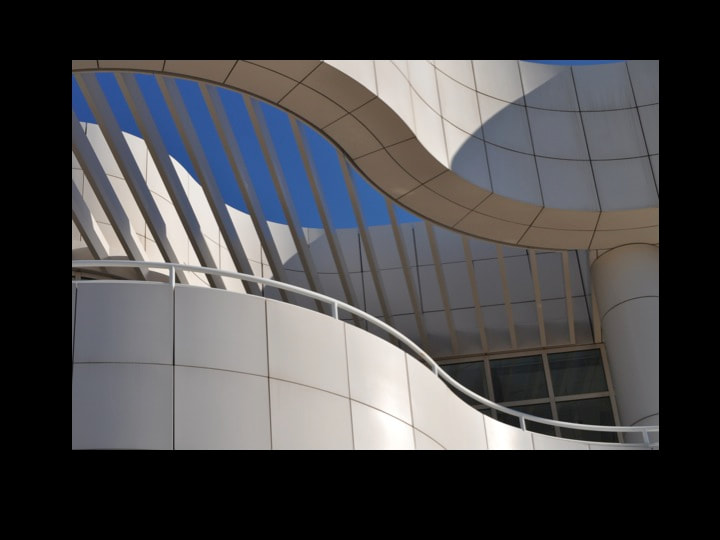
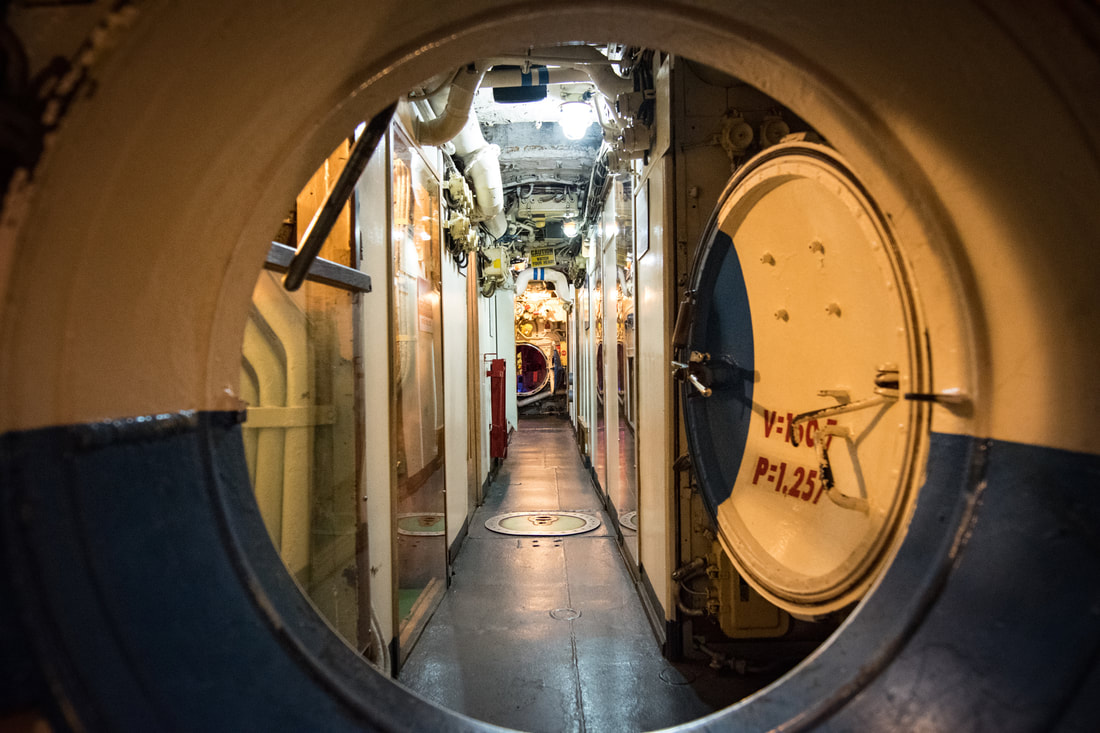
9) Architecture & Photography: Unusual interiors or exteriors. Take a series of architectural shots (minimum of 12 photographs) using a variety of camera angles to convey an understanding of perspective, line and form. The series should focus on one or more structures to show continuity but from different sides and viewpoints. Use black and white or color. Make sure to isolate the perspective as the focal point.
10) Reflections & Photography-Explore reflections in the natural world, or reflective man-made objects, or find environments with reflective surfaces, and capture reflections in interesting ways through photography. Use black and white or color. Explore contrast, value, and balance. (Minimum 12 photographs)
11) Shadows & Photography: Focus on Shadows. Explore shadows in the natural world (natural structures/elements) or create them with interesting light sources on man made objects. Pay attention to light and dark and depict interesting angles, planes, and shadows. Consider how the light and shadows fall over surfaces and how it helps to separate one plane from another. Capture the shadows and exploit them as interesting elements of art. (Minimum 12 photographs)
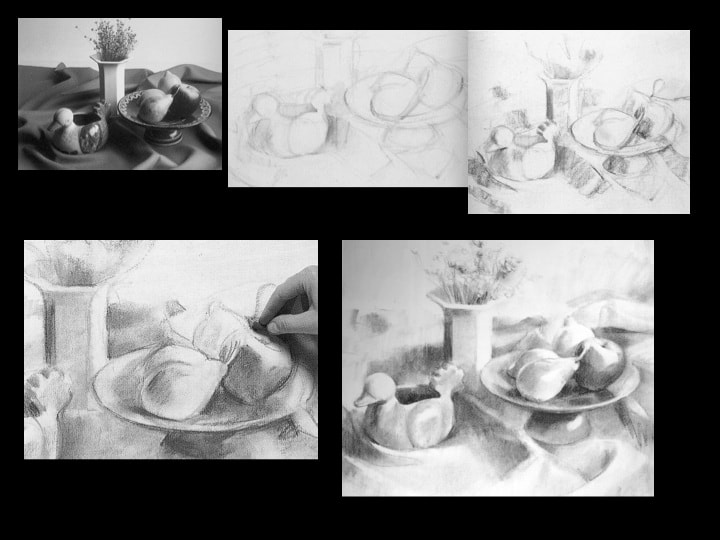
Still Life Notes & Student Examples
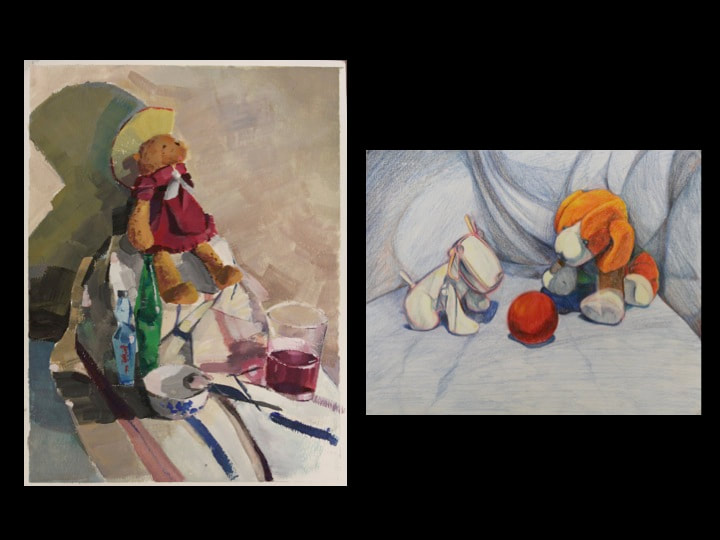


Still Life - Reflections & Shadows - More Student Examples


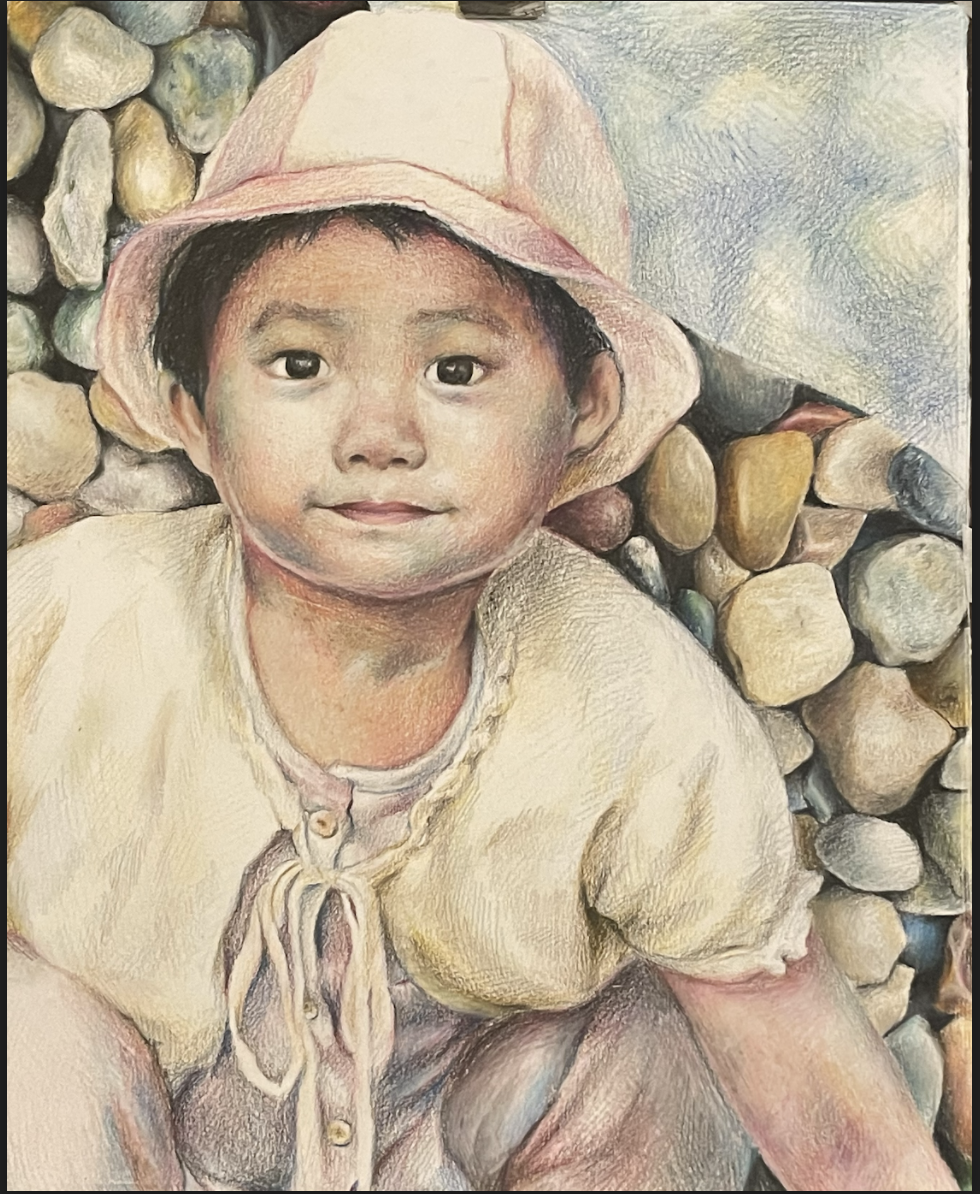
Portraits - Fine Art & Digital Art Options
PORTRAITS - Fine Art - Digital Art Options
Choose 1 option:
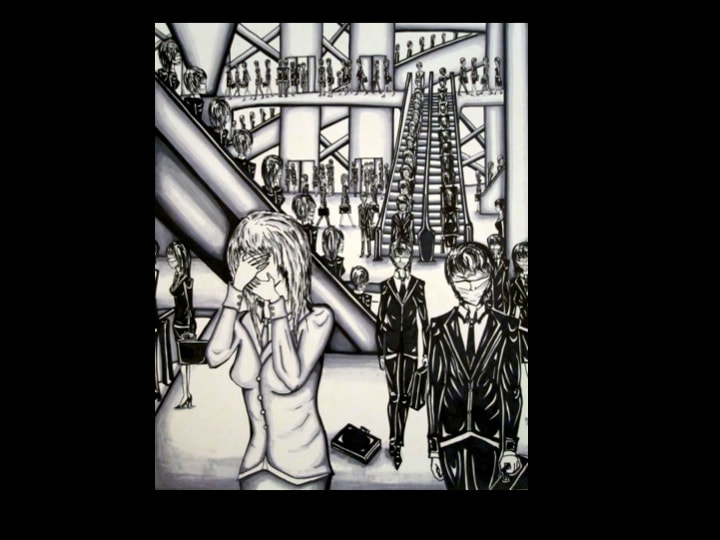
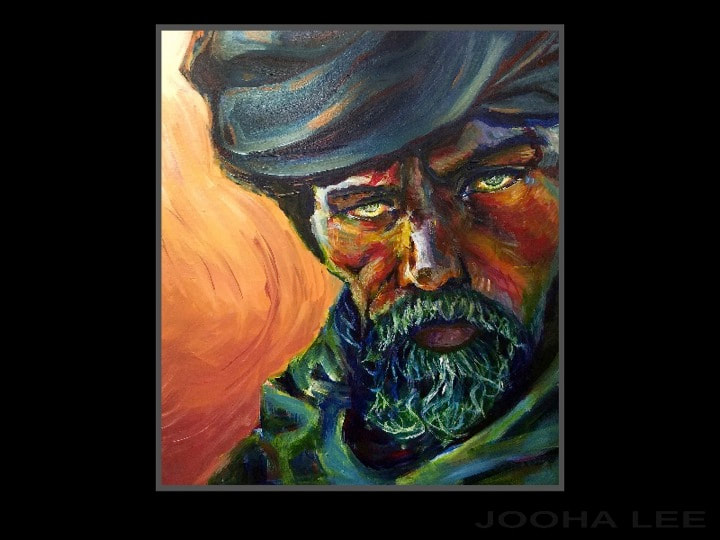
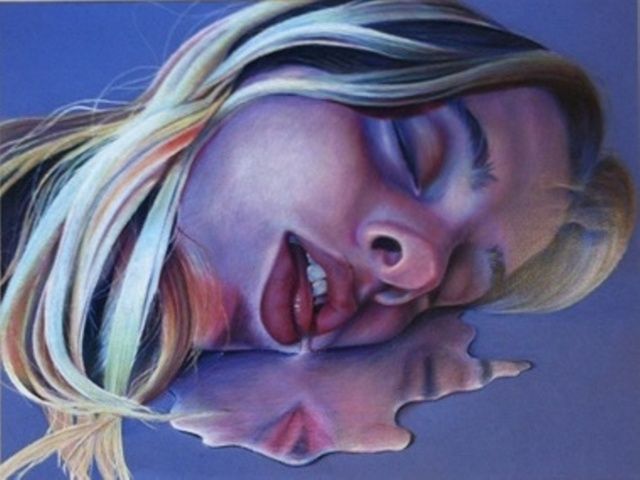
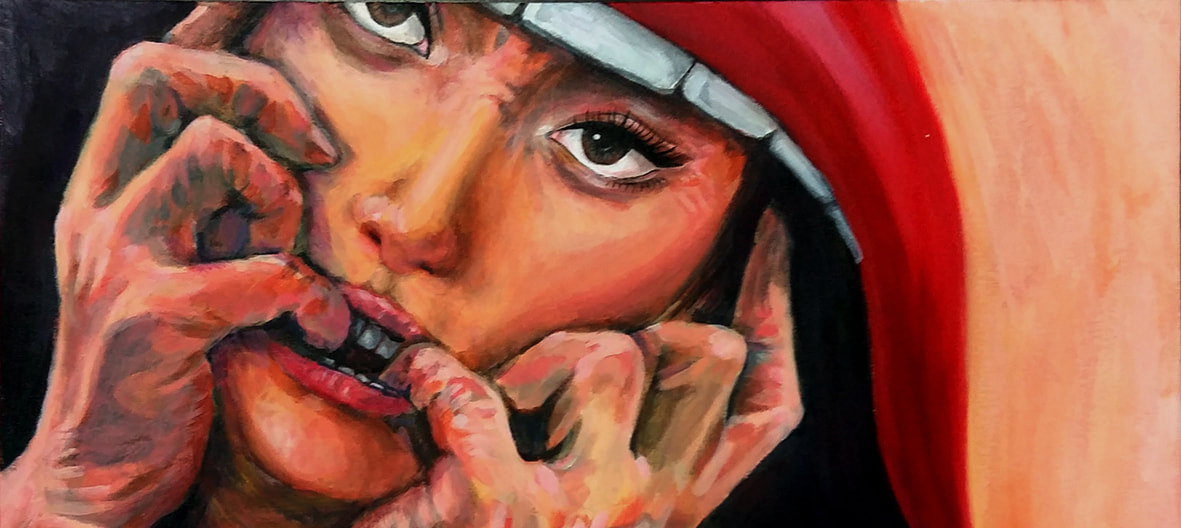
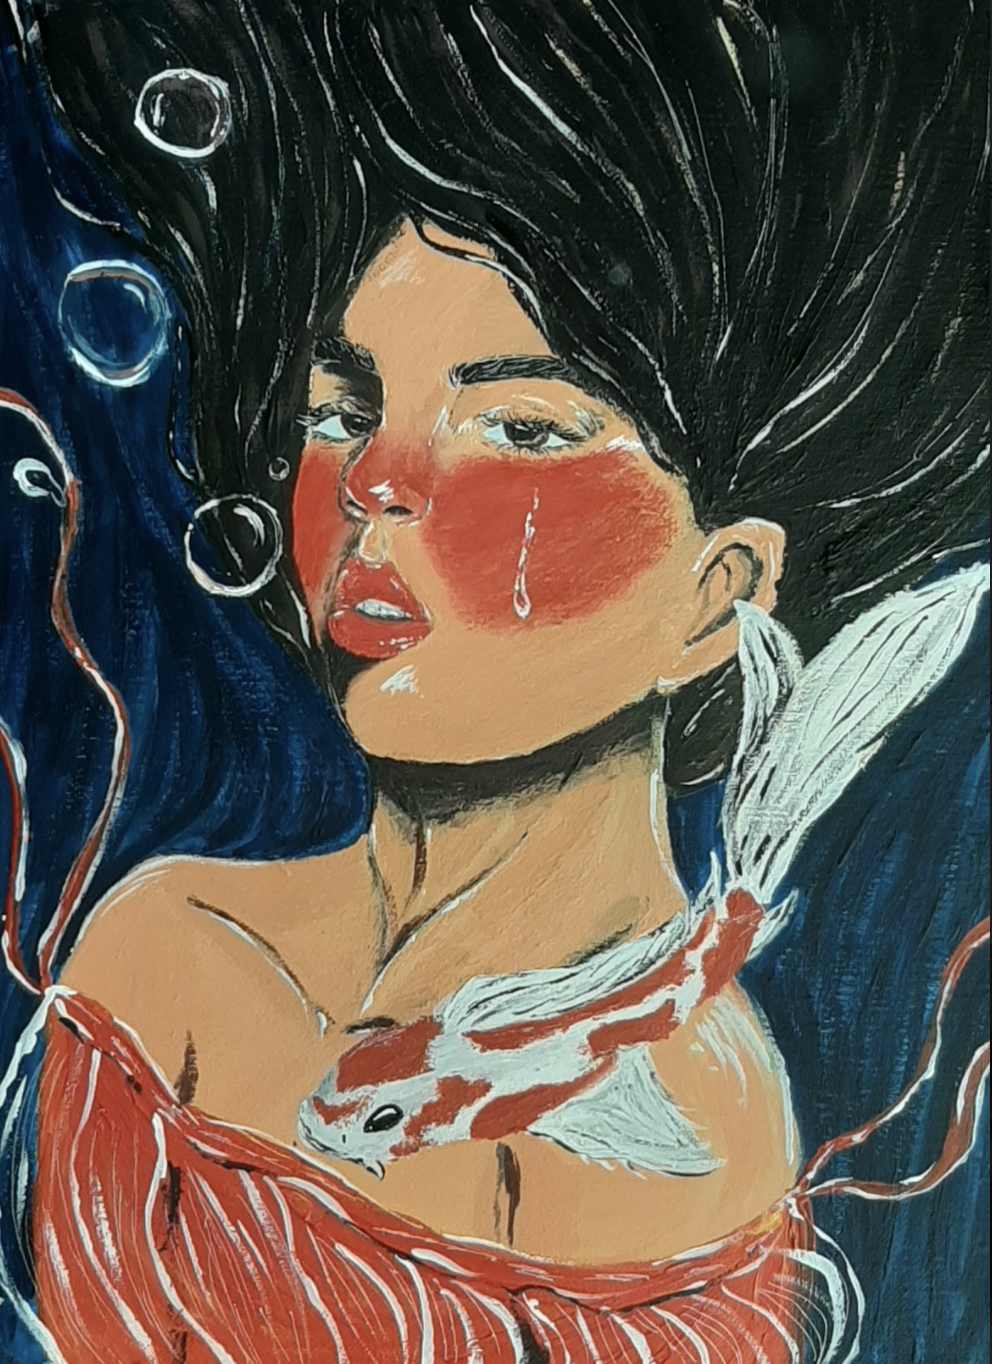
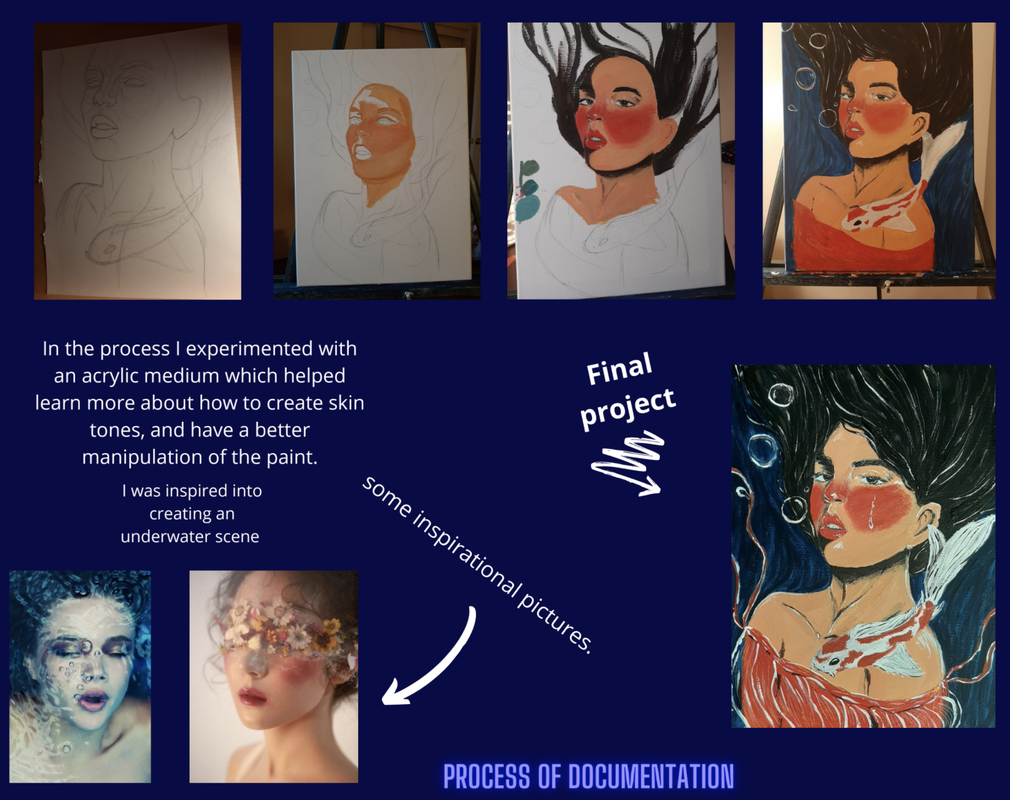
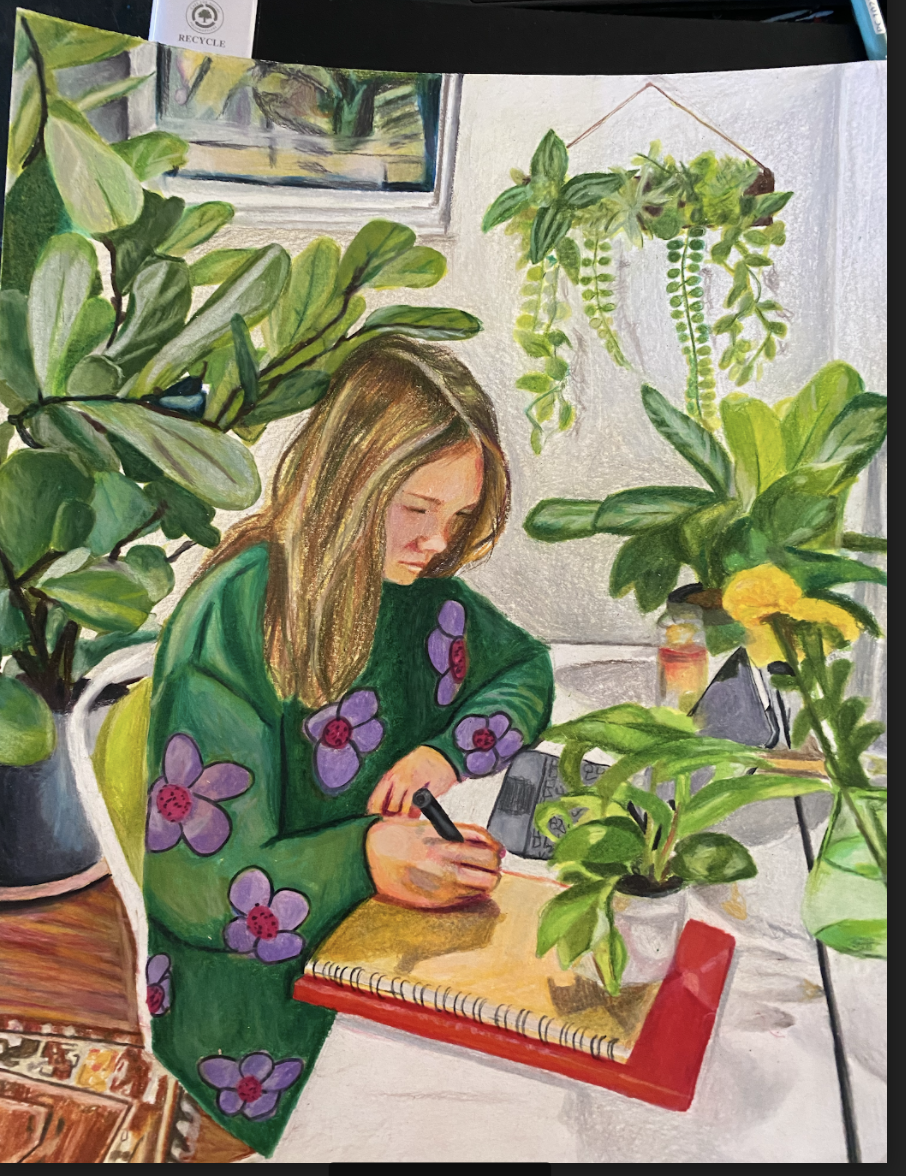
1) Self Portrait/Portrait: Artwork of your face without your teeth showing. Use a mirror and/or photos of yourself. Use a drawing board and hold it at an angle so that you don't distort the drawing by accident. No floating heads-Compose your space!. Feel free to abstract/distort... but with artistic reason or purpose. Self Portraits should say something about you as a person (beyond physical likeness). Express an emotion-tell a story.
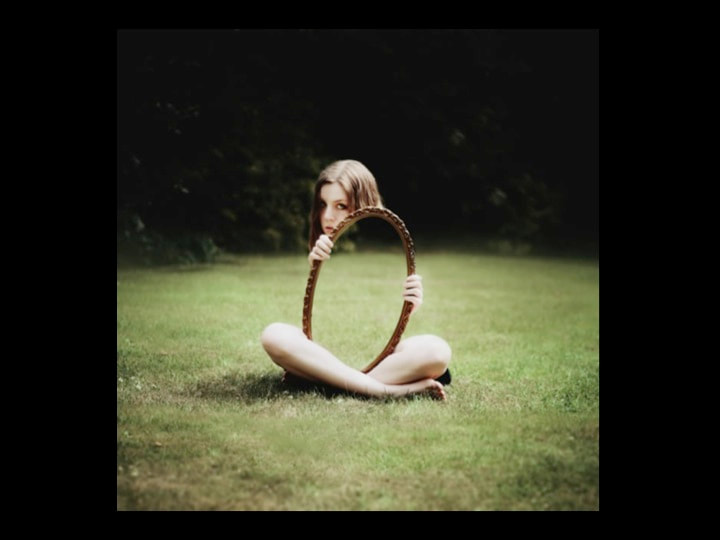
2) Portrait & Reflection: Create a self-portrait, using your reflection in an unusual surface, something other than a normal mirror. This could be a metal appliance (toaster, blender), a computer monitor, a broken or warped mirror, a car’s rear view mirror, or tinted windows.
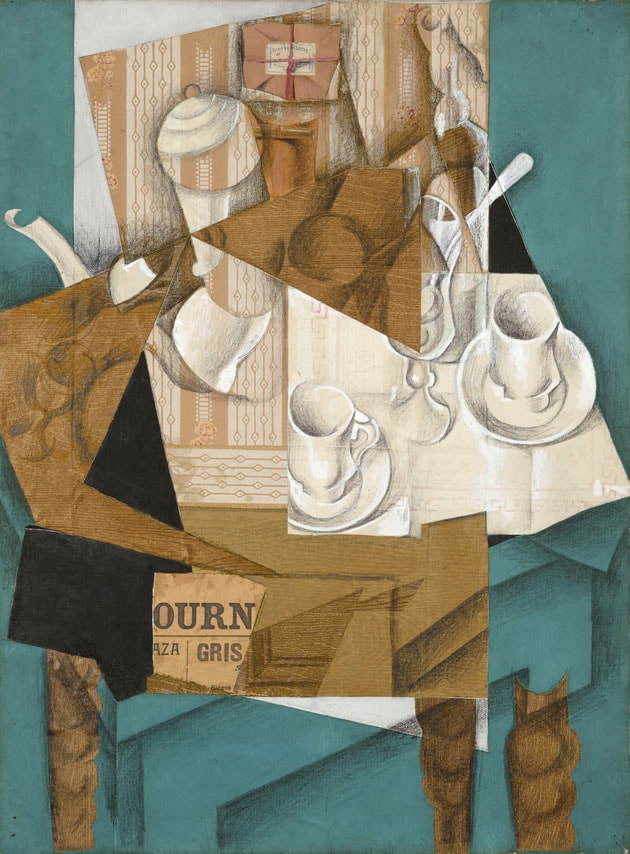
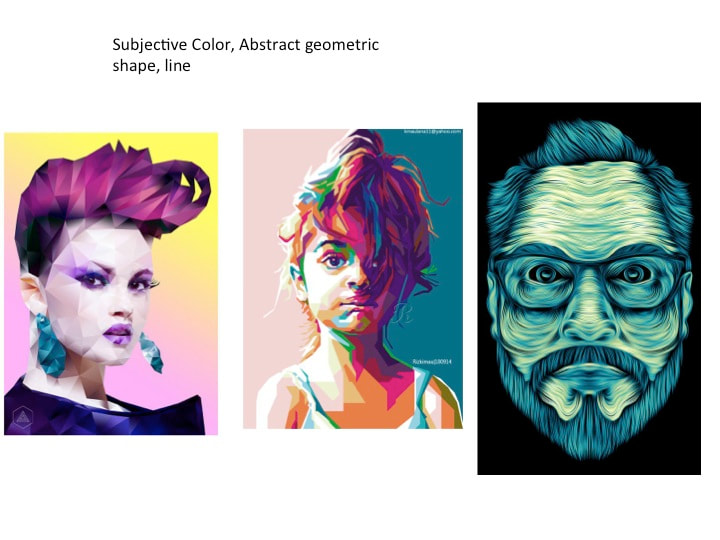
3) Planar Analysis Portrait: Start with contour line sketching and move from there. Use color, paint, mixed media, layer on media. Research cubism for inspiration.
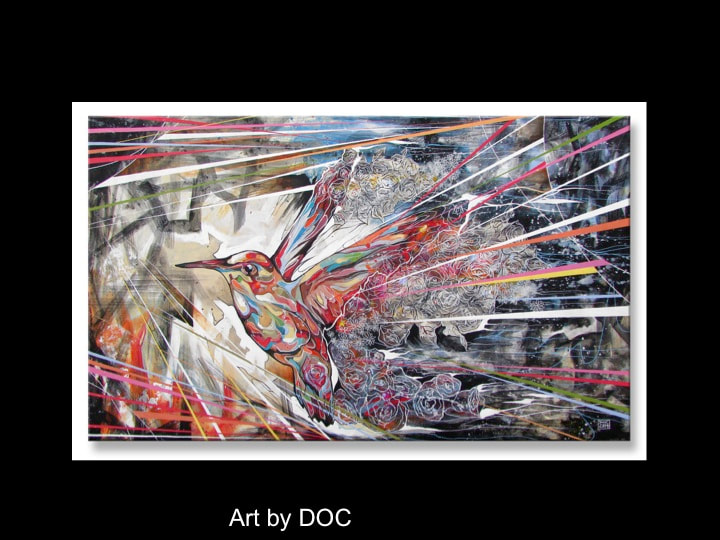
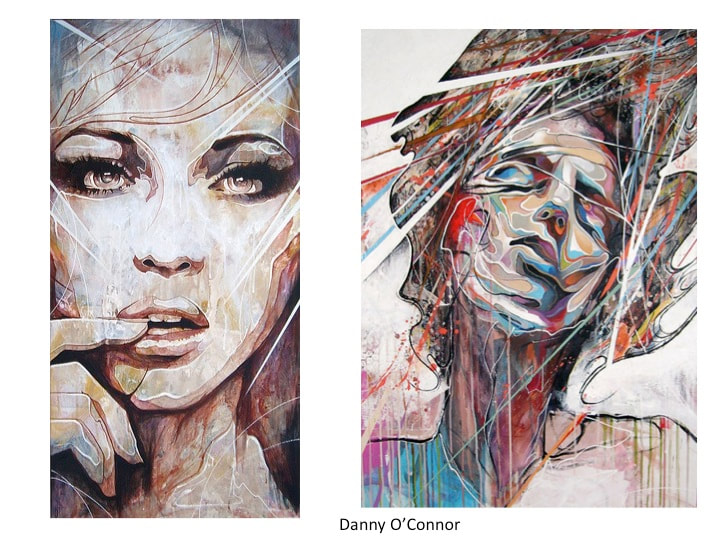
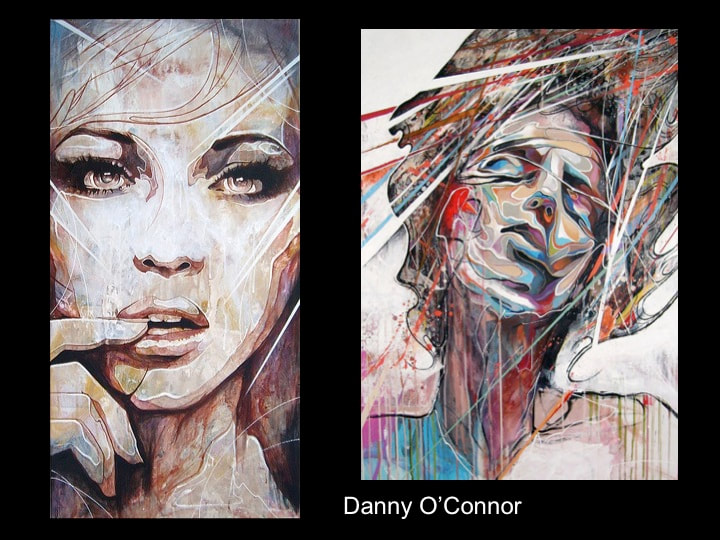
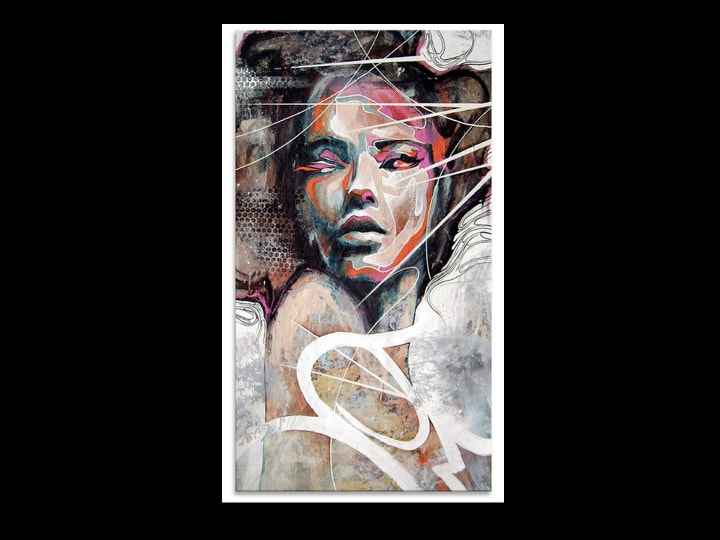
4) Organic vs. geometric shape portrait: See the works of Danny O’Connor for inspiration.
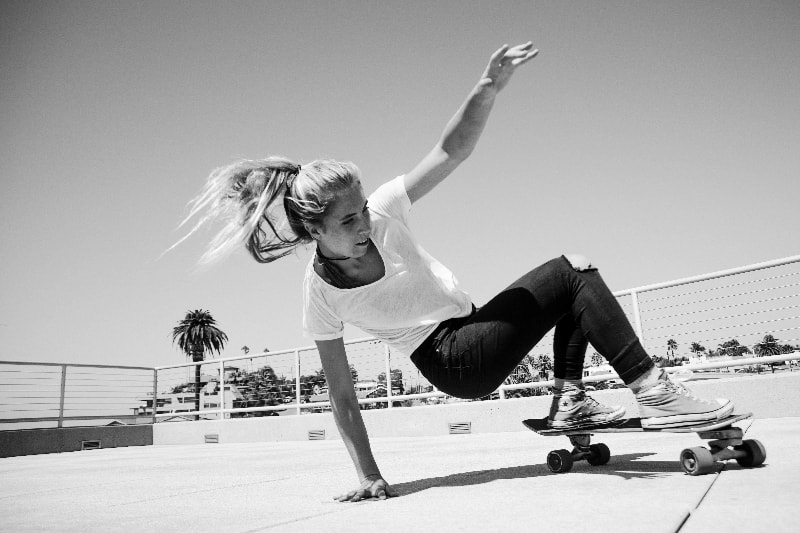
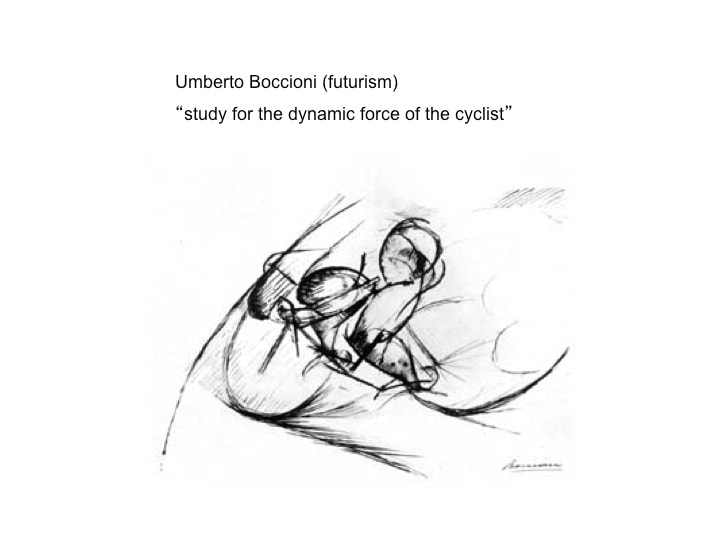
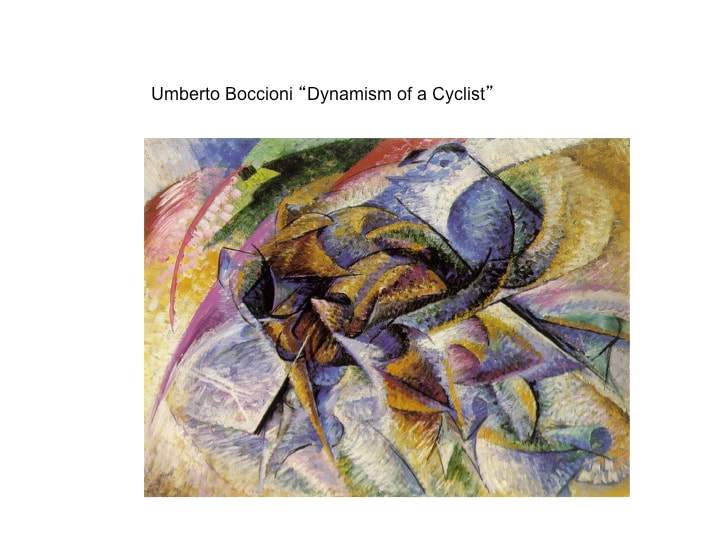
5) Action portrait: have a friend or family member pose for you doing some sort of movement (jump roping, walking, riding a bike, walking down stairs, etc.). Capture the entire sequence of their action in one piece of artwork. Think about layering multiple images in different actions or viewpoints.
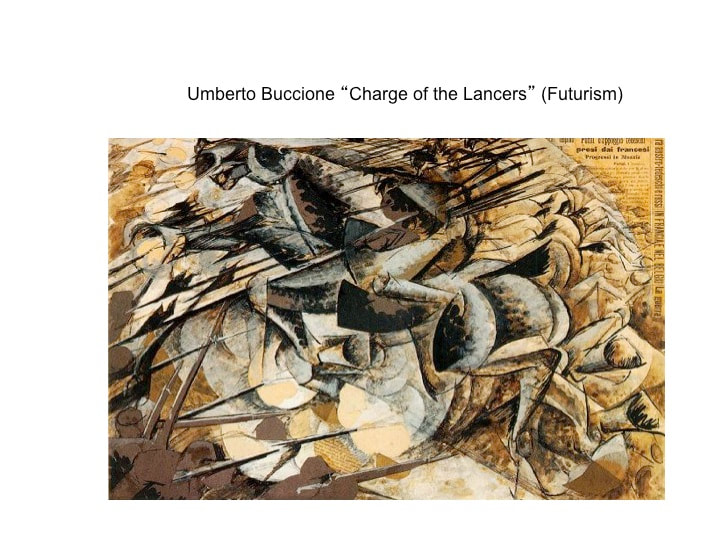
How will you portray movement in your work? Look at “Nude Descending a
Staircase” by Dada artists Marcel Duchamp, as well as the work of Futurist artists Giacomo Balla or F.T. Marinetti.
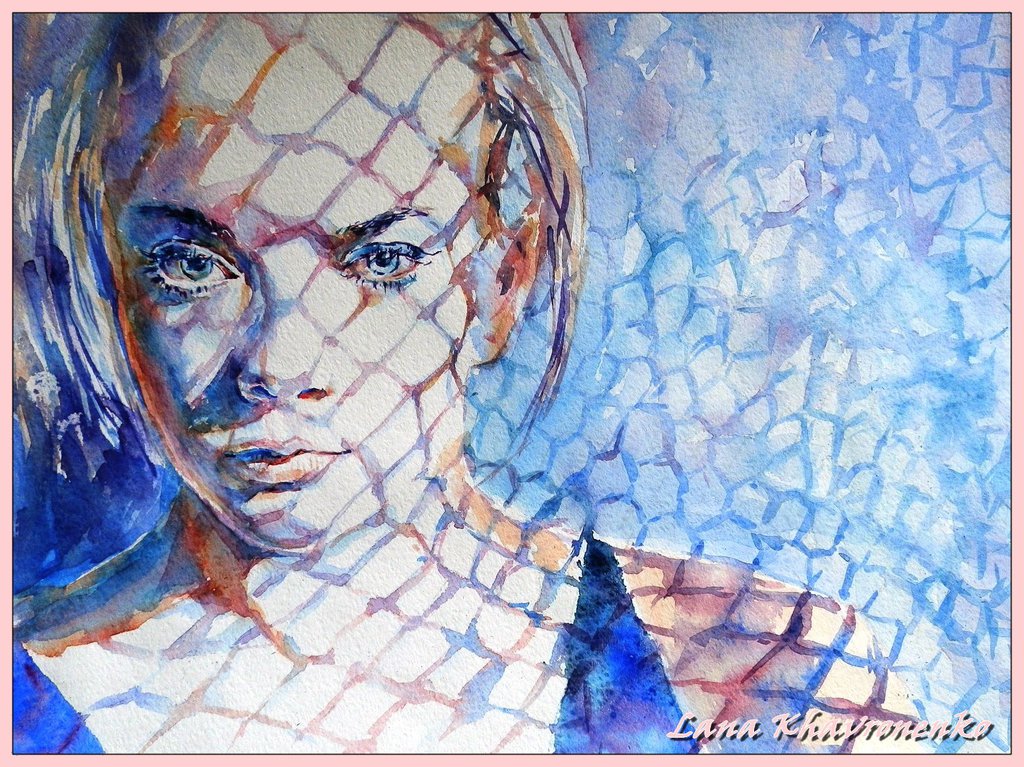
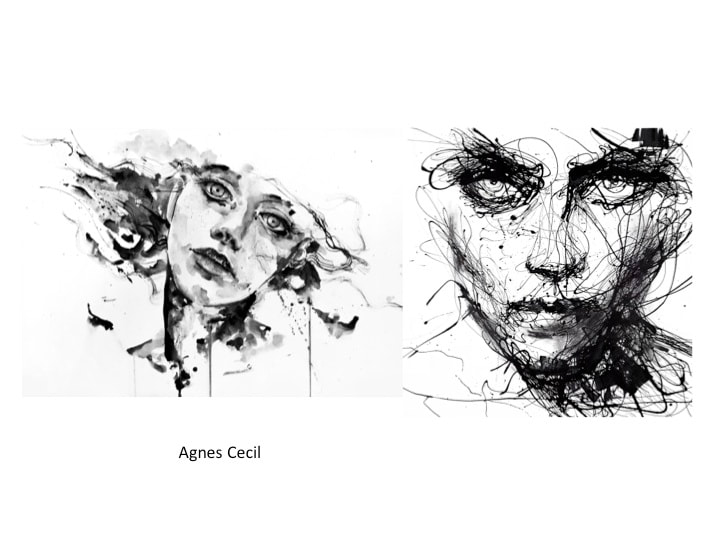
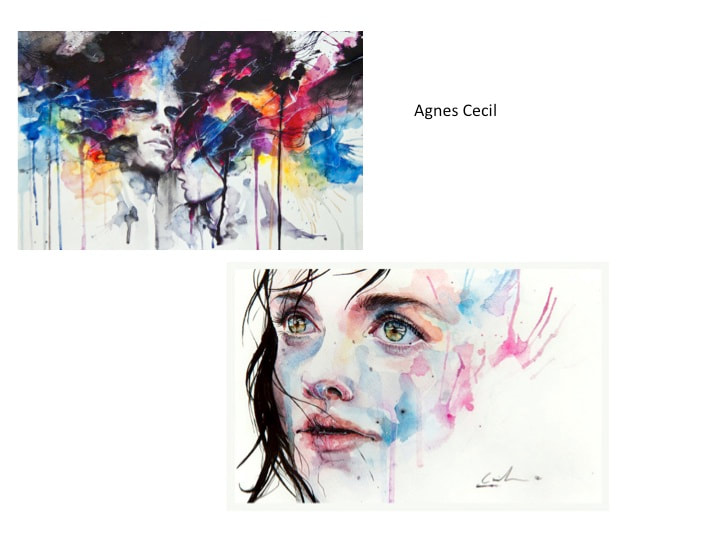
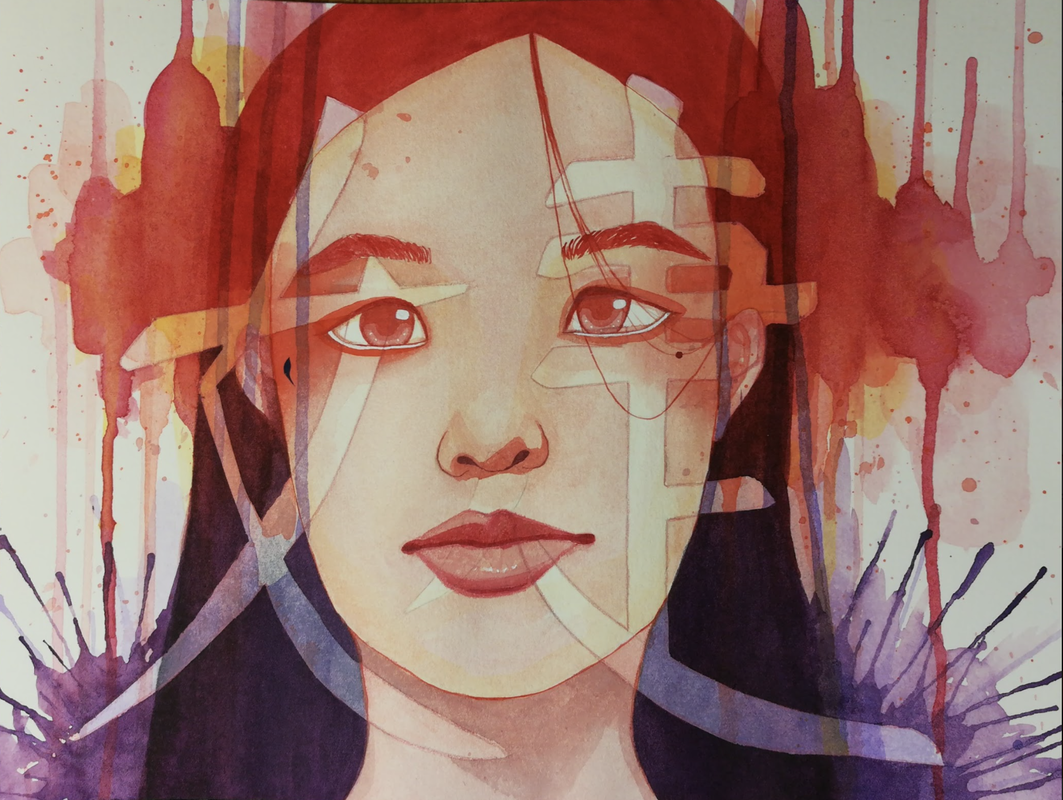
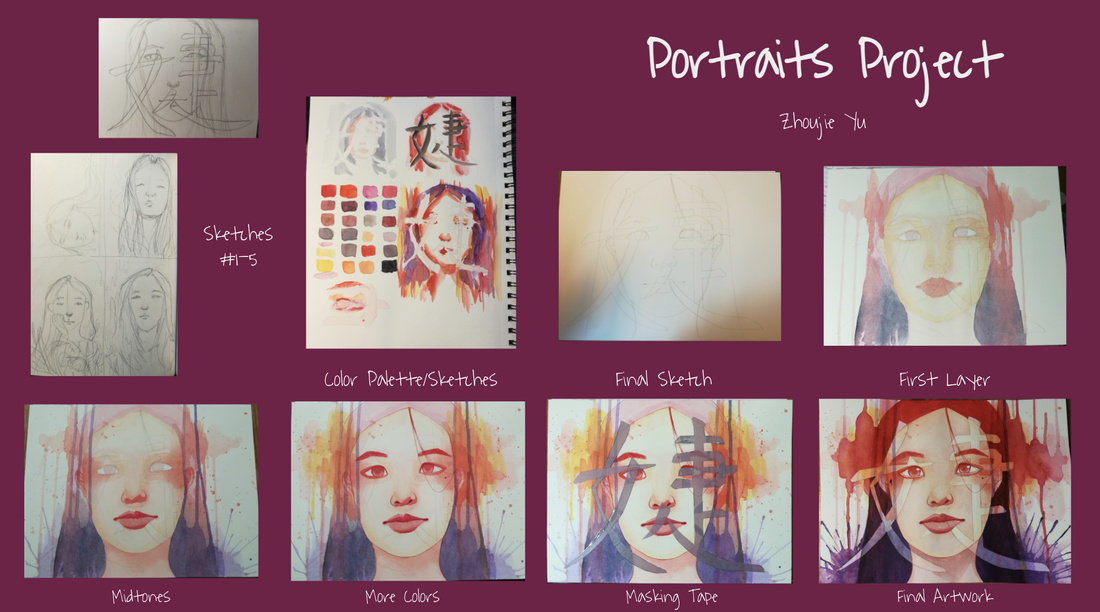
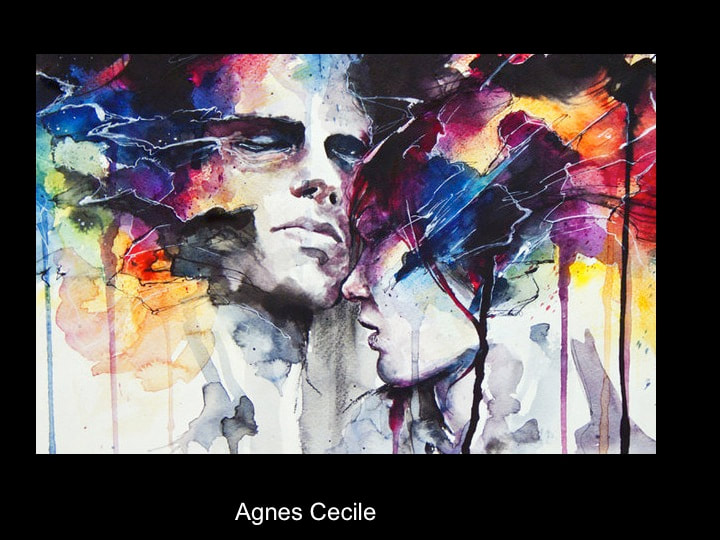
6) Watercolor and Ink Portraits: See the works of Agnes Cecil for Inspiration.
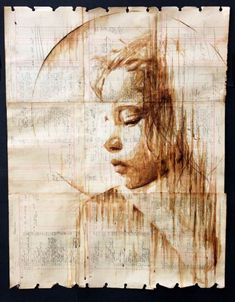
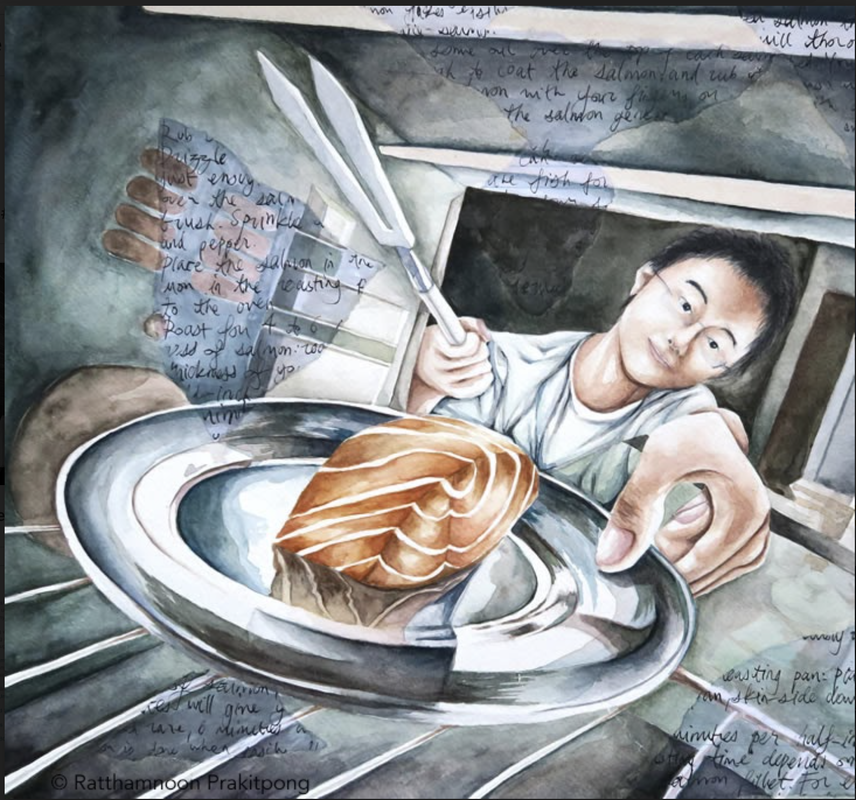
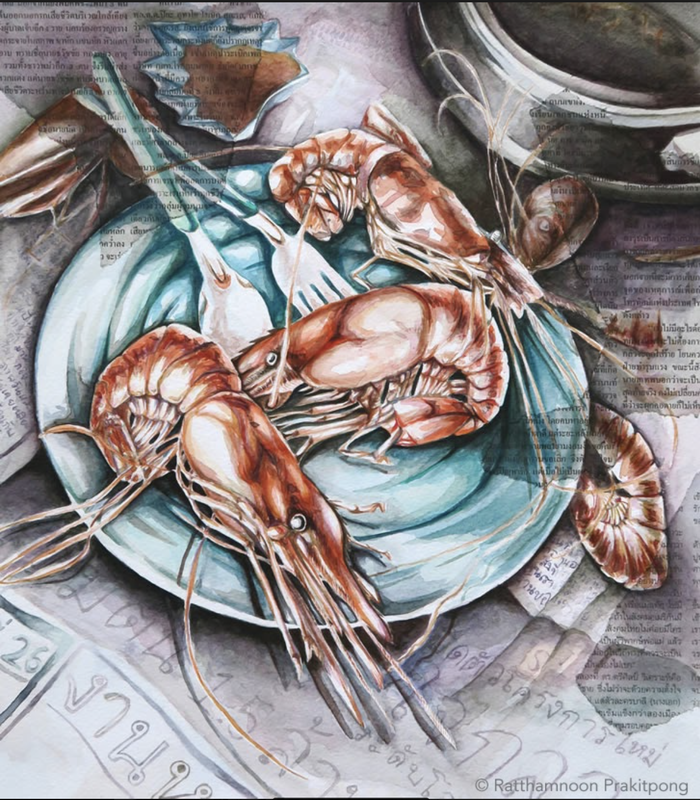
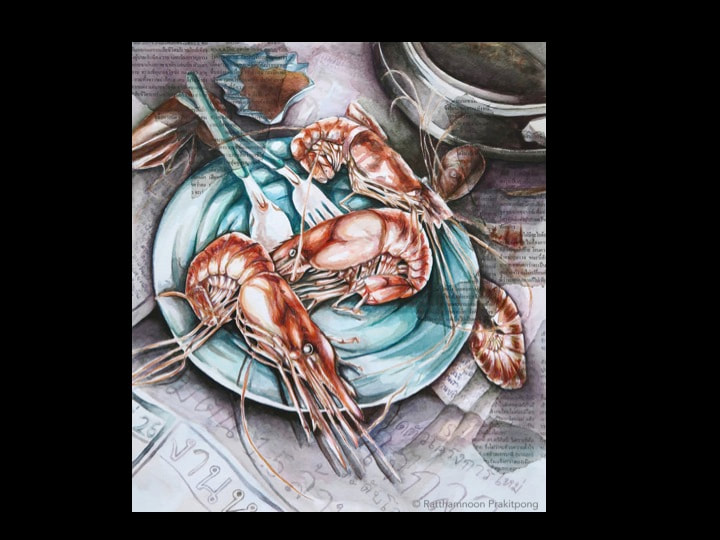
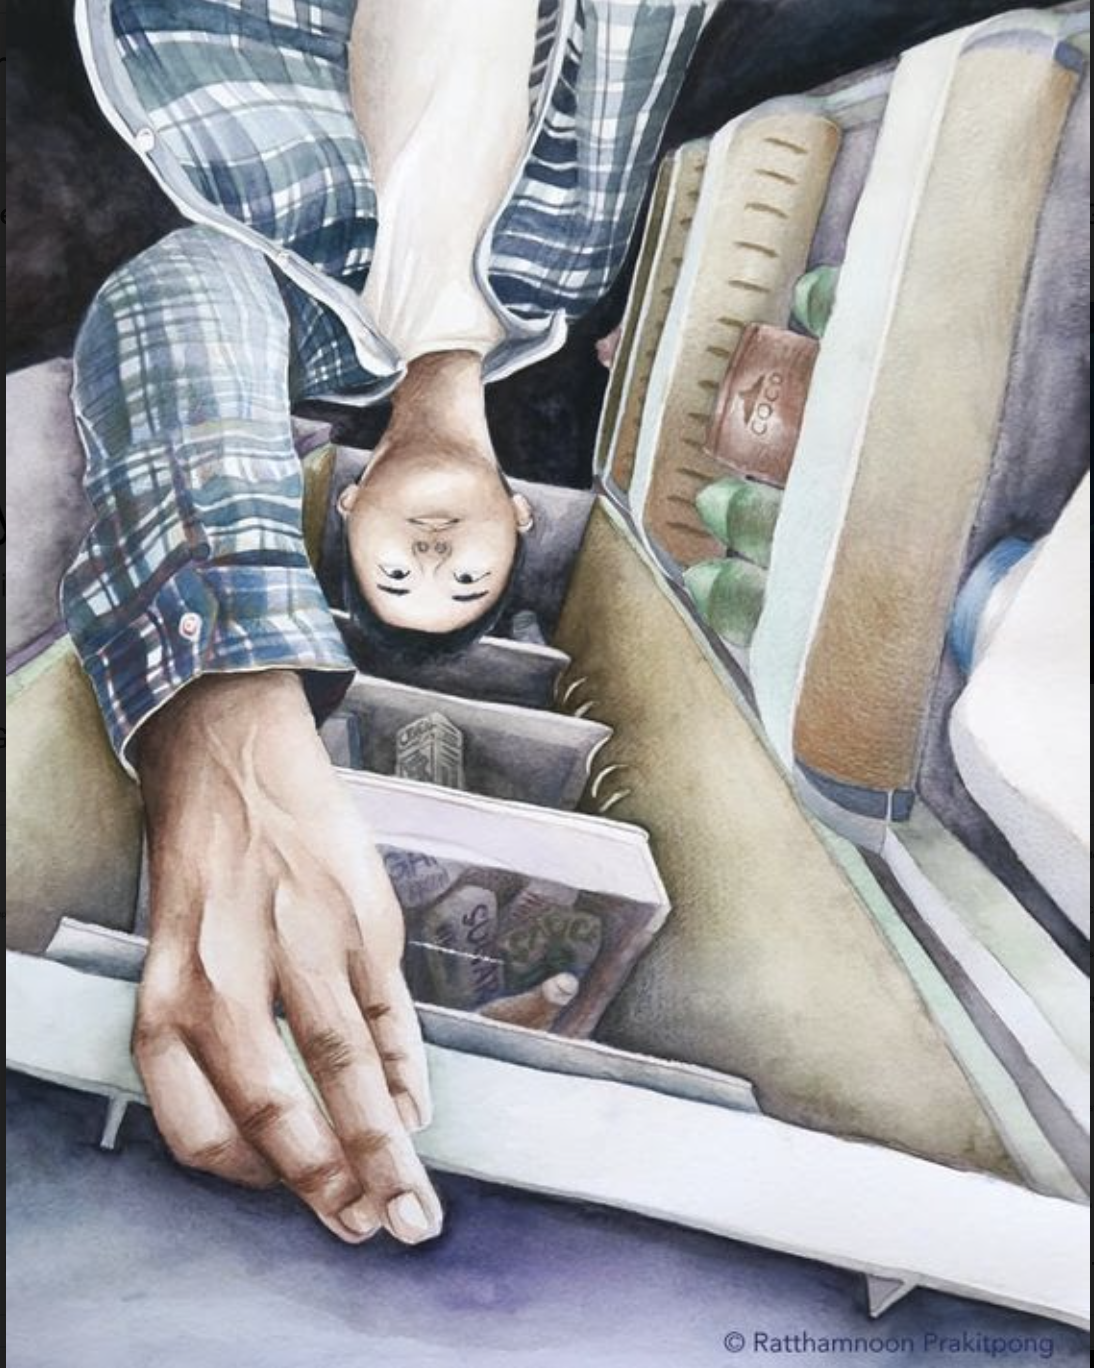
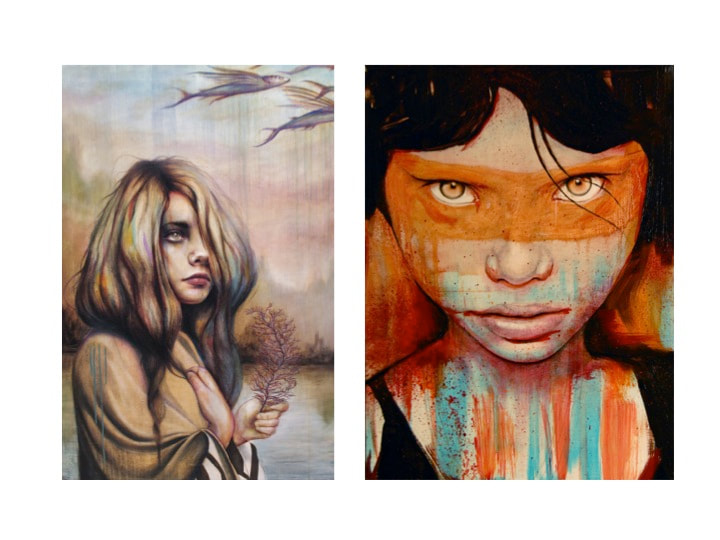
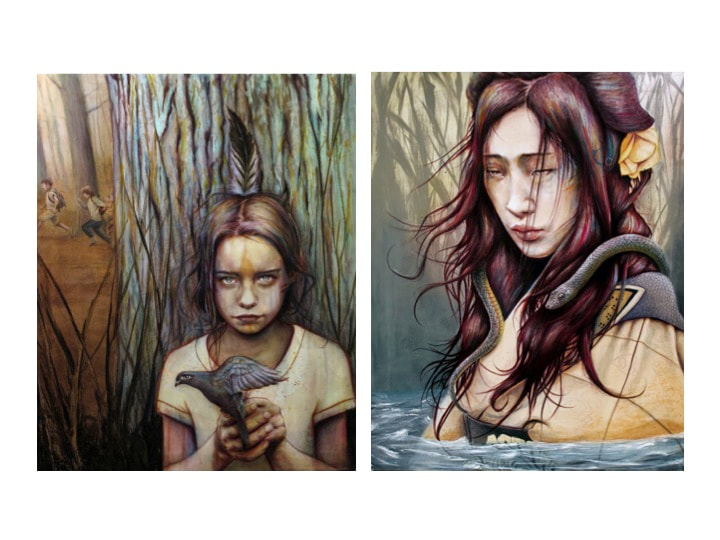
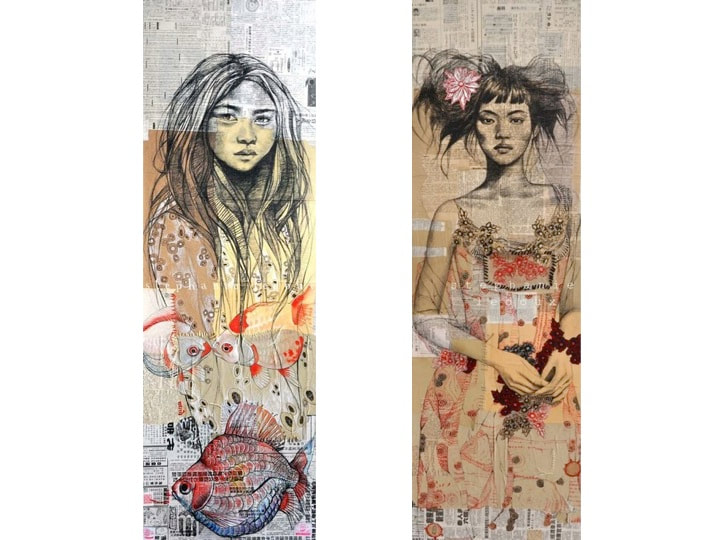
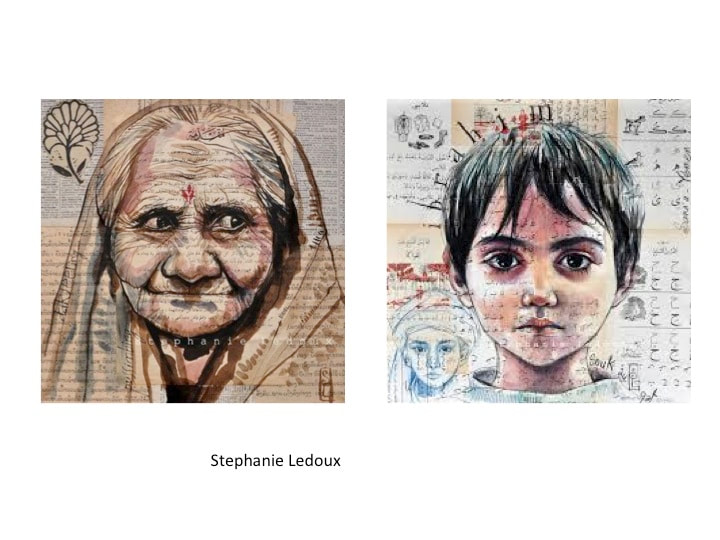
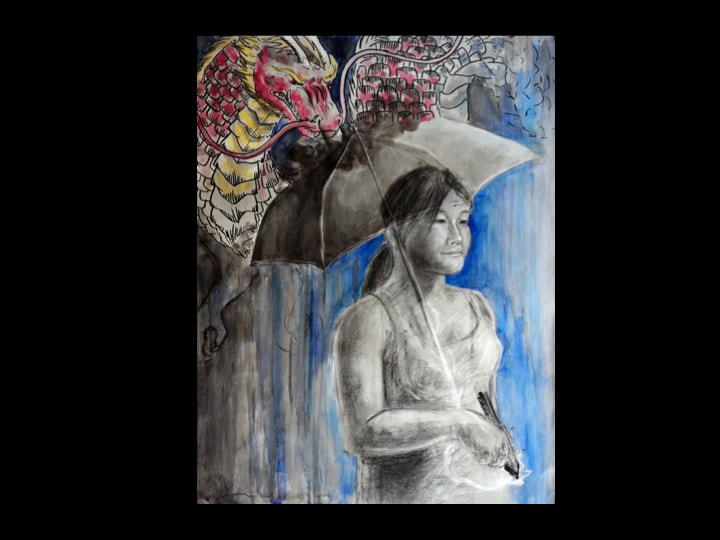
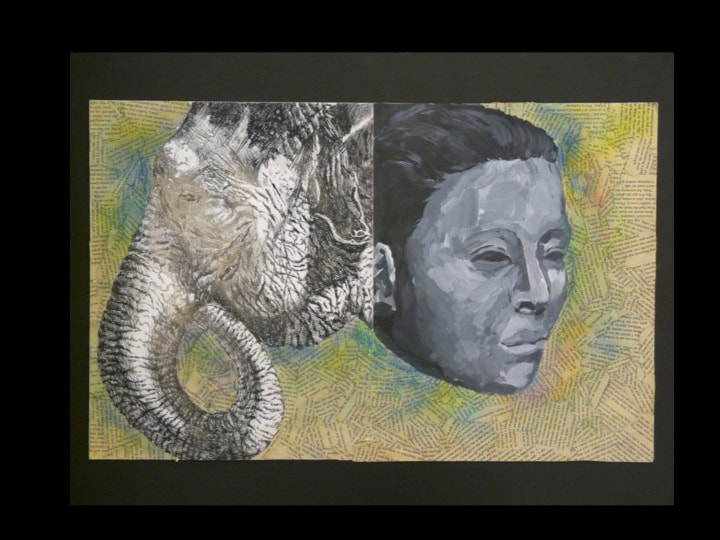
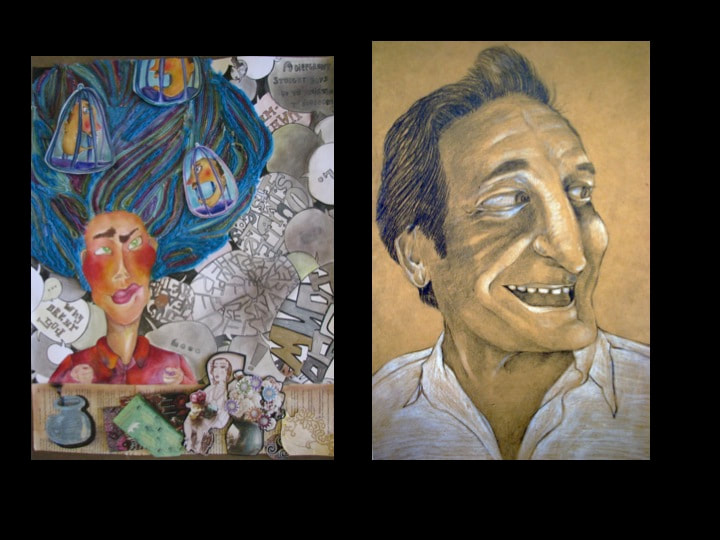
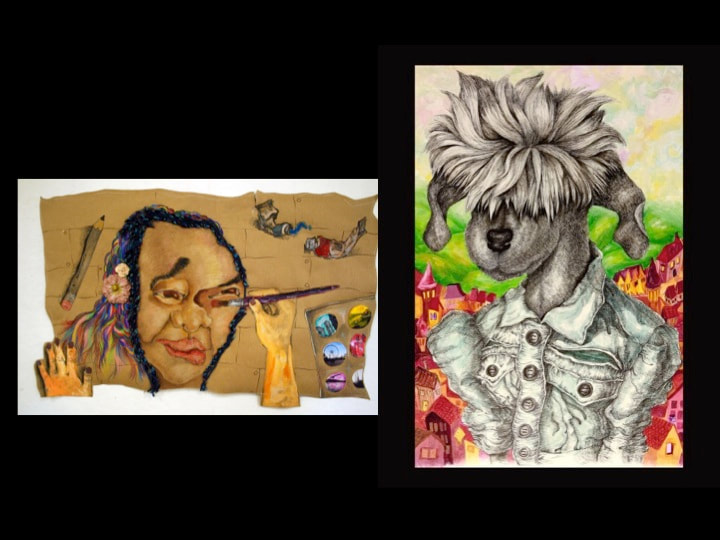
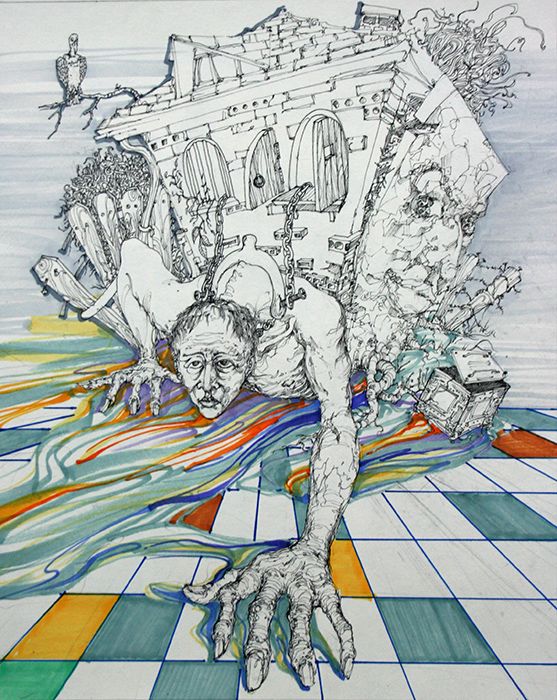
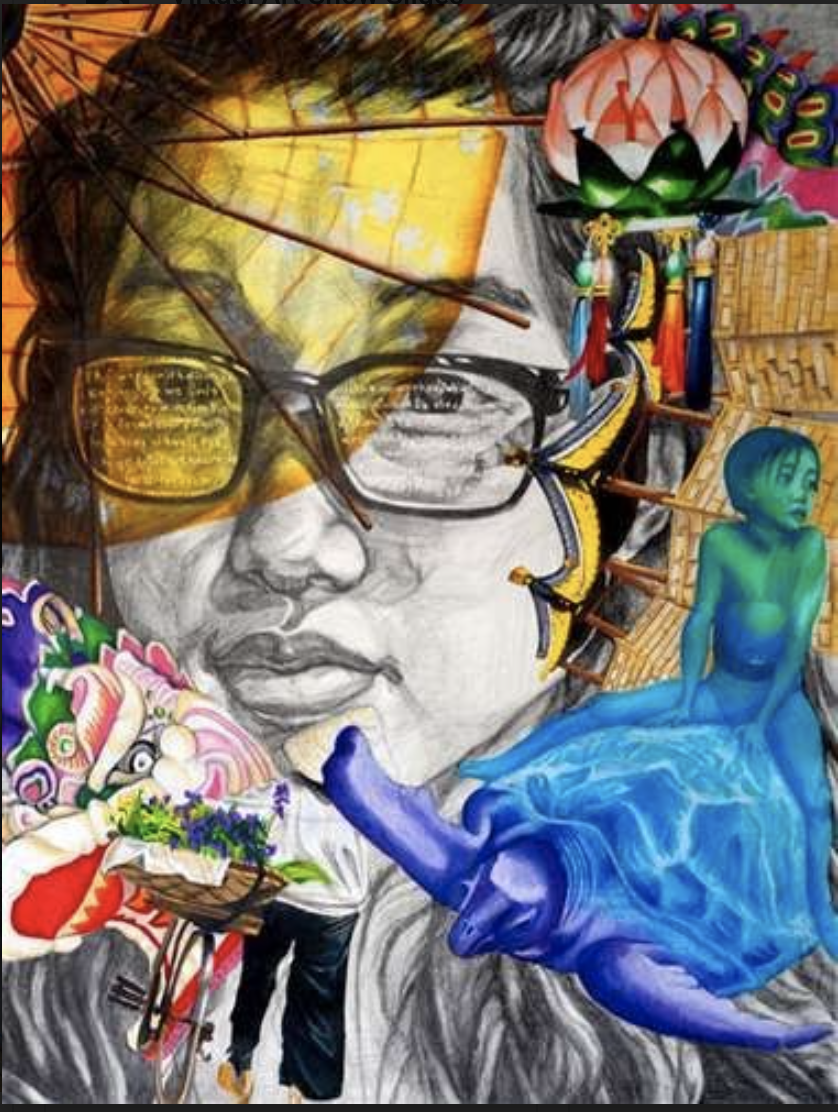
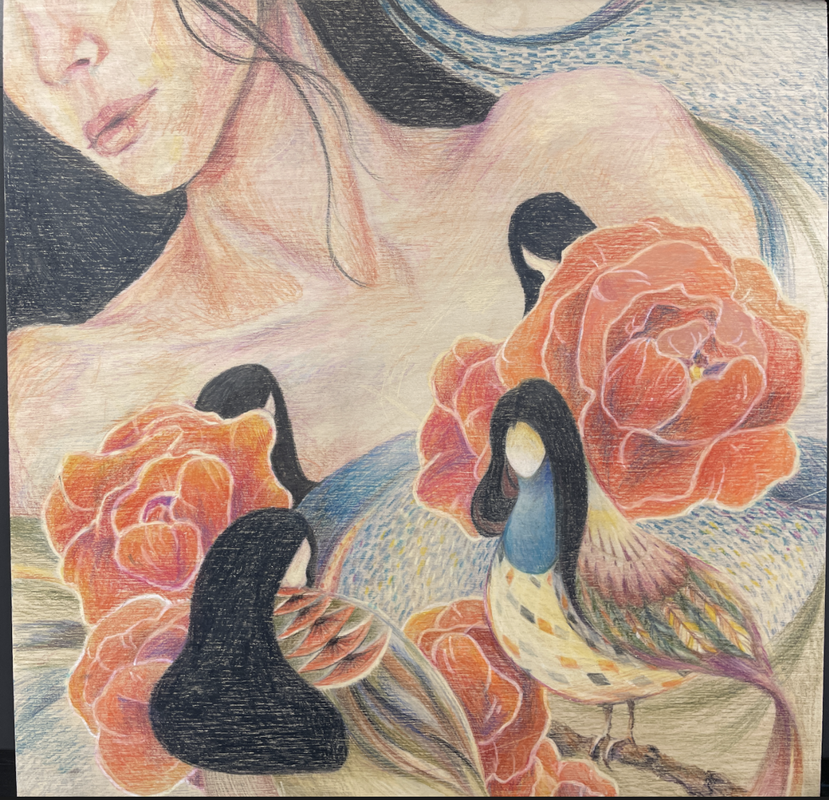
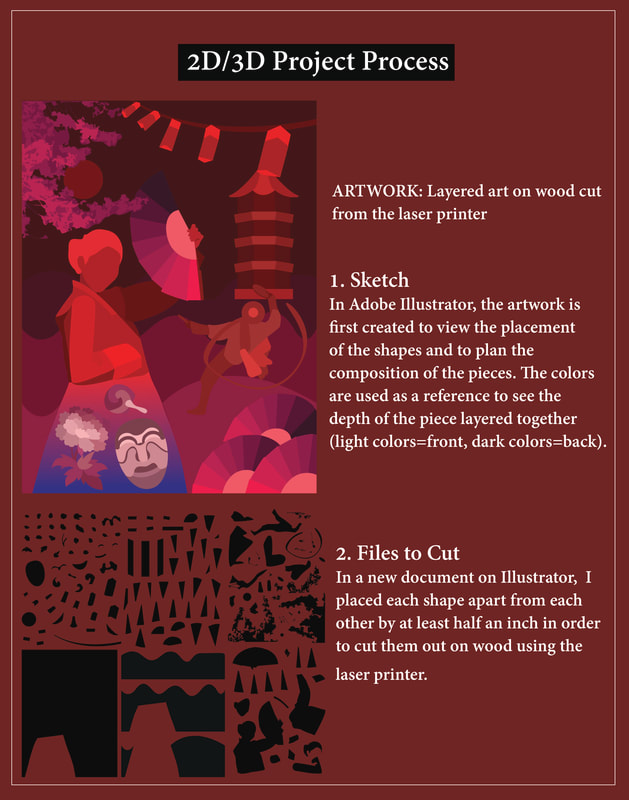
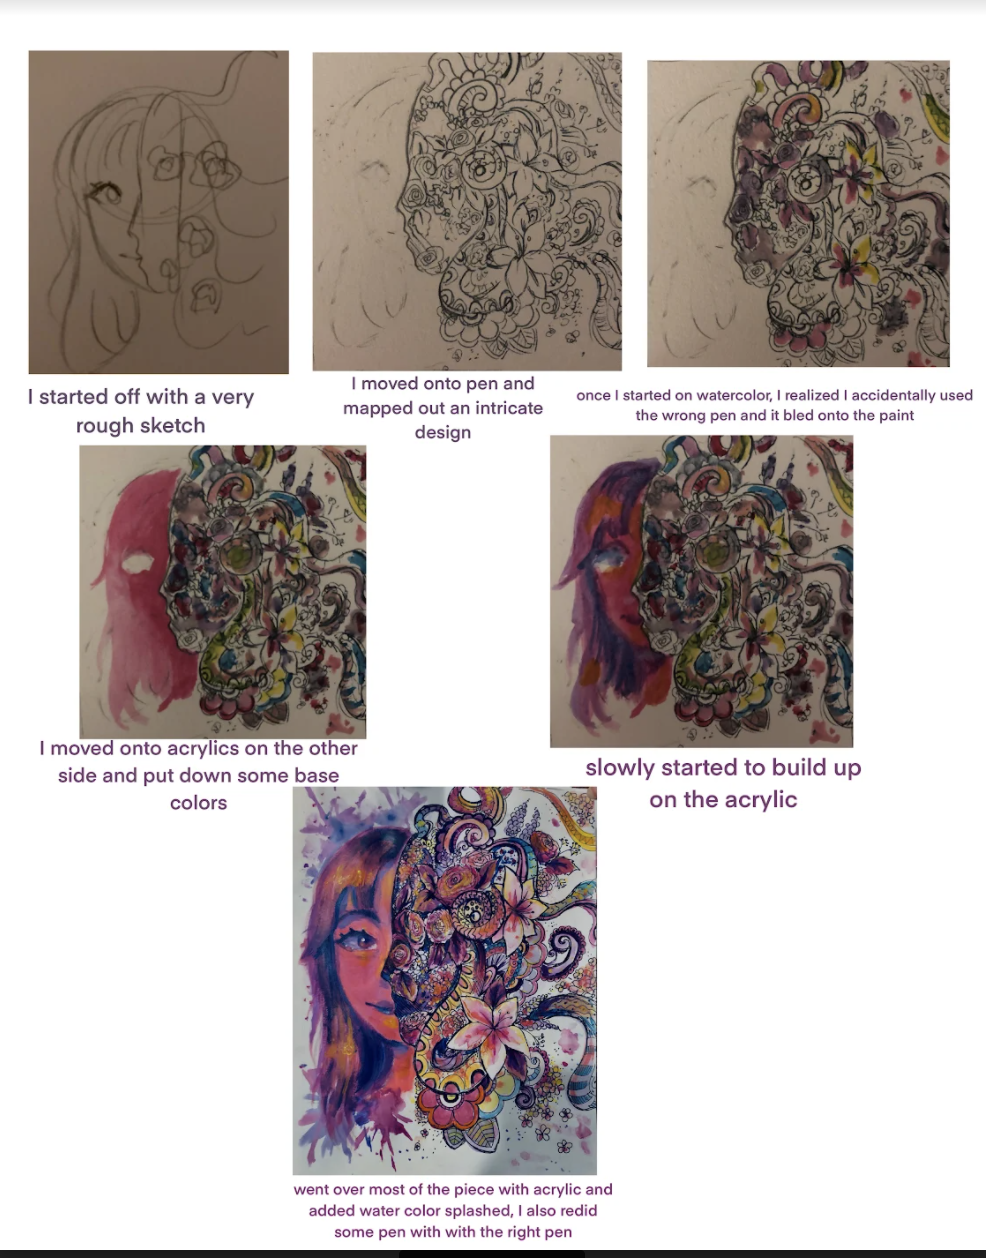
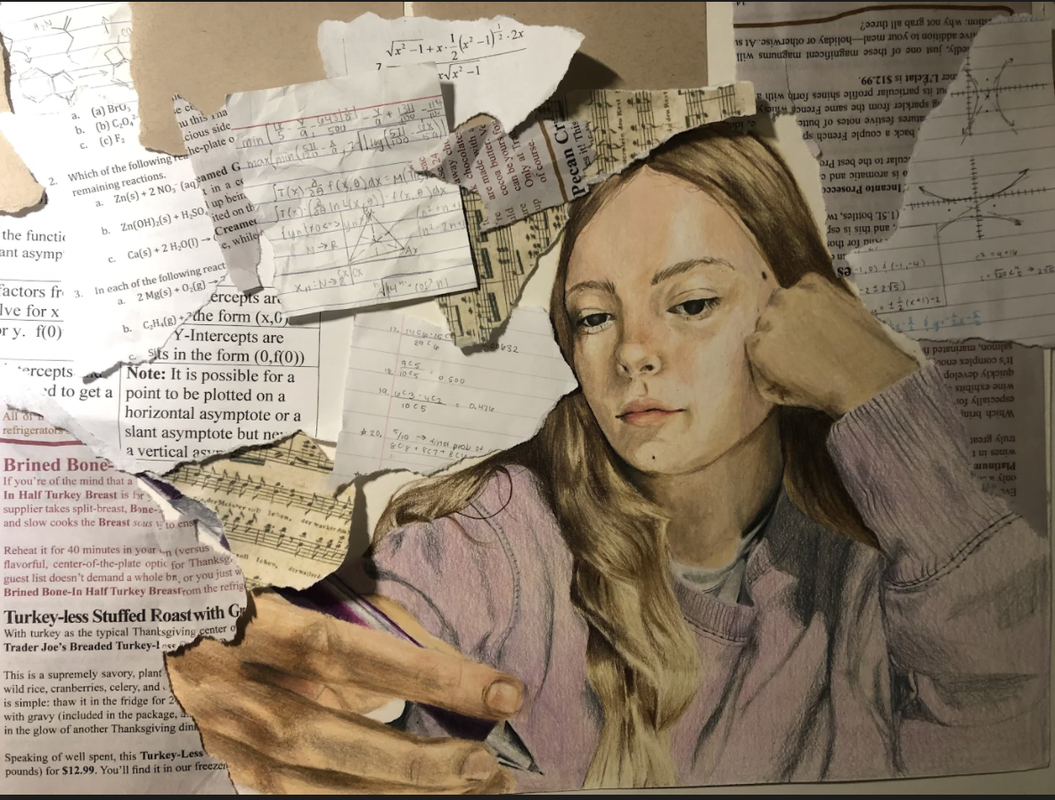
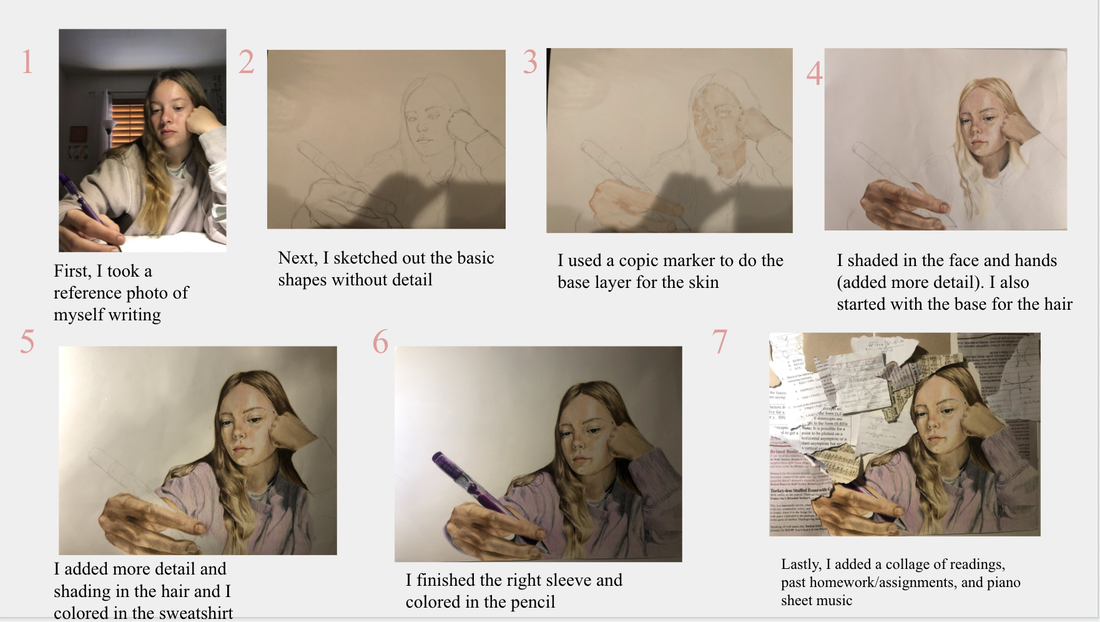
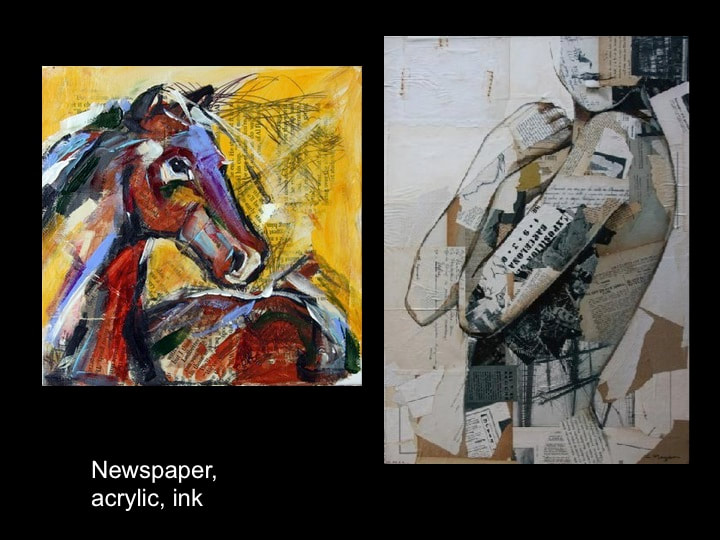
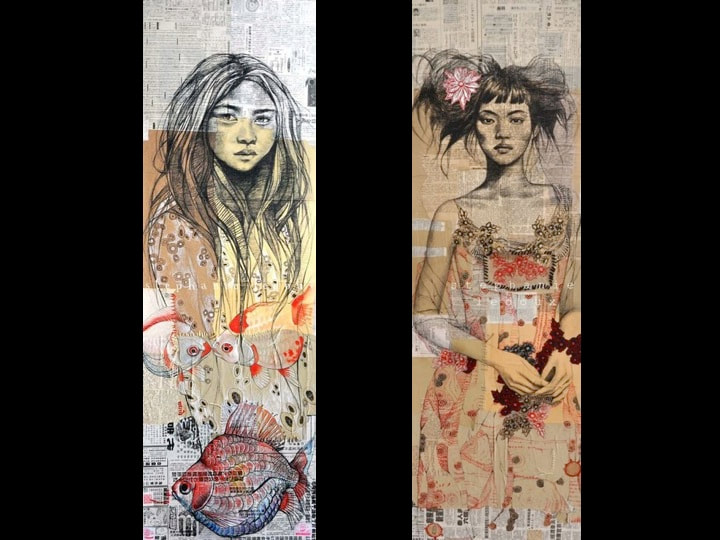
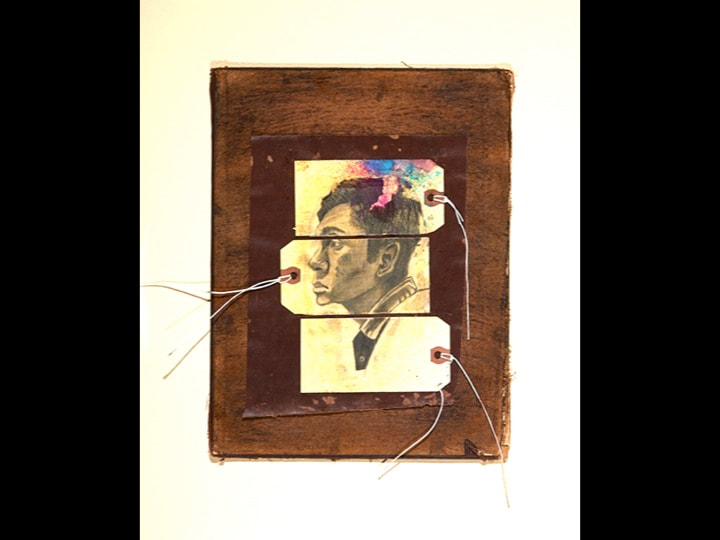
7) Layered Symbolic Portraits: Use layers of support media like paper, newspaper, canvas, burlap to create interesting backgrounds. Then layer on the portrait and other images that reflect something about the subject’s life, culture, and personality though mixed media (pen, paint, graphite, charcoal, etc.) See the works of Stephanie Ledoux for inspiration.
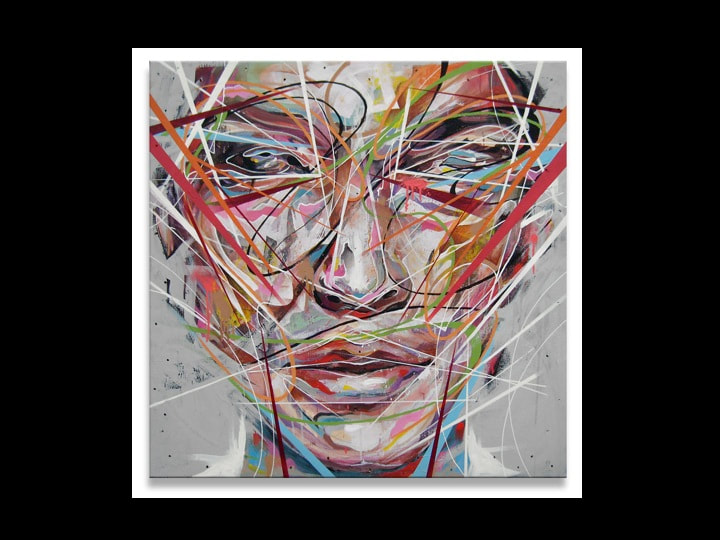
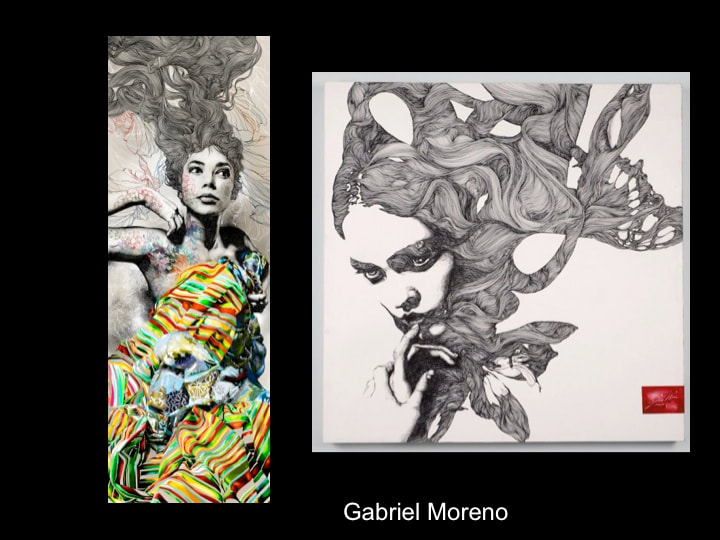
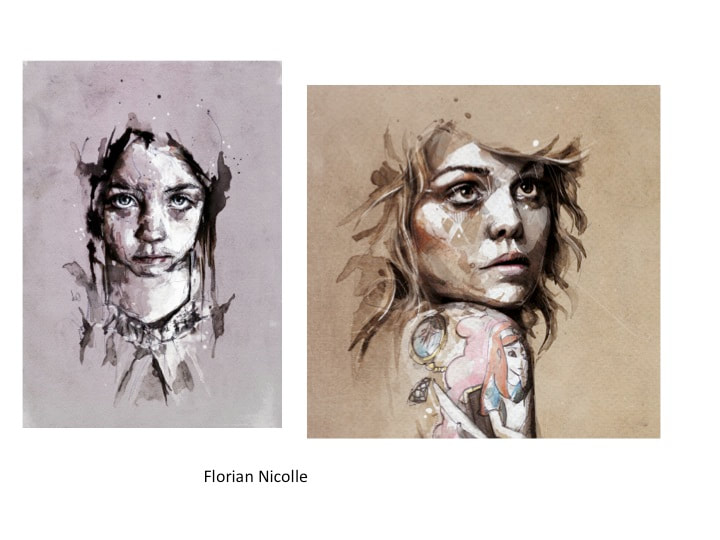
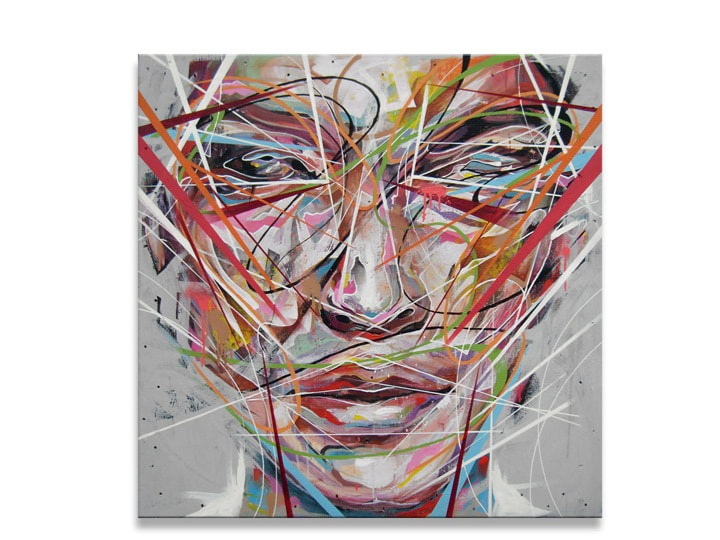
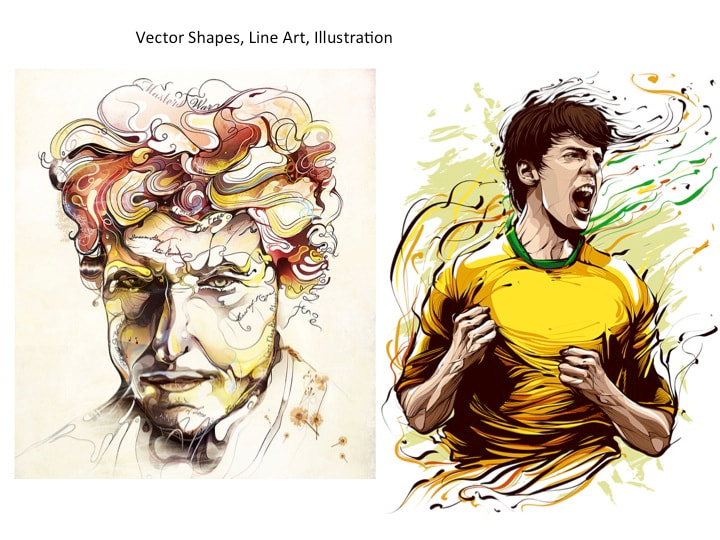
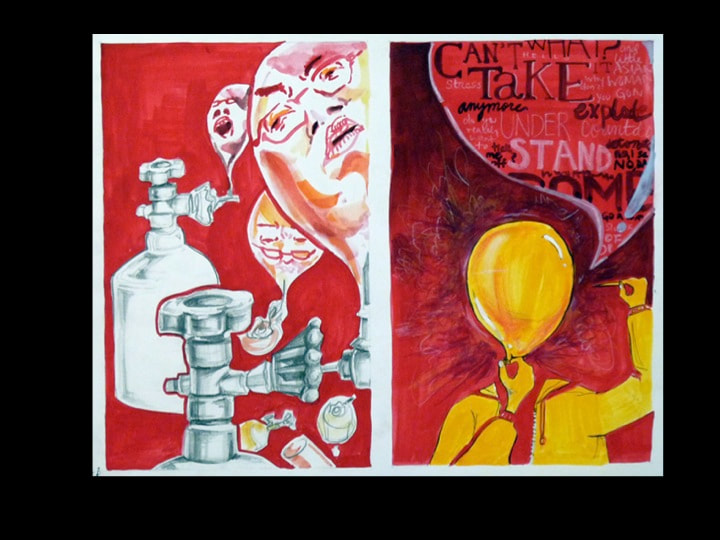
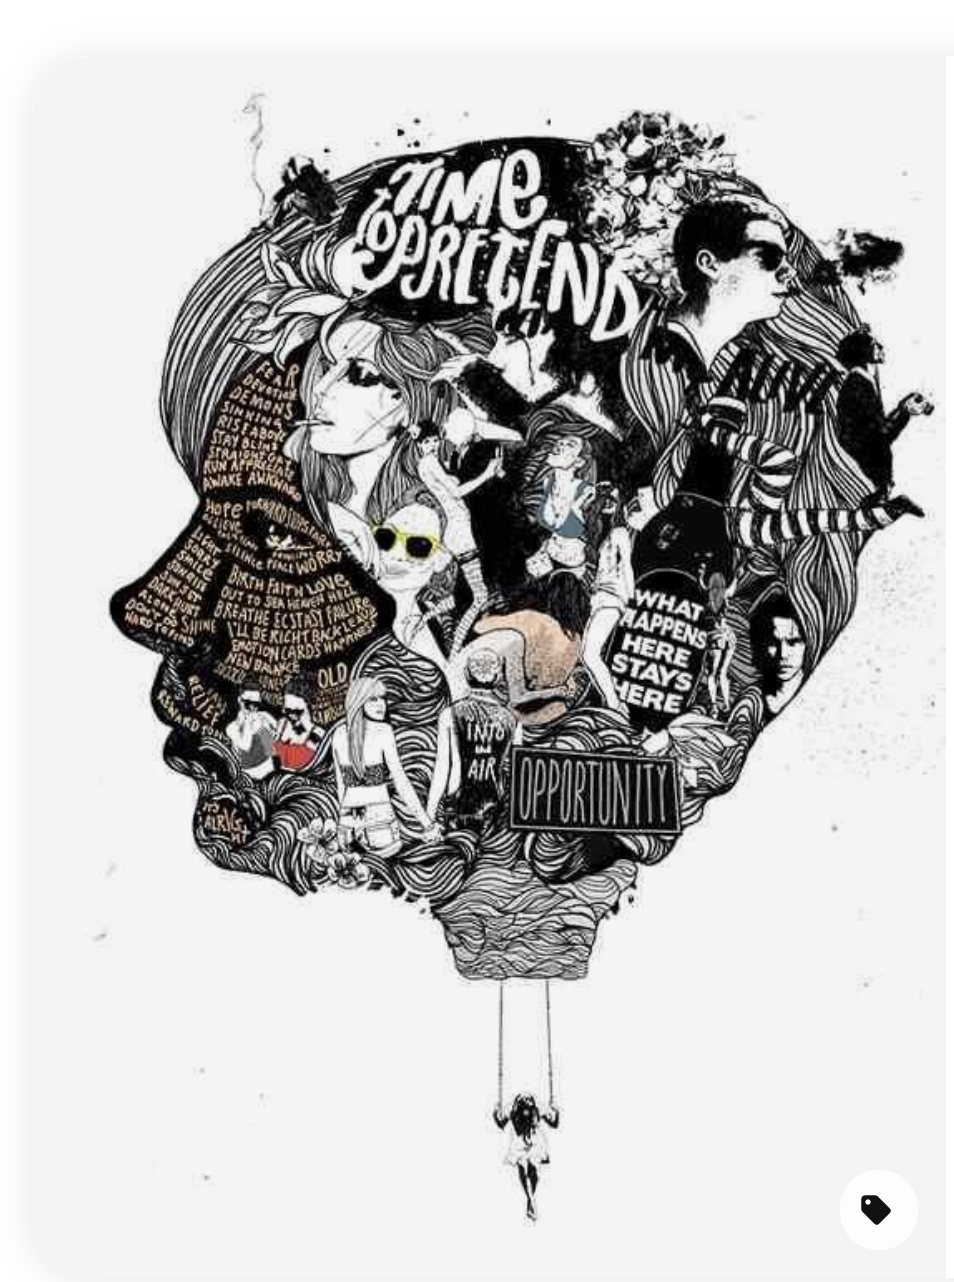
8) Portrait & Text: Combine a portrait and the use of typography. The text can be a purely a design element and/or add to the concept or symbolism of the subject. See the works of Florian Nicolle for inspiration.
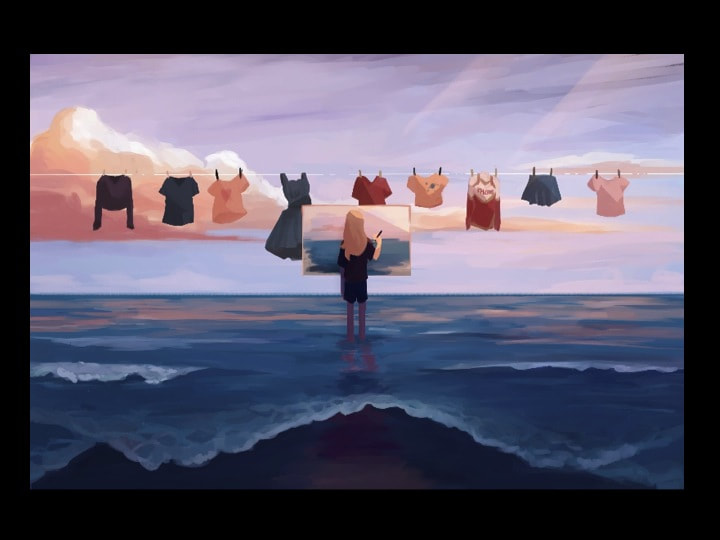
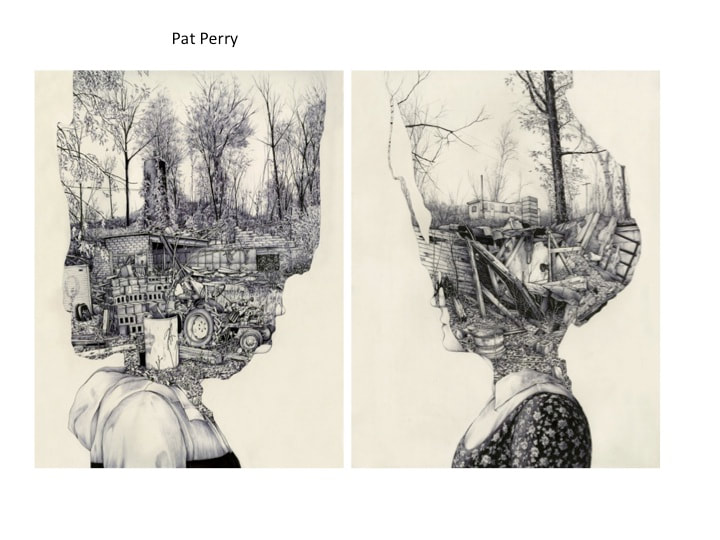
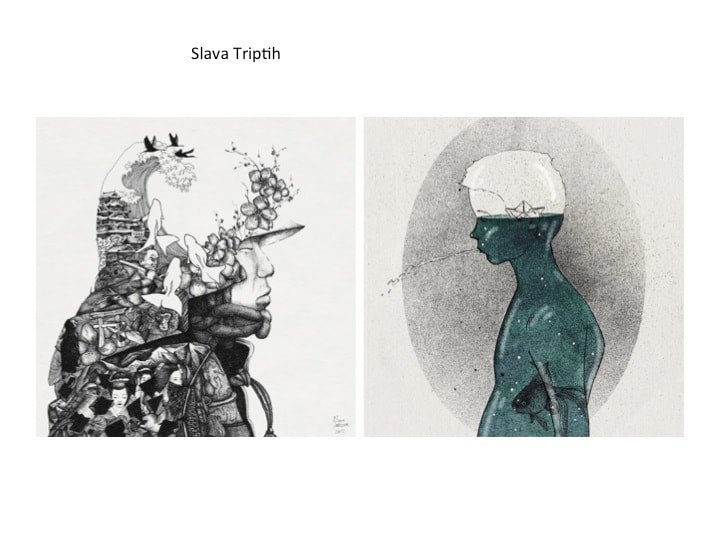
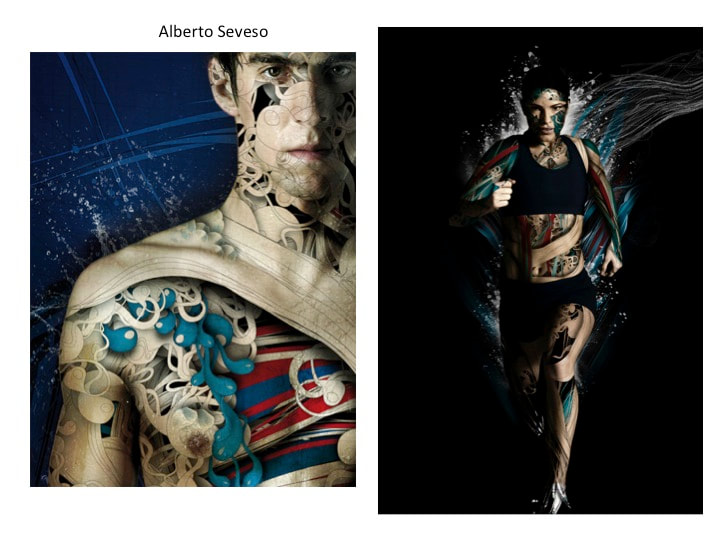
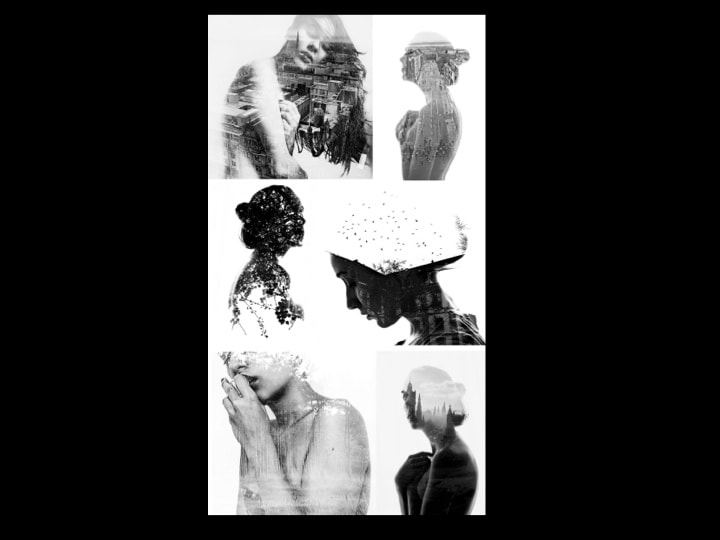
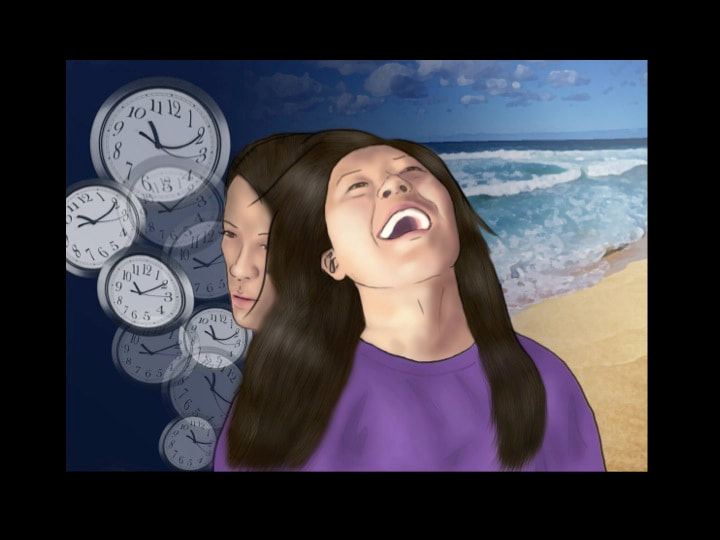
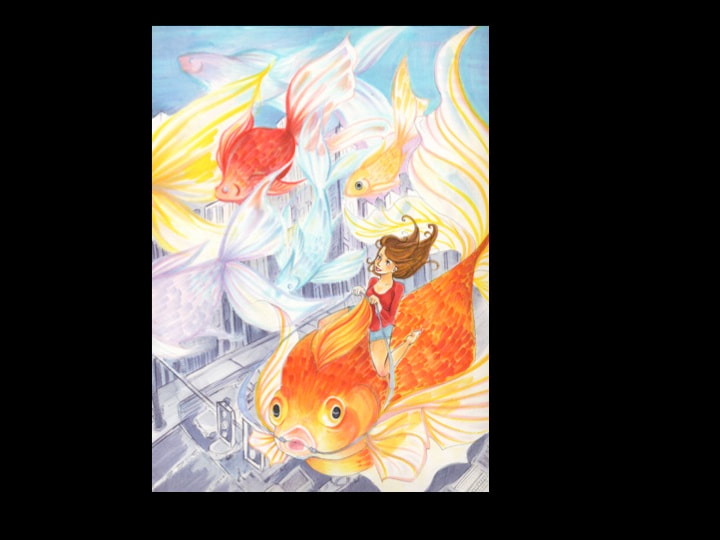
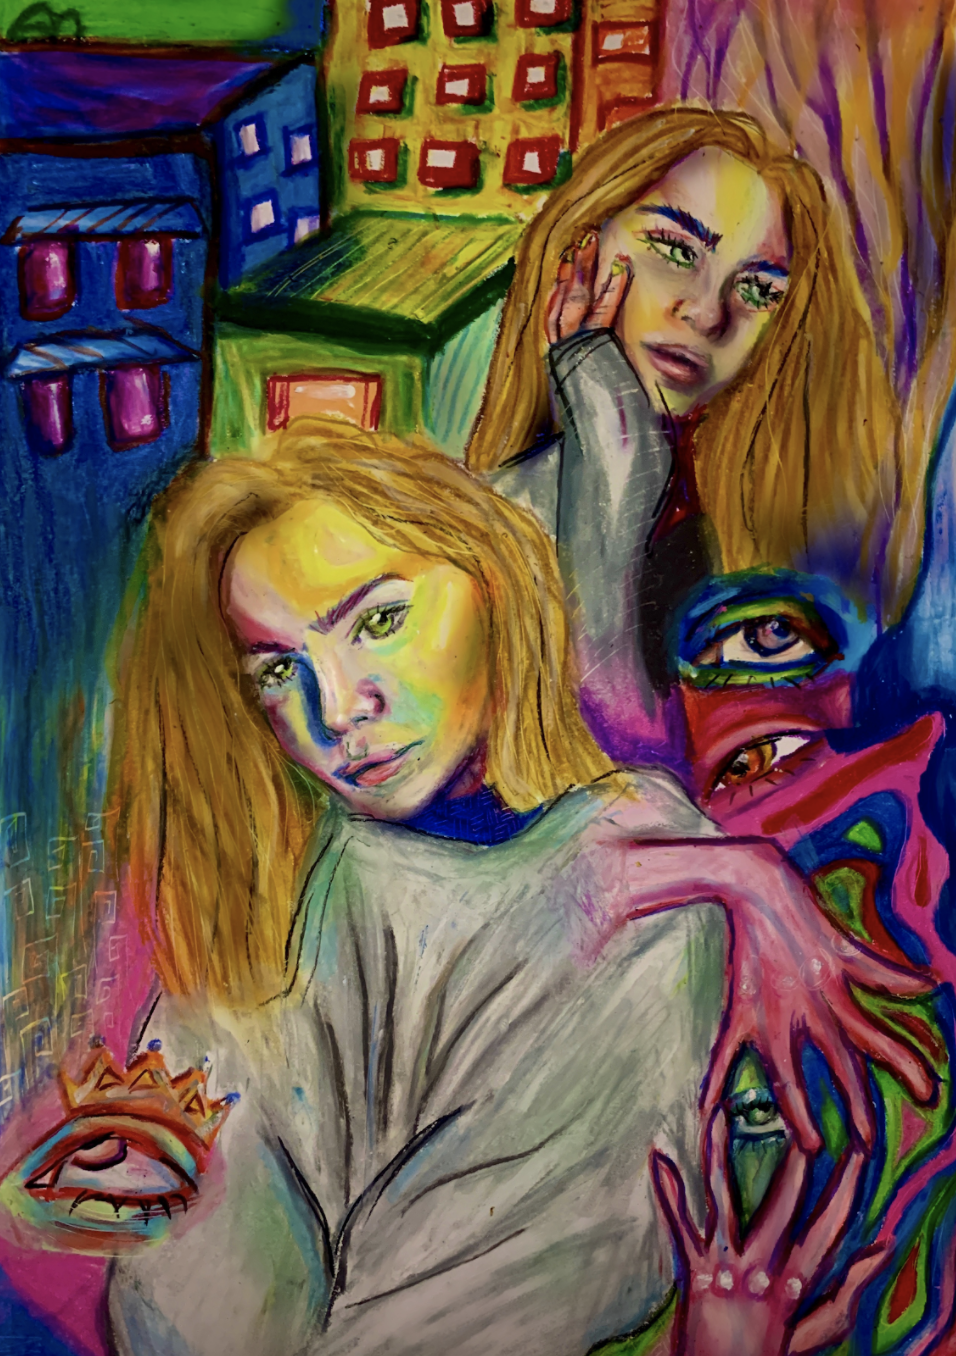
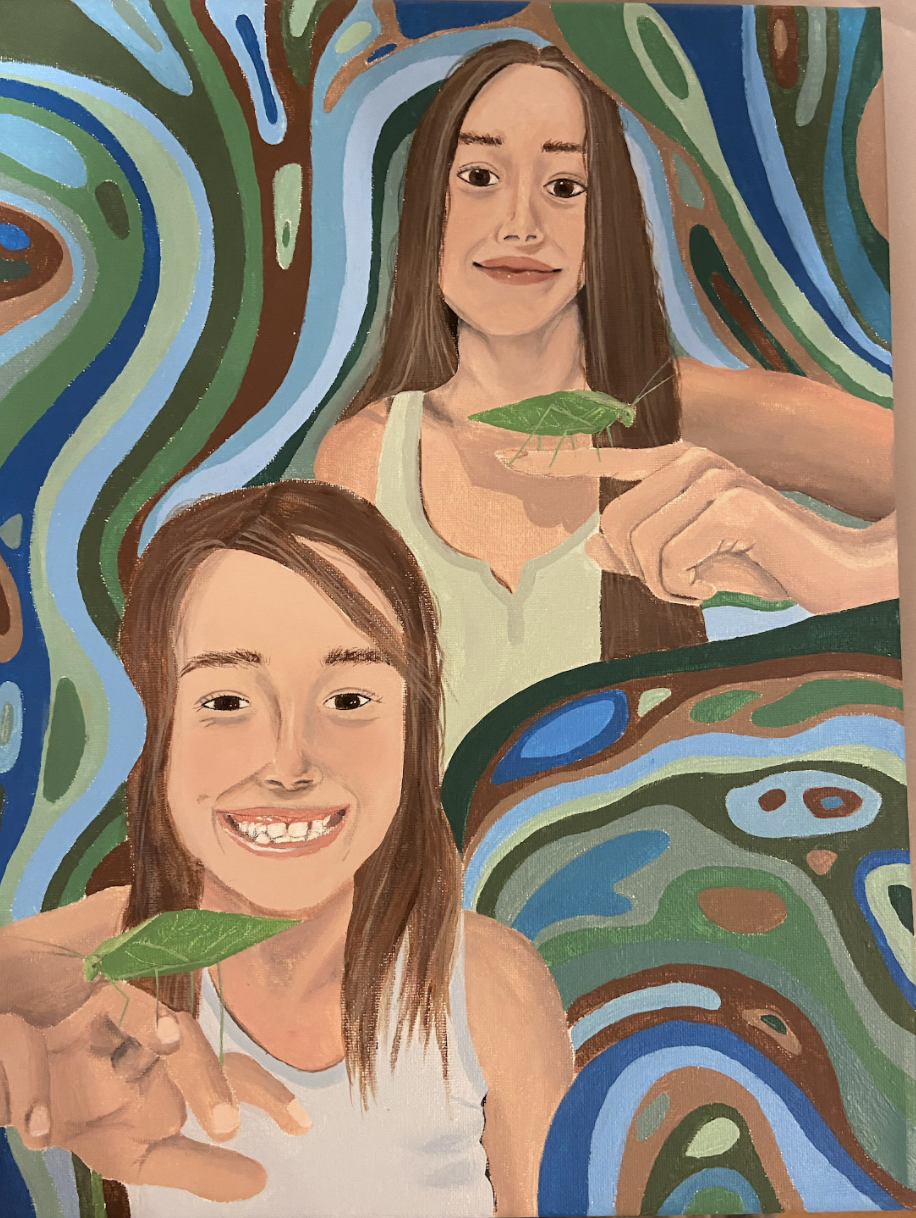
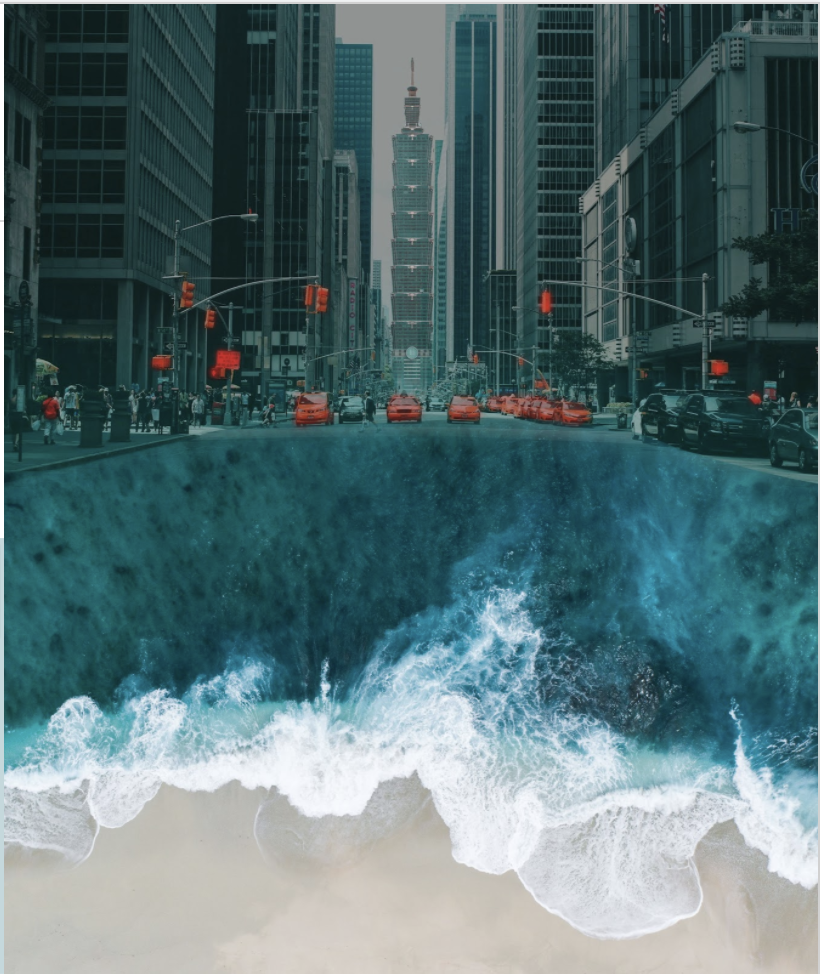
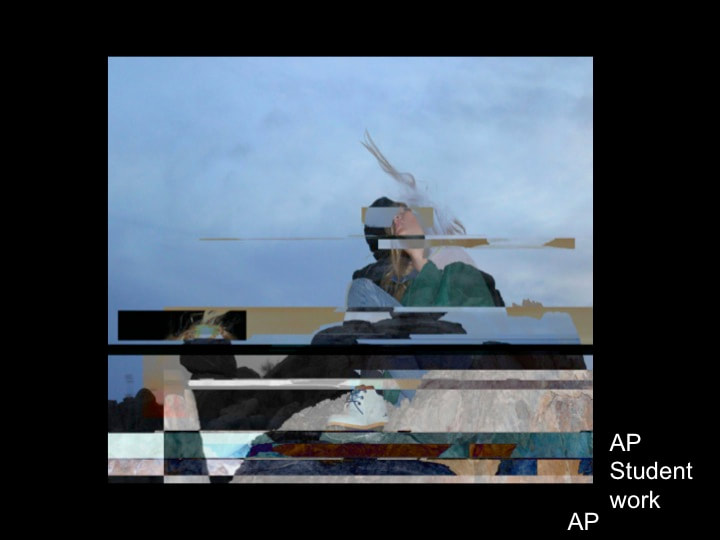
9) Double Exposure or “Blendscape” Portraits: Combine a portrait with other images and objects. Combine with landscapes, cityscapes, structures, buildings, organic objects, etc. See the work of Oriol Angrill Jorda, Pat Perry, and Slava Triptih for inspiration.
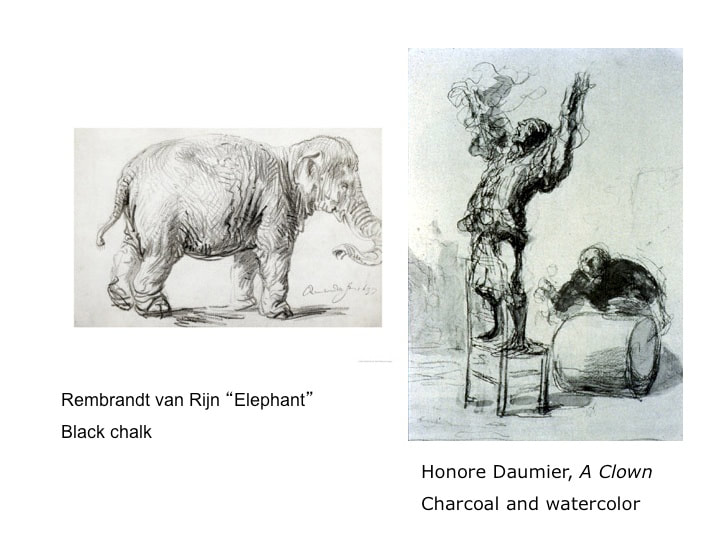
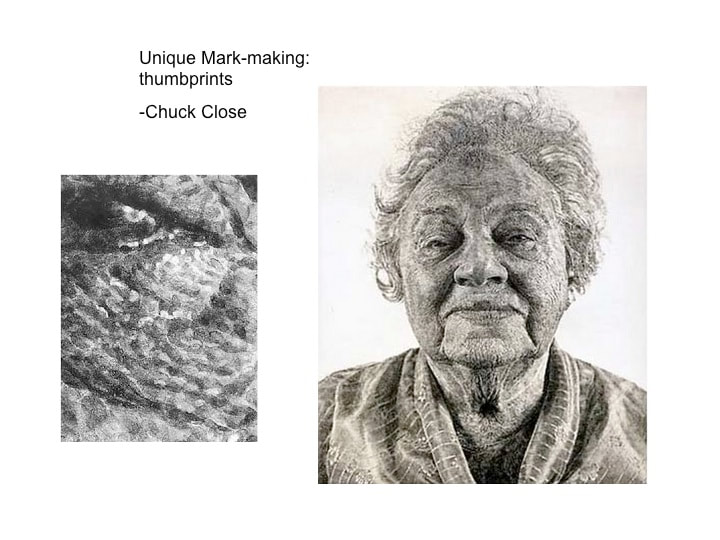
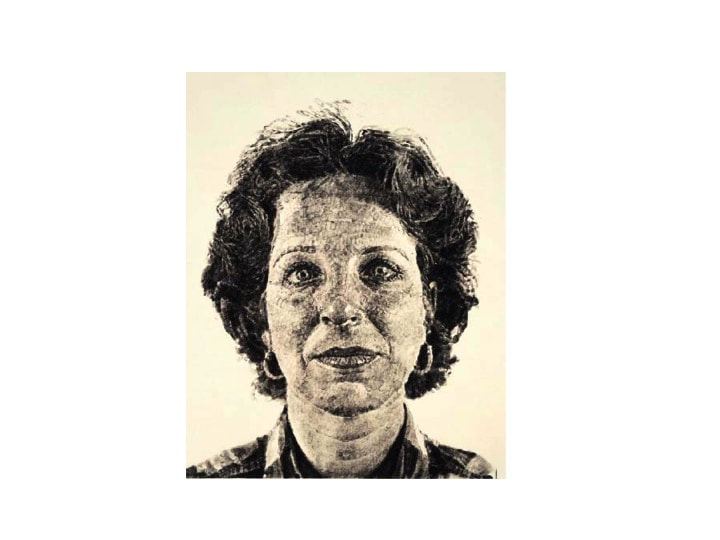
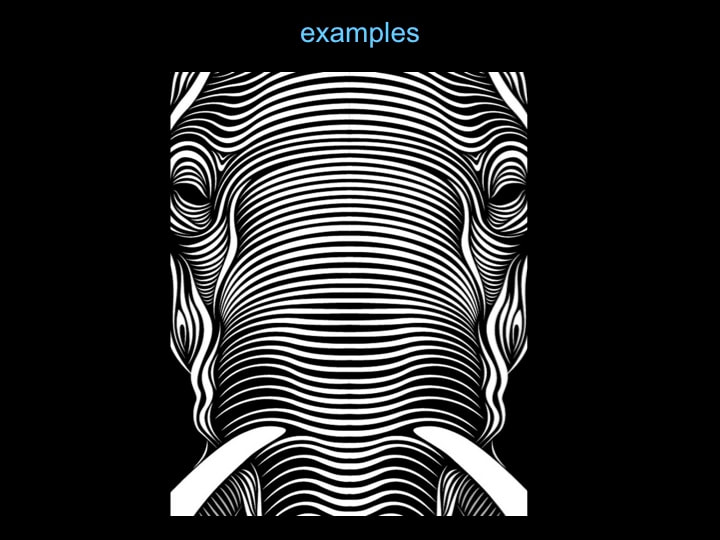
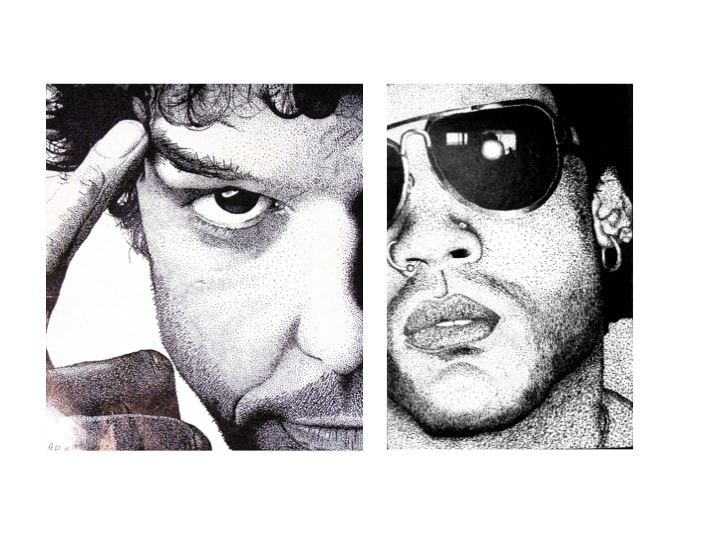
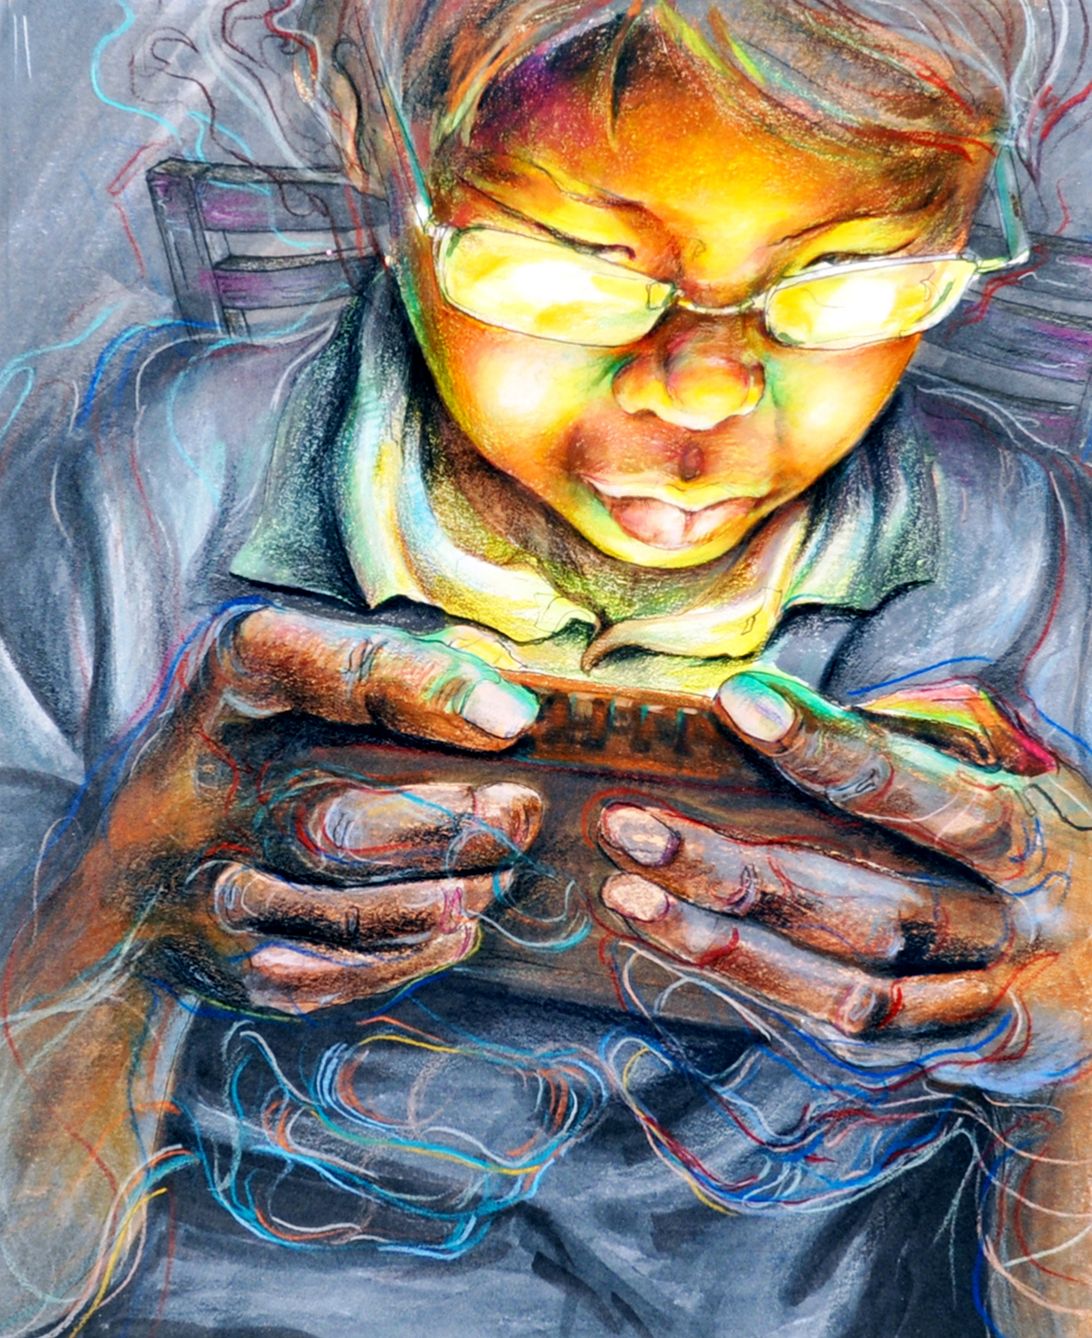
10) Unique Mark & Portrait. Use a new mark to render the portrait: Stippling, cross contour, thumbprints (Chuck Close), ink dripping, cross-hatching, swirls, scribbling, pattern (Zentangle style), palette knife painting, etc.
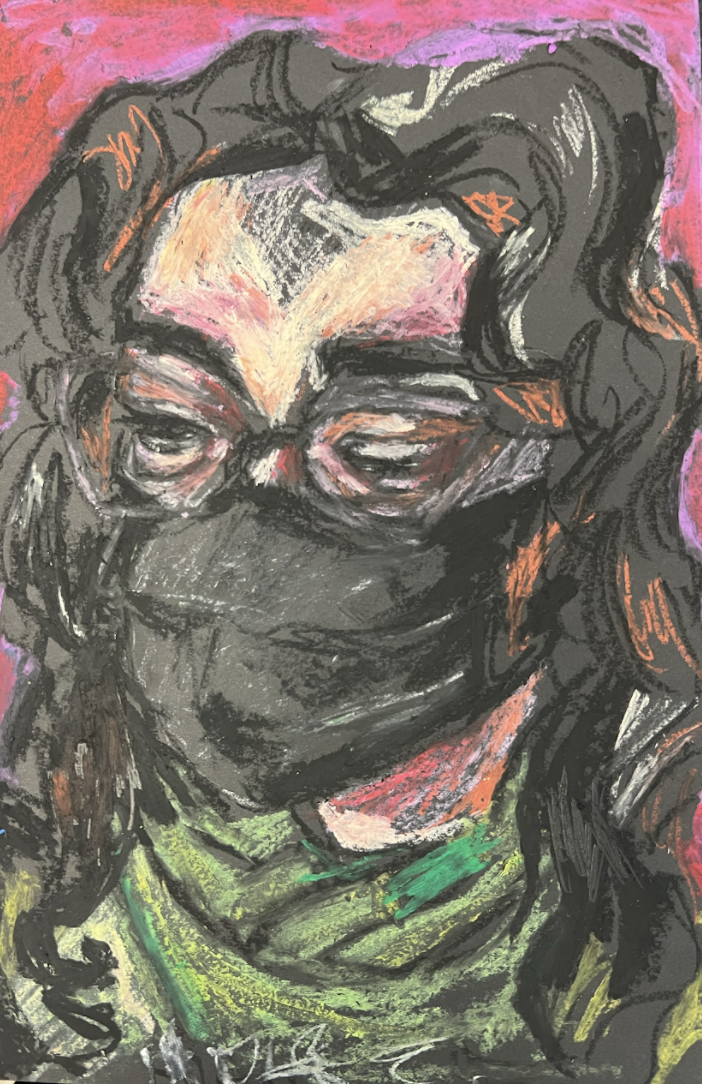
12) Expressive portraits with Subjective color. Research the work of the Fauvists for inspiration.
Think about using:
Different perspective/viewpoint
A new medium or style - feel free to experiment!
Color scheme to represent mood or emotion
Distortion, abstraction
Contrast, focal point
Representation of characteristics other than physical likeness
(You do not need to represent your face)
--Think about this photo as a jumping off point for your creativity and personal voice. Do not copy the photo directly. Take it further, develop a new idea.
--Thoughtfully use the elements of art (shape, line, color, value, texture..) and the principles of design (balance, movement, unity, space) to arrange and guide your artwork.
--Thoughtful composition- arrangement of imagery.
--Authenticity and personal voice!
--Execution: use the right ground (paper, canvas, board, etc,) and the right tools (paint, charcoal, cameras, lighting, etc.)
--Quality and practice: take the time and effort to fully develop your work.
MEDIA AND SIZE: Your choice of media. Minimum size 9X12".
Fine Art Portrait Resources:
How to Draw a realistic Portrait
More Portrait techniques on the Fine Art Techniques Tab
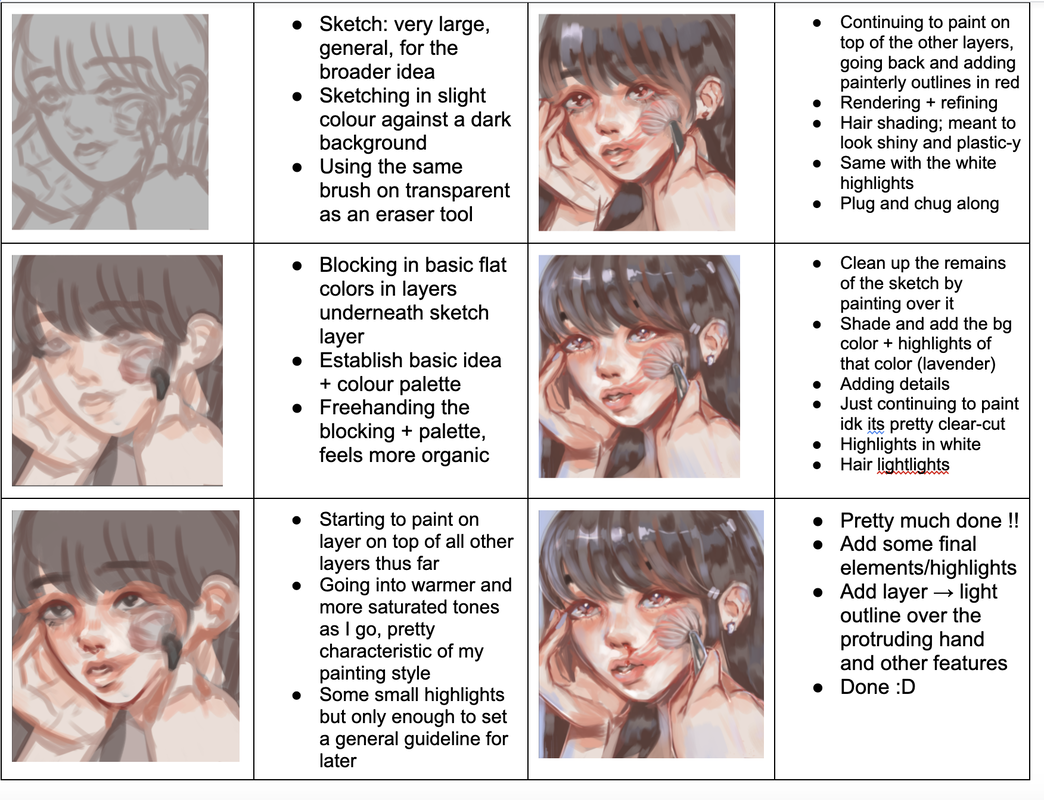
Digital Art Portrait Resources:
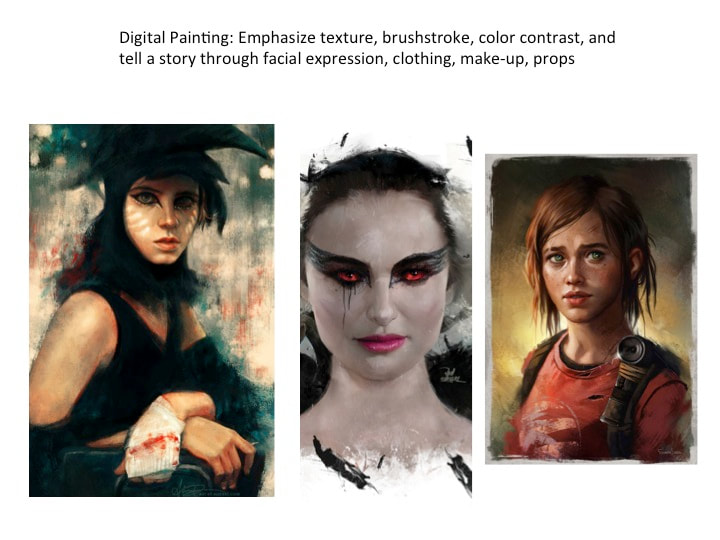
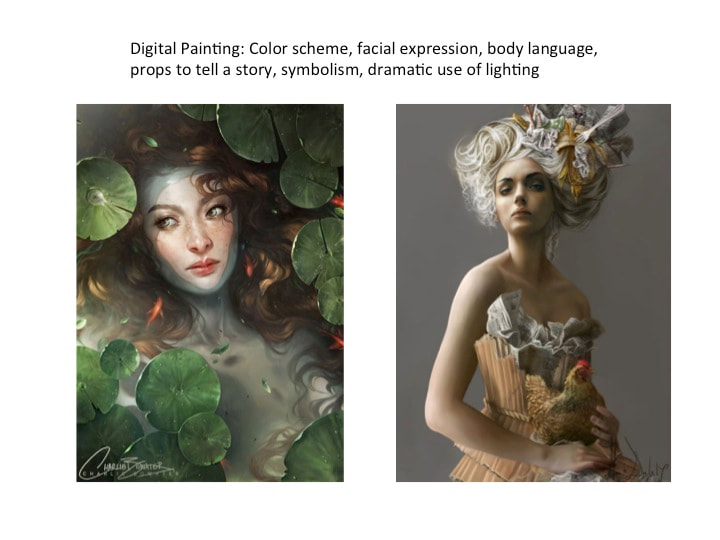
Digital Painting Portraits:
50 Breathtaking Digital Portrait Examples
35 Digital Painting Portrait Tutorials
Realistic Digital Painting Portrait Tutorial
Typographic Portraits:
Typographic Portraits by Peter Strain
Double Exposure Portraits:
-Double Exposure Techniques
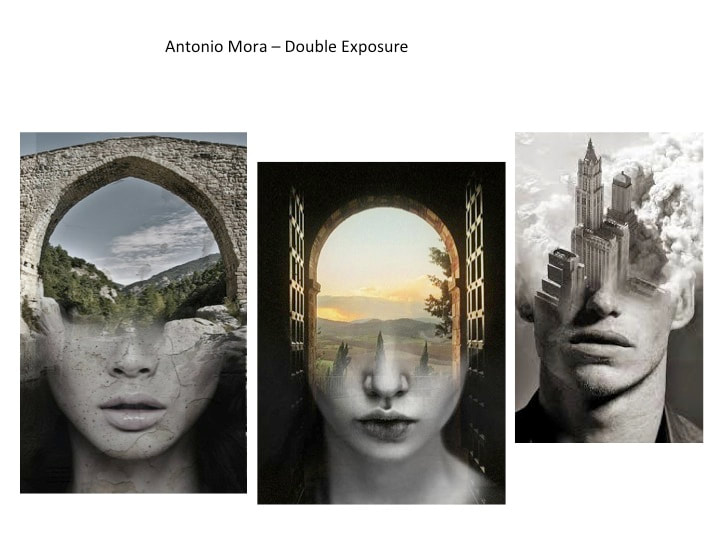
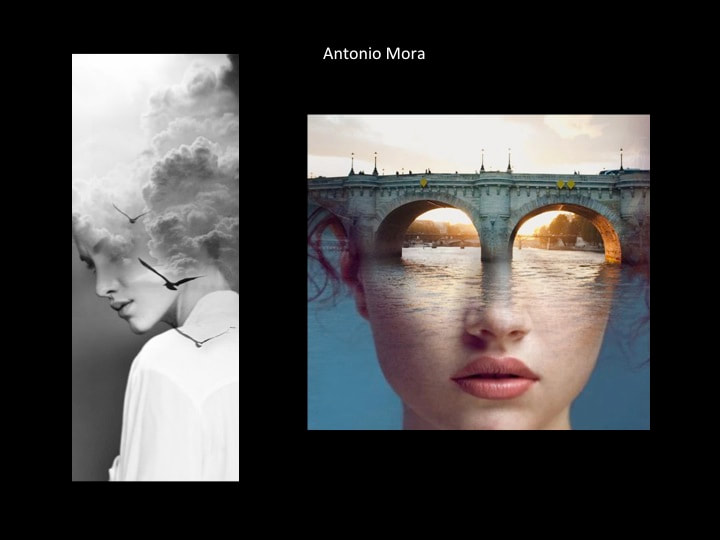
Double Exposure - Antonio Mora
Double Exposure article/examples
Aneta Ivanova
"Blendscapes" examples
-Double Exposure Tutorials:
link 1
link 2
link 3
Surreal Portraiture:
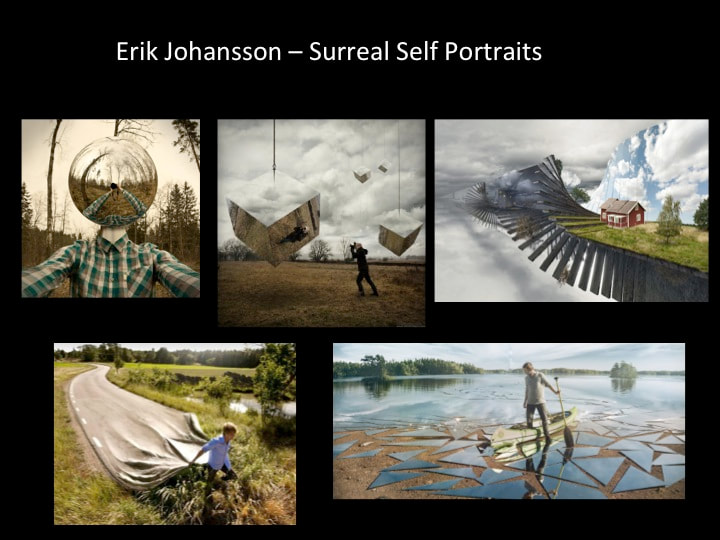
Erik Johansson Website
-Erik Johansson Video
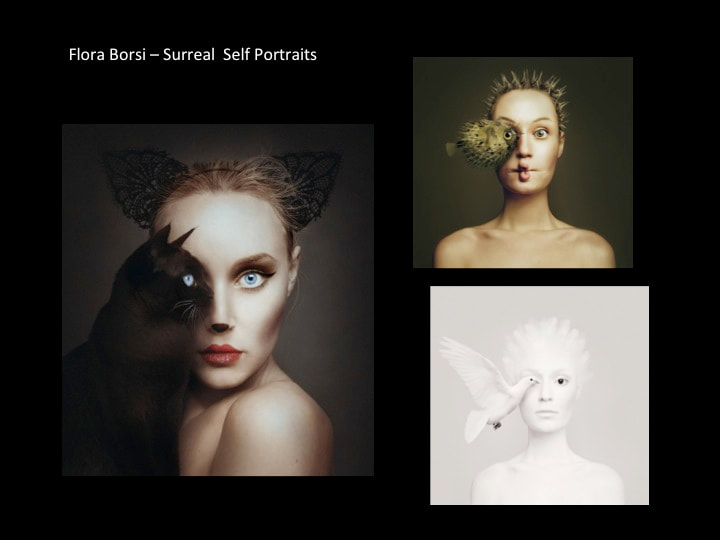
"Animeyed" Photography Series by Flora Borsi
1) Self Portrait/Portrait: Artwork of your face without your teeth showing. Use a mirror and/or photos of yourself. Use a drawing board and hold it at an angle so that you don't distort the drawing by accident. No floating heads-Compose your space!. Feel free to abstract/distort... but with artistic reason or purpose. Self Portraits should say something about you as a person (beyond physical likeness). Express an emotion-tell a story.
2) Portrait & Reflection: Create a self-portrait, using your reflection in an unusual surface, something other than a normal mirror. This could be a metal appliance (toaster, blender), a computer monitor, a broken or warped mirror, a car’s rear view mirror, or tinted windows.
3) Planar Analysis Portrait: Start with contour line sketching and move from there. Use color, paint, mixed media, layer on media. Research cubism for inspiration.
4) Organic vs. geometric shape portrait: See the works of Danny O’Connor for inspiration.
5) Action portrait: have a friend or family member pose for you doing some sort of movement (jump roping, walking, riding a bike, walking down stairs, etc.). Capture the entire sequence of their action in one piece of artwork. Think about layering multiple images in different actions or viewpoints.
How will you portray movement in your work? Look at “Nude Descending a
Staircase” by Dada artists Marcel Duchamp, as well as the work of Futurist artists Giacomo Balla or F.T. Marinetti.
6) Watercolor and Ink Portraits: See the works of Agnes Cecil for Inspiration.
7) Layered Symbolic Portraits: Use layers of support media like paper, newspaper, canvas, burlap to create interesting backgrounds. Then layer on the portrait and other images that reflect something about the subject’s life, culture, and personality though mixed media (pen, paint, graphite, charcoal, etc.) See the works of Stephanie Ledoux for inspiration.
8) Portrait & Text: Combine a portrait and the use of typography. The text can be a purely a design element and/or add to the concept or symbolism of the subject. See the works of Florian Nicolle for inspiration.
9) Double Exposure or “Blendscape” Portraits: Combine a portrait with other images and objects. Combine with landscapes, cityscapes, structures, buildings, organic objects, etc. See the work of Oriol Angrill Jorda, Pat Perry, and Slava Triptih for inspiration.
10) Unique Mark & Portrait. Use a new mark to render the portrait: Stippling, cross contour, thumbprints (Chuck Close), ink dripping, cross-hatching, swirls, scribbling, pattern (Zentangle style), palette knife painting, etc.
12) Expressive portraits with Subjective color. Research the work of the Fauvists for inspiration.
Think about using:
Different perspective/viewpoint
A new medium or style - feel free to experiment!
Color scheme to represent mood or emotion
Distortion, abstraction
Contrast, focal point
Representation of characteristics other than physical likeness
(You do not need to represent your face)
--Think about this photo as a jumping off point for your creativity and personal voice. Do not copy the photo directly. Take it further, develop a new idea.
--Thoughtfully use the elements of art (shape, line, color, value, texture..) and the principles of design (balance, movement, unity, space) to arrange and guide your artwork.
--Thoughtful composition- arrangement of imagery.
--Authenticity and personal voice!
--Execution: use the right ground (paper, canvas, board, etc,) and the right tools (paint, charcoal, cameras, lighting, etc.)
--Quality and practice: take the time and effort to fully develop your work.
MEDIA AND SIZE: Your choice of media. Minimum size 9X12".
Fine Art Portrait Resources:
How to Draw a realistic Portrait
More Portrait techniques on the Fine Art Techniques Tab
Digital Art Portrait Resources:
Digital Painting Portraits:
50 Breathtaking Digital Portrait Examples
35 Digital Painting Portrait Tutorials
Realistic Digital Painting Portrait Tutorial
Typographic Portraits:
Typographic Portraits by Peter Strain
Double Exposure Portraits:
-Double Exposure Techniques
Double Exposure - Antonio Mora
Double Exposure article/examples
Aneta Ivanova
"Blendscapes" examples
-Double Exposure Tutorials:
link 1
link 2
link 3
Surreal Portraiture:
Erik Johansson Website
-Erik Johansson Video
"Animeyed" Photography Series by Flora Borsi


Portraits - Photography Options
Photographers: Choose from several options below to create a series of 12 photographs.
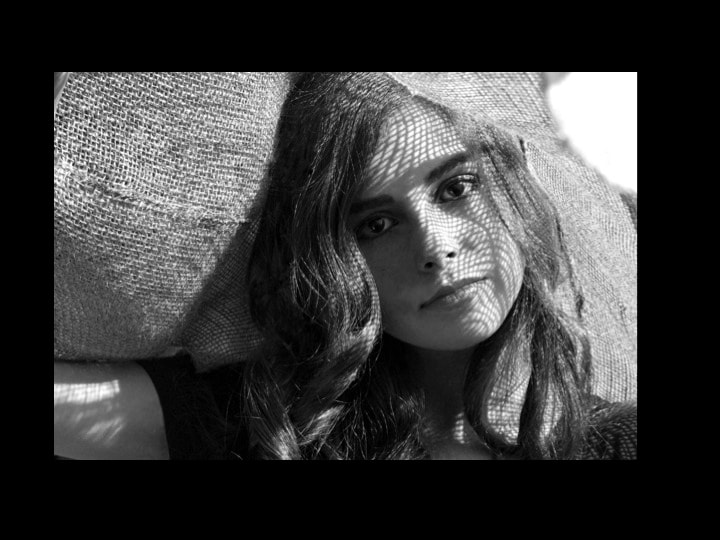
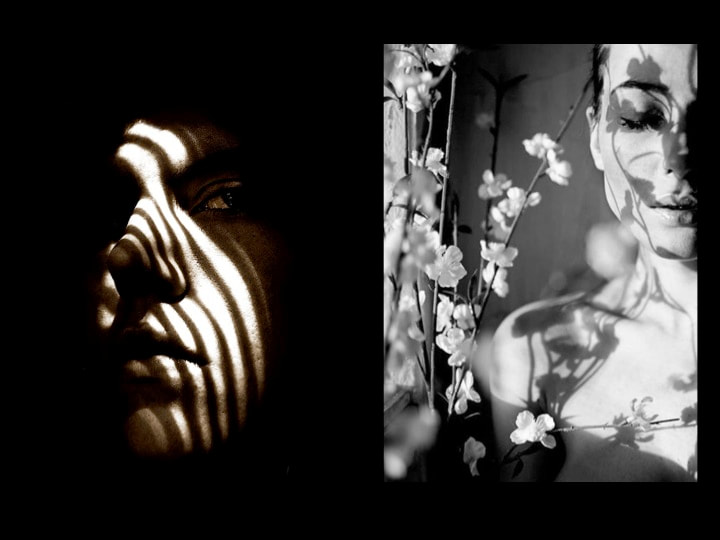
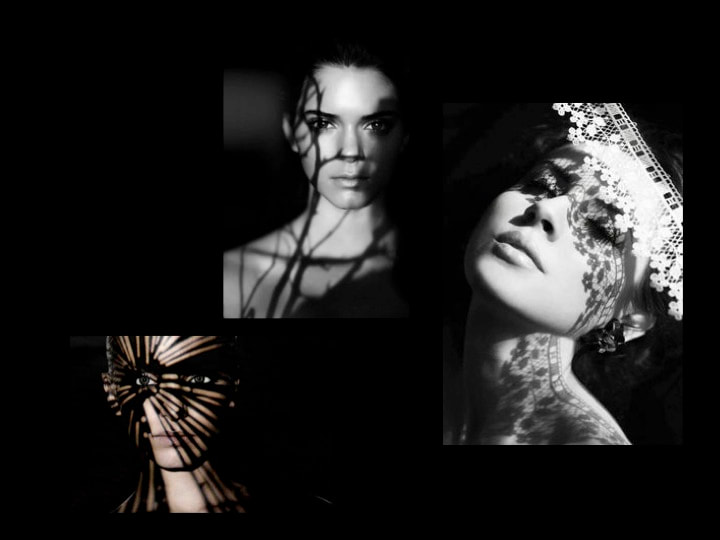
1) Shadows on faces. Play with light and shadow and how shadows fall onto the subject. Shoot outdoor and use organic objects that cast shadows. Shoot indoors and use things lie window blinds to cast geometric shadows on the subject. Experiment with unusual light sources. Emphasize contrast. Remember the background needs to be purposeful.
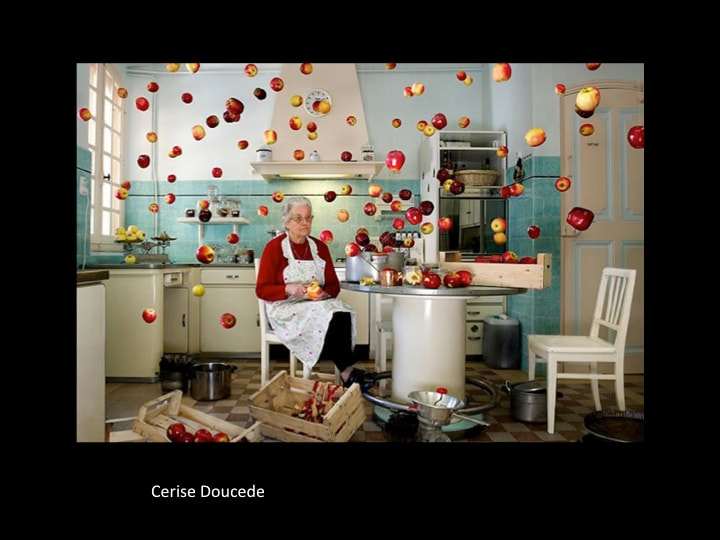
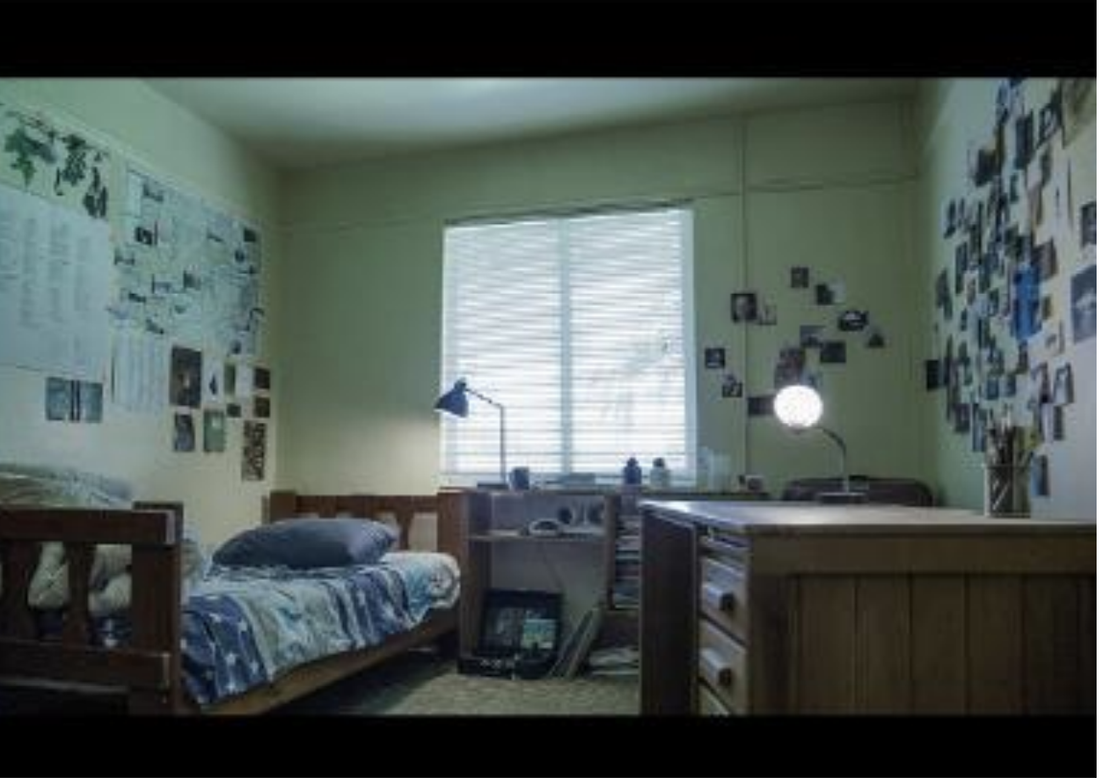
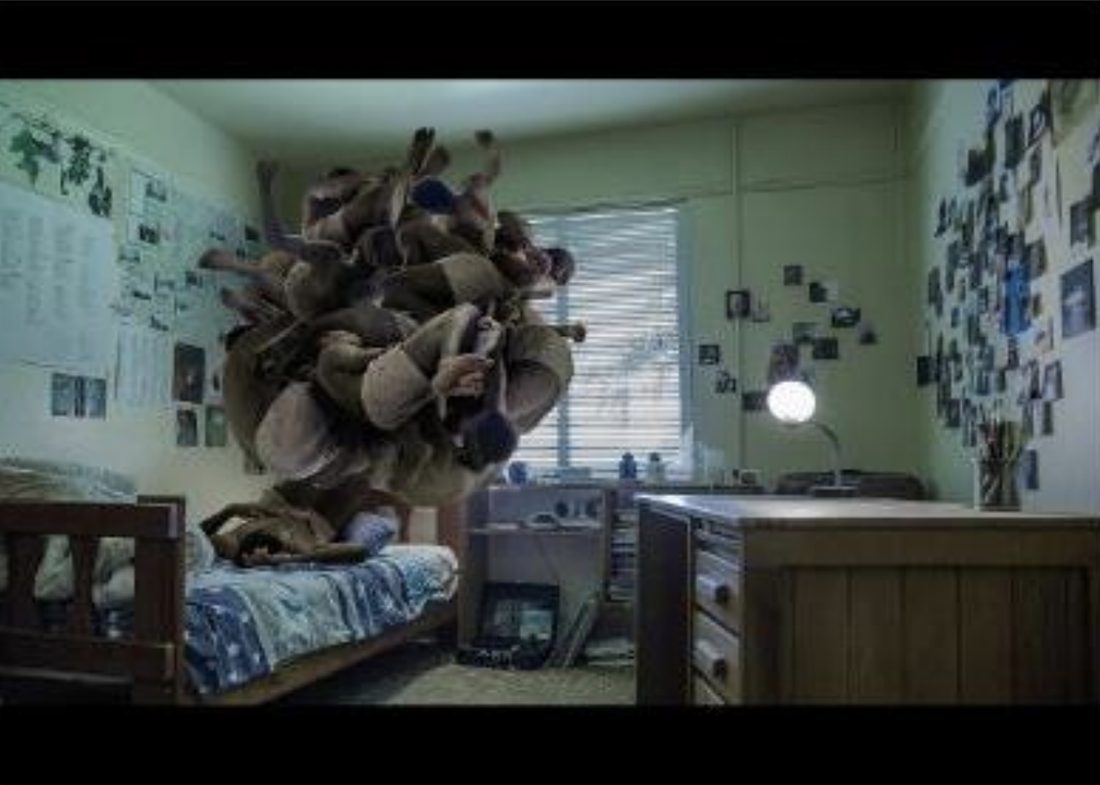
2) Levitation Portraiture
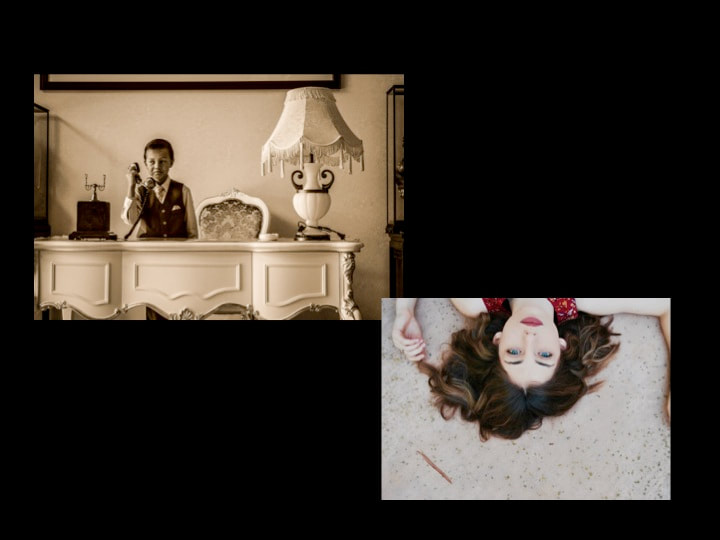
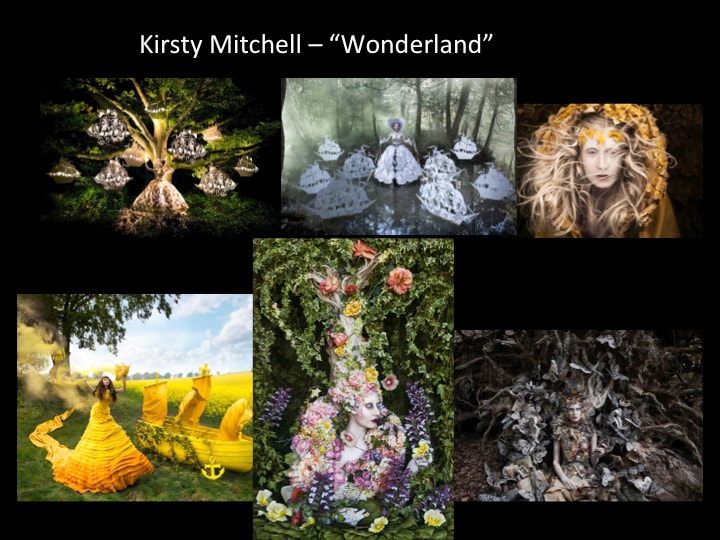
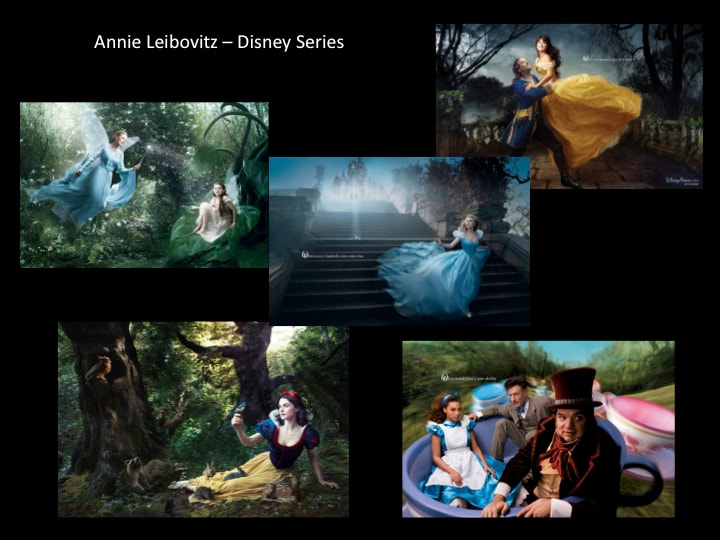
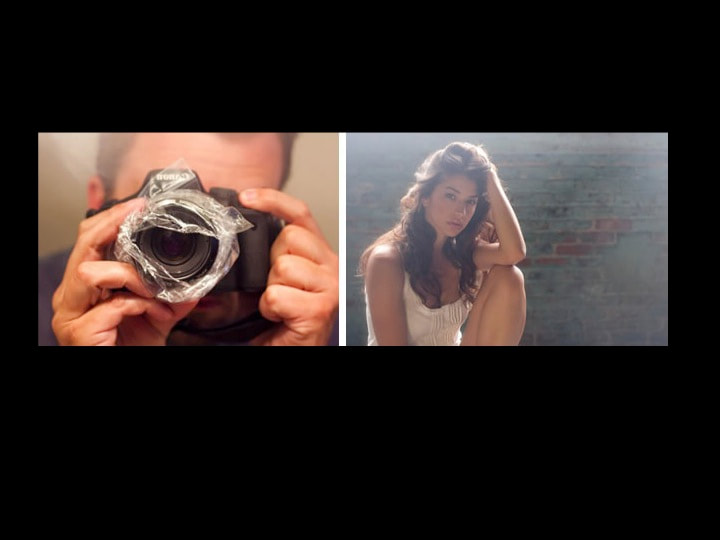
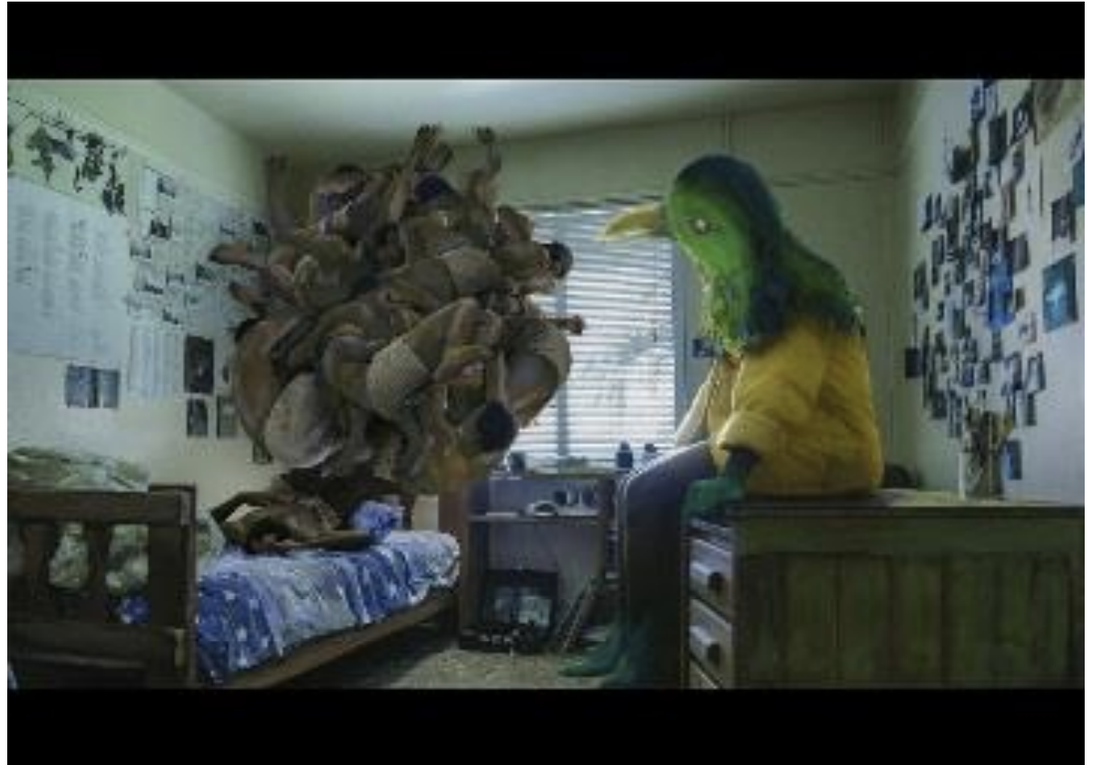
3) Staged Portraits: Create dramatic and unique photographs with high concept and a theme. Research Annie Liebovitz’s Disney series, Kirsty Mitchell’s “Wonderland”,
Tim Mantoani’s “Water Wig” series for inspiration.
4) Action portrait: have a friend or family member pose for you doing some sort of movement (jump roping, walking, riding a bike, walking down stairs, etc.). Capture the entire sequence of their action in one piece of artwork. How will you portray movement in your work? Look at “Nude Descending a
Staircase” by Dada artists Marcel Duchamp, as well as the work of Futurist artists Giacomo Balla or F.T. Marinetti. Check out the photographic motion studies by Muybridge.
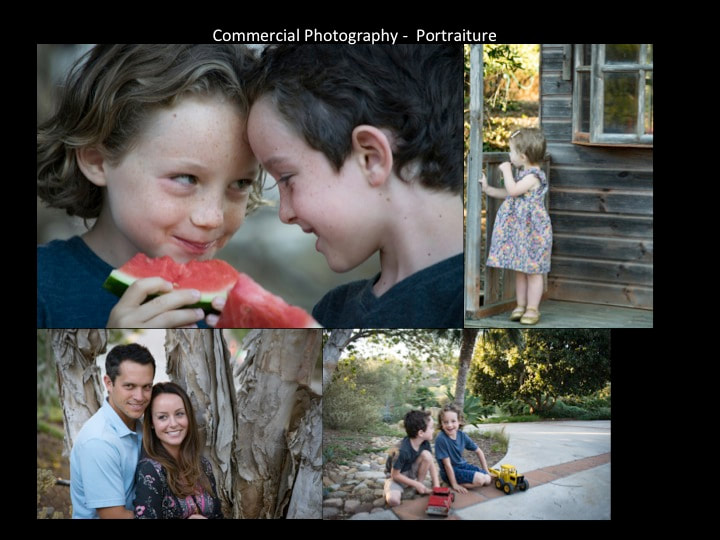
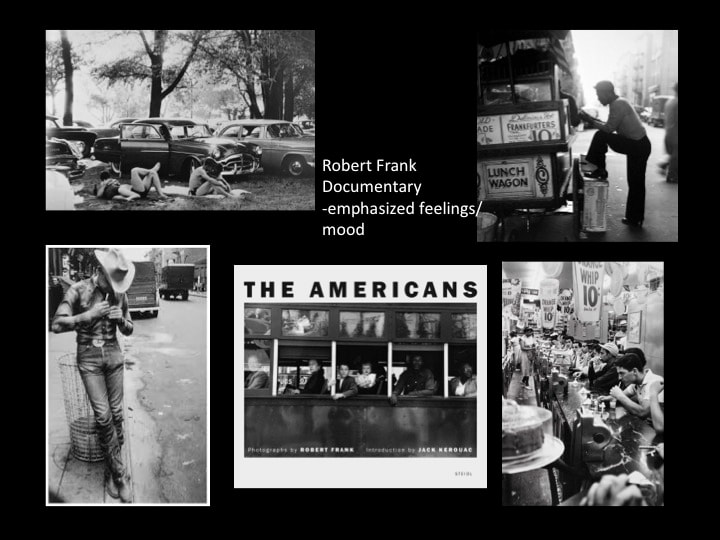
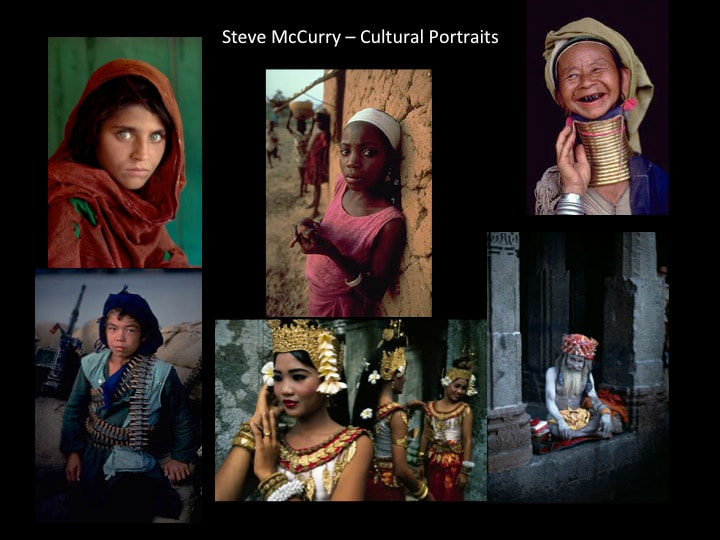
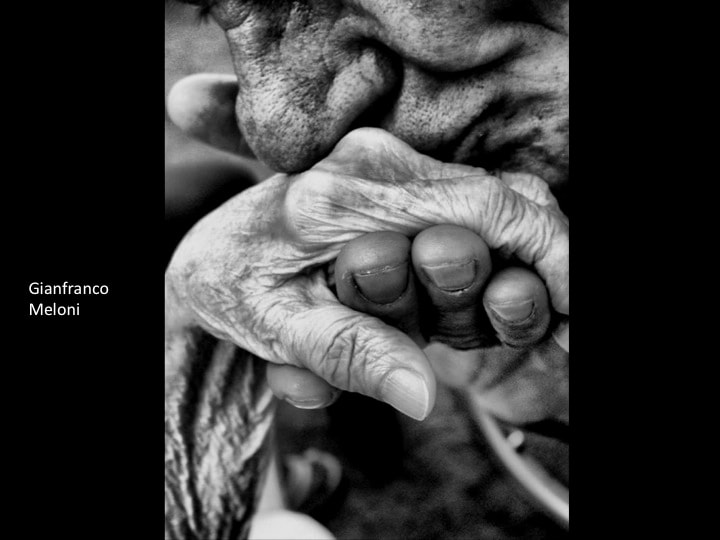
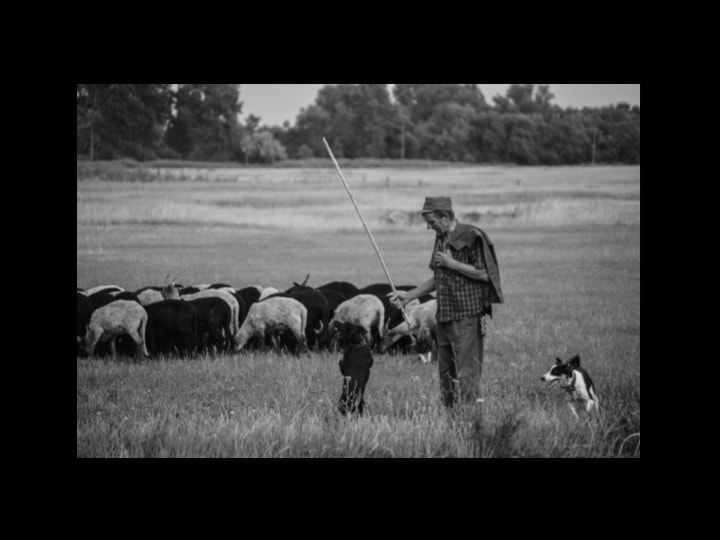
5) Photography: Take a series of portraits that reveal something unique about each portrait subject through composition, space, environment, facial expression, and body language. Use black and white or color. Refer to Steve McCurry, Annie Liebovitz, Cindy Sherman, and other portrait photographers for inspiration.
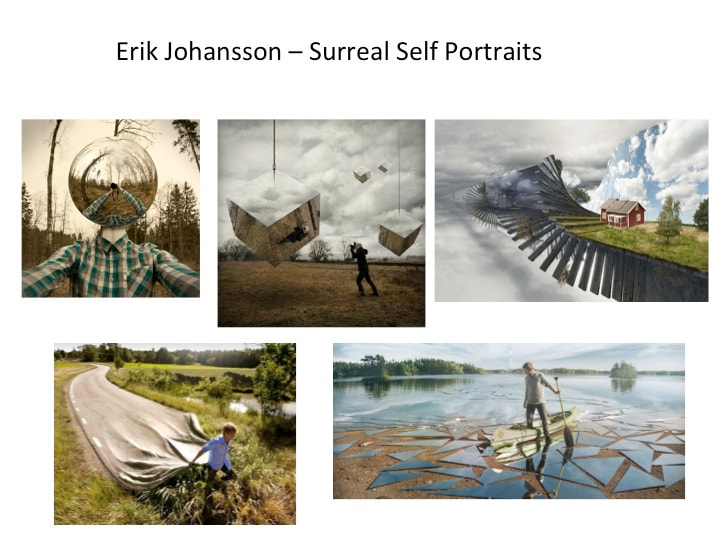
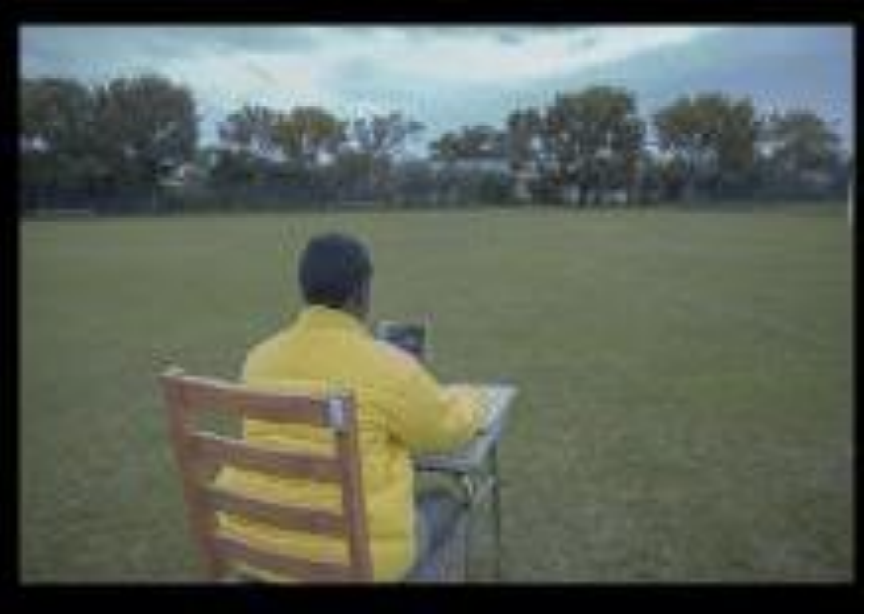
6) Surreal Self Portraits – Combine realistic setting with dream-like elements with straight photography (props and actions) or with Photoshop. See the works of Erik Johansson for inspiration.
7) Projected Images: Project interesting images onto people and faces than photograph them.
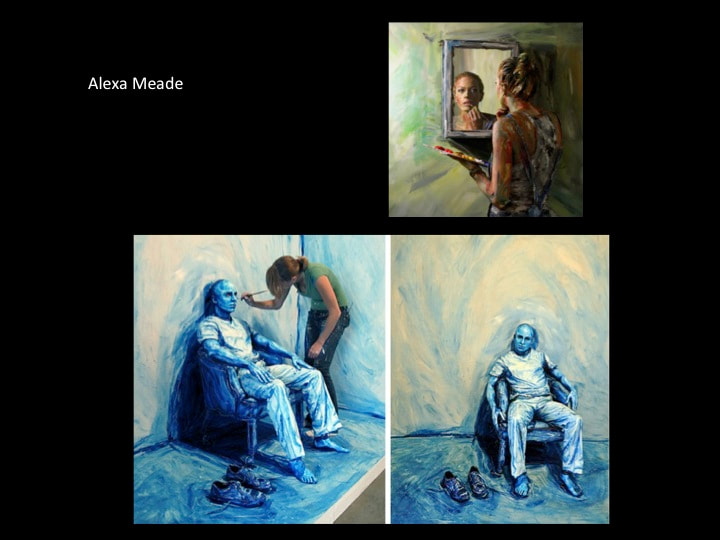
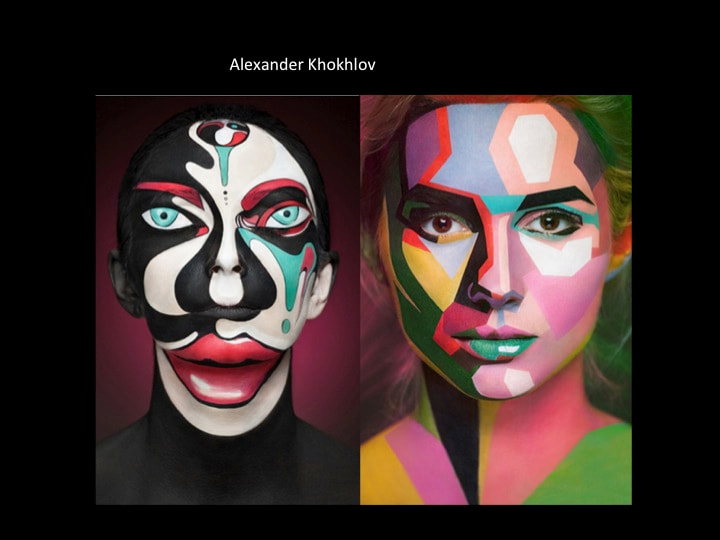
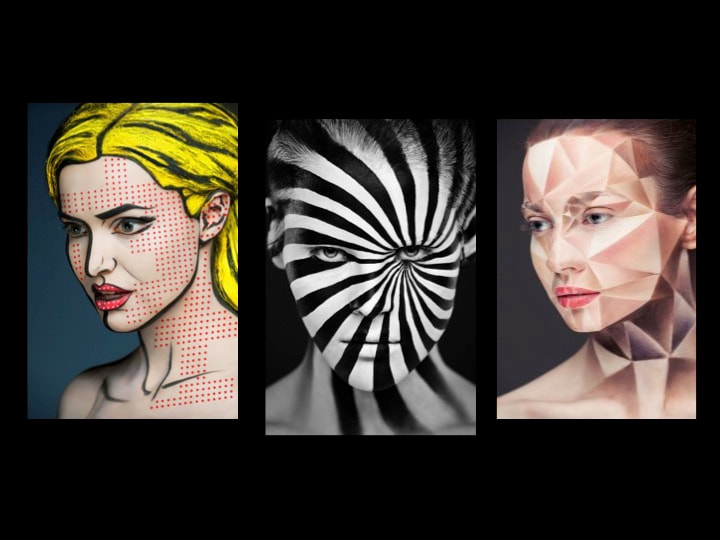
8) Painted Portrait Photography: Paint your subject and photograph them. See the photographs of Alexander Khokhlov and Alexa Meade for inspiration.
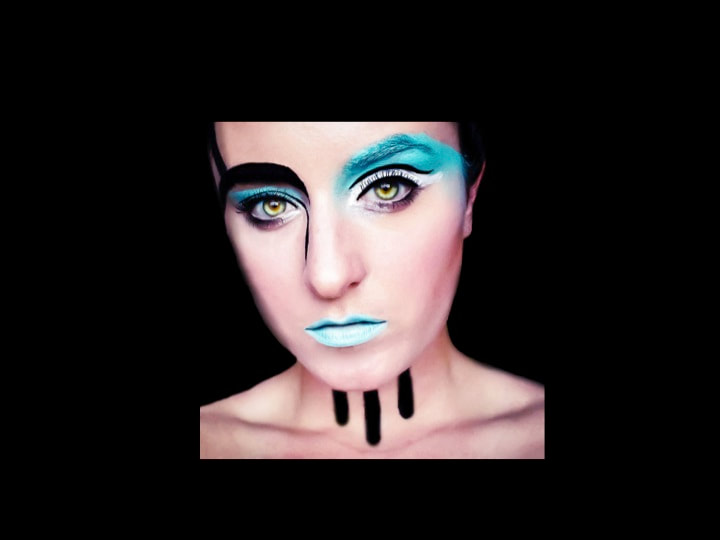
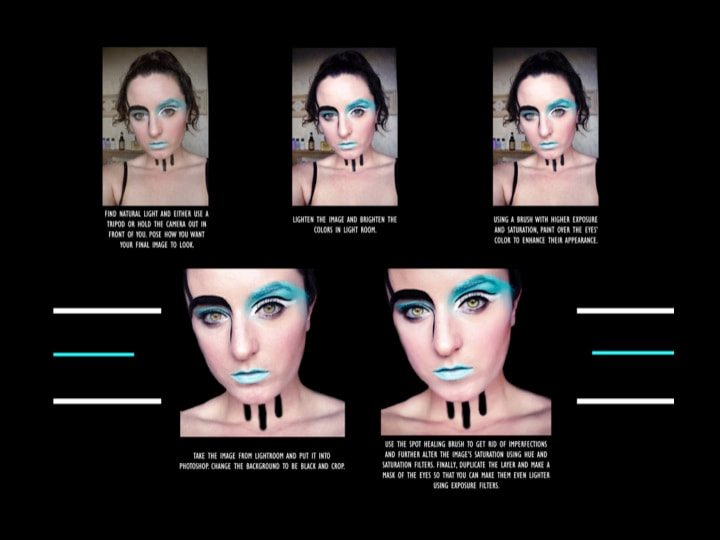
9) High Key Portraits: Create dramatic, futuristic portraits in high key. Use studio lighting and white backdrops or experiment with color.
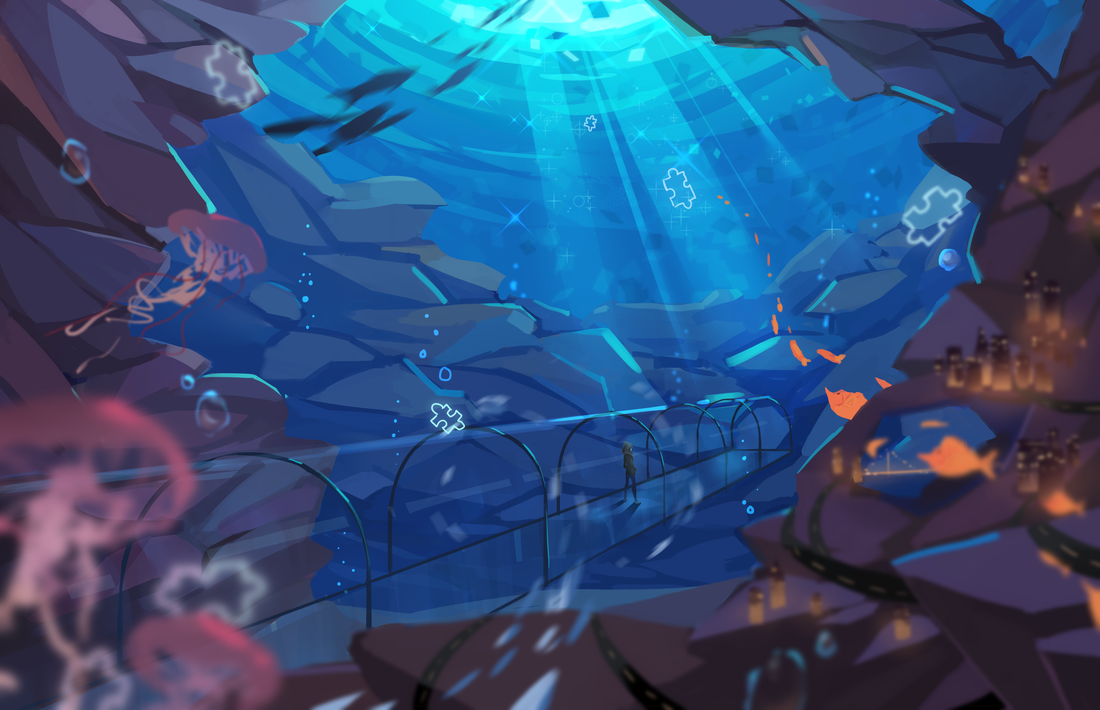
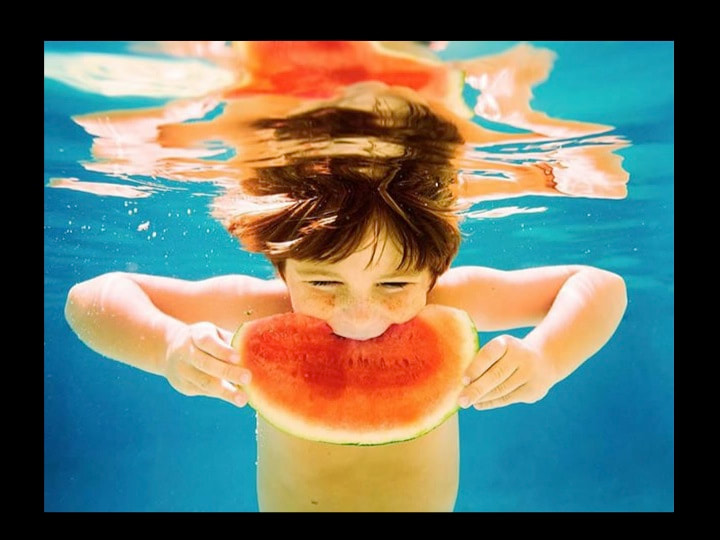
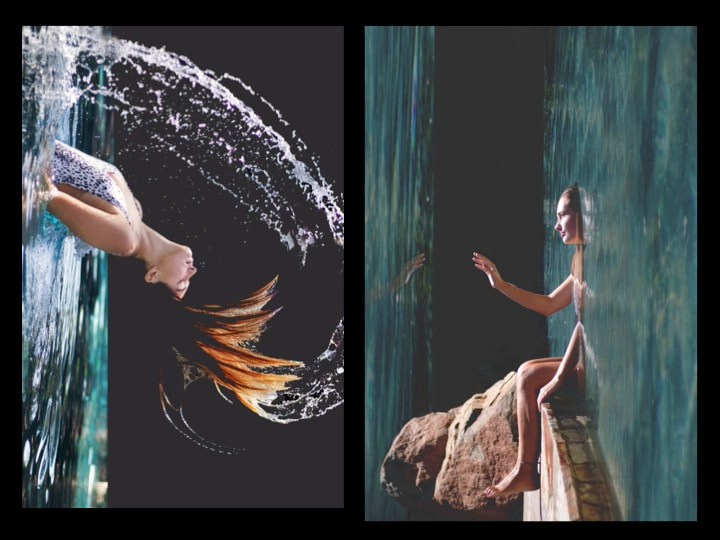
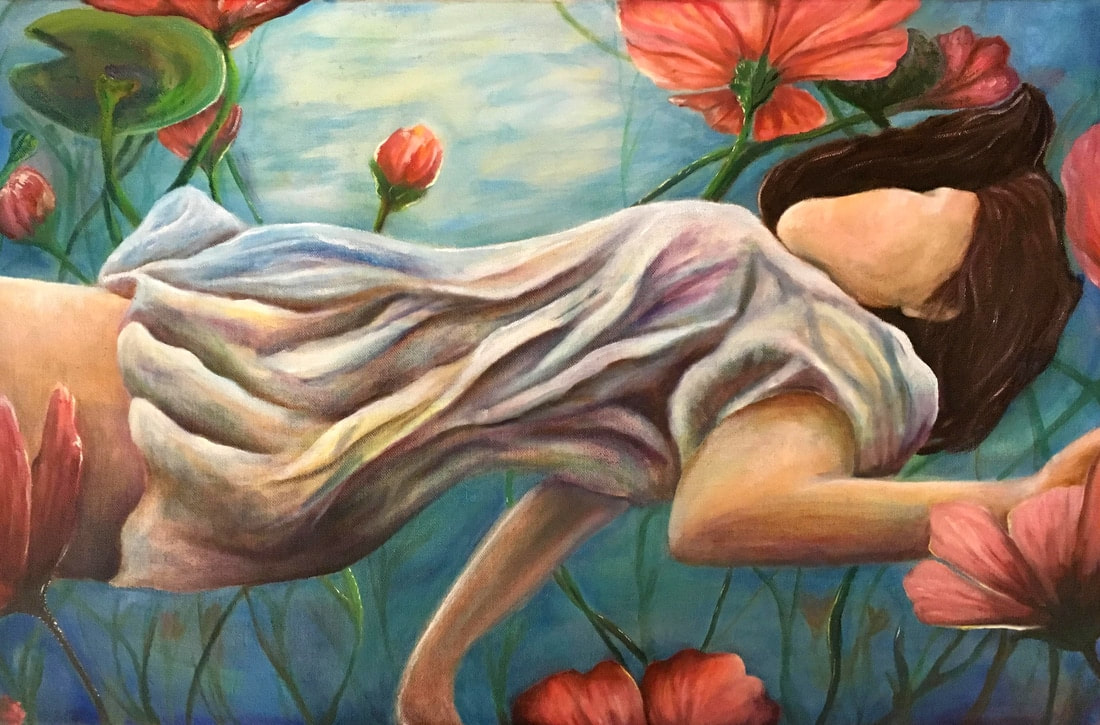
10) Underwater Portraits: Stage scenes underwater.
11) Self Portraits: (use the self timer). Demonstrate your ability to create a self portrait that goes beyond the literal “this is a picture of me” and into the realm of self portrait as signature, projection, self-study, or fantasy. Self portrait as signature would be a recognizable image of you (or a part of you) as you really are, but photographed in a way that gives the audience some insight into the deeper parts of you (who you really are).
A) Self portrait as projection gives you the opportunity to place yourself in whatever context you desire. It could be an idealization of who you are or an opportunity for you to be someone else.
B) Self portrait as self-study is a physical and/or mental probe into who you are. It could be a letting-go of pent-up emotions and is often abstract.
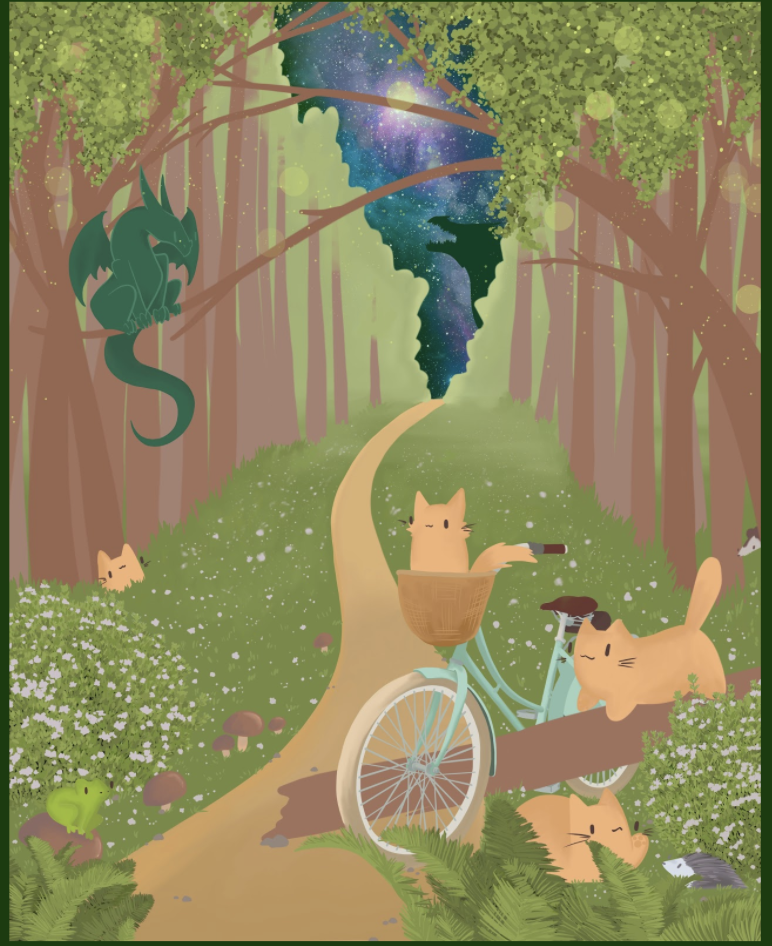
C) Self portrait as fantasy is the creation of another place or world, whether you appear in it at all, it is still a self portrait. It is an insight into your mind... into what is fantastic to you as an artist.
A self portrait can be you, a part of you, an abstraction of you, a metaphor for you, something you see yourself as, something you identify with.
Research the self-portraits of photographers such as Lee Friedlander, Cindy Sherman, Man Ray, and Martin Fuchs as inspiration. All the photographs that you use must be your own original work! Remember that this is a SELF portrait; you must set up and take all your own photographs (a tripod and your camera's timer can be very helpful.)
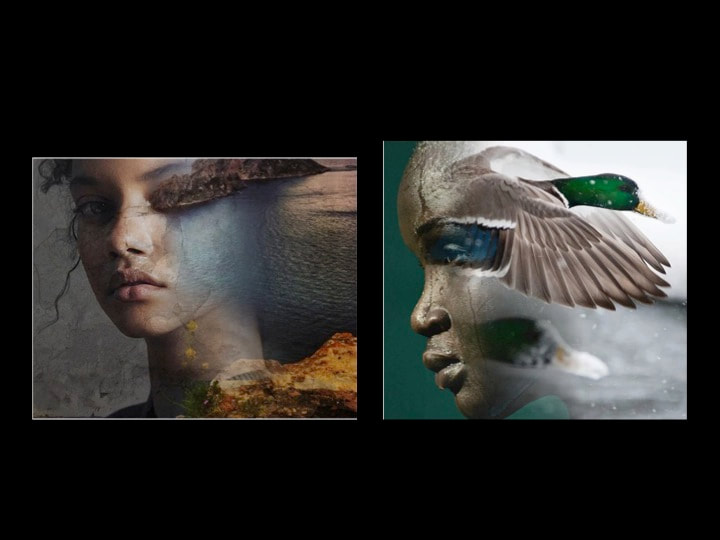
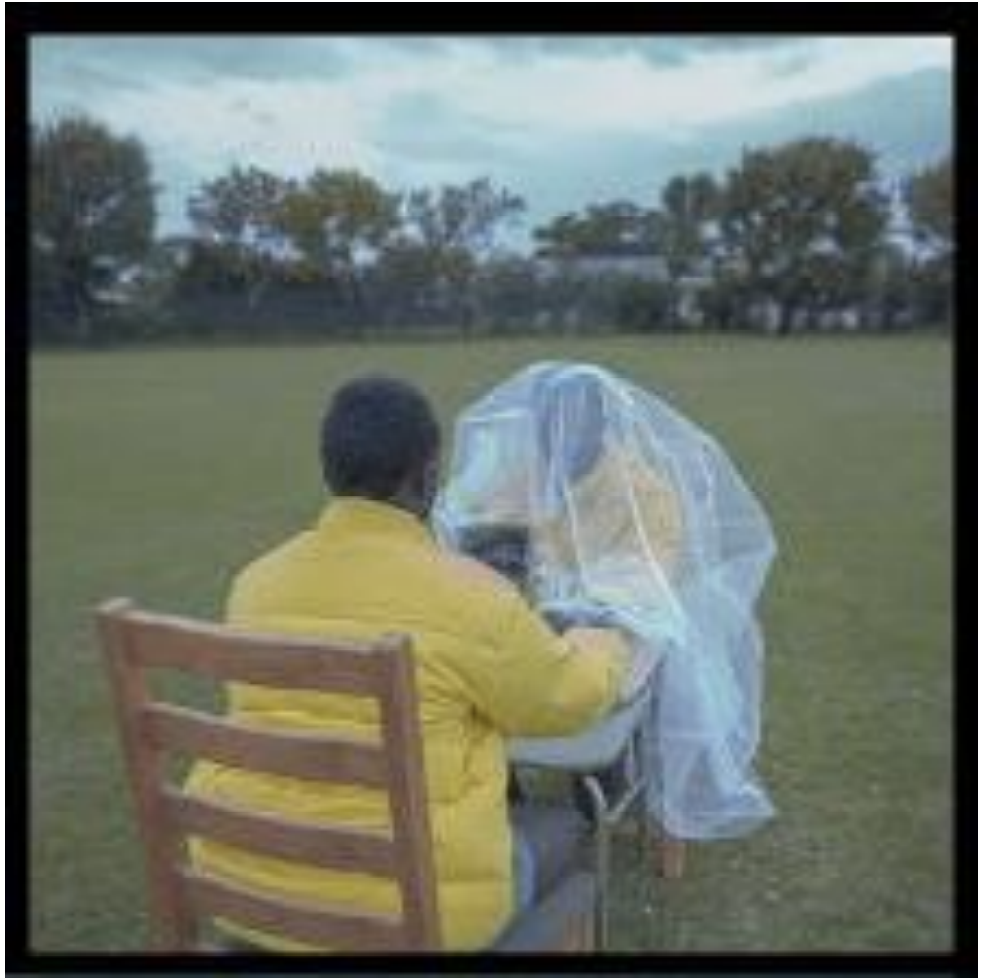
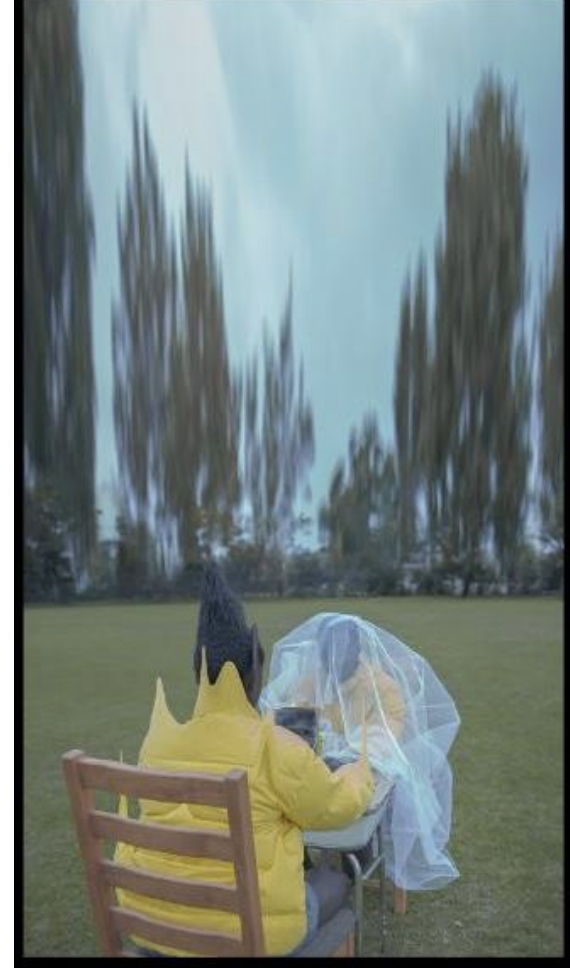
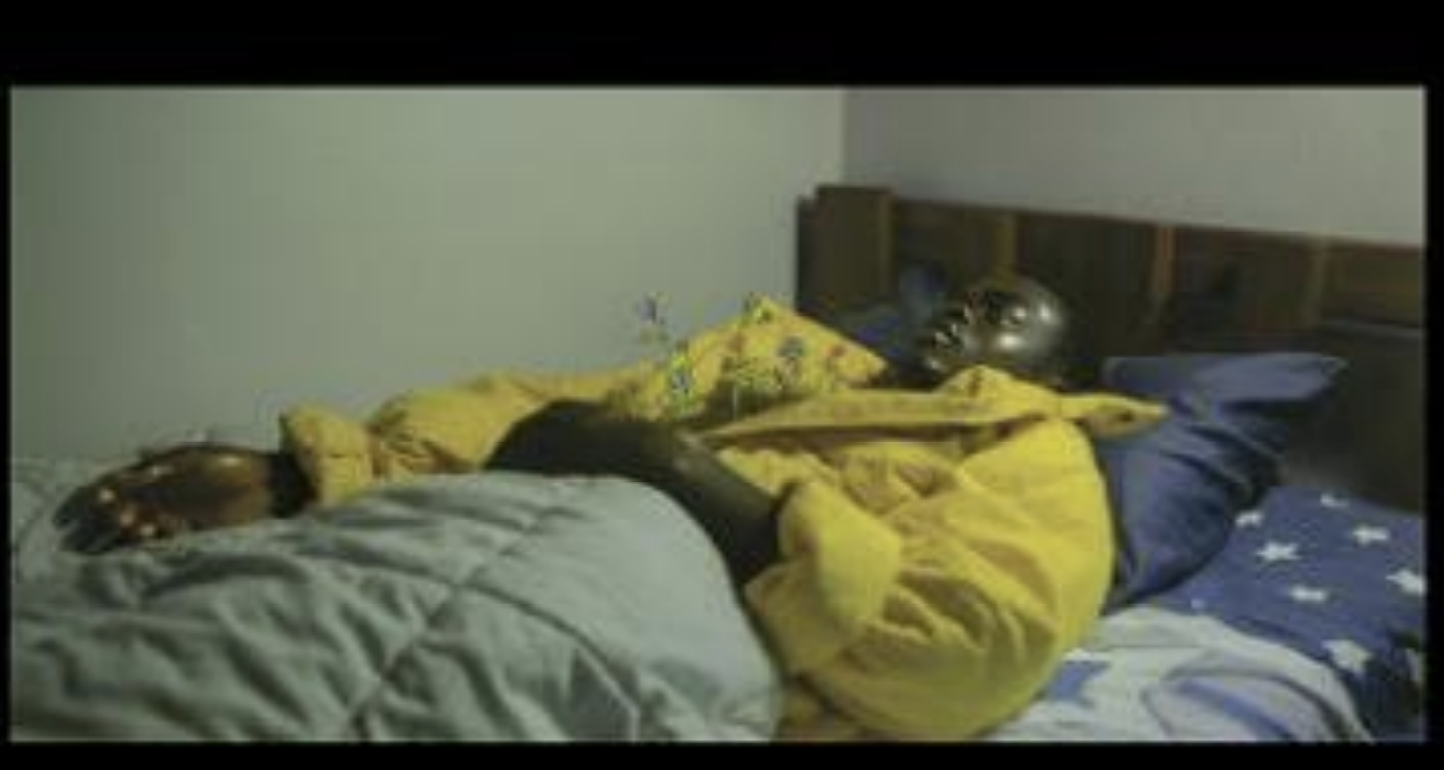
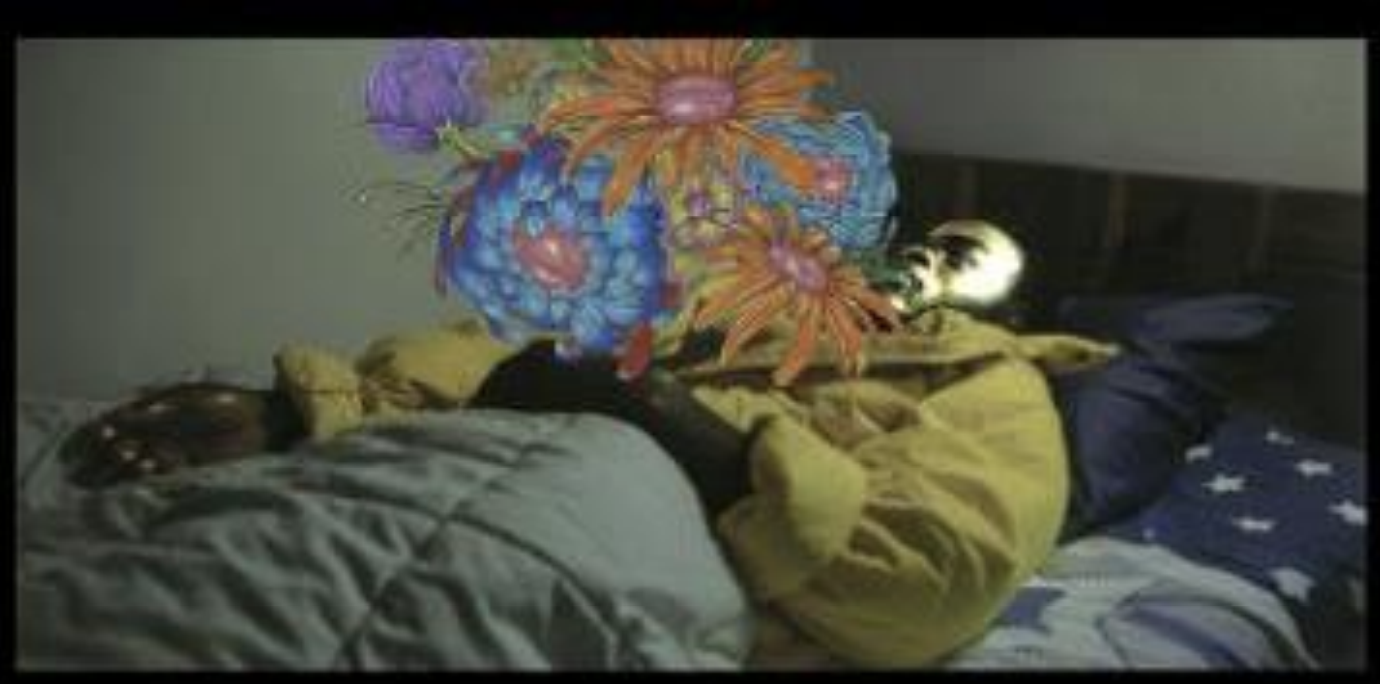
12) Double Exposure Portraits: Overlay an image over the portrait. Landscapes, cityscapes, animals, birds, beach scenes, etc. This trend in photography began as an accident that occurred with film cameras when the photographer forgot to forward the camera to the next exposure after their previous shot and 2 images were exposed onto the same frame. Now you can create this effect in Photoshop.
Requirements:
1) Shadows on faces. Play with light and shadow and how shadows fall onto the subject. Shoot outdoor and use organic objects that cast shadows. Shoot indoors and use things lie window blinds to cast geometric shadows on the subject. Experiment with unusual light sources. Emphasize contrast. Remember the background needs to be purposeful.
2) Levitation Portraiture
3) Staged Portraits: Create dramatic and unique photographs with high concept and a theme. Research Annie Liebovitz’s Disney series, Kirsty Mitchell’s “Wonderland”,
Tim Mantoani’s “Water Wig” series for inspiration.
4) Action portrait: have a friend or family member pose for you doing some sort of movement (jump roping, walking, riding a bike, walking down stairs, etc.). Capture the entire sequence of their action in one piece of artwork. How will you portray movement in your work? Look at “Nude Descending a
Staircase” by Dada artists Marcel Duchamp, as well as the work of Futurist artists Giacomo Balla or F.T. Marinetti. Check out the photographic motion studies by Muybridge.
5) Photography: Take a series of portraits that reveal something unique about each portrait subject through composition, space, environment, facial expression, and body language. Use black and white or color. Refer to Steve McCurry, Annie Liebovitz, Cindy Sherman, and other portrait photographers for inspiration.
6) Surreal Self Portraits – Combine realistic setting with dream-like elements with straight photography (props and actions) or with Photoshop. See the works of Erik Johansson for inspiration.
7) Projected Images: Project interesting images onto people and faces than photograph them.
8) Painted Portrait Photography: Paint your subject and photograph them. See the photographs of Alexander Khokhlov and Alexa Meade for inspiration.
9) High Key Portraits: Create dramatic, futuristic portraits in high key. Use studio lighting and white backdrops or experiment with color.
10) Underwater Portraits: Stage scenes underwater.
11) Self Portraits: (use the self timer). Demonstrate your ability to create a self portrait that goes beyond the literal “this is a picture of me” and into the realm of self portrait as signature, projection, self-study, or fantasy. Self portrait as signature would be a recognizable image of you (or a part of you) as you really are, but photographed in a way that gives the audience some insight into the deeper parts of you (who you really are).
A) Self portrait as projection gives you the opportunity to place yourself in whatever context you desire. It could be an idealization of who you are or an opportunity for you to be someone else.
B) Self portrait as self-study is a physical and/or mental probe into who you are. It could be a letting-go of pent-up emotions and is often abstract.
C) Self portrait as fantasy is the creation of another place or world, whether you appear in it at all, it is still a self portrait. It is an insight into your mind... into what is fantastic to you as an artist.
A self portrait can be you, a part of you, an abstraction of you, a metaphor for you, something you see yourself as, something you identify with.
Research the self-portraits of photographers such as Lee Friedlander, Cindy Sherman, Man Ray, and Martin Fuchs as inspiration. All the photographs that you use must be your own original work! Remember that this is a SELF portrait; you must set up and take all your own photographs (a tripod and your camera's timer can be very helpful.)
12) Double Exposure Portraits: Overlay an image over the portrait. Landscapes, cityscapes, animals, birds, beach scenes, etc. This trend in photography began as an accident that occurred with film cameras when the photographer forgot to forward the camera to the next exposure after their previous shot and 2 images were exposed onto the same frame. Now you can create this effect in Photoshop.
Requirements:
- Minimum 12 photos submitted
- Purposeful use of lighting
- Purposeful compositional choices
- Purposeful use of the elements od art & principles of design
- Personal artistic voice evident in choice of subject matter, camera techniques, and design elements.
Portrait Photography Resources:
Photography Portrait Examples
Underwater Portrait Photography:
Elena Kalis
Jenna Martin
Collection of Pinterest Examples
Getting Started with Underwater Photography Article
Stage Scene Portraits:
Cerise Doucede
Sandy Skoglund
Annie Liebovitz
Painted People & Photography:
Alexa Meade overview
Alexa Meade Profile and Her Artistic Process explained
Alexa Meade - TedTAlk
Alexander Kohklov
Double Exposure Portraits:
-Double Exposure Techniques
Double Exposure - Antonio Mora
Double Exposure article/examples
Aneta Ivanova
"Blendscapes" examples
-Double Exposure Tutorials:
link 1
link 2
link 3
Surreal Portraiture:
Erik Johansson Website
-Erik Johansson Video
"Animeyed" Photography Series by Flora Borsi
Studio Photography Portrait Lighting Patterns:
3 Point Studio Lighting Technique
-3 Point Studio Light Simulator
"6 Portrait Lighting Techniques"
Studio Lighting Examples & Diagrams
Portrait Photography Examples

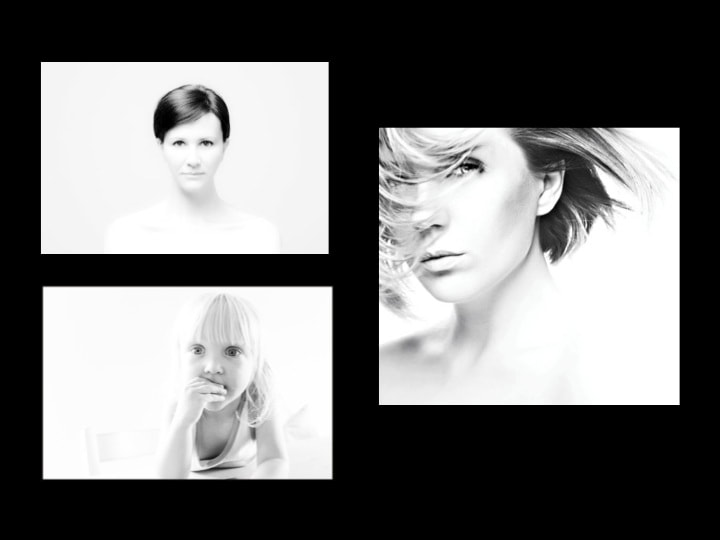

Student Portraits


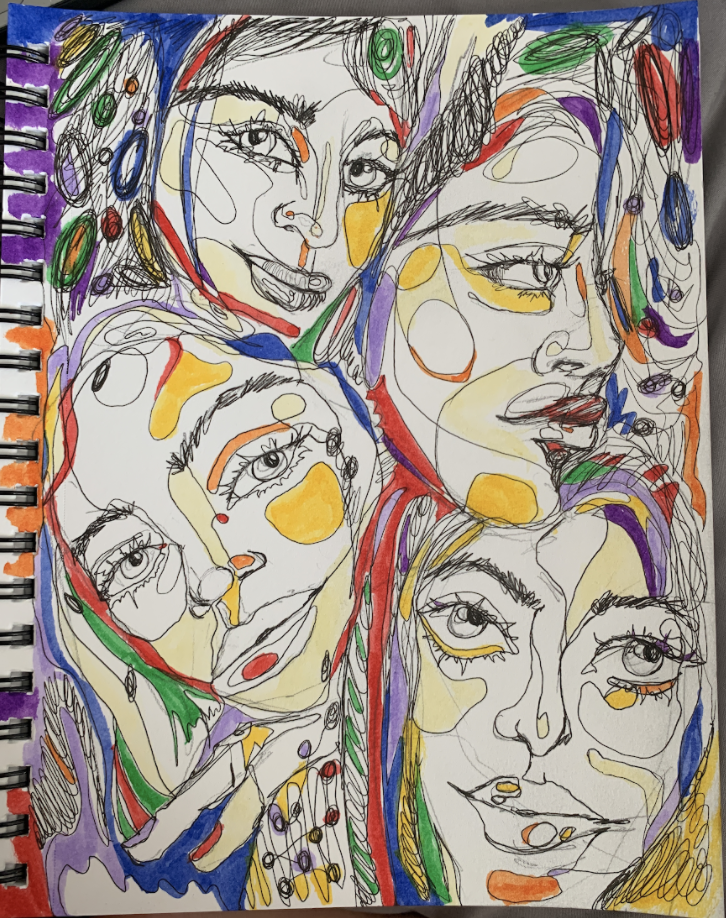
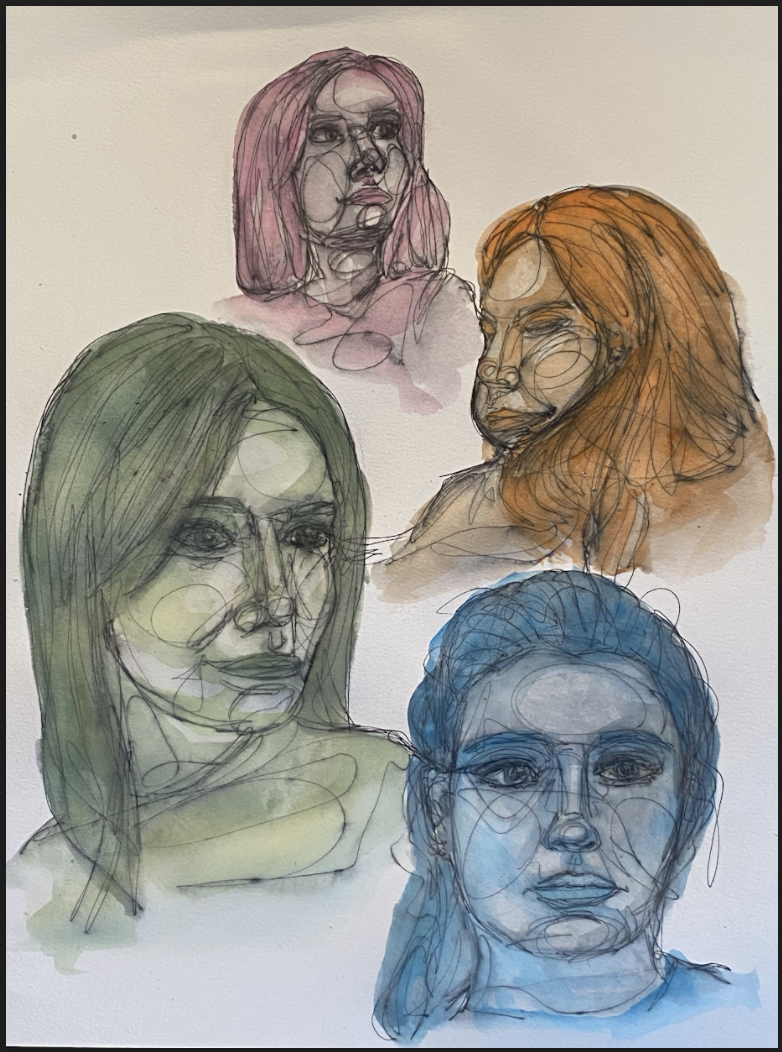
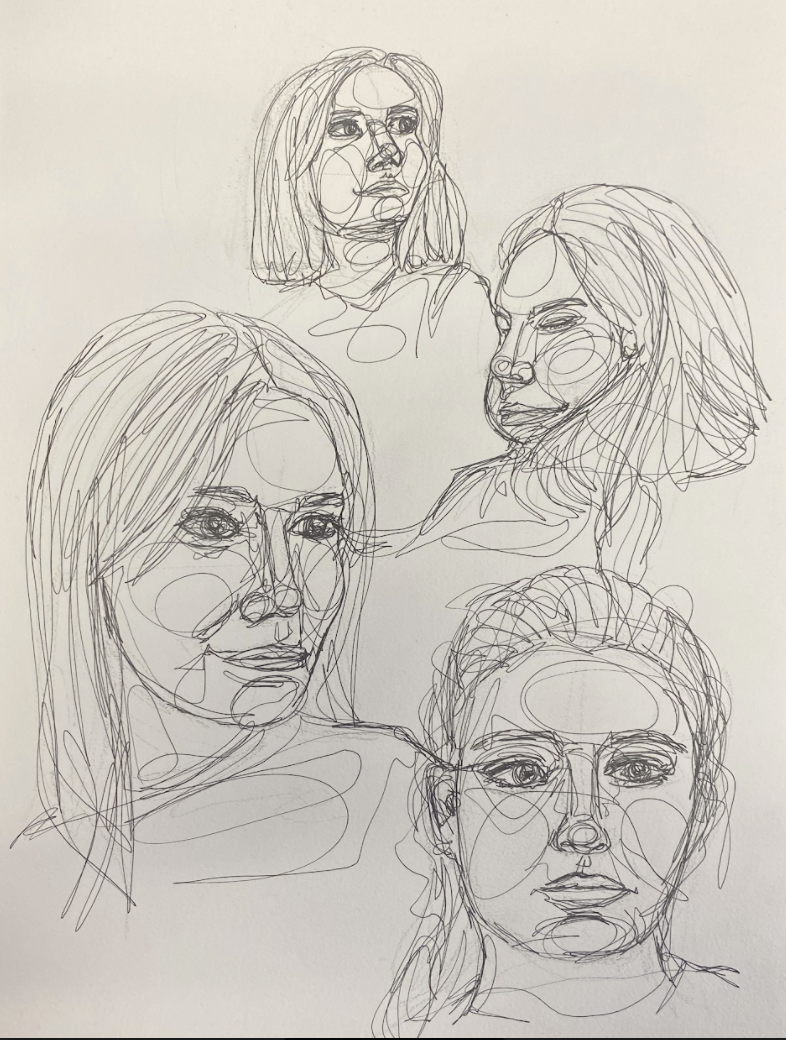
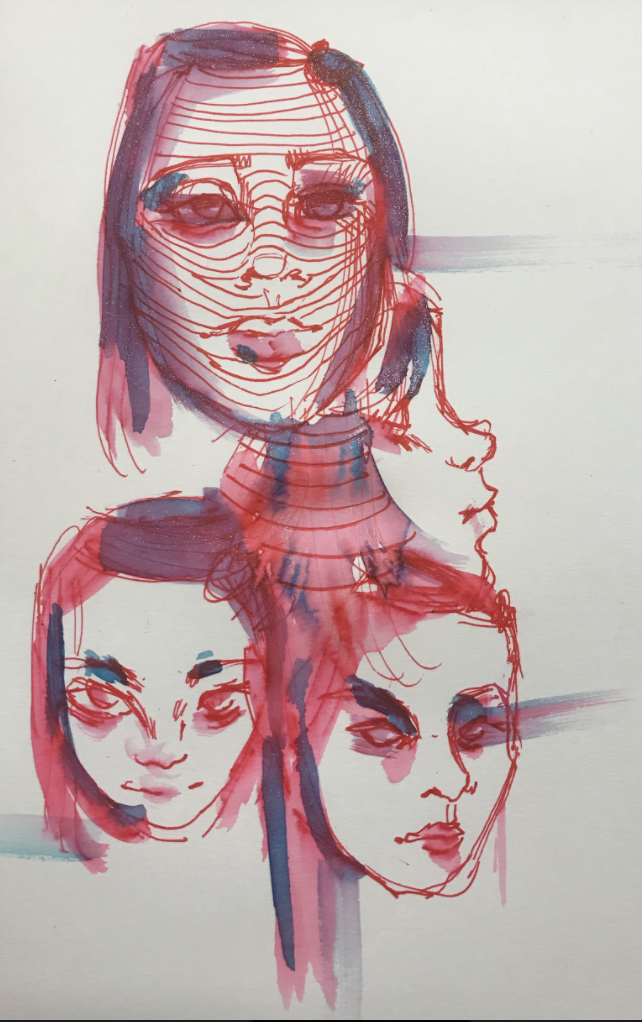
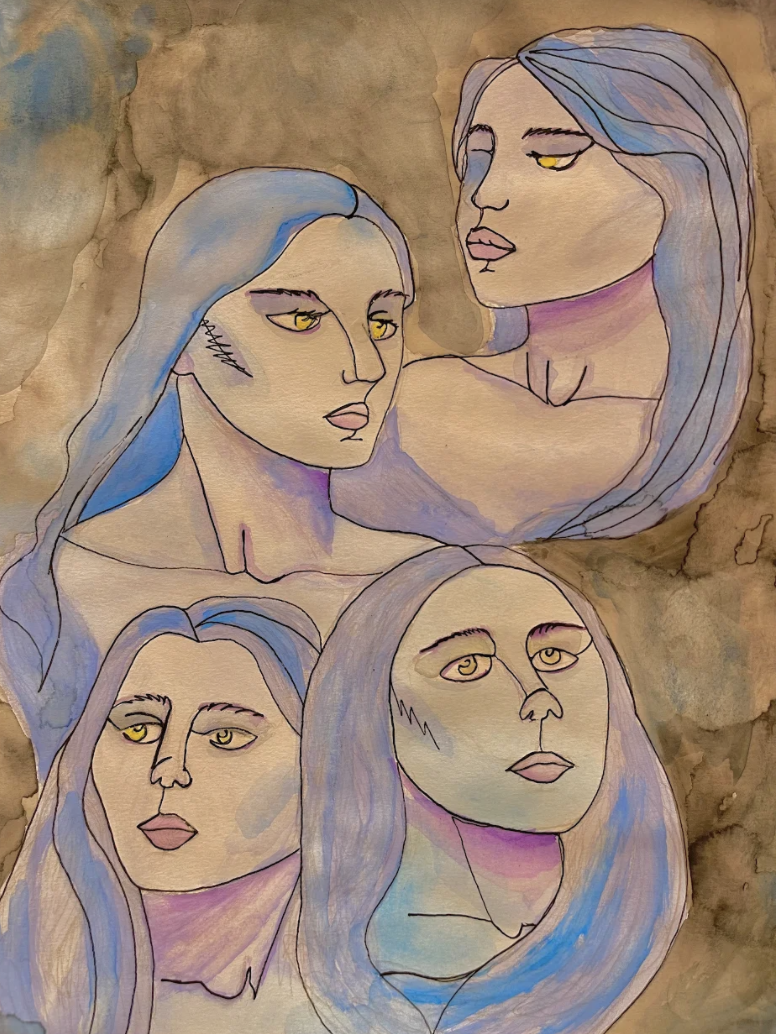
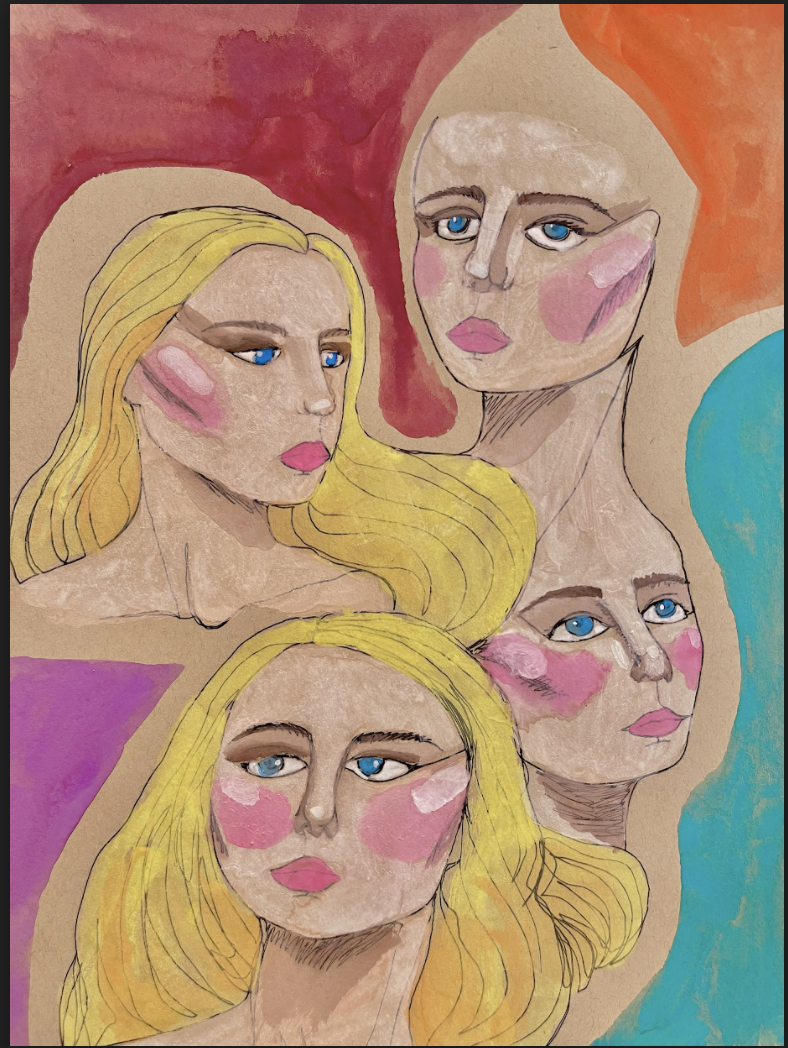
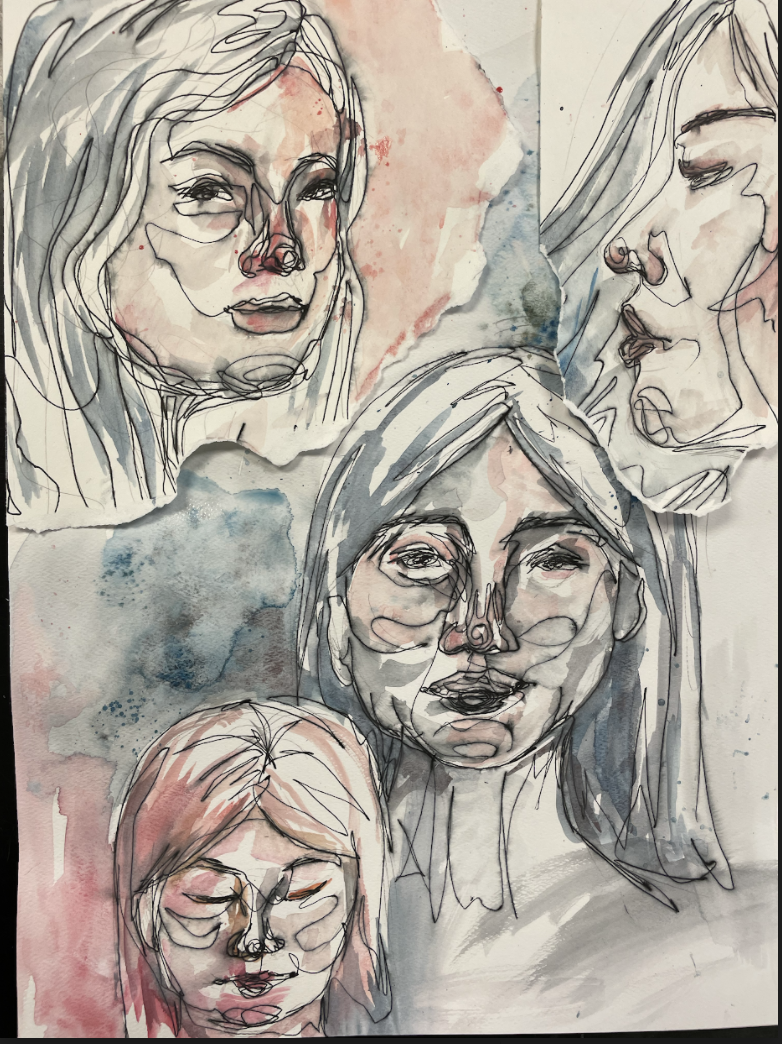
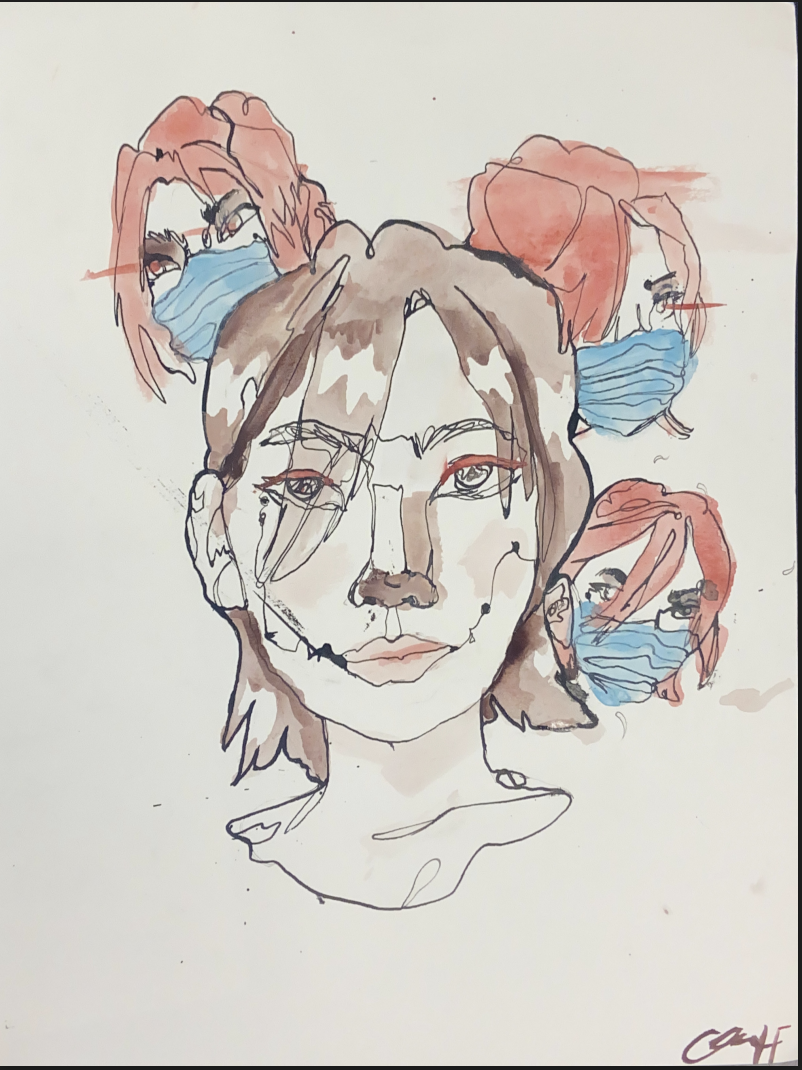
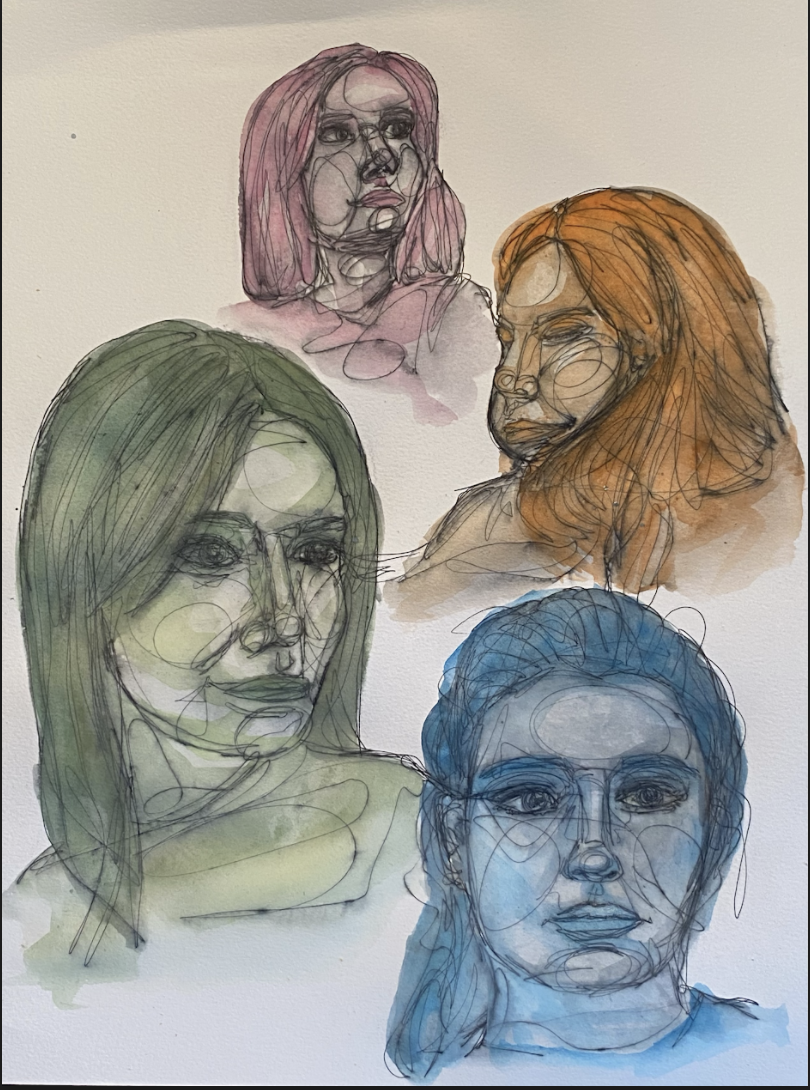
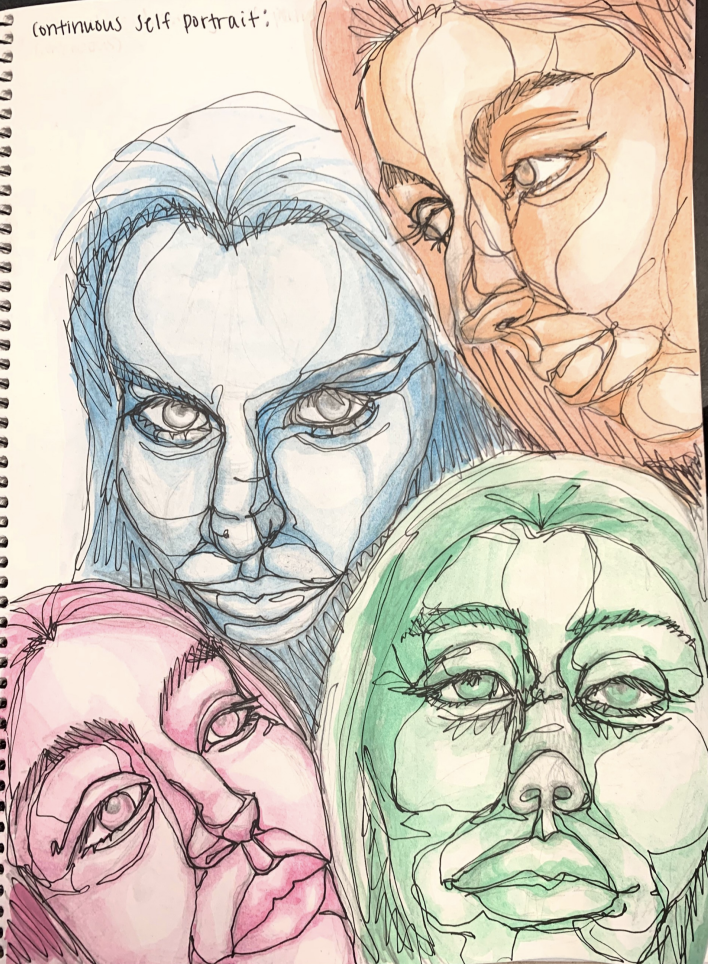
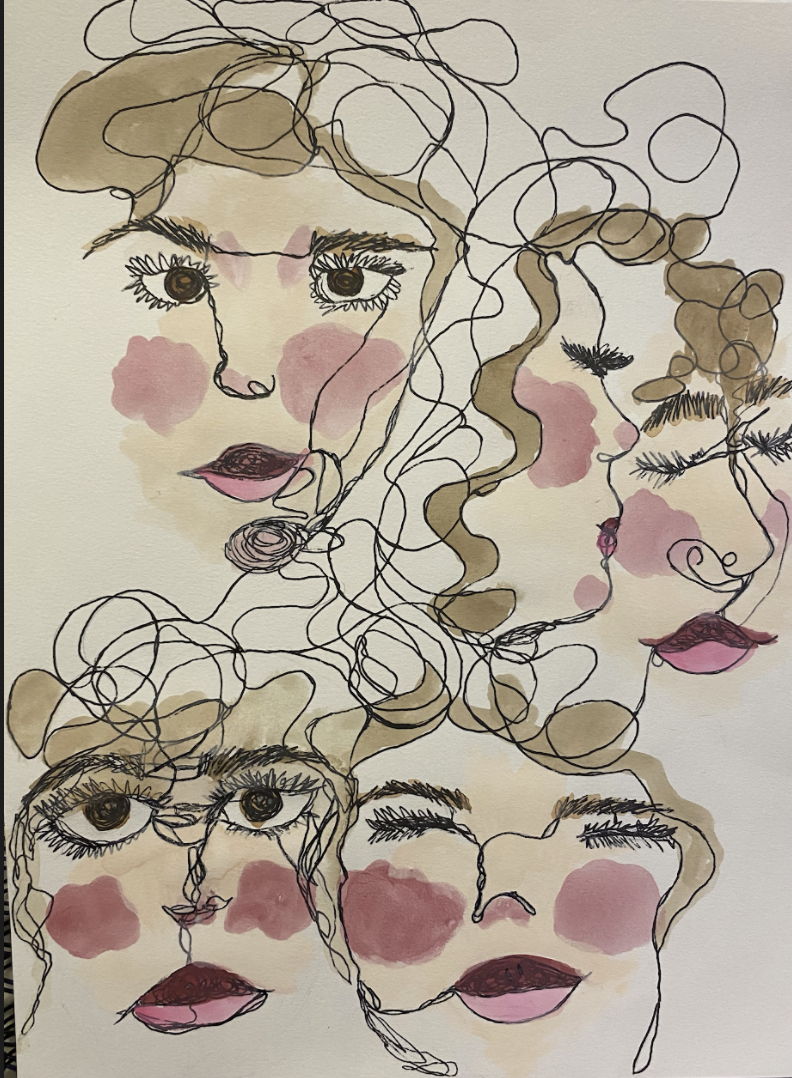
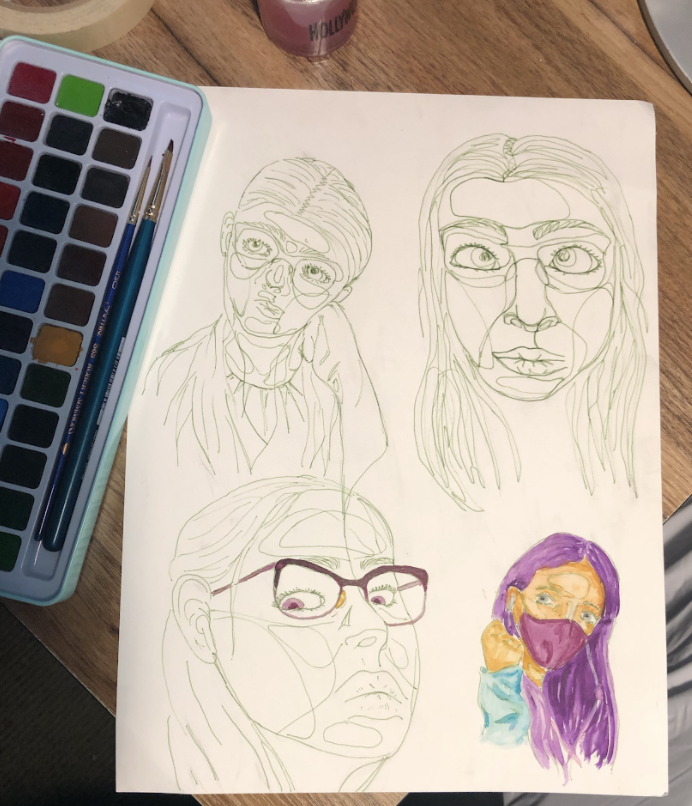
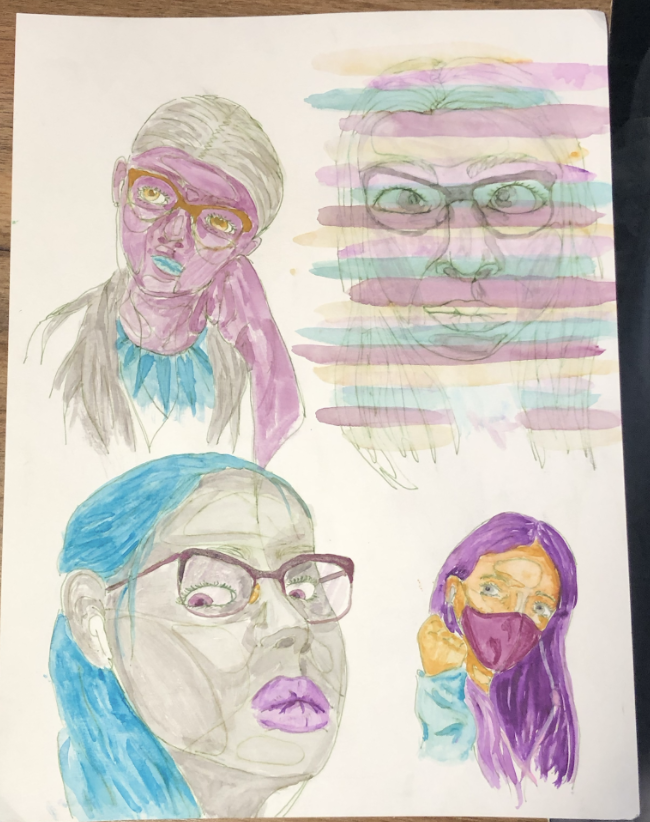
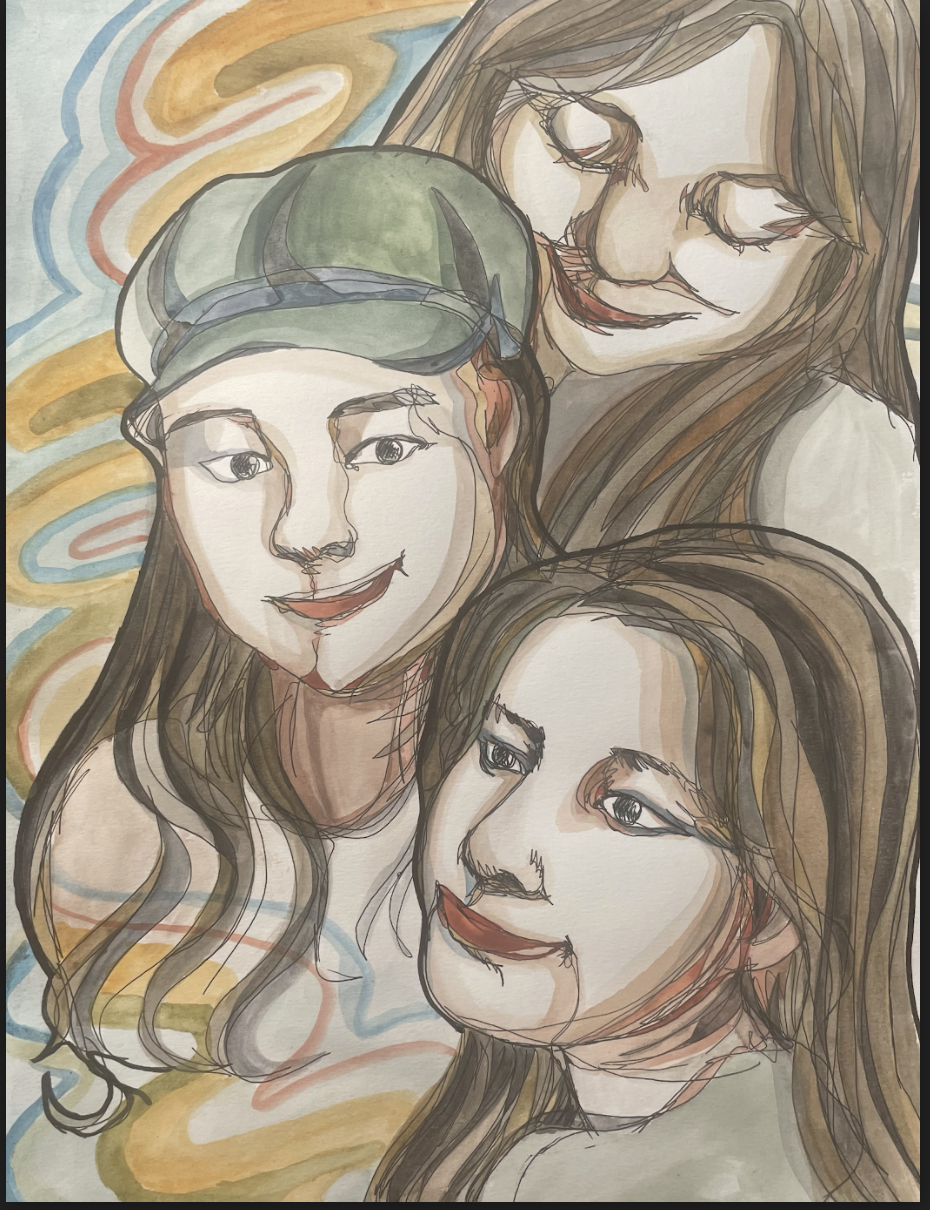
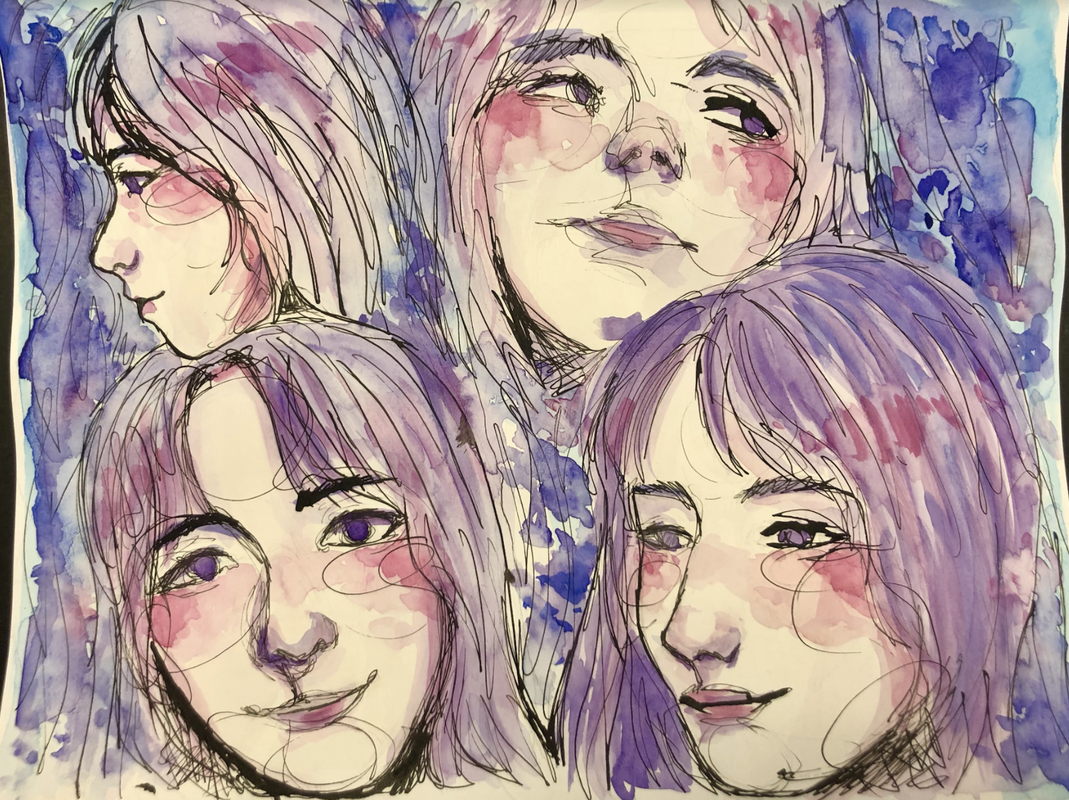
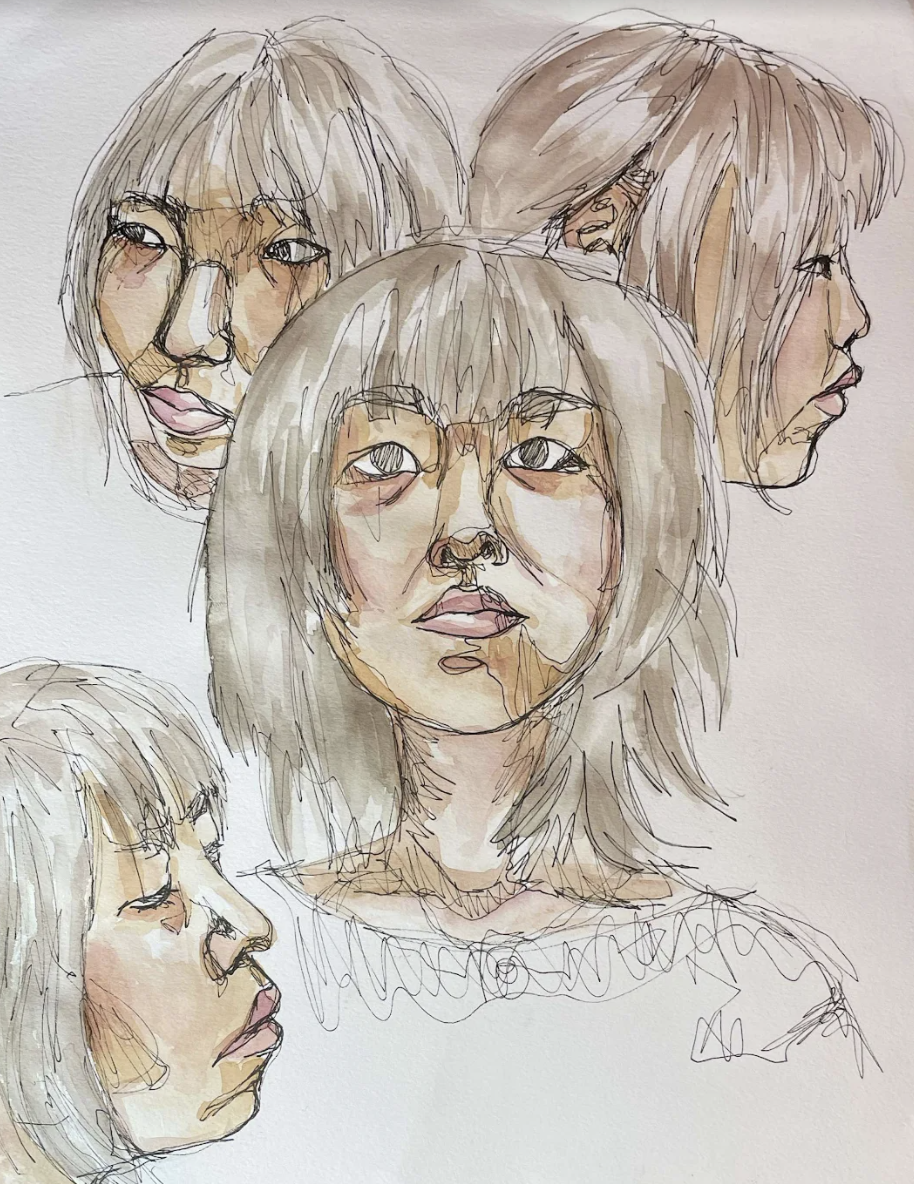
Contour Line Portraits - Student Examples

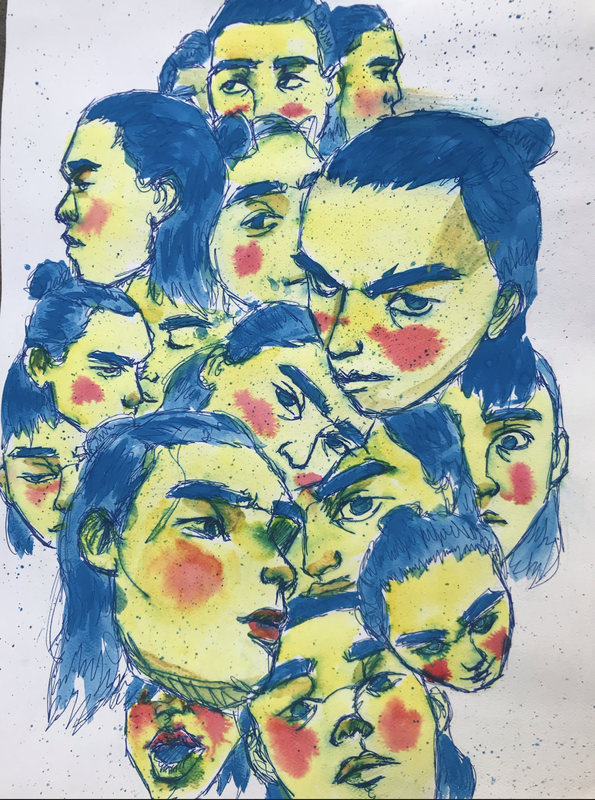
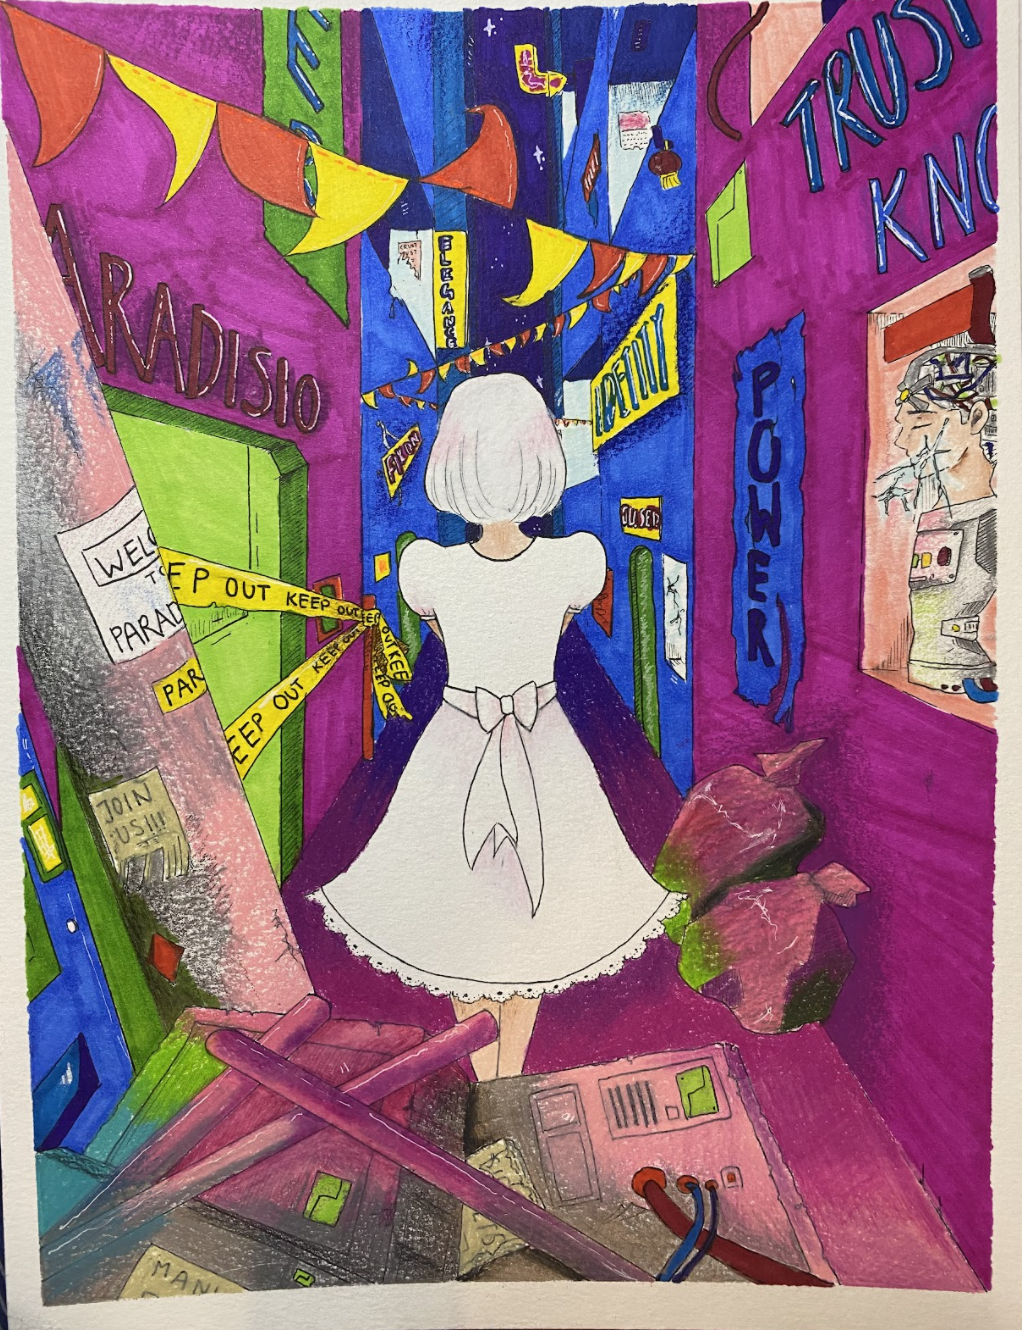
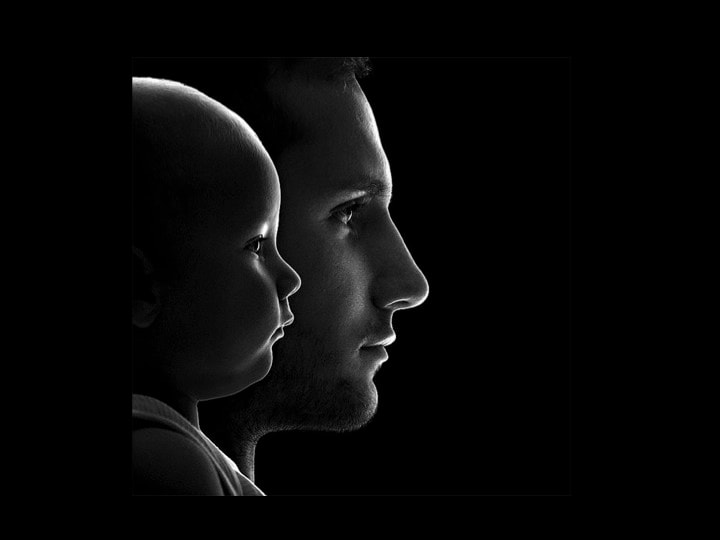
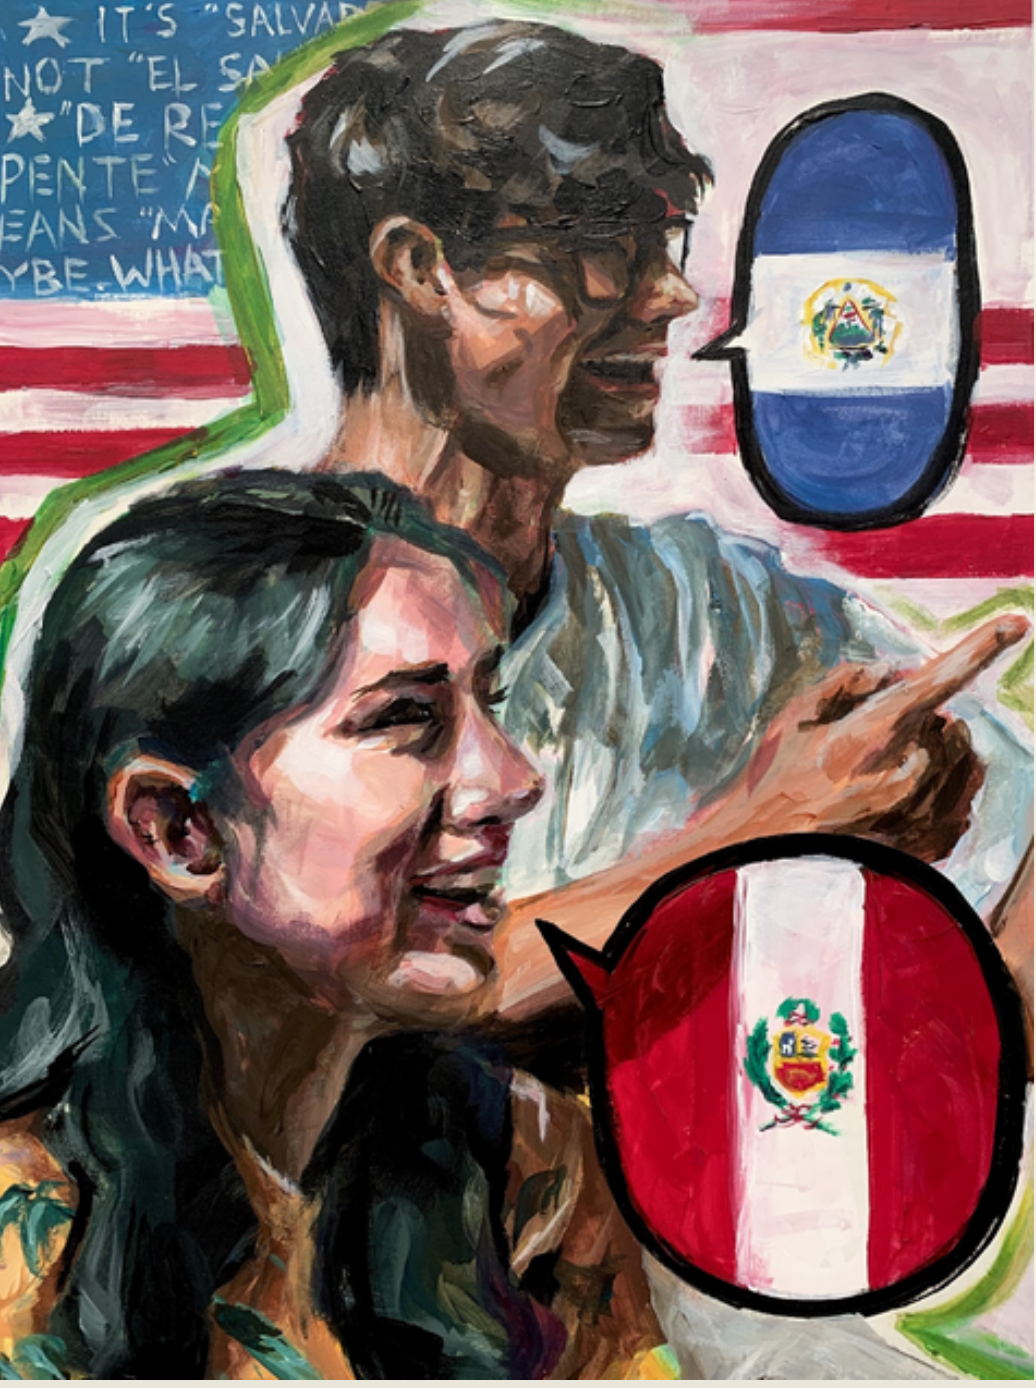
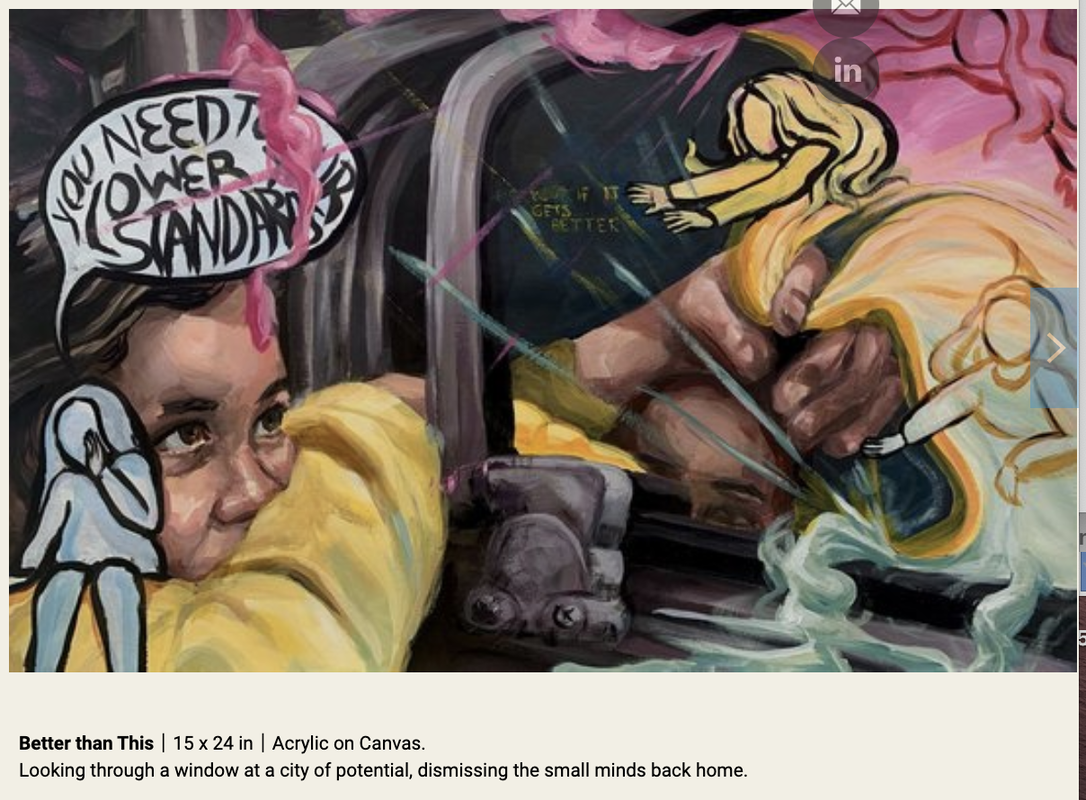
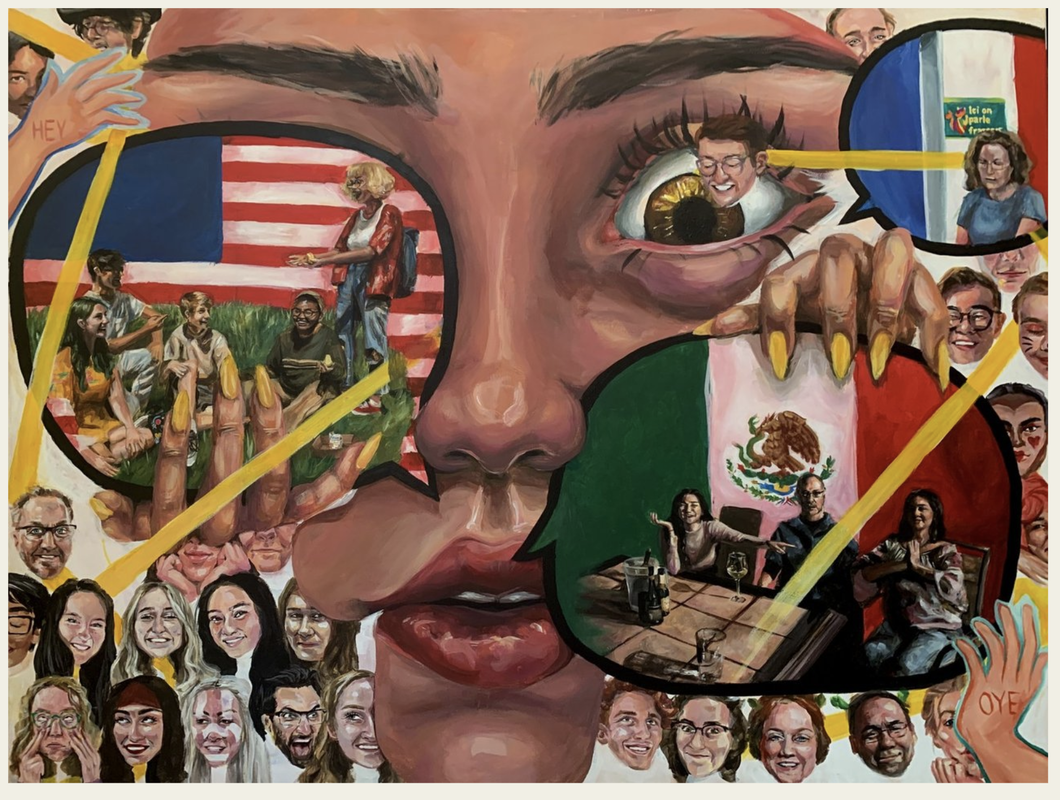
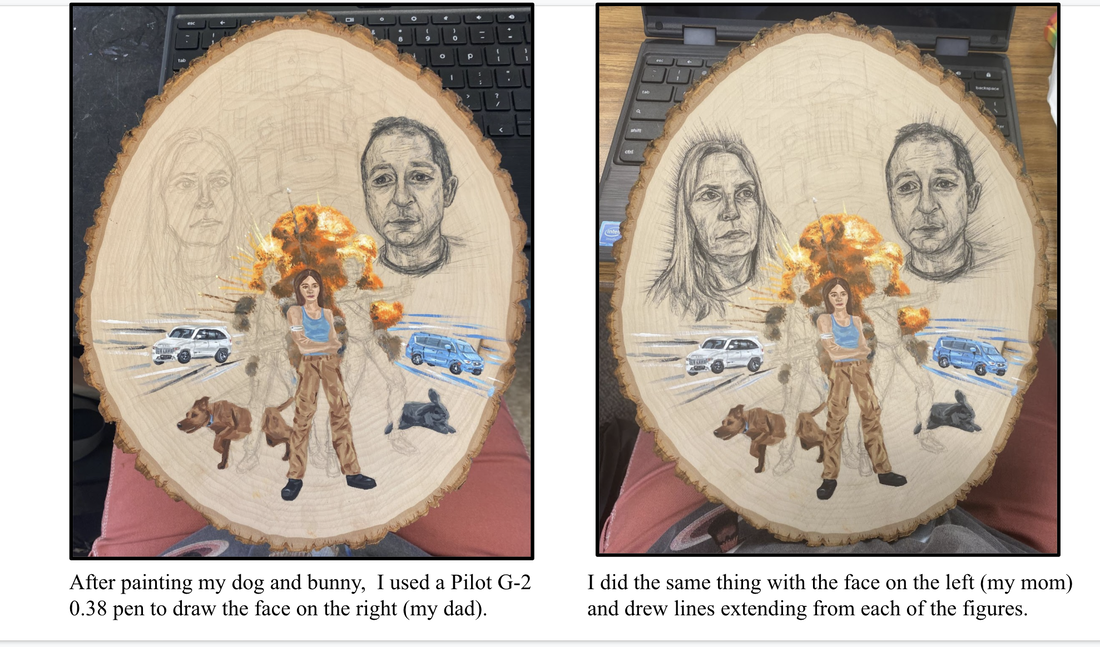
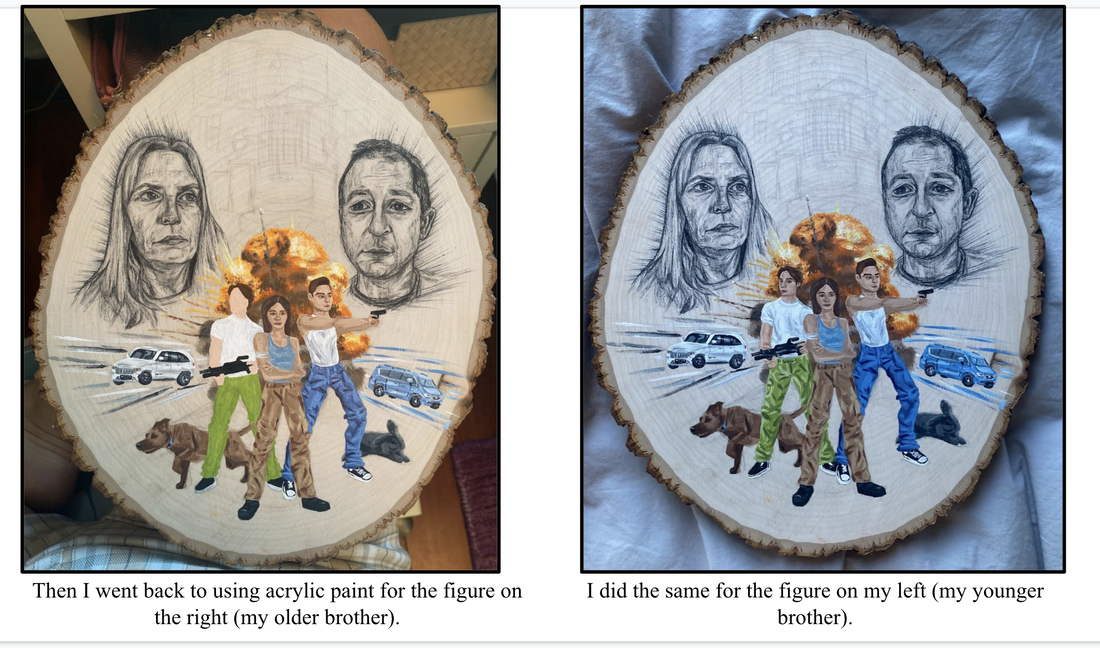
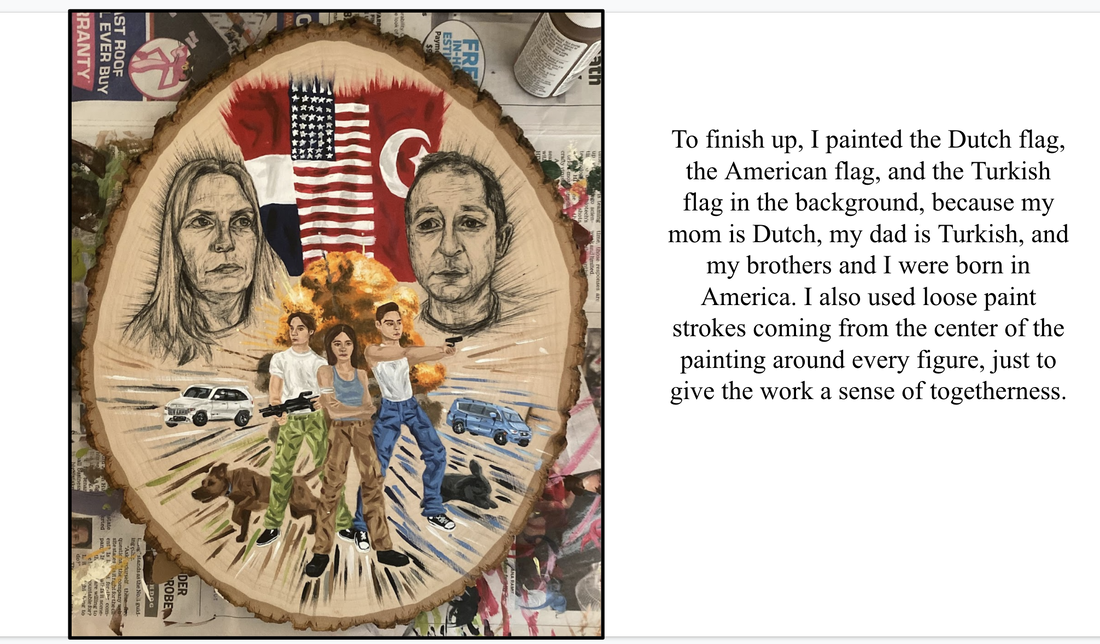
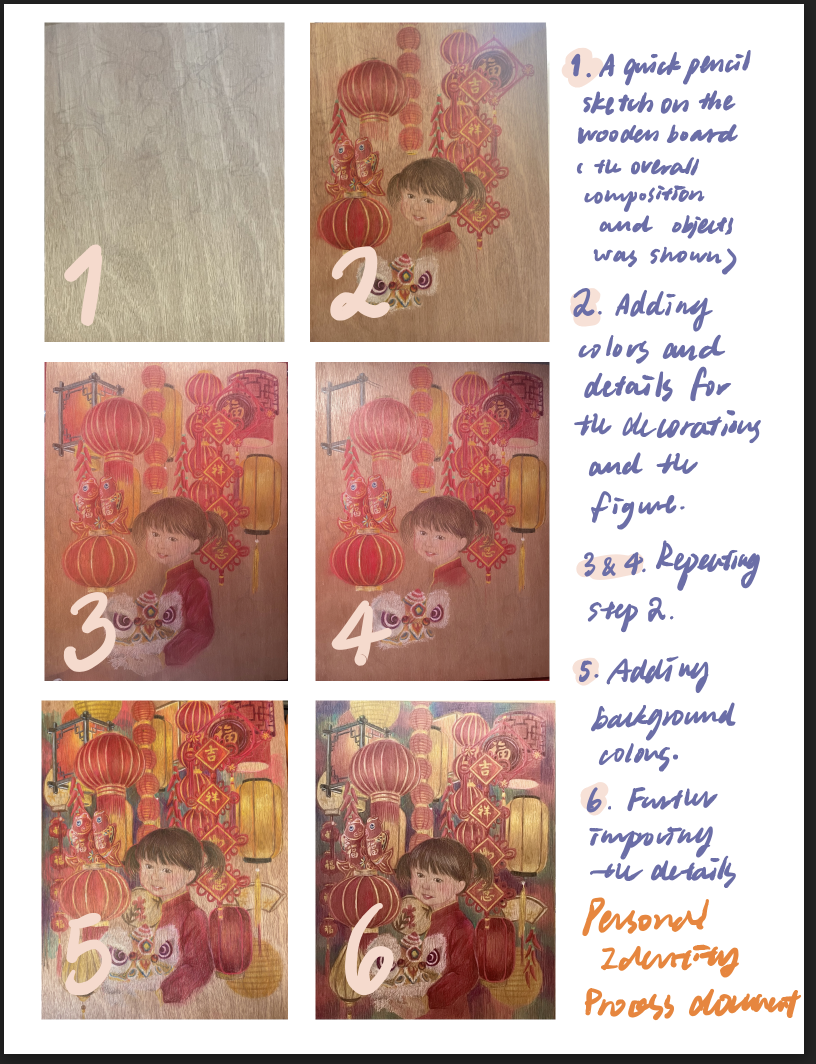
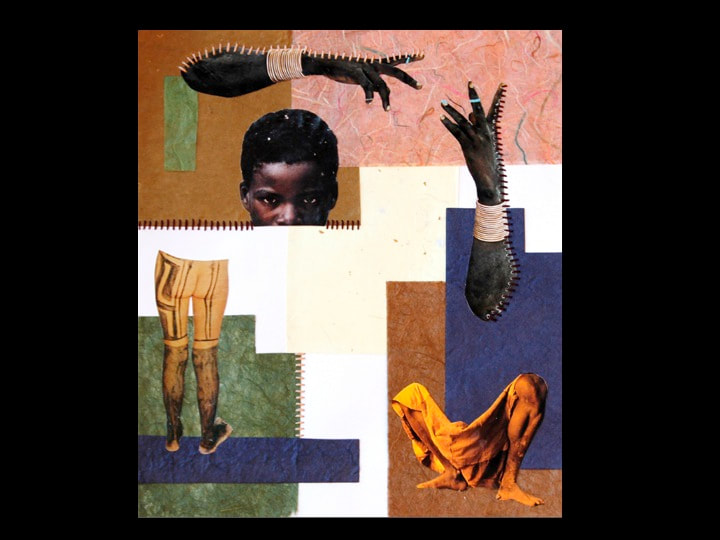
Personal Identity Project
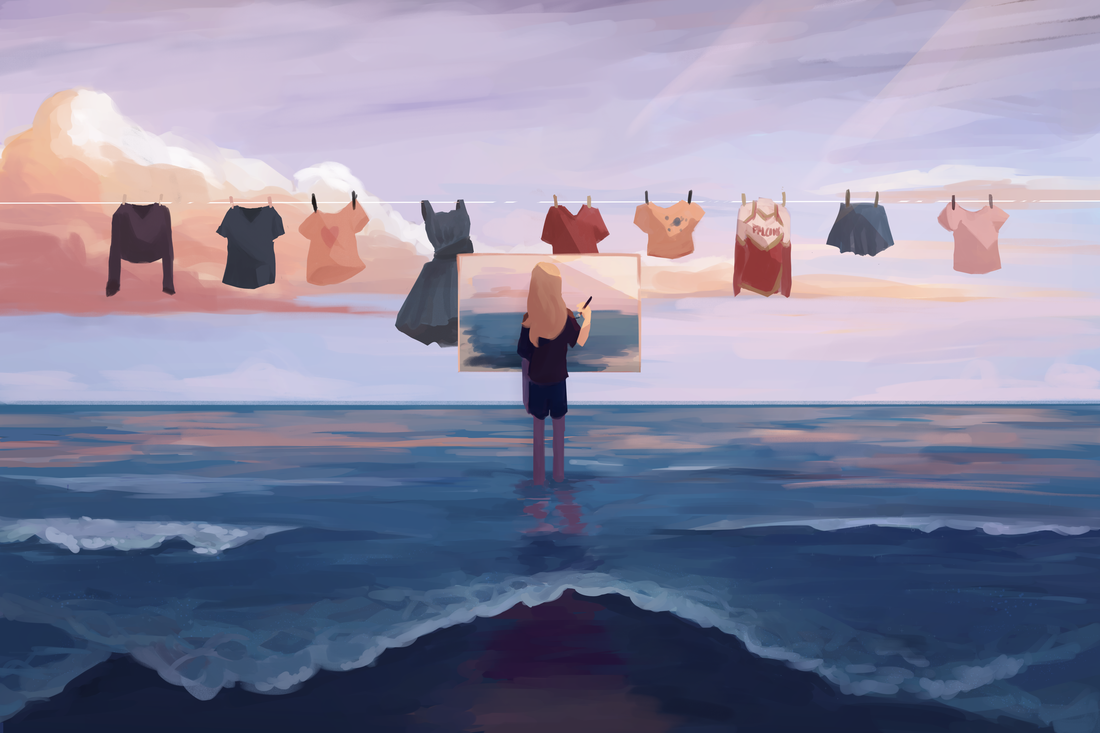
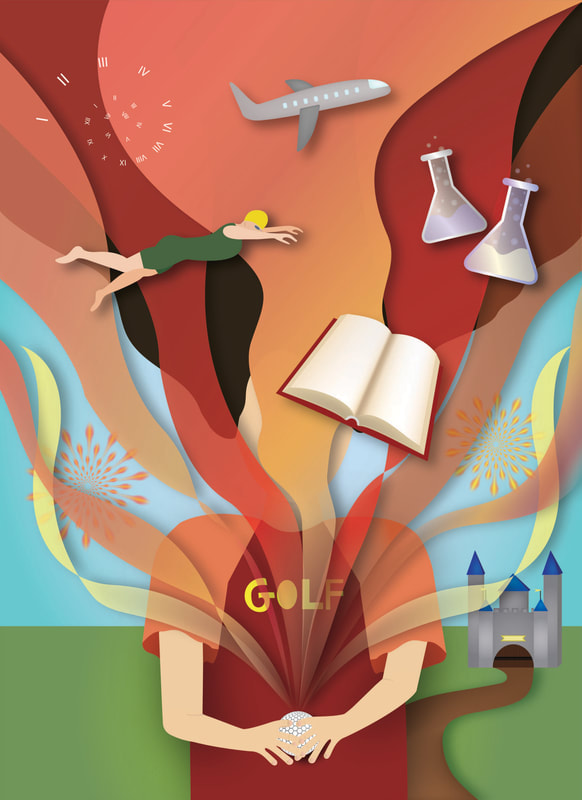
Create an Artwork or a series of 12 Photographs that explores your personal identity.
Explore how factors such as culture, gender, race, religion, your passions, experiences, and family shape your personal identity.
Then create an artwork or a series of 12 Photographs that explores 1 or more facets of your identity.
Process and objectives:
Possibilities to explore for your artwork or photographs:
Media: Mixed Media
size 9x12' minimum
18x24"maximum
Photography and digital art:
11x14" or 14x11" at 300 ppi
Explore how factors such as culture, gender, race, religion, your passions, experiences, and family shape your personal identity.
Then create an artwork or a series of 12 Photographs that explores 1 or more facets of your identity.
Process and objectives:
- Identify and explore several facets of your personal identity.
- Observe and analyze how your own culture, gender, race, religion, passions, experiences, and family influence and shape your personal identity.
- Reflect on any of the above to explore in your work.
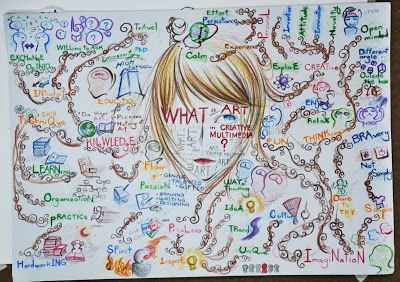
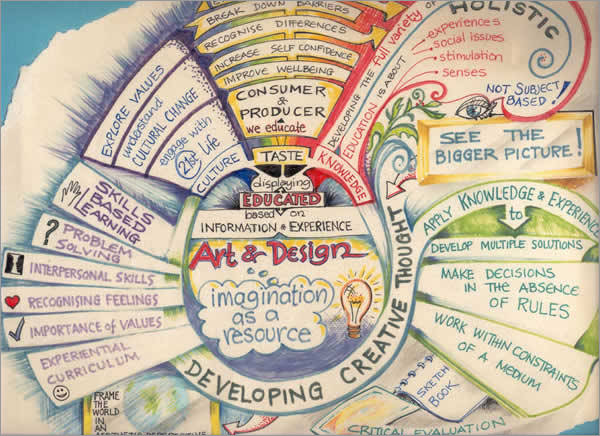
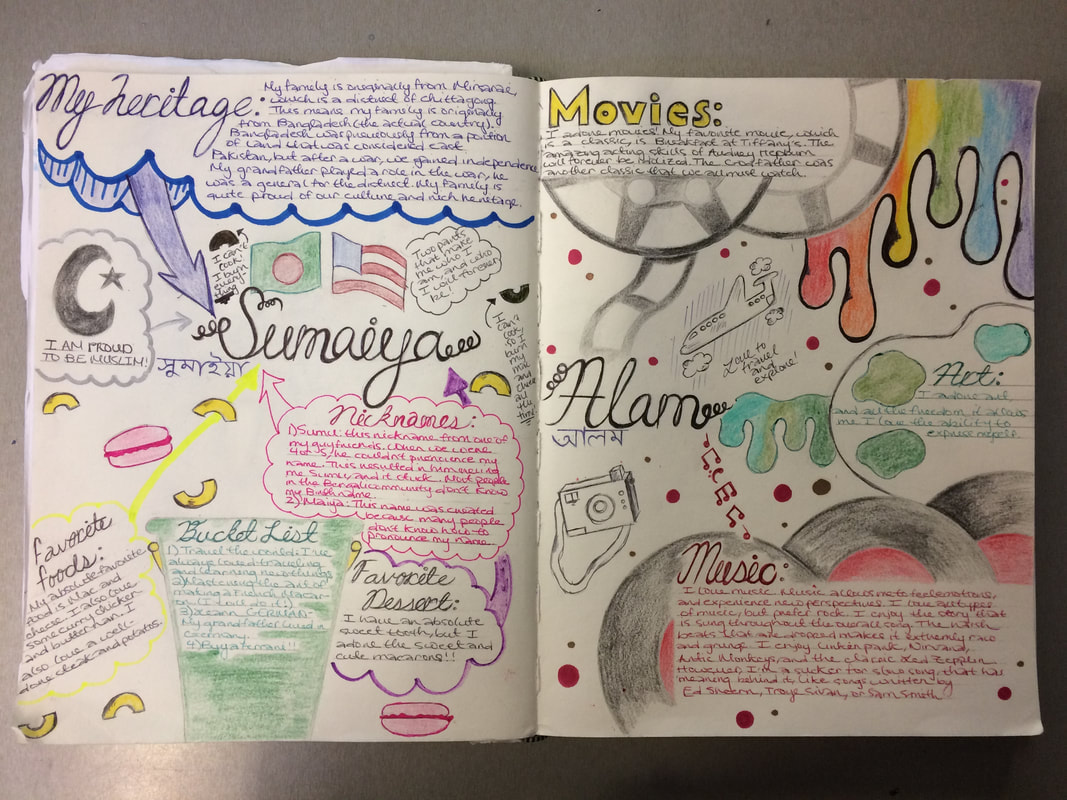
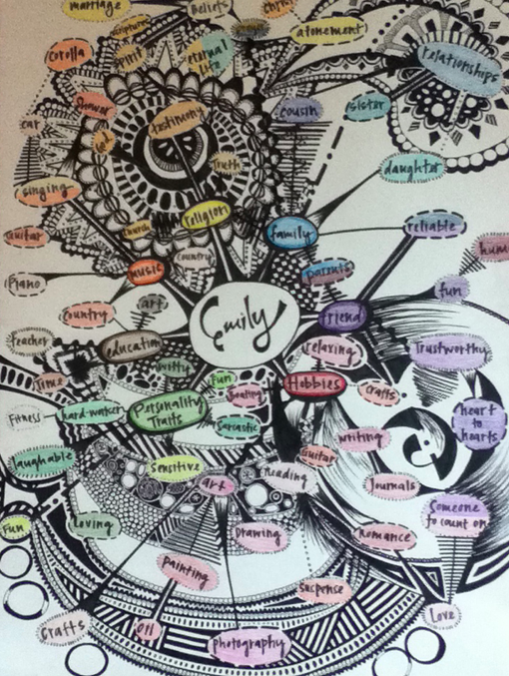
- Create a mind map exploring several facets of your identity. Make connections, use visuals and words.
- Create an Inspiration Board
- Experiment with new digital art techniques and photography techniques that will help you convey your idea
- Interview people close to you on family histories, traditions, or other things that contribute to how your define your identity
Possibilities to explore for your artwork or photographs:
- Choose several facets of your identity to illustrate or choose 1 specific facet to explore.
- You may include a physical representation of yourself in the work or use symbolic imagery instead.
- Illustrate an important or defining moment or experience in your life that you believe contributes to your identity.
- Photograph important events in your life or recreate them.
- Illustrate and/or photograph family or cultural or religious traditions/practices that are important to you and help define your identity.
- Illustrate or photograph your passion(s) or activities that you believe help define your identity. Challenge yourself to go deeper than just identifying yourself as an athlete, or an artist, etc.
Media: Mixed Media
size 9x12' minimum
18x24"maximum
Photography and digital art:
11x14" or 14x11" at 300 ppi
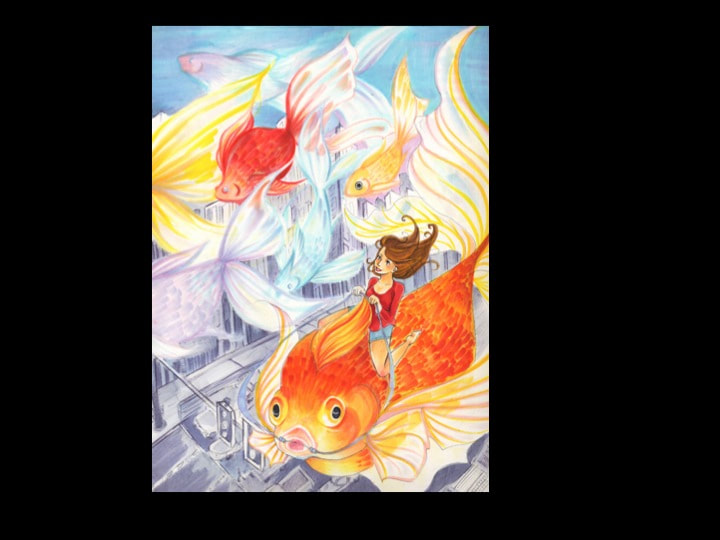
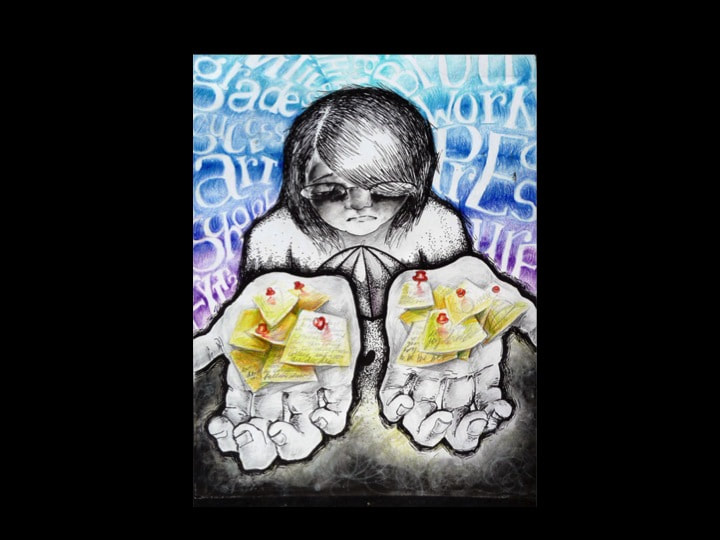
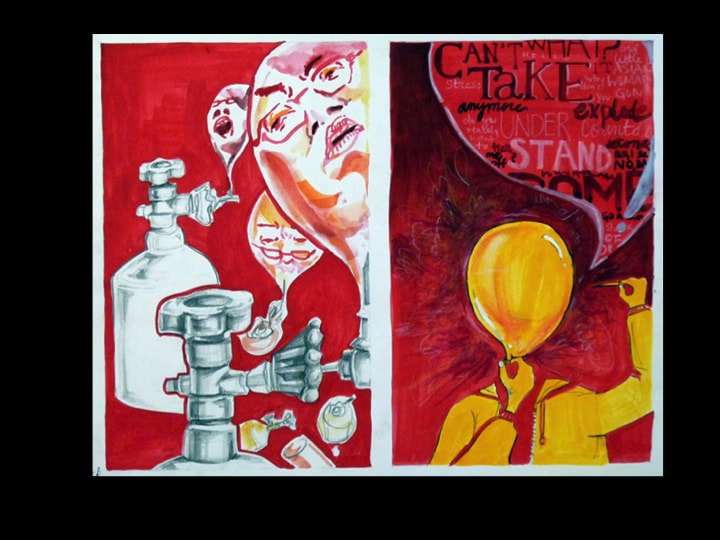
Student Examples - personal Identity


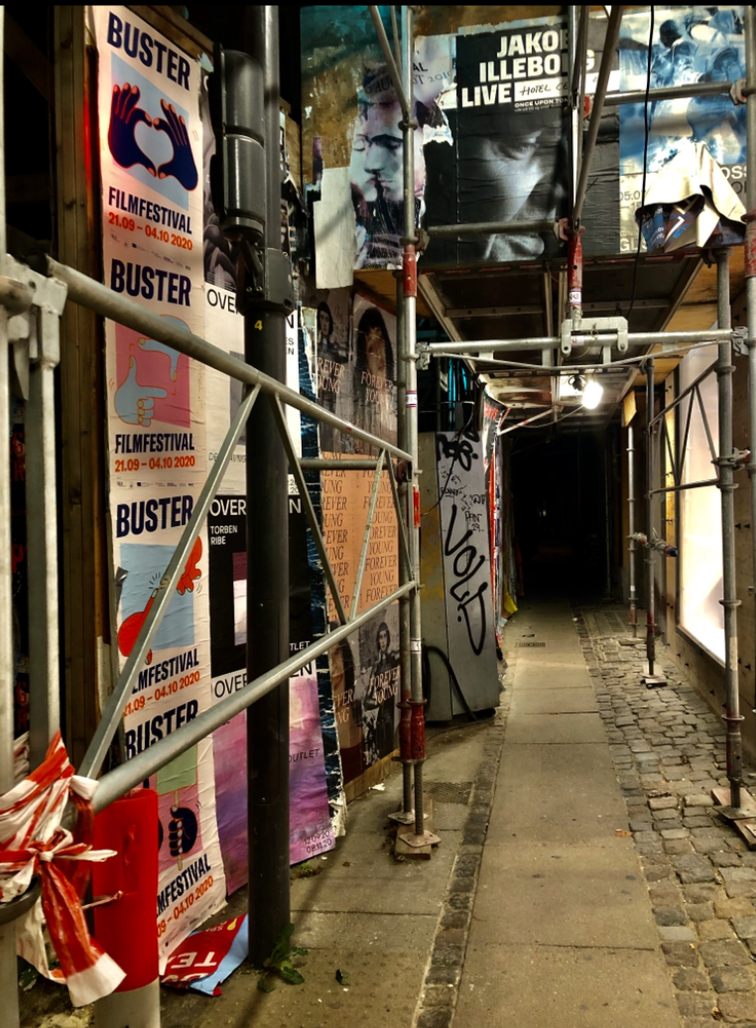
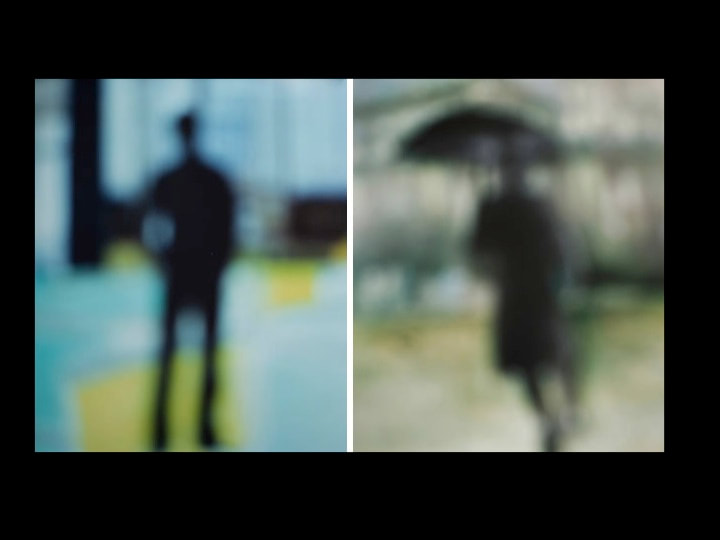
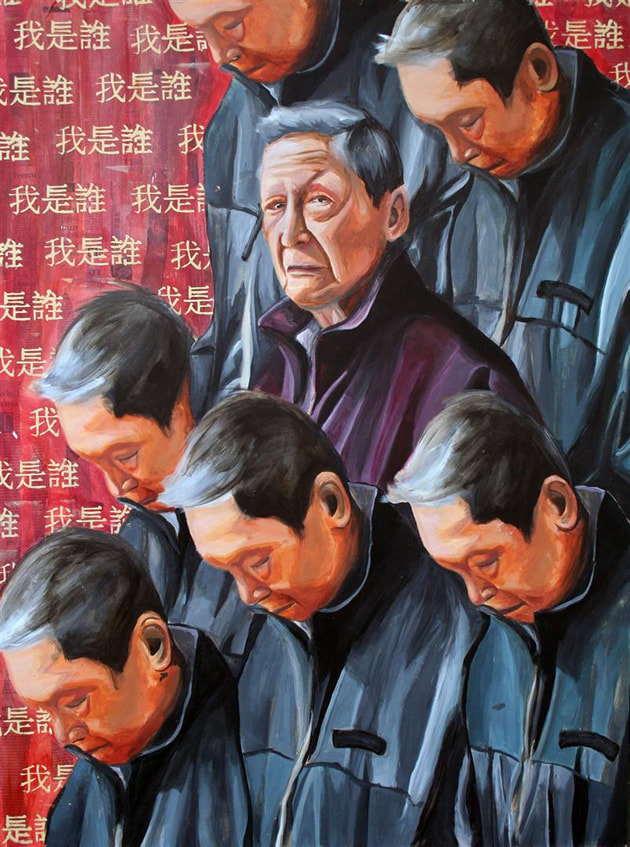
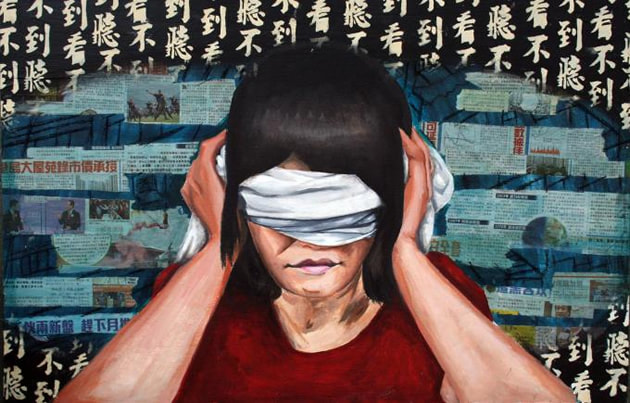
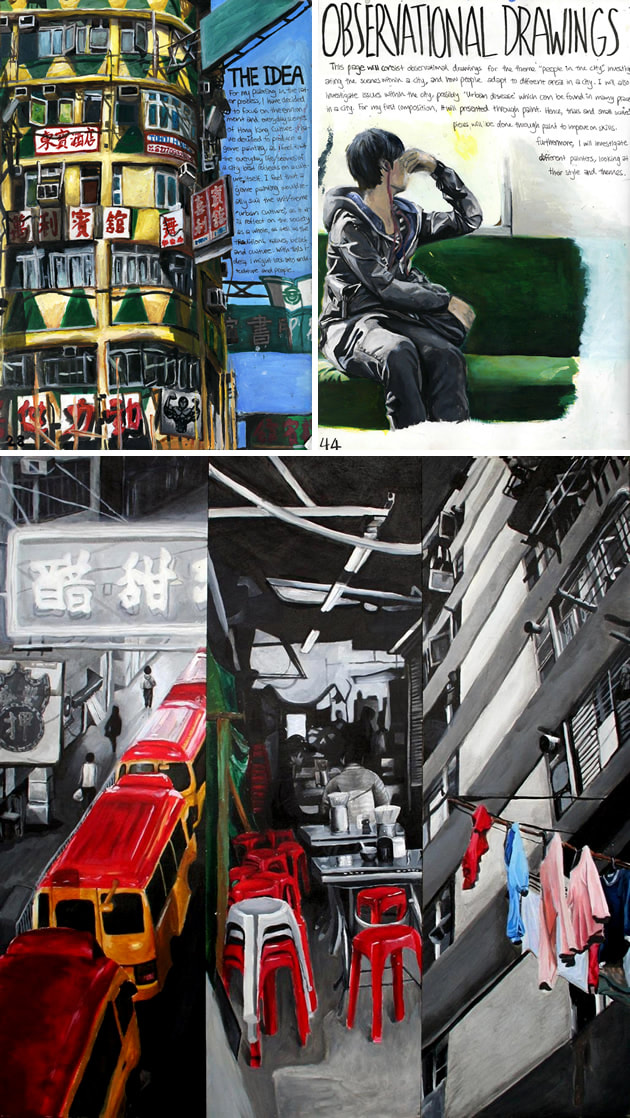
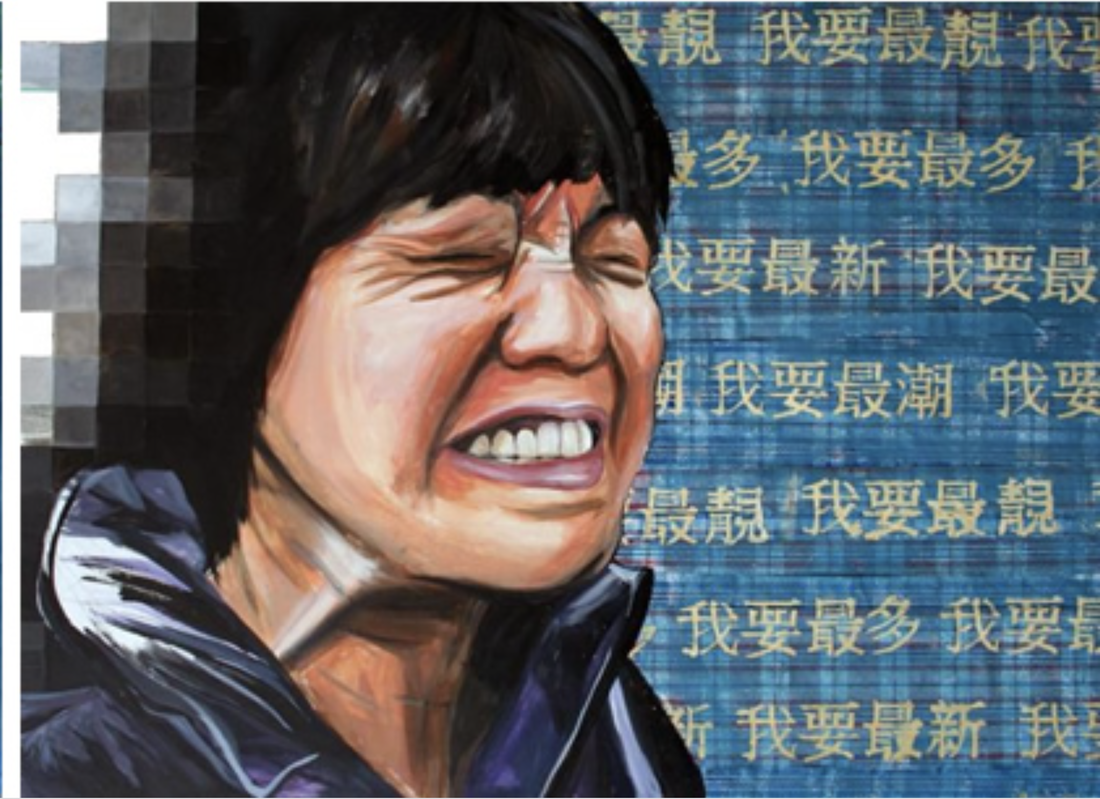
Student Portfolio adapted from "People in the City" - Student Art Guide


Personal Identity Mind Maps Examples
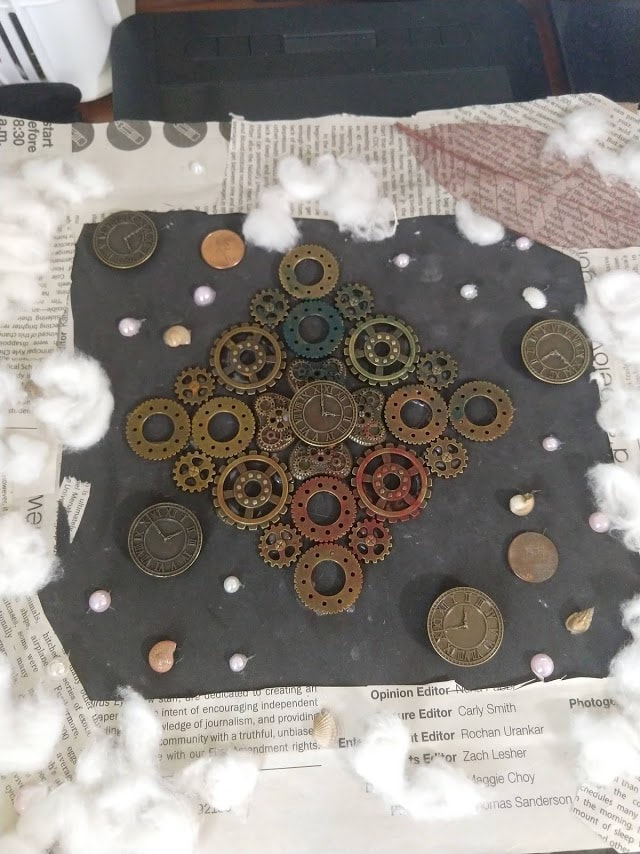
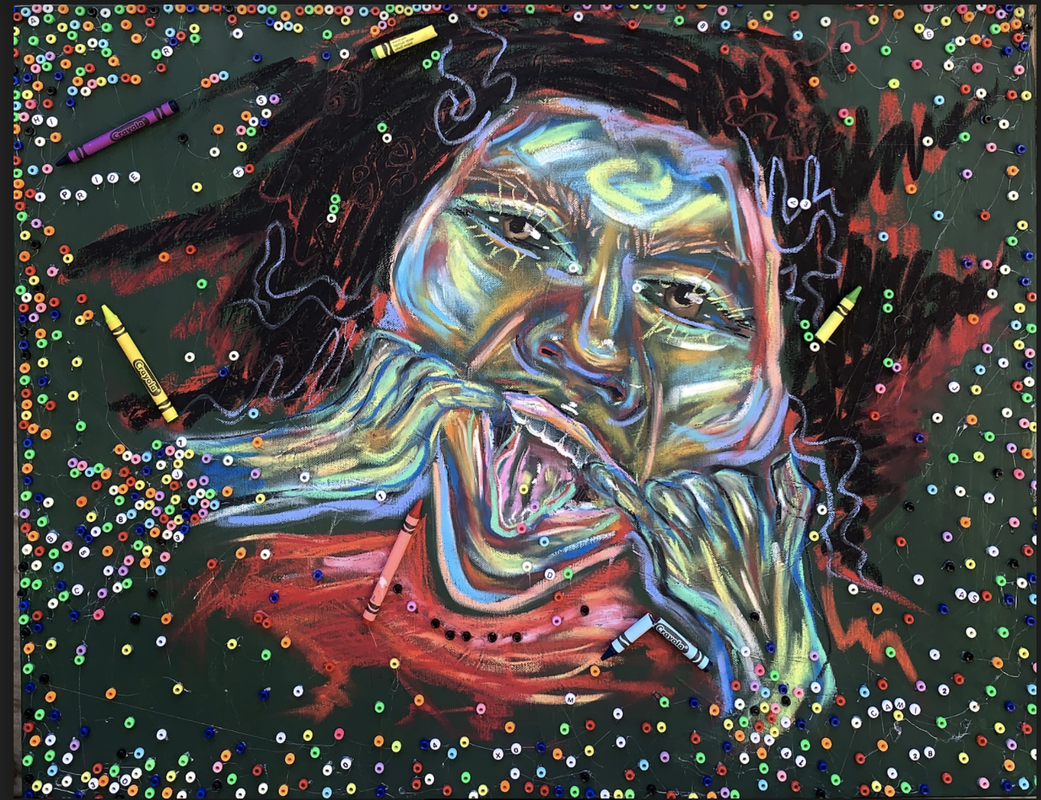
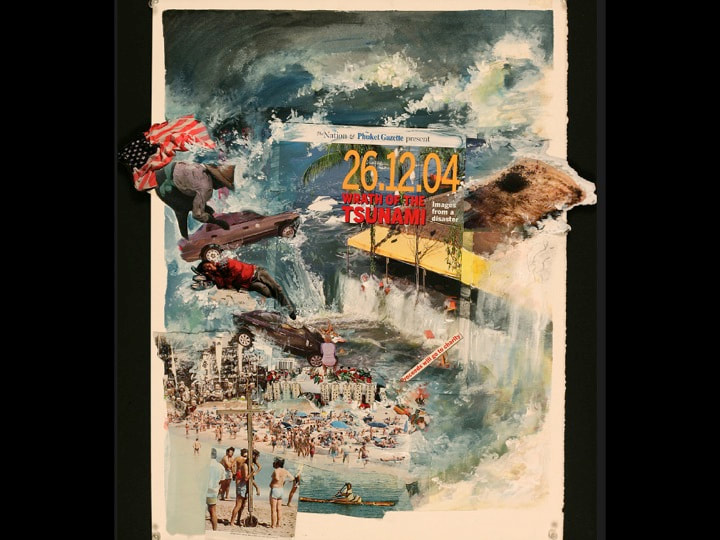
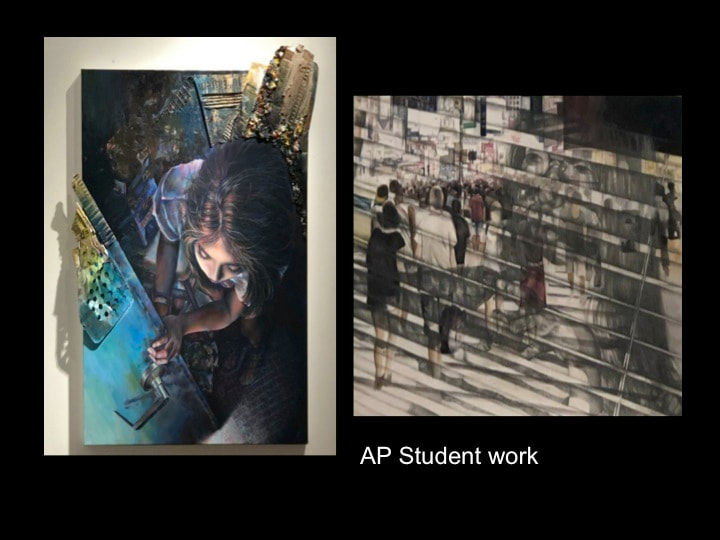
Mixed Media Artwork - Project
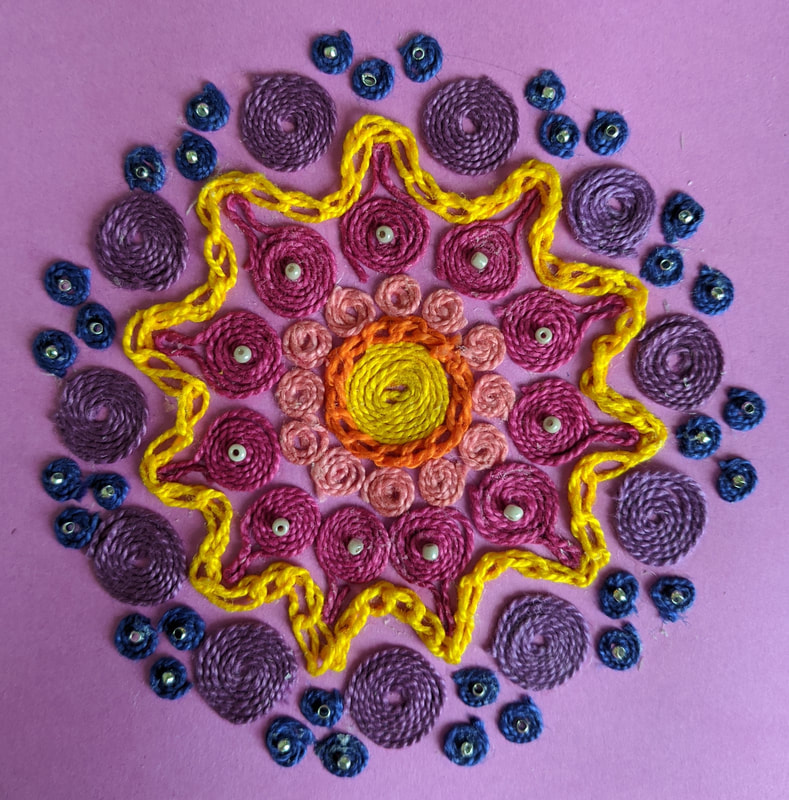
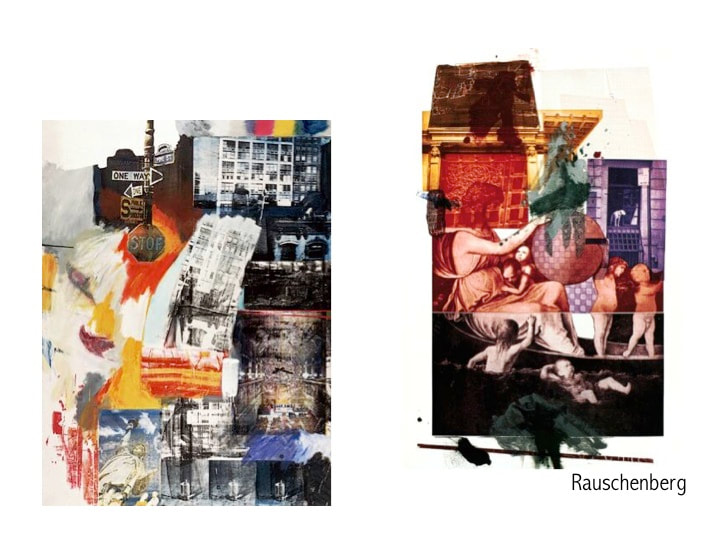
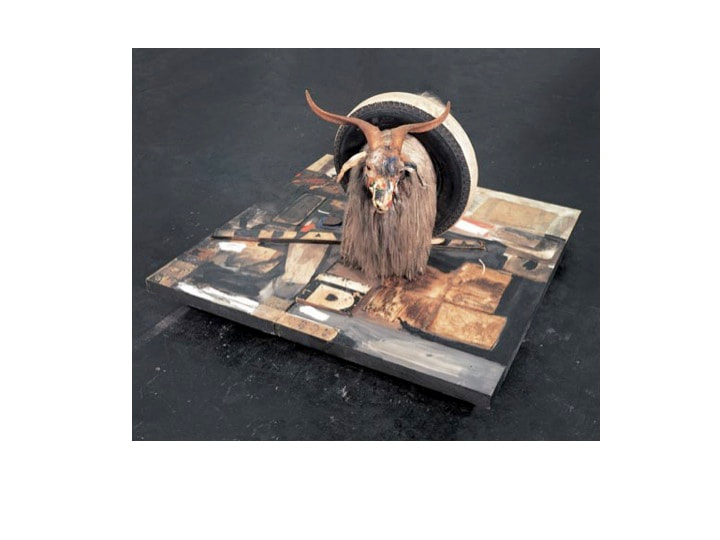
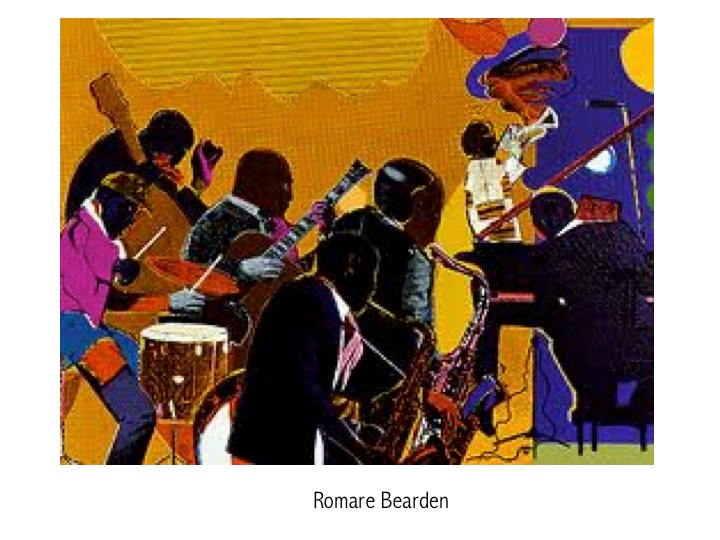
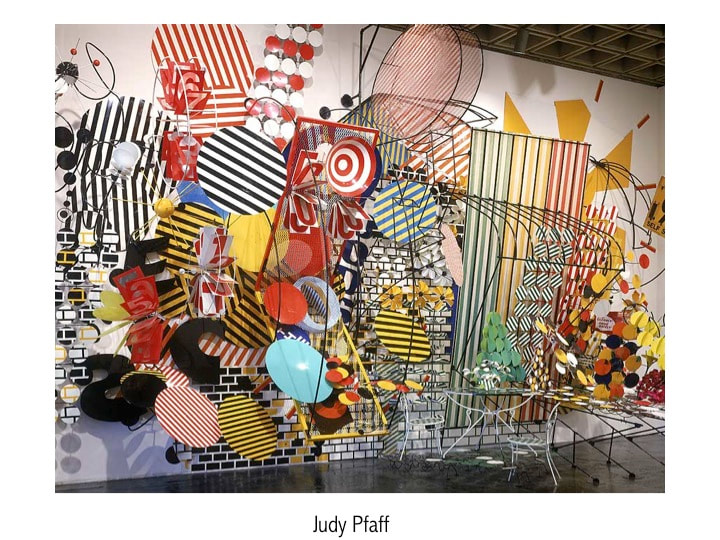
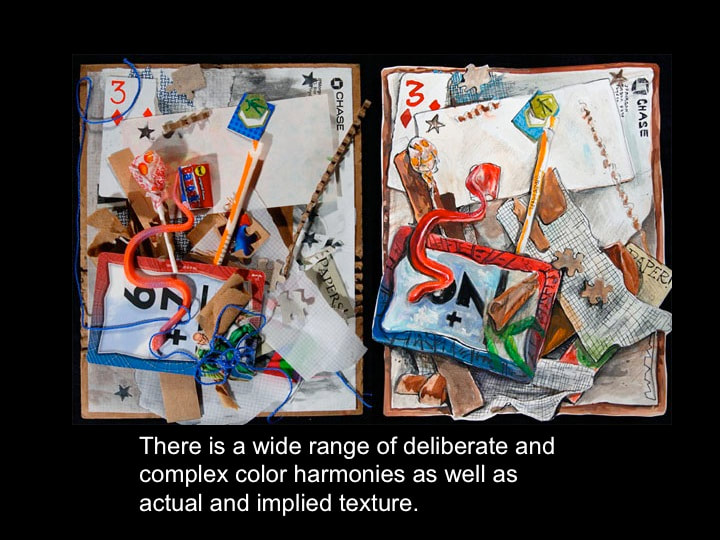
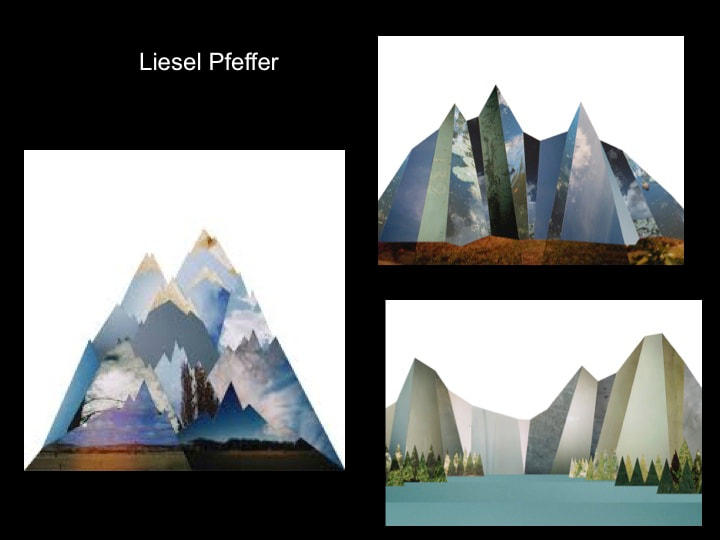
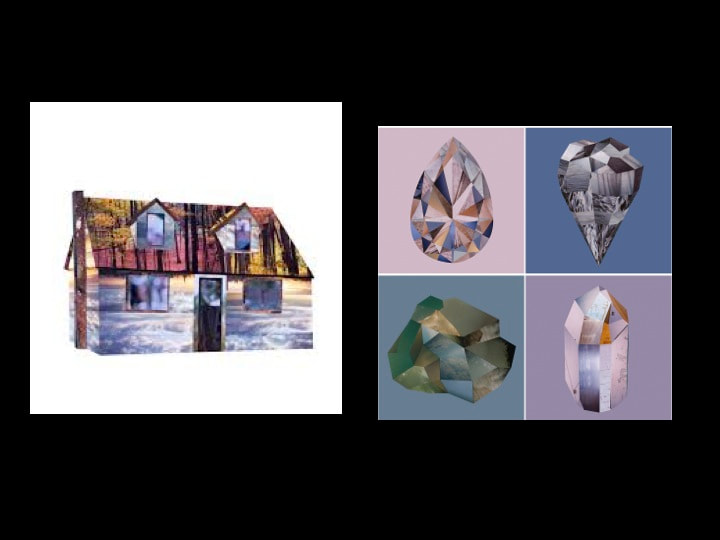
Mixed Media: A technique involving the use of two or more artistic media that are combined in a single unified composition.
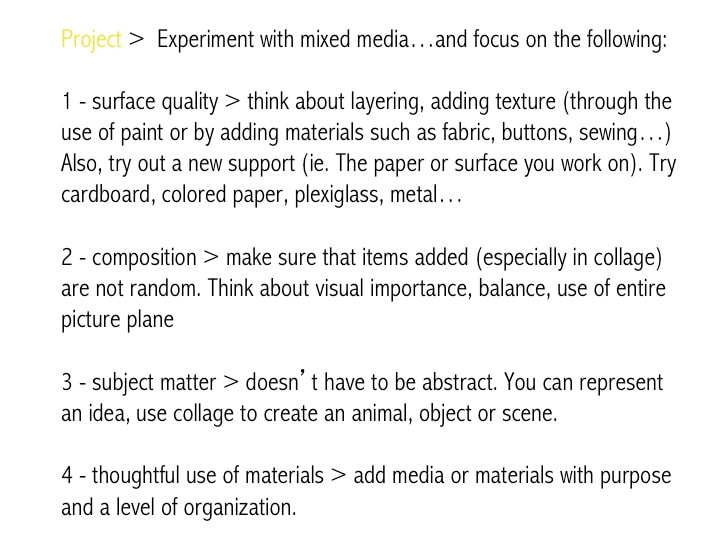
Experiment with mixed media…and focus on the following:
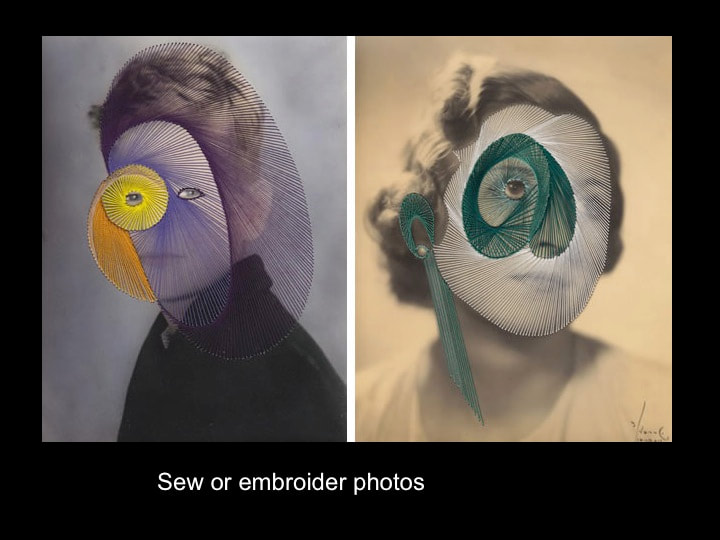
1 - surface quality > think about layering, adding texture (through the use of paint or by adding materials such as fabric, buttons, sewing…)
2 - Try out a new support (ie. The paper or surface you work on). Try cardboard, colored paper, plexiglass, metal…
3 - composition > make sure that items added are not random. Think about visual importance, balance, use of entire picture plane
4 - subject matter > doesn’t have to be abstract. You can represent an idea, use media to create objects, portraits, landscapes, scenes.
5 - thoughtful use of materials > add media or materials with purpose and a level of organization.
ASSIGNMENT:
Create a mixed-media artwork using a variety of media, drawings, paintings, your own photographs and photo transfers, etc.
Theme: Coming of Age in 2020
Submit your work to the NY Times by Nov. 12 for a chance to be published in the NY Times!
Contest Information here
· Make sure to create a work that is unified and cohesive in both concept and visual representation.
· Avoid making a collage of several different photographs that may function individually or on their own.
Possible media: graphite, pen & ink, acrylic, watercolor, newspaper, magazine clips, text, stencils, stamps, lino-cut prints, image transfers, pressed leaves or flowers, wire, ribbon, twine, beads…
Tips to getting started:
1) Gather interesting media to use as the background of your mixed-media artwork: newspapers, maps, magazines, images printed from the Internet, torn paper, tissue paper, colored paper, old photos, ticket stubs, stamps…
2) Select images with common design elements: color, texture, shape, pattern.
3) Set aside large images or words to use later in the foreground.
4) Possible cardboard or masonite ground --create an interesting background of textures, washes, transfers, or patterns. See handouts on techniques. Let dry.
5) Arrange some of your images and text on your ground. Stagger and overlap media. Make visual connections. Try to achieve BALANCE and UNITY. When you are satisfied with the composition, adhere images with a thin coat of water and glue mixture. Let dry.
6) Now that your background is dry, wash on a thin coat of paint over the entire composition. Use a neutral color, or a color that will unify your imagery (think color scheme!) Use dabs, stipple, sponging or swirls to create texture. Let dry.
7) Creating the Foreground: Now layer on large imagery in strategic focal point areas. Draw and/or paint more original imagery. Add washes of your dominant colors, possibly add large text or symbols.
ALL drawn, painted, and printed imagery must relate to, emphasize, and support your overall theme or subject matter. Use common design elements like color, shape, pattern and repetition to UNIFY all imagery.
Experiment with mixed media…and focus on the following:
1 - surface quality > think about layering, adding texture (through the use of paint or by adding materials such as fabric, buttons, sewing…)
2 - Try out a new support (ie. The paper or surface you work on). Try cardboard, colored paper, plexiglass, metal…
3 - composition > make sure that items added are not random. Think about visual importance, balance, use of entire picture plane
4 - subject matter > doesn’t have to be abstract. You can represent an idea, use media to create objects, portraits, landscapes, scenes.
5 - thoughtful use of materials > add media or materials with purpose and a level of organization.
ASSIGNMENT:
Create a mixed-media artwork using a variety of media, drawings, paintings, your own photographs and photo transfers, etc.
Theme: Coming of Age in 2020
Submit your work to the NY Times by Nov. 12 for a chance to be published in the NY Times!
Contest Information here
· Make sure to create a work that is unified and cohesive in both concept and visual representation.
· Avoid making a collage of several different photographs that may function individually or on their own.
Possible media: graphite, pen & ink, acrylic, watercolor, newspaper, magazine clips, text, stencils, stamps, lino-cut prints, image transfers, pressed leaves or flowers, wire, ribbon, twine, beads…
Tips to getting started:
1) Gather interesting media to use as the background of your mixed-media artwork: newspapers, maps, magazines, images printed from the Internet, torn paper, tissue paper, colored paper, old photos, ticket stubs, stamps…
2) Select images with common design elements: color, texture, shape, pattern.
3) Set aside large images or words to use later in the foreground.
4) Possible cardboard or masonite ground --create an interesting background of textures, washes, transfers, or patterns. See handouts on techniques. Let dry.
5) Arrange some of your images and text on your ground. Stagger and overlap media. Make visual connections. Try to achieve BALANCE and UNITY. When you are satisfied with the composition, adhere images with a thin coat of water and glue mixture. Let dry.
6) Now that your background is dry, wash on a thin coat of paint over the entire composition. Use a neutral color, or a color that will unify your imagery (think color scheme!) Use dabs, stipple, sponging or swirls to create texture. Let dry.
7) Creating the Foreground: Now layer on large imagery in strategic focal point areas. Draw and/or paint more original imagery. Add washes of your dominant colors, possibly add large text or symbols.
ALL drawn, painted, and printed imagery must relate to, emphasize, and support your overall theme or subject matter. Use common design elements like color, shape, pattern and repetition to UNIFY all imagery.


Resources & Inspiration:
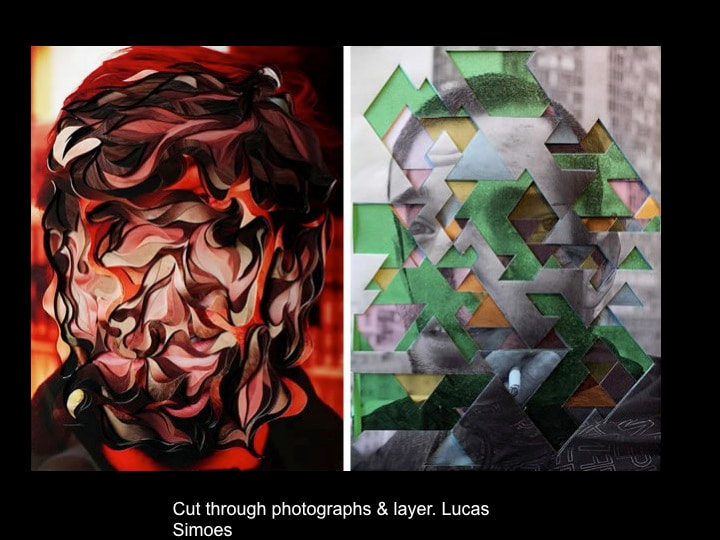
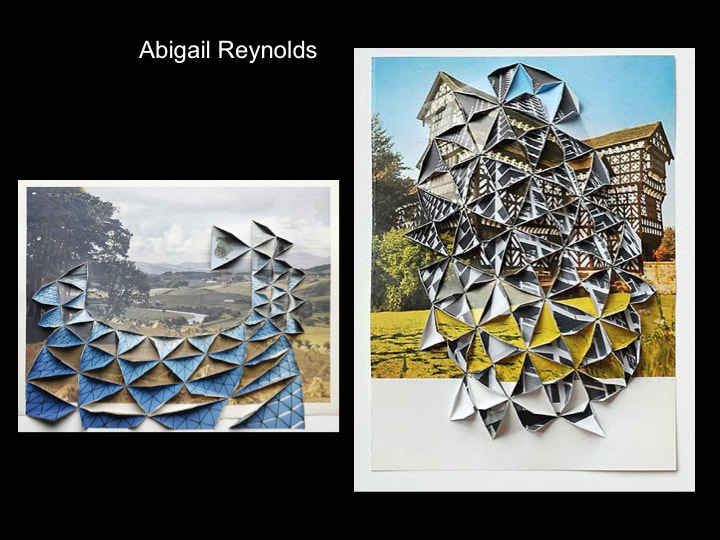
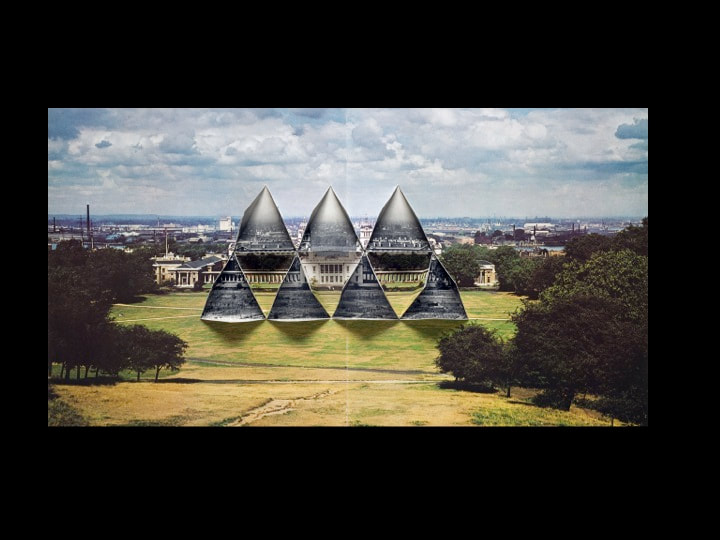
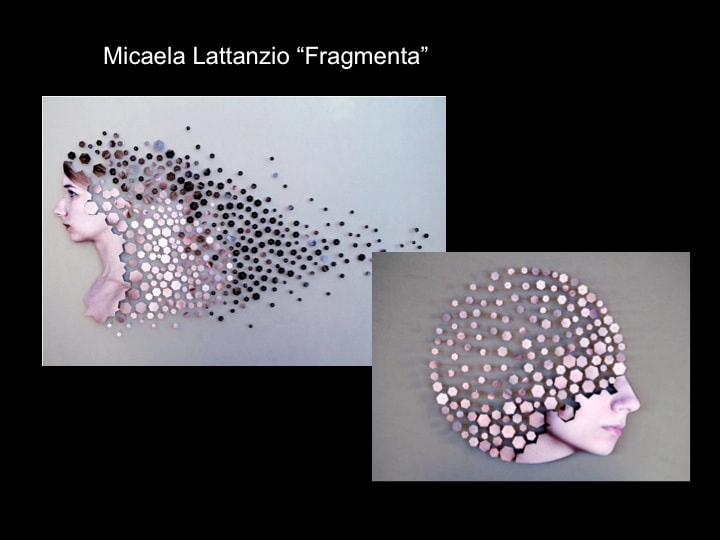
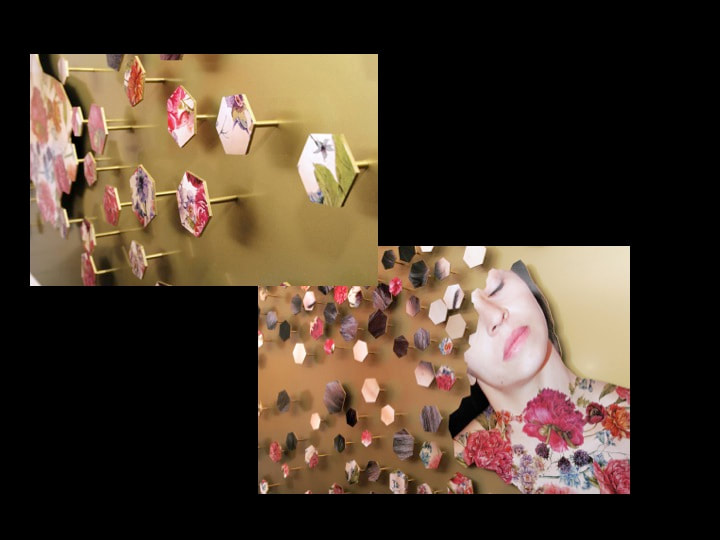
Micaela Lattanzio
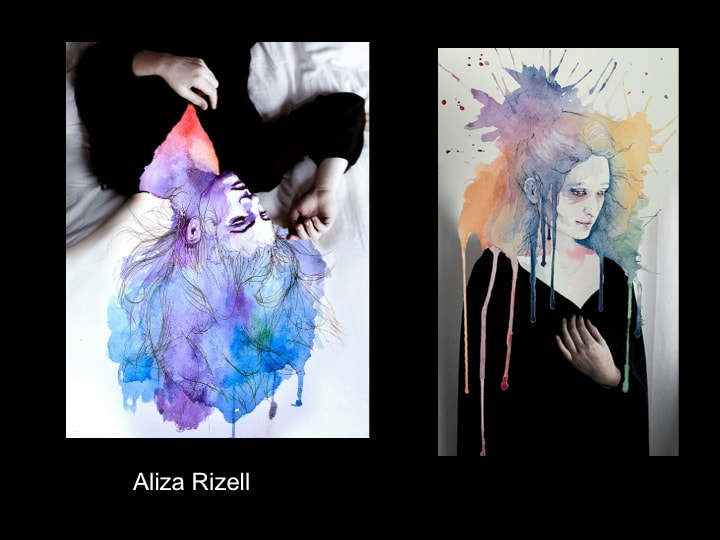
Fabienne Rivory: Photo & watercolor
Photo Transfer Techniques
"100+ Creative Photography Ideas - approaches to Mixed Media"
Merve Ozaslan
Polaroid Transfer Emulsion technique
Micaela Lattanzio
Fabienne Rivory: Photo & watercolor
Photo Transfer Techniques
"100+ Creative Photography Ideas - approaches to Mixed Media"
Merve Ozaslan
Polaroid Transfer Emulsion technique
Independent Photography Project Options:
Photography or Digital Art Options:
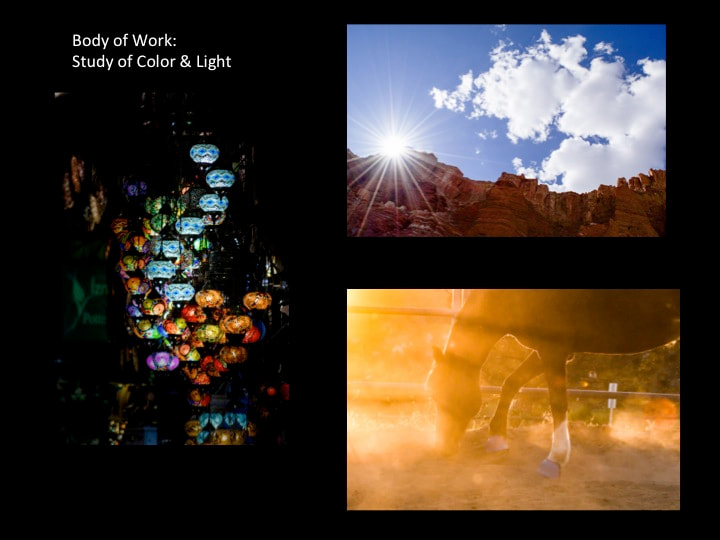
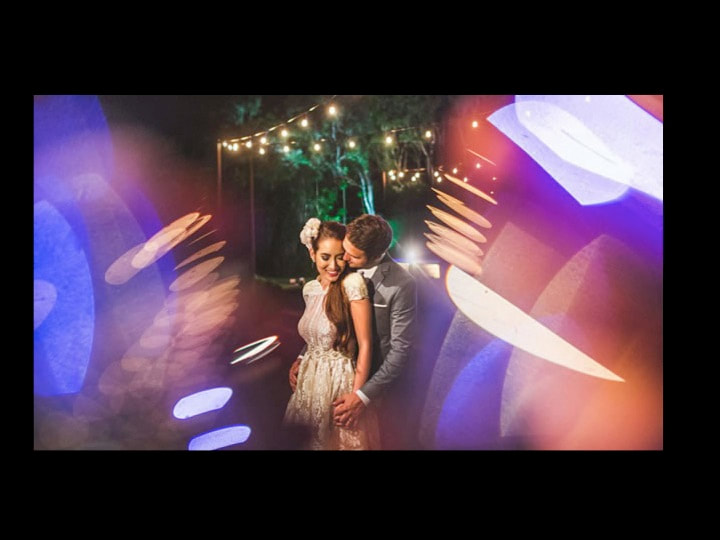
- Light Painting: research light painting. Picasso did it! Create a series that explores abstract patterns and lines, light painting with landscapes, light painting with portraits.
- Levitation Photography: research the work of Natsumi Hayashi, Frank Bohot, Yang Zijiang for inspiration.
- Create a series of advertisements using photography and typography. Ex: fashion, food, sports, products.
- Creative Shadow Play: shoot a series of works that demonstrate interesting use of shadows and cast shadows. You may also use Photoshop to create unrealistic shadows. Review the class website resources page for “creative shadow play” examples.
- Narrative: Create a series of narrative photographs. Capture specific “moments in time” or create a photo essay illustrating one cohesive story.
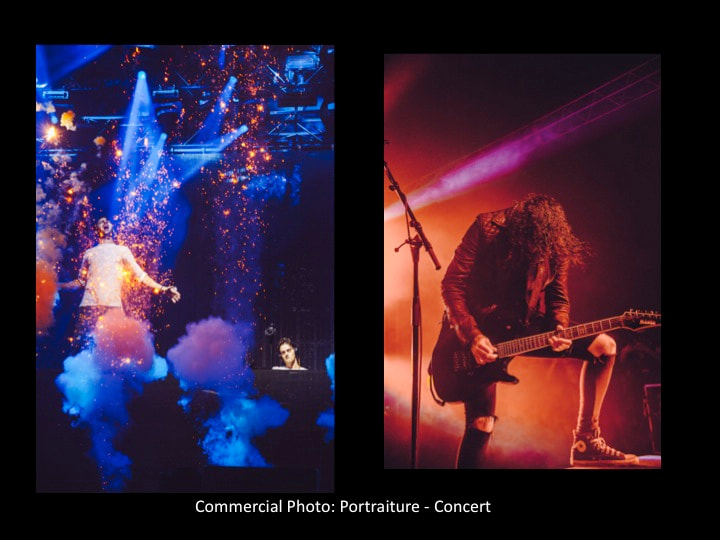
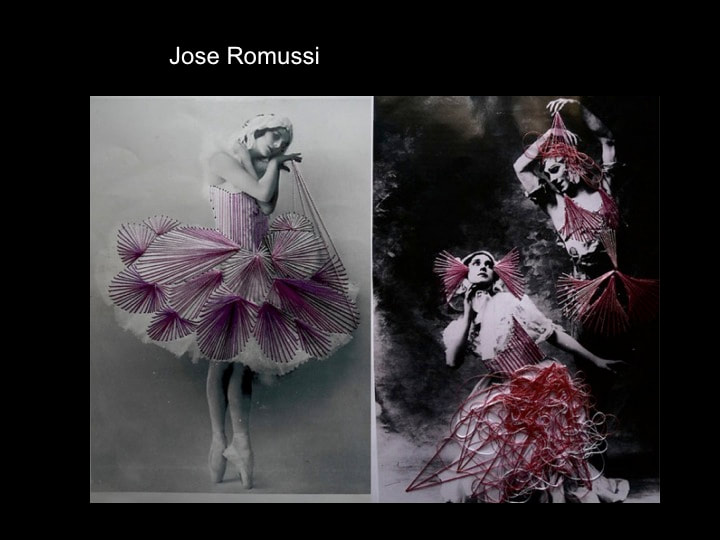
- Photograph the Performing Arts: create a series that celebrates the Arts. Photograph and reveal the beauty, power, creativity of dance, theatre, music, etc.
- Impressionist Photography/Long Exposure: Create a series of long exposure shots. For instance, long exposure of the beach with waves crashing on the shore. Or a long exposure of sunset view from your backyard, etc. Pay attention to composition and color.
- Abstract Photograph Series
- Surrealist Photographic Images or Digital Manipulation
- “Day to Night” Photography. Research the work of Stephen Wilkes “Day to Night” Series and create 3 photographs/artworks of your own. All photos must be shot by you. Use Photoshop to seamlessly blend the photos together.
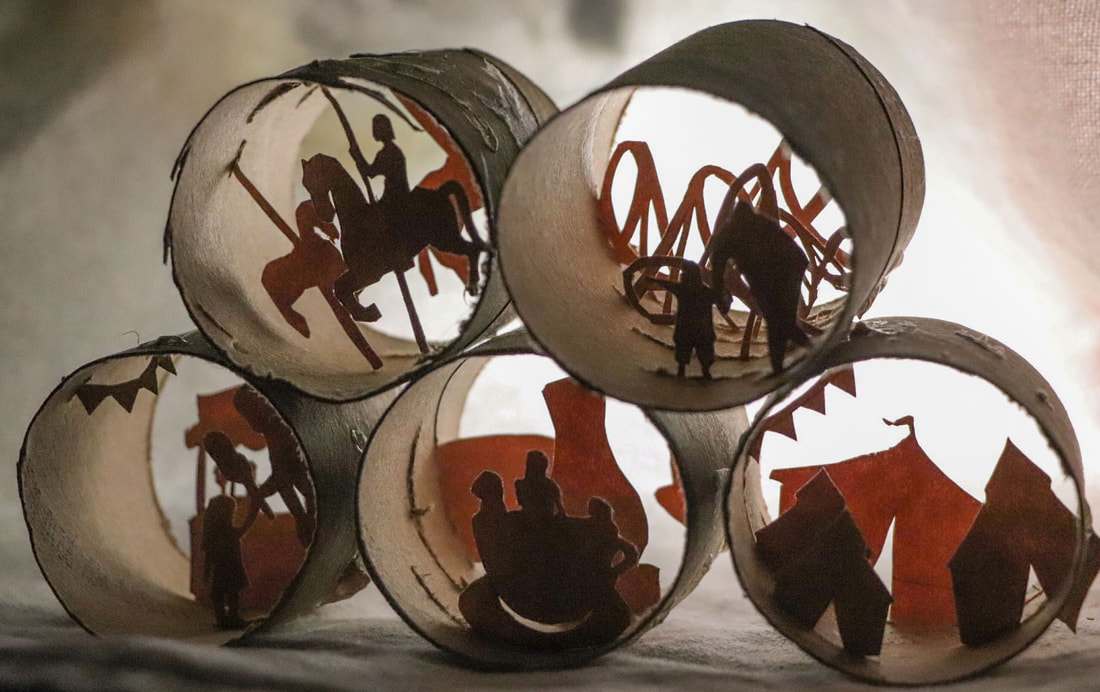
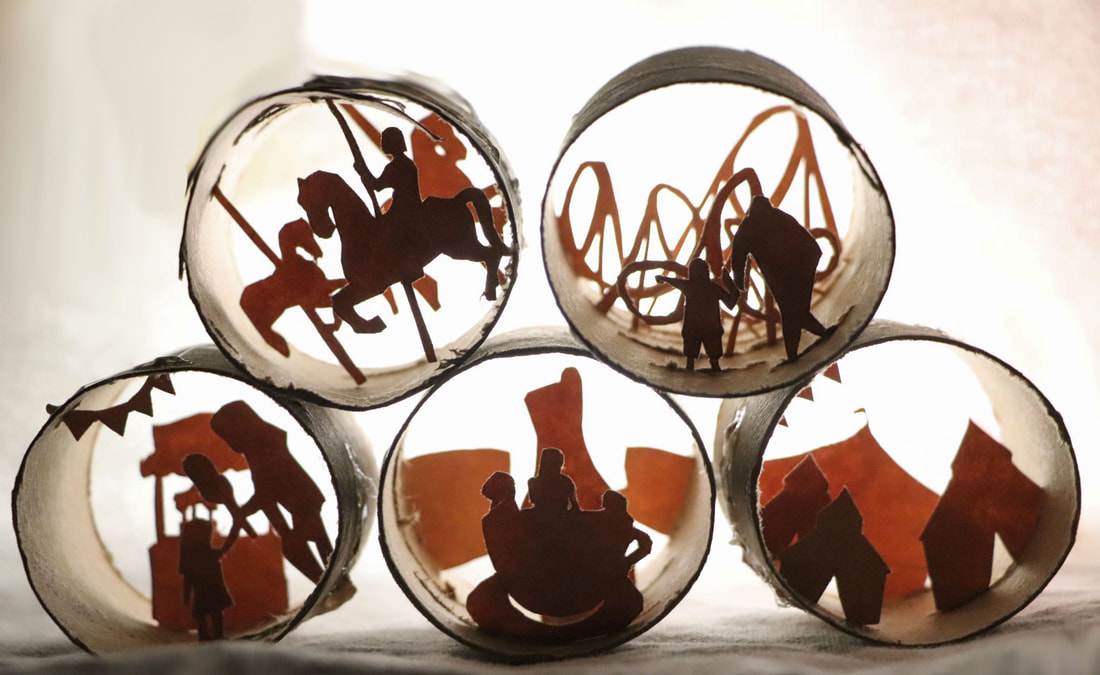
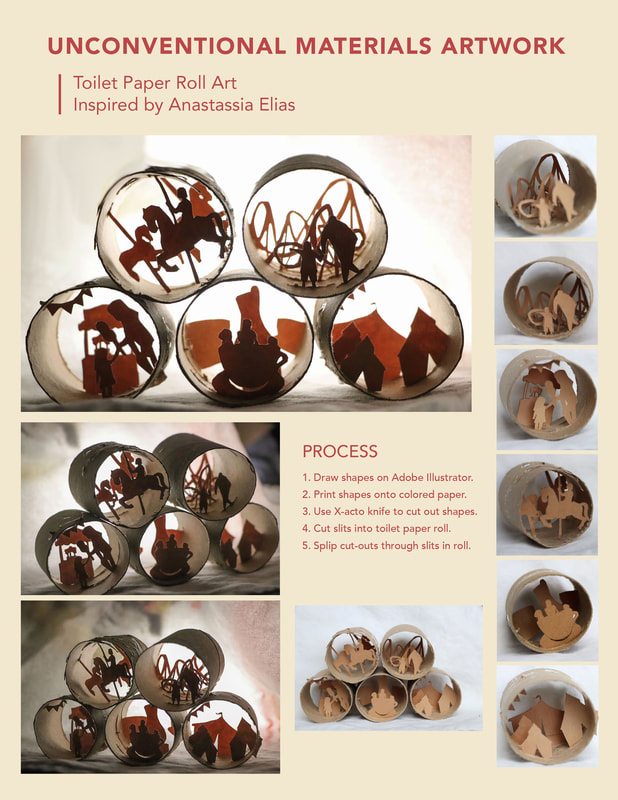
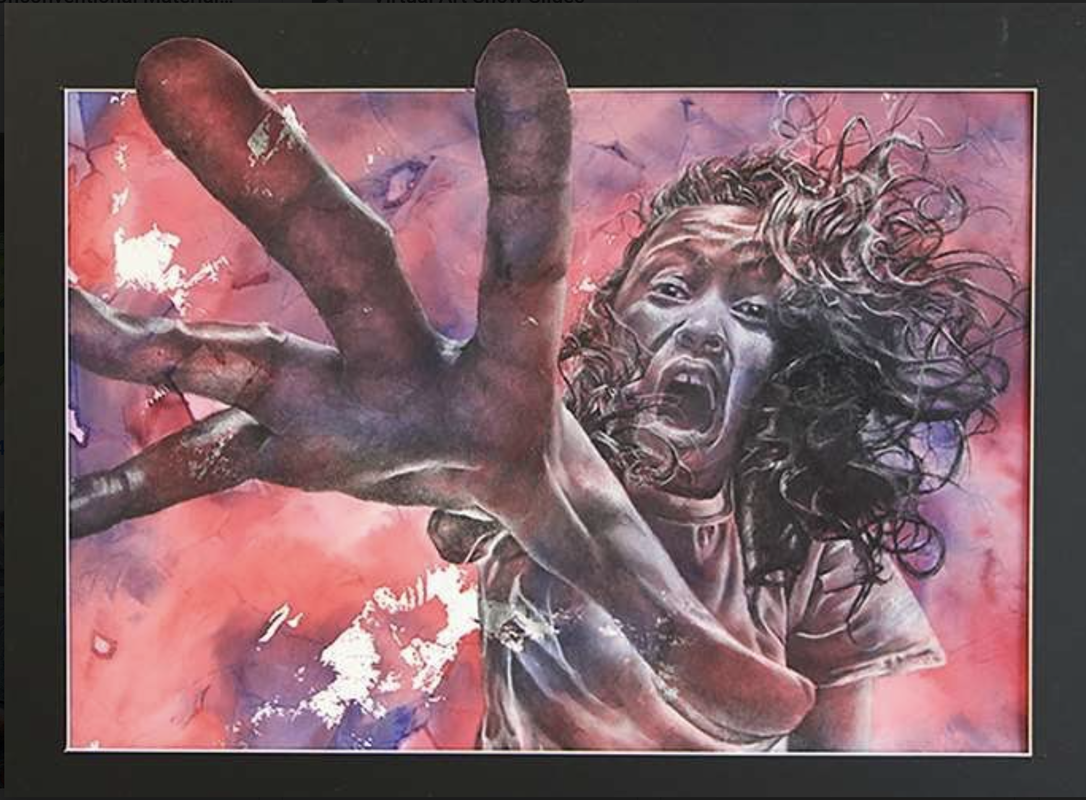
Unconventional Materials Artwork
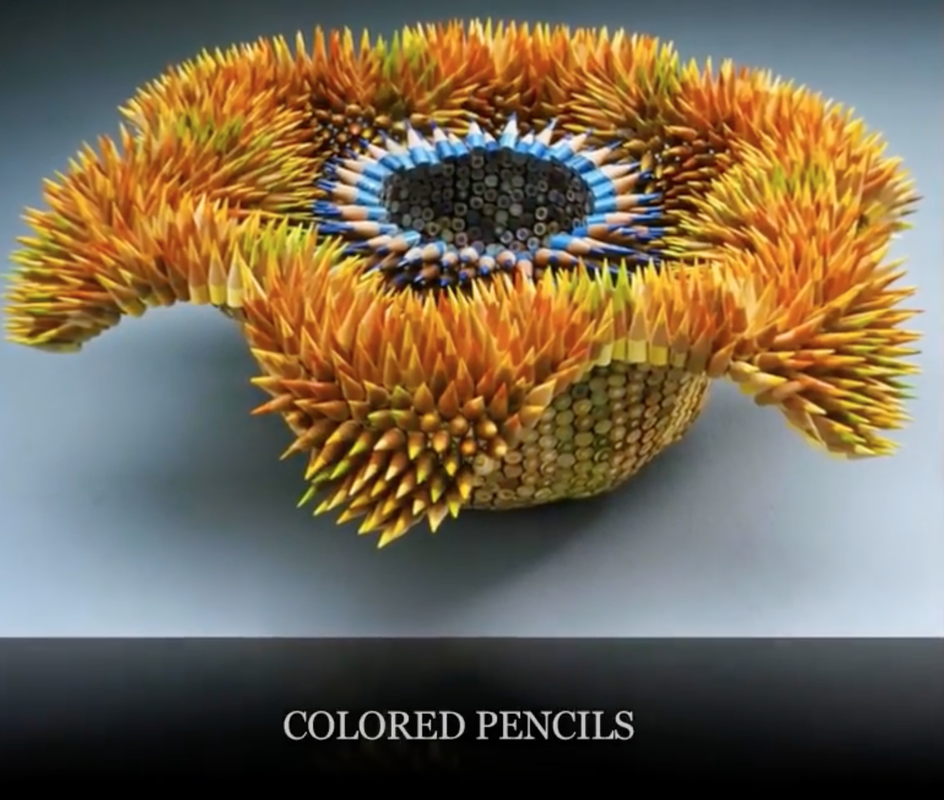
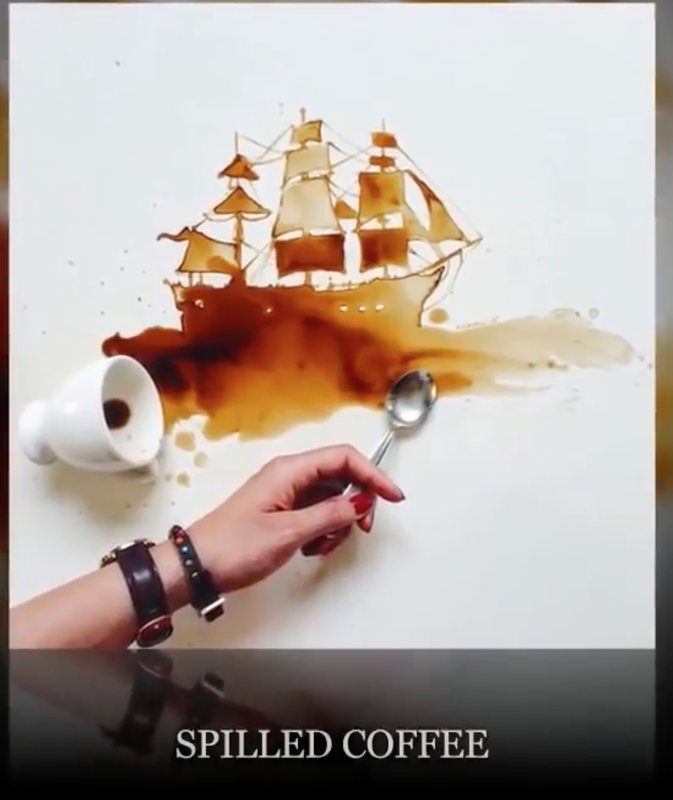
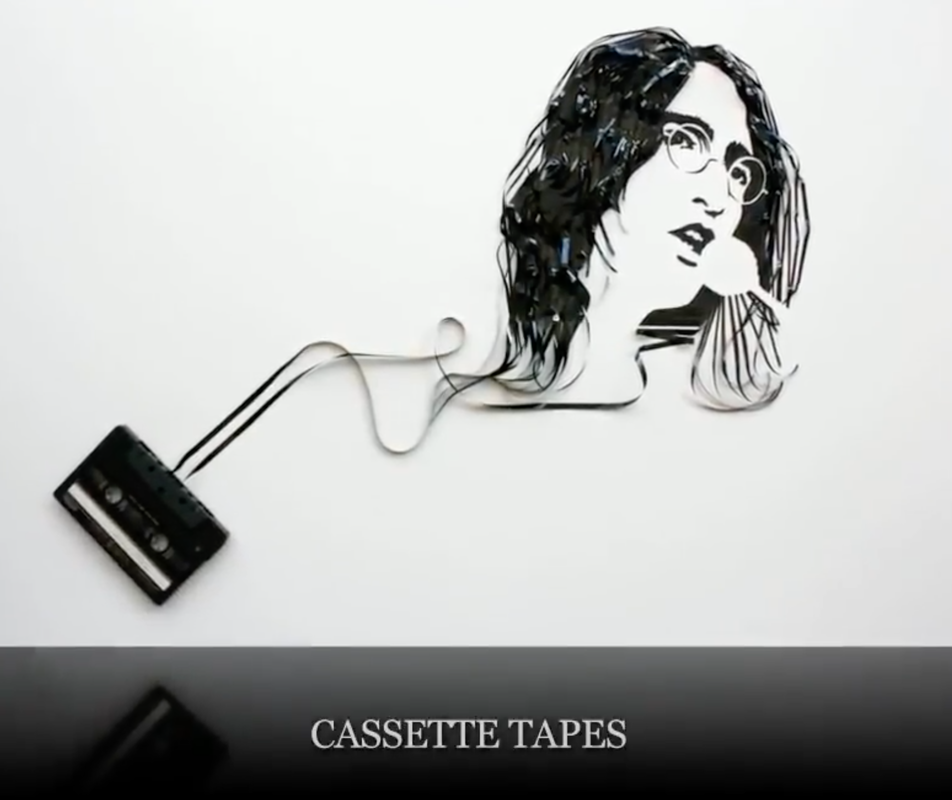
Create an artwork using unconventional media.
Your artwork could be any subject matter and any media.
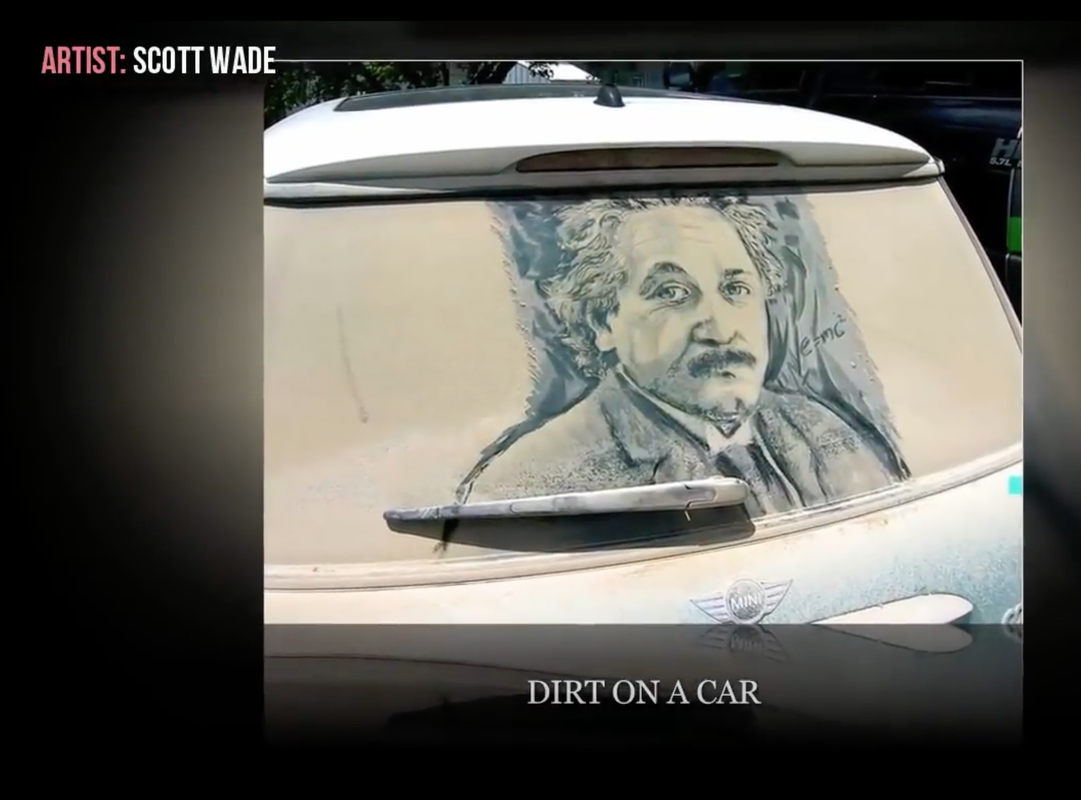
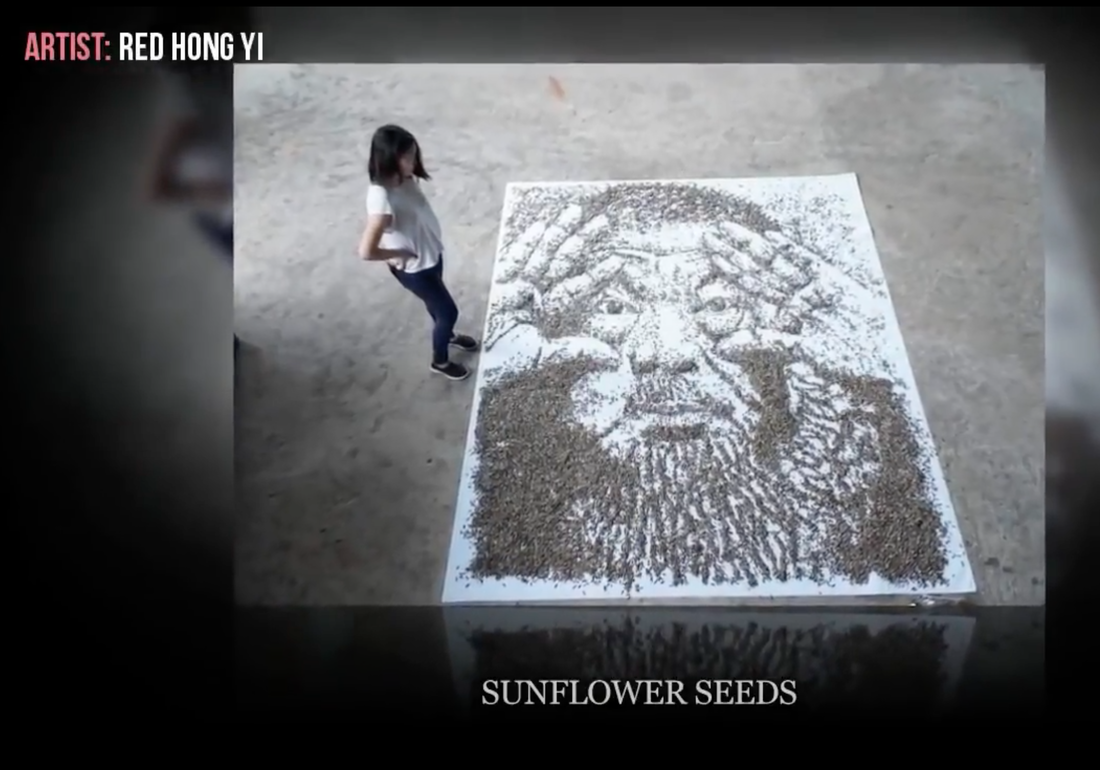
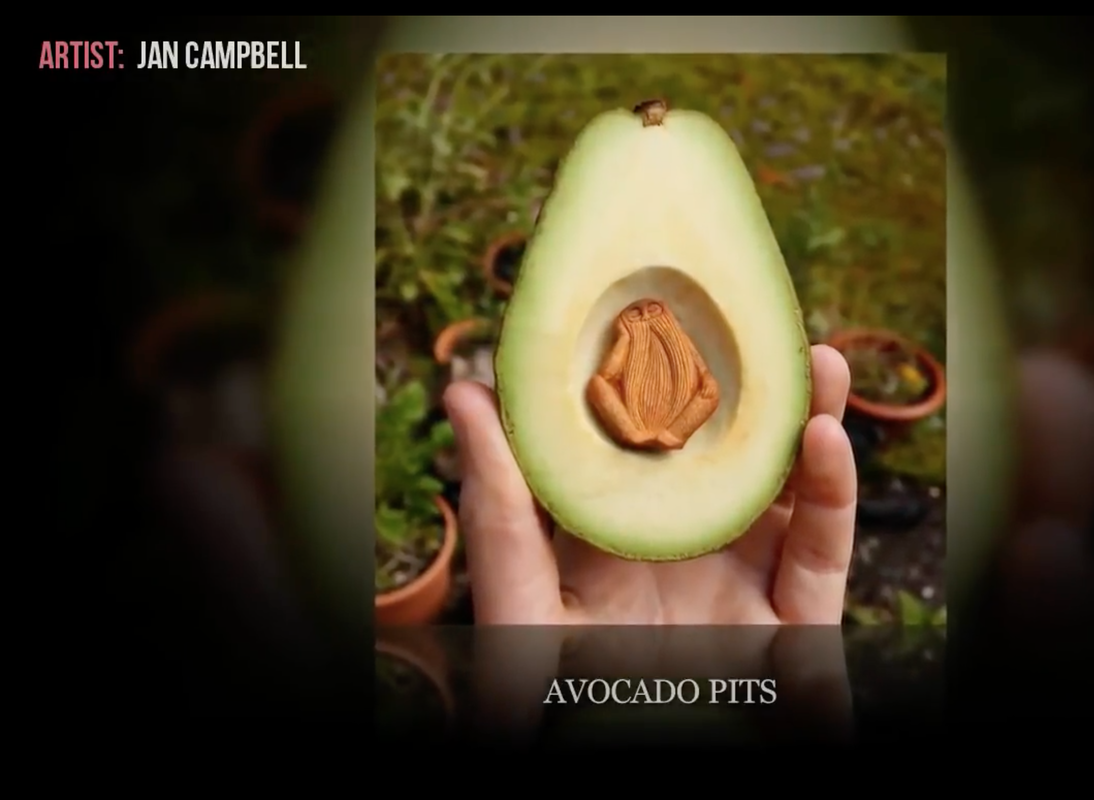
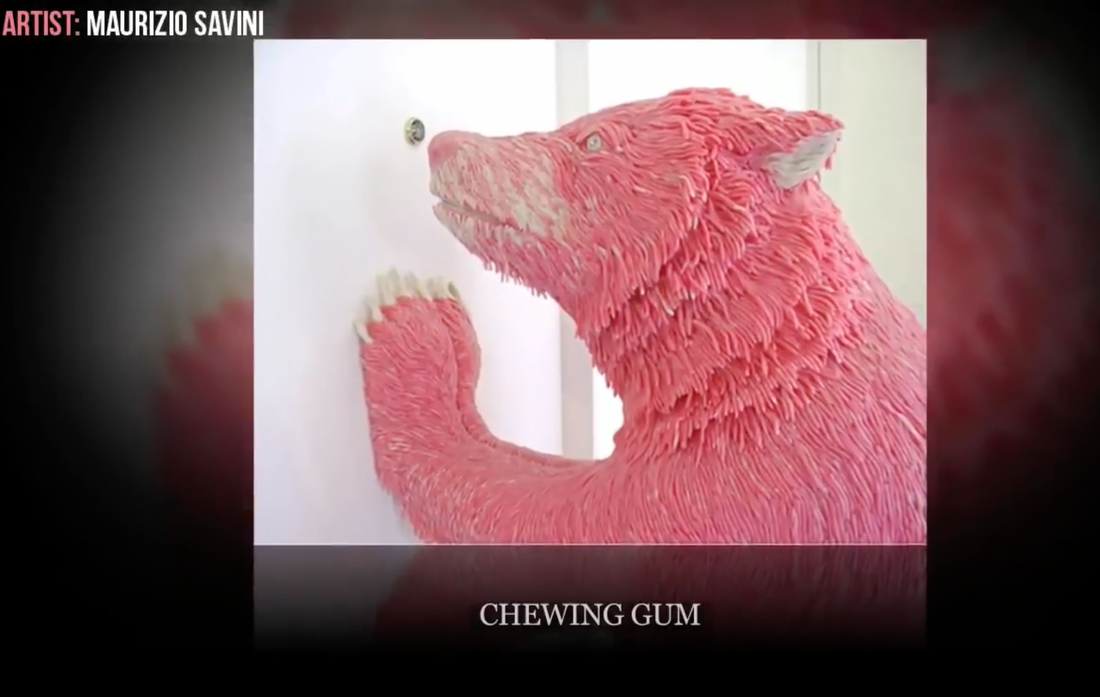
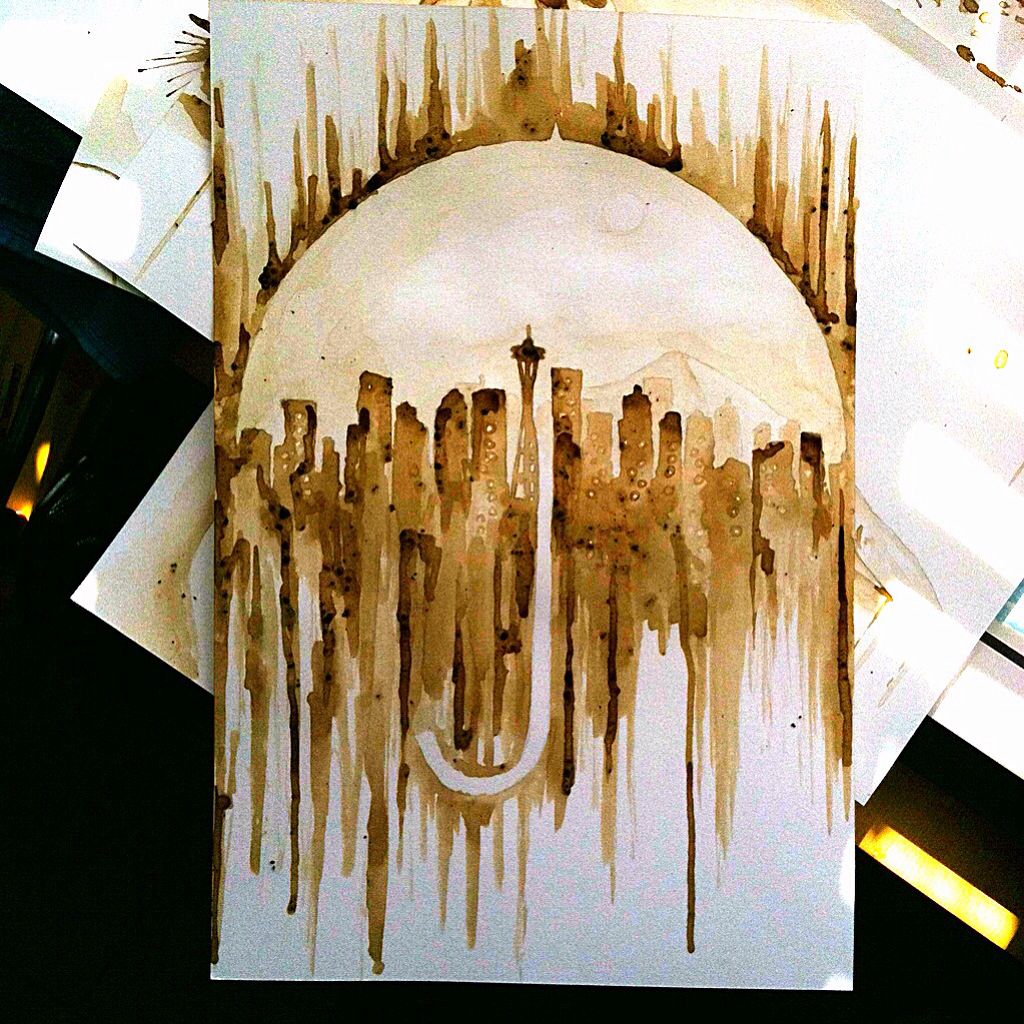
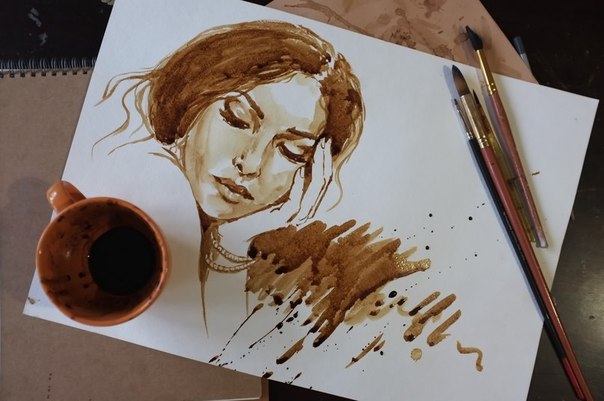
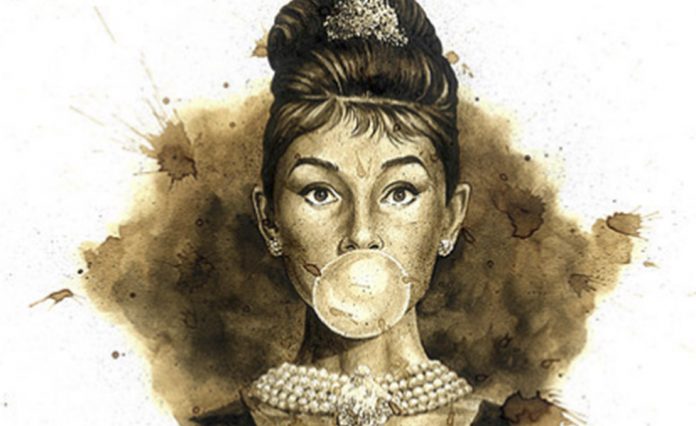
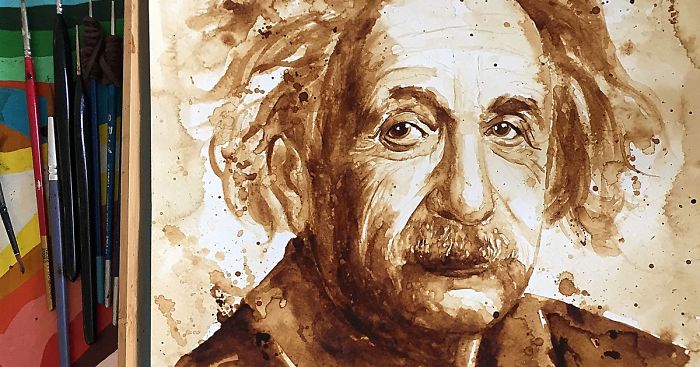
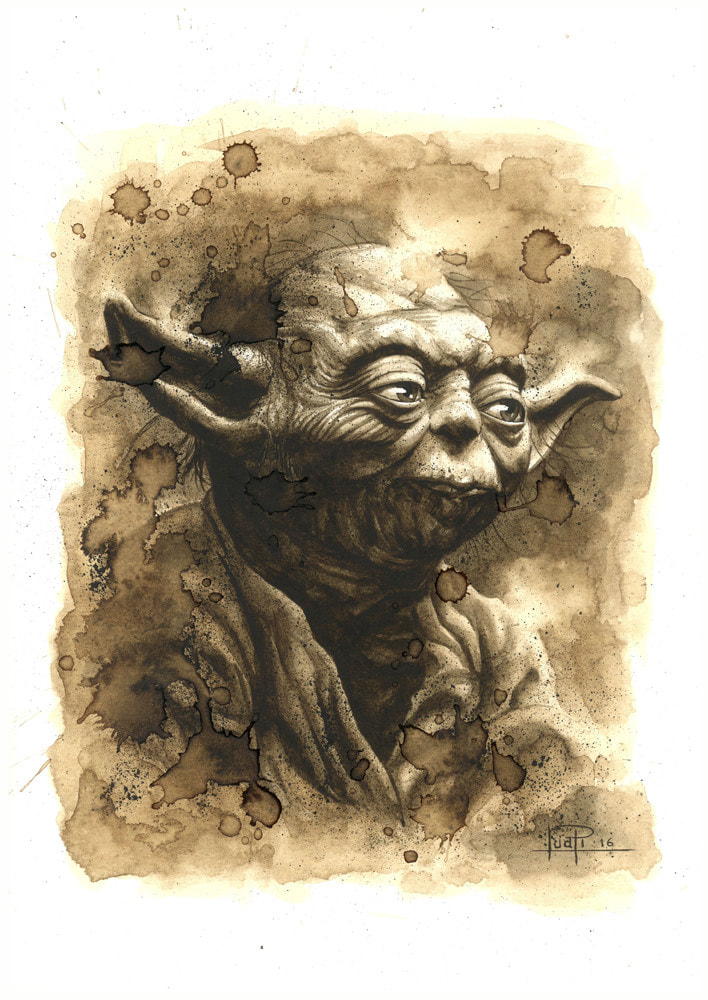
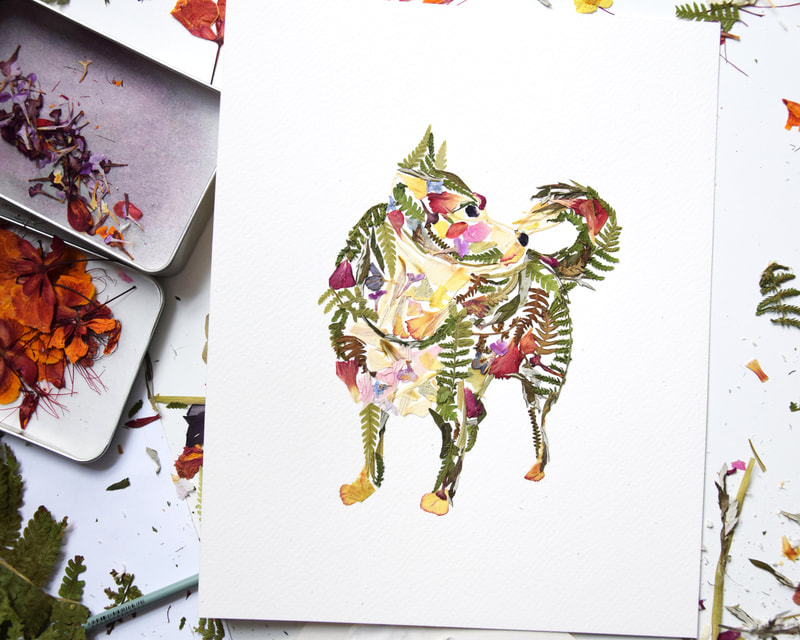
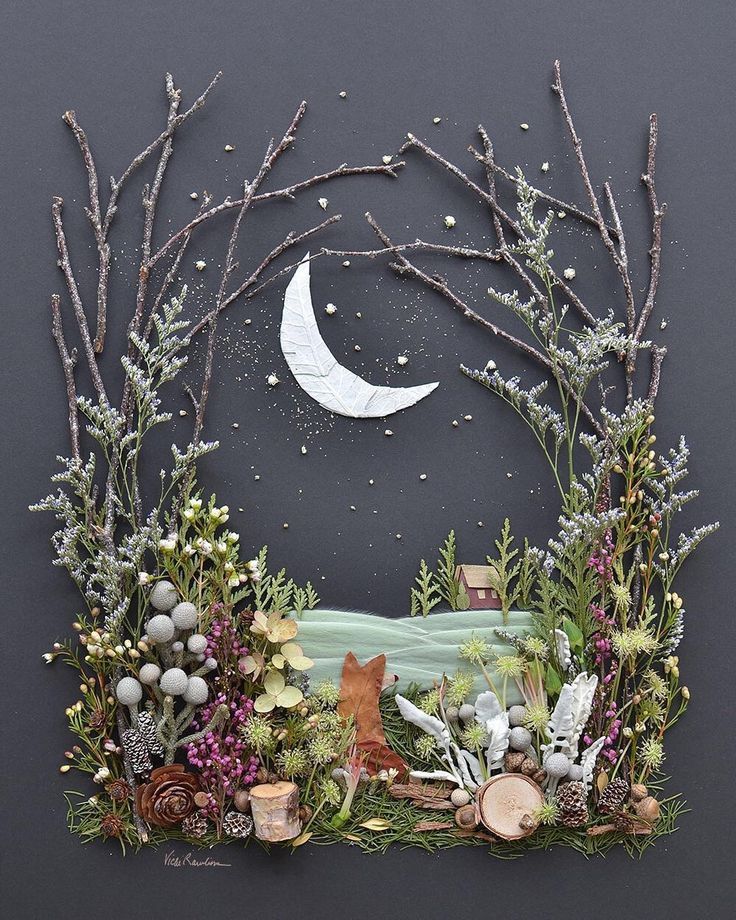
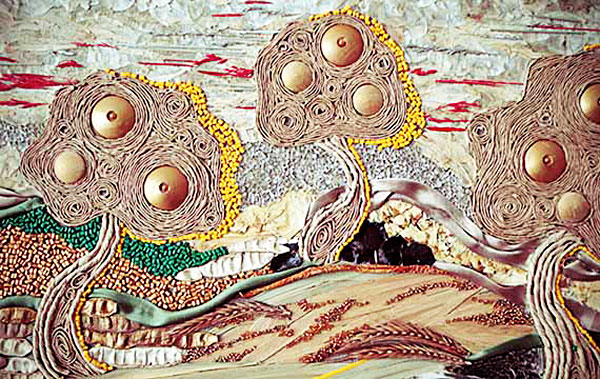
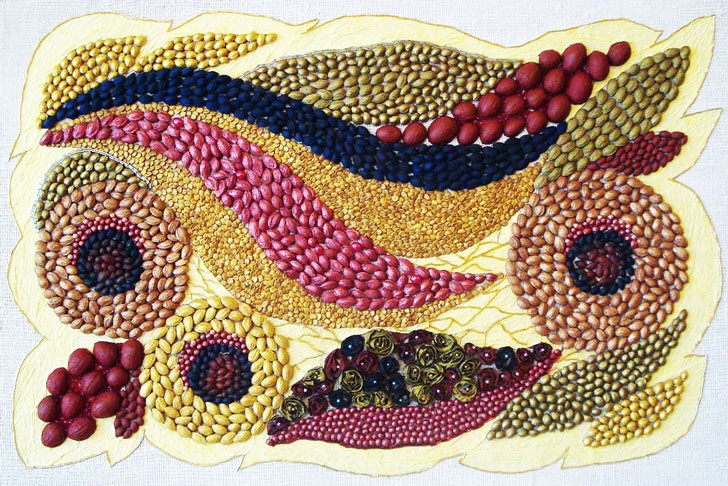
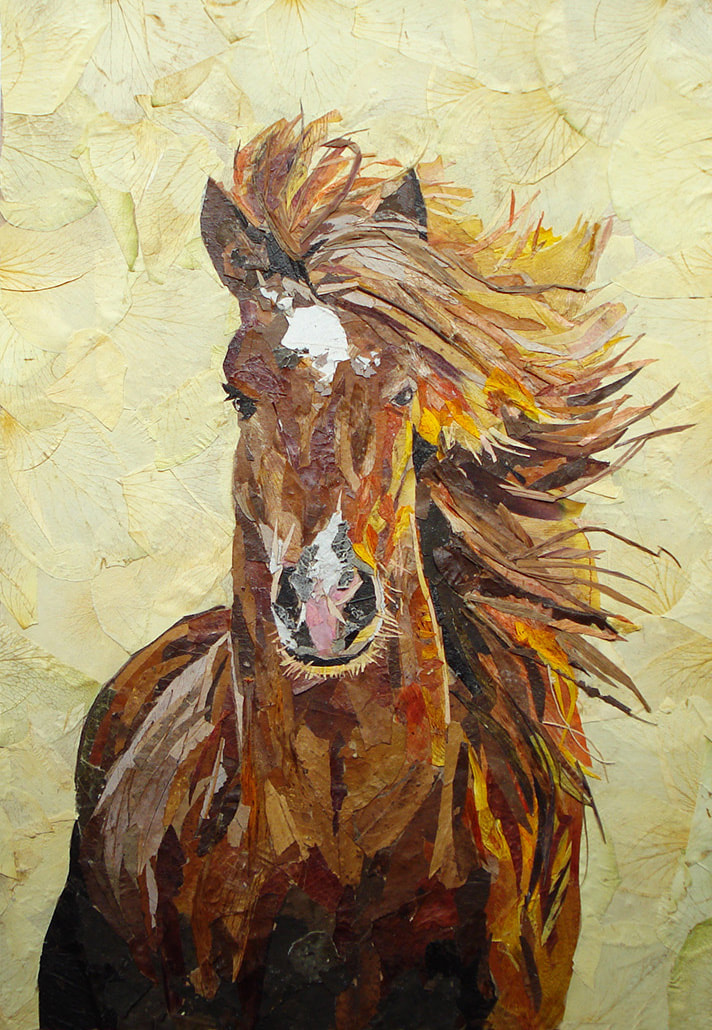
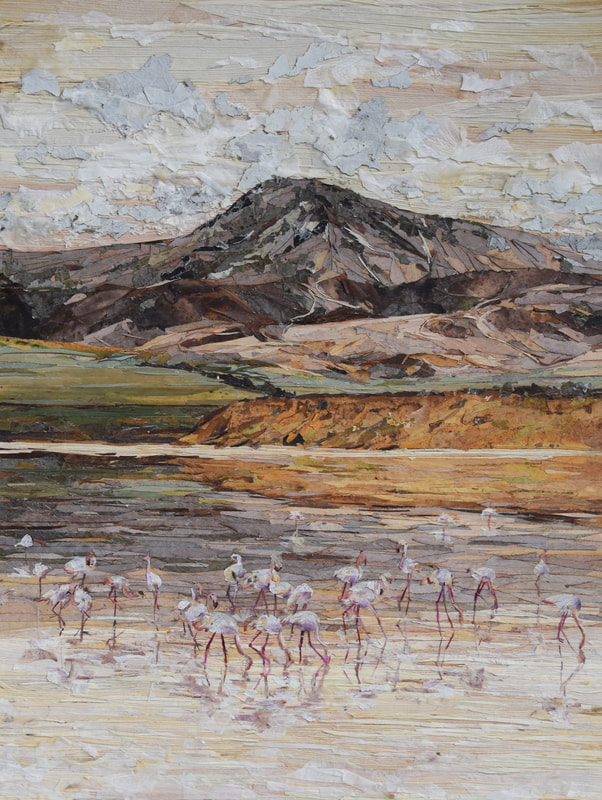
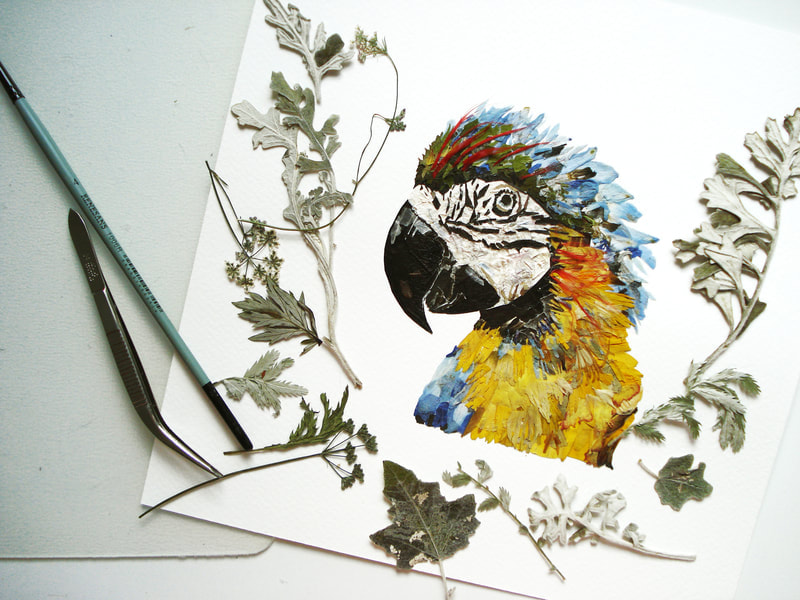
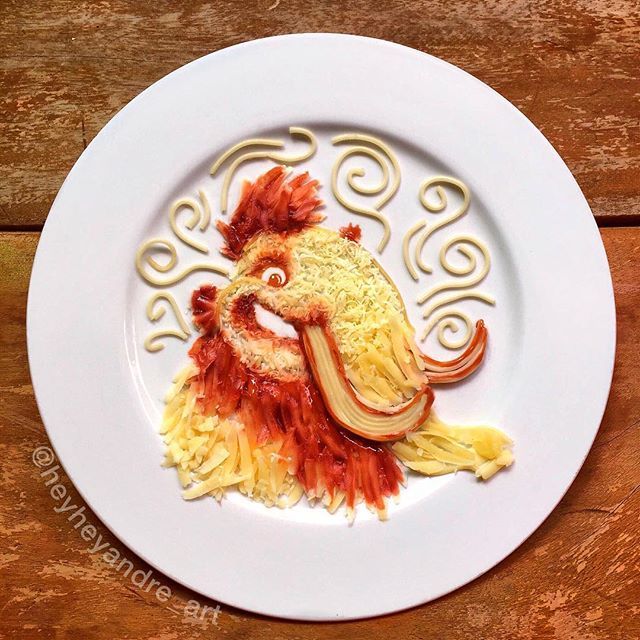
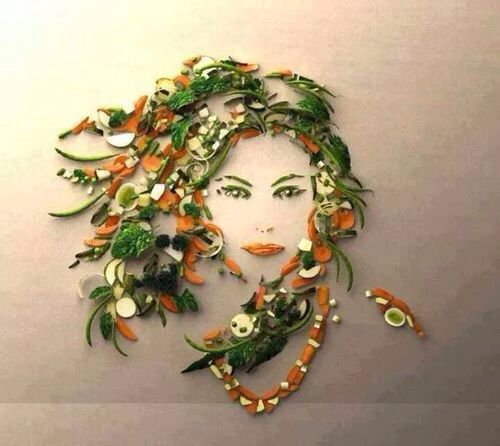
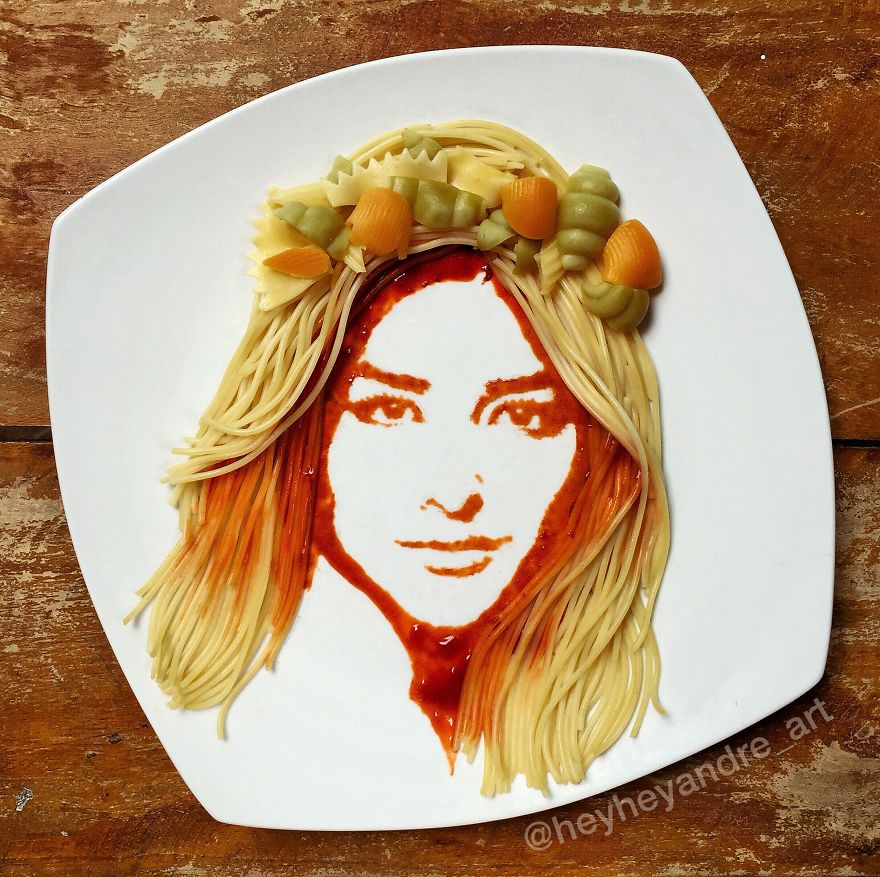
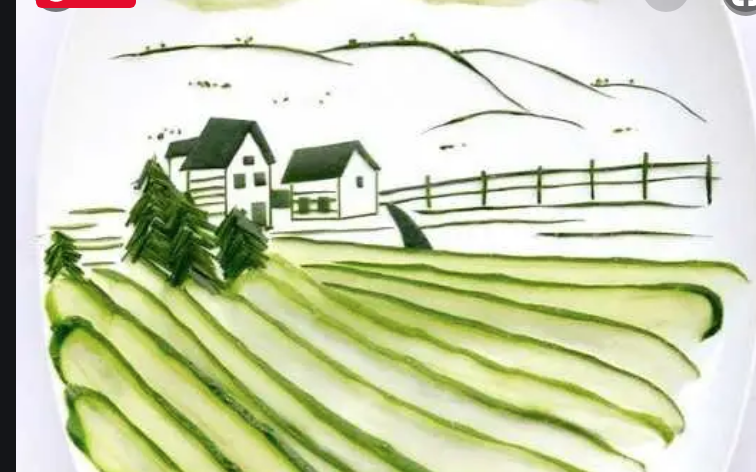
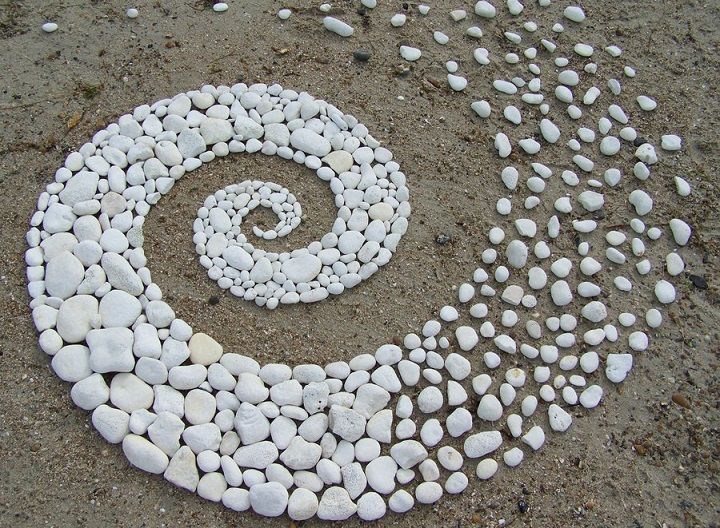
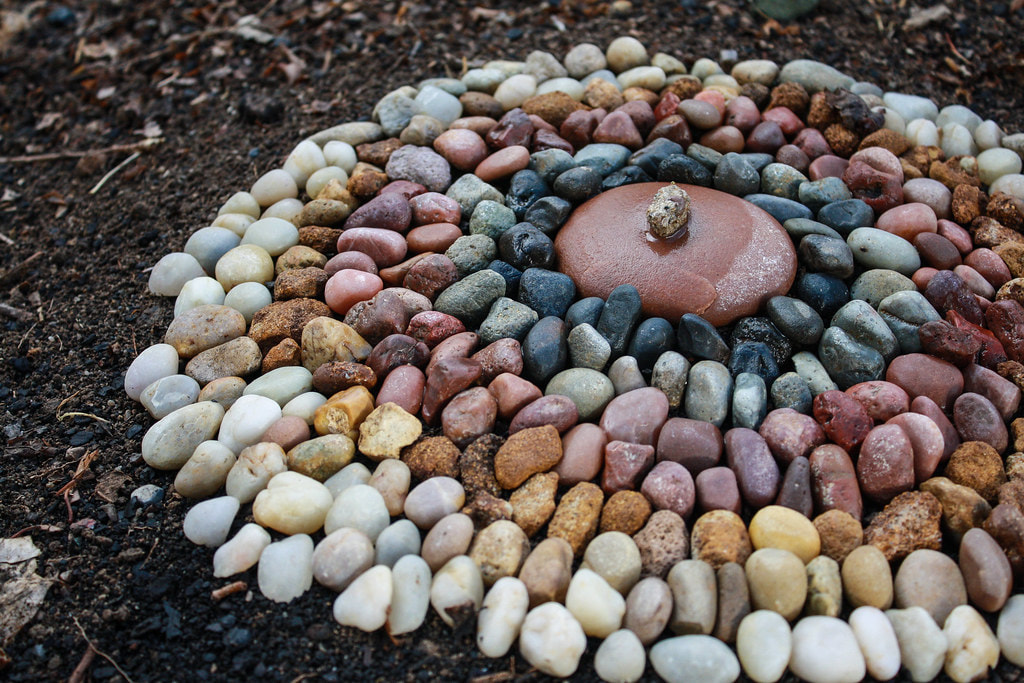
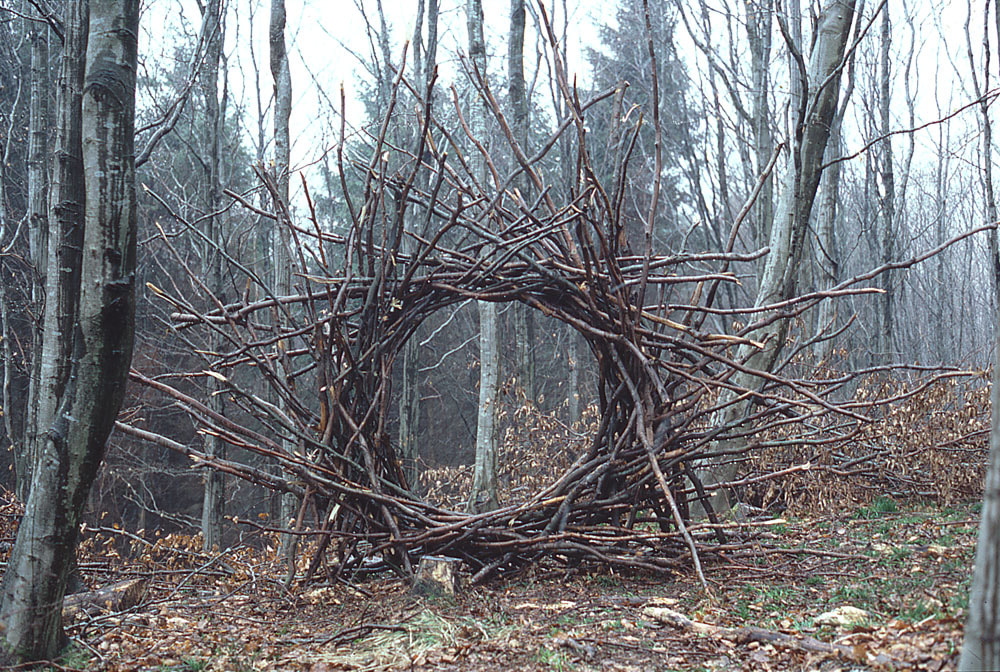
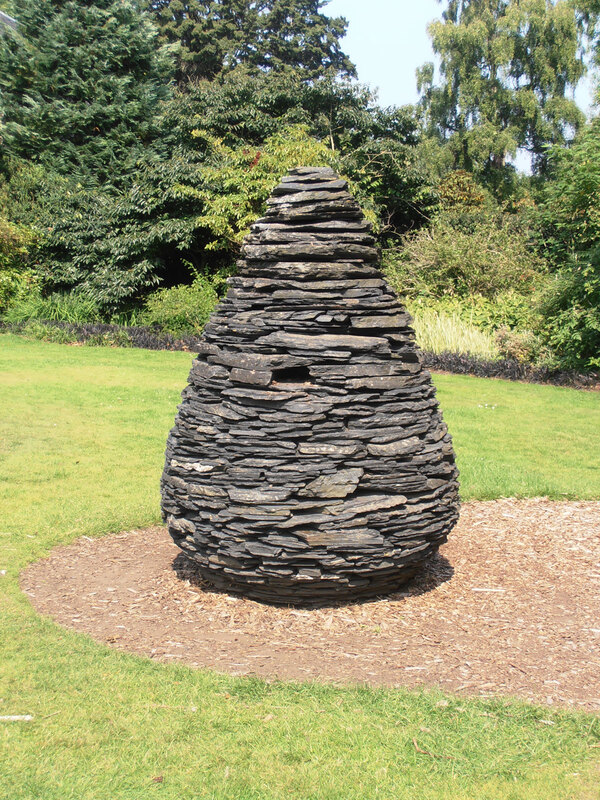
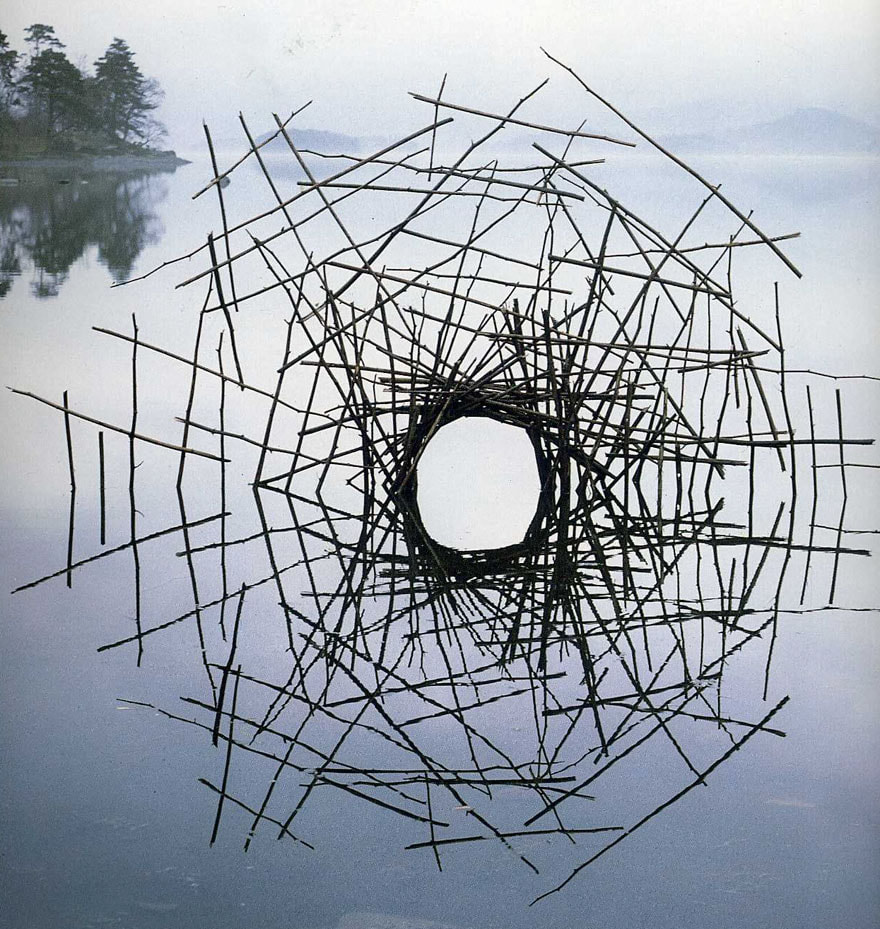
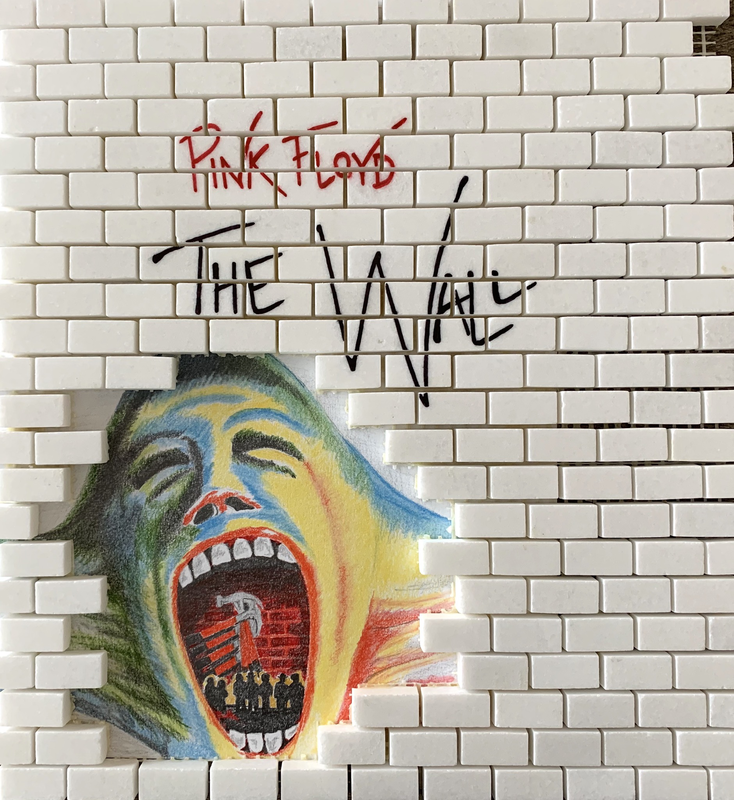
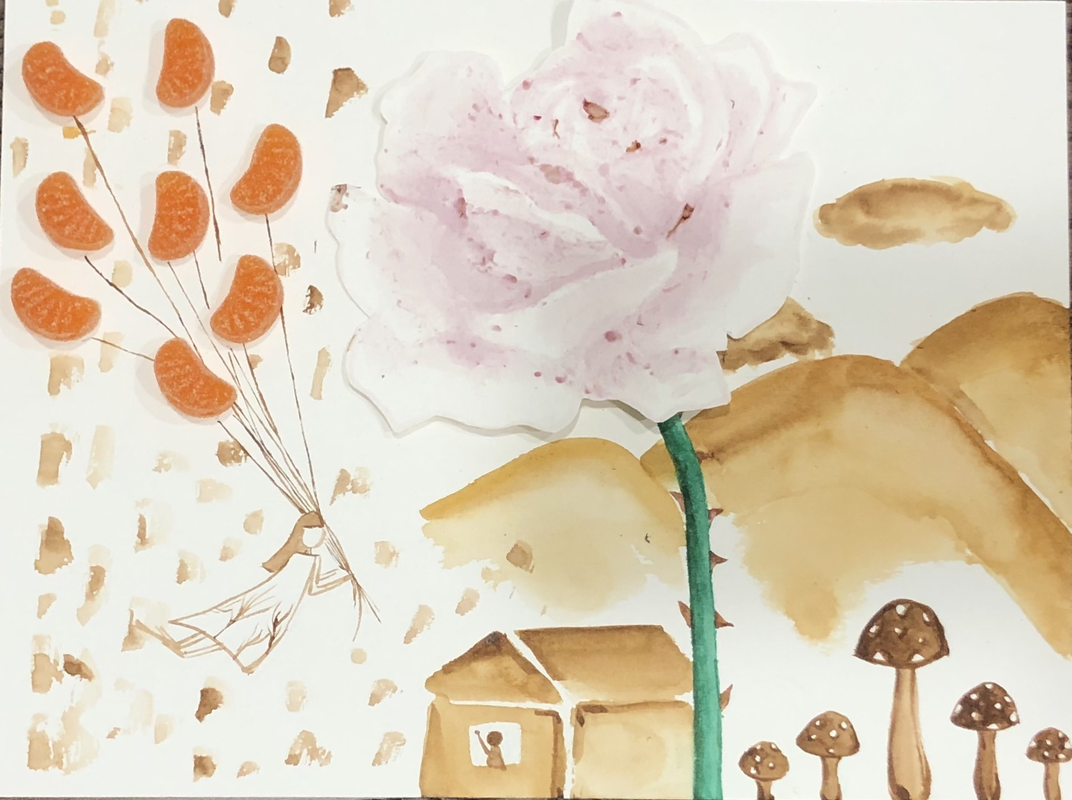
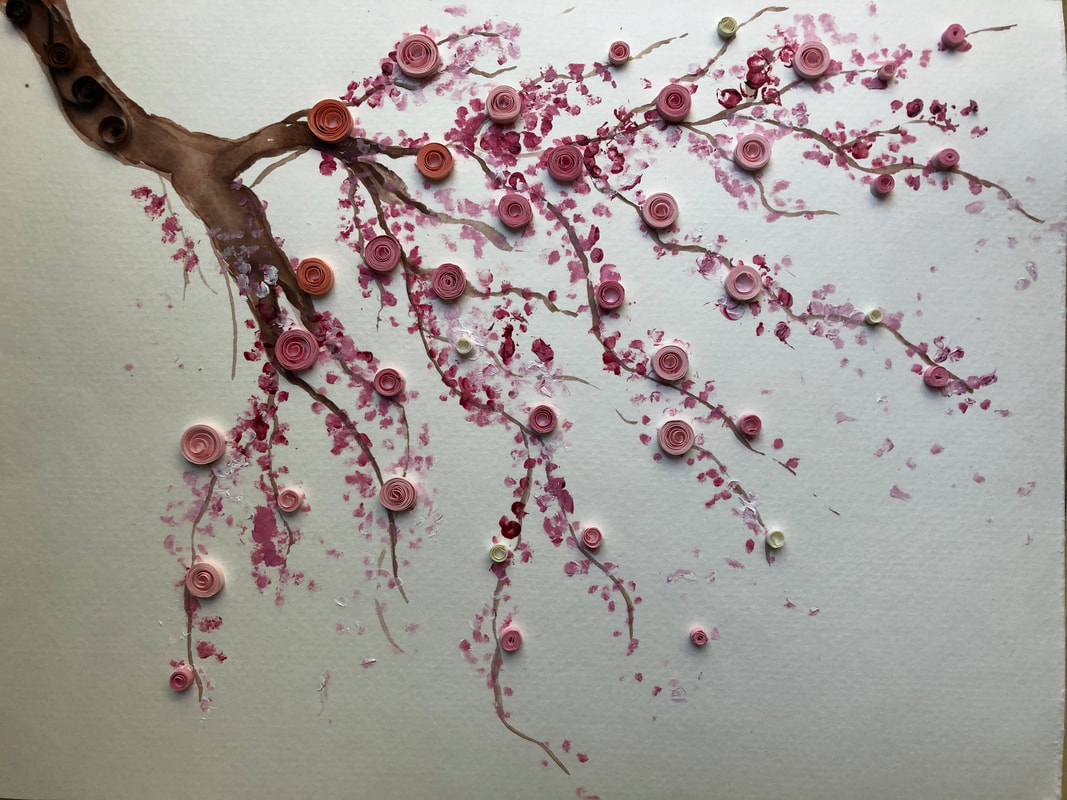
Experiment with painting with coffee, stamping with leaves and flowers, drawing with chocolate syrup, creating a portrait out of found objects like buttons, legos, pebbles, etc.
Create artworks out of sugar, paint with cut up towel paper rolls, assemble found objects...
1) Watch this video "Embrace the Shake"
The artist created so many different artwork using new and weird media: painting on his stomach, karate chop painting, painting with worms!, etc.
2) Do some research online and see what interesting media people use:
Watch these videos:
28 Artworks Made with Unusually Awesome Mediums
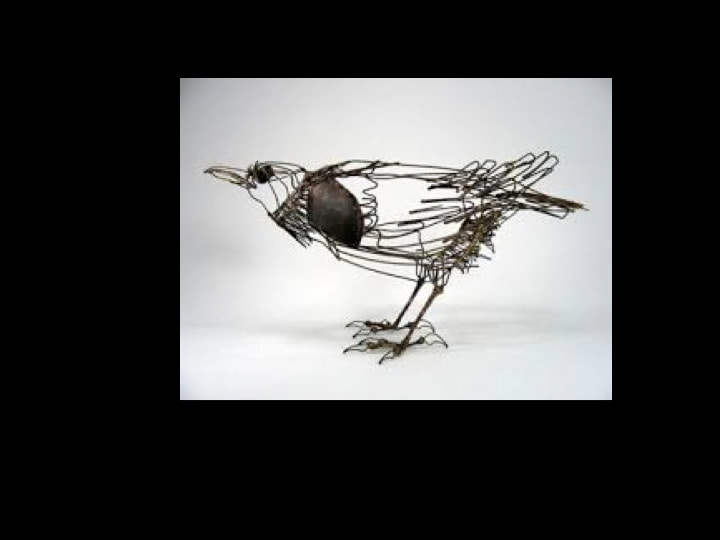
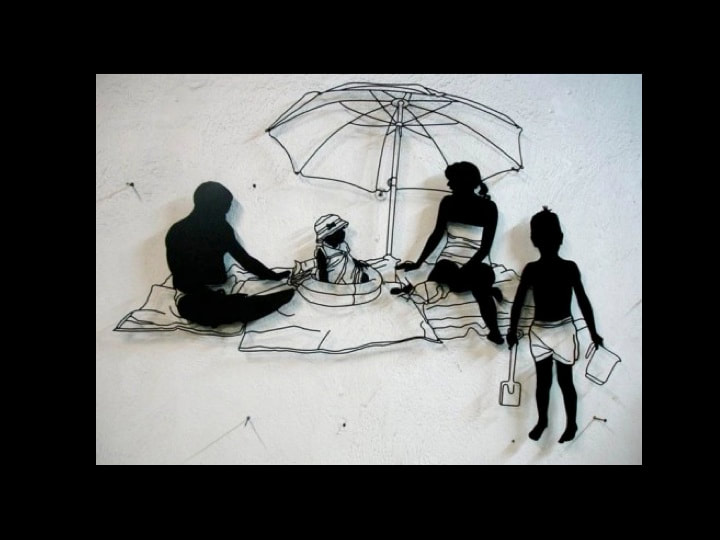
Art with Wire, Sugar, and String
Toilet Paper Roll Flowers
This as an episode of CBC arts on unconventional art and media
3) Do some practice and experimenting of your own with at least 3 different unconventional medias. Photograph your Practice Experiments and submit to the Google Classroom.
3 Practice Experiments = 3 different photos
4) After practicing: Decide on a favorite unconventional unusual new media and create a Final Unconventional Media Artwork.
This final artwork should show creativity with media, effort, time, and craftsmanship.
The Final Artwork should take at least 3 hours to make.
If you make something that takes less time - then make 2 or more artworks.
Your artwork could be any subject matter and any media.
Experiment with painting with coffee, stamping with leaves and flowers, drawing with chocolate syrup, creating a portrait out of found objects like buttons, legos, pebbles, etc.
Create artworks out of sugar, paint with cut up towel paper rolls, assemble found objects...
1) Watch this video "Embrace the Shake"
The artist created so many different artwork using new and weird media: painting on his stomach, karate chop painting, painting with worms!, etc.
2) Do some research online and see what interesting media people use:
Watch these videos:
28 Artworks Made with Unusually Awesome Mediums
Art with Wire, Sugar, and String
Toilet Paper Roll Flowers
This as an episode of CBC arts on unconventional art and media
3) Do some practice and experimenting of your own with at least 3 different unconventional medias. Photograph your Practice Experiments and submit to the Google Classroom.
3 Practice Experiments = 3 different photos
4) After practicing: Decide on a favorite unconventional unusual new media and create a Final Unconventional Media Artwork.
This final artwork should show creativity with media, effort, time, and craftsmanship.
The Final Artwork should take at least 3 hours to make.
If you make something that takes less time - then make 2 or more artworks.